Summer Memories Week: Documenting in Pockets with Stacie Watson

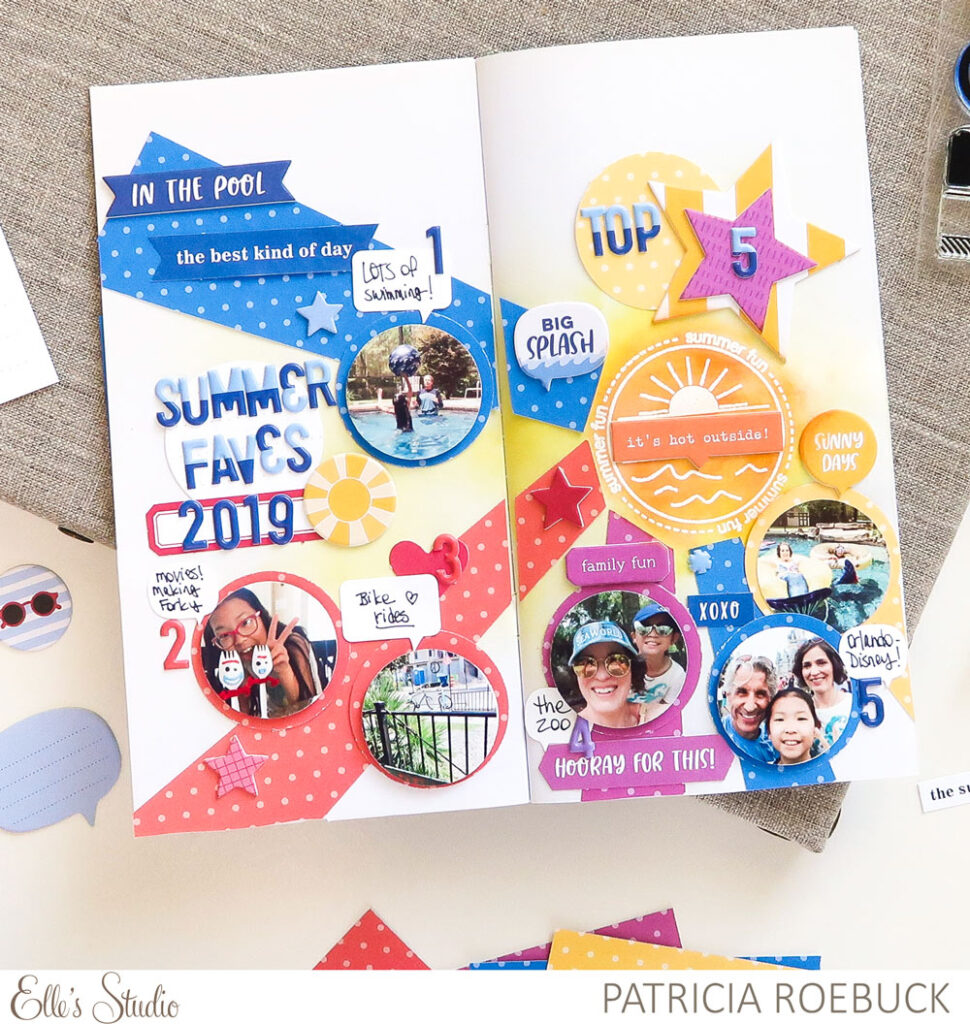
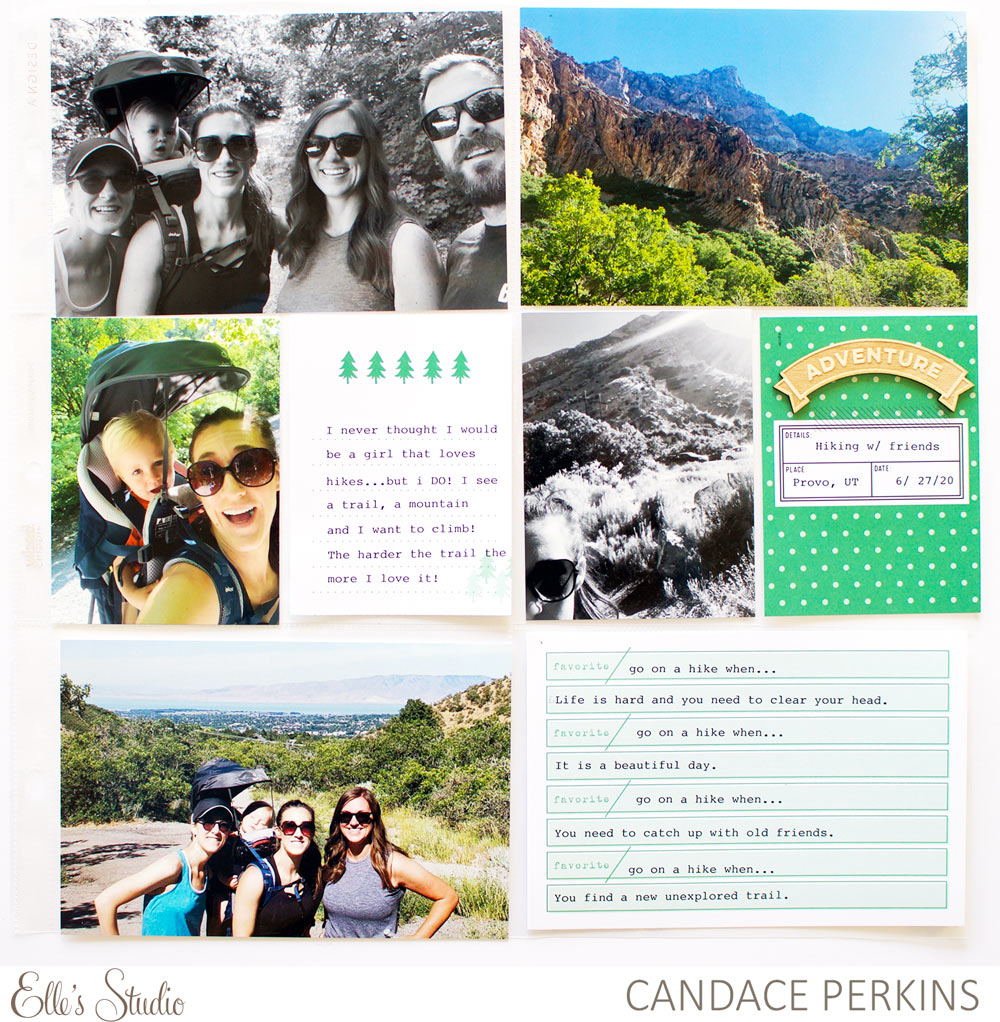
If you want to get a lot of summer moments documented, a pocket page is the way to go! It holds a lot of photos and stories, and can be customized with as little or as much embellishment as you like, or have time for before you hit the pool! Today to continue Summer Memories Week, design team member Stacie Watson is sharing a new, summery pocket page that we think you’ll love! Let’s see what she created!

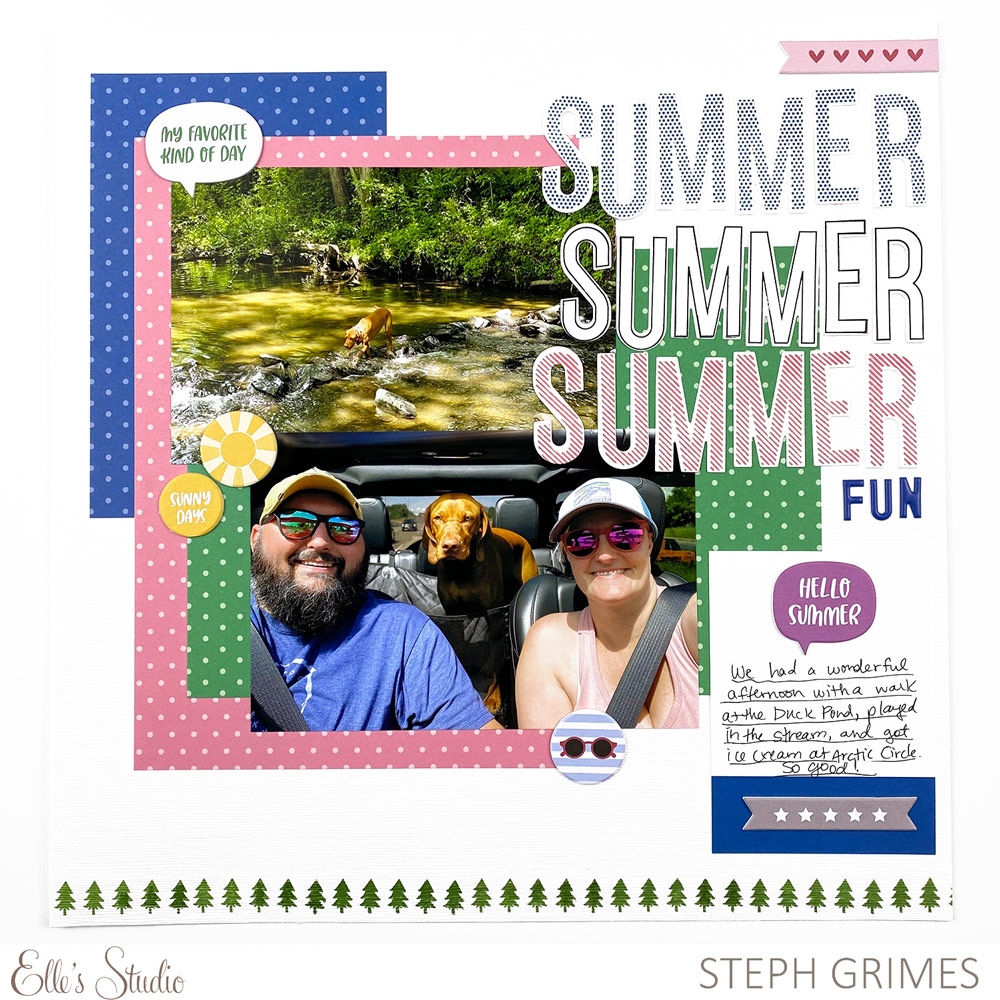
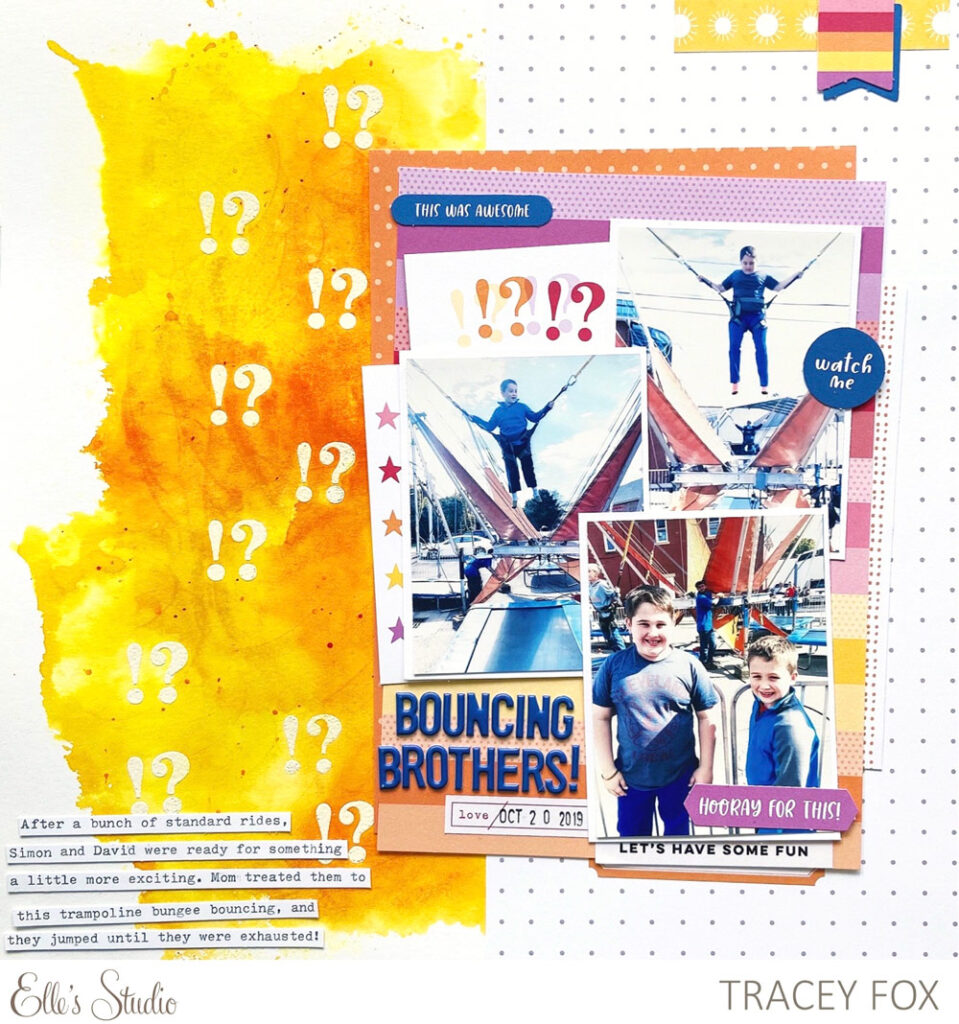
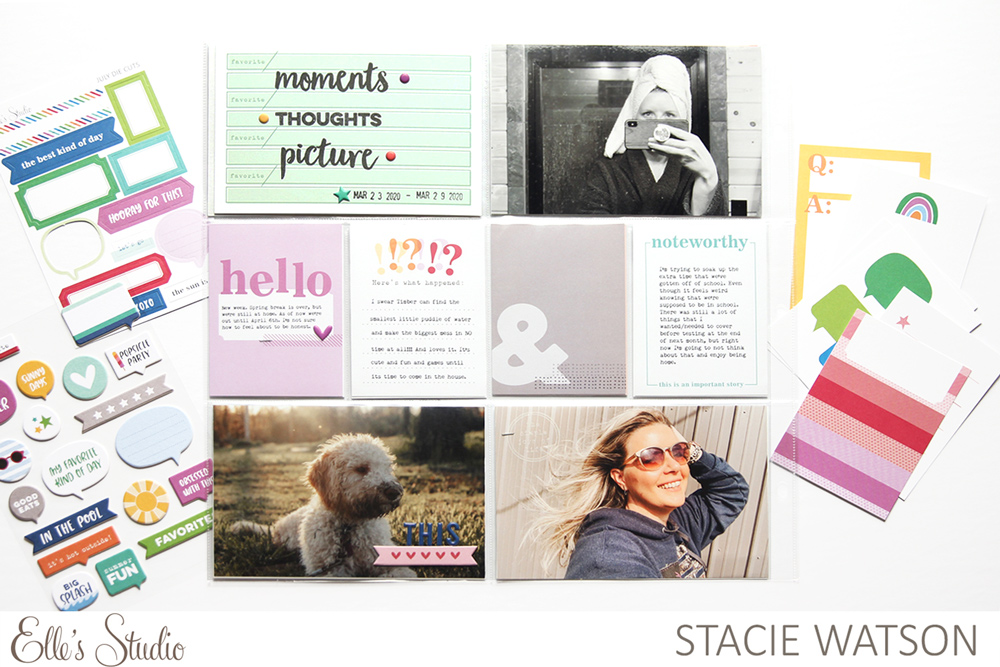
Hello and happy August! It’s Stacie back with you today sharing a pocket page spread using the June and July 2020 monthly kit and add-ons. I love documenting pocket page style and one of my favorite things to document are our summer days. For me there’s just something about seeing all the bright, sunny, and water-filled photos that just makes me happy! The June and July 2020 kits and add-ons are perfect to help me get my stories told!

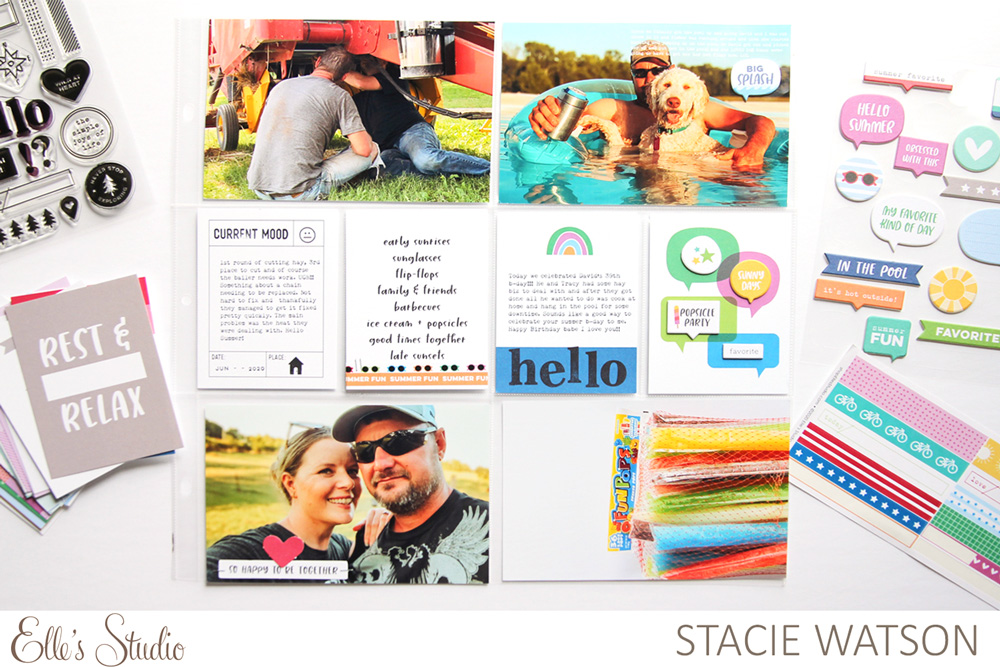
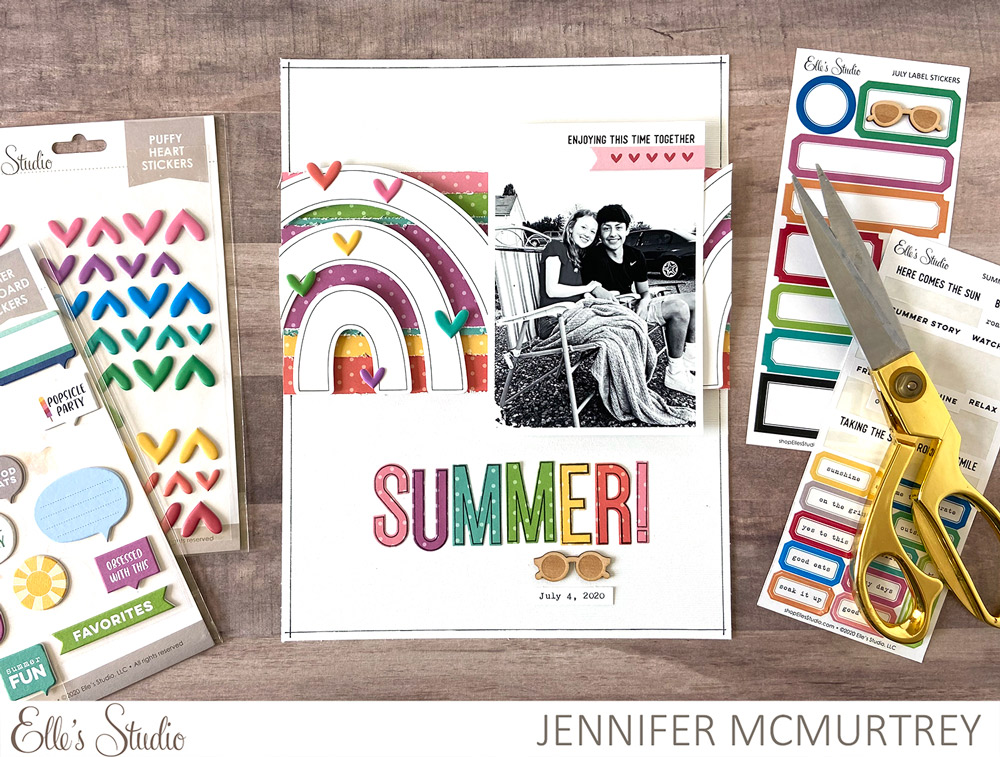
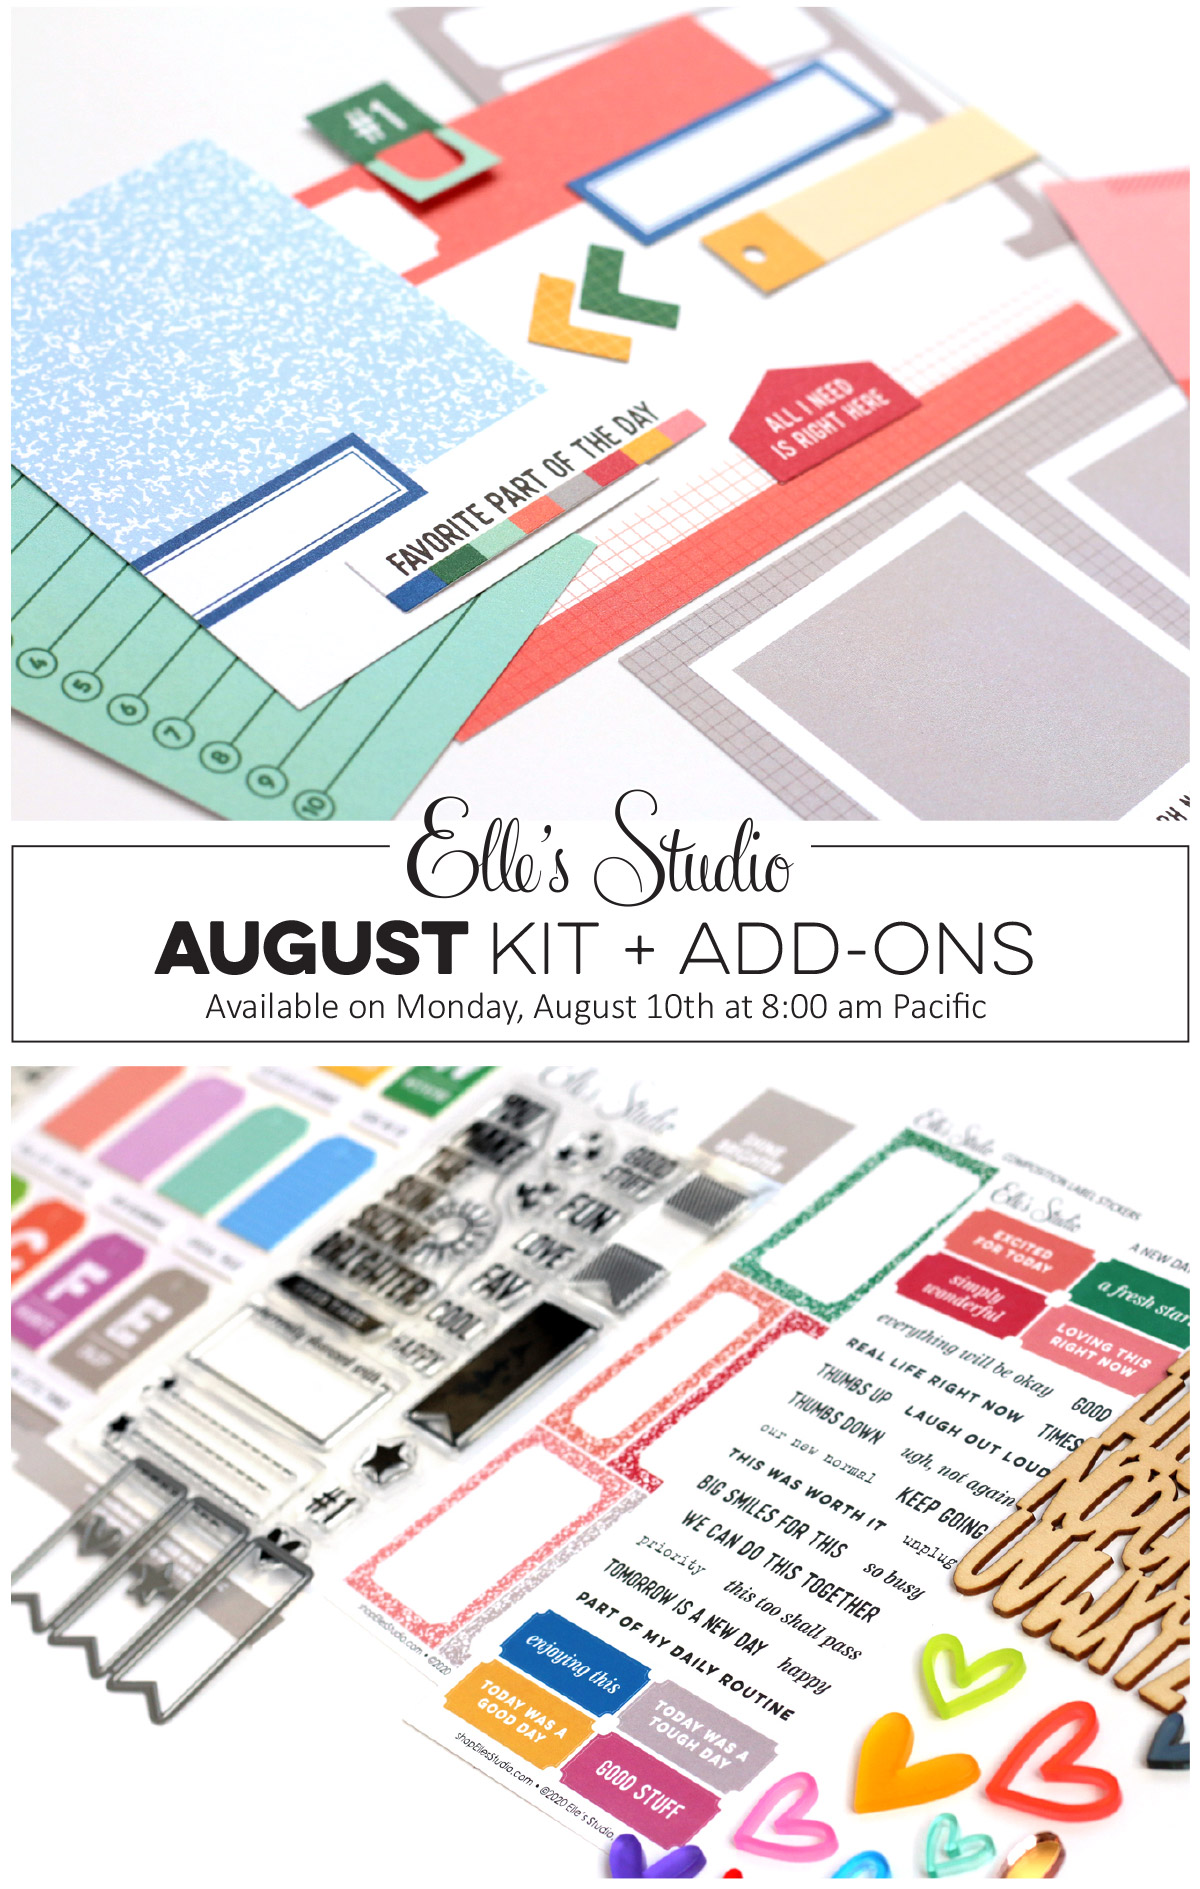
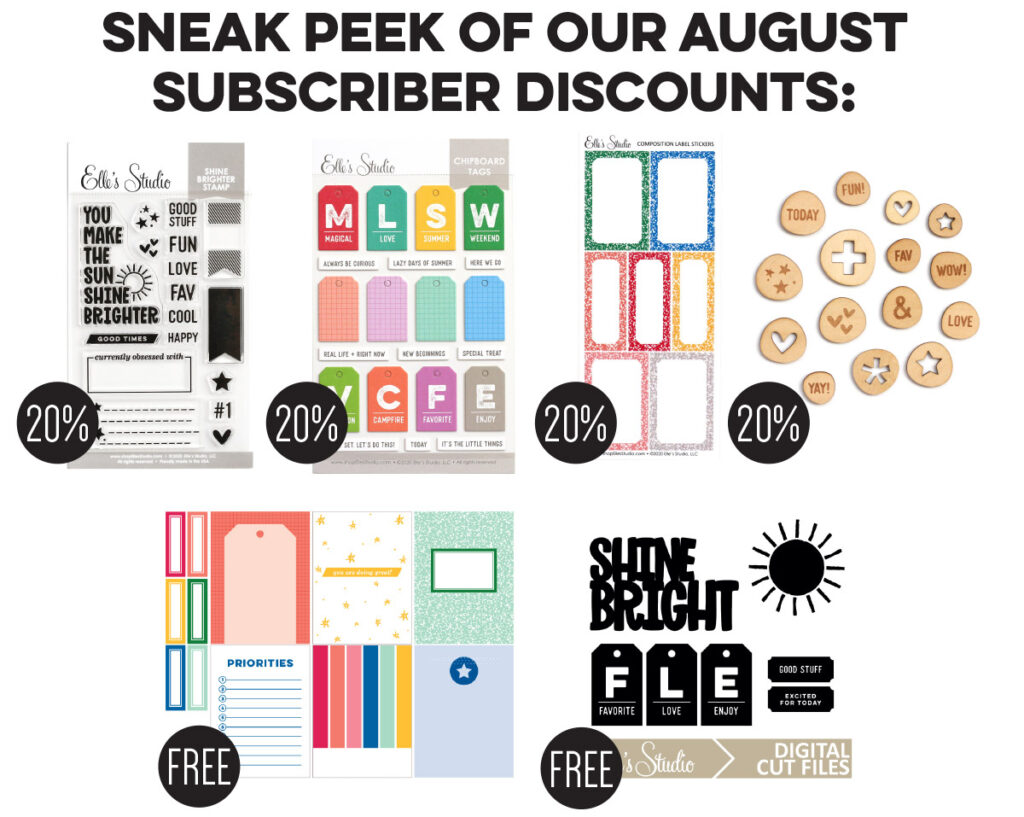
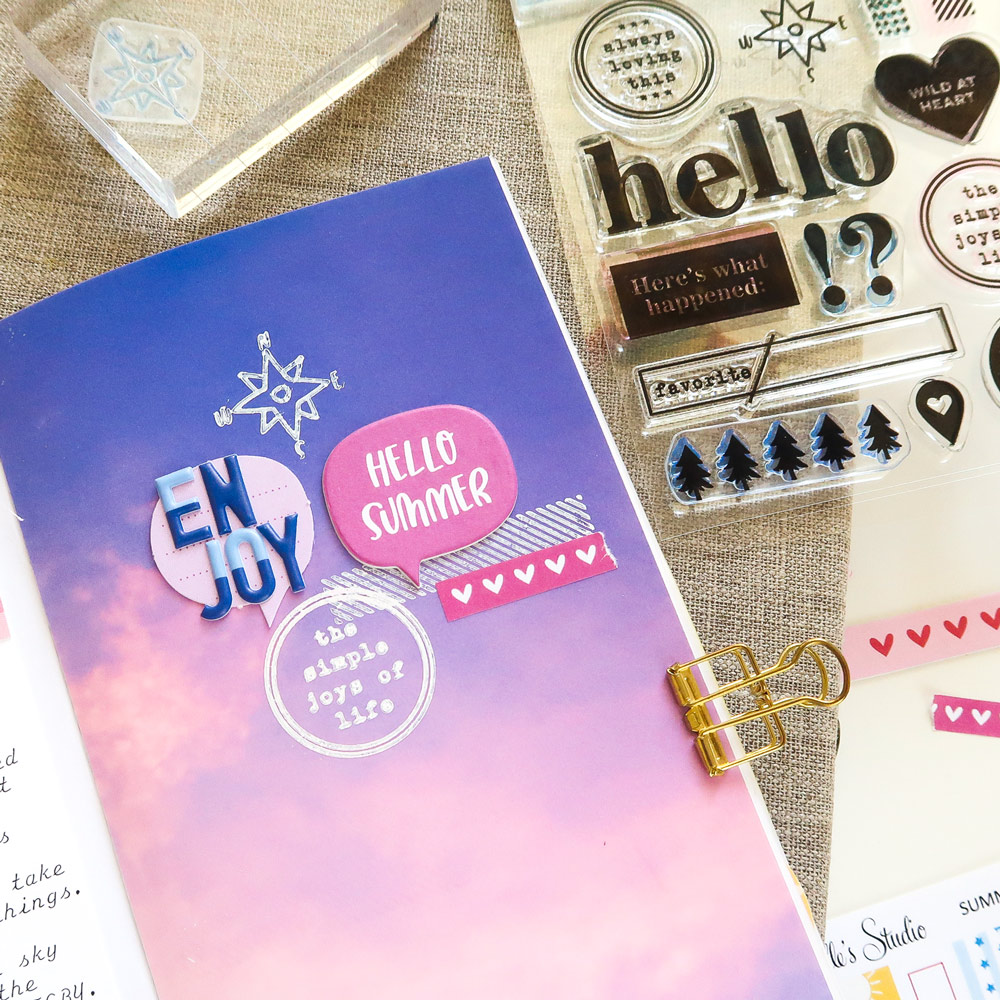
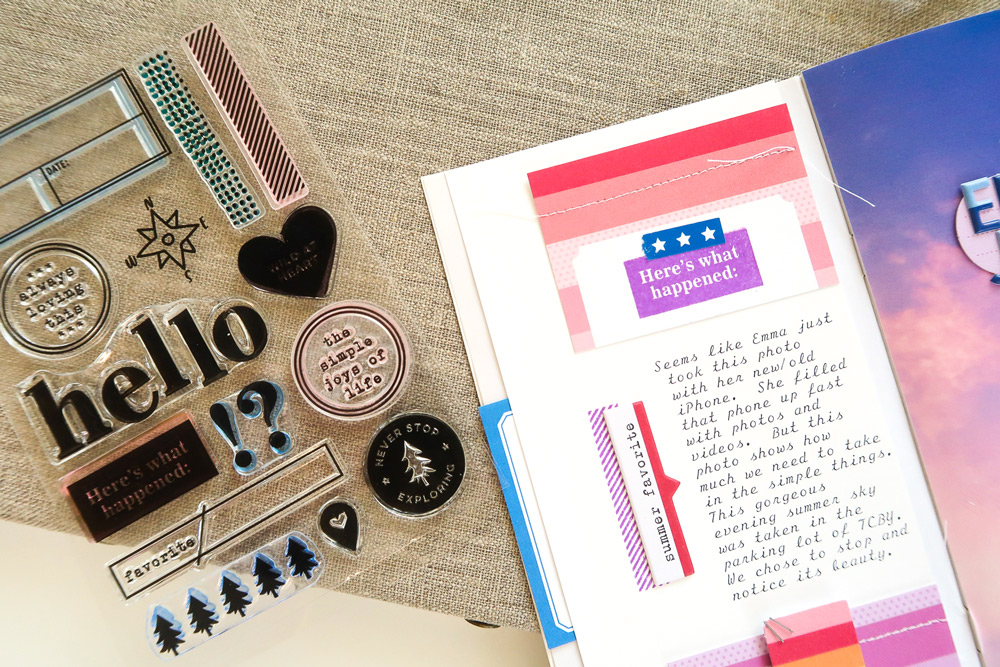
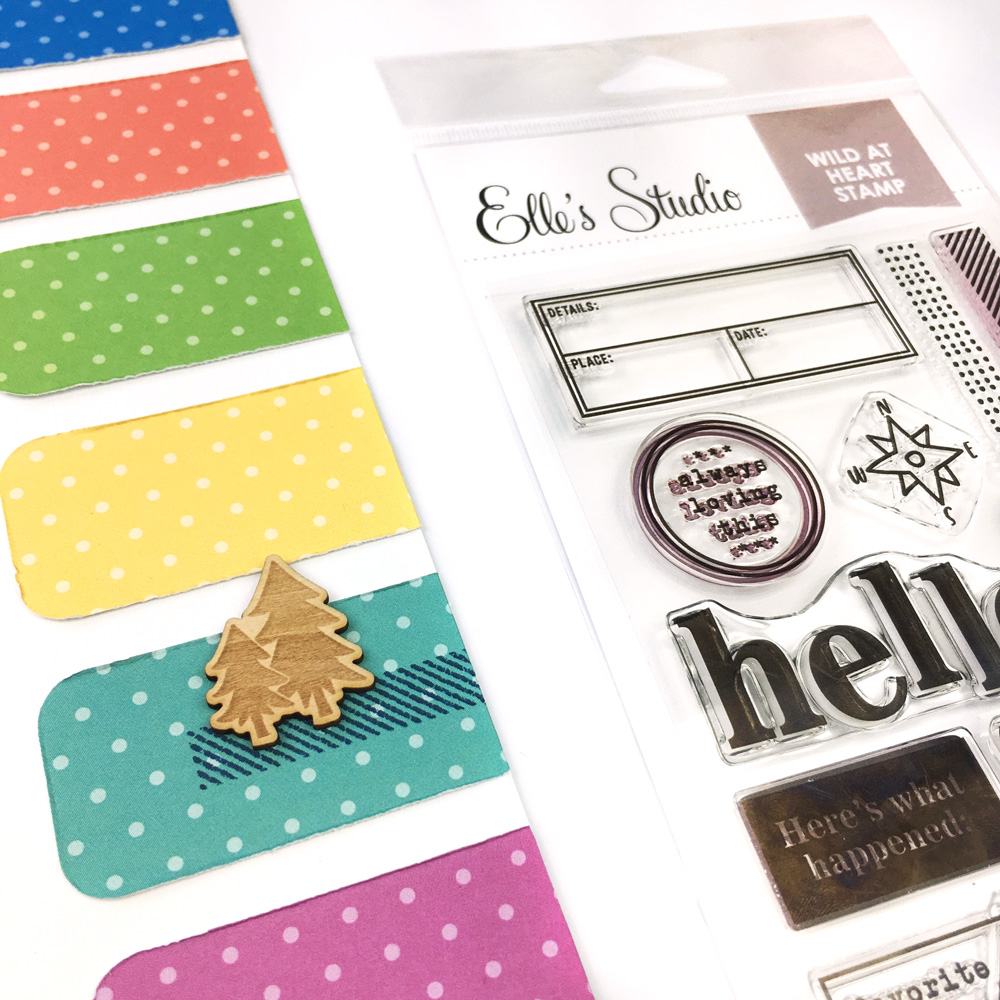
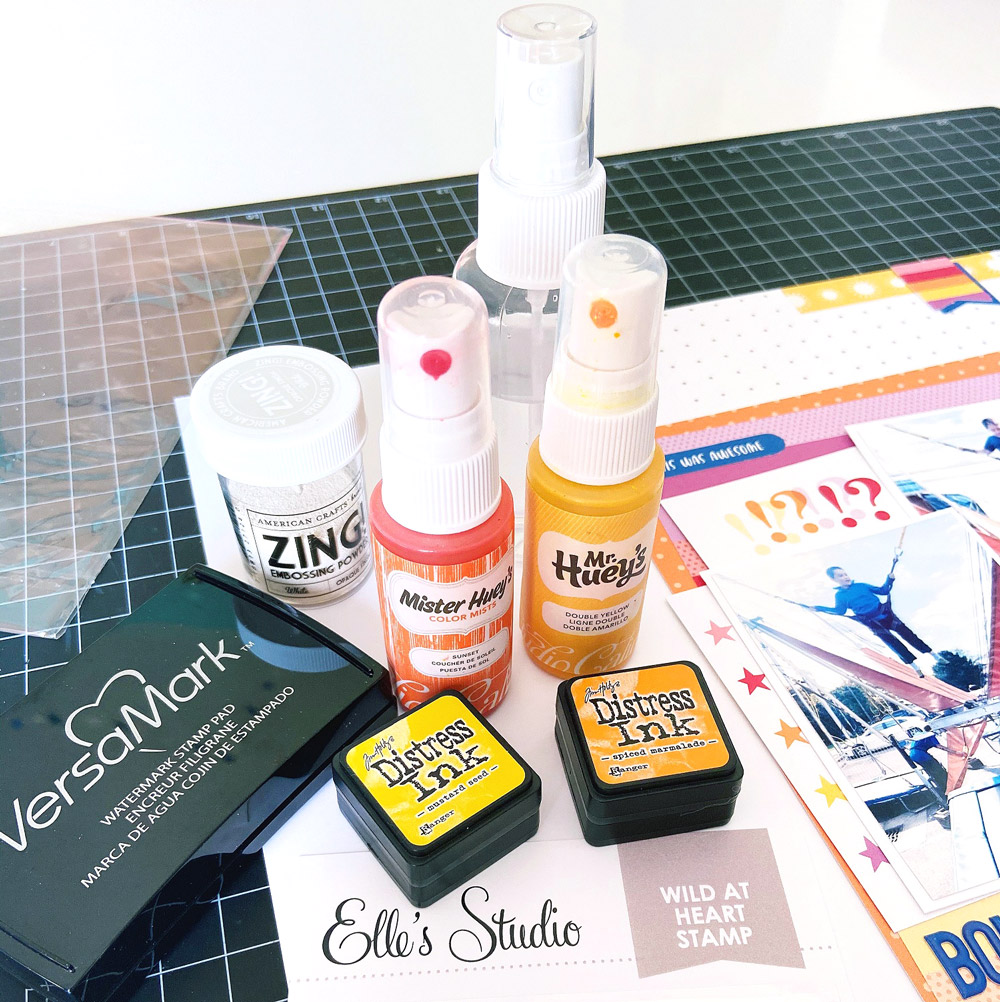
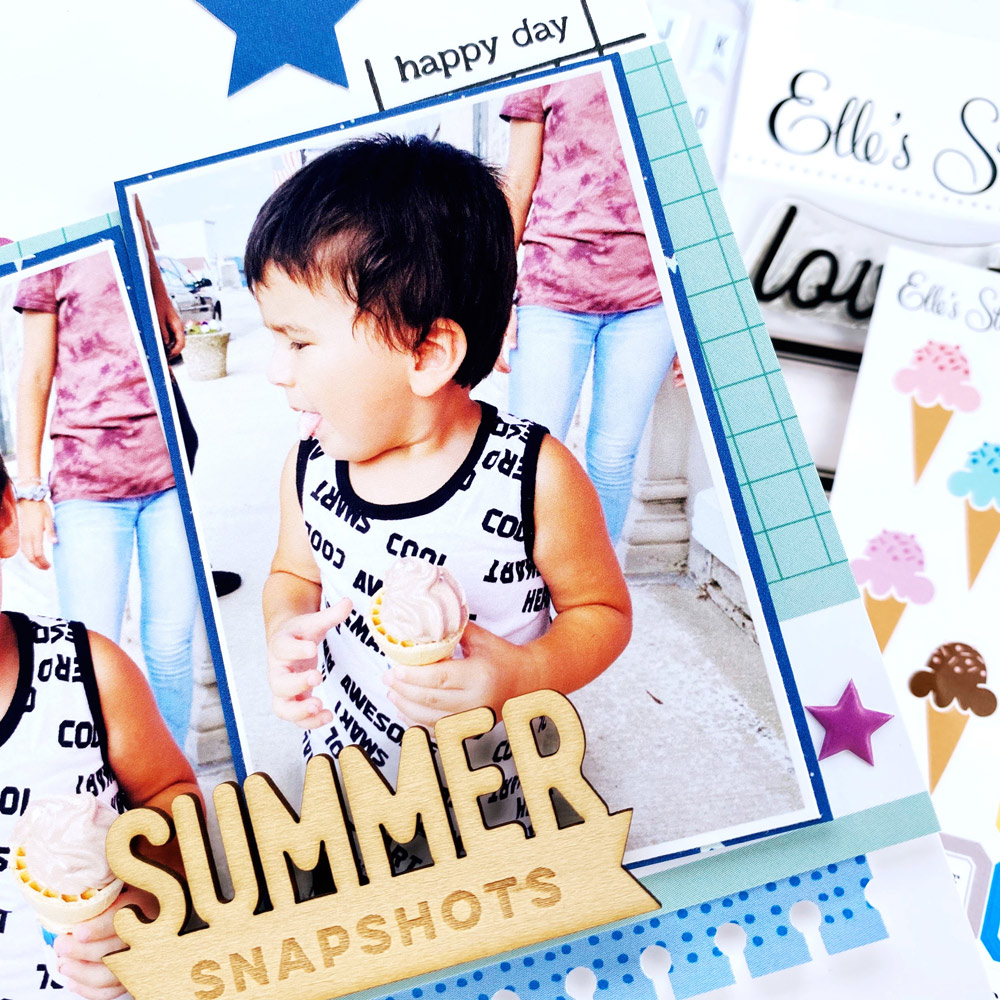
Supplies | July 2020 Kit, June 2020 Kit, Currently Icon Journaling Tags, Summer Tape StickersSummer Chipboard Stickers, Chipboard Star Stickers, Wild at Heart Stamp, Currently Icon Stamp

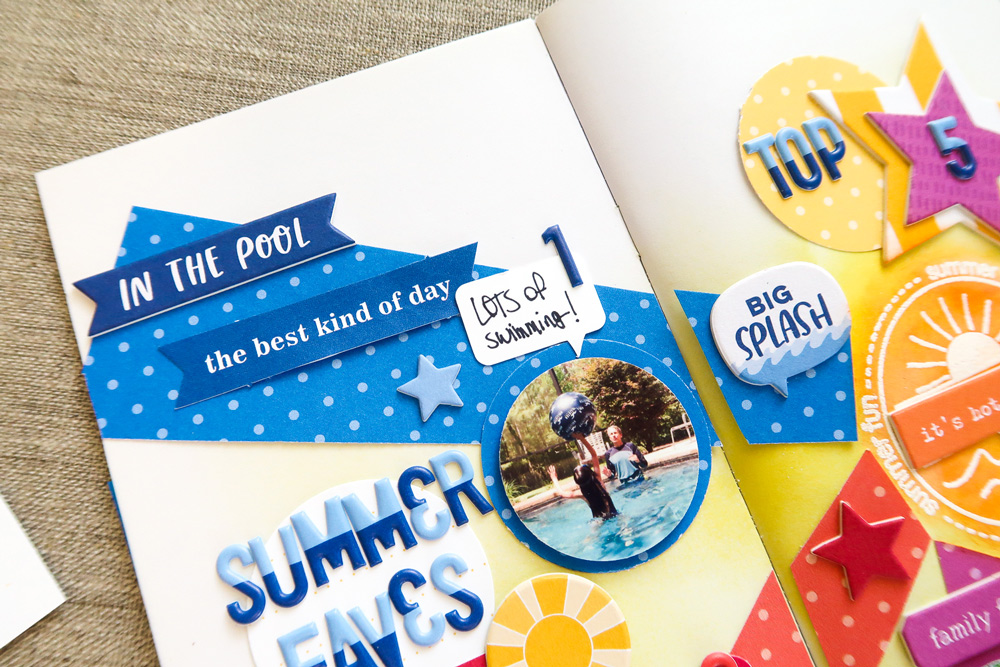
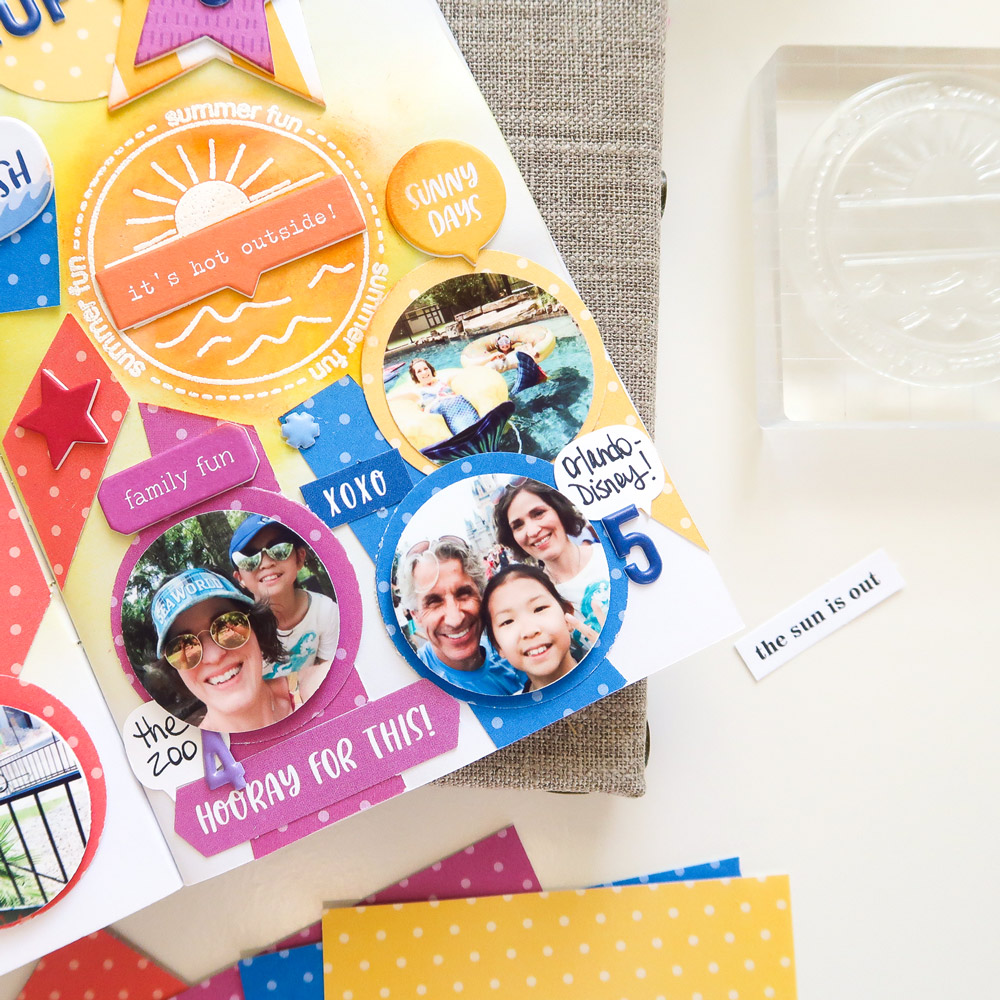
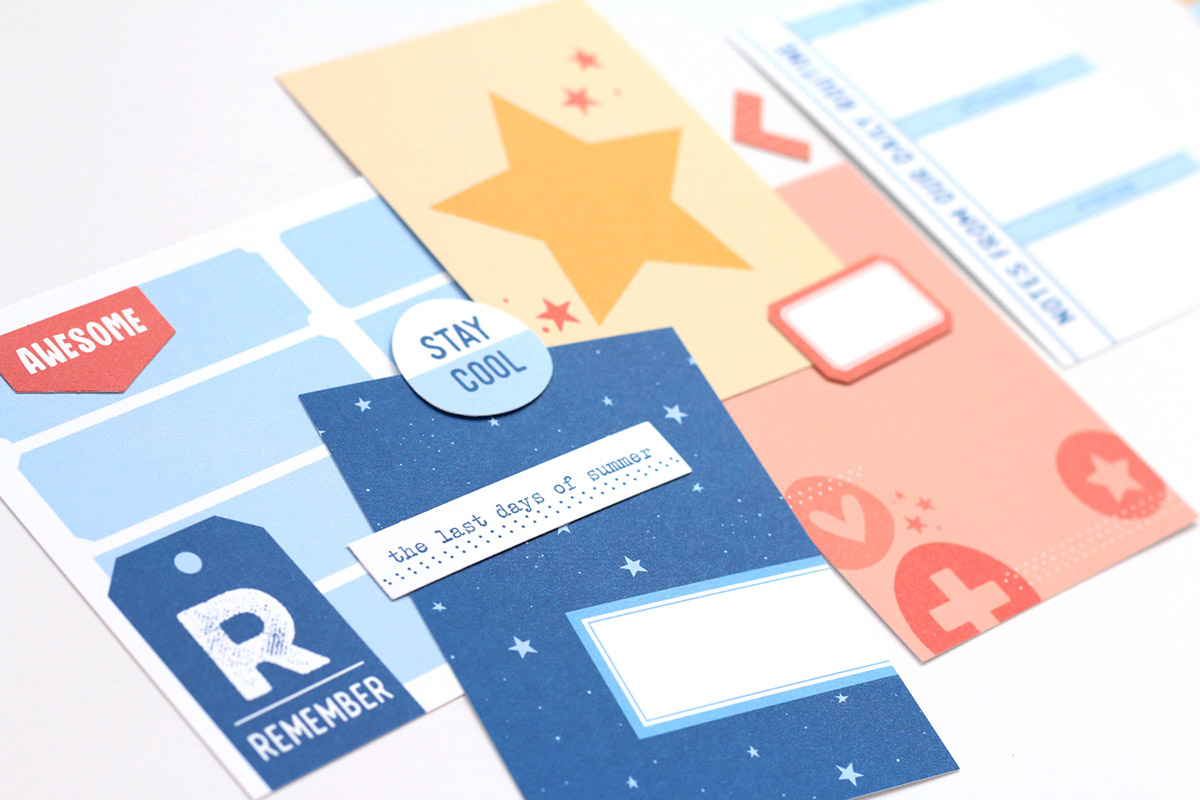
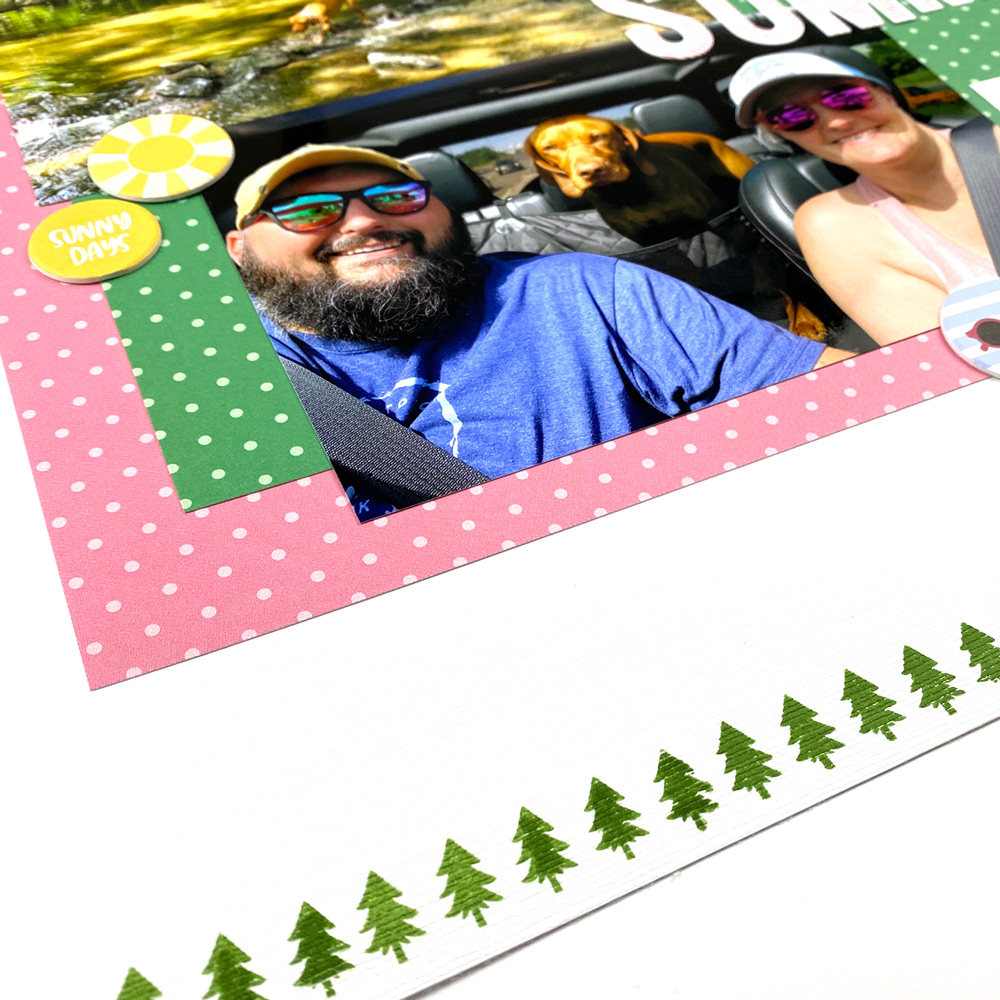
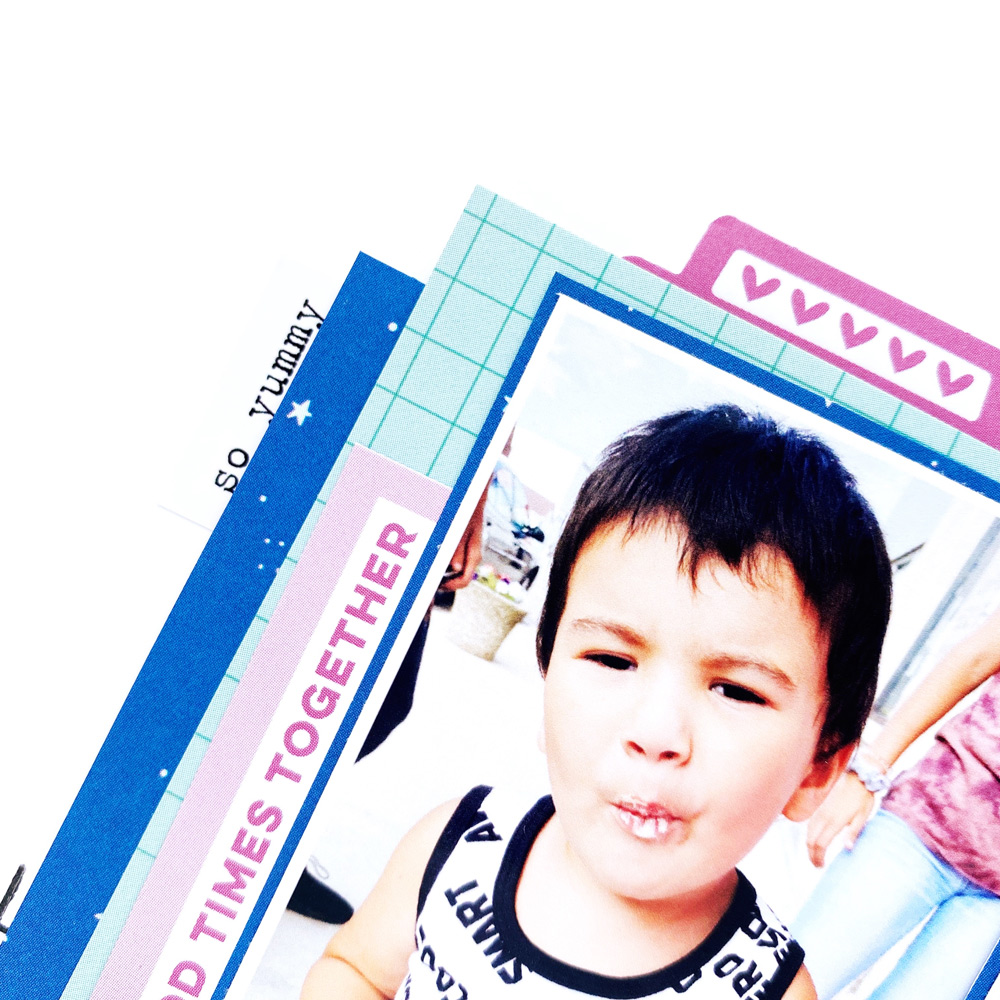
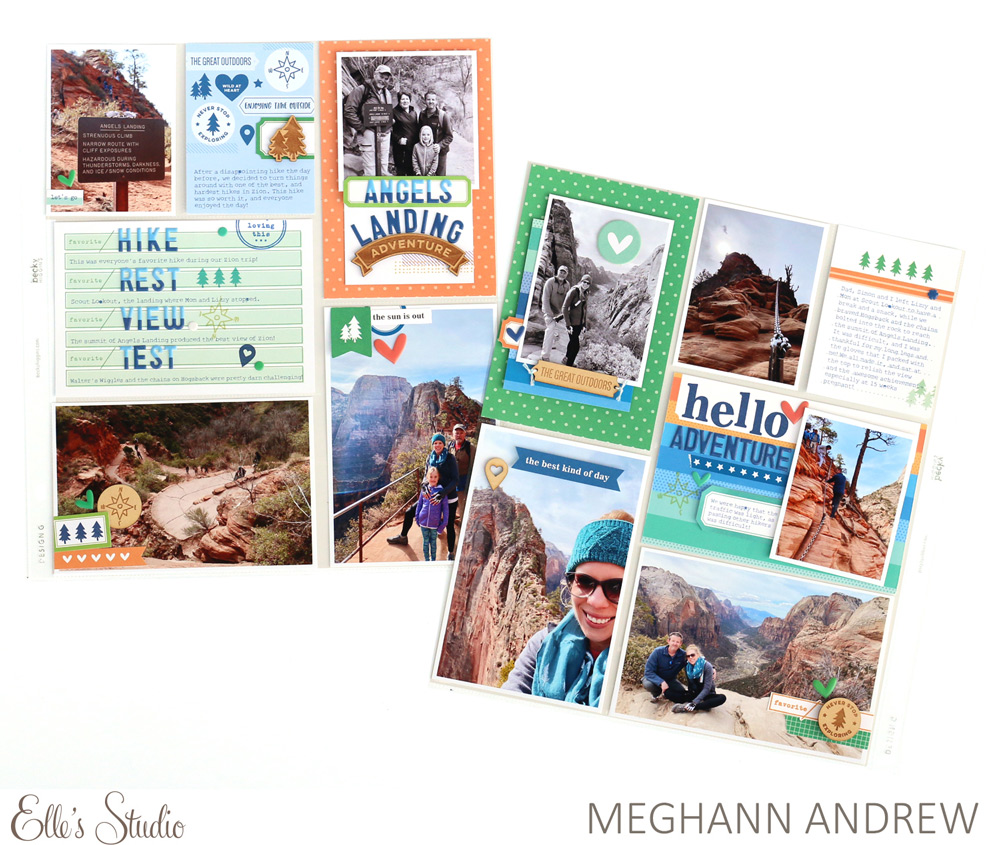
The bright and cheery tags and embellishments in both the June and July 2020 Kits are perfect for documenting summer photos. When I start a pocket page I usually start with my photos and then pick out my journaling tags that best match my photos, but with these kits, they all worked so well with all of my photos that it didn’t take me any time at all to decide which ones to use!  

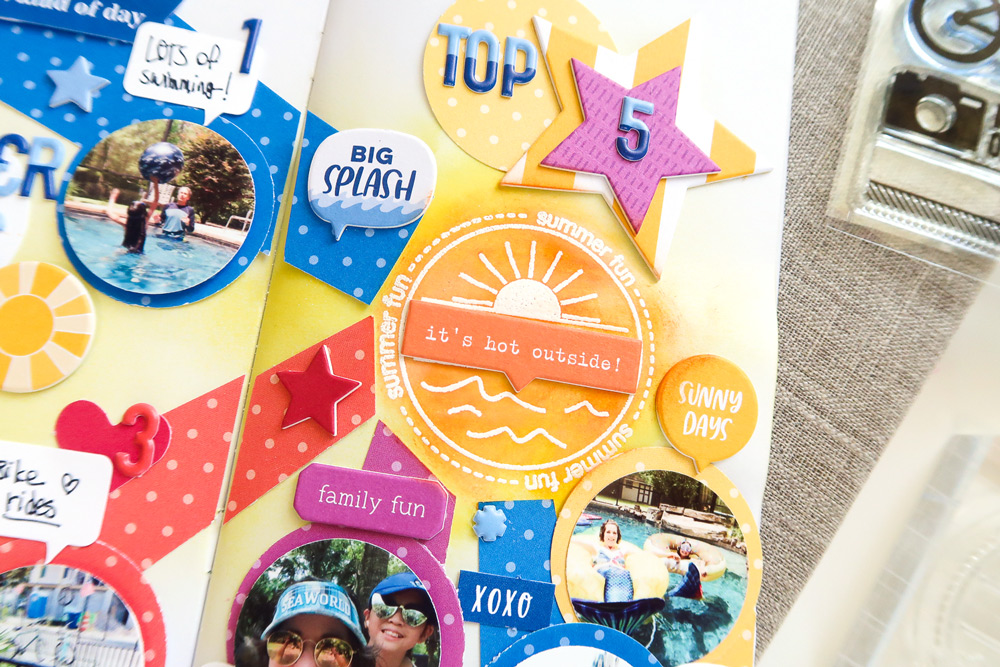
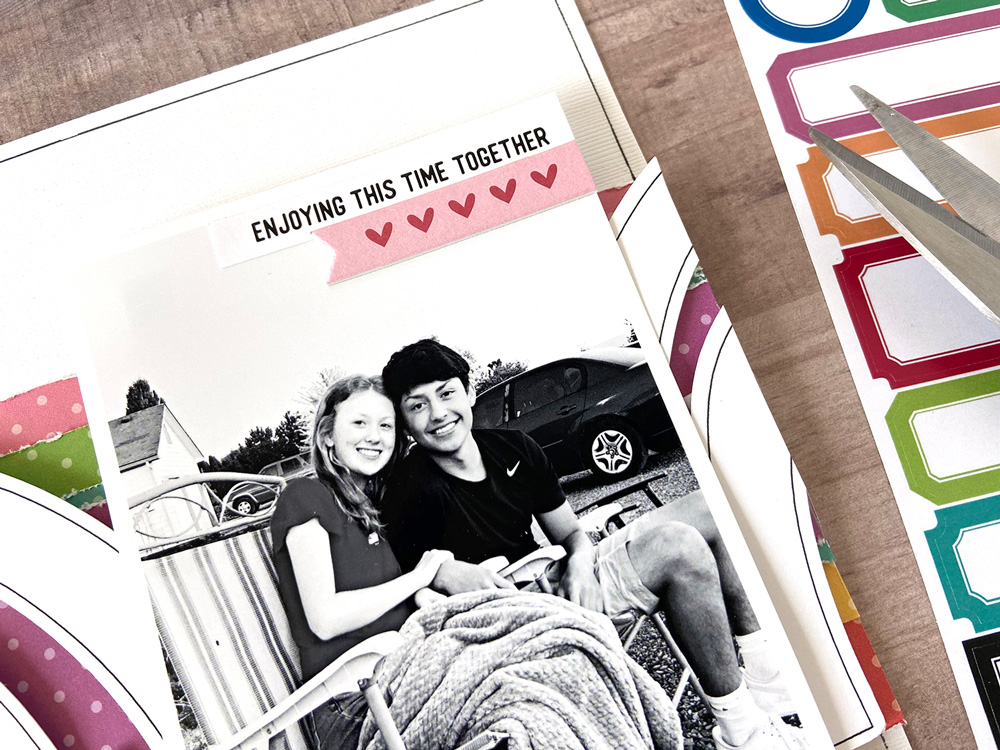
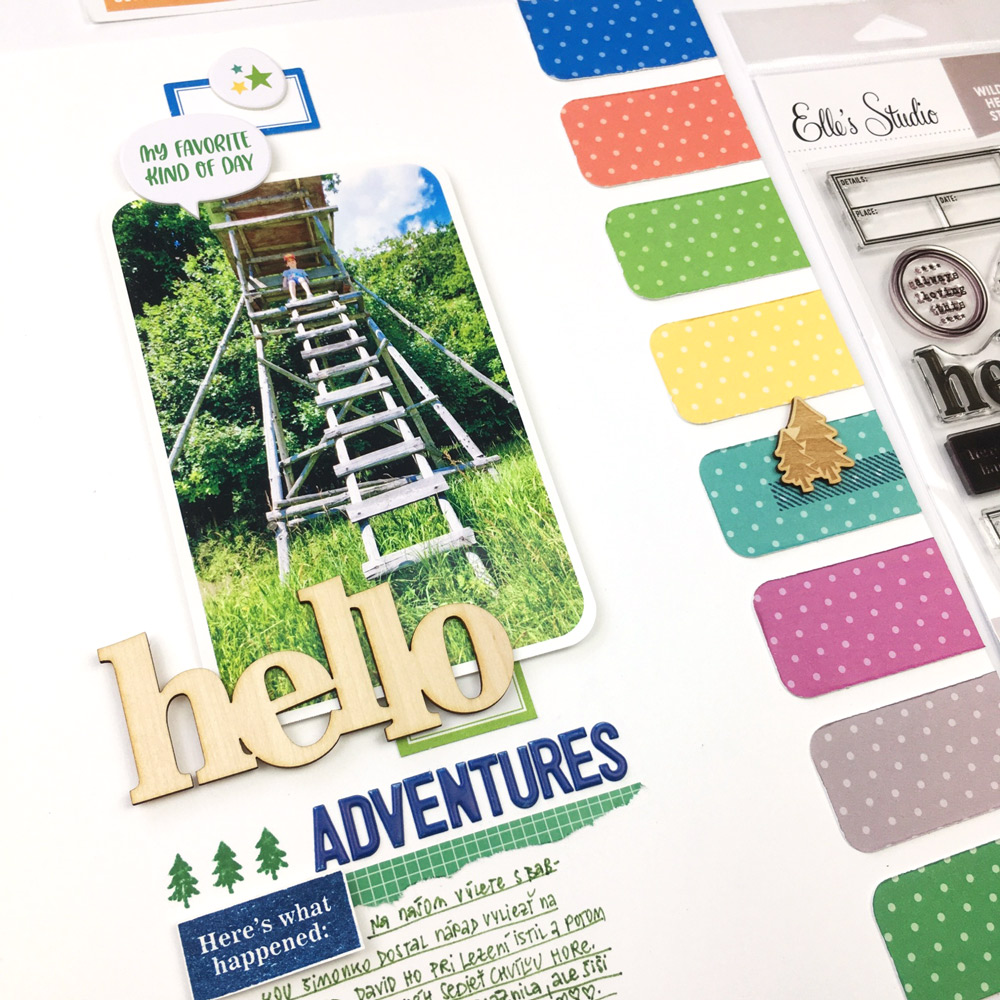
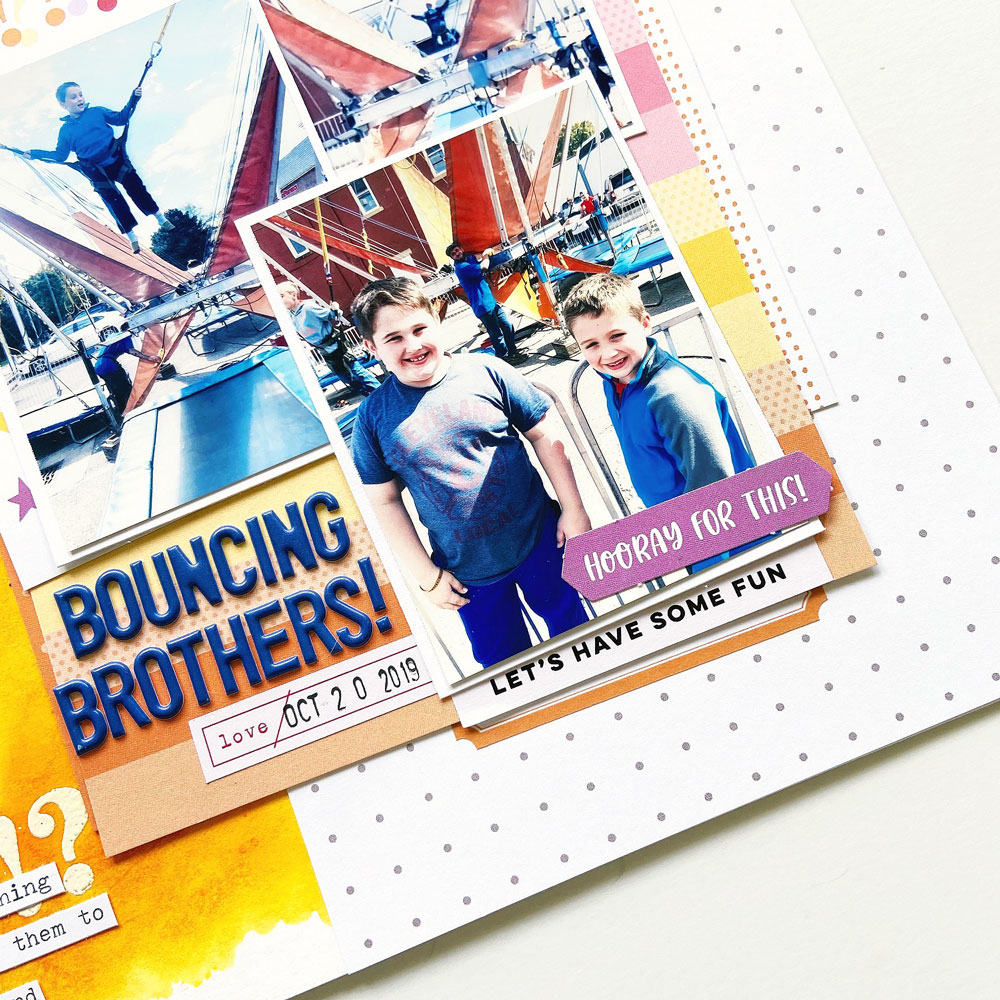
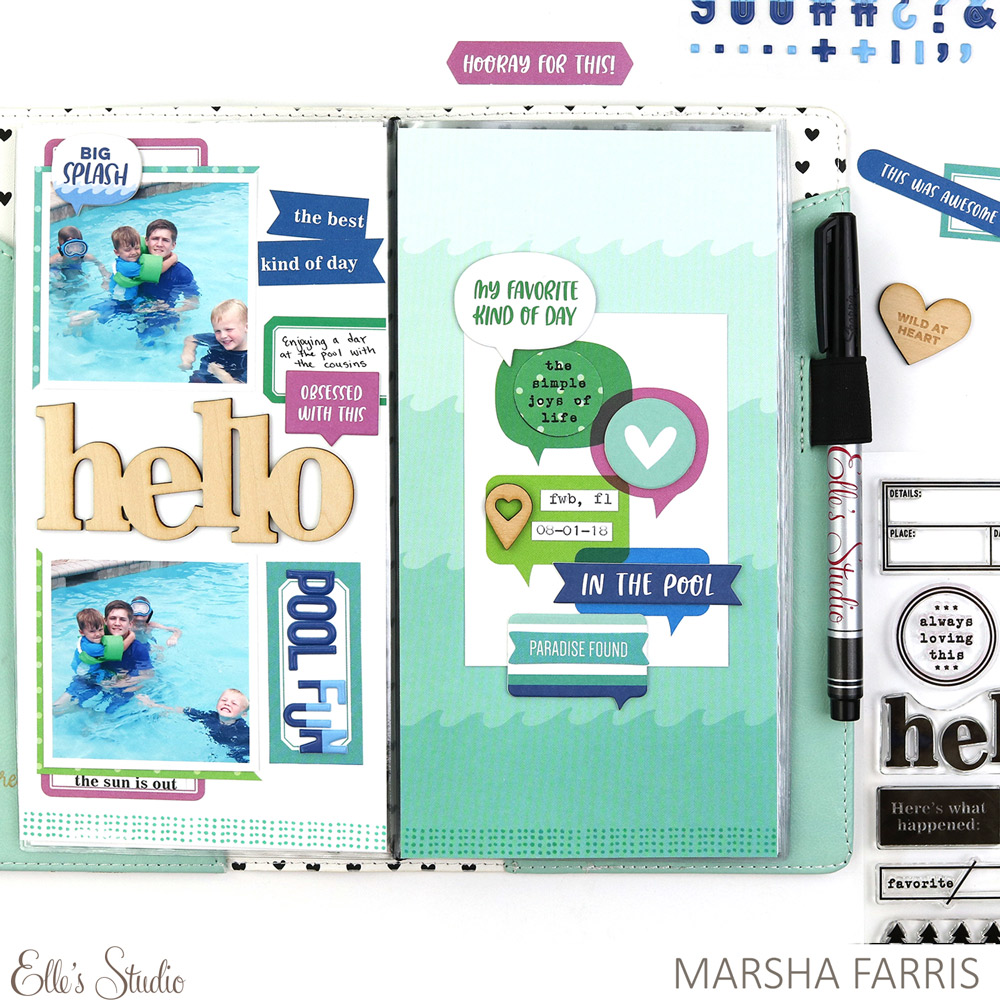
I knew which journaling tags I wanted to include on this spread and in order to use all of the ones I wanted, I added my journaling to one of my photos in Photoshop before printing it out. To finish off the photo I added the “big splash’ chipboard piece from the Summer Chipboard Stickers to it and the photo was ready to be put into the pocket. 

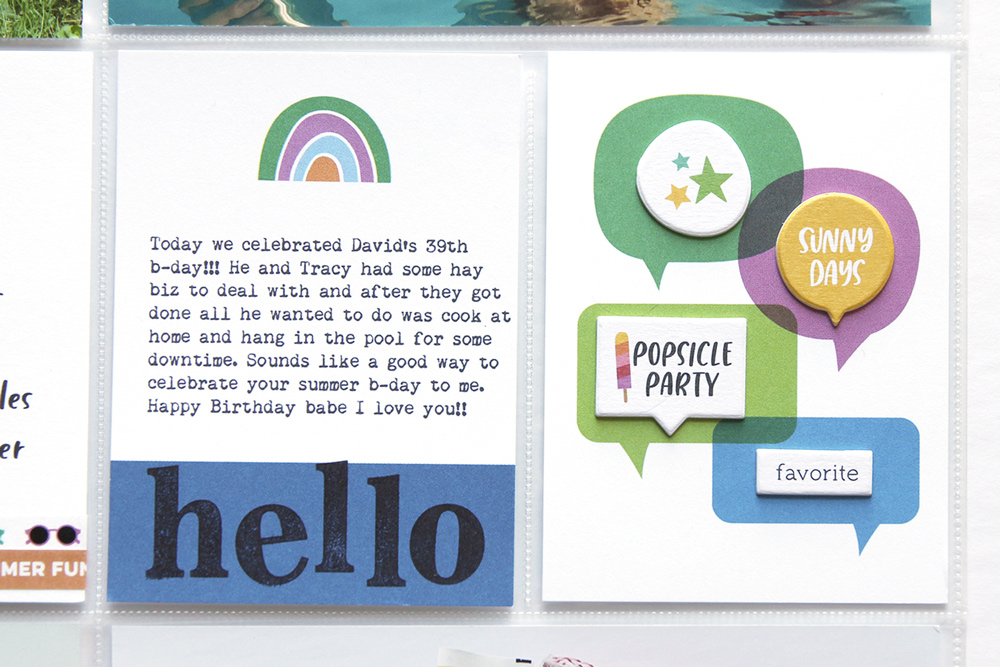
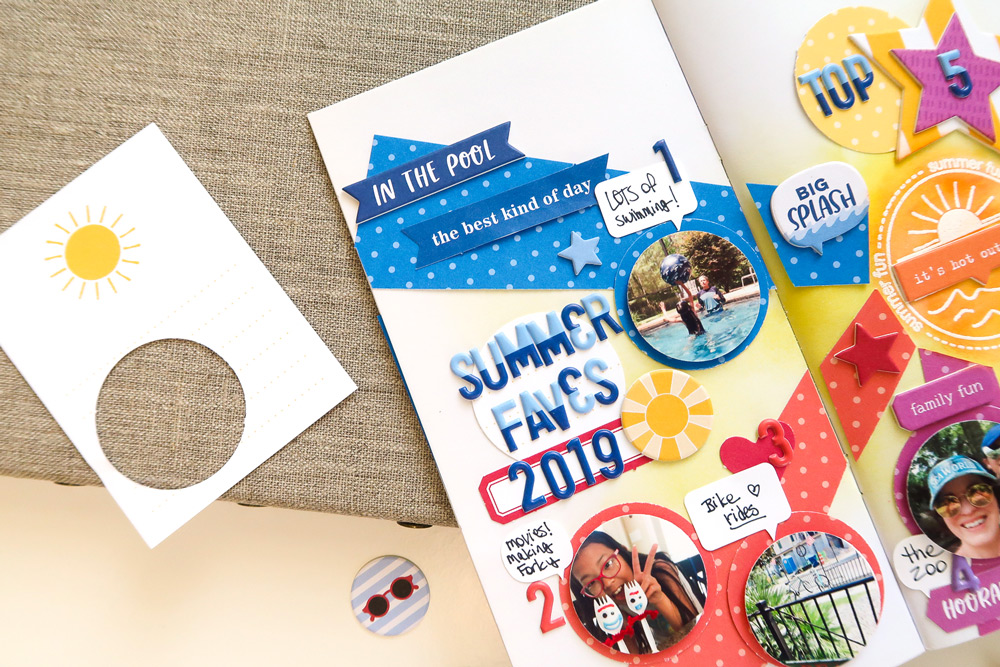
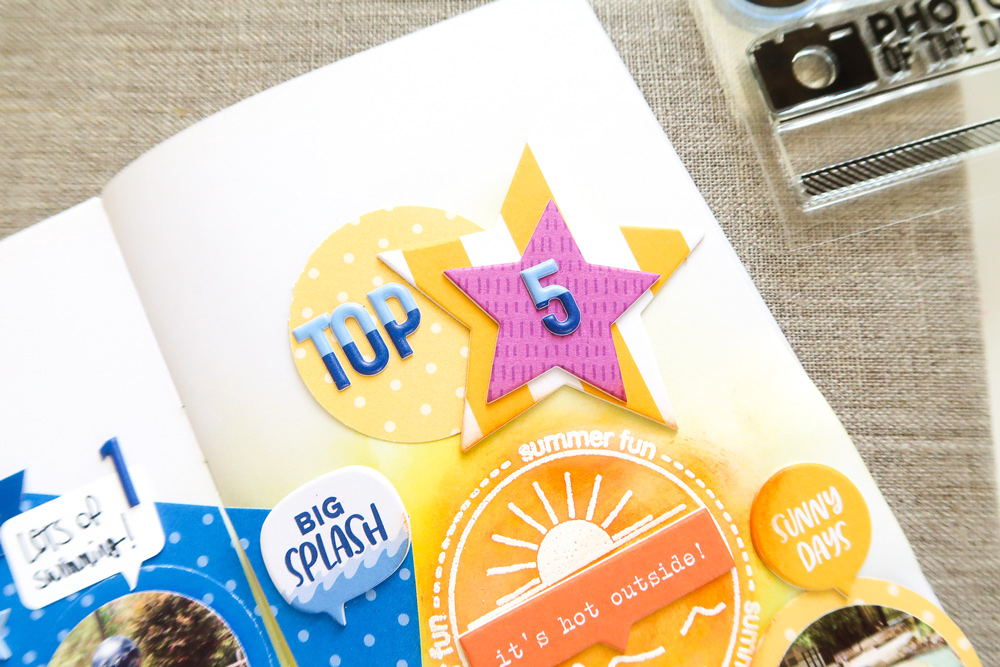
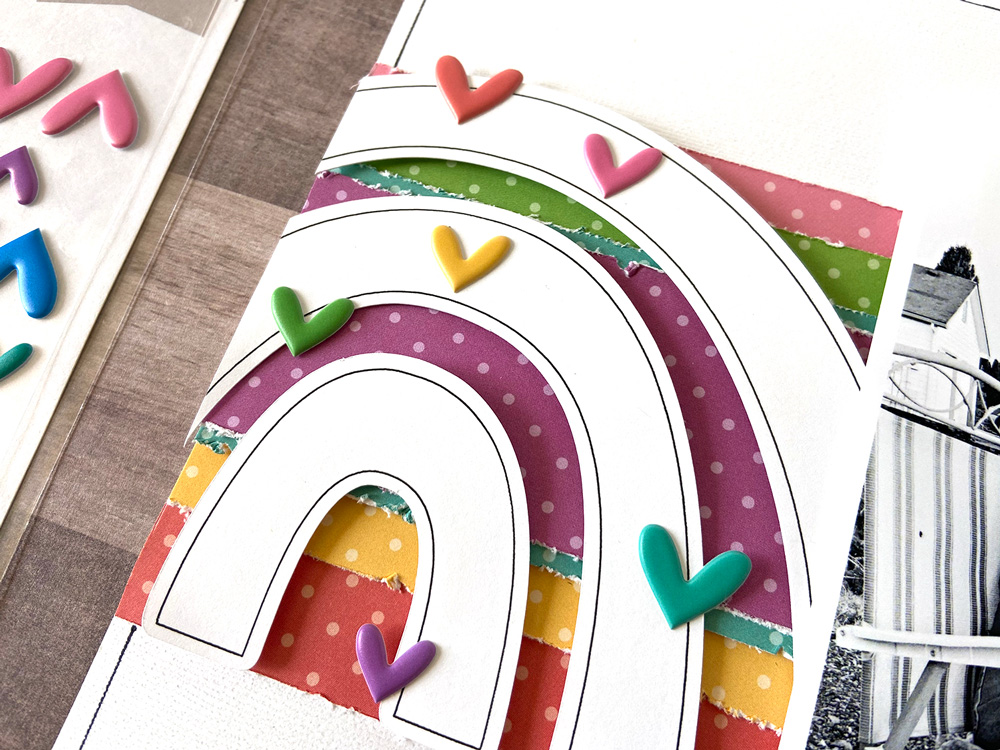
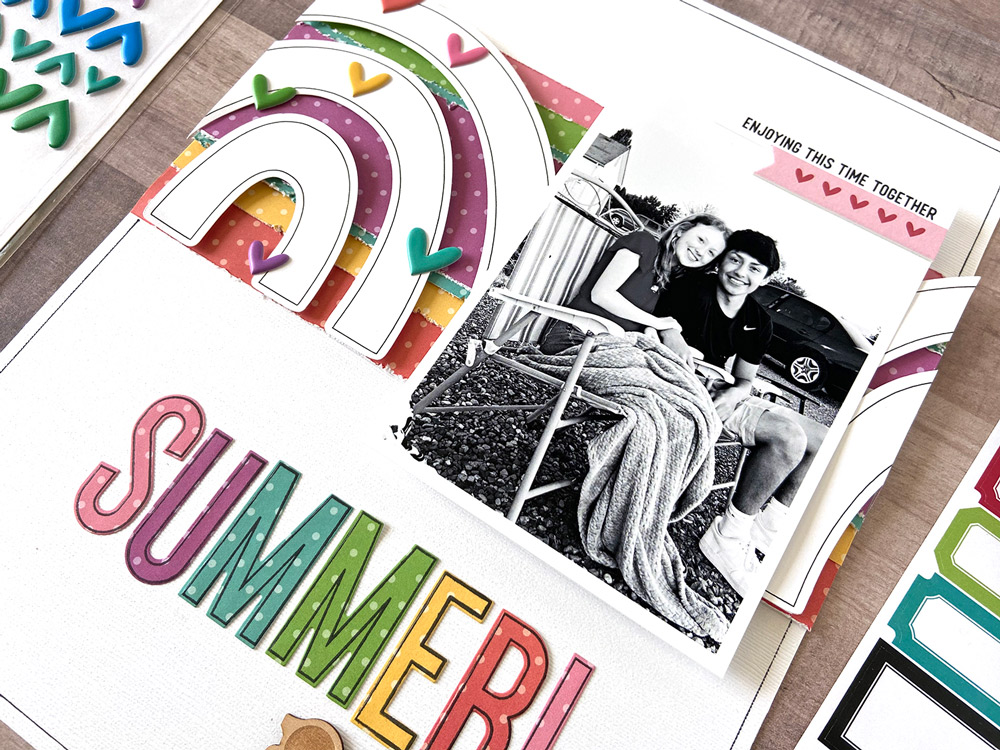
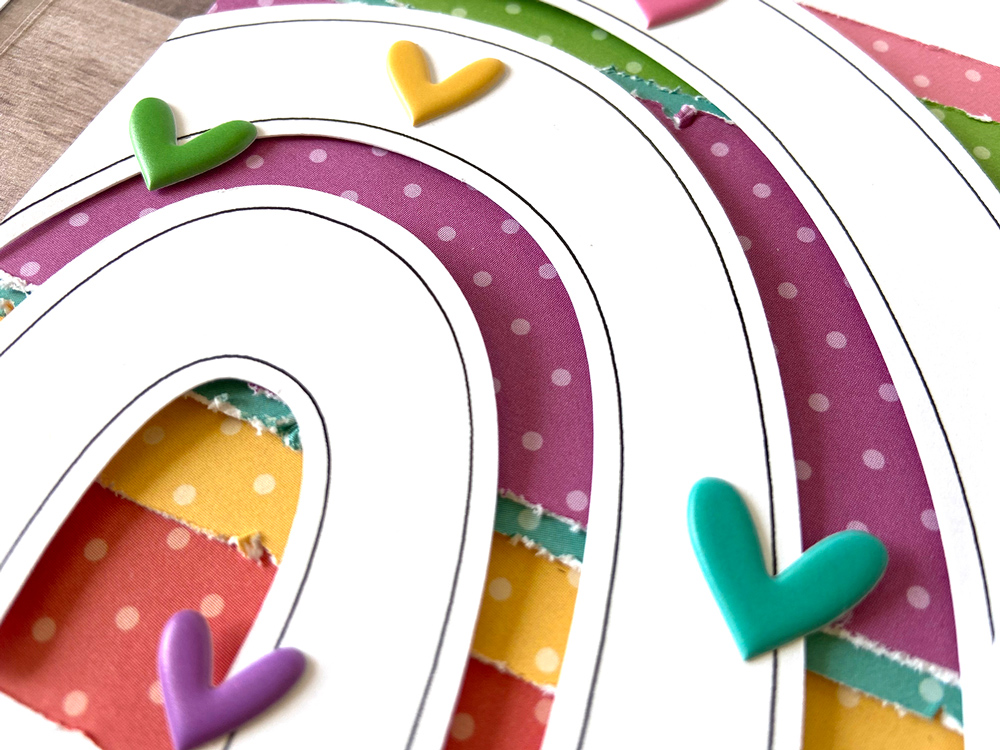
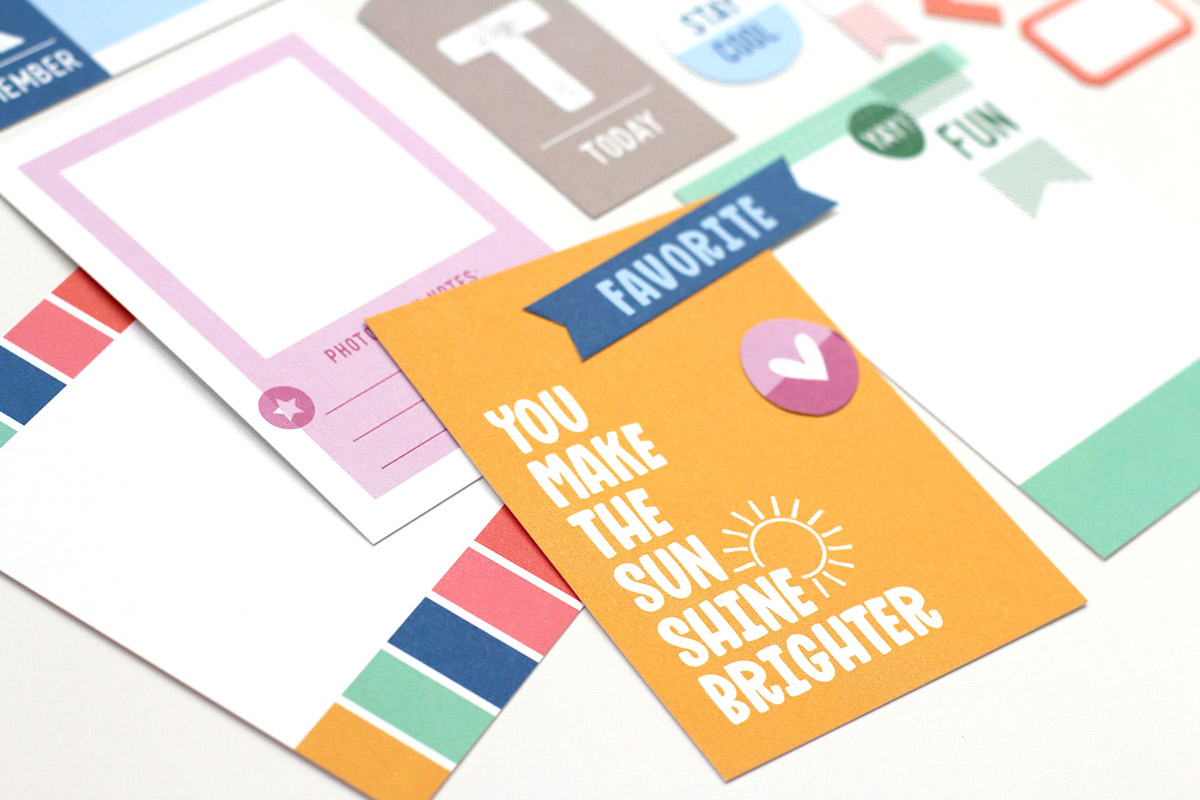
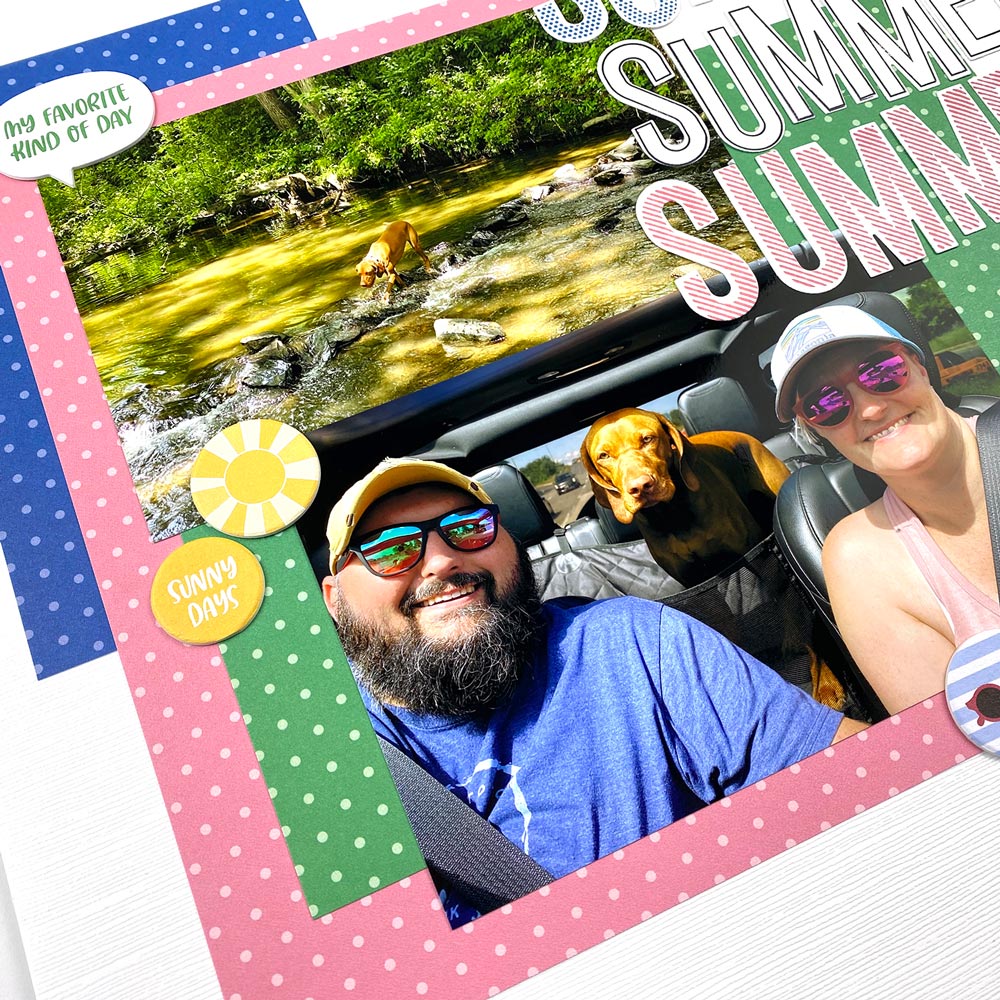
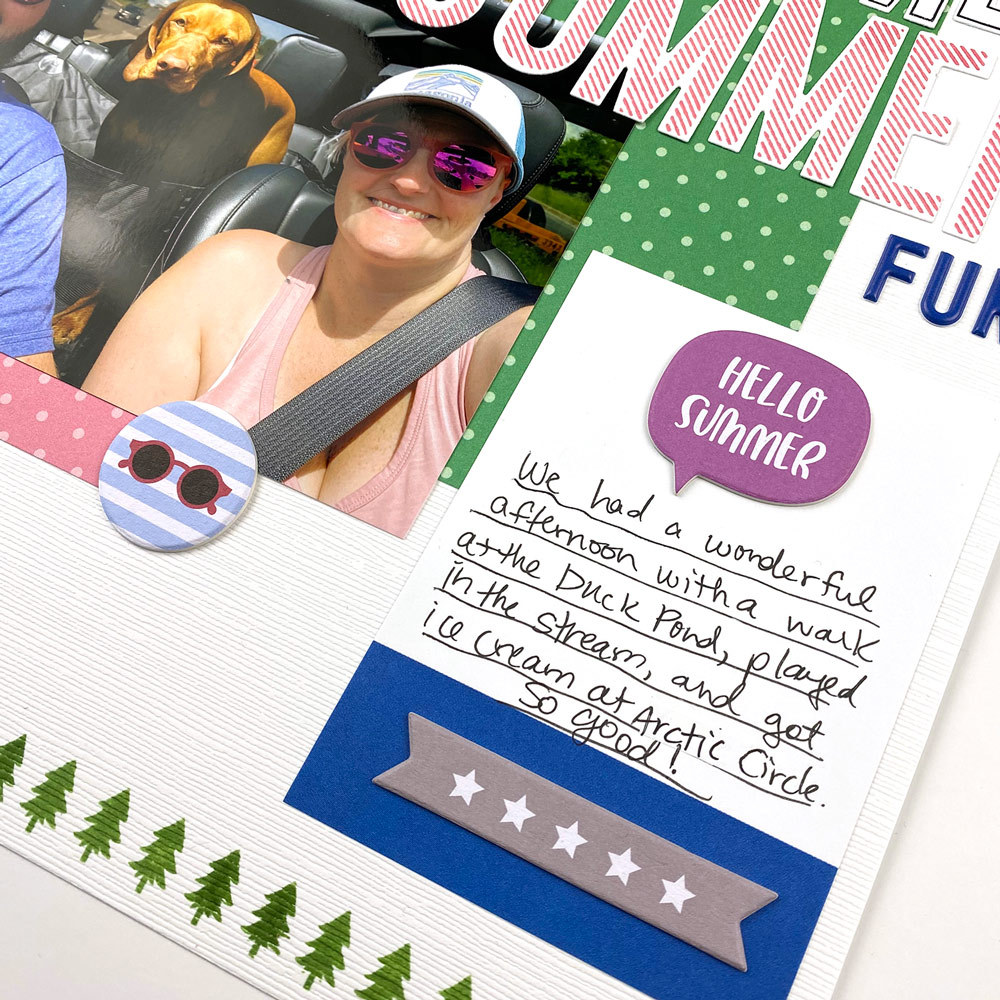
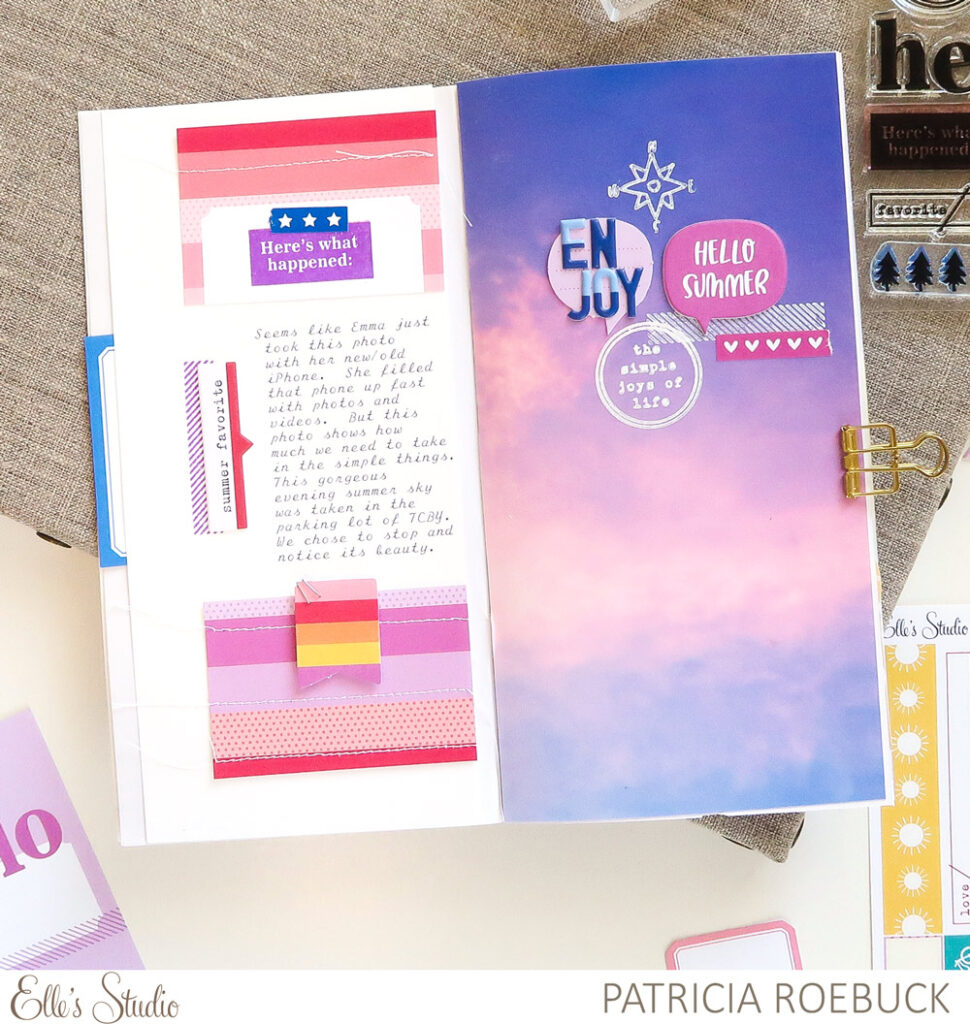
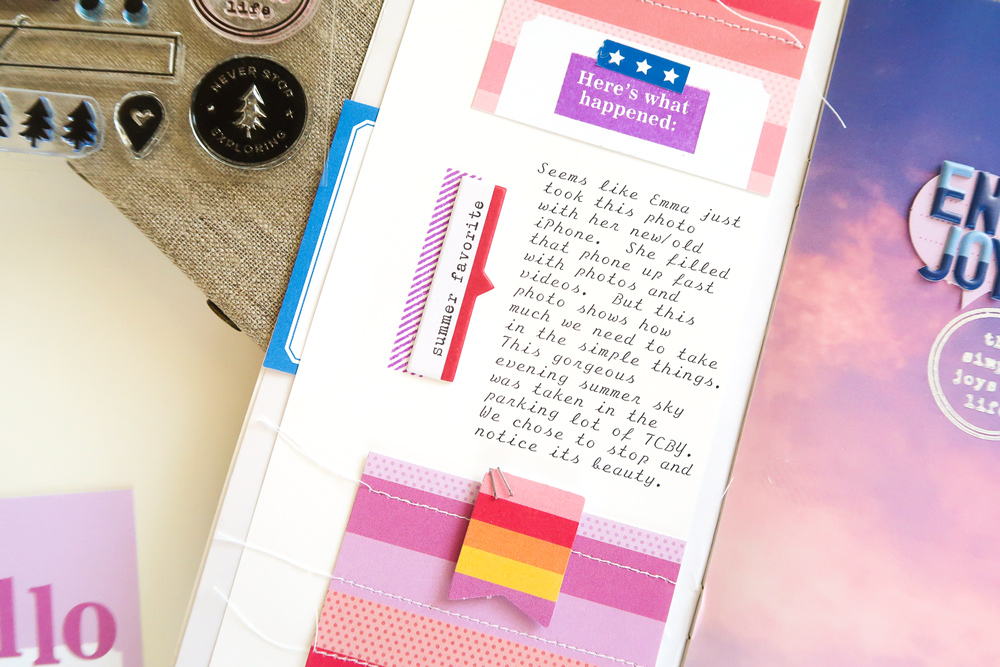
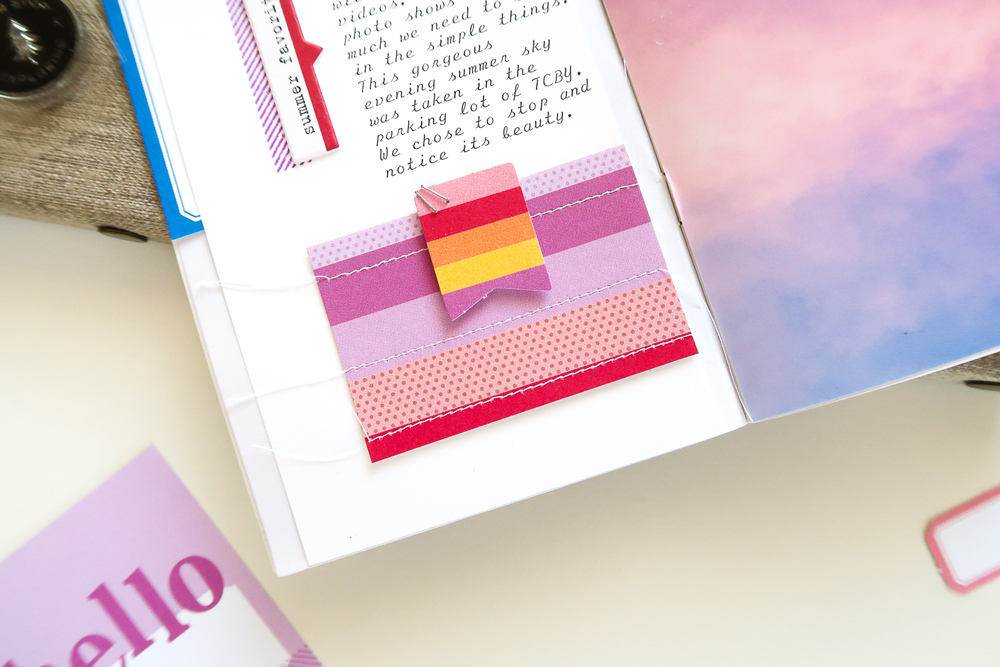
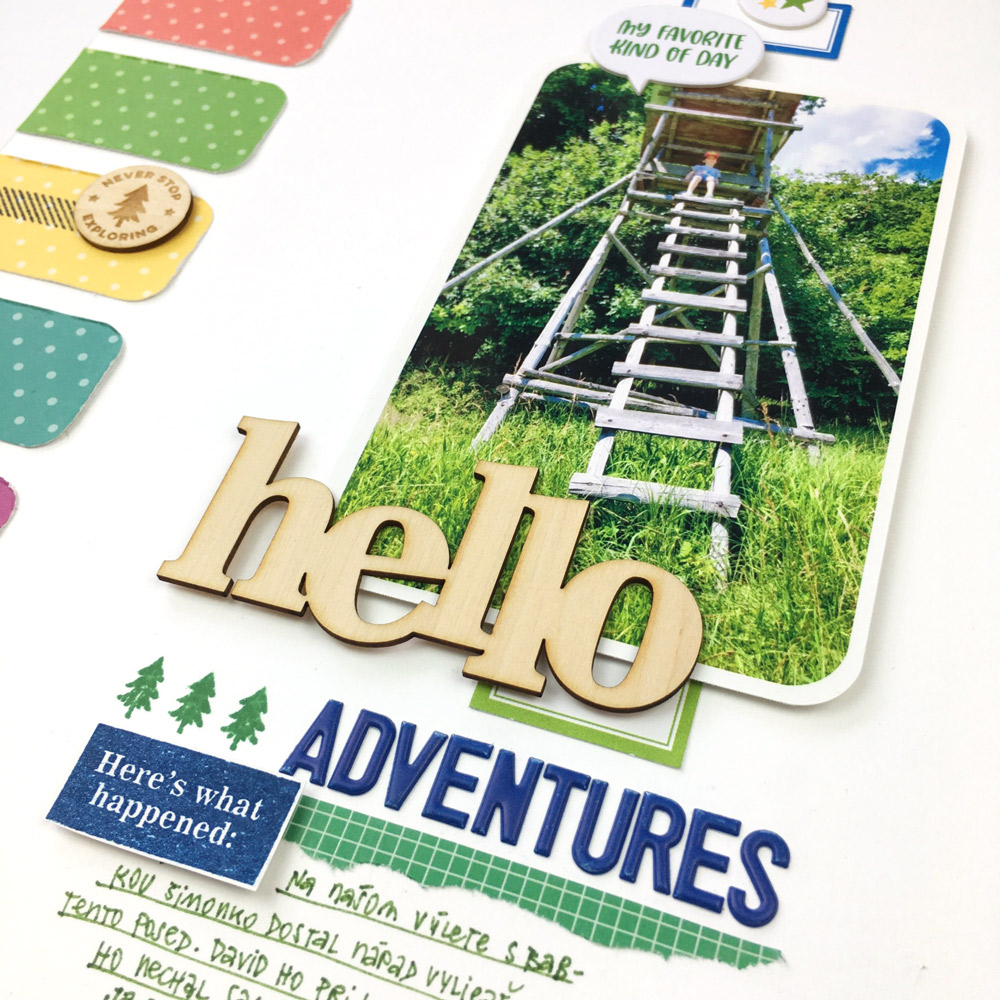
The rainbow journaling tag and speech bubble journaling tag from the July Kit were two of the main tags that I knew I wanted to include in this spread. On the rainbow tag, I created a blank canvas in Photoshop and measured the space for my journaling before printing the tag with my printer. I finished it off by stamping “hello” at the bottom using the Wild at Heart Stamp.  The speech bubble journaling tag is one of my favorites from the kit and it was just begging to be embellished with chipboard stickers from the Summer Chipboard Stickers and Chipboard Star Stickers. Of course journaling or even stamping on this card would work out great too!

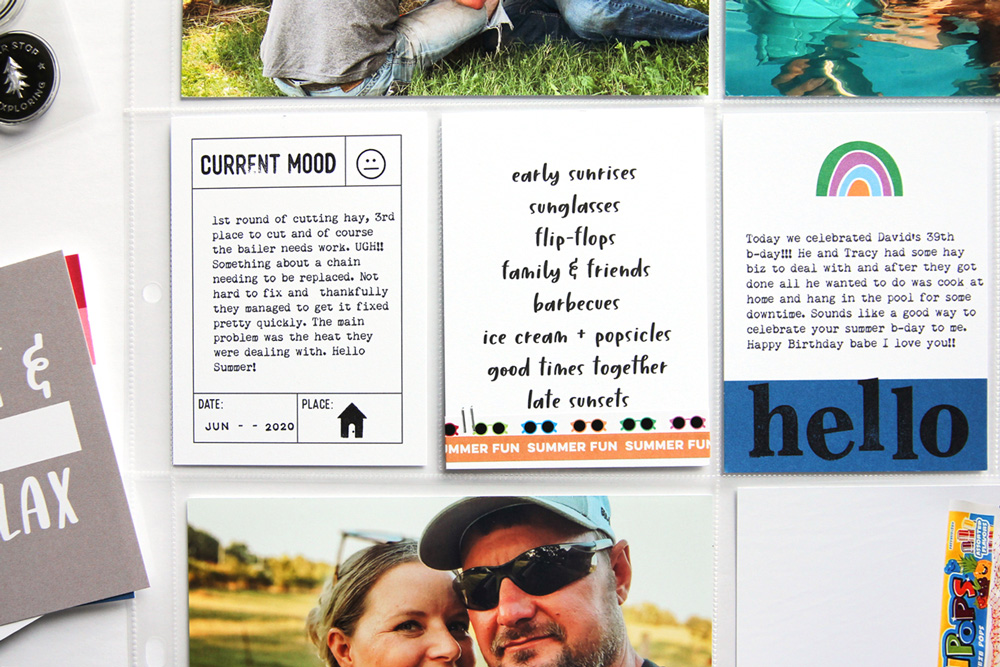
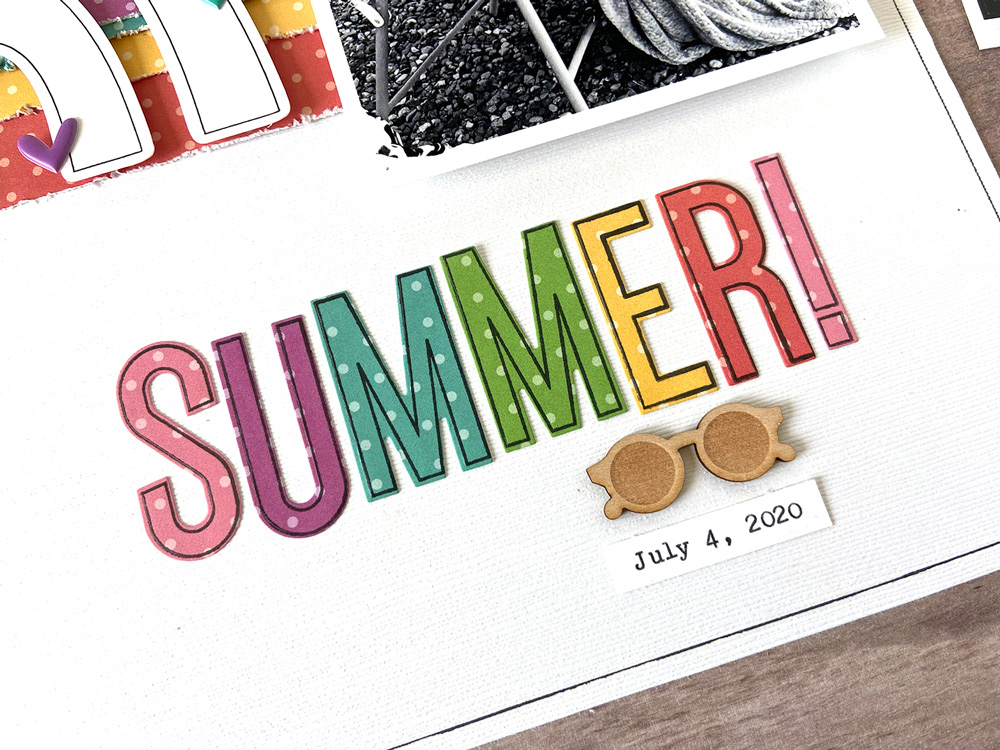
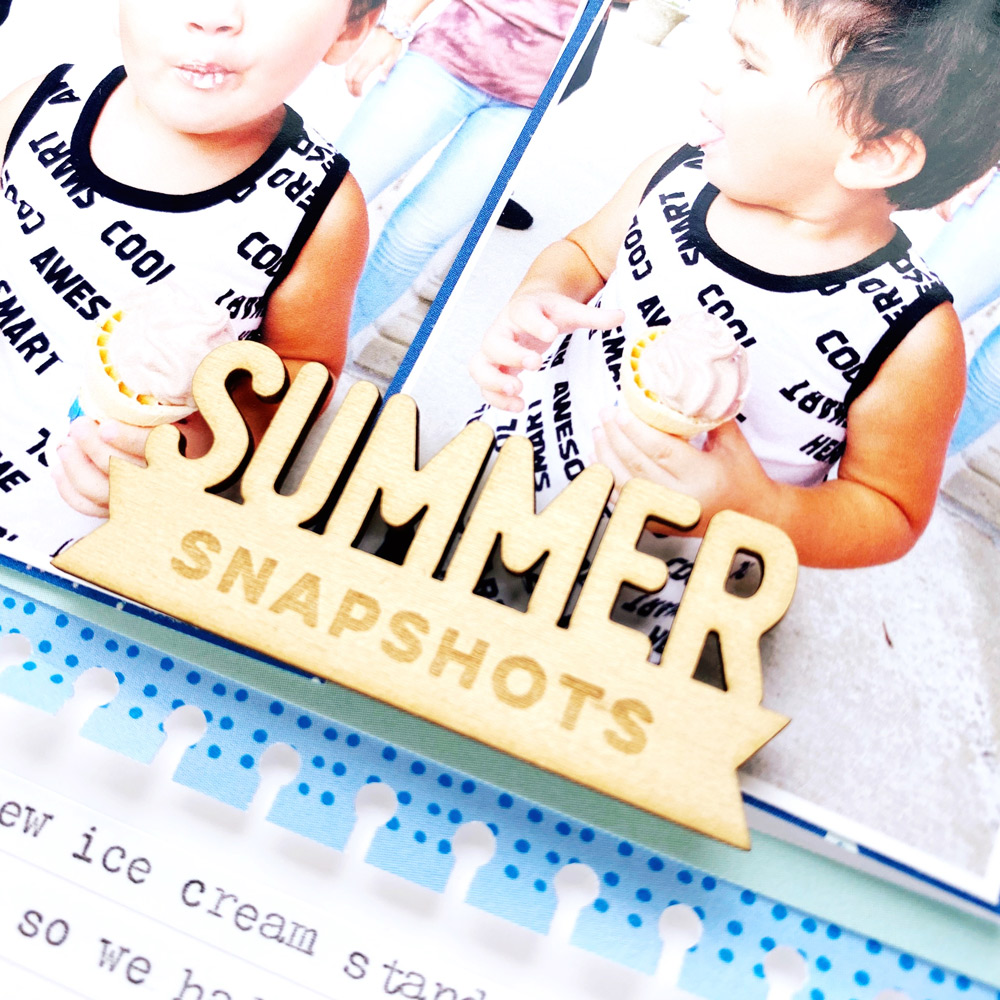
For my last two journaling tags I did basically the same thing. I added my journaling to the Currently Icon Journaling Tag by creating a canvas in Photoshop and printing the card with my printer, finishing it off with some stamping using the Currently Icon Stamp. On my last journaling tag, I added the sunglasses and “summer fun” stickers from the Summer Tape Stickers. More summer memories documented! I hope this has inspired you to use your June and July 2020 Kit and add-ons to help get your summer memories recorded, too!  

Show us your summery pockets created using our products! Share your projects on Instagram using the hashtag #EllesStudio, or in our Elle’s Studio Facebook Group!

Summer Memories Week: A Summer Favorites TN with Patricia Roebuck!

Today we are continuing our Summer Memories Week with a memory keeping format that is made for those who may have little time—a traveler’s notebook! This smaller-format spread is made for quick documenting, and can be just as gorgeous as any other layout or pocket page. Let’s take a look at how Patricia Roebuck created a visual “summer favorites” list using her TN, and our July 2020 monthly kit and add-ons.

Hi, Elle Studio friends! Summertime is a time to cool off, but don’t cool off from taking photos! It can be a little more challenging with the heat, swimming, and having all of the family together—but it does go so fast, so we have to remember to take those photos. Today I am sharing the fun and colorful way that I documented our family’s 2019 summer favorites in a traveler’s notebook using embossing powder, ink, and the Bright Polka Dot Paper Stack to start my project.

Supplies | July 2020 KitJuly 2020 Cut Files, July Labels, Summer Chipboard Stickers, Chipboard Star Stickers, Navy Puffy Alphabet Stickers, Navy Dipped Puffy Alphabet Stickers, Red Puffy Alphabet Stickers, Fuchsia Puffy Alphabet Stickers, Bright Polka Dot 6.5 x 8 Inch Paper Stack, Wild at Heart Stamp

I first stamped and heat embossed the circle image from the Wild at Heart Stamp in white in the center of the right side of my notebook. Then I used a blending brush with yellow and orange ink to blend over it, concentrating the orange over the stamping and blending yellow to extend out from it.

I trimmed pieces of the Bright Polka Dot Paper Stack in blue, red and purple at a diagonal to create rays and adhere across both pages of my notebook, trimming where needed. From there, I printed my photos in 1 1/2” circles using Photoshop Elements, trimmed and then matted each one with the Bright Polka Dot Paper Stack using a 1 3/4” circle punch to adhere along the rays, creating a tone-on-tone look.

Once the photos were in place, I punched a July Kit tag in a circle to mat my title with the Navy and Navy Dipped Puffy Alphabet Stickers.

I resized and cut the July 2020 Cut Files speech bubbles with white cardstock, and then used them to document each favorite from our summer. Next, I used the July Kit die cuts and Puffy Alphabet Stickers in Red and Fuchsia to coordinate with the Bright Polka Dot Paper Stack rays, continuing the tone-on-tone look.

To finish this colorful notebook spread, I layered the Chipboard Star Stickers with another punched Bright Polka Dot Paper Stack circle, and added a sub-title with the Navy Dipped Puffy Alphabet Stickers.

Stamping, embossing, and ink blending is not just for larger projects or cards—these techniques look perfect in a traveler’s notebook, too. Adding the extra splashes of color with the Bright Polka Dot Paper Stack, July Kit, and Summer Chipboard Stickers worked perfectly to document my family’s top 5 summer faves of 2019! I hope you give this idea a try!

Show us how you’re recording your summer favorites! Post a project in our Elle’s Studio Facebook Group, or share on Instagram using the hashtag #EllesStudio! We can’t wait to see what you create!

Summer Memories Week: Use Digitals with Jen McMurtrey

The end of summer is getting close, and we wanted to take this week to remind you to get those summer memories, no matter how different they may be from years past, recorded in your albums or notebooks! Every day this week, we’ll be sharing summer projects from our talented design team: using digitals and your scraps, in traveler’s notebooks, pocket pages, and mini albums! It’s all tailored to inspire you to make some time to create this week—so have fun and record those summer moments! First up, let’s see what Jennifer McMurtrey has to share with us today!

Hello friends! We are coming up on the end of summer and I have been busy documenting our memories using bits and pieces from the June and July kits and their add-ons. 

I know I’ve said it before, but I love the fact that each Elle’s Studio kit can be used individually or combined with others without worry of colors clashing. With that in mind, I’ve pulled together what I have left of the June and July kits to create this fun layout:

Supplies | February 2020 Cut Files, Summer Stickers, Summer Chipboard Stickers, Puffy Heart Stickers, Summer Wood Veneers, Bright Polka Dot 6.5 x 8 Inch Paper Stack, Large Jane Alphabet Stamp – Outline, Large Jane Number Stamp – Solid and Outline, Large Jane Alphabet Metal Die, Large Jane Number Metal Die

For this project, I wanted to keep the overall design somewhat simple. I began by using the Bright Polka Dot Paper Stack to create a layered rainbow-effect on which to place my photo. Next, I used the sketch and cut feature on my Silhouette with the rainbow found in the February 2020 Cut Files. Using a black and white photo is what prompted me to keep the rainbow free of color – the effect against the patterned papers is really striking!

After adhering the photo with foam squares, I added a sentiment from the Summer Stickers along with a Summer Chipboard Sticker.

When creating the title, I used the same Bright Polka Dot Paper Stack patterns with the outline Large Jane Alphabet Stamp with the accompanying Metal Die

To give the project one final pop of color, I added Puffy Heart Stickers on top of the rainbow and hand-doodled a border around the page.

Again, I deliberately kept this project simple. Sometimes, I feel that I have to add so much of this or so much of that, when, in reality, less is often times more! So, get those Elle’s Studio kits out and see what magic you can create by combining elements!

Thank you so much for stopping by. Remember to use the #EllesStudio hashtag when posting your projects to social media so we are sure to see what you create. You never know—you just might be featured on the Elle’s Studio blog!

A sneak peek of our August 10th reveal!

Our August kit + coordinating add-ons reveal is almost here and we can’t wait to share with you all the new and exclusive products that will be available soon! Our reveal will be full of the perfect products to document your August stories and take you right into the month of September! This month, our August kit will include 3 – 4 x 6 inch tags, 18 – 3 x 4 inch tags, and 26 die cuts!

Not a subscriber? You can pre-order our August kit now and lock in our $9.99 kit price by starting a subscription today! You’ll want to choose our SUBSCRIBE & SAVE option to get signed up and start your subscription with our August kit. We will then hold your kit and you’ll be ready to bundle and save at our August 10th reveal! Details on how to bundle with your subscription order will be emailed to you once you have purchased this product.

Kit subscribers, don’t forget! Along with being able to bundle any products from our shop that will ship for FREE with your kit during our 24-hour bundling period, starting on the 10th at 8:00 am Pacific each month, our subscribers will also have access to special discounts on select items! These discounted items can be found in our SALE section during our 24-hour bundling period, and you must be logged into your kit subscriber account to see them. Quick note: Our kits and add-ons are available without a subscription each month, too.

We are so excited to share all of these new products with you and see how you use them on your projects! Make sure you set your alarm and mark your calendar for Monday, August 10th at 8:00 am Pacific! We hope to see you there!

Sketch Day with Steph Grimes: Summer, Summer, Summer Fun!

Hello friends! I hope you’re making the best of this socially distant summer and making some good memories along the way. Today I’m sharing a 12 x 12” layout following one of this month’s sketches. I’ve said it before and I’ll say it again: sketches make scrapbooking so easy! Here is the sketch I worked with:

And here’s my layout:


Supplies | July 2020 Kit, Summer Chipboard Stickers, Navy Puffy Alphabet Stickers, Bright Polka Dot 6.5 x 8 Inch Paper Stack, Wild at Heart Stamp, Large Jane Alphabet Stamps — Outline, Large Jane Alphabet Stamps — Polka Dot, Large Jane Alphabet Stamps — Stripes, Large Jane Alphabet Metal Die

This has been an atypical summer, but I’m more interested in making memories than sitting at my desk and documenting them, so this sketch was perfect to get a story of a fun afternoon at the pond documented quickly. When I’m working from a sketch, I like to work from the background up, building layers and making decisions as I go. For this one, I decided to use papers from the Bright Polka Dot Paper Stack to create a few layers behind my photos rather than just use one sheet of paper like in the sketch.

From the sketch, I liked the way the title was spread out over multiple lines and I decided to use repetition in my title. This sketch could also work well with a title that was a quote or longer statement. I used the Large Jane Alphabet Stamps in Outline, Polka Dot, and Stripes to stamp the word “summer” three times and then used the Large Jane Alphabet Metal Die to die-cut the letters and add them to my layout. These stamps are seriously my all-time favorite and they worked really well for making a big, bold statement on this layout, which I feel the sketch called for. I finished off the title by spelling out “fun” with the Navy Puffy Alphabet Stickers.

Instead of adding a strip of paper to the bottom of the page, which is what the sketch included, I decided to do a little more stamping! I used the repeated evergreen trees stamp from the Wild at Heart Stamp to create a cute tree border along the bottom of the page.

For my journaling, I decided to add more color by using one of the journaling tags from the July 2020 Kit instead of just writing directly on the page. I used the 3″ x 4” journaling tag with the blue bottom border and the rainbow at the top. The colors in the rainbow didn’t go with my page very well so I decided to cover them up with one of the chipboard pieces from the Summer Chipboard Stickers. I decided to use more of the chipboard to embellish the page and add some more dimension and texture.

I love using the sketches each month to create fast pages where I don’t have to think too much about how to create! Have you been enjoying the sketches this year? Share your layouts using this sketch on Instagram using the #ellestudio hashtag or in the Elle’s Studio Facebook Group

Traveler’s Notebook Trends to Try with Patricia Roebuck

We love a good trend, and you can find them everywhere—as well as in paper crafting! Today, design team member Patricia Roebuck is sharing a few fun trends that she’s added to a gorgeous traveler’s notebook spread, and if you haven’t yet created in this format, her project might have you persuaded! Let’s take a look!

Hello, Elle Studio friends!  Today I want to share some ideas for creating in your traveler’s notebook using the July 2020 Kit and extras.  In scrapbooking there are always trends we see pop up and it is the same for documenting in traveler’s notebooks! In my example today, I am using a single large photo, adding stamping and embellishments onto the photo, and journaling with details to tell the story behind an ordinary moment. Whether you are new or experienced in documenting in a traveler’s notebook, I hope this gives you one or more ideas to try!   

Supplies | July 2020 Kit, July Labels, Summer Tape Stickers, Summer Chipboard Stickers, Navy Dipped Puffy Alphabet Stickers, Wild at Heart Stamp

I first decided on a photo that was both beautiful and has a story behind it with some solid colors so my stamping will stand out. I sized the photo in Lightroom to fit the traveler’s notebook, about 4 1/4” x 8 1/4”, then printed it on my Canon TS9020 printer. After I make any necessary trimming, I like to use double-sided tape, getting the tape at the edge so that the entire photo or page I adhere in the notebook stays flush.  

There have been lots of trends to stamp directly onto photos, but lately I have been seeing the trend of stamping in white ink, so I followed the trend and used a white pigment ink pad with the Wild at Heart Stamp. Pigment ink dries extremely slowly, but applying heat will make it permanent on most surfaces quickly.  Applying heat to a photo can damage the photo, so to prevent this from happening, I made sure my heat gun was very hot before applying it to my inked photo by testing it on my hand.  Once hot enough, I just quickly move side to side across the inked areas for about 30 seconds to set the ink. With the ink set, I added a strip of Summer Tape Stickers a Summer Chipboard Sticker, a die-cut from the July Kit, and the Navy Dipped Puffy Alphabet Stickers.

The left side is where added my journaling. I first started this page by picking out a July Kit tag with colors and horizontal lines that would complement as well as add direction and movement to the photo. Working off the page size of a traveler’s notebook gives you the ability to add typed journaling, stitching and stamping. For this example, I use a separate piece of white cardstock, trimmed a little smaller than my notebook. I trimmed the July tag in half, placed it at the top and bottom of the white cardstock and used it as a guide to add pencil marks of where I can fit my typed journaling in between the pieces before adhering.

Just like the photo and the simplicity of the stamping and embellishments, I wanted to do the same for the journaling, but still bring attention to it. With the trimmed July tag, I stamped ‘here’s what happened” from the Wild at Heart Stamp to the top, and added white machine stitching across both parts of the tag to emphasize the horizontal direction of the lines, while adding texture. I adhered these above and below to frame my journaling.

I adhered this page into my traveler’s notebook using double-sided tape to ensure the inside edge will remain flush when I close my notebook. To add more framing, color and layers, I used a July Label to tuck under the cardstock on the left, adding the diagonal-lined “washi tape” strip from the Wild at Heart Stamp to the left of the journaling and then layered a Summer Chipboard Sticker to point towards the journaling. For more texture and details, I add two staples to a July Kit die cut, then adhered it with foam adhesive to the bottom portion of the tag. The last detail I added was another Summer Tape Sticker to layer over the stamping on the top portion of the tag.

I love the large photo trend, while adding stamping and embellishments to it as well as the story behind a photo. It is a perfect way to document in a traveler’s notebook to capture those small, ordinary moments! Give this a try using white ink, along with your July 2020 Kit and extras to add the perfect touch to accent your photo and frame your journaling!

Show us how you are using your monthly kit products in your traveler’s notebook! Share in our Elle’s Studio Facebook Group, where you’ll find other Elle’s Studio fans sharing a space, or post on Instagram using the hashtag #EllesStudio!

Seeing Polka Dots with Katarina Prevendarova

Hi friends, it’s Katarina here and today I’m going to share a little inspiration using the July Kit and add-ons, including the colorful Bright Polka Dot 6.5 x 8 Inch Paper Stack. I love how all the products match perfectly with what I want to document these days.

Look at how gorgeous the colors in the Polka Dot Paper Stack are! Every time I have such a range of colors I want to use them all together. And for this layout I used almost all of them!

Supplies | July 2020 KitSummer Tape Stickers, Summer Chipboard Stickers, Navy Puffy Alphabet Stickers, Adventure Wood Veneers, Hello Wood Veneer, Bright Polka Dot 6.5 x 8 Inch Paper Stack, Wild at Heart Stamp

If you want to use a variety of papers; whether different patterns or colors, it is always a good idea to start with a grid or at least repeat a shape such as I did here on my layout. I cut two rectangles of each of the colors and used my corner rounder to round the corners of all the rectangles, arranging them vertically on both sides of my layout along the edges.

A couple of weeks ago we spent a week at my mom’s place, and for my son it was a week of adventures. This photo totally represents how much fun he had. I printed my photo in a 4’’x 6’’ format and rounded the corners of the photo, too. I’ve never done this before and love how it connects the elements on the layout perfectly. 

As the edges of the layout are so colorful, I decided to stick with just blues and greens in the center of the layout. I popped up my photo with adhesive foam and placed the Hello Wood Veneer partially overlaying it. Then I used the Navy Puffy Alphabet Stickers to complete my title. The trees from the Wild at Heart Stamp were a perfect addition. 

To make the title stand out a little more, I tore a piece of the green grid Summer Tape Sticker and placed it right between the title and my journaling. I used the Wild at Heart Stamp again to add the “here’s what happened” piece stamped with a navy ink on a piece of white cardstock, cut and popped up with foam dots. I used a couple of labels from the July 2020 Kit and Summer Chipboard Stickers to embellish my photo.

The Adventure Wood Veneers were so perfect, I had to use a couple of those as a finishing touch. To create a perfect spot for them on both edges of my layout I used the Wild at Heart Stamp and navy ink again. 

That’s it from me today! I hope I inspired you to create something really colorful using the Bright Polka Dot Paper Stack and all the amazing July products. Please don’t forget to share your creations with us in our Elle’s Studio Facebook Group or on Instagram using the hashtag #ellesstudio. Thanks for stopping by, friends!

Teach Me Tuesday Tutorial: Embossing Resist with Tracey Fox

Hi there! Tracey Fox here, and I’m excited to be on the blog today with a tutorial for an embossing resist technique to use your stamp sets and bring a little more detail to your projects!

I knew I wanted to create a layout using one of the sketches featured HERE on the blog last month, and after I had created the main components of the page and established the color scheme, I decided I wanted to punch up the page with some mixed media! 

Supplies |  July 2020 Kit, July Label Stickers, Navy Puffy Alphabet Stickers, Bright Polka Dot 6.5 x 8 Inch Paper Stack, Summer Fun 6 x 8.5 Inch Paper Stack, Wild at Heart Stamp

Other supplies you’ll need | Embossing ink, embossing powder, stamping ink, ink sprays

I loved the exclamation mark and question mark stamp in the new Wild at Heart Stamp, and decided to use it with heat embossing and a colorful “ink smooshing” technique to repeat that motif around the page. Here’s a tutorial on how I did it:   

First, I grabbed a piece of white cardstock and gathered my supplies: the stamp and a clear block, clear embossing ink, white embossing powder, embossing heat gun, water spray, stamping ink, clear plastic packaging, and ink sprays. 

I used the clear, sticky embossing ink to stamp the punctuation marks around the side of the background that I wasn’t covering up with paper, and I added white embossing powder to the areas where I stamped and poured off the excess. Then, I used a heat tool to melt the embossing powder in place. It’s always magical to watch embossing powder turn shiny as it sets on a project!

Next, I took yellow and orange stamping ink pads that matched the colors in my layout and pressed the ink pads onto a piece of clear plastic packaging. To get the ink a little more fluid so it would spread well on the layout, I spritzed the ink with some water before turning the inky plastic over and “smooshing” it onto the page. I pressed into the plastic with my fingers to help spread the ink out in all directions before repeating the process a few times to cover the whole area I wanted to get inky.  

Notice how the paper soaked up the ink, but the areas I had embossed resisted it? That’s the beauty of this technique! You can try this with all sorts of different stamps, ink, and embossing powders and lots of different types of mixed media to create endless combinations and looks!  I used a tissue to wipe the ink off the embossed images, and they brightened right up. For a finishing touch, I used some ink sprays to add some splatters to the inky background.

Thanks so much for joining me for this tutorial! There are so many fun ways to play with your Elle’s Studio stamps, and this is just one technique to add to your scrappy bag of tricks. I’d love to see you try it!

Show us how Tracey’s tutorial inspired you to create! Share your project in our Elle’s Studio Facebook Group, or on Instagram using the hashtag #EllesStudio!

MEET FROM SKETCH TO FINISH VOL. 5 CONTRIBUTOR ERICA THOMPSON!

We are so happy to kick off this week with a guest post from the talented Erica Thompson today! Erica is one of our amazing contributors to the From Sketch to Finish Vol. 5 class, and if you love her vibrant and colorful style with great design, and a love of cut files, then you’ll definitely want to check out what she created in the class! Today, she is here to share a special project with us that she created using one of our many class bonus sketches! Let’s take a look!

Hey friends! It’s Erica here with you, and I am so excited to be a guest on the Elle’s Studio blog today! I had so much fun creating with a sketch and fabulous Elle’s Studio products!

Supplies | June 2020 Kit, June Labels, Ice Cream Stickers, Chipboard Star Stickers, Summer Wood Veneers, Love Is 6 x 8.5 Inch Paper Stack, Summer Fun 6 x 8.5 Inch Paper StackFrom Sketch to Finish Vol. 5 Stamp

One thing that is great about sketches is that they are perfect when you are in a creative slump. You can take your project and follow the sketch 100% or take bits and pieces of the sketch as inspiration. 

I decided to create an 8.5″ x 11″ layout, and instead of 3 photos, I used 2. I also turned everything horizonal instead of placing the photos vertically on my page. I knew I wanted to add some stamping to my layout, so I went with a smooth white cardstock as my base. This helped my stamped images to be nice and crisp. 

I used a couple stamps from the From Sketch to Finish Vol. 5 Stamp that comes bundled with the class! I matted my photos on papers from the Summer Fun Paper Stack. I layered them on top of a 4″ x 6″ journal card from the June 2020 Kit.

I tucked in a few layers of patterned paper and added a strip to the top and bottom of the layout to help frame the page. I also wanted to bring in some of the purple color to my page so I tucked in a June Label and die cuts from the kit around the layers.

For my journaling, I used a typewriter to talk about the cute new ice cream shop we visited and Liam’s love for his twist cone! 

Thanks so much for stopping by today! I hope you enjoyed my layout and found some inspiration here using one of the class bonus sketches! Make sure to stop by the Elle’s Studio shop to see all the wonderful products to document your stories, and join us in From Sketch to Finish Vol. 5, which will help you take the design guesswork out of your layouts!

Residing in: Rochelle, IL 

Living with: Michael, 5 of our babies and 2 fur babies

Scrapbooking since: Middle school

Favorite type of memory-keeping: Scrapbook layouts

Favorite technique: Backing cut files

Favorite layout ever created:

Crafty essential that you could not live without: My Silhouette Cameo

Links to find more of Erica’s work: INSTAGRAM | BLOG | PINTEREST | FACEBOOK | YOUTUBE

Don’t miss out on the specially-priced class + exclusive stamp bundle—only available while supplies last!

July Design Team Inspiration: Volume Three

Ready for another round of fresh design team inspiration using our July 2020 monthly kit and add-ons? Bright polka dot patterns and adventurous projects await you below!

Angel’s Landing Adventure by Meghann Andrew – supplies used | July 2020 KitWild at Heart PrintablesJuly Labels, July Label StickersSummer Tape StickersSummer Chipboard StickersNavy Dipped Puffy Alphabet Stickers, Navy Puffy Alphabet Stickers, Adventure Wood VeneersPuffy Heart StickersBright Polka Dot 6.5 x 8 Inch Paper Stack, Summer Fun 6 x 8.5 Inch Paper StackWild at Heart Stamp

Hello Wilderness Lodge by Tracey Fox – supplies used | July 2020 Kit, July Label StickersSummer Tape StickersSummer Chipboard StickersNavy Dipped Puffy Alphabet Stickers, Navy Puffy Alphabet StickersAdventure Wood VeneersBright Polka Dot 6.5 x 8 Inch Paper Stack, Summer Fun 6 x 8.5 Inch Paper StackWild at Heart Stamp

Hello Pool Fun traveler’s notebook spread by Marsha Farris – supplies used | July 2020 Kit, July LabelsJuly Label StickersSummer Chipboard StickersNavy Dipped Puffy Alphabet StickersNavy Puffy Alphabet StickersAdventure Wood Veneers, Hello Wood Veneer, Bright Polka Dot 6.5 x 8 Inch Paper Stack, Summer Fun 6 x 8.5 Inch Paper StackWild at Heart Stamp

Adventure is Everywhere by Melissa Mann – supplies used | July 2020 KitJuly 2020 Cut Files, July LabelsSummer Tape StickersSummer Chipboard Stickers, Navy Puffy Alphabet Stickers, Adventure Wood VeneersBright Polka Dot 6.5 x 8 Inch Paper Stack, Summer Fun 6 x 8.5 Inch Paper Stack, Flourish 6.5 x 8 Inch Paper StackWild at Heart Stamp

Hello pocket page spread by Stacie Watson – supplies used | July 2020 KitSummer Chipboard Stickers, Navy Puffy Alphabet Stickers, Tiny Shapes and Dots Puffy Stickers, Title Builder Vol. 3 Stamp

Wild and Free by Amanda-jayne Baldwin – supplies used | July 2020 Kit, July LabelsJuly Label StickersSummer Tape StickersNavy Dipped Puffy Alphabet Stickers, Adventure Wood VeneersBright Polka Dot 6.5 x 8 Inch Paper Stack, Wild at Heart Stamp

Adventure pocket page by Candace Perkins – supplies used | July 2020 KitAdventure Wood Veneers

Splashing in the Pool by Katarina Prevendarova – supplies used | July 2020 KitJuly 2020 Cut FilesSummer Chipboard Stickers, Navy Dipped Puffy Alphabet Stickers, Tiny Shapes and Dots Puffy StickersBright Polka Dot 6.5 x 8 Inch Paper Stack, Wild at Heart Stamp

We can’t wait to see what you’re creating using our new July products! Be sure to share with us in our Elle’s Studio Facebook Group or on Instagram using the hashtag #EllesStudio!