Hi there! Tracey Fox here, and I’m excited to be on the blog today with a tutorial for an embossing resist technique to use your stamp sets and bring a little more detail to your projects!
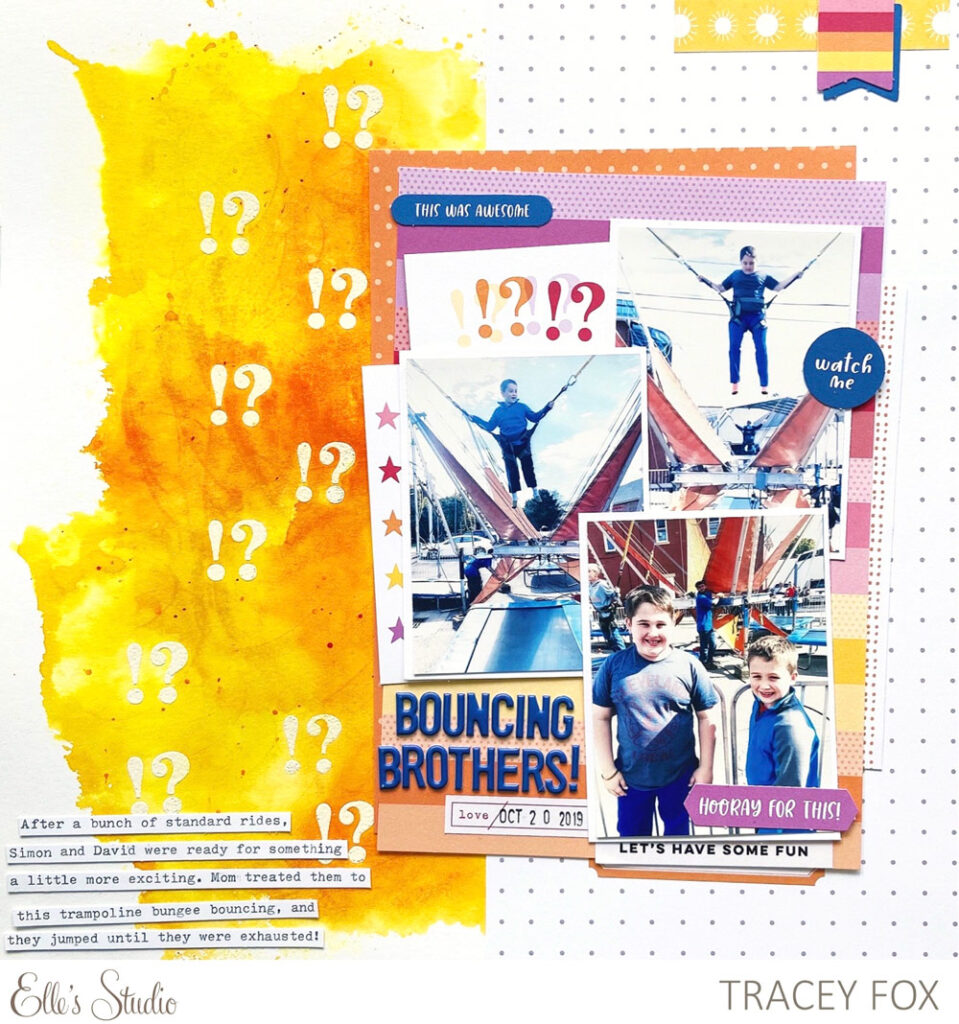
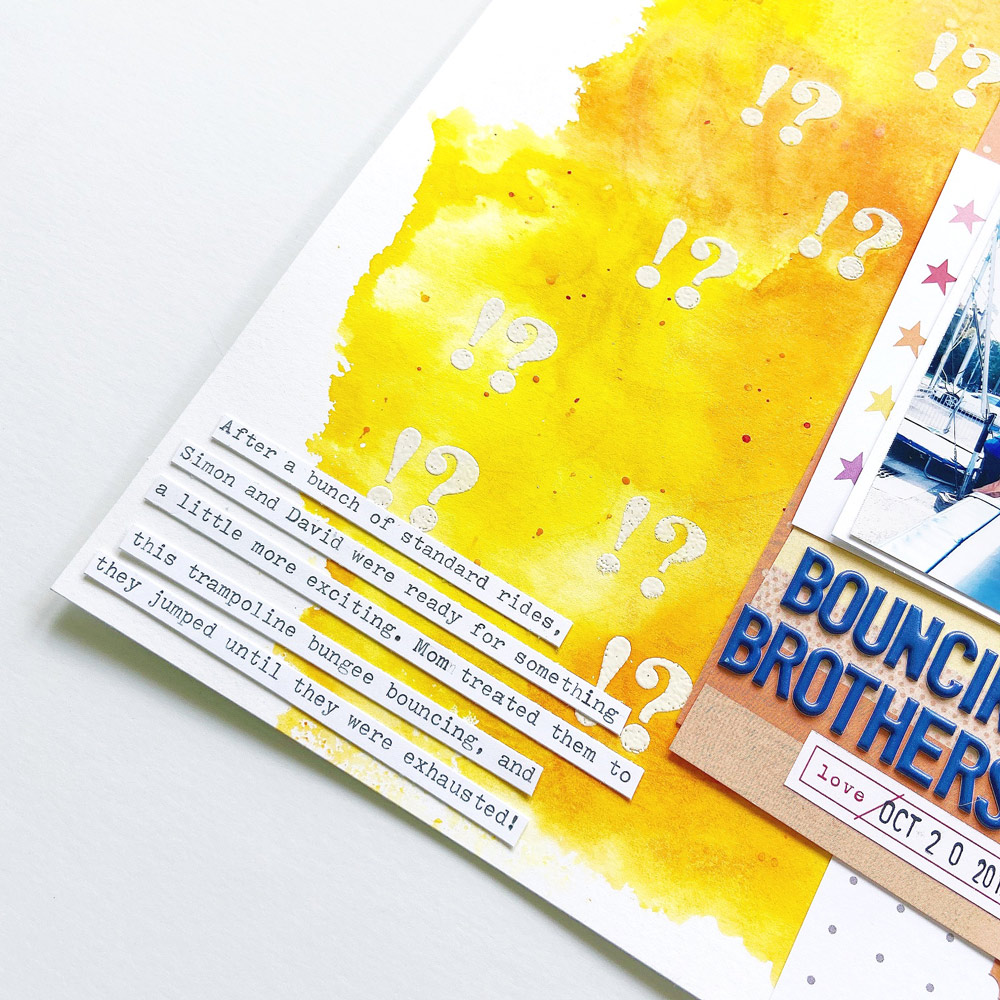
I knew I wanted to create a layout using one of the sketches featured HERE on the blog last month, and after I had created the main components of the page and established the color scheme, I decided I wanted to punch up the page with some mixed media!
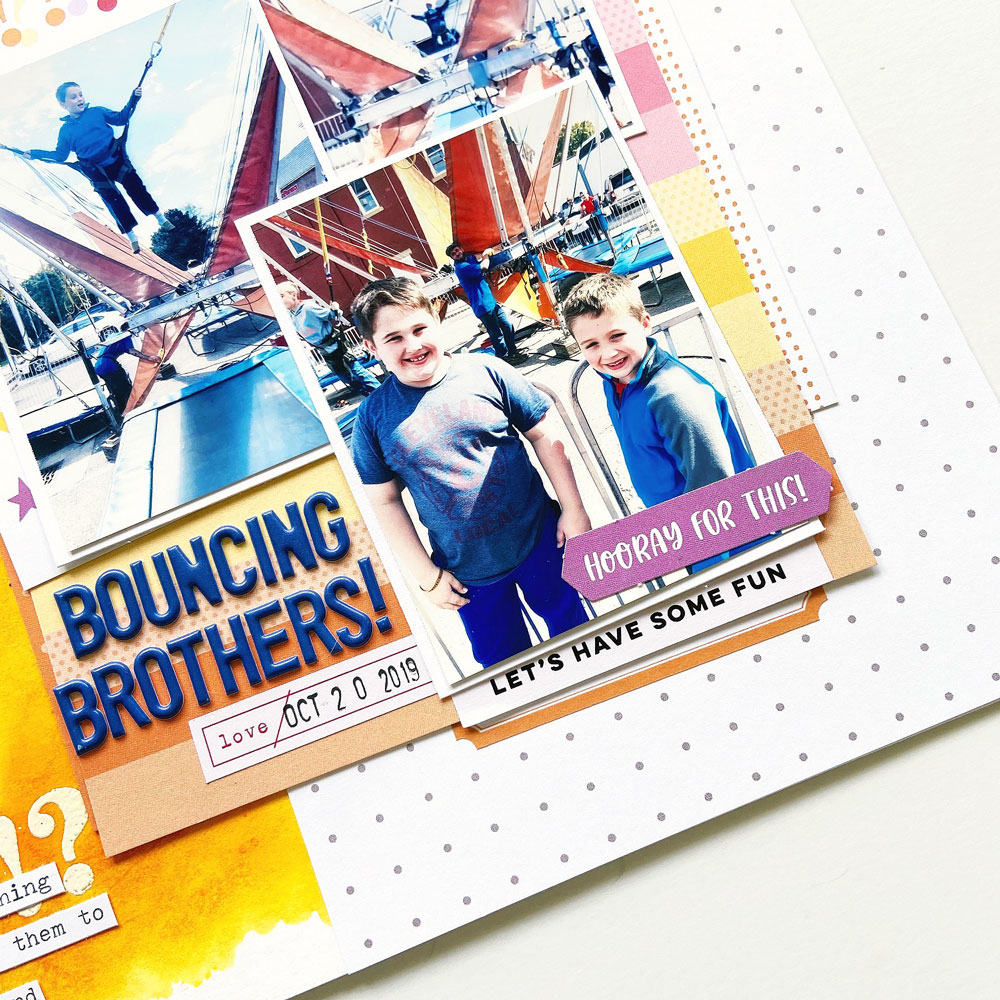
Supplies | July 2020 Kit, July Label Stickers, Navy Puffy Alphabet Stickers, Bright Polka Dot 6.5 x 8 Inch Paper Stack, Summer Fun 6 x 8.5 Inch Paper Stack, Wild at Heart Stamp
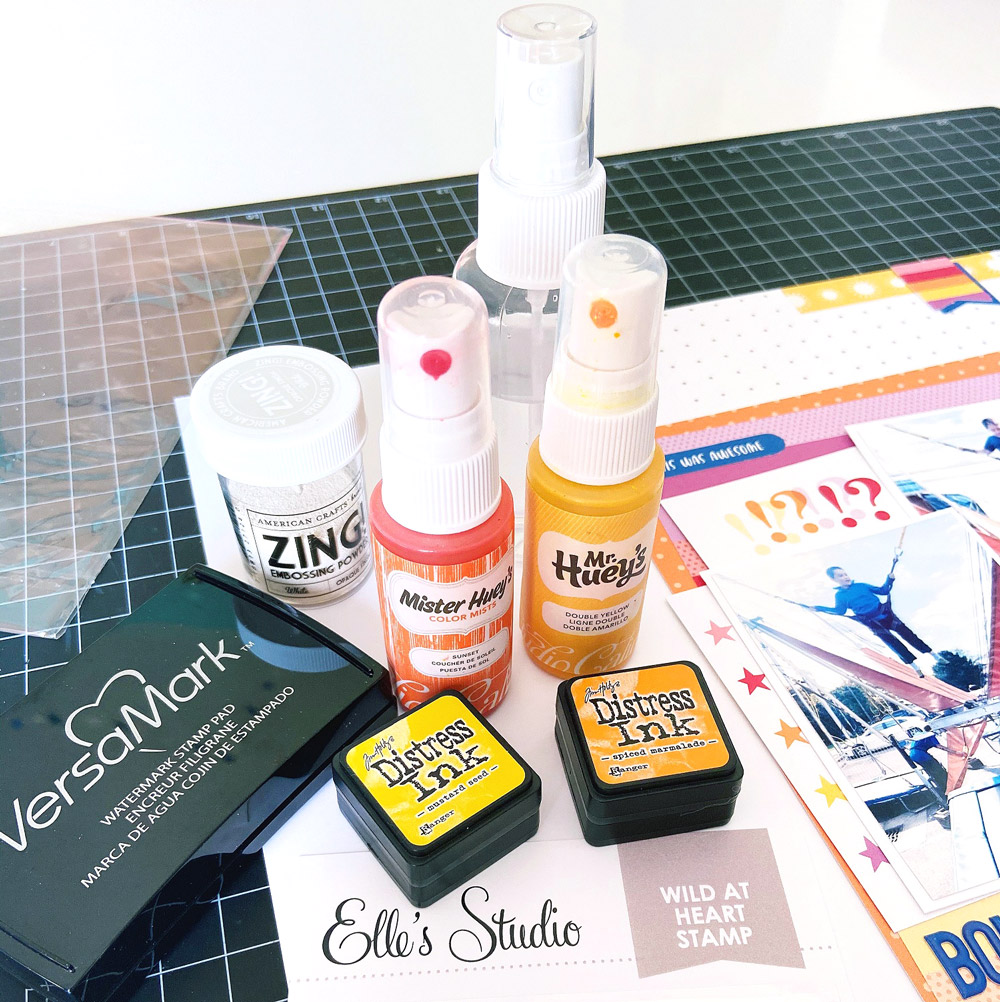
Other supplies you’ll need | Embossing ink, embossing powder, stamping ink, ink sprays
I loved the exclamation mark and question mark stamp in the new Wild at Heart Stamp, and decided to use it with heat embossing and a colorful “ink smooshing” technique to repeat that motif around the page. Here’s a tutorial on how I did it:
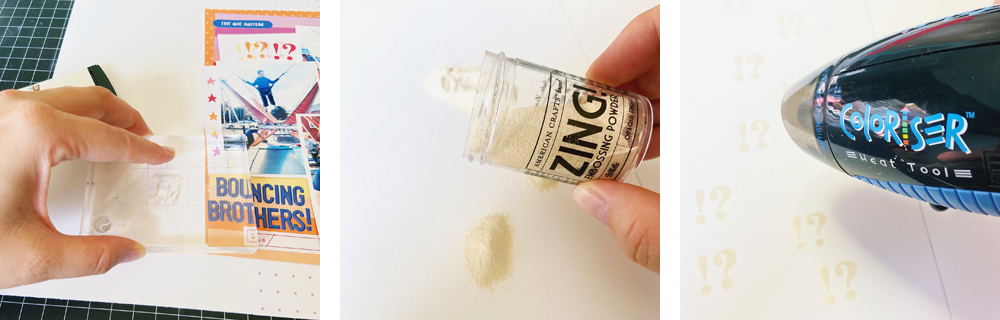
First, I grabbed a piece of white cardstock and gathered my supplies: the stamp and a clear block, clear embossing ink, white embossing powder, embossing heat gun, water spray, stamping ink, clear plastic packaging, and ink sprays.
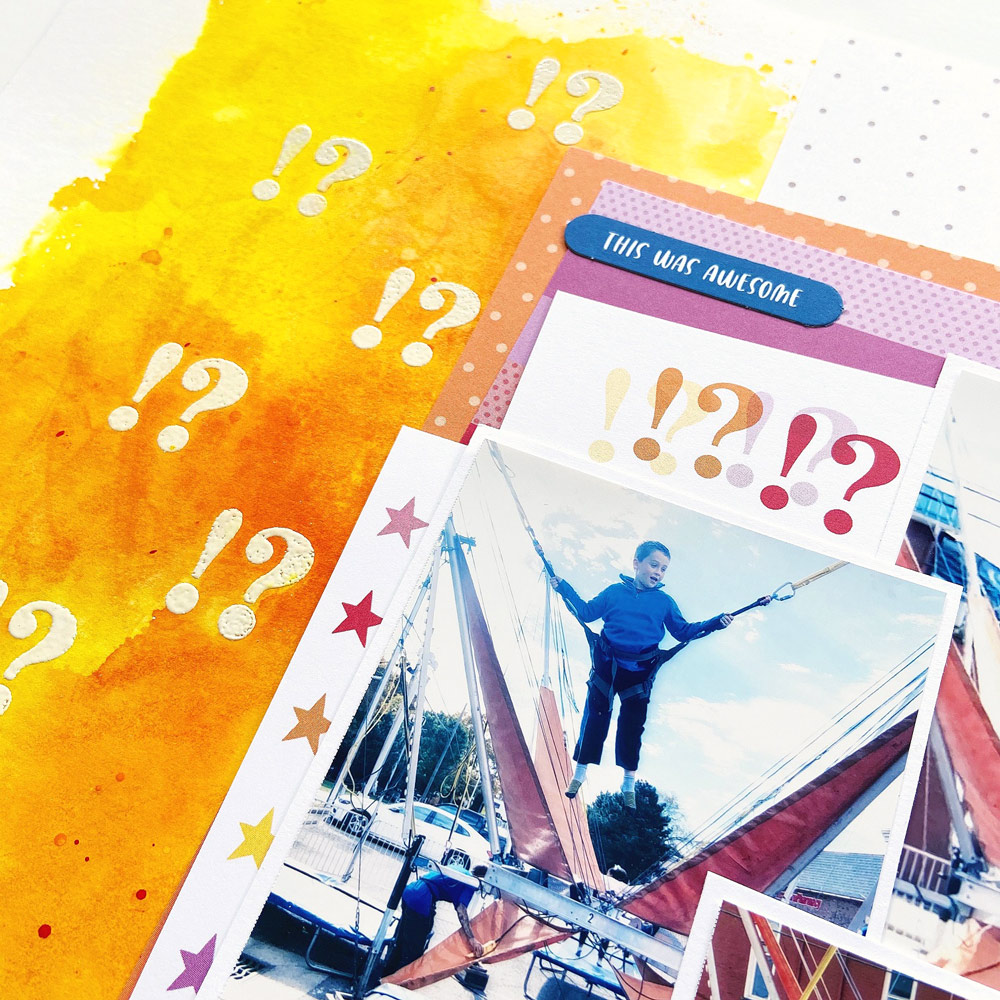
I used the clear, sticky embossing ink to stamp the punctuation marks around the side of the background that I wasn’t covering up with paper, and I added white embossing powder to the areas where I stamped and poured off the excess. Then, I used a heat tool to melt the embossing powder in place. It’s always magical to watch embossing powder turn shiny as it sets on a project!
Next, I took yellow and orange stamping ink pads that matched the colors in my layout and pressed the ink pads onto a piece of clear plastic packaging. To get the ink a little more fluid so it would spread well on the layout, I spritzed the ink with some water before turning the inky plastic over and “smooshing” it onto the page. I pressed into the plastic with my fingers to help spread the ink out in all directions before repeating the process a few times to cover the whole area I wanted to get inky.
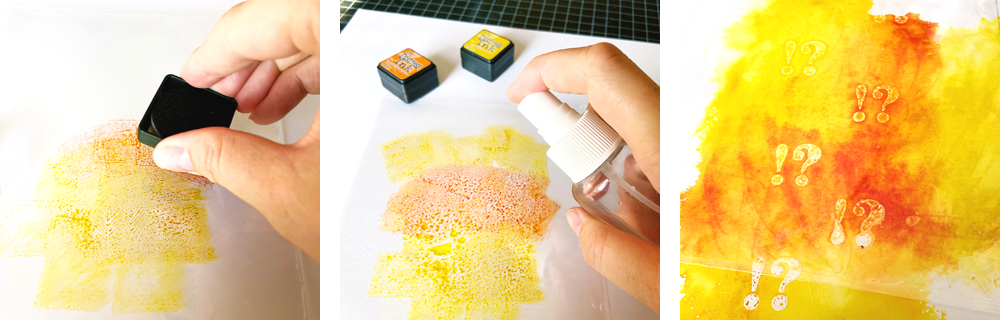
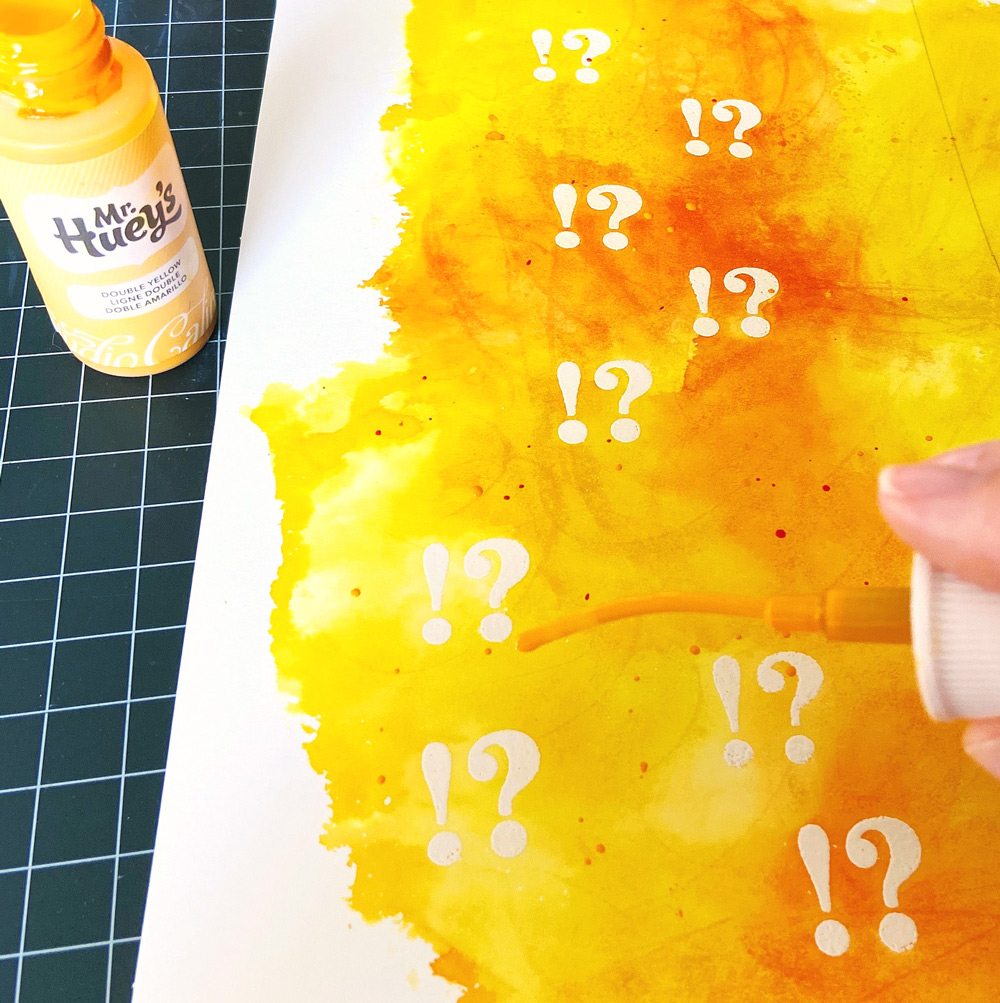
Notice how the paper soaked up the ink, but the areas I had embossed resisted it? That’s the beauty of this technique! You can try this with all sorts of different stamps, ink, and embossing powders and lots of different types of mixed media to create endless combinations and looks! I used a tissue to wipe the ink off the embossed images, and they brightened right up. For a finishing touch, I used some ink sprays to add some splatters to the inky background.
Thanks so much for joining me for this tutorial! There are so many fun ways to play with your Elle’s Studio stamps, and this is just one technique to add to your scrappy bag of tricks. I’d love to see you try it!

Show us how Tracey’s tutorial inspired you to create! Share your project in our Elle’s Studio Facebook Group, or on Instagram using the hashtag #EllesStudio!