We love a good trend, and you can find them everywhere—as well as in paper crafting! Today, design team member Patricia Roebuck is sharing a few fun trends that she’s added to a gorgeous traveler’s notebook spread, and if you haven’t yet created in this format, her project might have you persuaded! Let’s take a look!
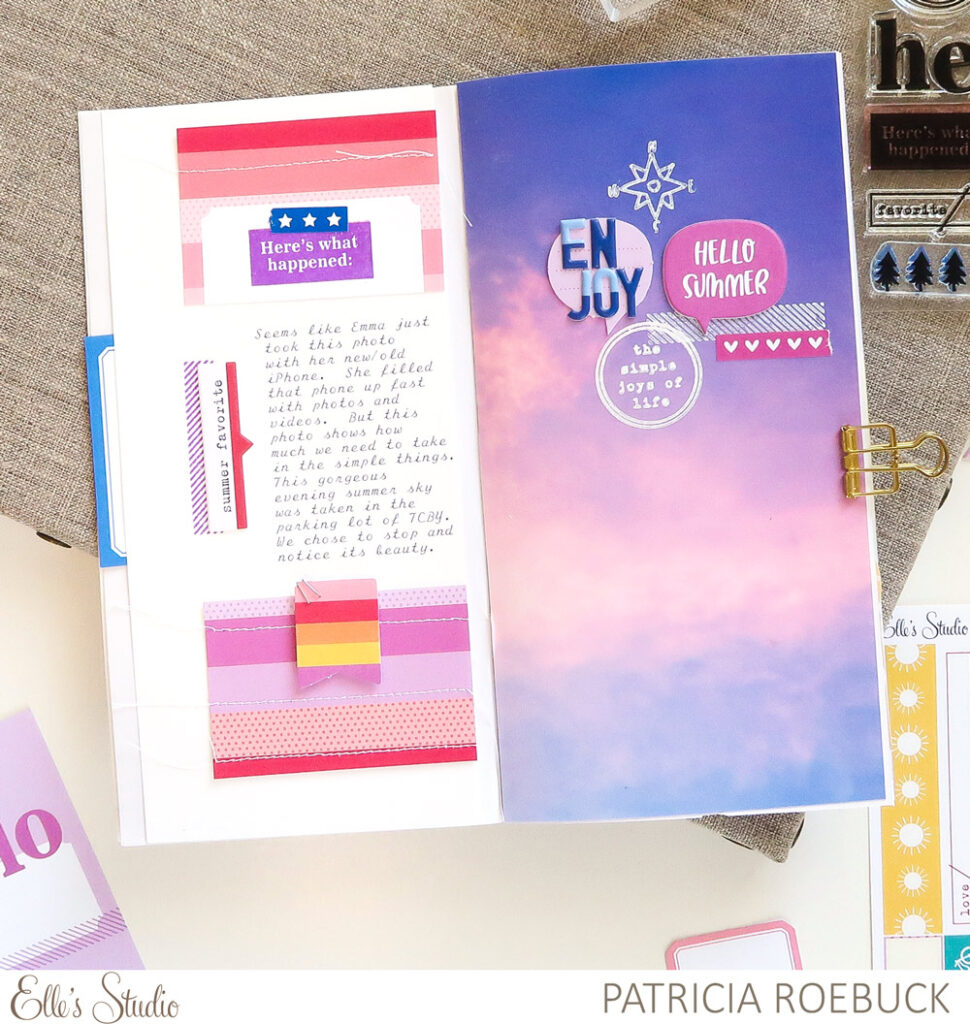
Hello, Elle Studio friends! Today I want to share some ideas for creating in your traveler’s notebook using the July 2020 Kit and extras. In scrapbooking there are always trends we see pop up and it is the same for documenting in traveler’s notebooks! In my example today, I am using a single large photo, adding stamping and embellishments onto the photo, and journaling with details to tell the story behind an ordinary moment. Whether you are new or experienced in documenting in a traveler’s notebook, I hope this gives you one or more ideas to try!
Supplies | July 2020 Kit, July Labels, Summer Tape Stickers, Summer Chipboard Stickers, Navy Dipped Puffy Alphabet Stickers, Wild at Heart Stamp
I first decided on a photo that was both beautiful and has a story behind it with some solid colors so my stamping will stand out. I sized the photo in Lightroom to fit the traveler’s notebook, about 4 1/4” x 8 1/4”, then printed it on my Canon TS9020 printer. After I make any necessary trimming, I like to use double-sided tape, getting the tape at the edge so that the entire photo or page I adhere in the notebook stays flush.
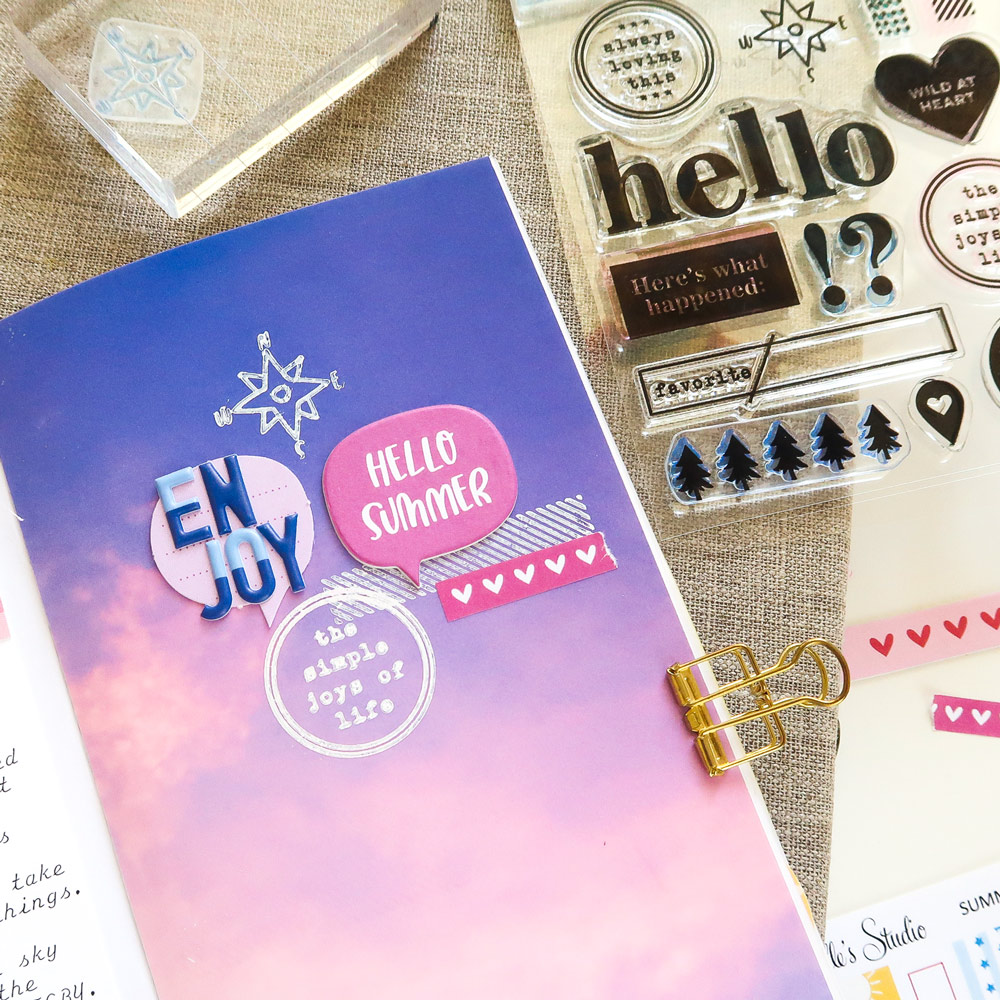
There have been lots of trends to stamp directly onto photos, but lately I have been seeing the trend of stamping in white ink, so I followed the trend and used a white pigment ink pad with the Wild at Heart Stamp. Pigment ink dries extremely slowly, but applying heat will make it permanent on most surfaces quickly. Applying heat to a photo can damage the photo, so to prevent this from happening, I made sure my heat gun was very hot before applying it to my inked photo by testing it on my hand. Once hot enough, I just quickly move side to side across the inked areas for about 30 seconds to set the ink. With the ink set, I added a strip of Summer Tape Stickers a Summer Chipboard Sticker, a die-cut from the July Kit, and the Navy Dipped Puffy Alphabet Stickers.
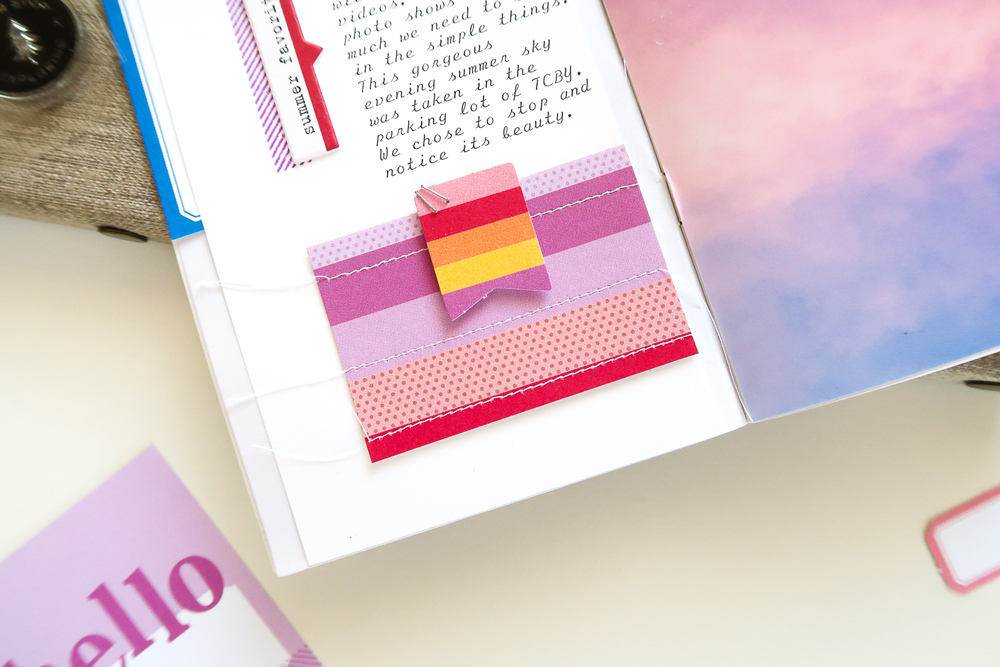
The left side is where added my journaling. I first started this page by picking out a July Kit tag with colors and horizontal lines that would complement as well as add direction and movement to the photo. Working off the page size of a traveler’s notebook gives you the ability to add typed journaling, stitching and stamping. For this example, I use a separate piece of white cardstock, trimmed a little smaller than my notebook. I trimmed the July tag in half, placed it at the top and bottom of the white cardstock and used it as a guide to add pencil marks of where I can fit my typed journaling in between the pieces before adhering.
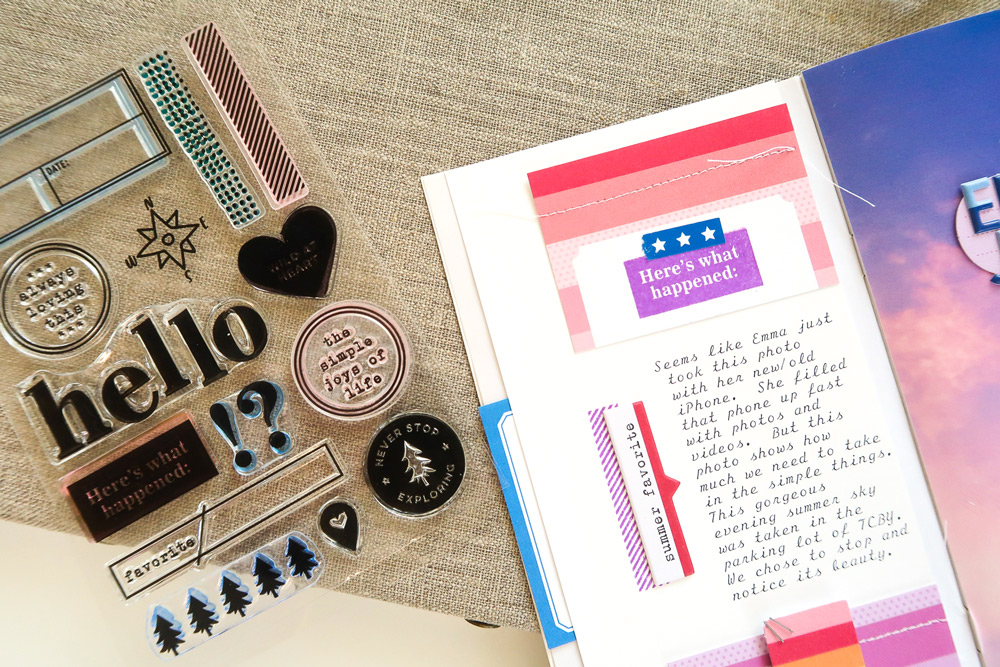
Just like the photo and the simplicity of the stamping and embellishments, I wanted to do the same for the journaling, but still bring attention to it. With the trimmed July tag, I stamped ‘here’s what happened” from the Wild at Heart Stamp to the top, and added white machine stitching across both parts of the tag to emphasize the horizontal direction of the lines, while adding texture. I adhered these above and below to frame my journaling.
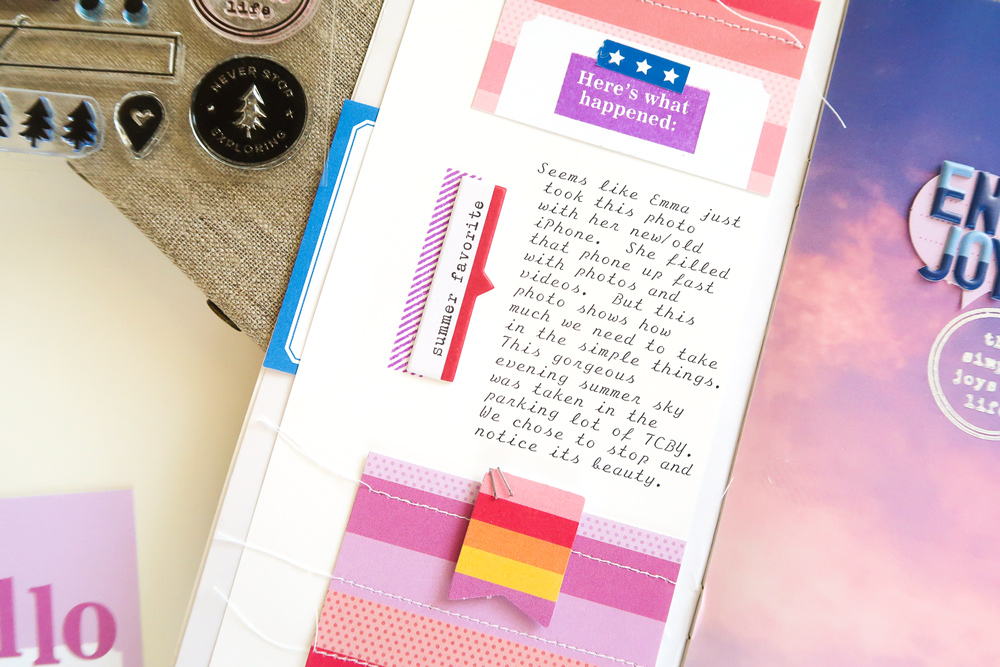
I adhered this page into my traveler’s notebook using double-sided tape to ensure the inside edge will remain flush when I close my notebook. To add more framing, color and layers, I used a July Label to tuck under the cardstock on the left, adding the diagonal-lined “washi tape” strip from the Wild at Heart Stamp to the left of the journaling and then layered a Summer Chipboard Sticker to point towards the journaling. For more texture and details, I add two staples to a July Kit die cut, then adhered it with foam adhesive to the bottom portion of the tag. The last detail I added was another Summer Tape Sticker to layer over the stamping on the top portion of the tag.
I love the large photo trend, while adding stamping and embellishments to it as well as the story behind a photo. It is a perfect way to document in a traveler’s notebook to capture those small, ordinary moments! Give this a try using white ink, along with your July 2020 Kit and extras to add the perfect touch to accent your photo and frame your journaling!

Show us how you are using your monthly kit products in your traveler’s notebook! Share in our Elle’s Studio Facebook Group, where you’ll find other Elle’s Studio fans sharing a space, or post on Instagram using the hashtag #EllesStudio!