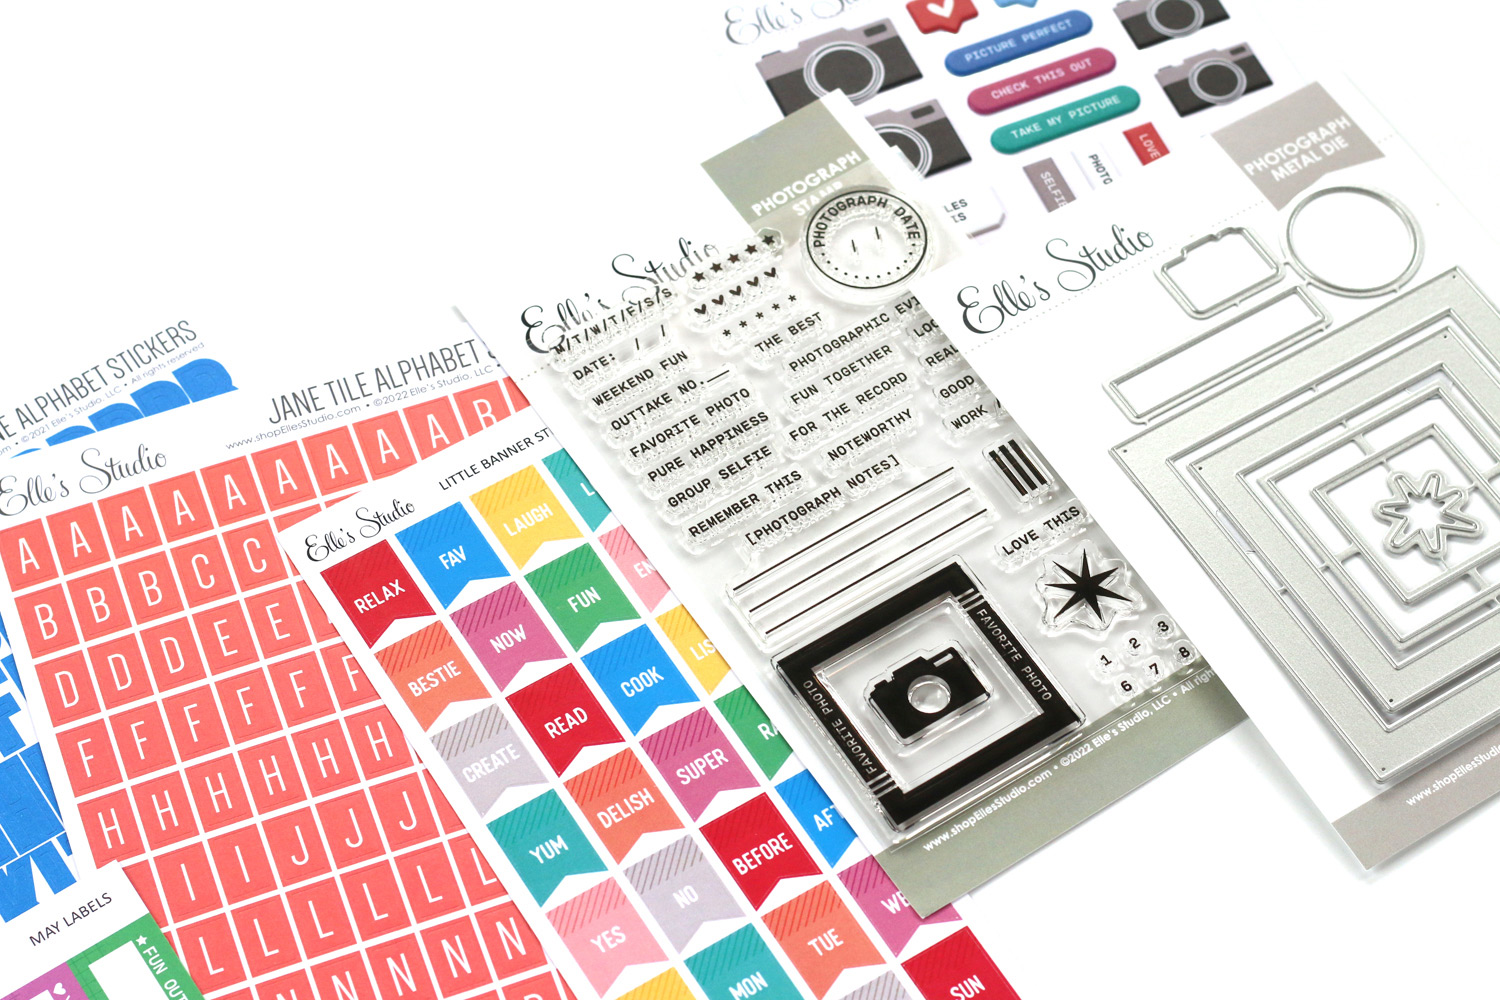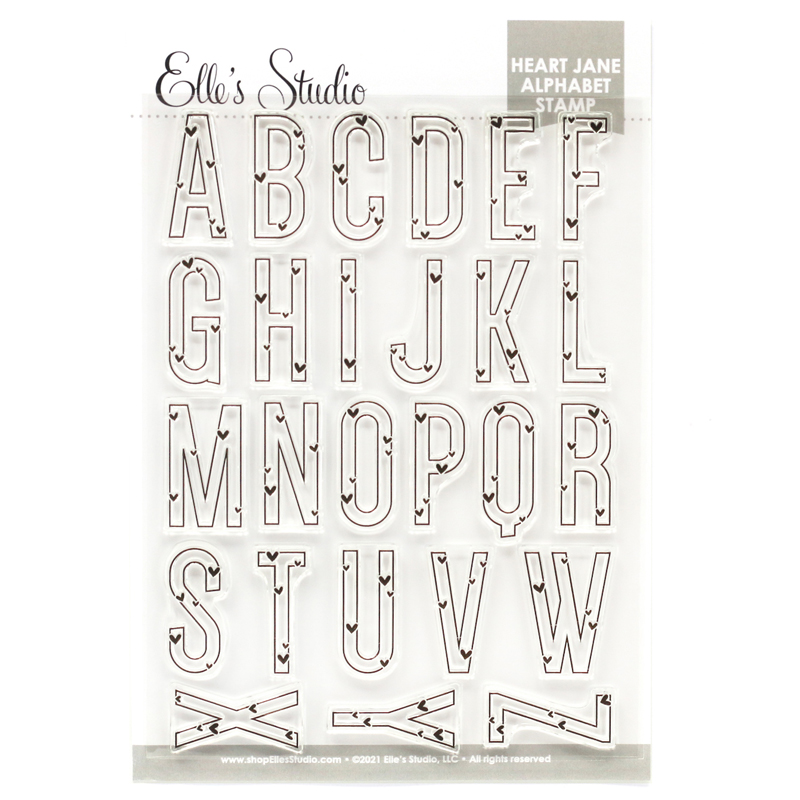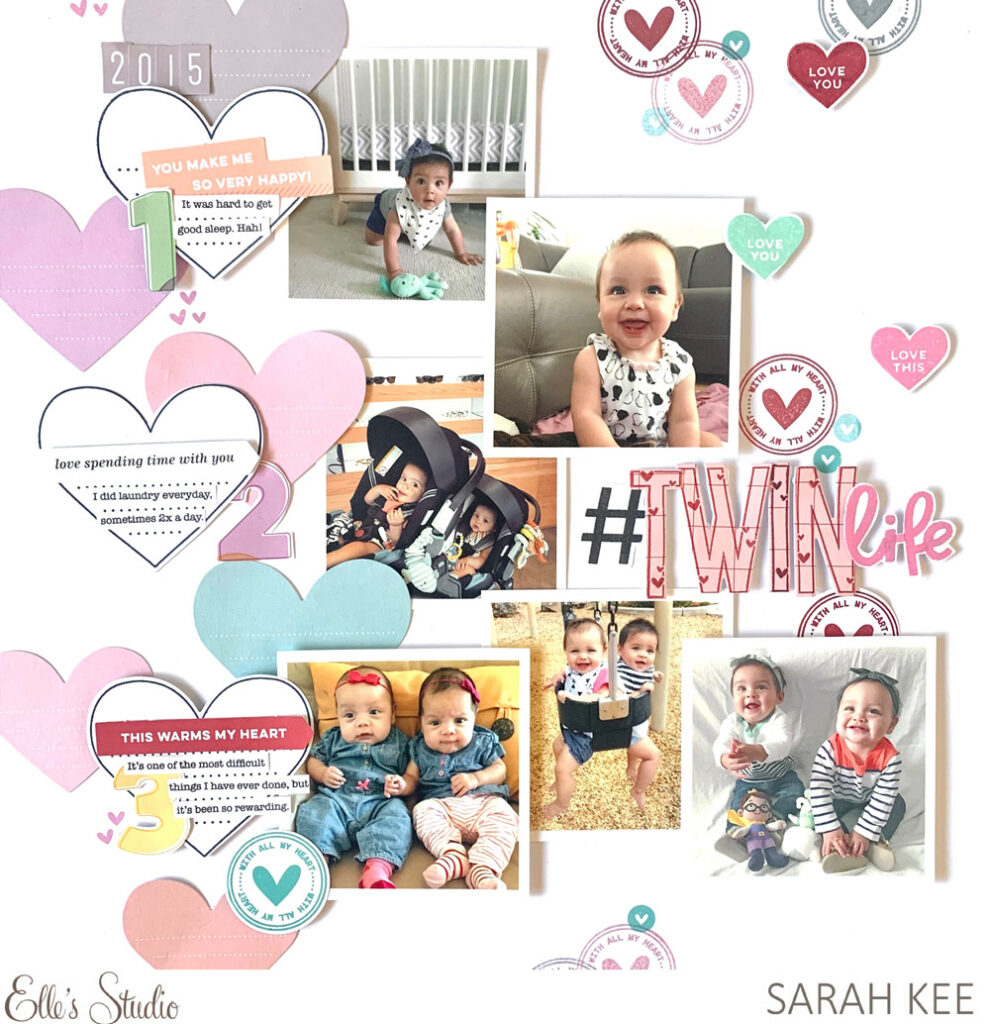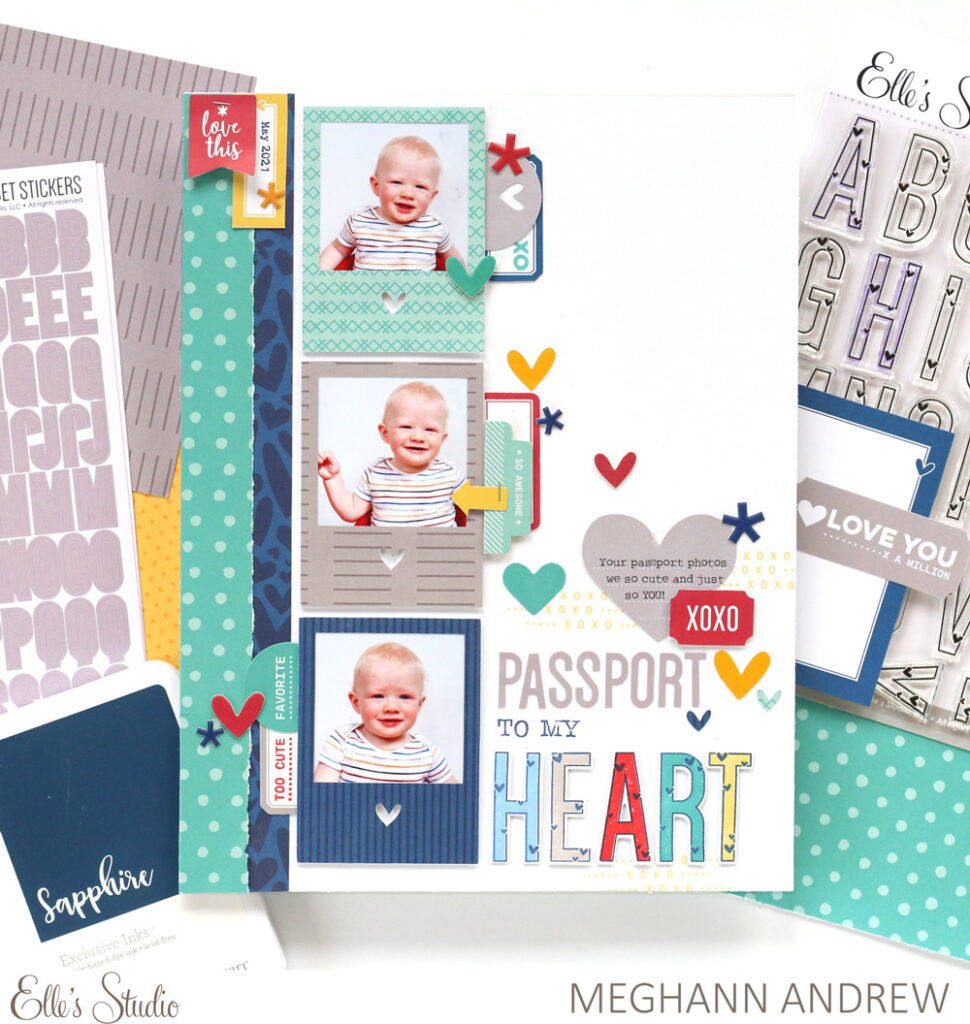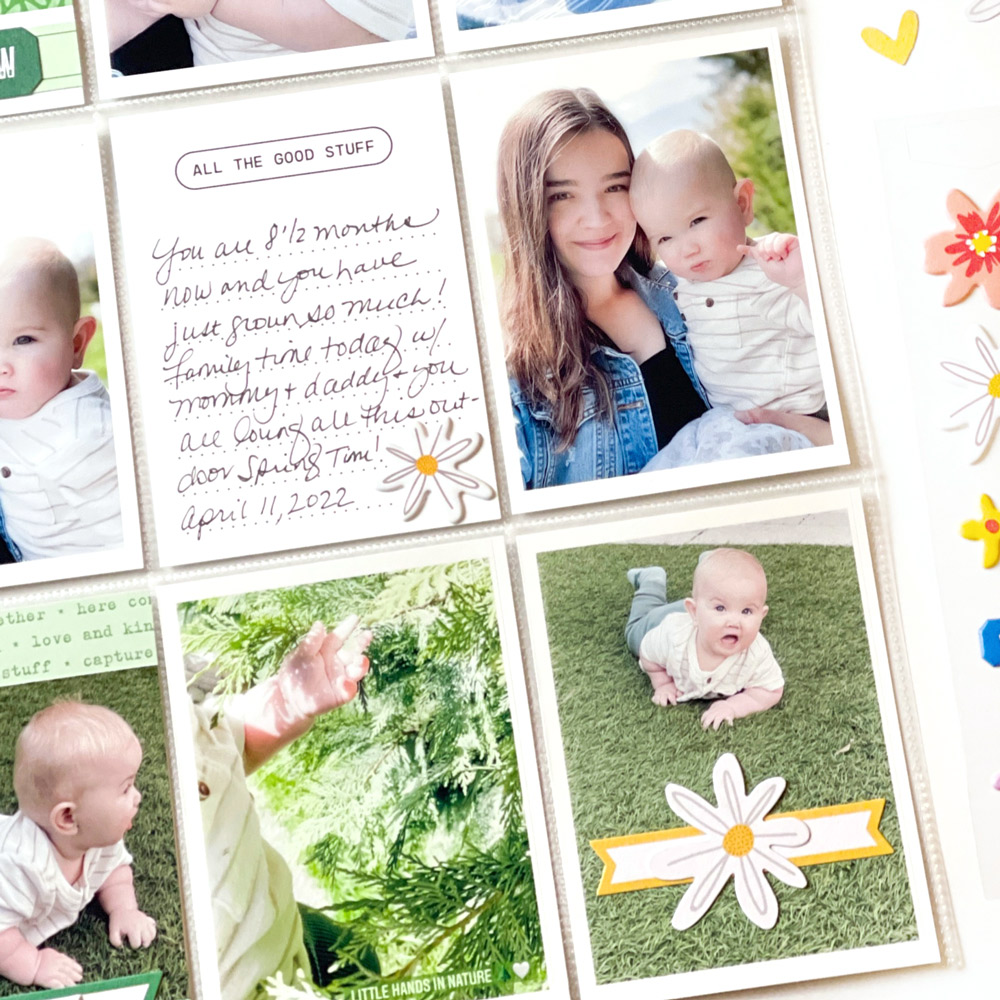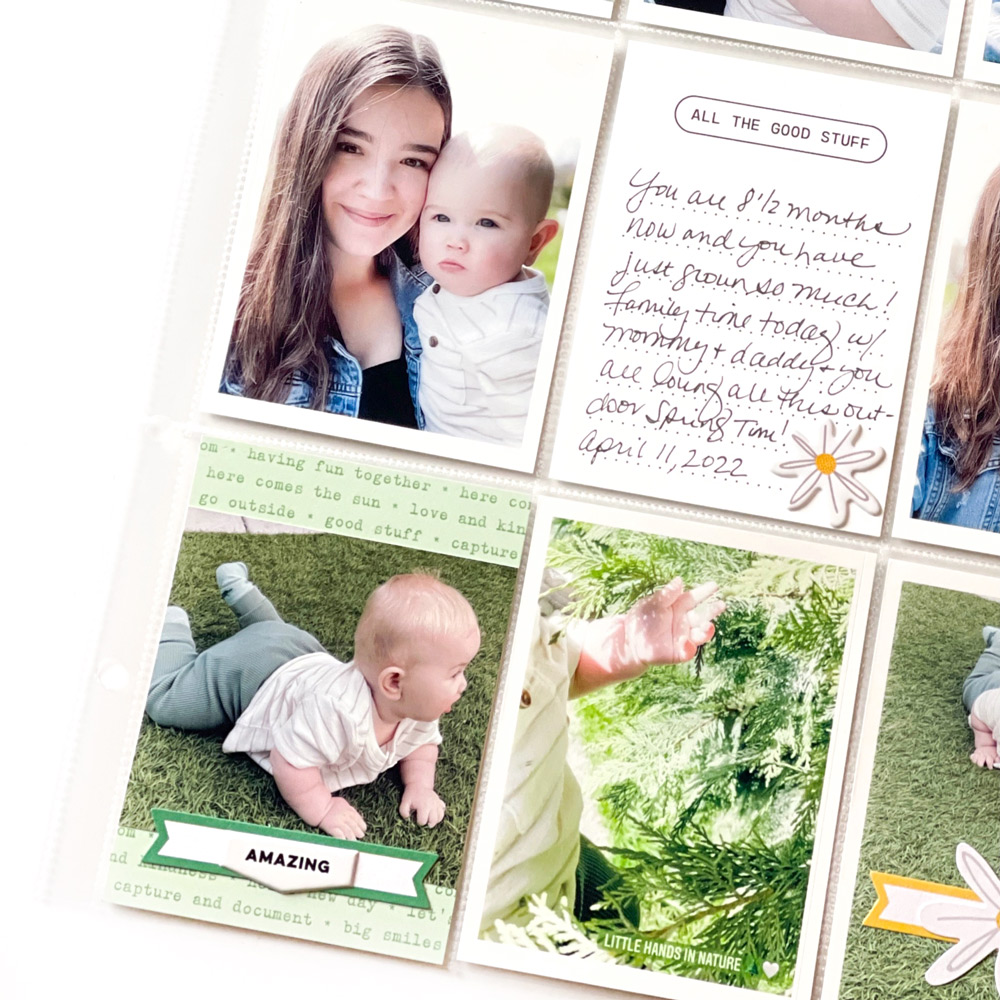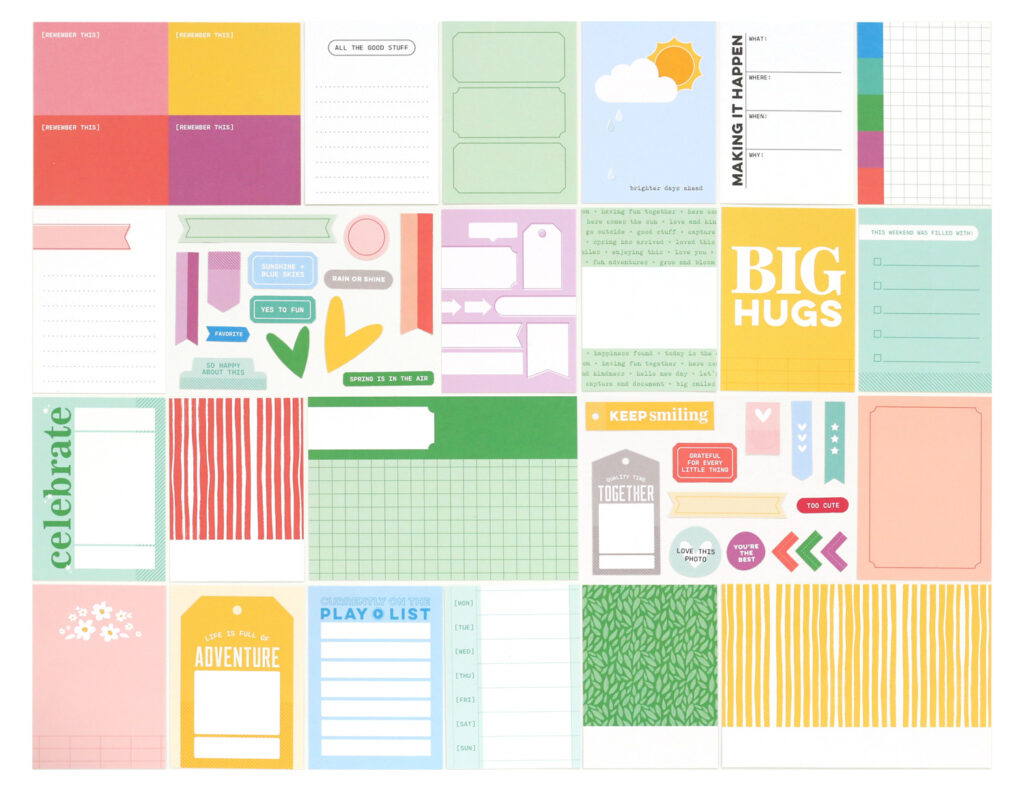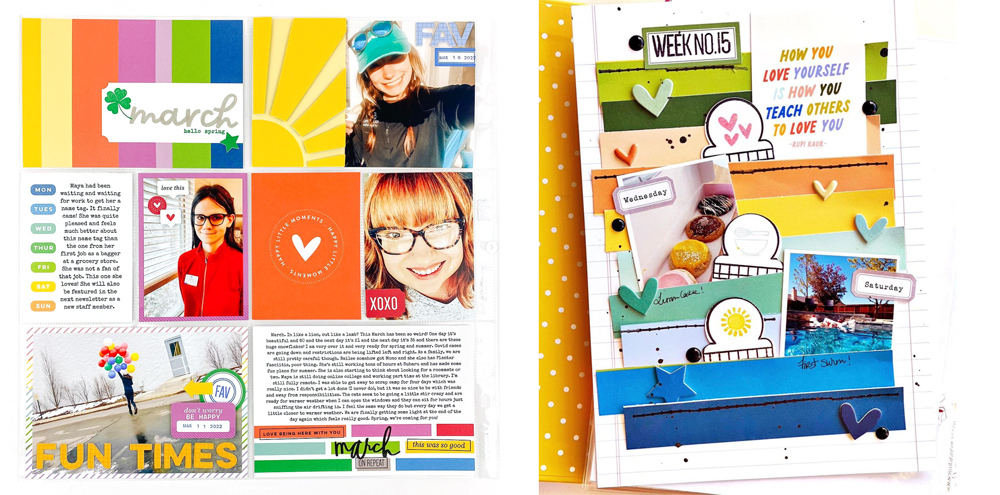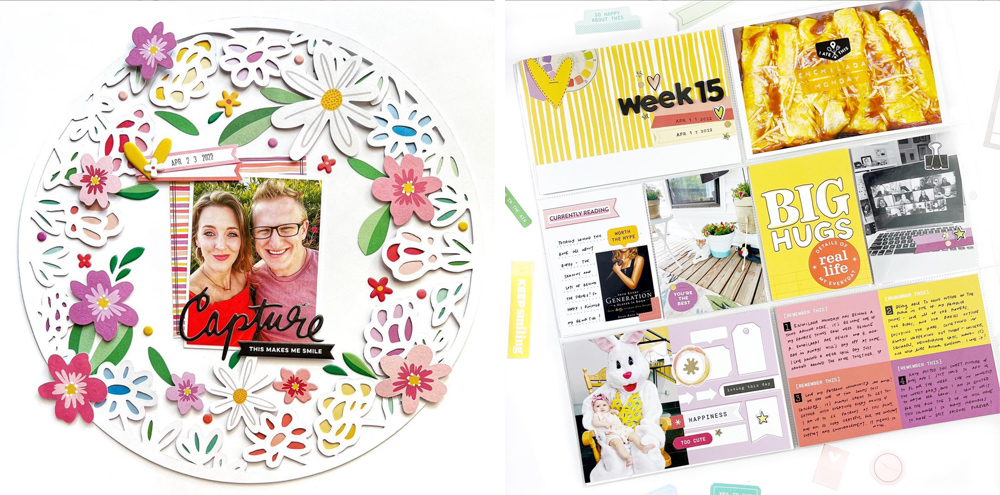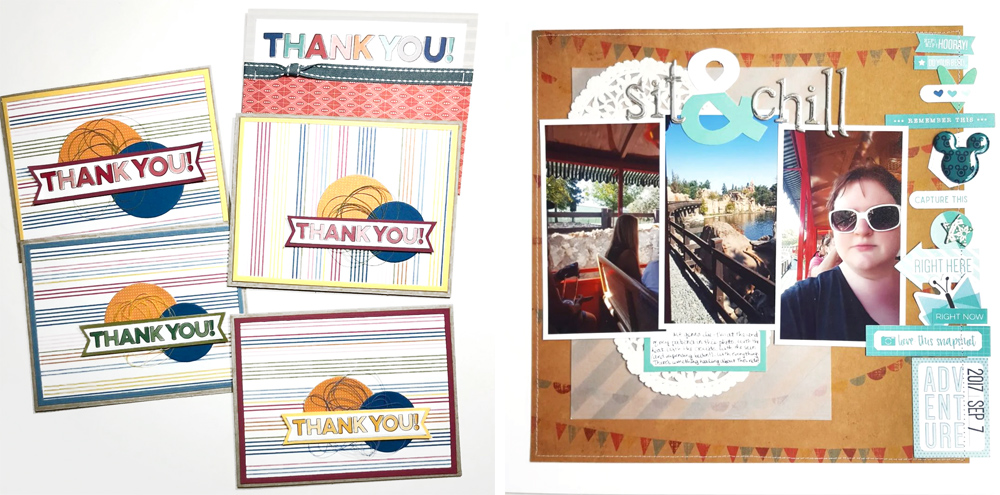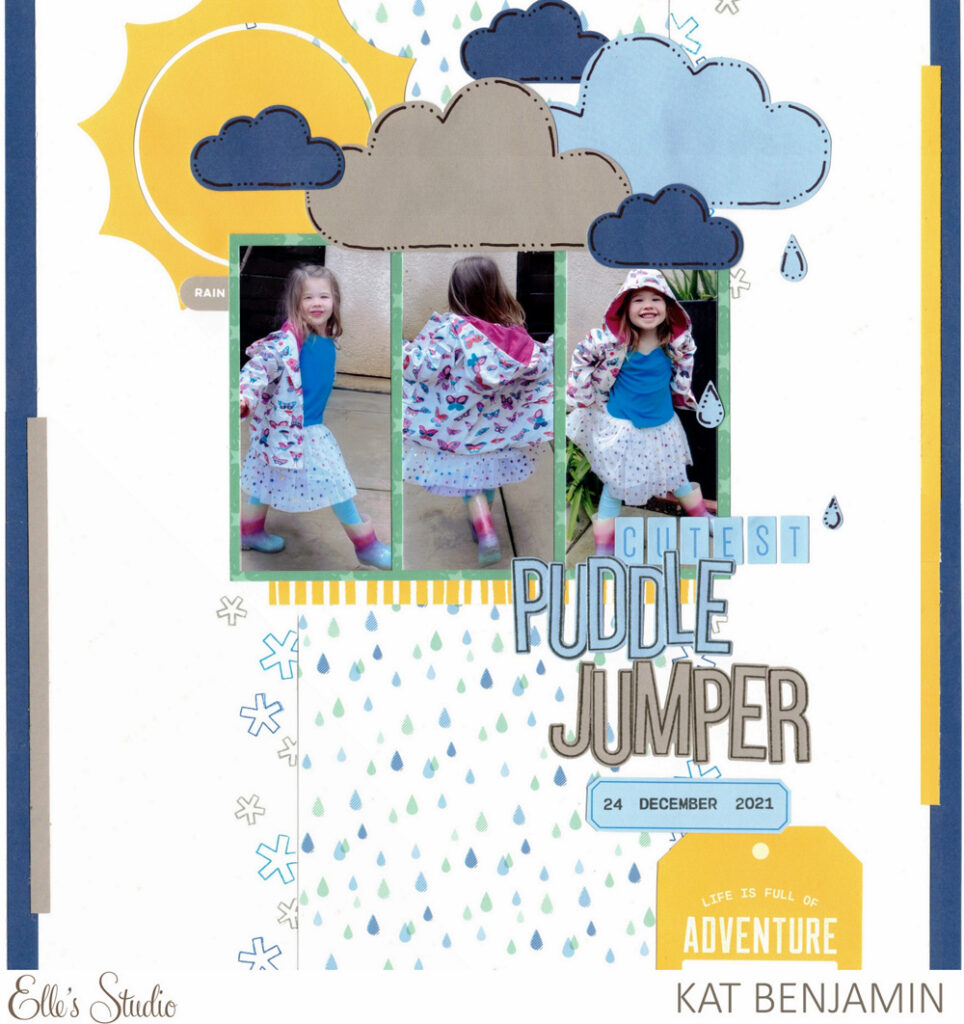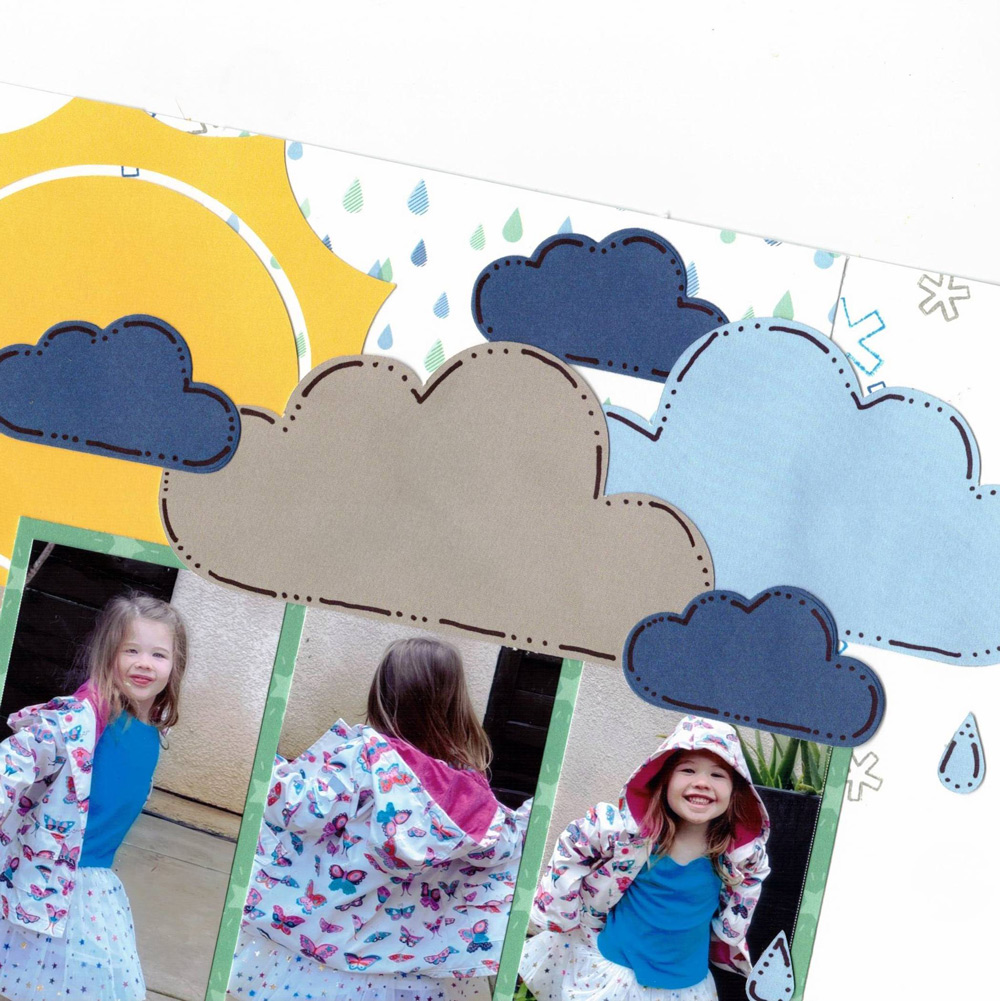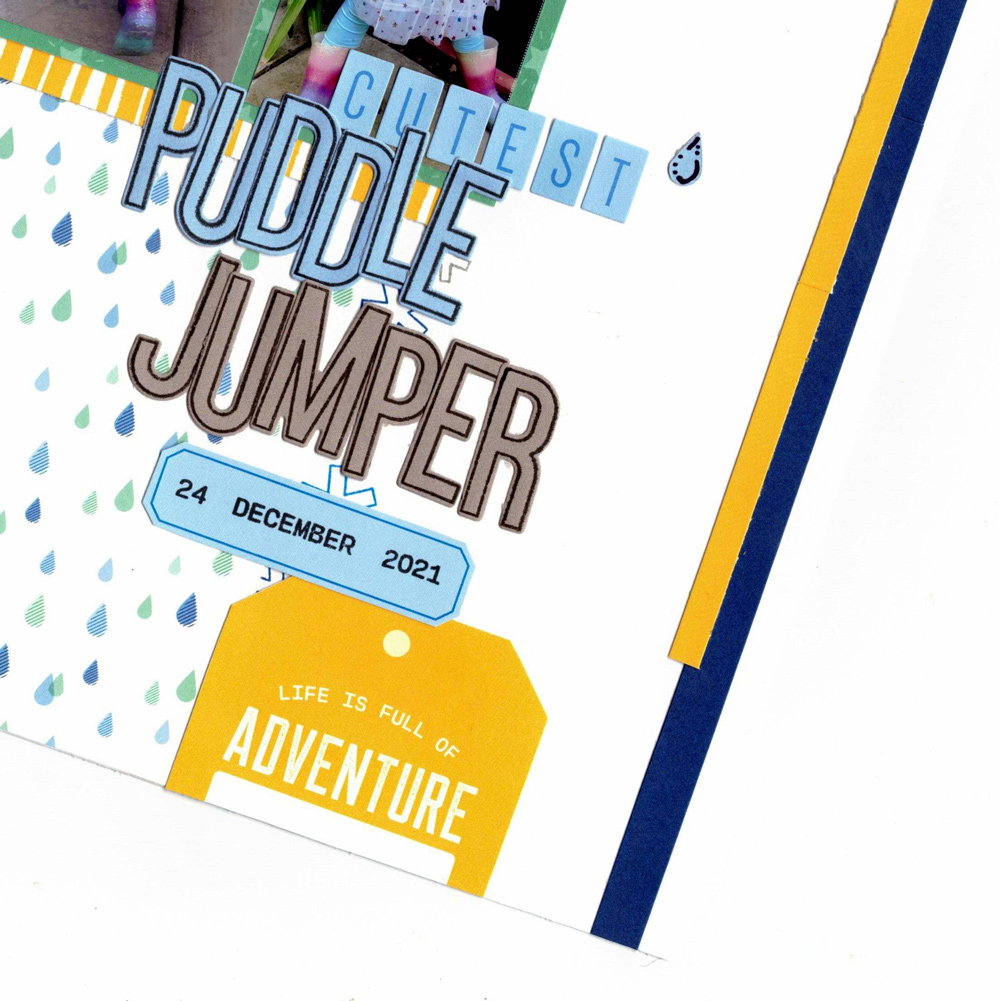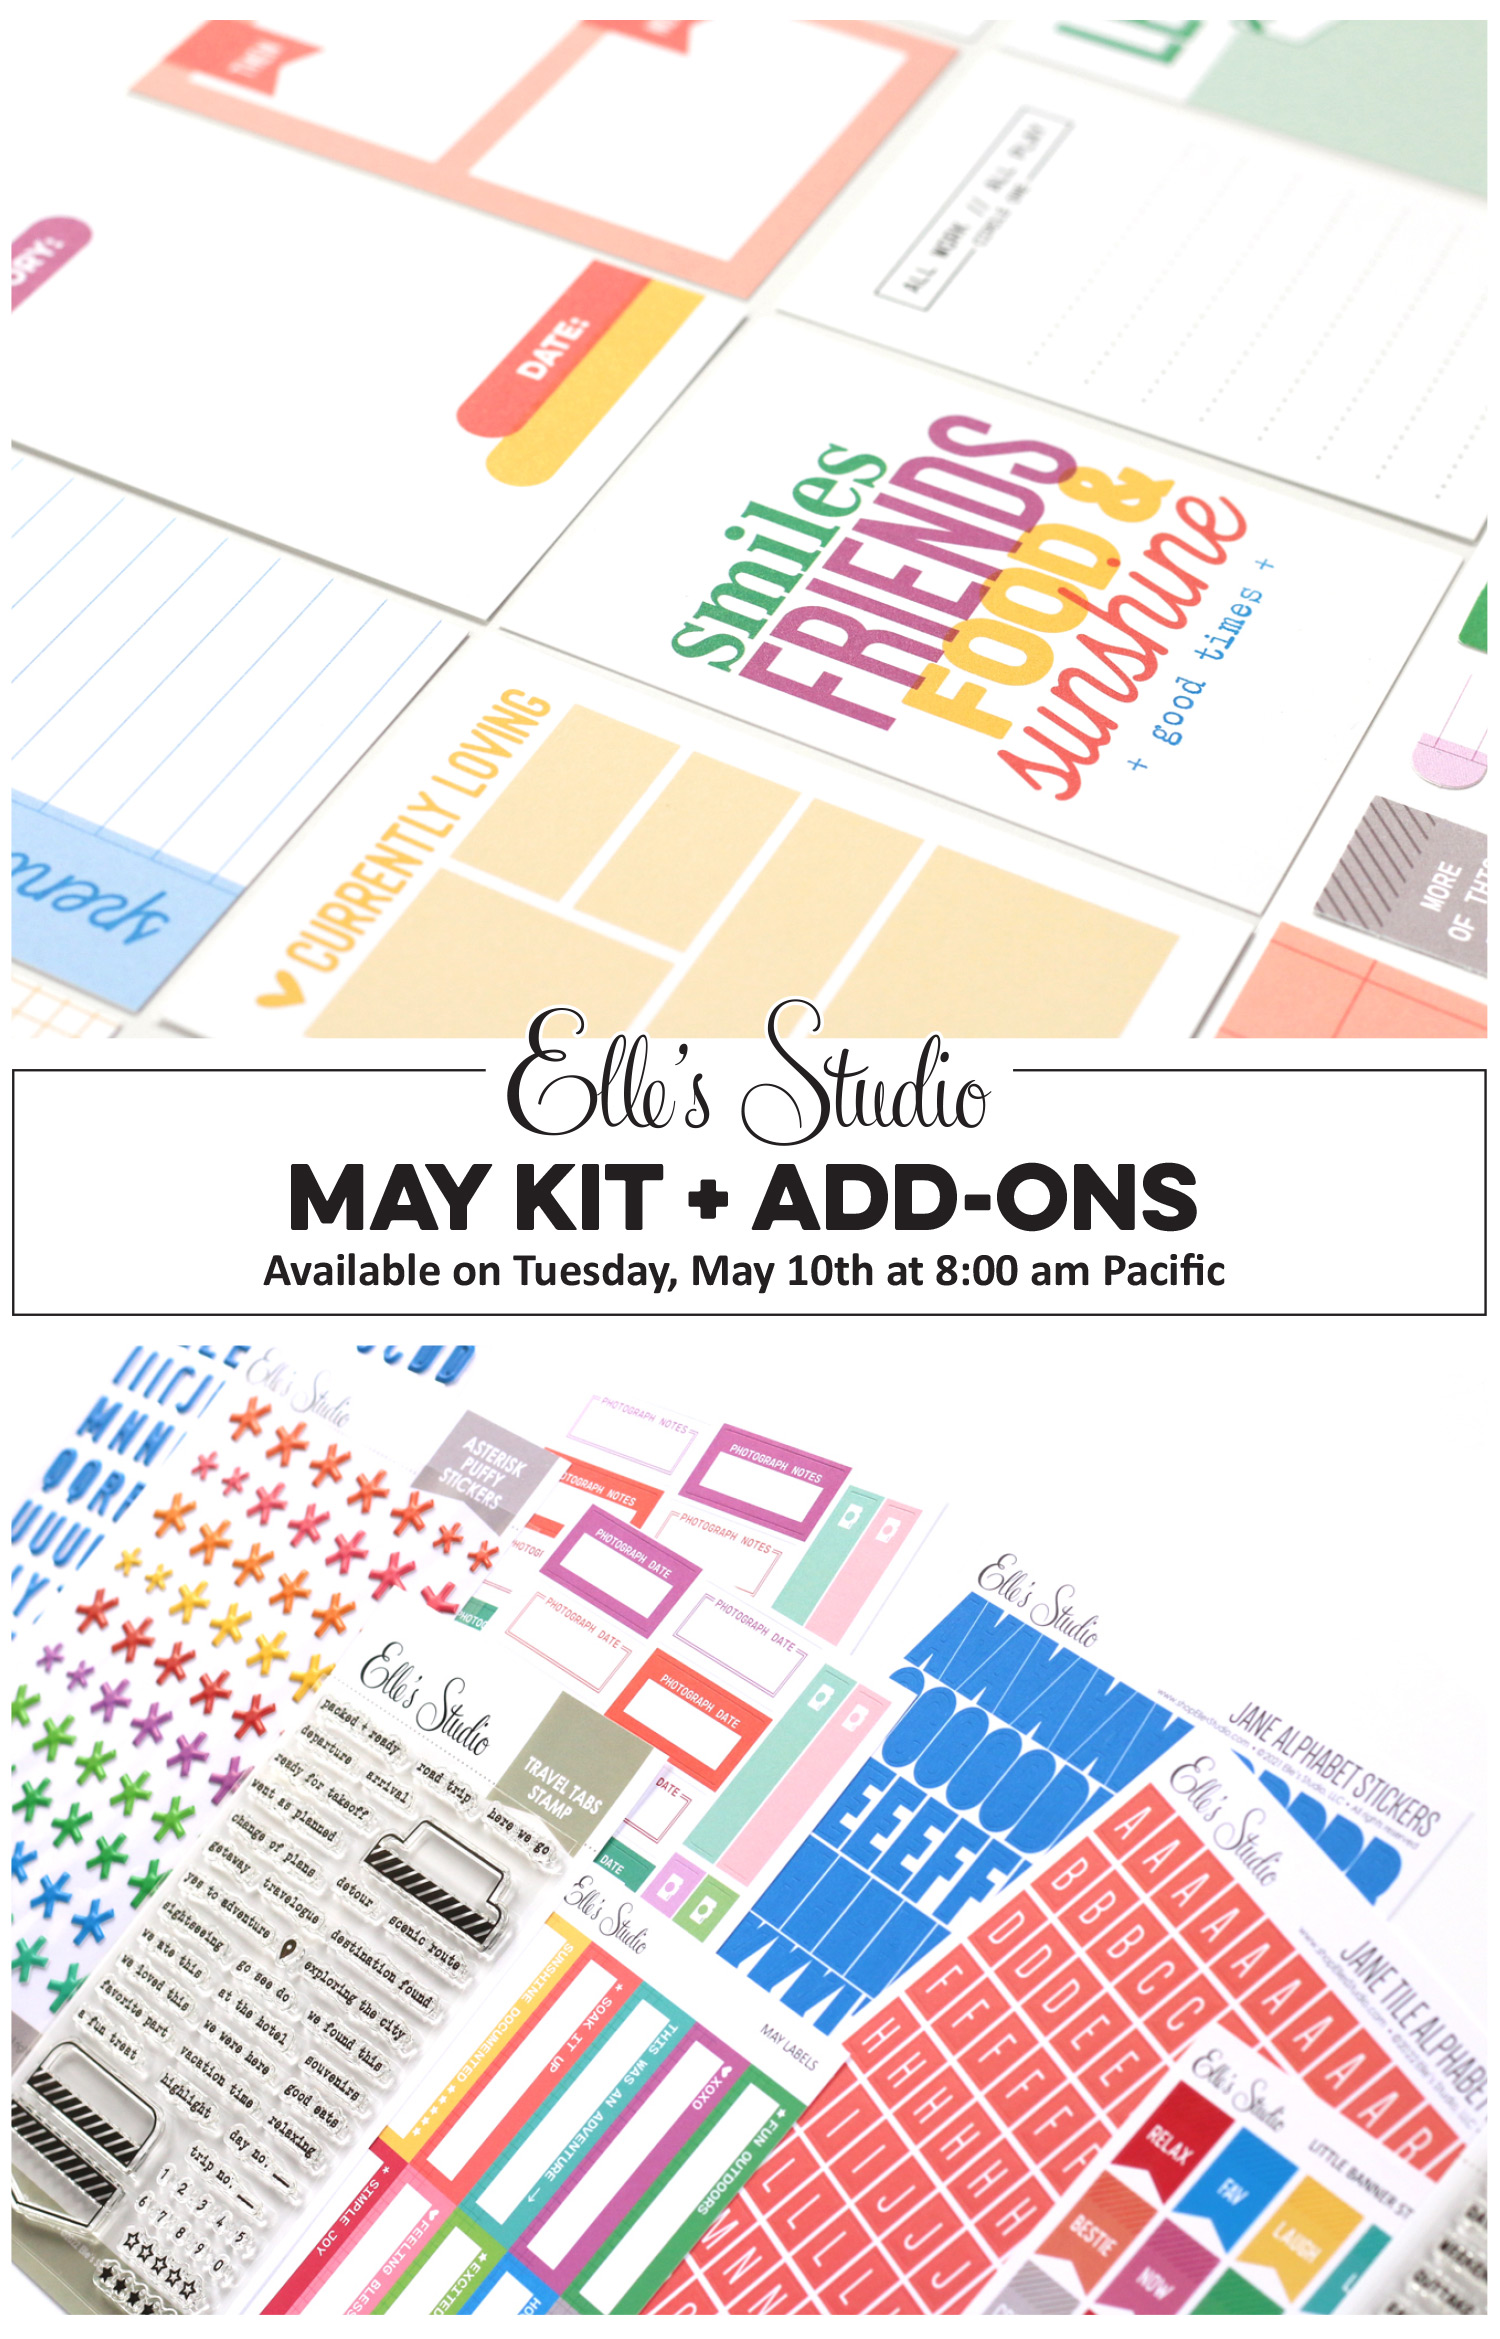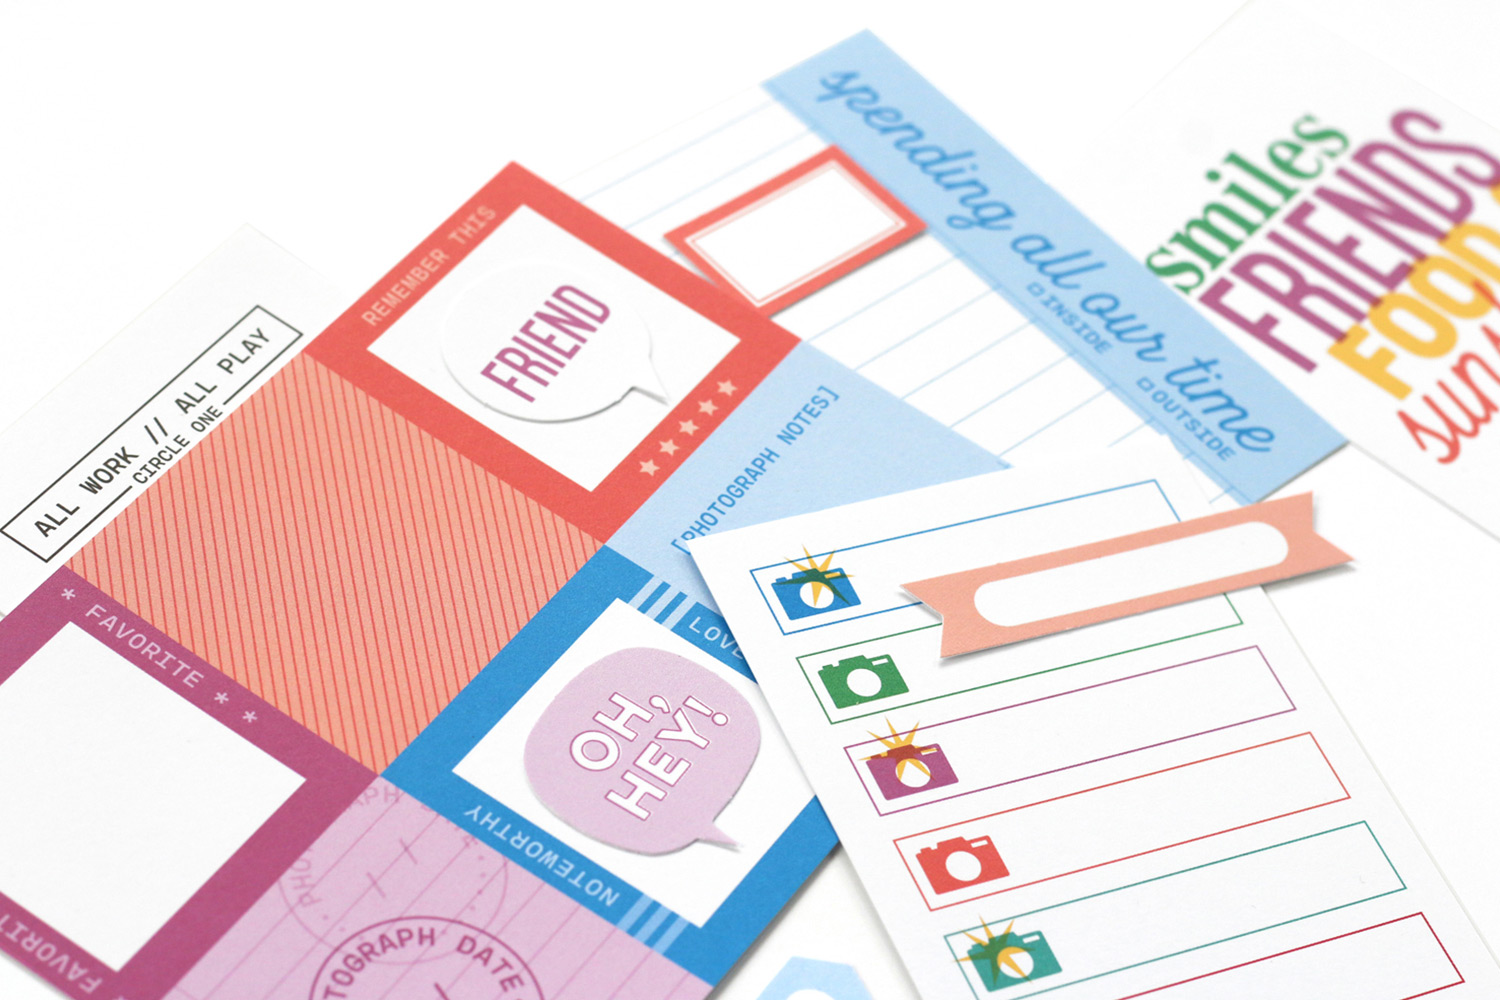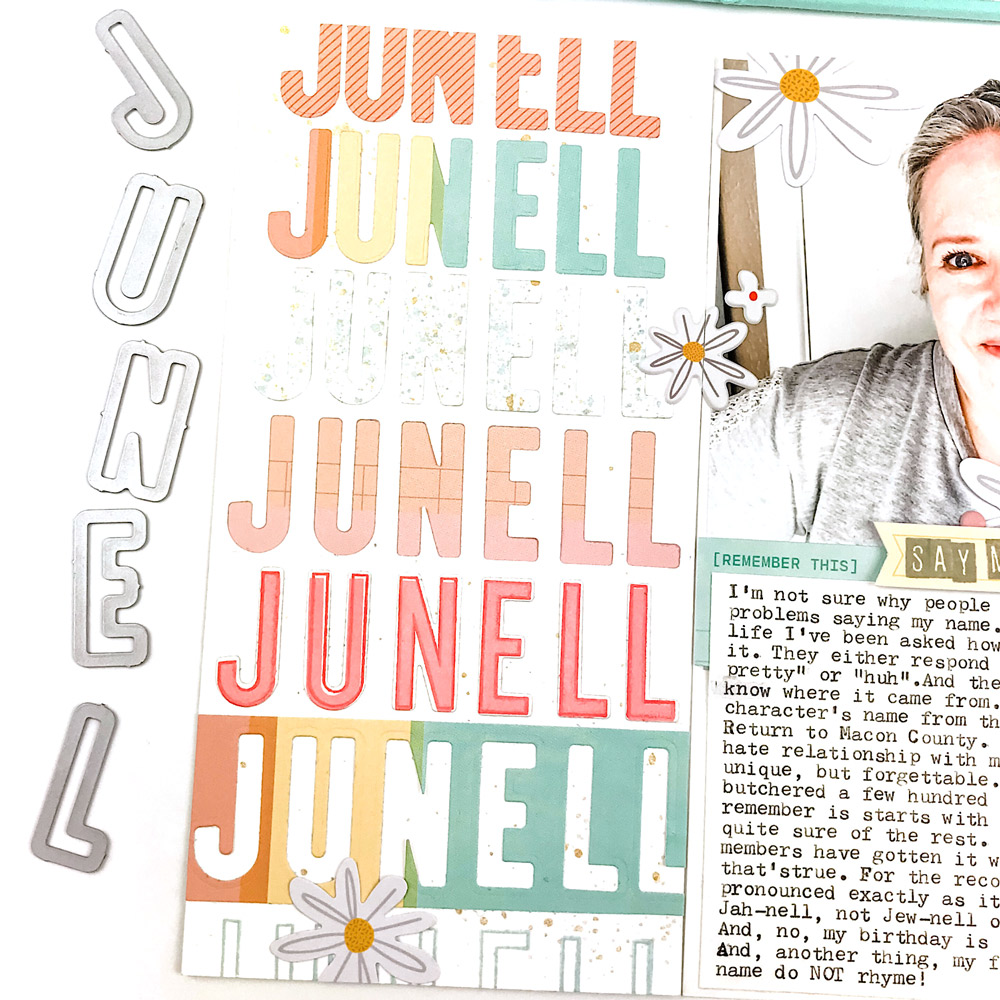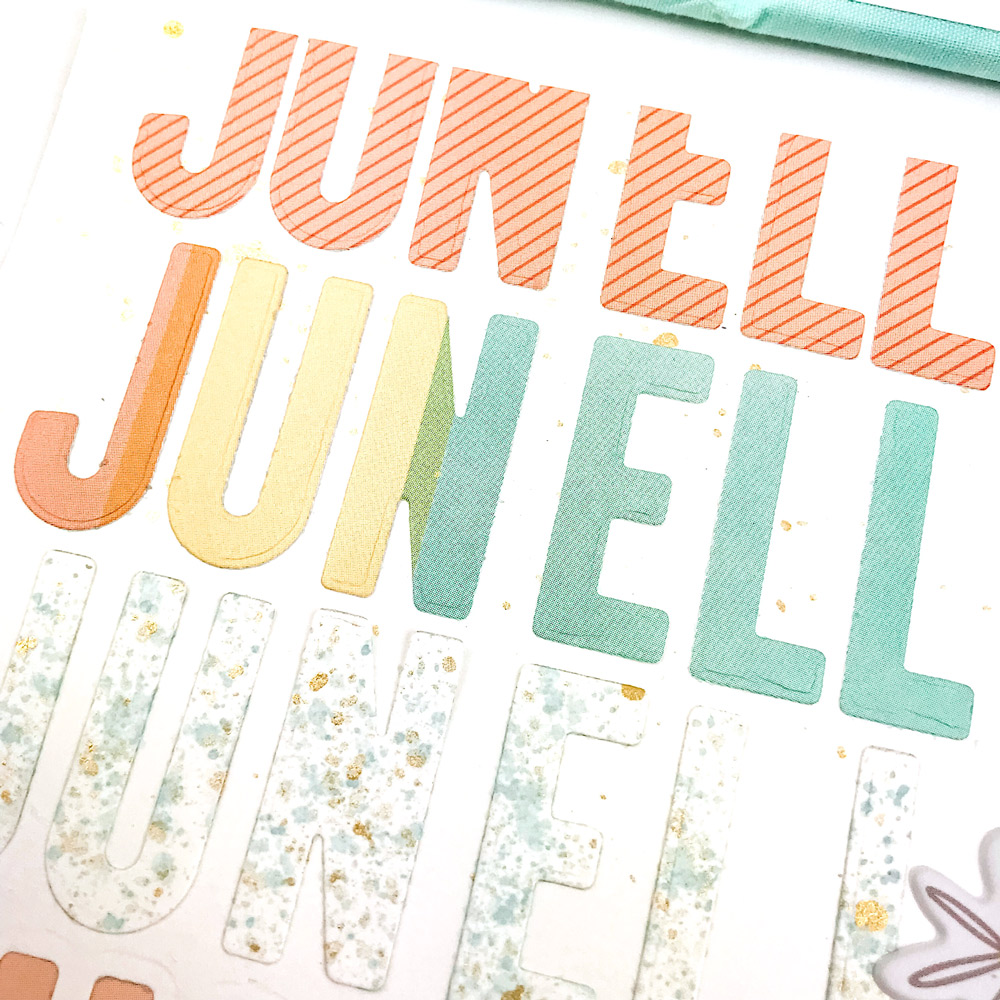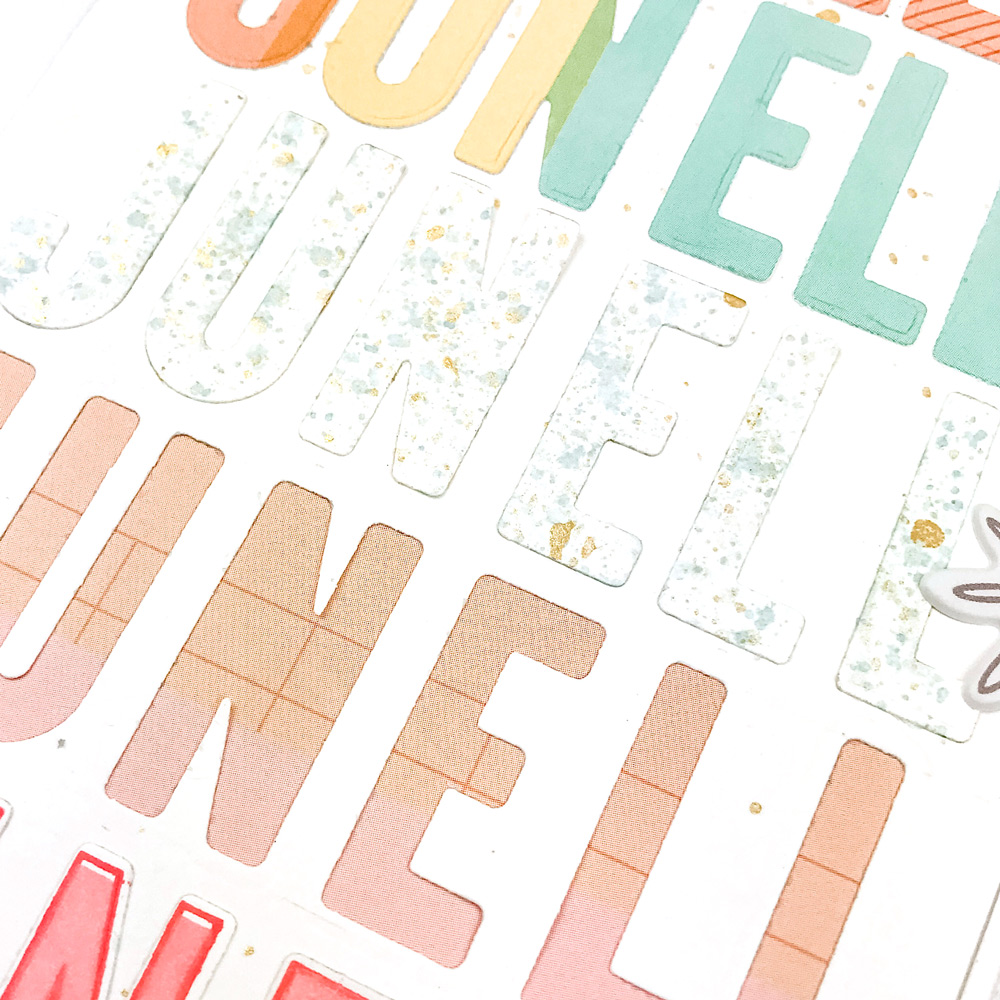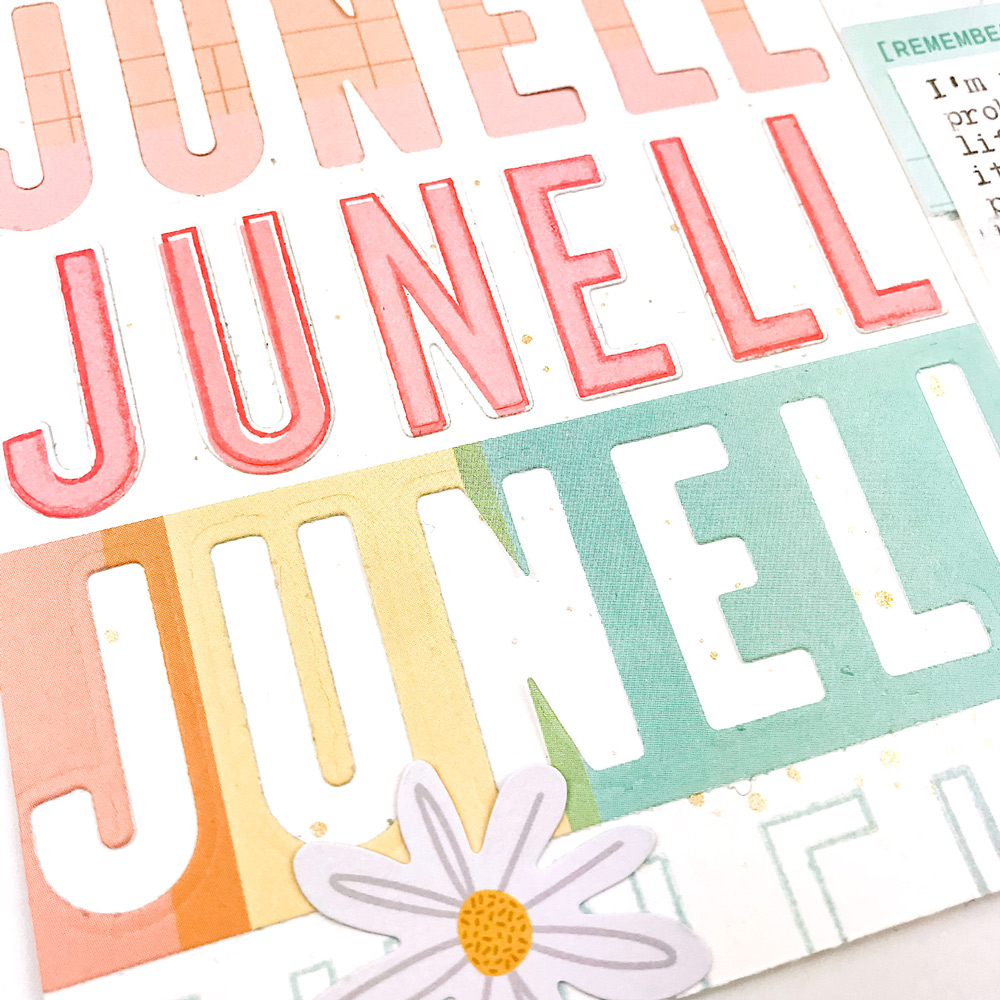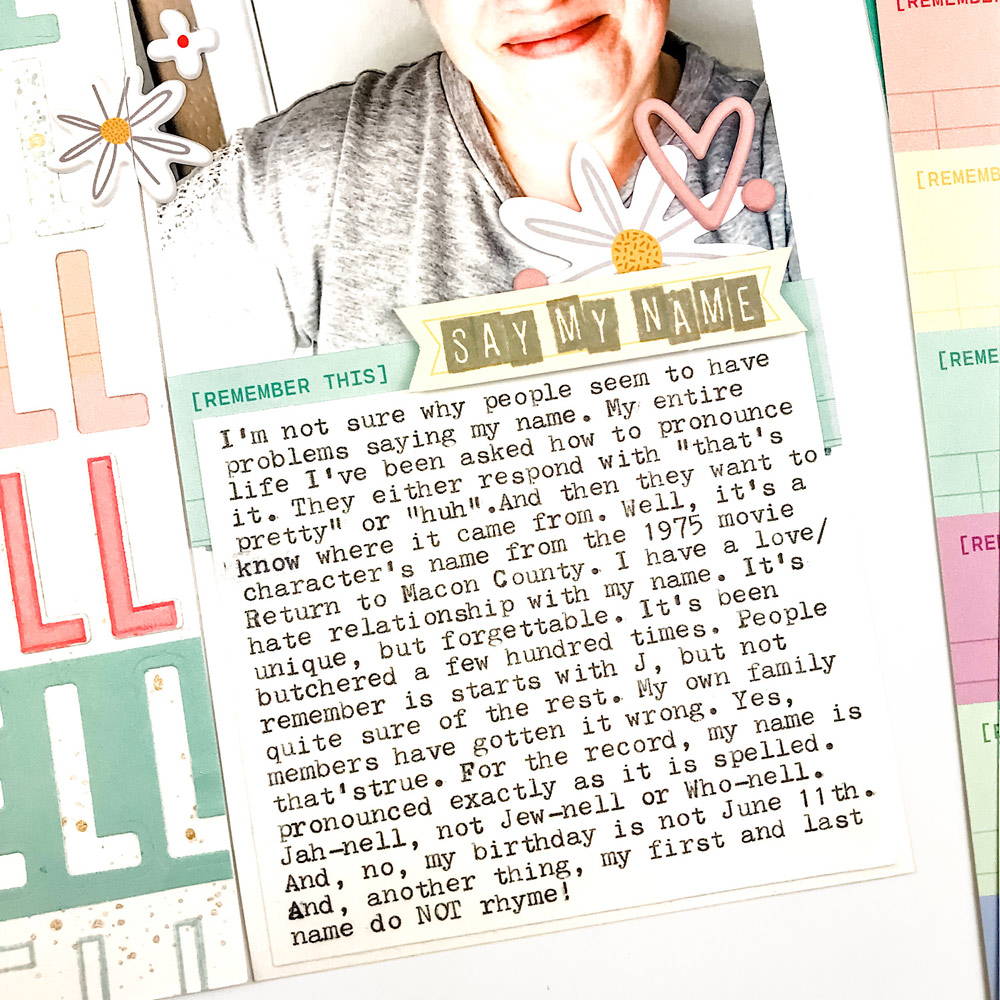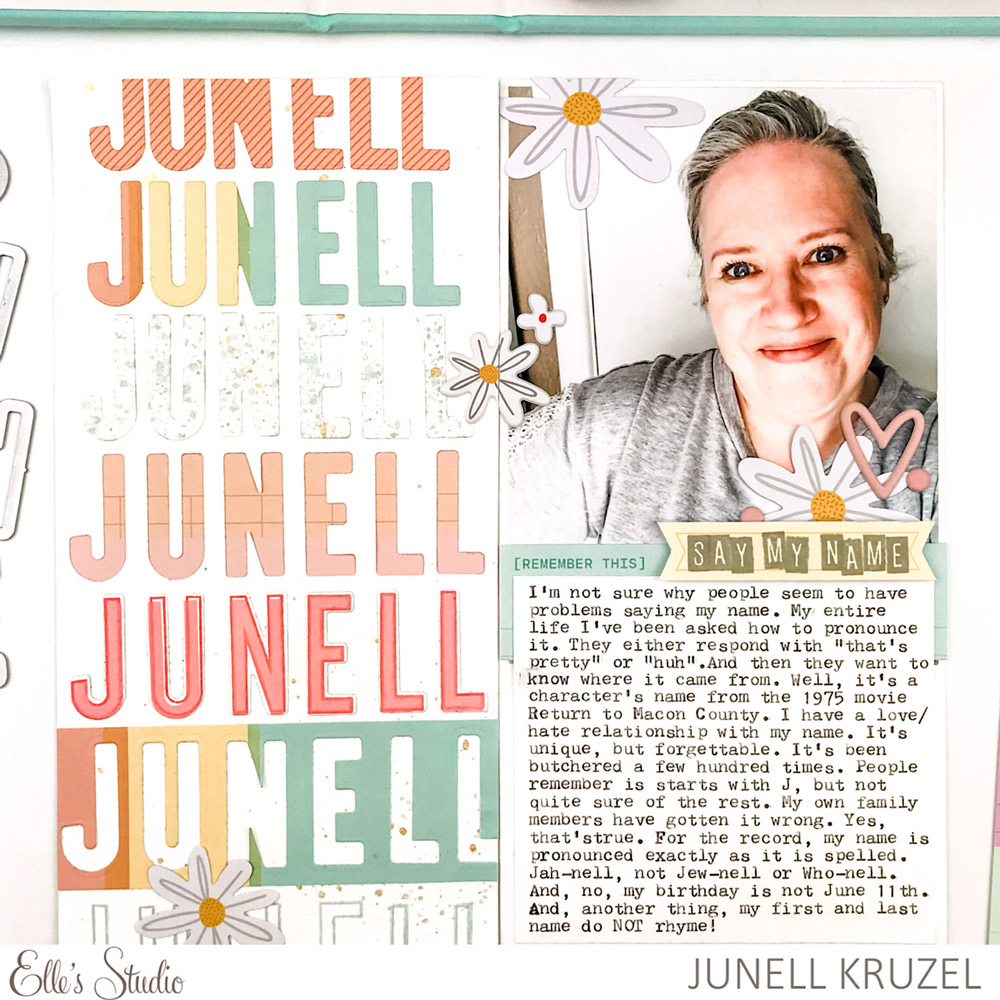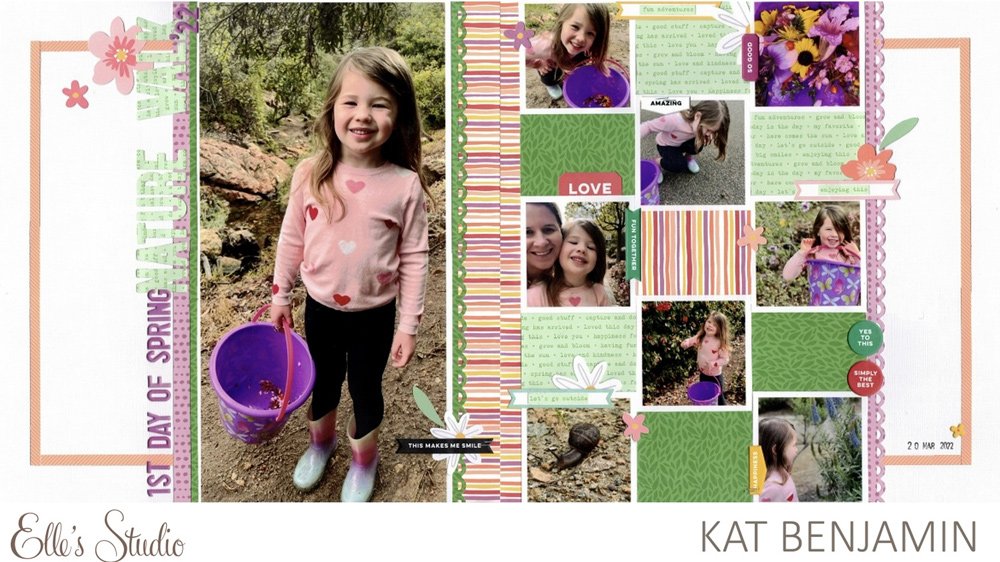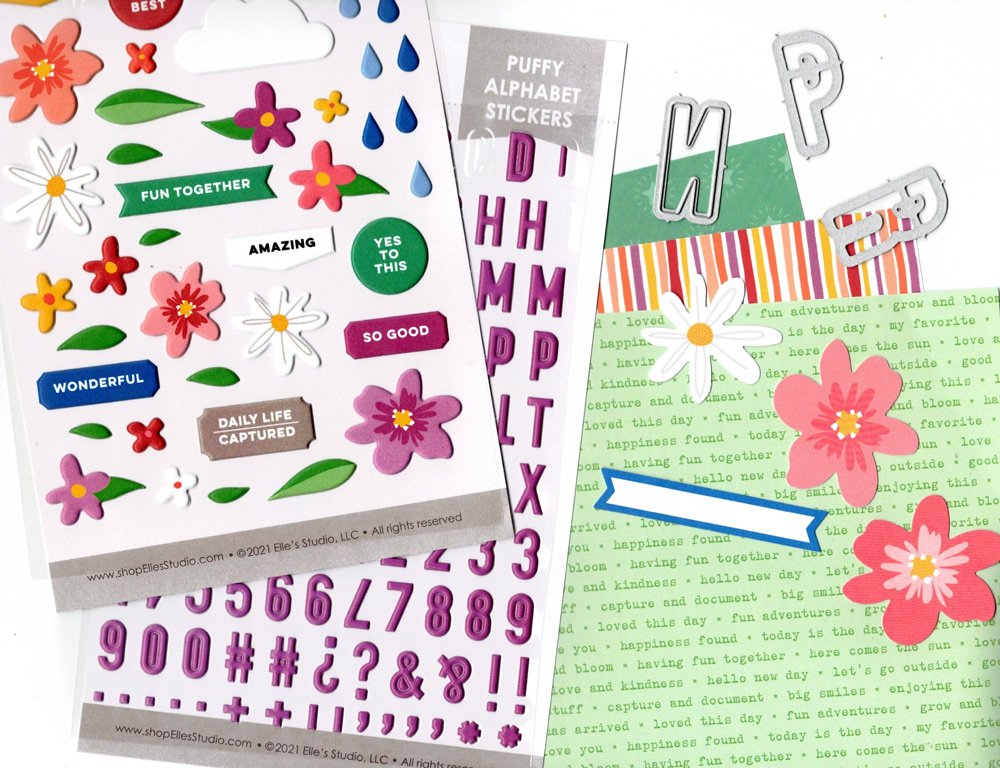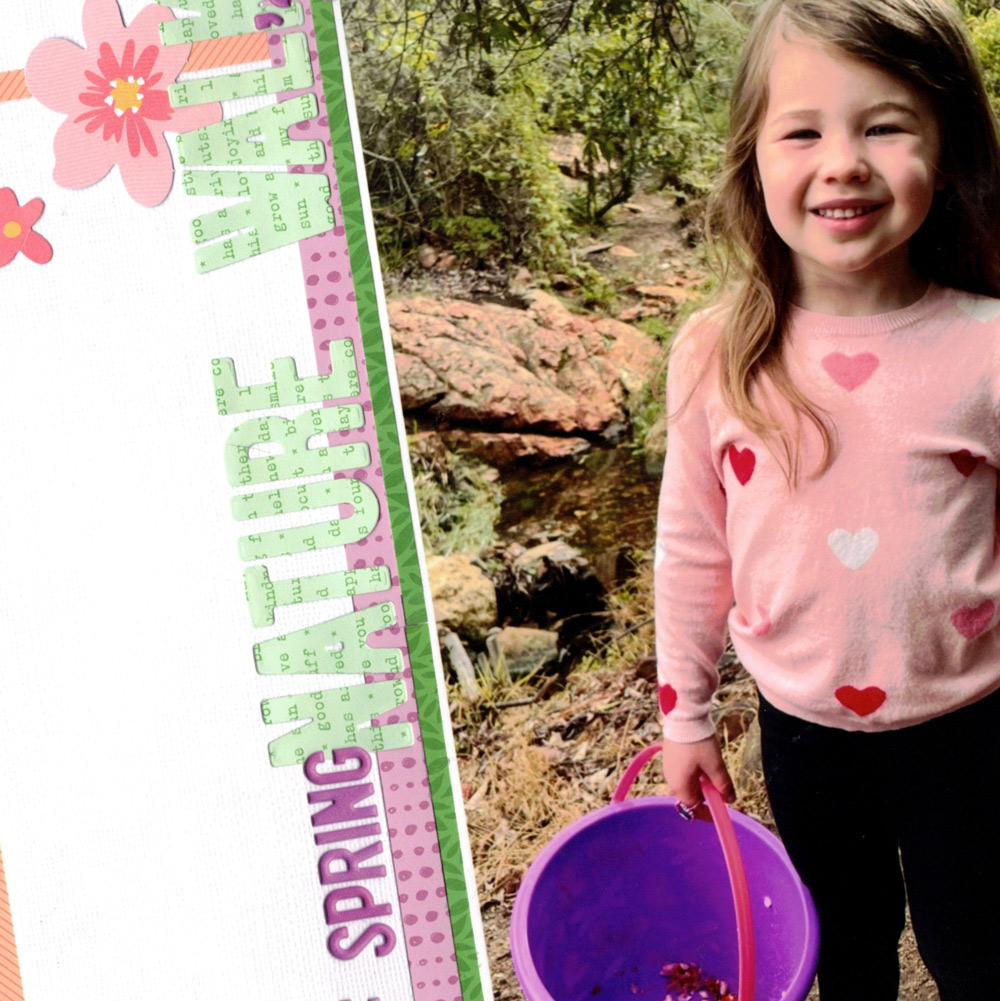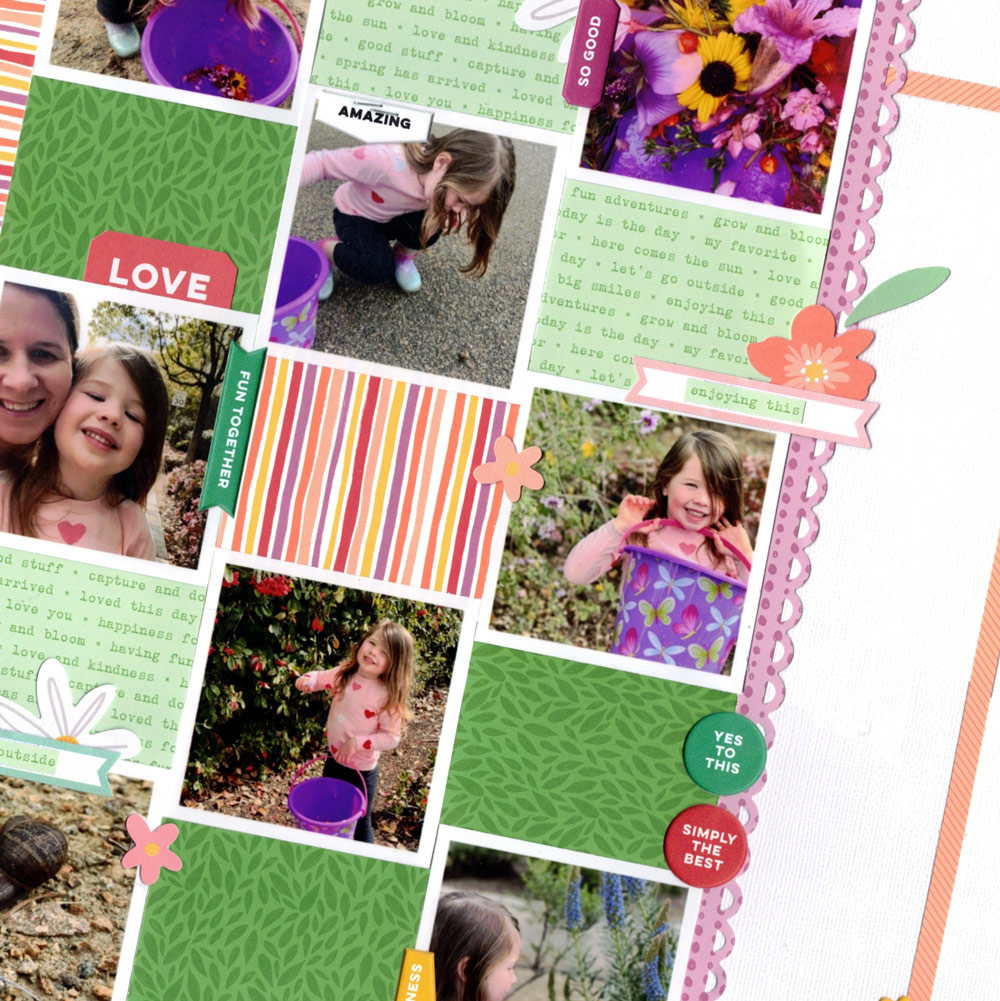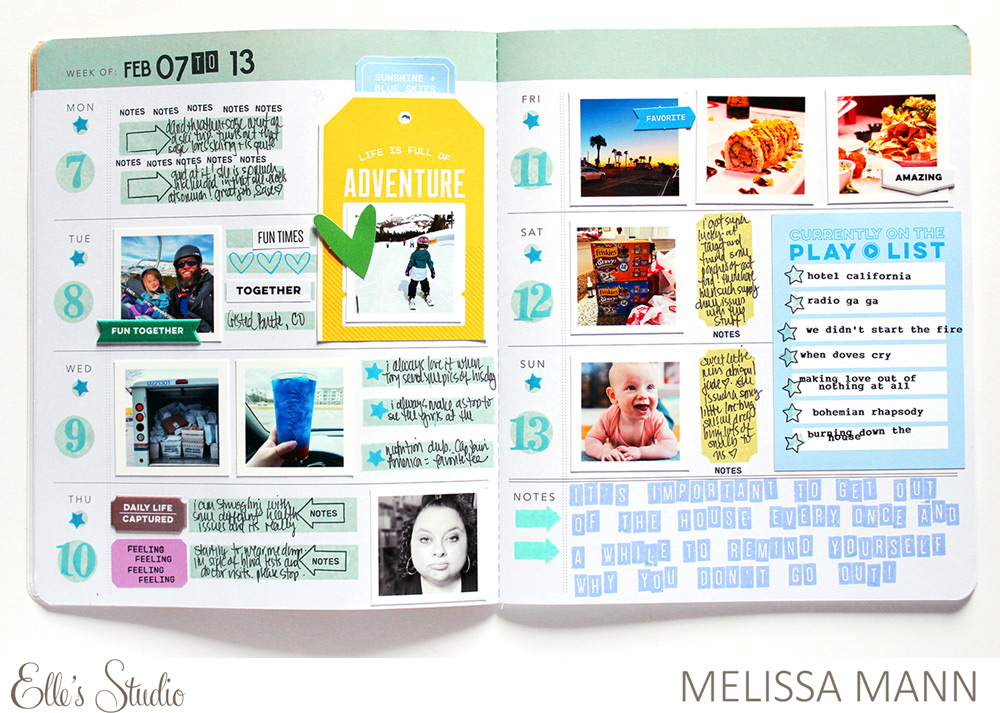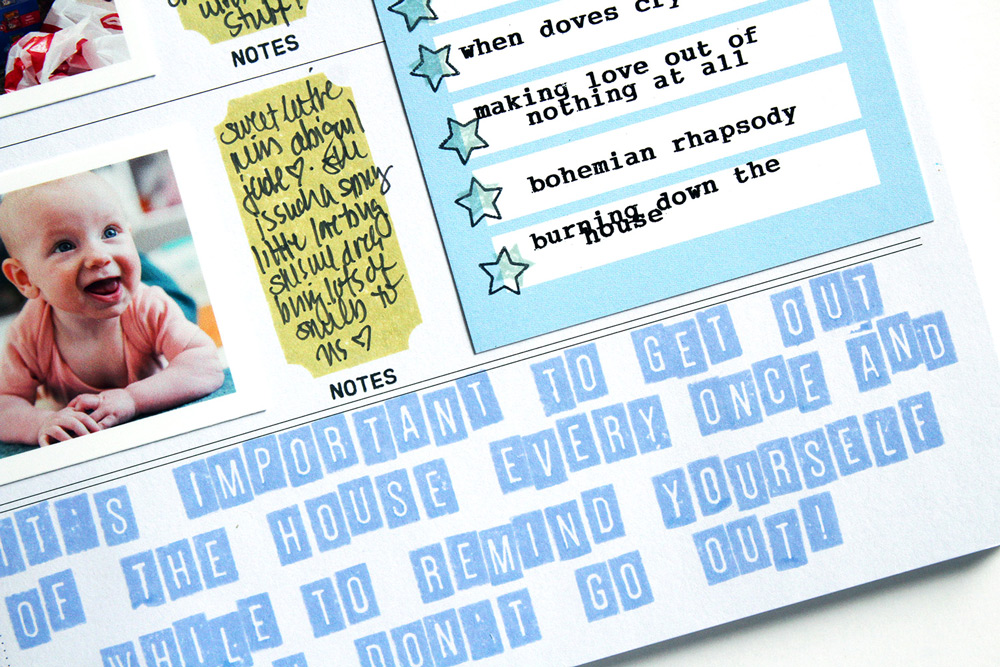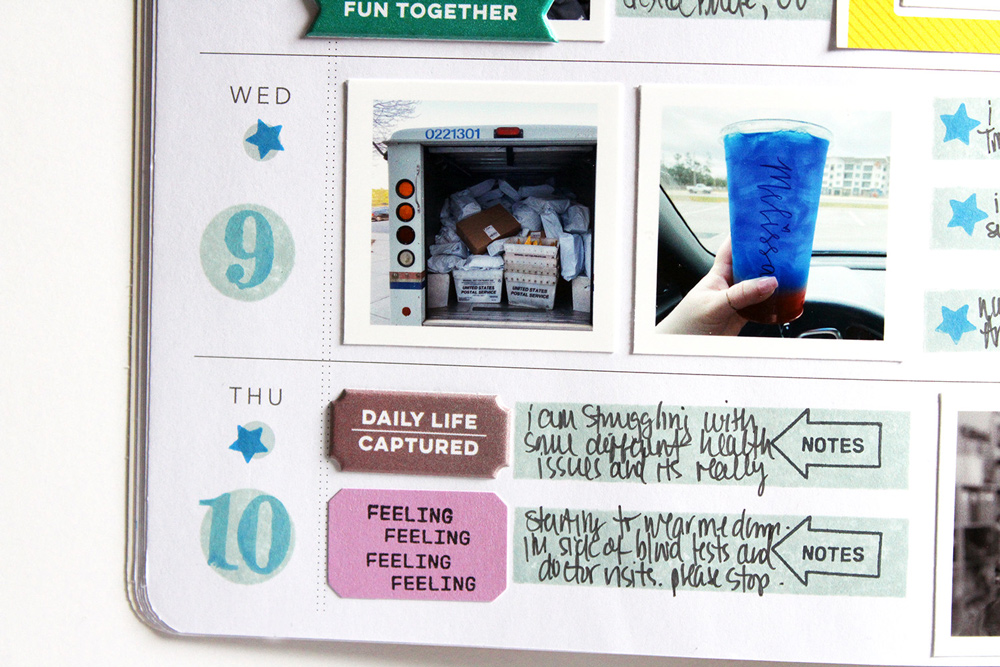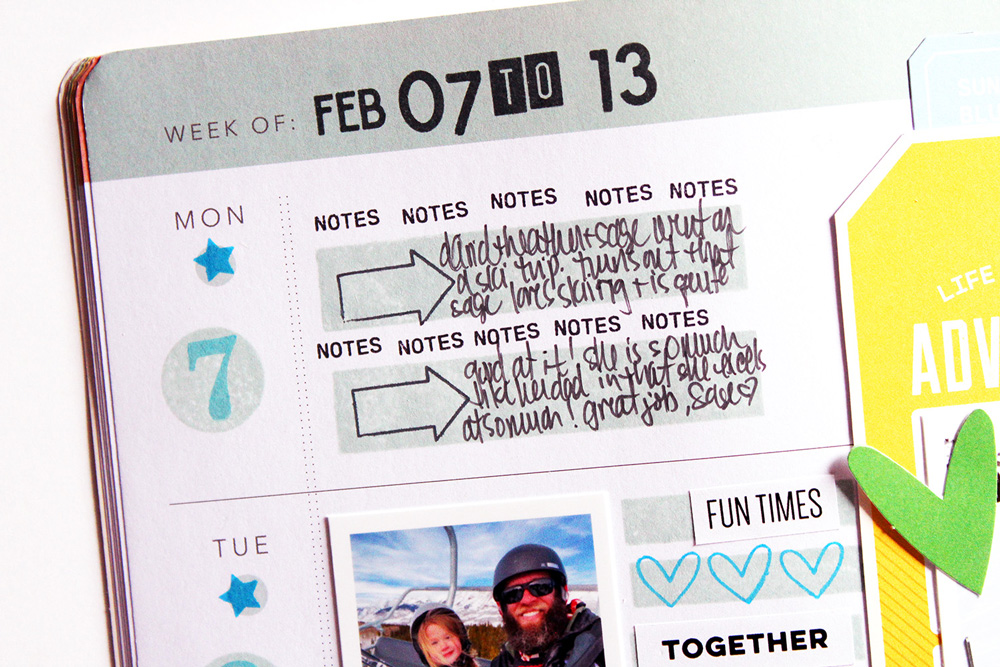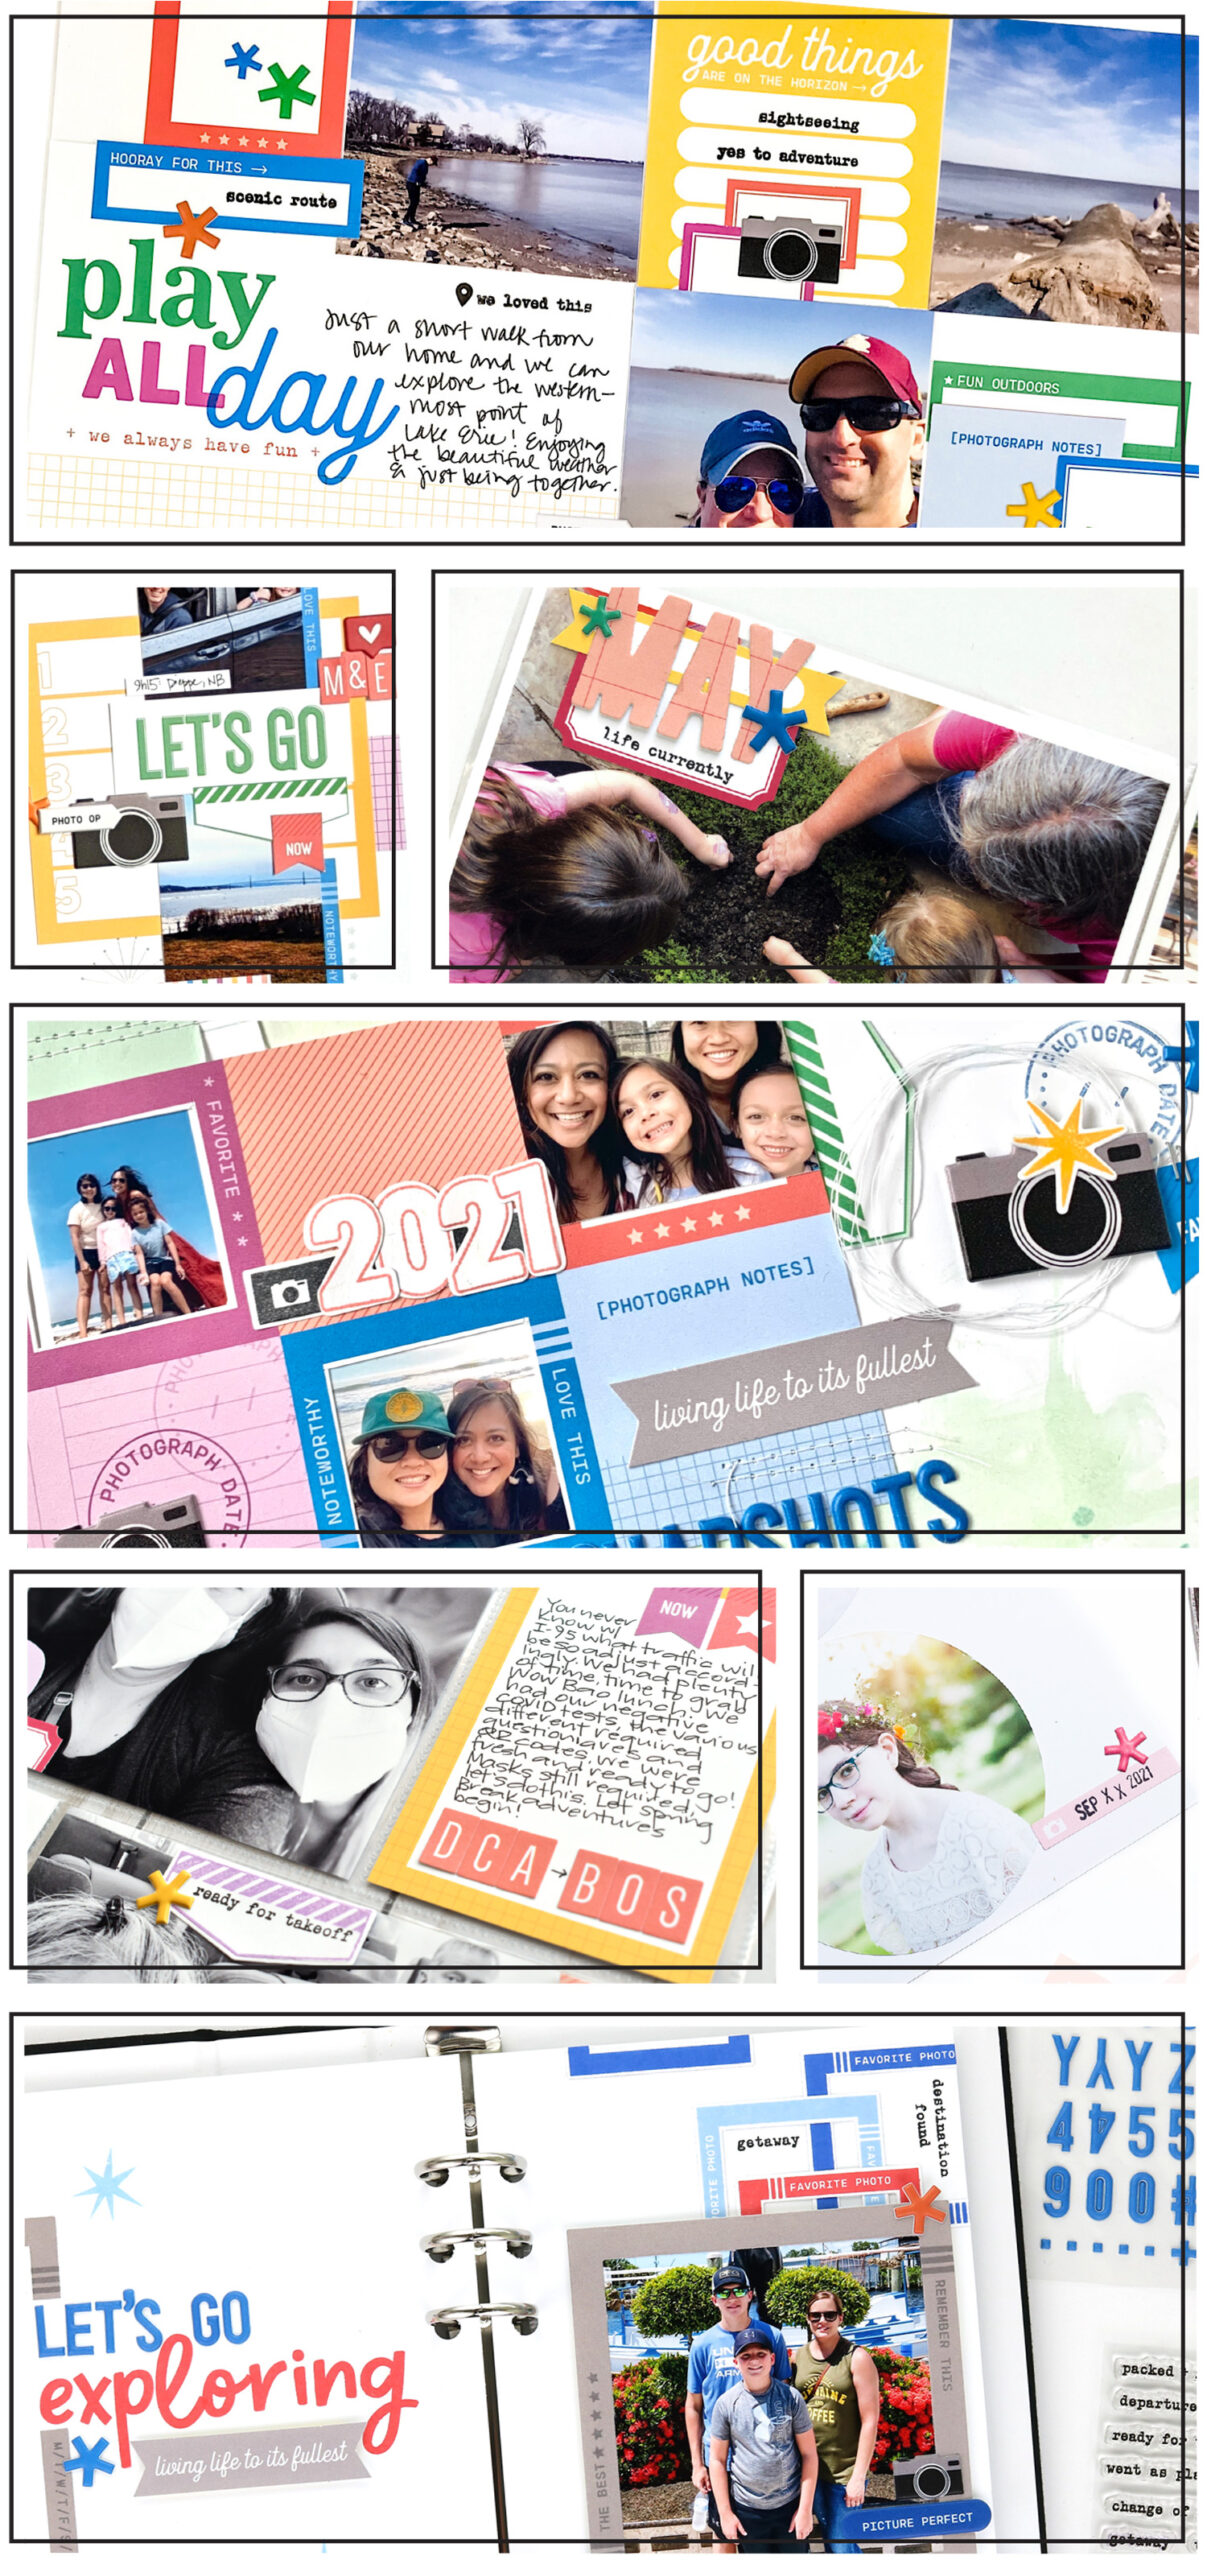
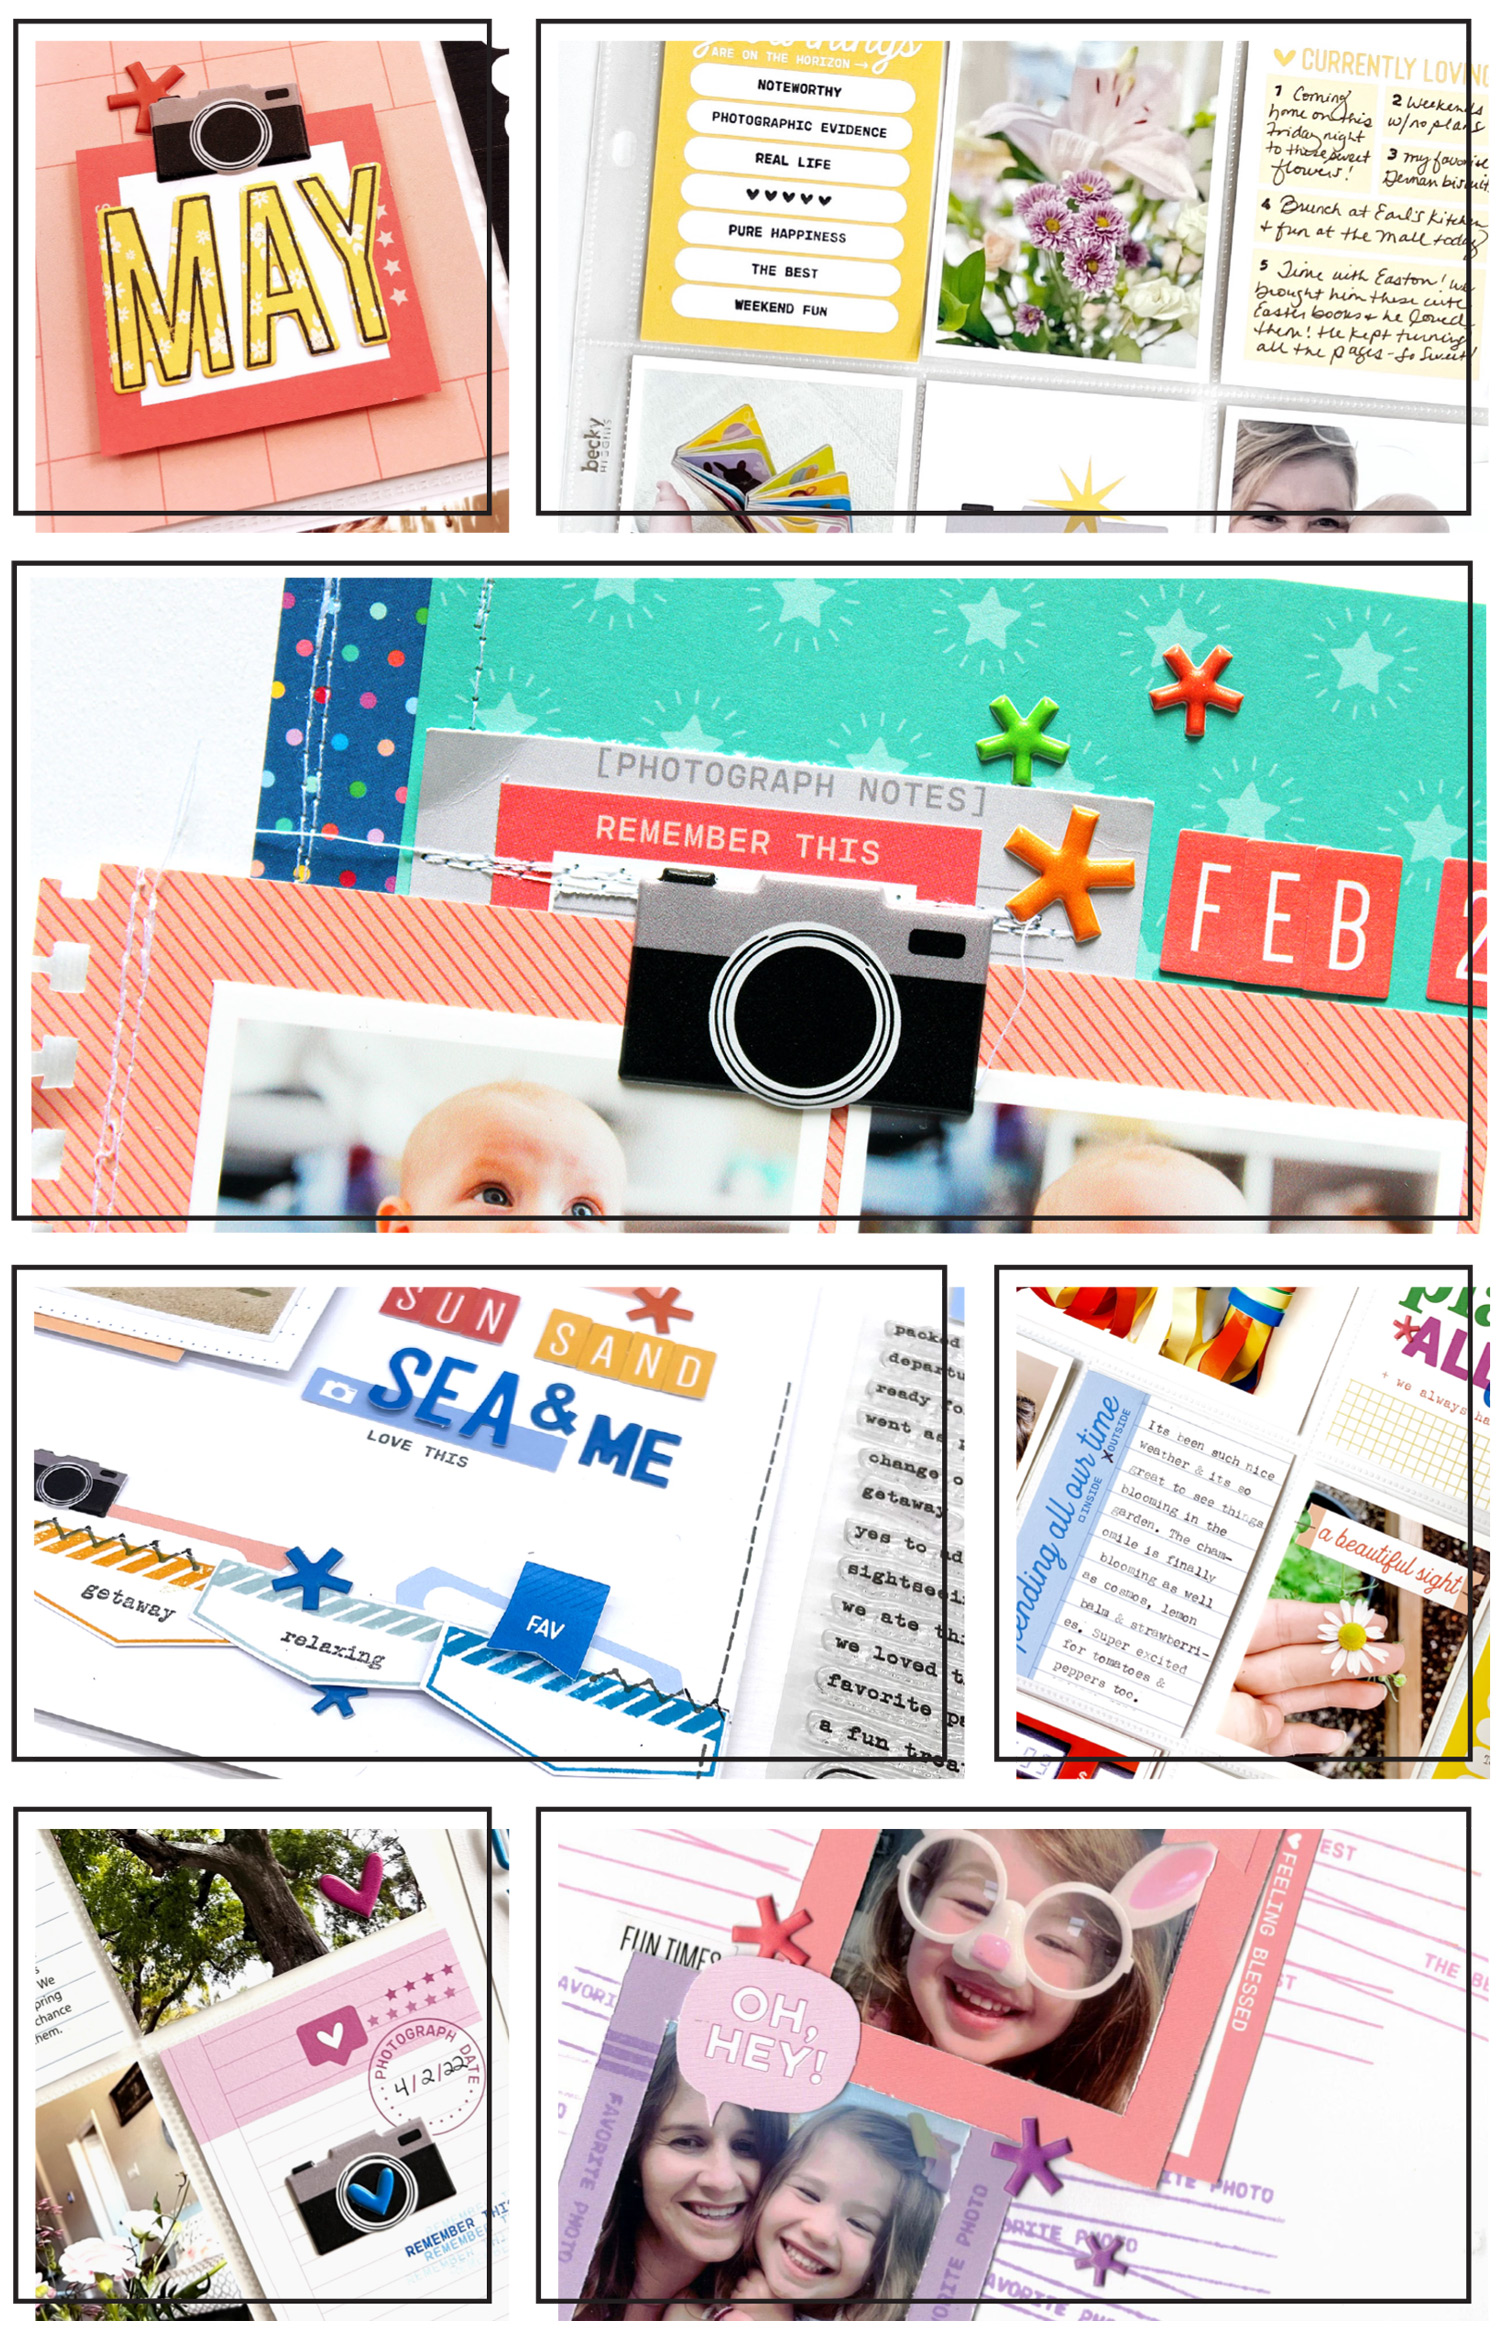
We are just three days away from our May kit and add-ons reveal and we are so excited to be able to share these fun sneak peeks of amazing projects our team made using all the new products that will be available soon! Our May reveal will be full of exclusive products that we’ve designed and will have you ready to document your May stories and take you right into the month of June!

Not a subscriber? Reserve your spot now by pre-ordering our May kit and lock in our $9.99 kit price by starting a subscription today! You’ll want to choose our SUBSCRIBE & SAVE option to get signed up and start your subscription with our May kit. We will then hold your kit and you’ll be ready to bundle and save at our May 10th reveal! Details on how to bundle with your subscription order will be emailed to you once you have purchased this product.
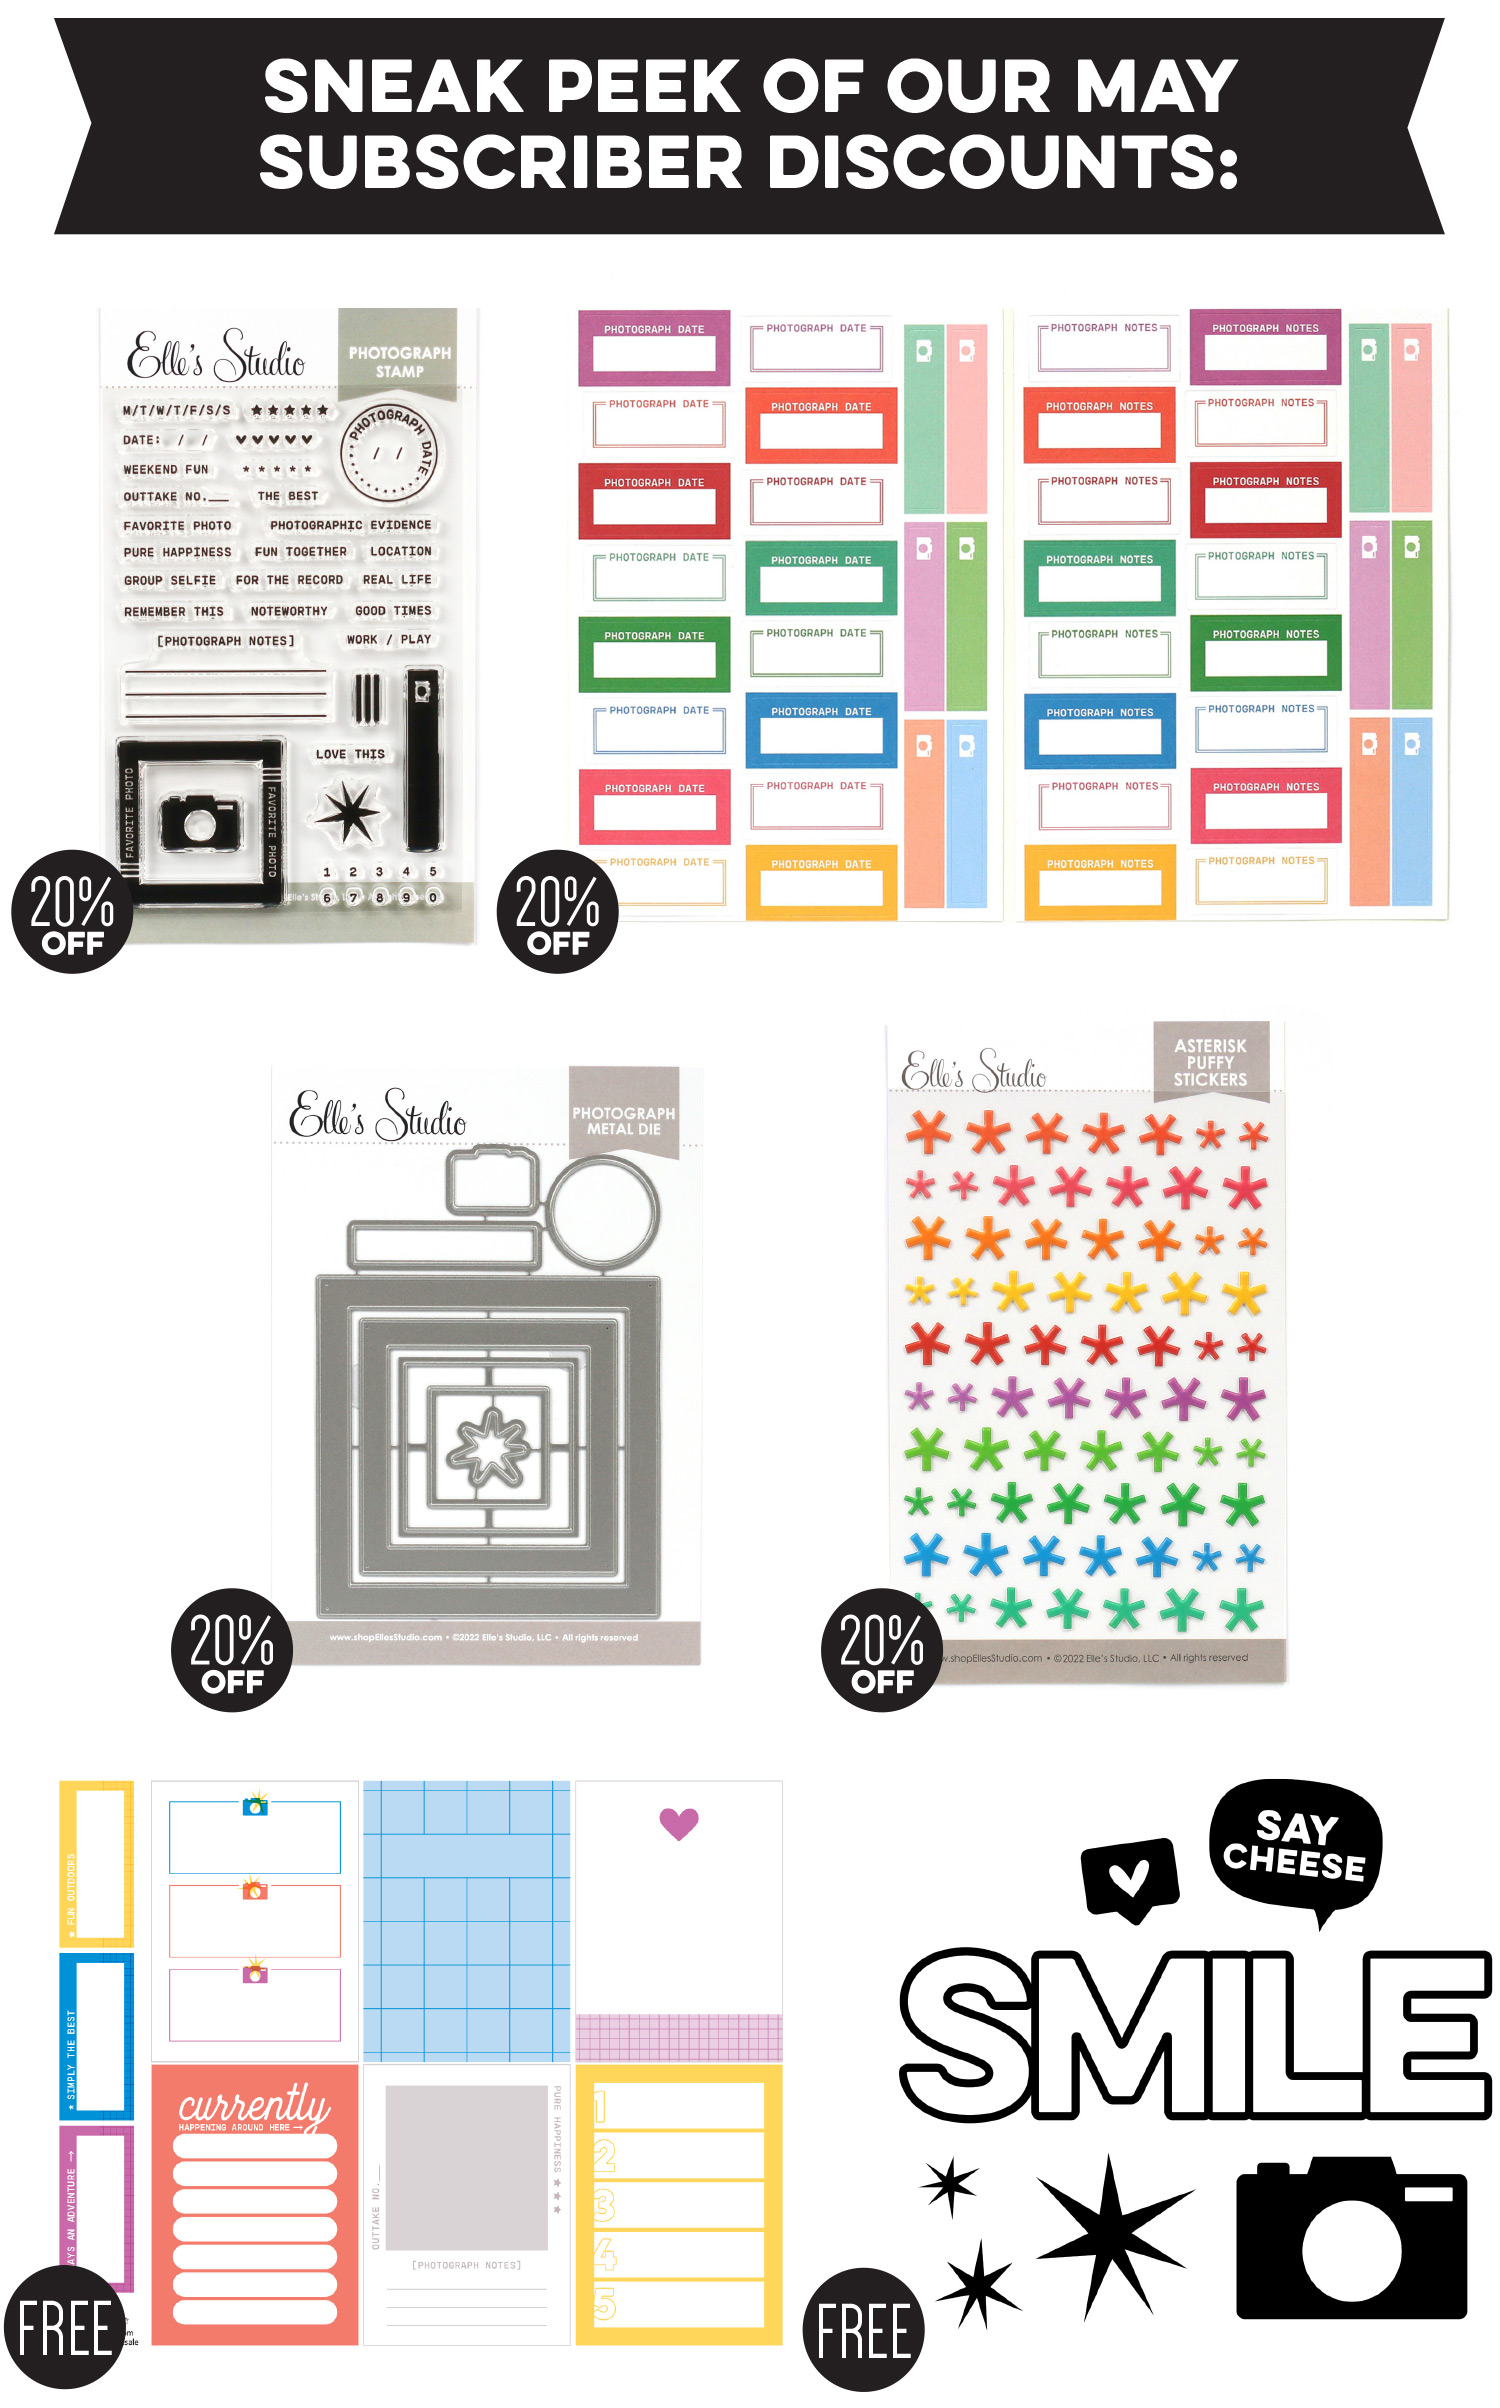
Kit subscribers, don’t forget! Along with being able to bundle any products from our shop that will ship for FREE with your kit during our 24-hour bundling period, starting on the 10th at 8:00 am Pacific each month, our subscribers will also have access to special discounts on select items! Above is a preview of our May discounts and savings that will be available for our subscribers during our May bundling period! These discounted items can be found in our SALE section during our 24-hour bundling period, and you must be logged into your kit subscriber account to see them. If you haven’t subscribed to our kit, sign up now to take advantage of these special offers on May 10th! Quick note: Our kits and add-ons are available without a subscription each month, too.
We are so excited to share all of these new products with you and to see how you use them on your projects! Make sure you set your alarm and mark your calendar for this Tuesday, May 10th at 8:00 am Pacific! We hope to see you there!