We all have photos that don’t really tell a story, but we can still get creative with them, too! Today Maggie Massey is showing us how to do just that—in a notebook! Let’s see what she created!
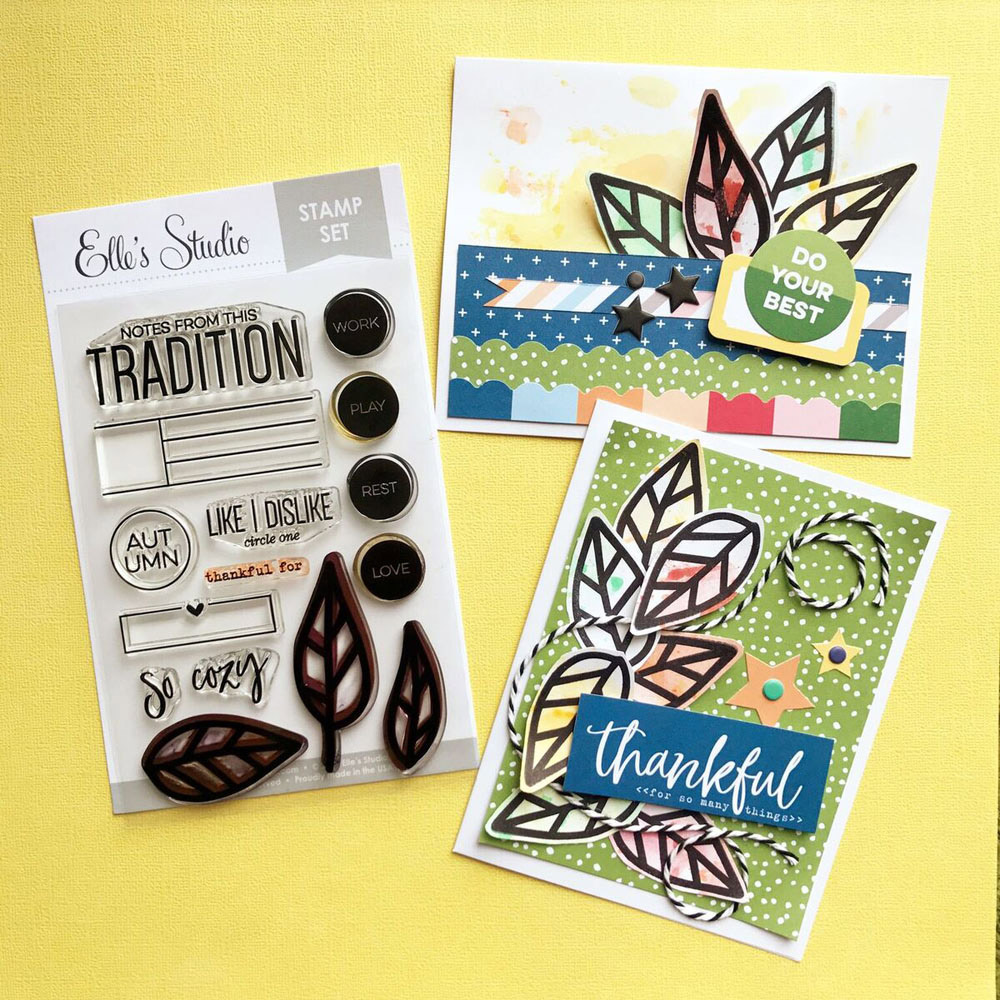
Hello, hello! It’s Maggie here, with a quick and easy project I created in my photo journal using the October 2017 Kit and So Cozy Stamp.
You know those photos you have that don’t really have a story, per se? Those photos that you love but that don’t capture an event? Those photos that are just, well… random? Well, those are the photos I add to my photo journal. I pop them in, add a few embellishments & done!
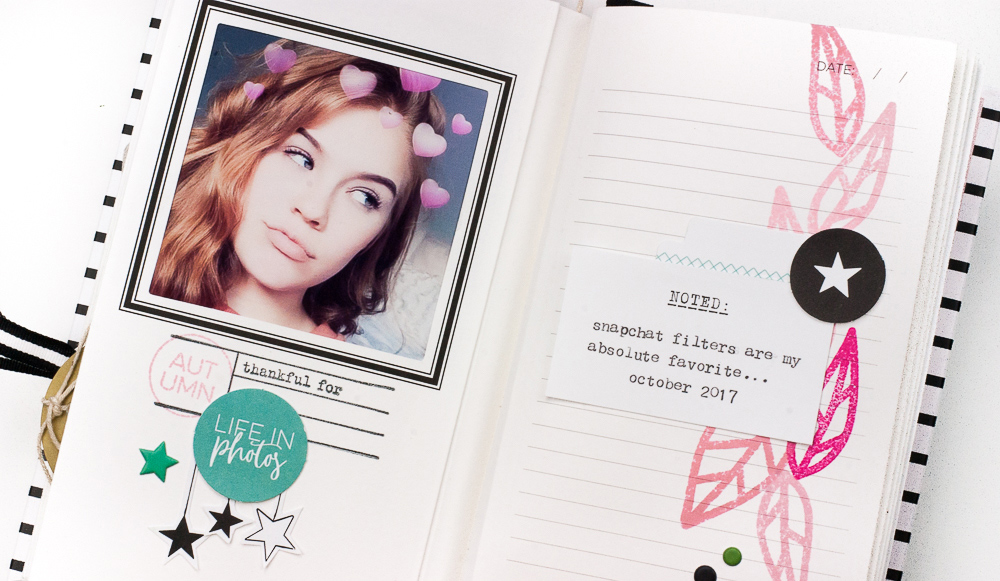
I found this recent photo of my daughter in her Instagram feed and knew right away I wanted to scrap it. I printed it out, tucked it into my journal and took out my October 2017 Kit to dress it up a bit.
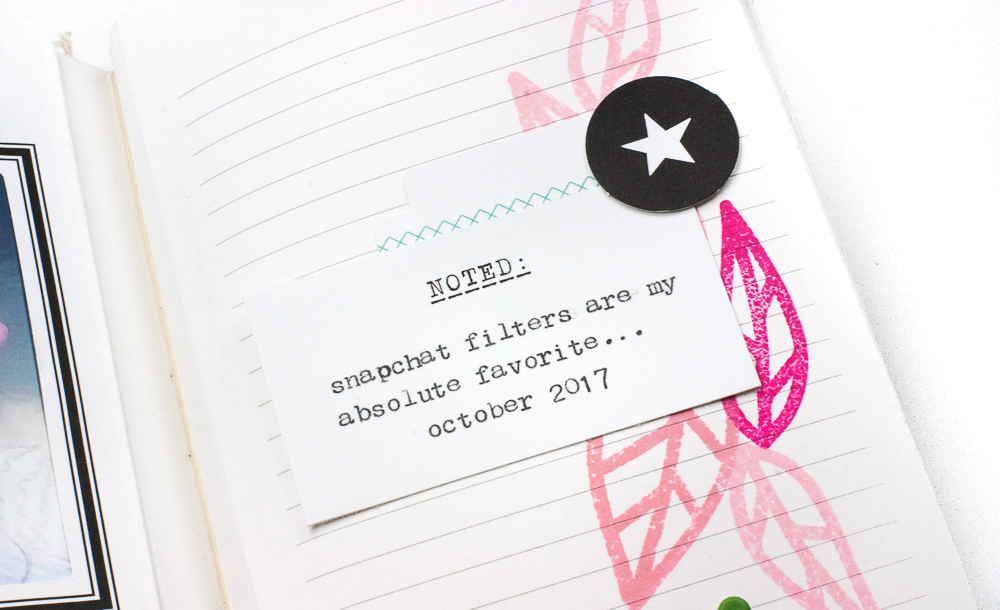
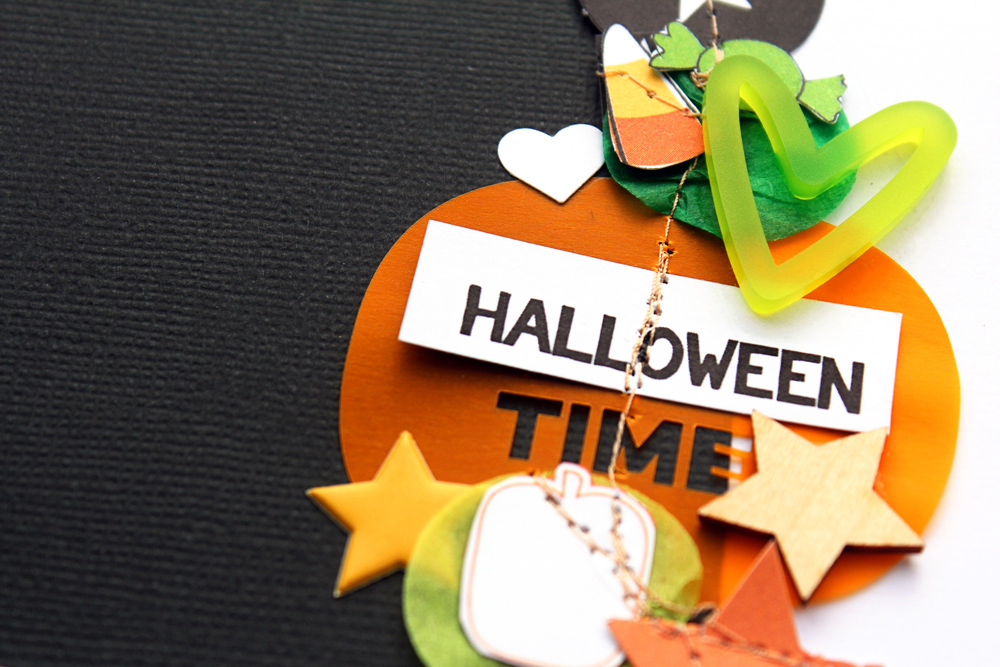
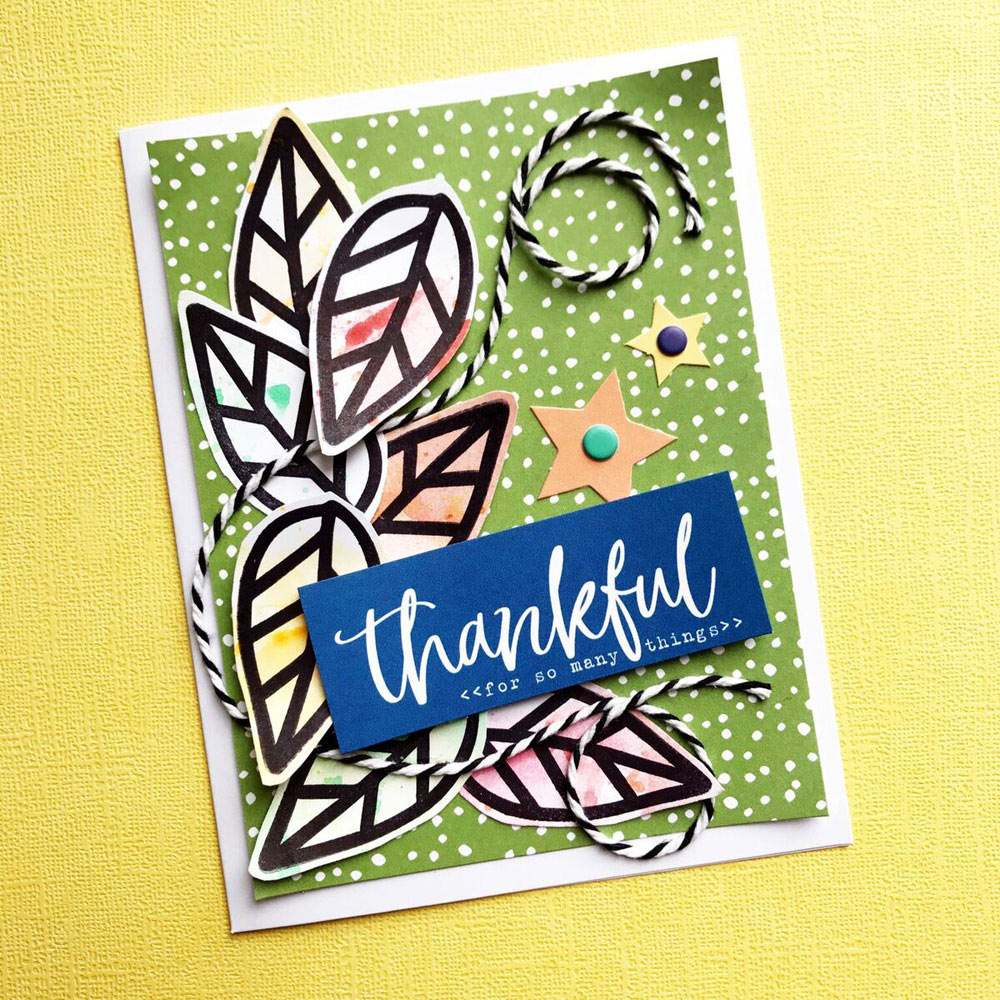
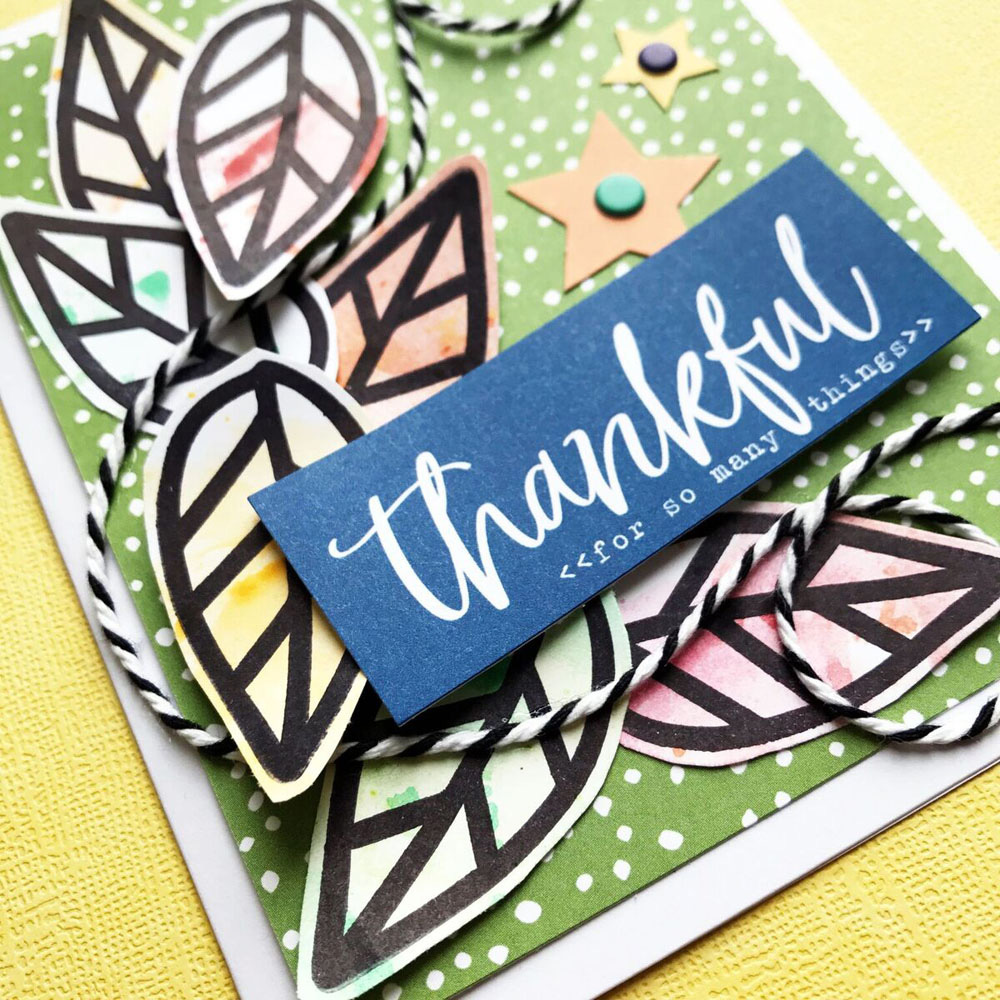
I started on the right side of my spread…stamping the leaves from the So Cozy Stamp down the side of my page. Then I typed up a little blurb on the “noted” top half of a journaling tag and added it on top of my stamping, keeping the bottom orange and yellow design for another project. Next, I added a few puffy dot stickers from the Halloween Puffy Stickers to finish off my page.
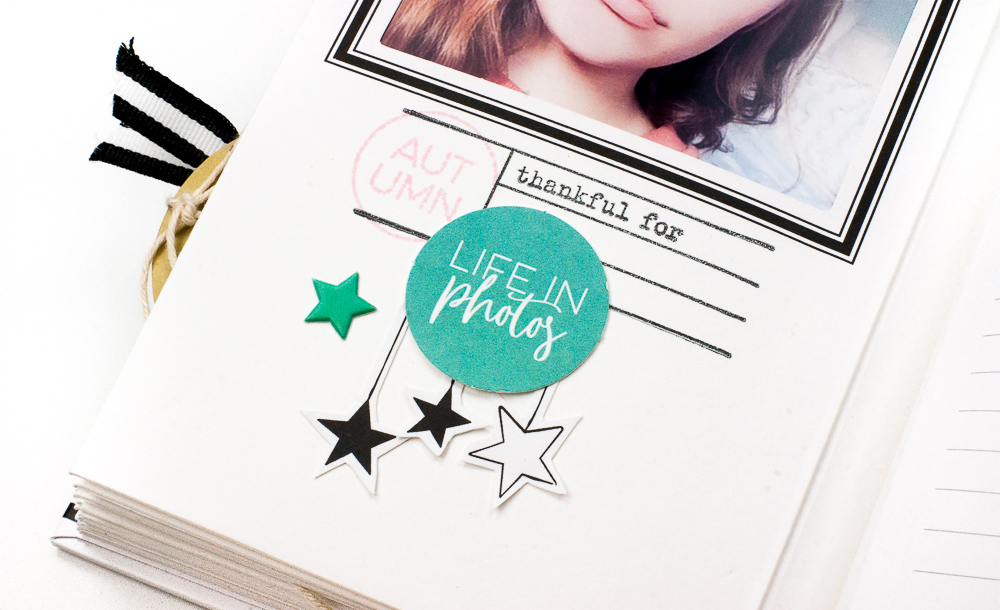
For the left side, I added the “autumn” circle, journaling spot and “thankful for” stamps from the So Cozy Stamp under my photo, and fussy cut the dangling stars from yet another journaling tag featured in the October 2017 Kit. I tucked those under the “life in photos” die-cut from the kit, added a puffy star sticker from the Halloween Puffy Stickers and my pages are finished! Easy peasy!
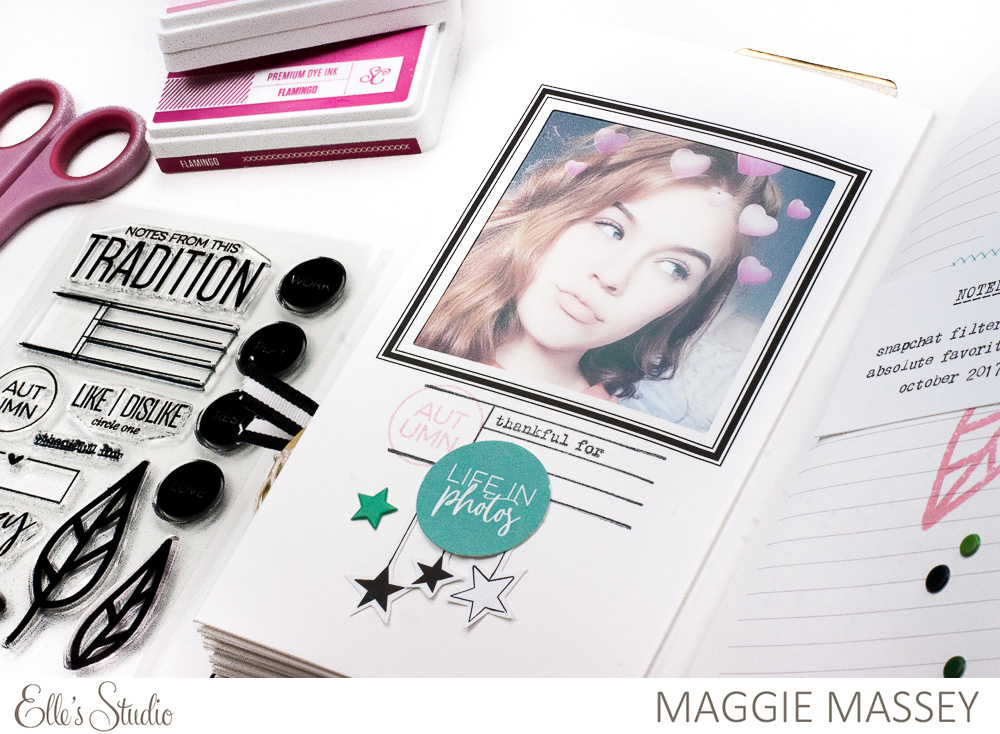
Supplies | October 2017 Kit, So Cozy Stamp, Halloween Puffy Stickers
Thank you so much for taking a look! I hope I’ve inspired you to get those random photos scrapped, too!
Creative Fun Without a Story with Maggie Massey


 Our contributors used our