A Pocket Page Project with Neela Nalam

Are you looking for a new creative outlet in 2018? Look no further than pockets! That’s right—pocket pages are a great way to document memories AND get creative in a smaller scale. Today Neela Nalam is sharing her opening pages of a new pocket page album that she’s creating in 2018, using our January 2018 Kit and add-ons, and we couldn’t love it more! Let’s see what she made.
 
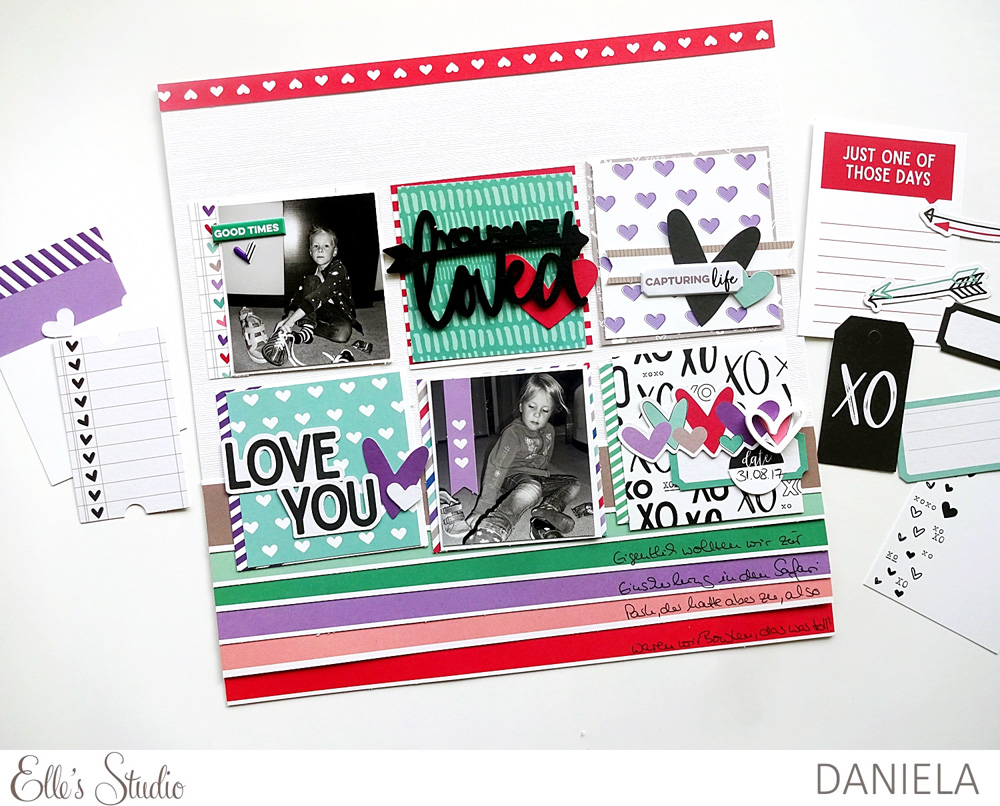
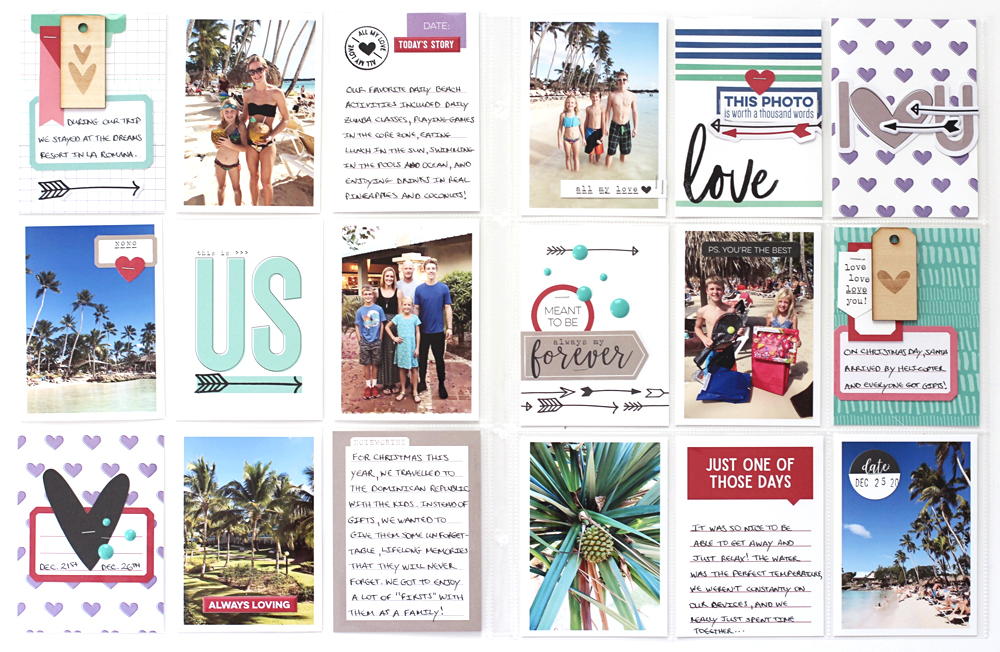
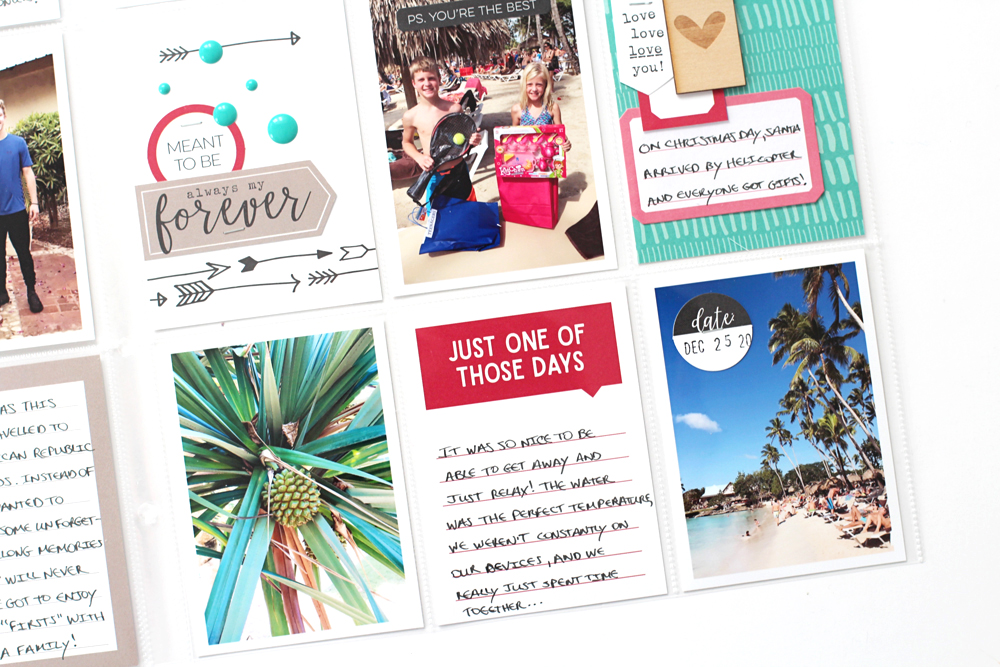
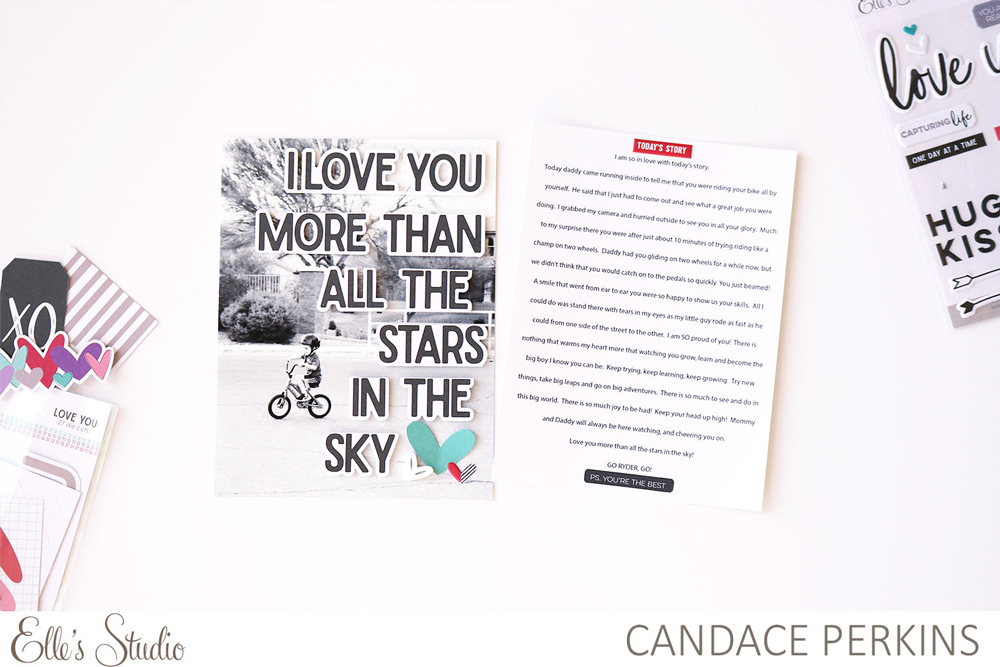
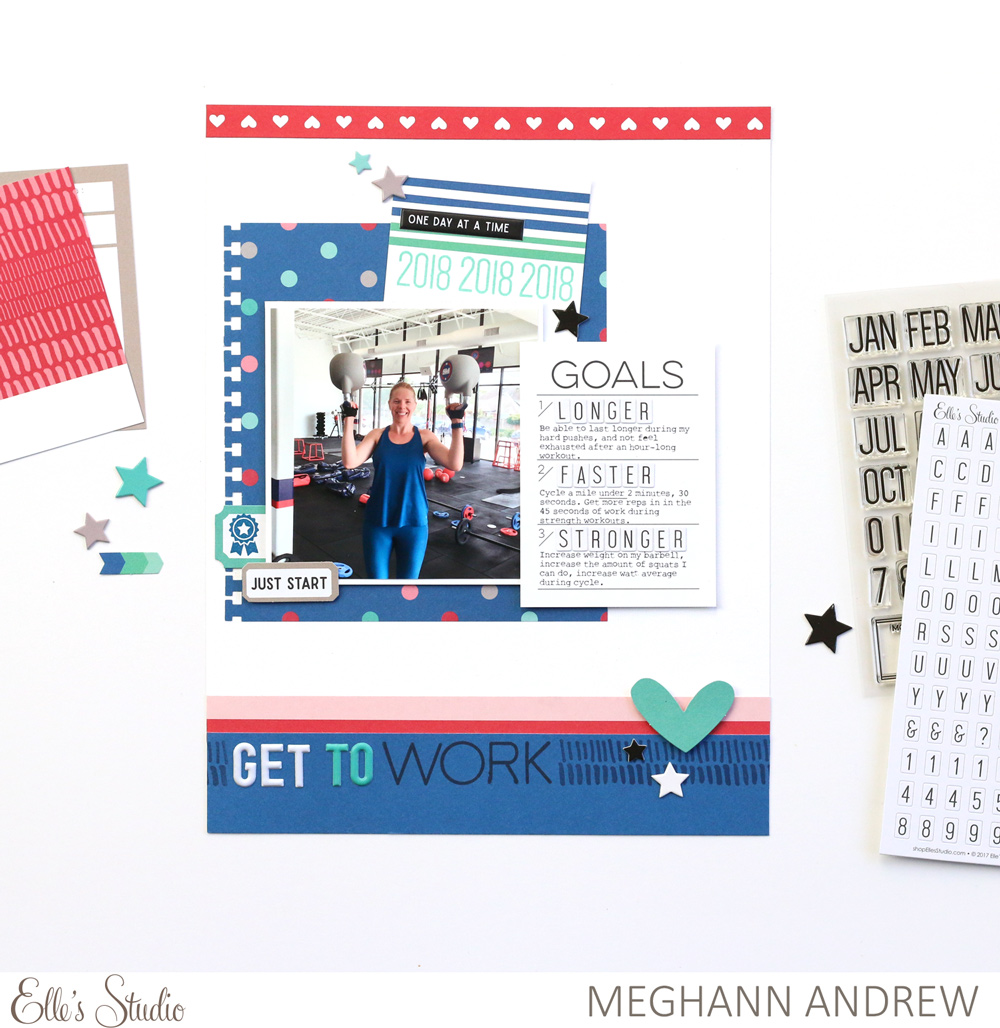
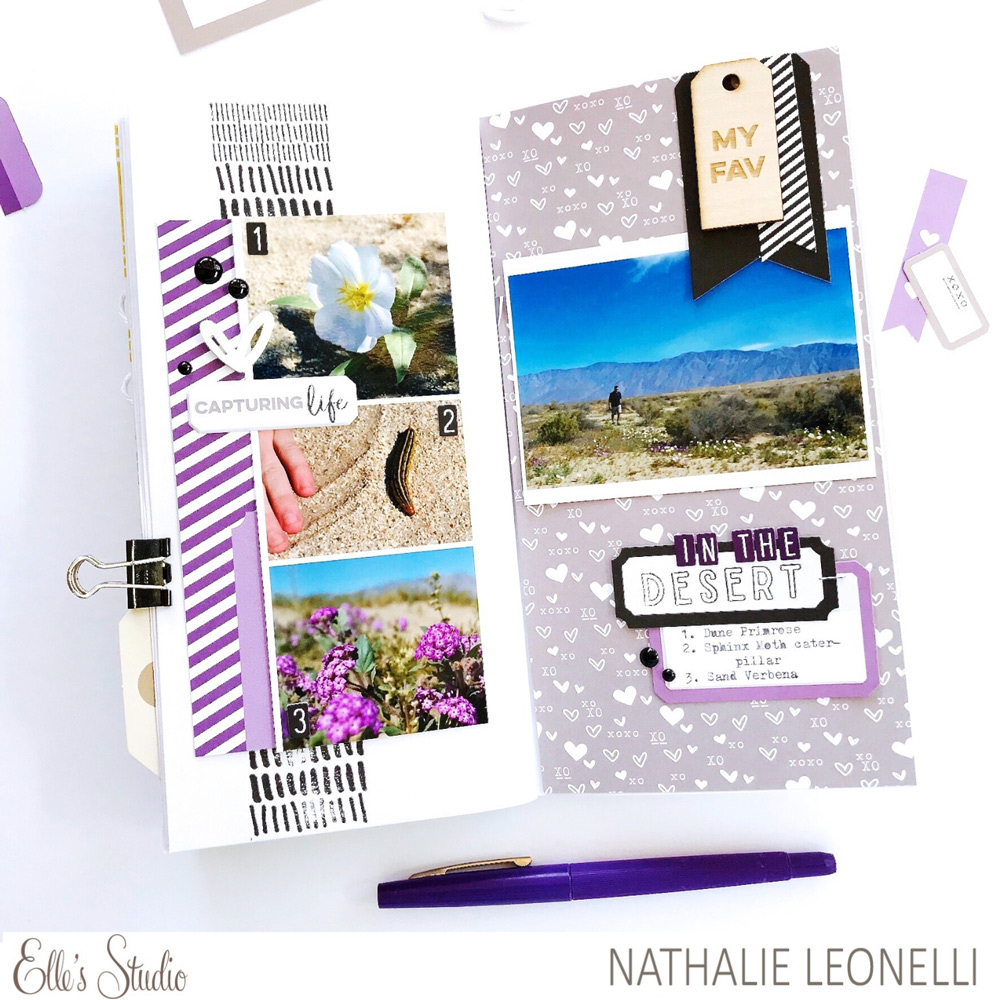
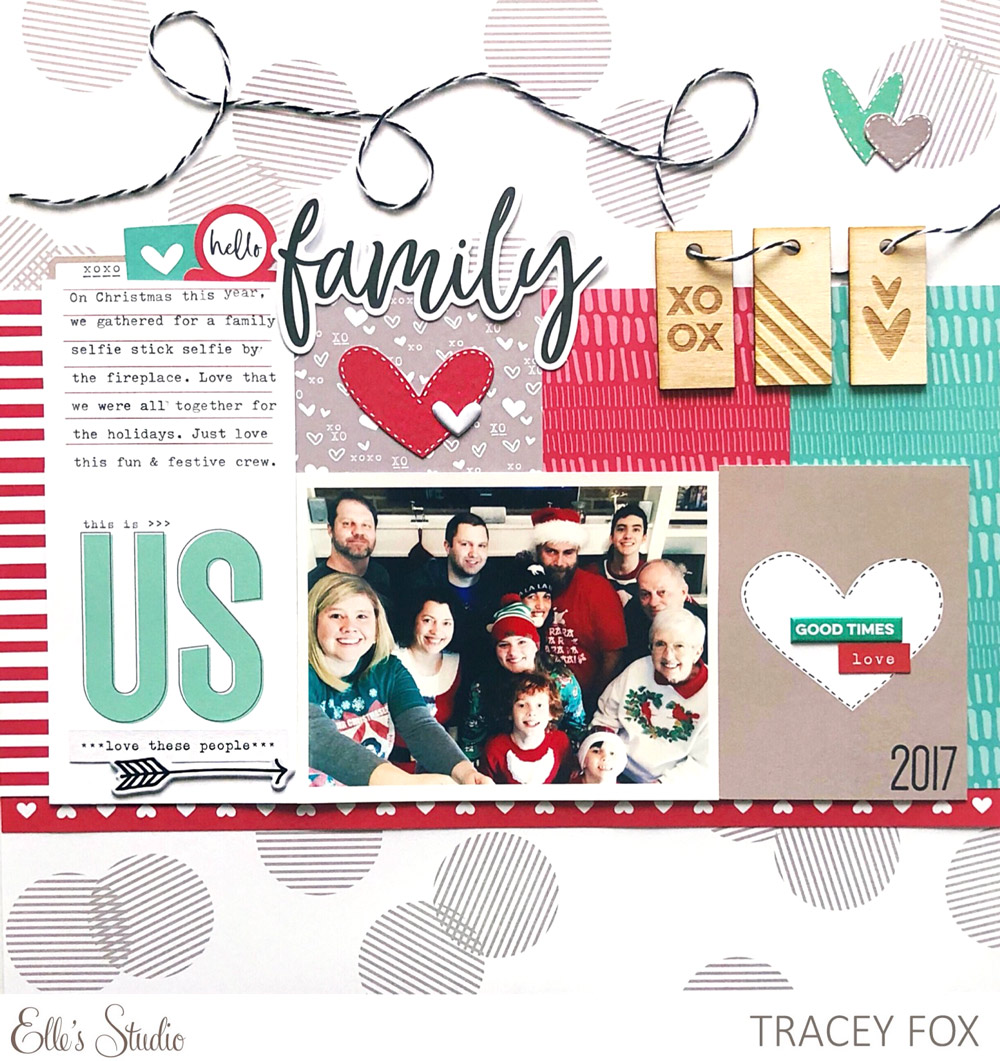
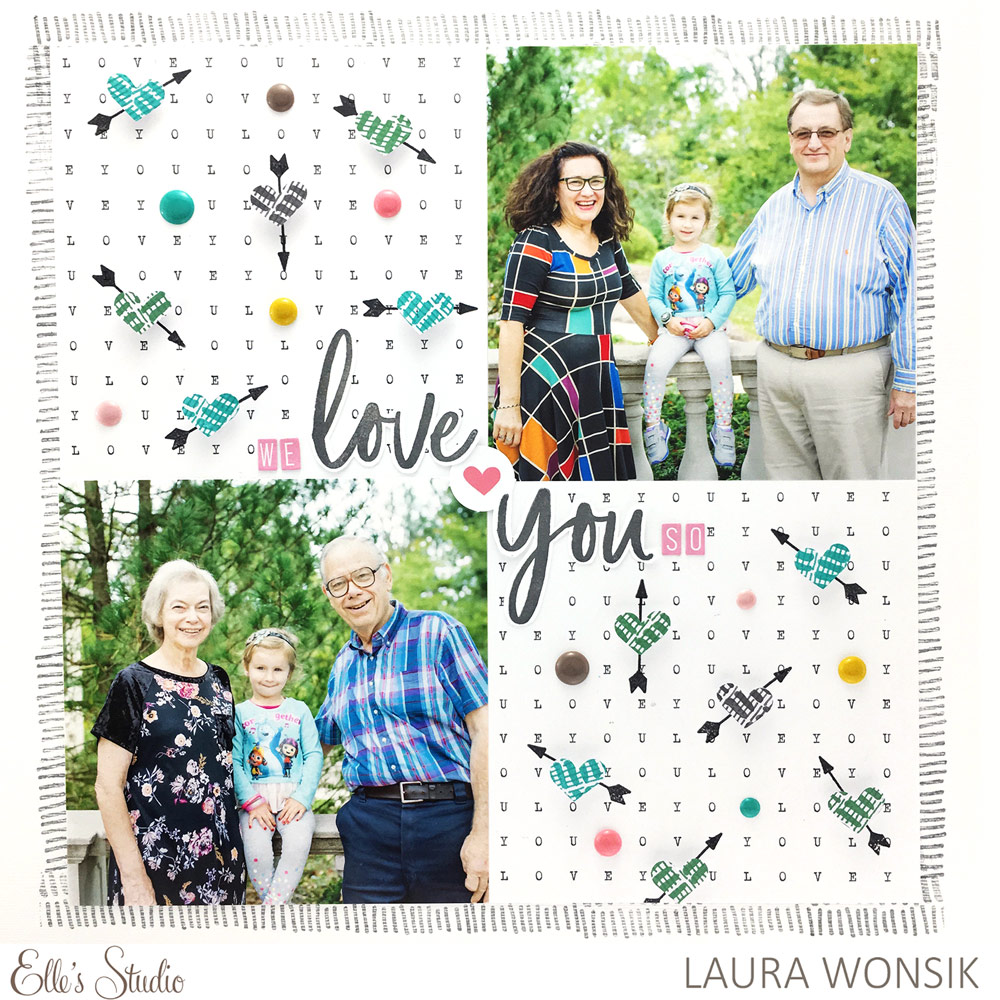
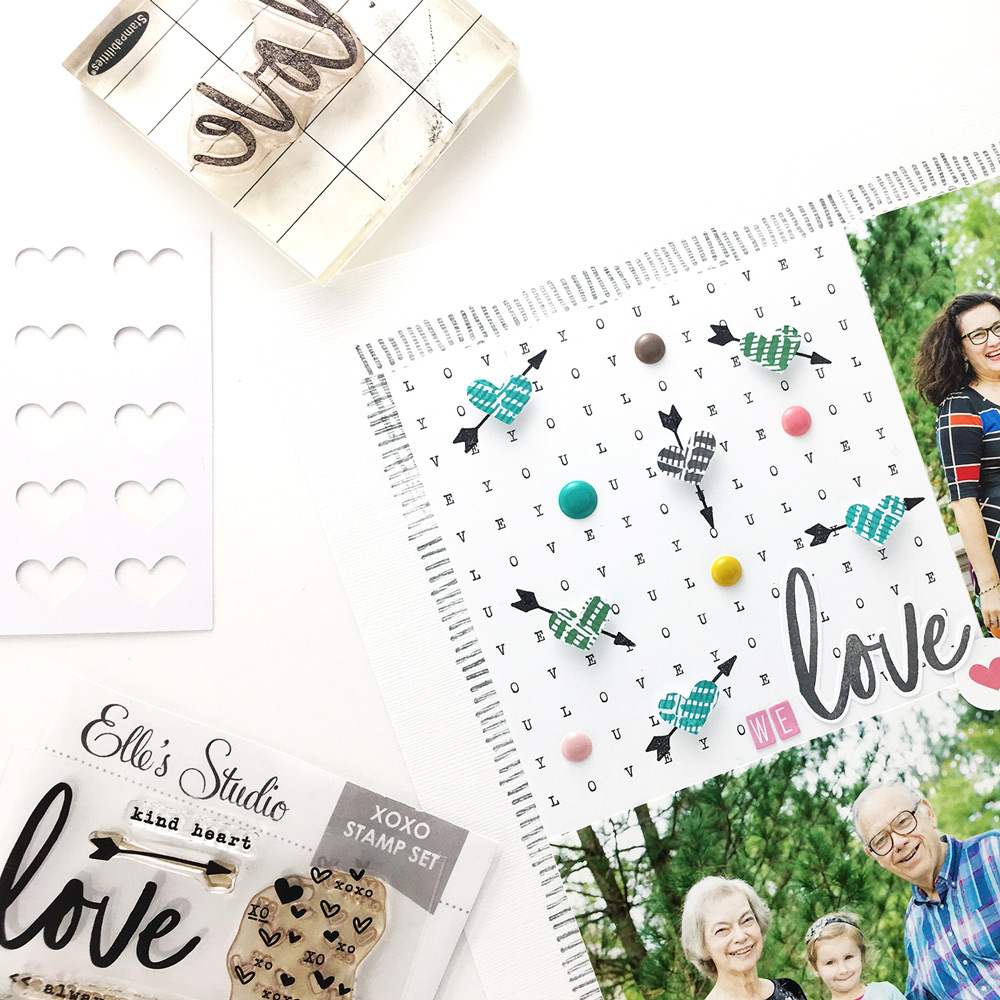
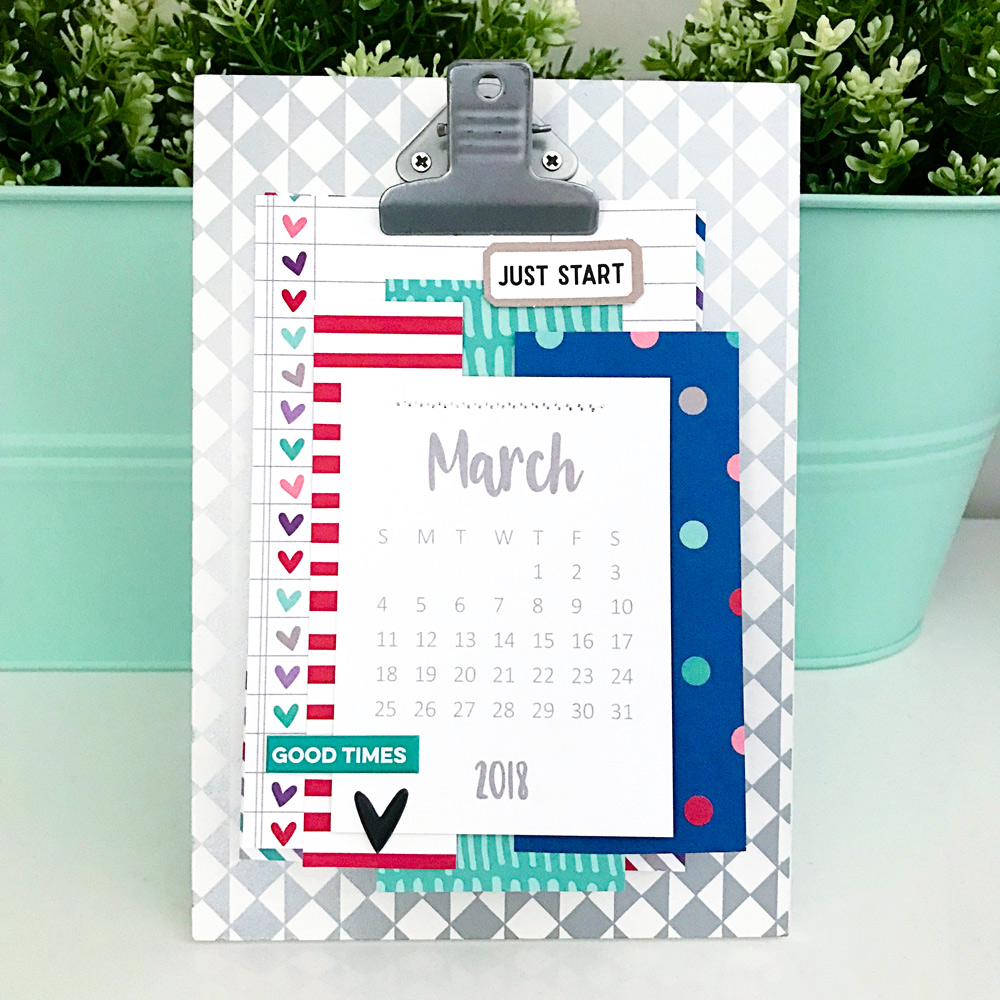
I decided to start a 6″ x 8″ pocket page book for the year of 2018! I don’t plan on doing weekly or monthly spreads, but I do plan on documenting events and activities over the year, all in this book. I decided to make a few starter pages for this album with the January 2018 Kit and add-ons and some photos from a family photoshoot we did in December.


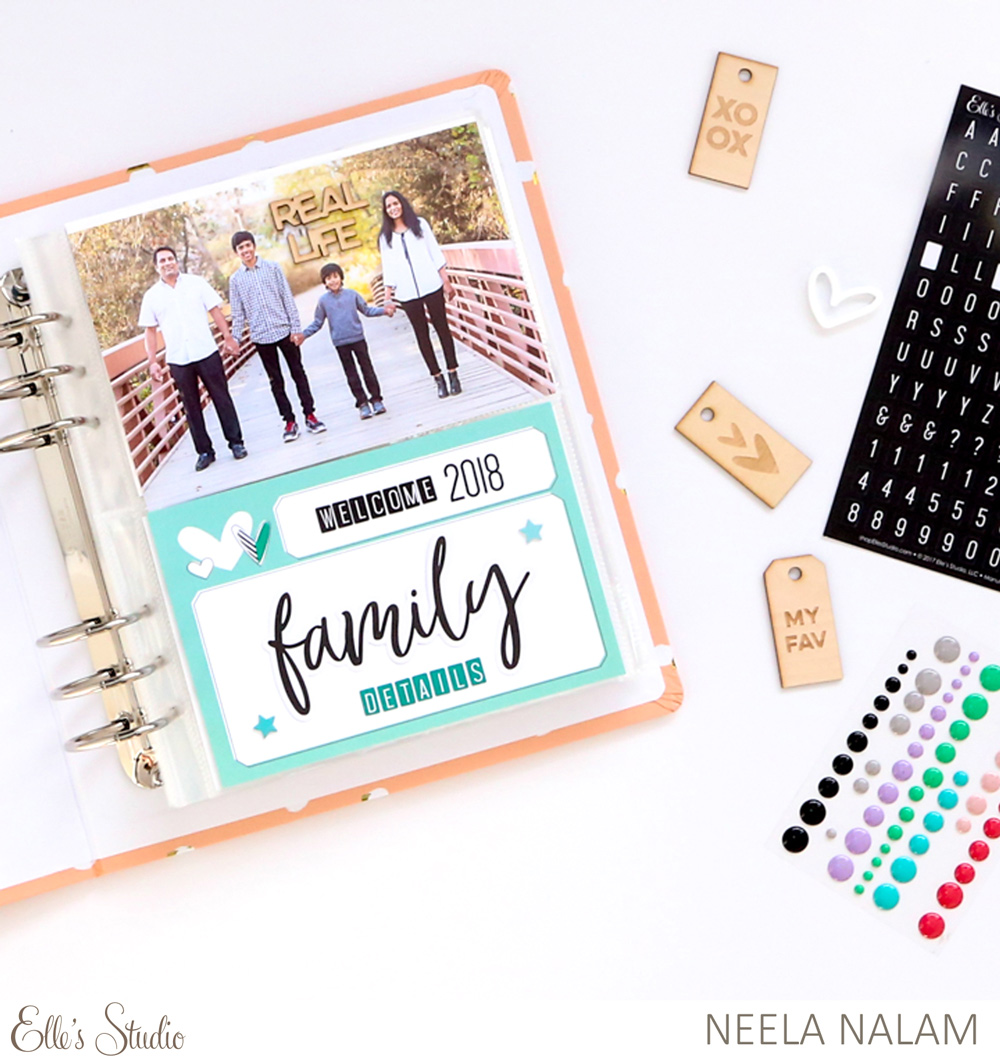
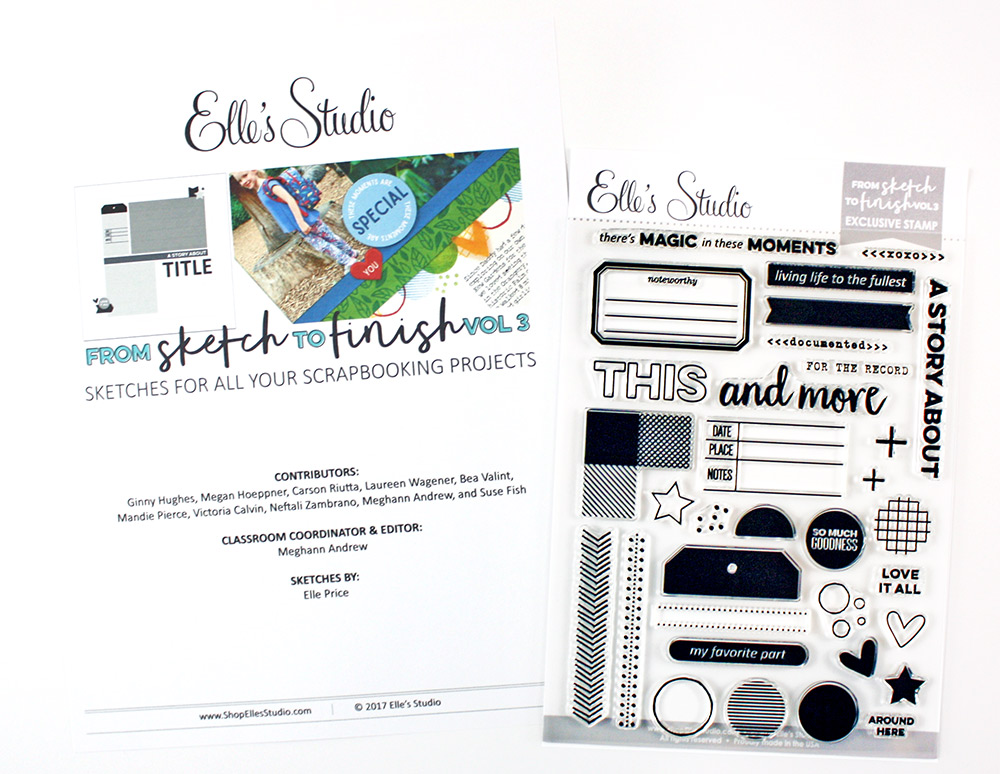
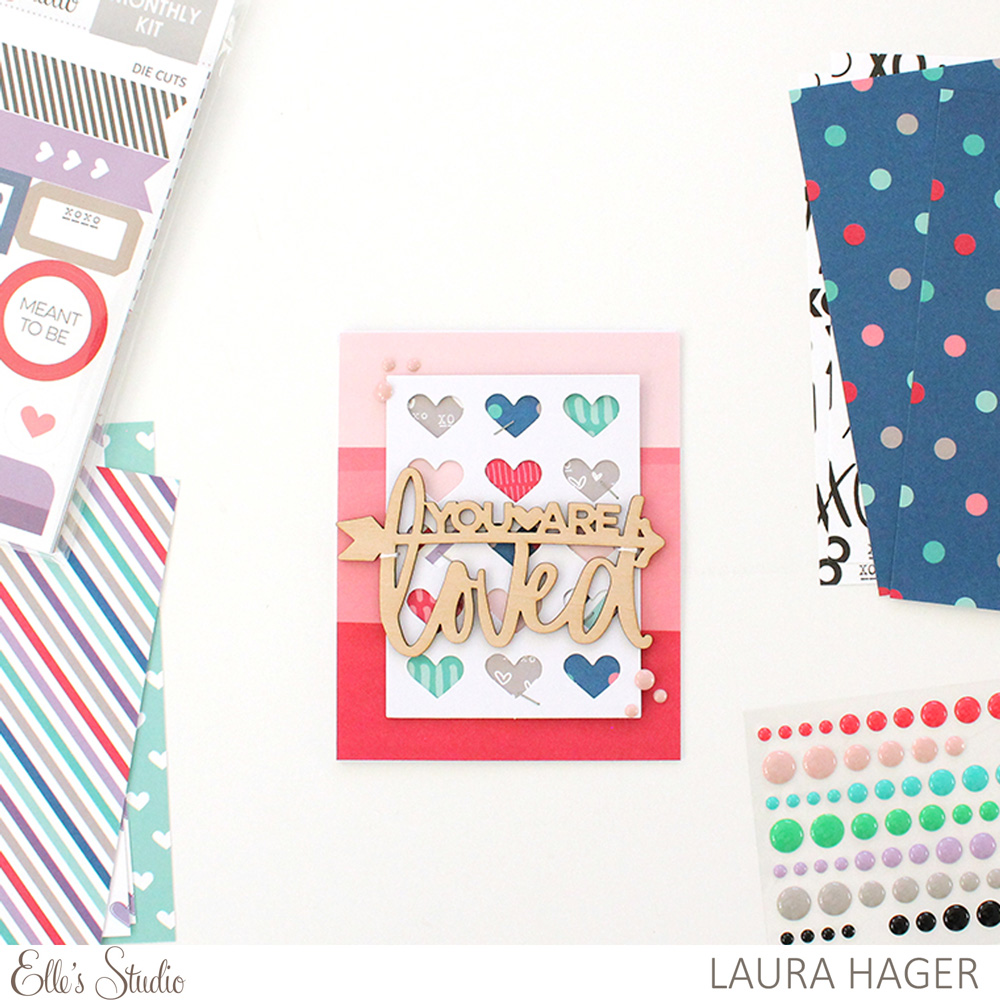
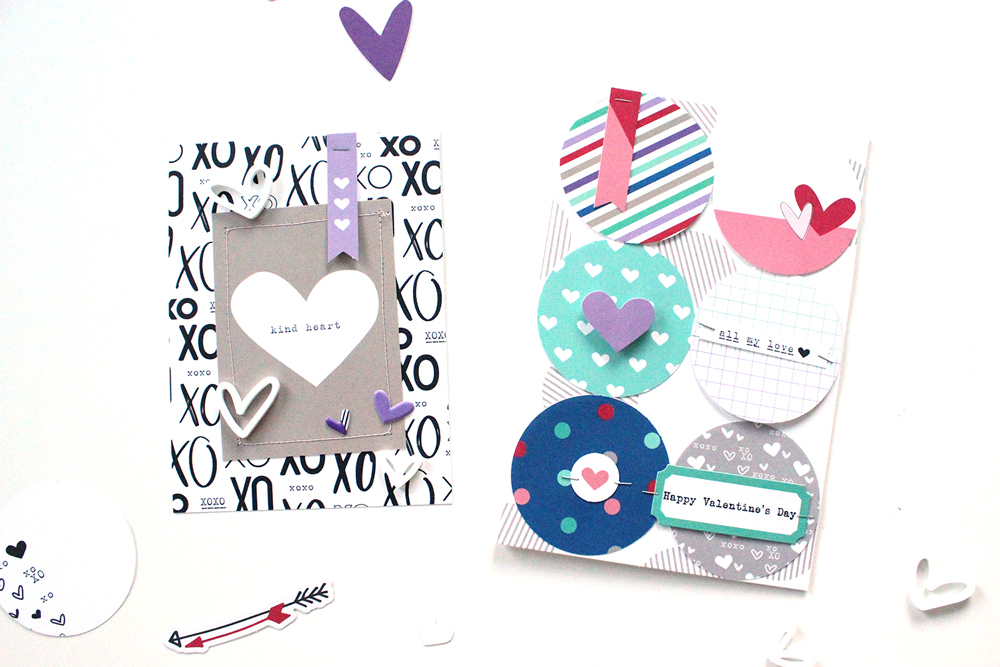
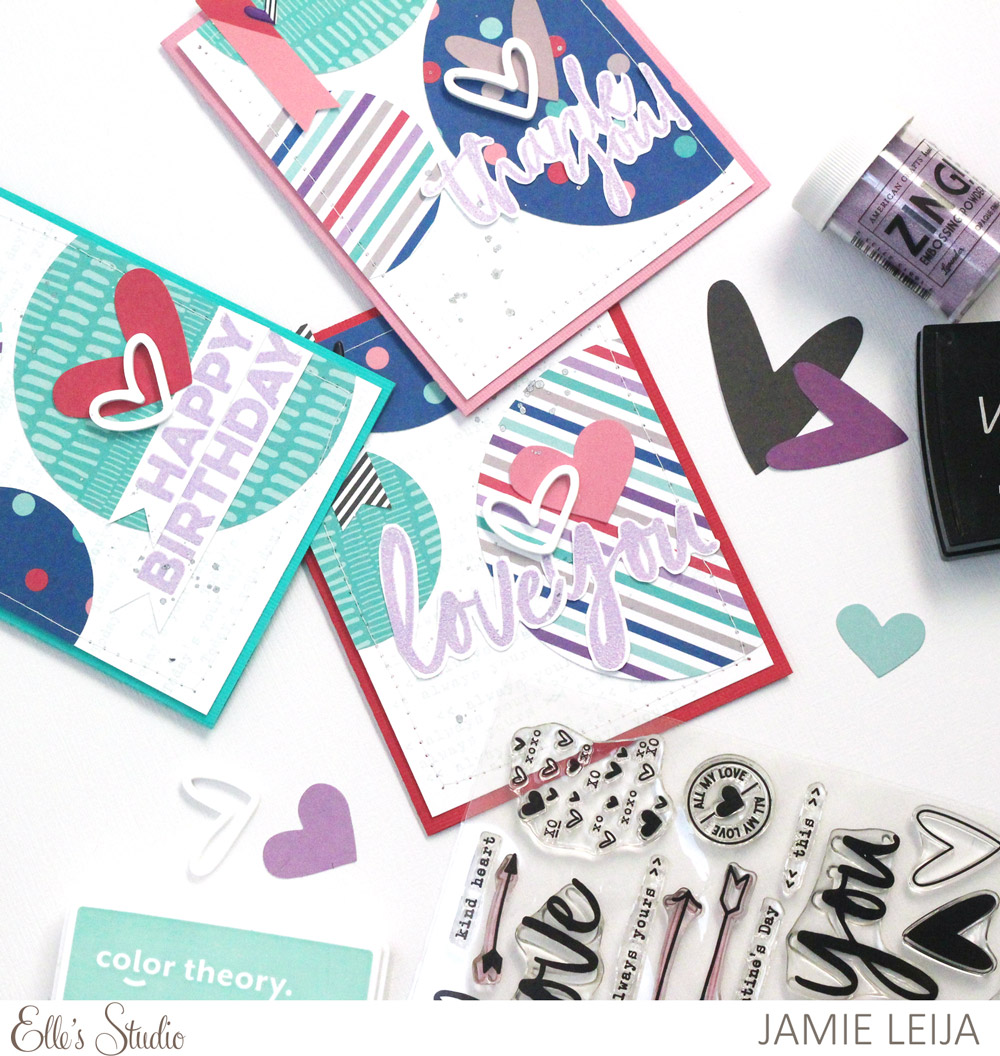
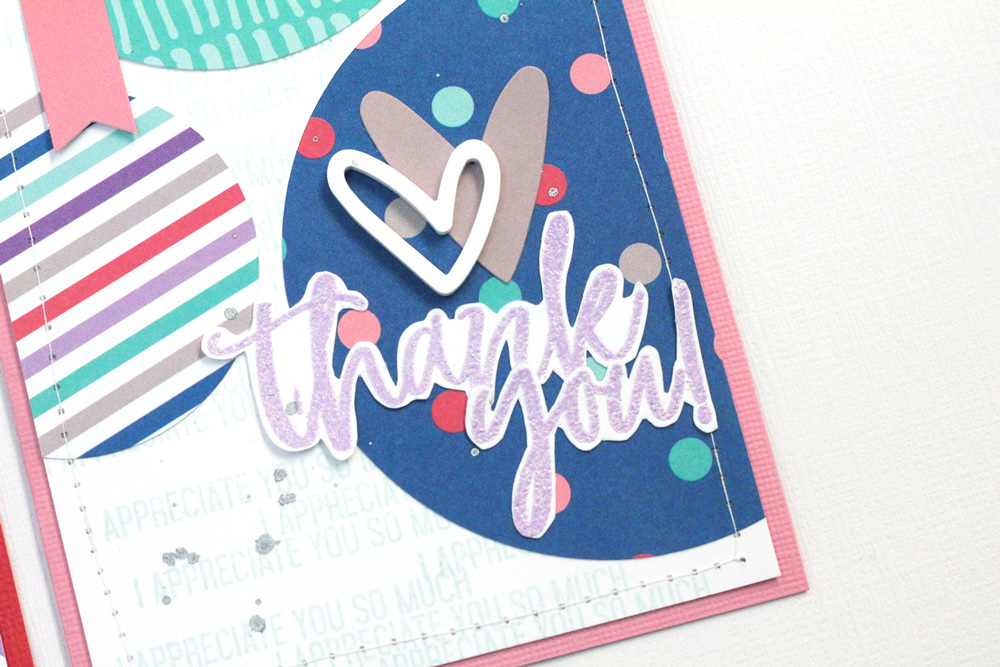
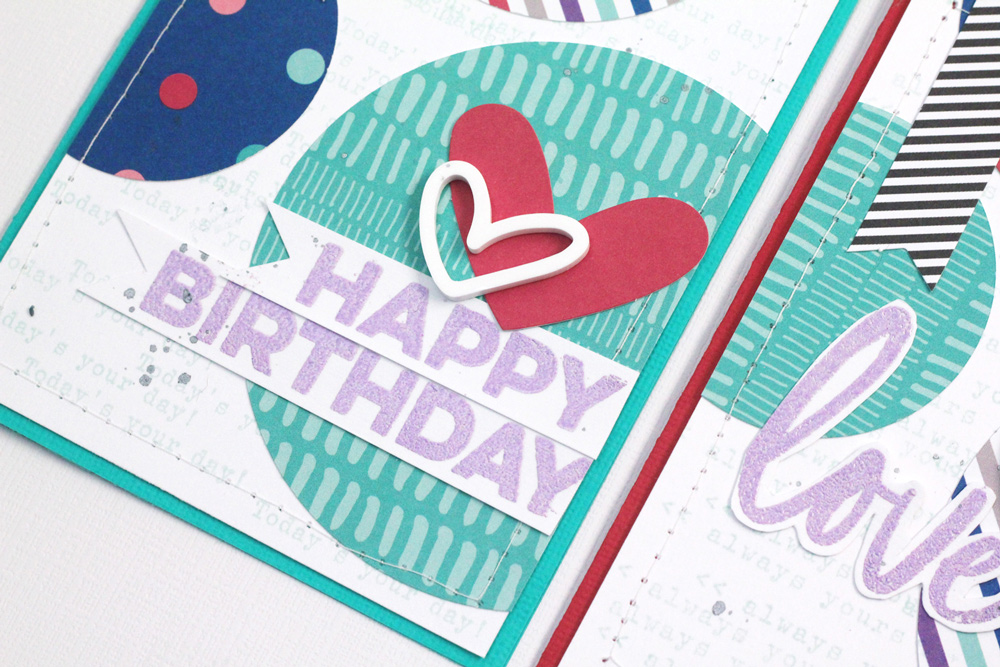
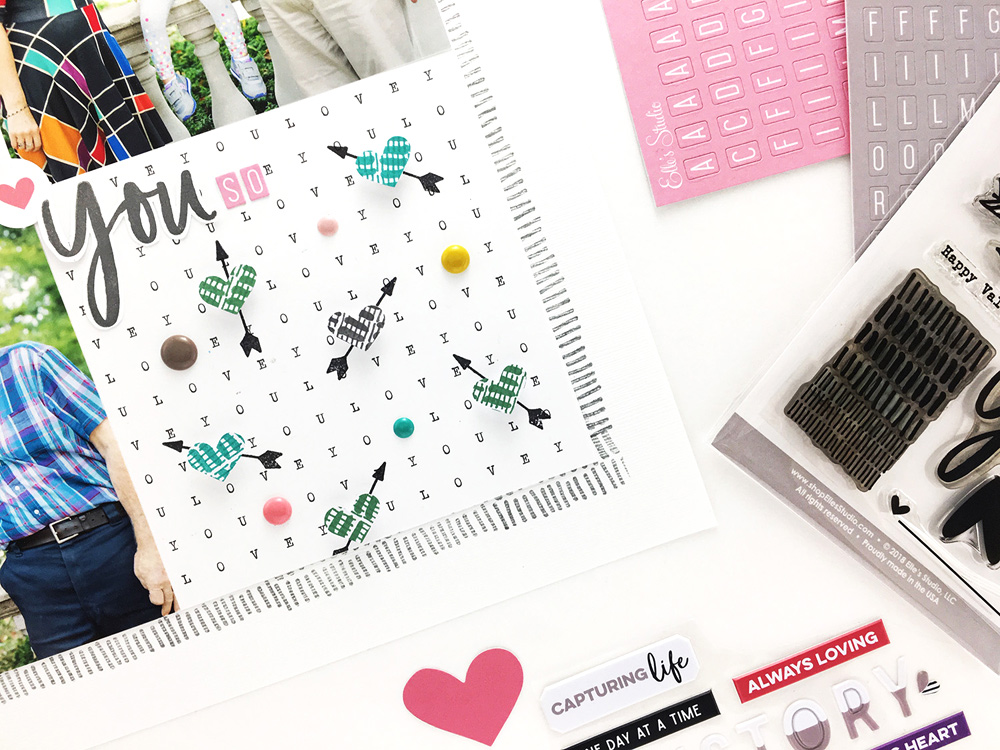
Supplies | January 2018 Kit, All My Love Printables, Love You Die Cuts, Hugs and Kisses Puffy Stickers, Star Chipboard Stickers, Black Cardstock Alphabet Stickers, Dark Teal Cardstock Alphabet Stickers, Wood Veneer Love Tags, Wood ConfettiTitle Builder Wood Veneer, Family Fun Bits and Pieces, XOXO Stamp, Dated Stamp
 
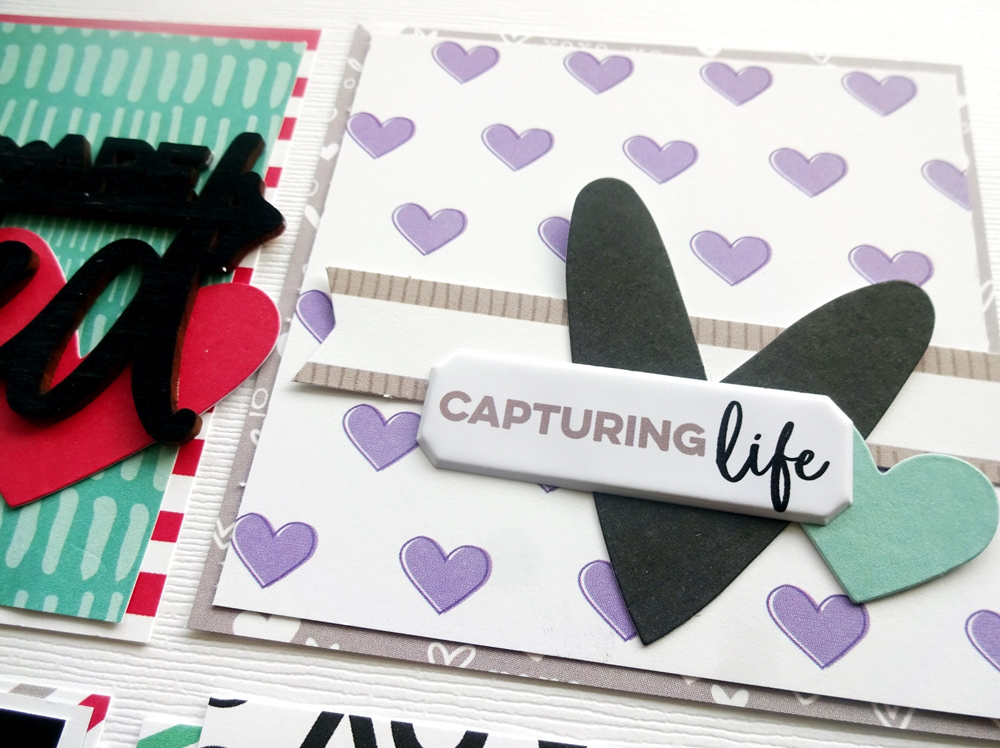
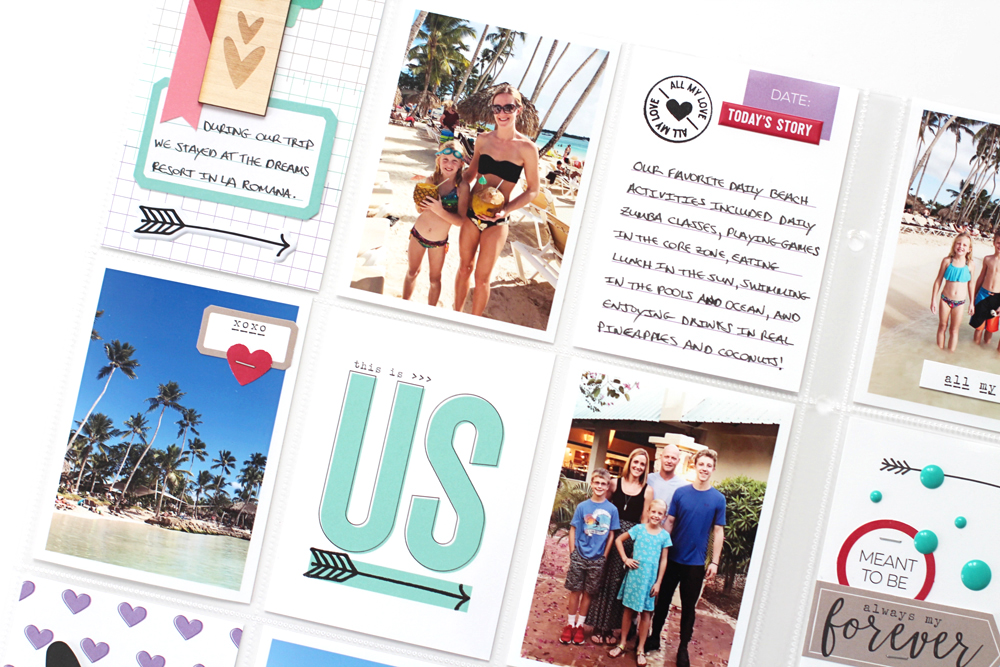
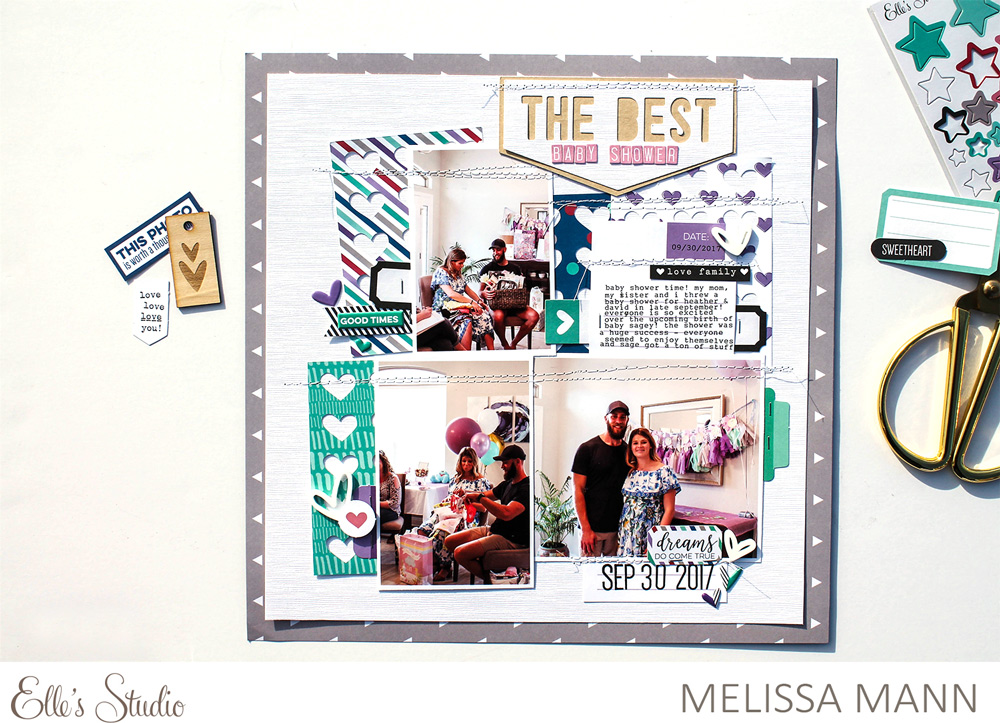
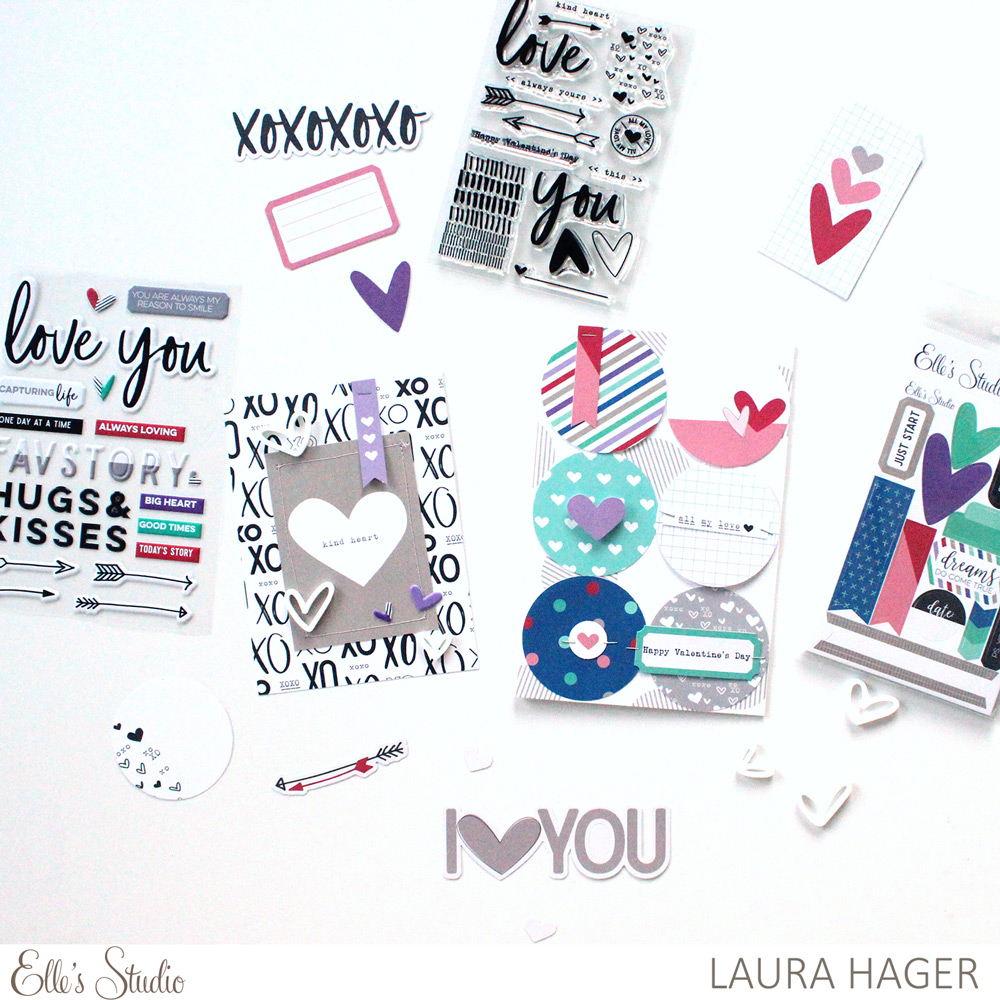
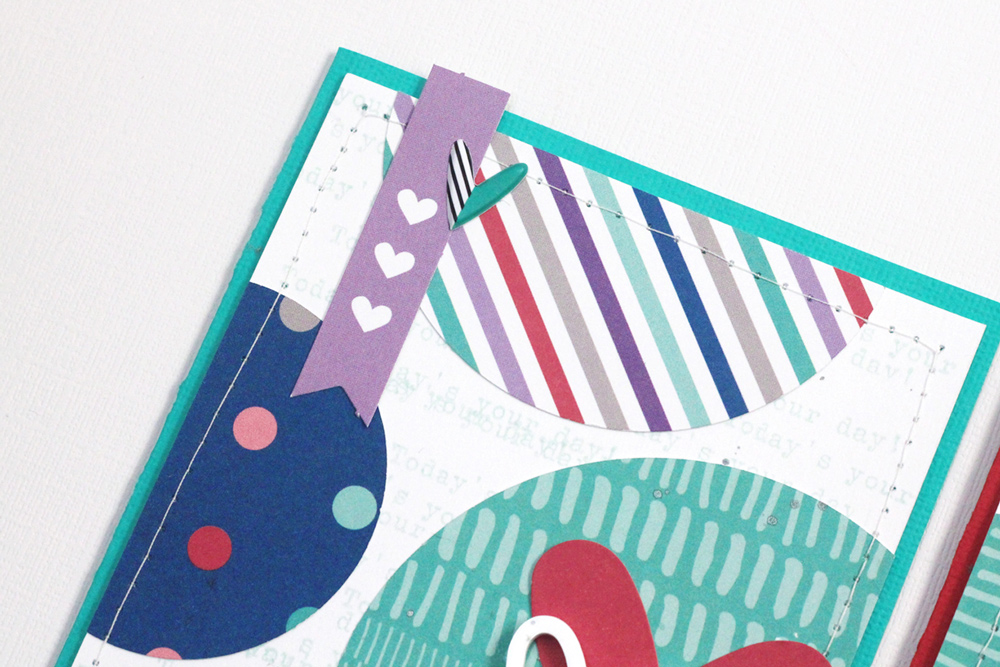
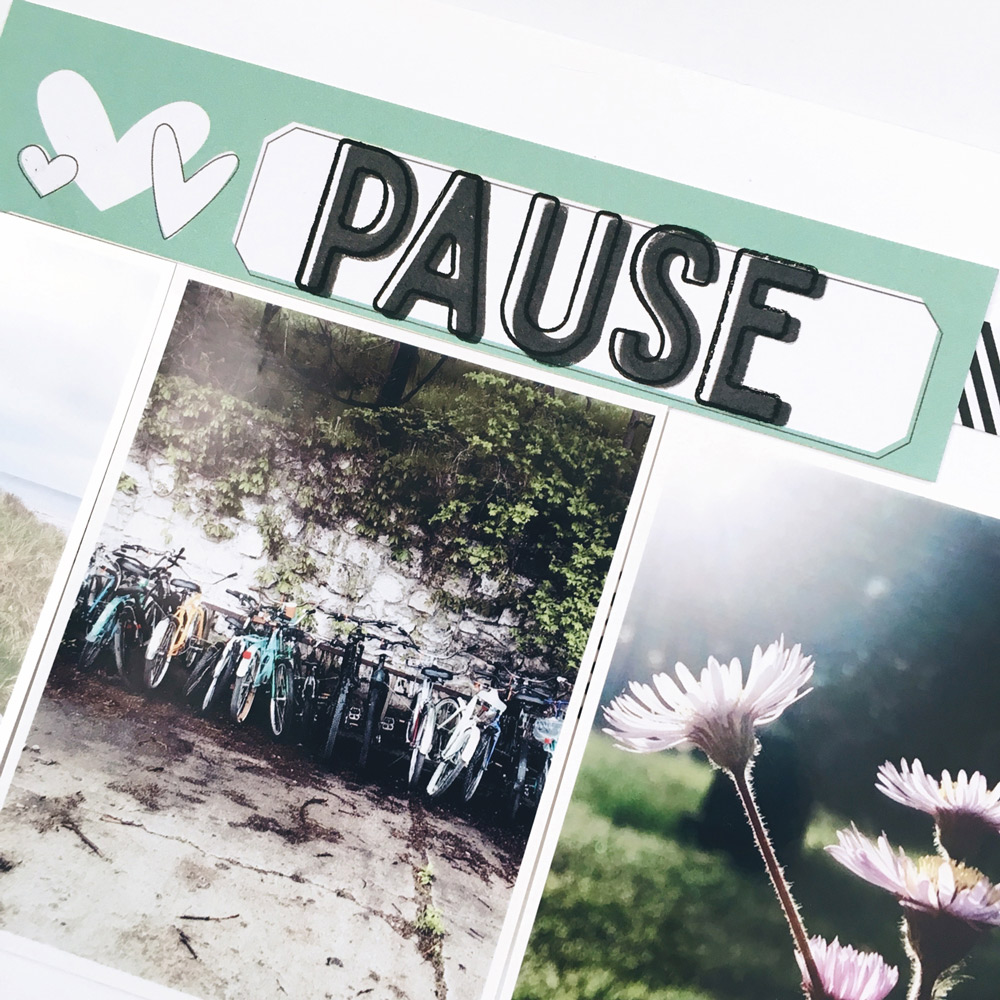
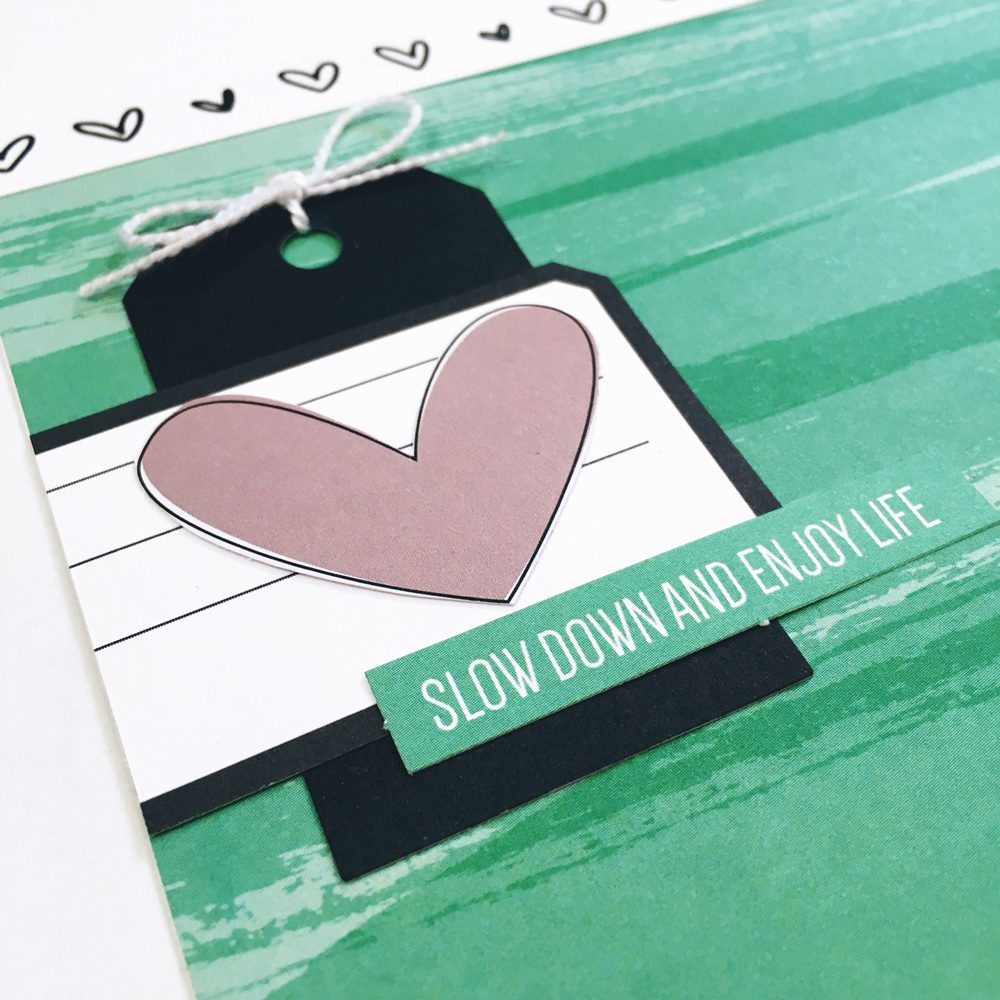
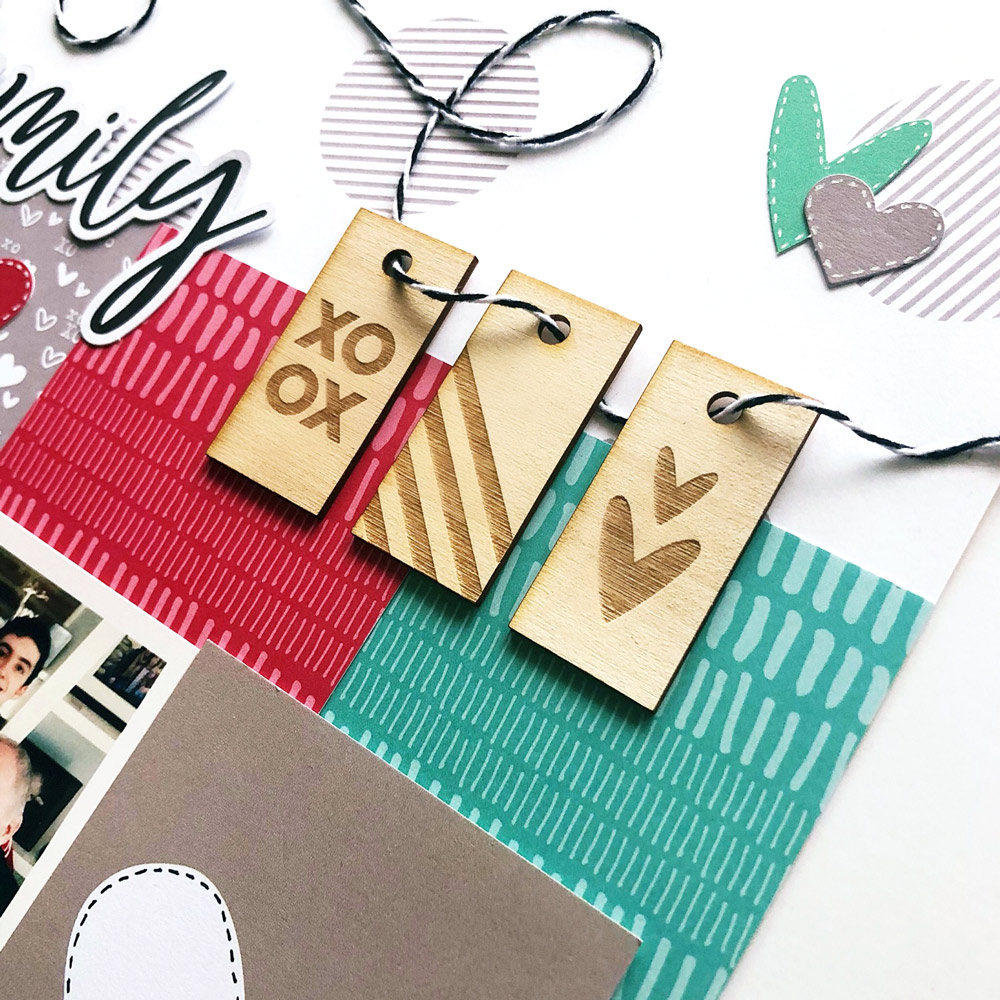
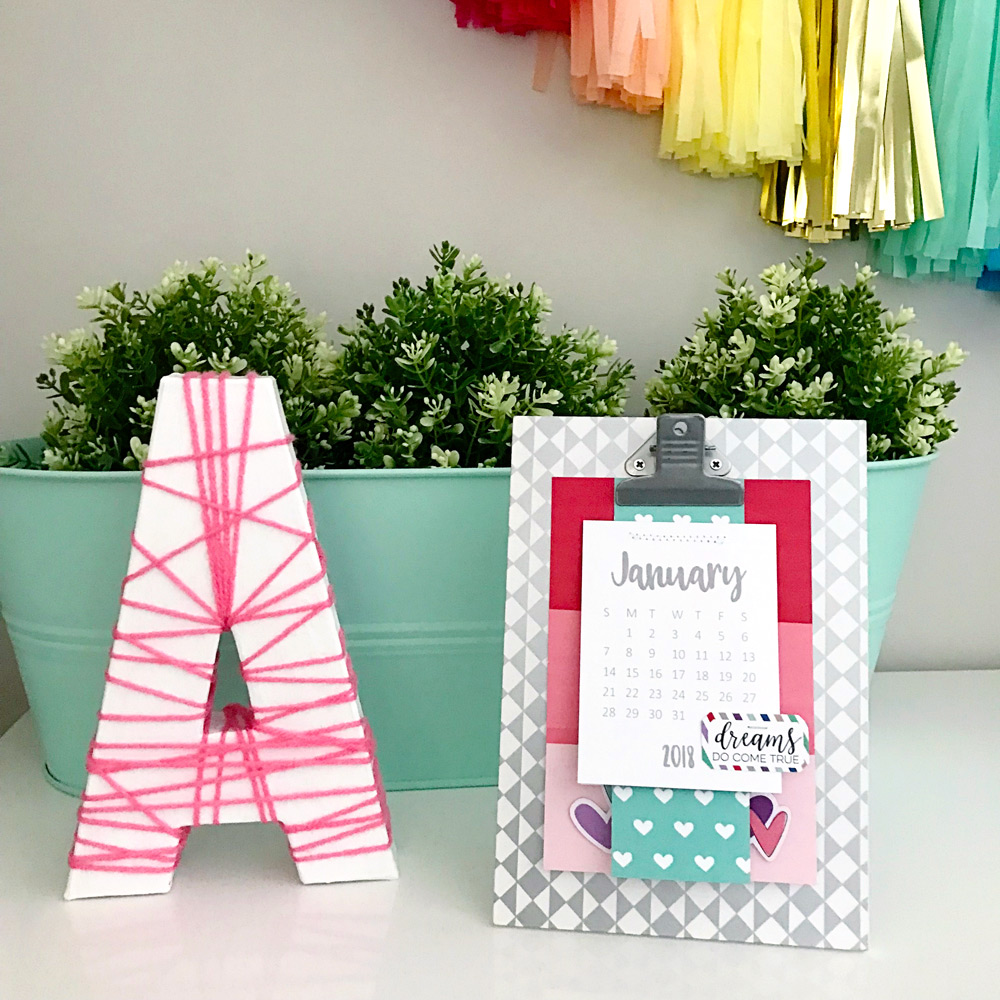
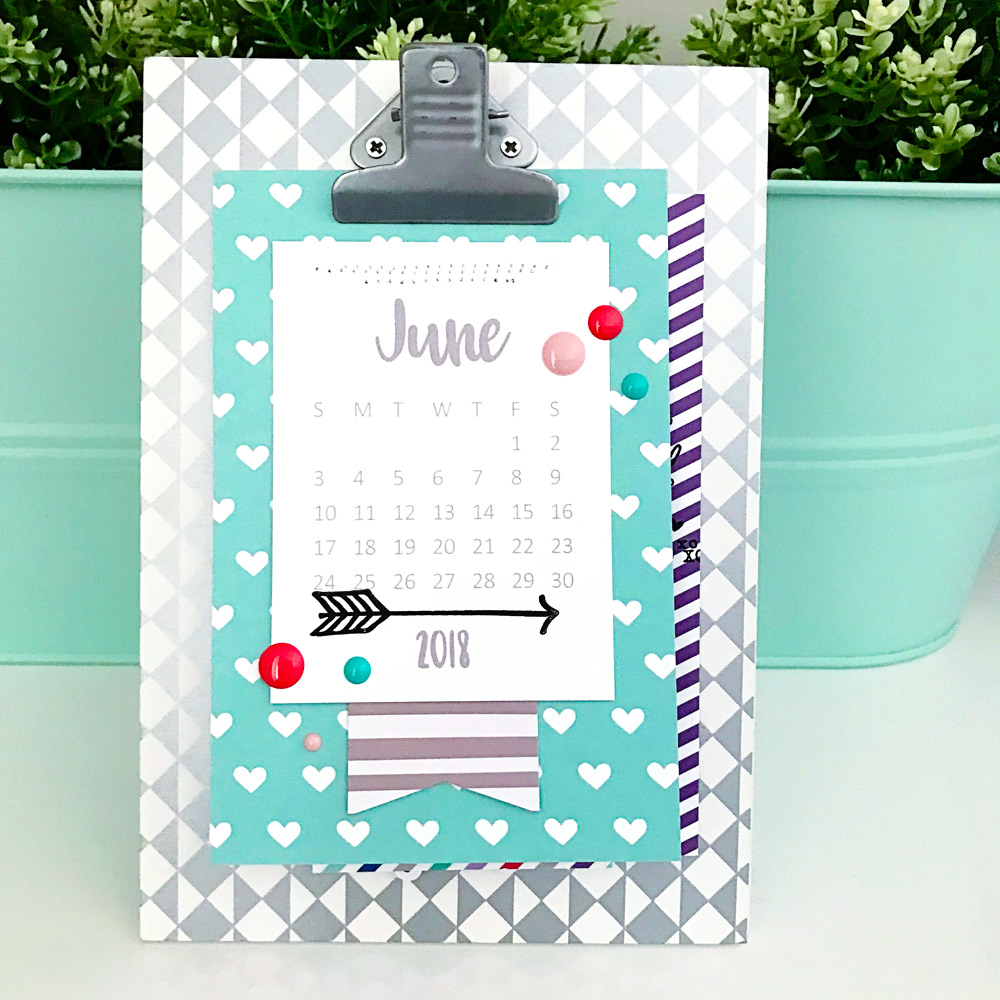
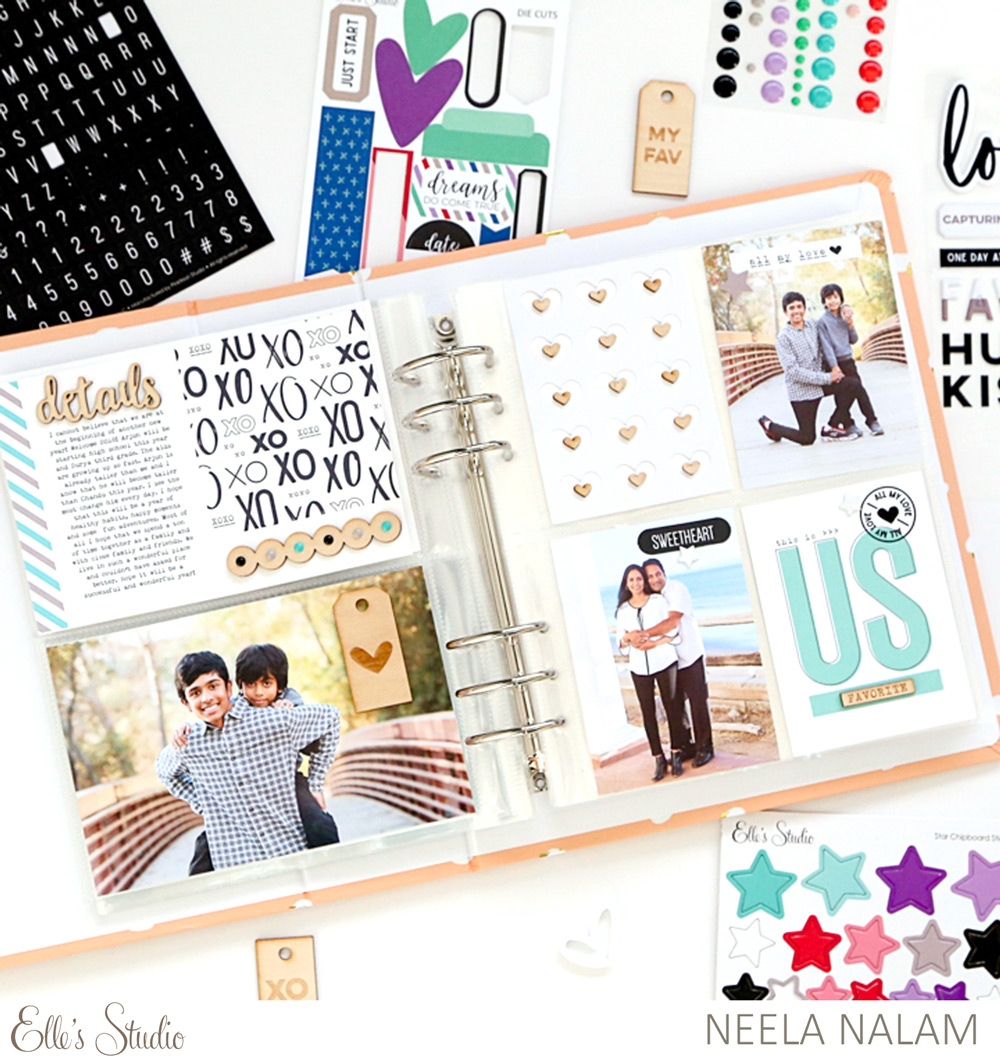
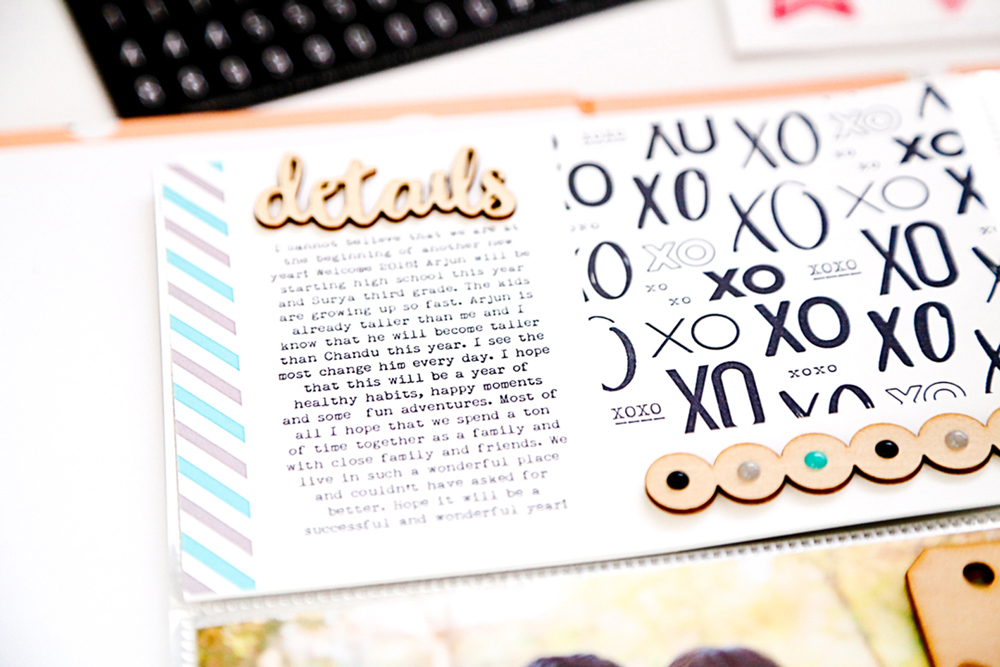
I ended up using a couple of tags from and die cuts from the January 2018 Kit and a bunch of wood veneers from the add-ons, as well as some that I’ve saved in my stash. On this tag, I used the Title Builder Wood Veneer to embellish a tag from the All My Love Printables in such a simple and easy way.


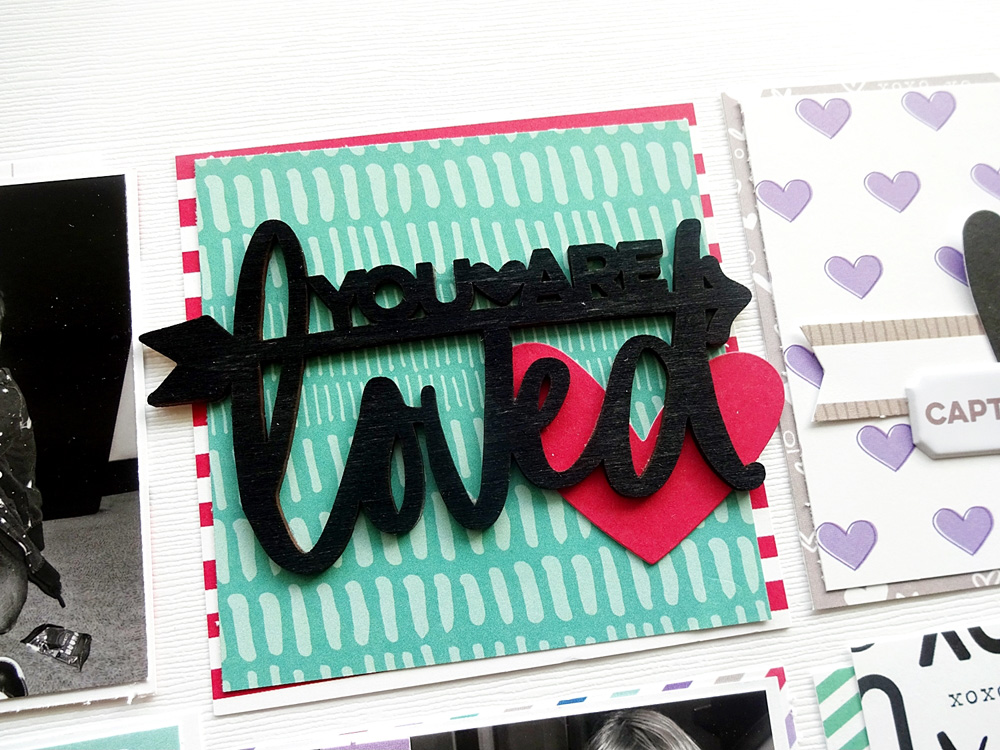
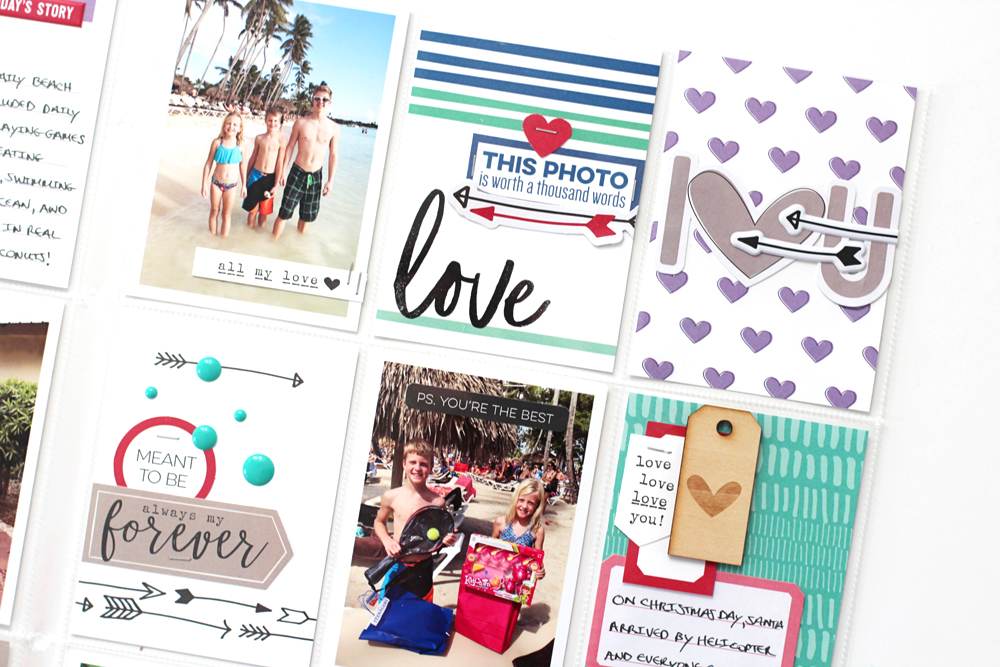
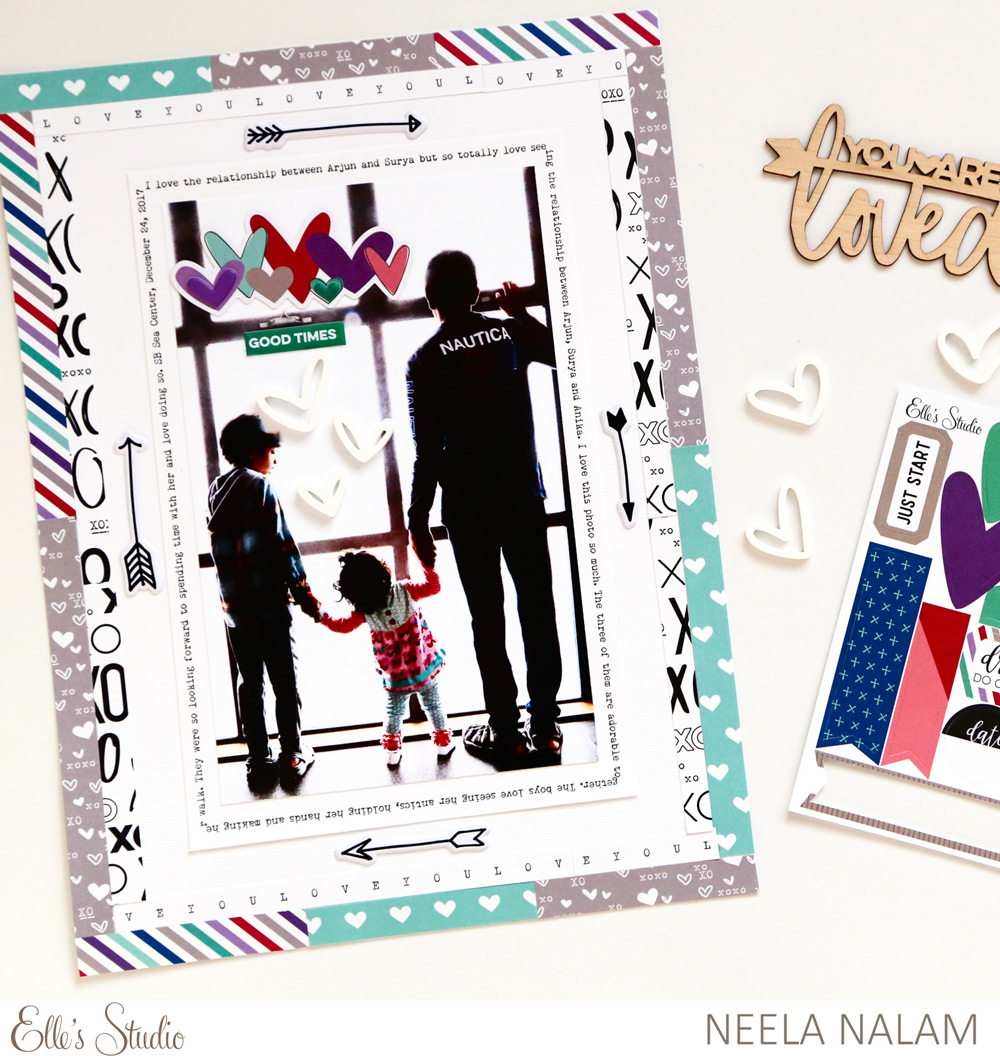
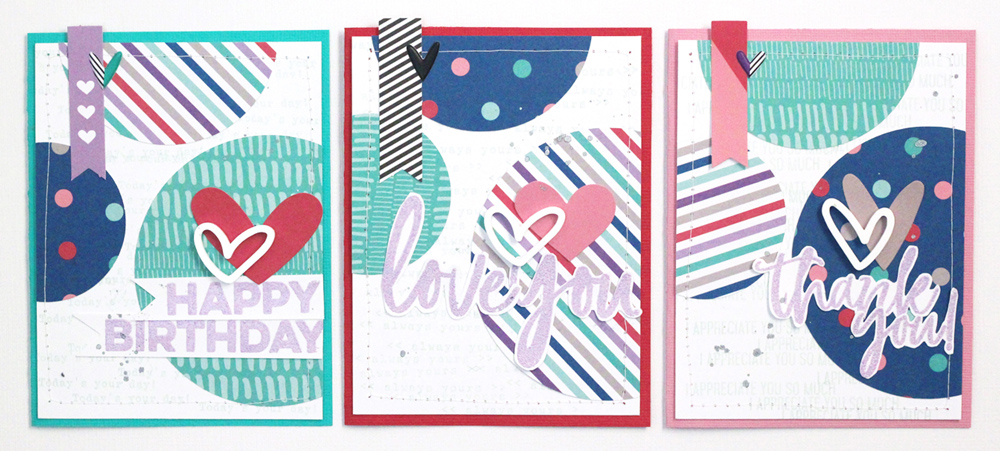
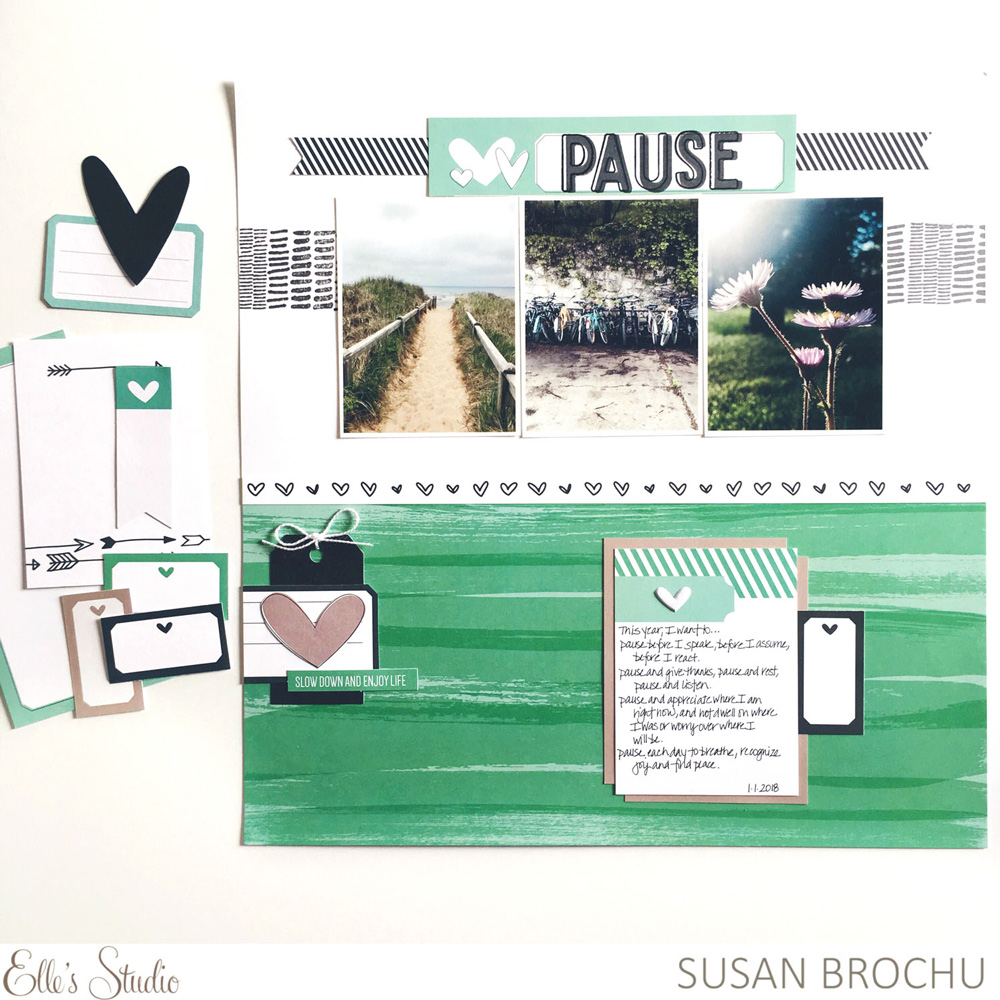
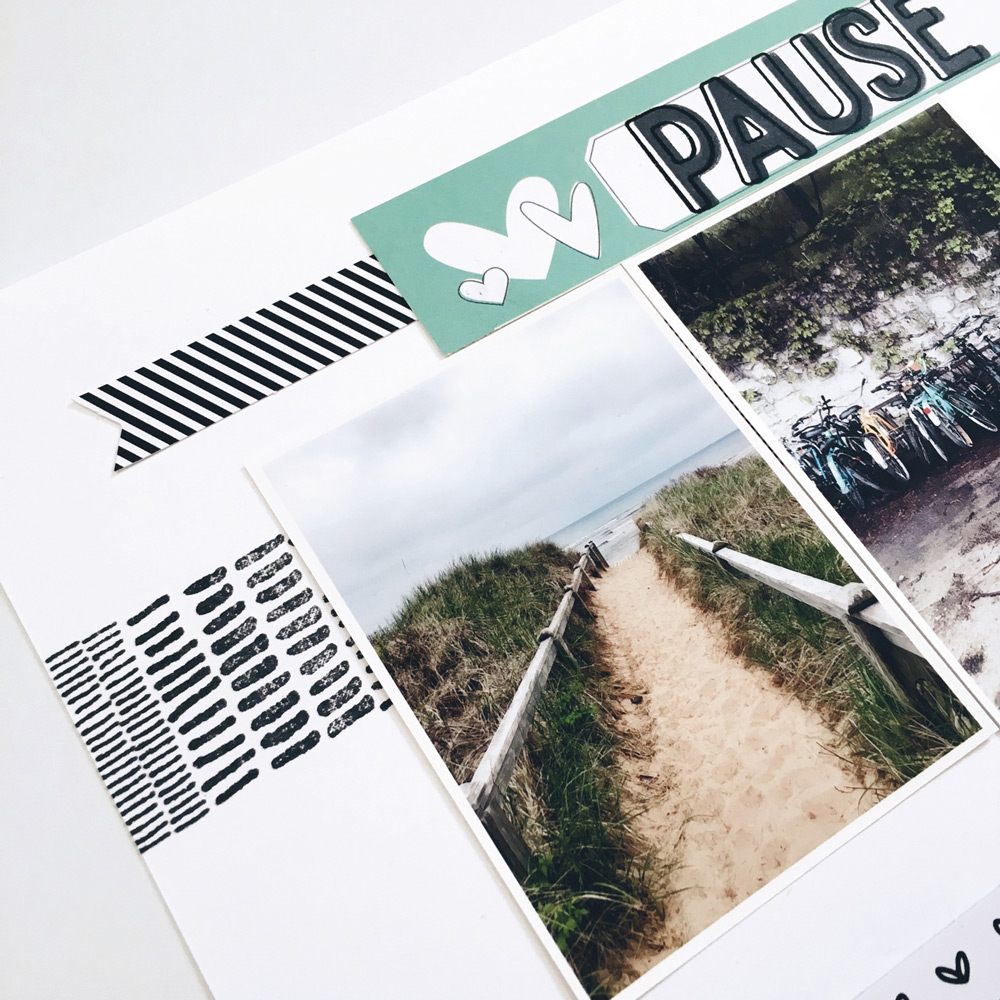
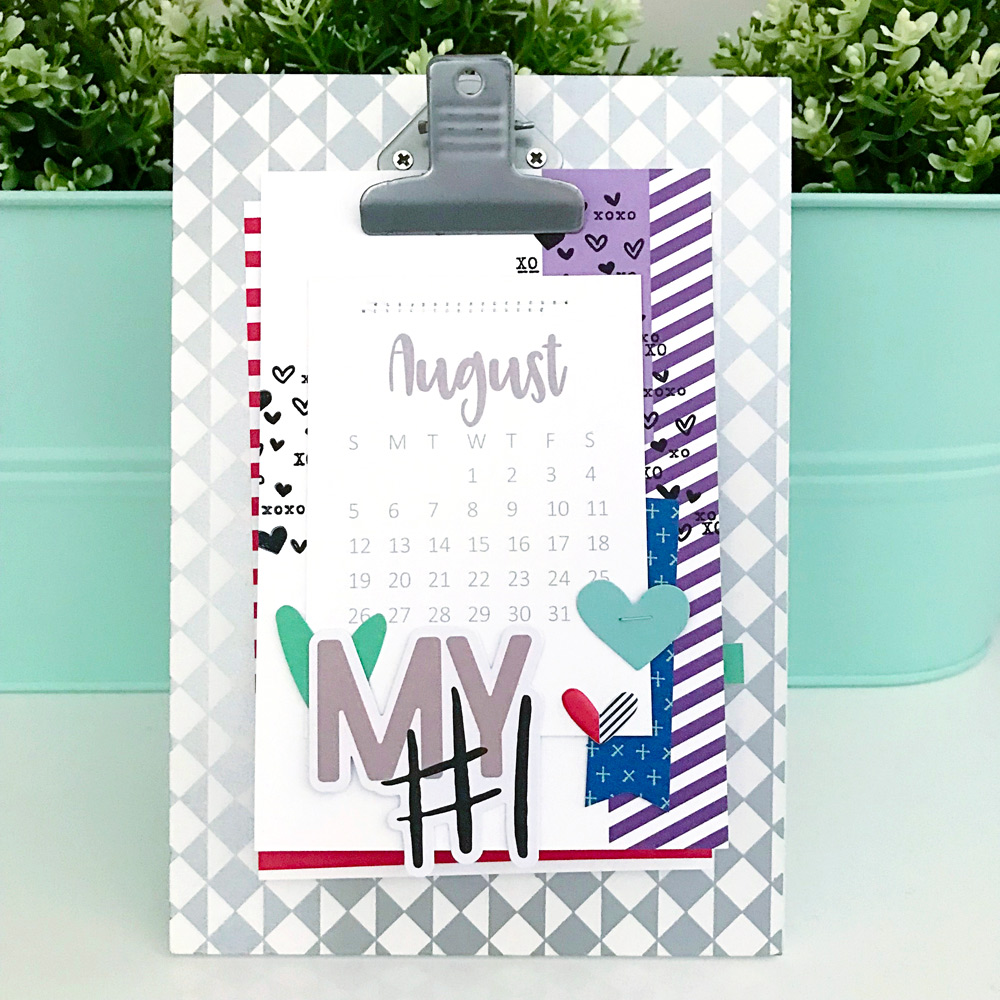
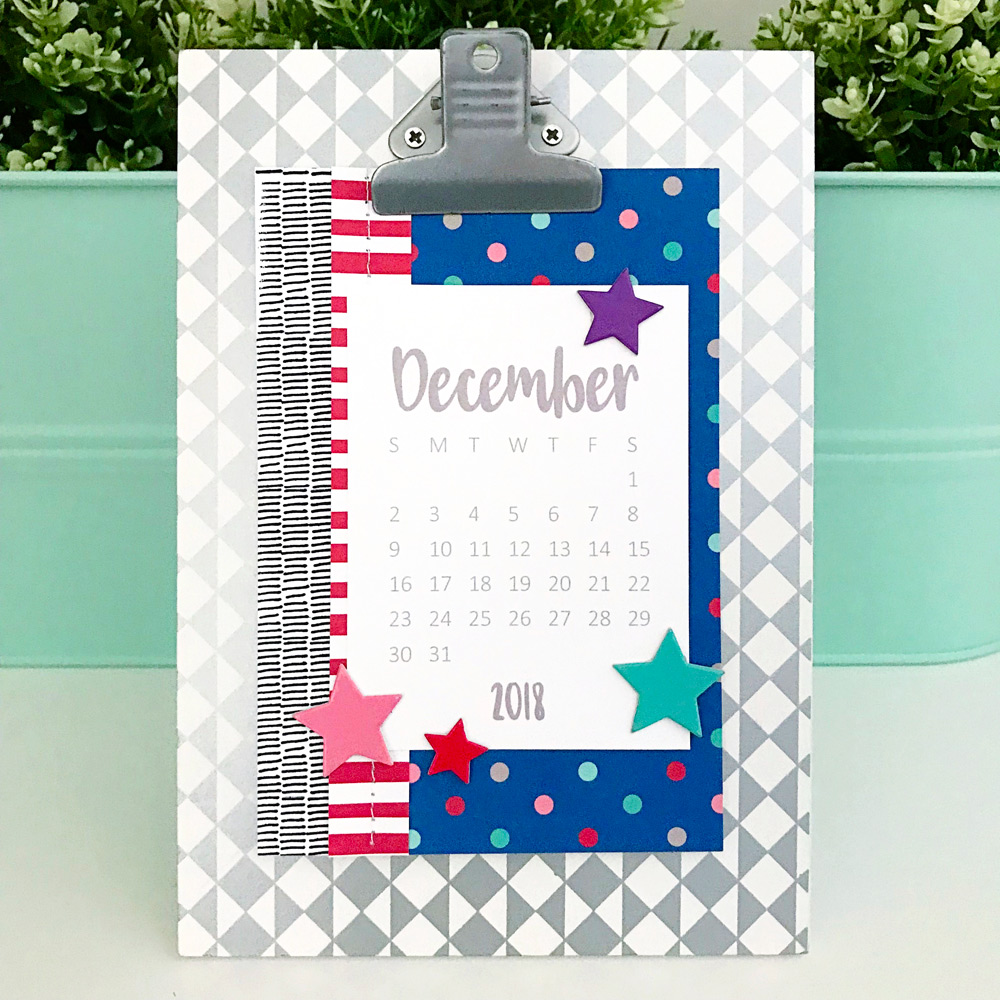
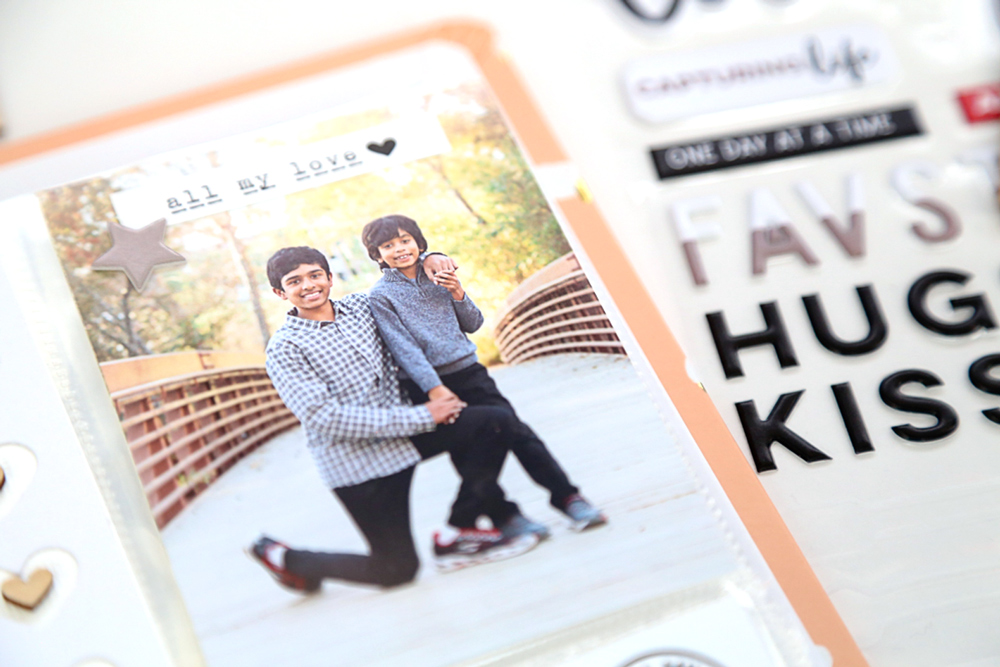
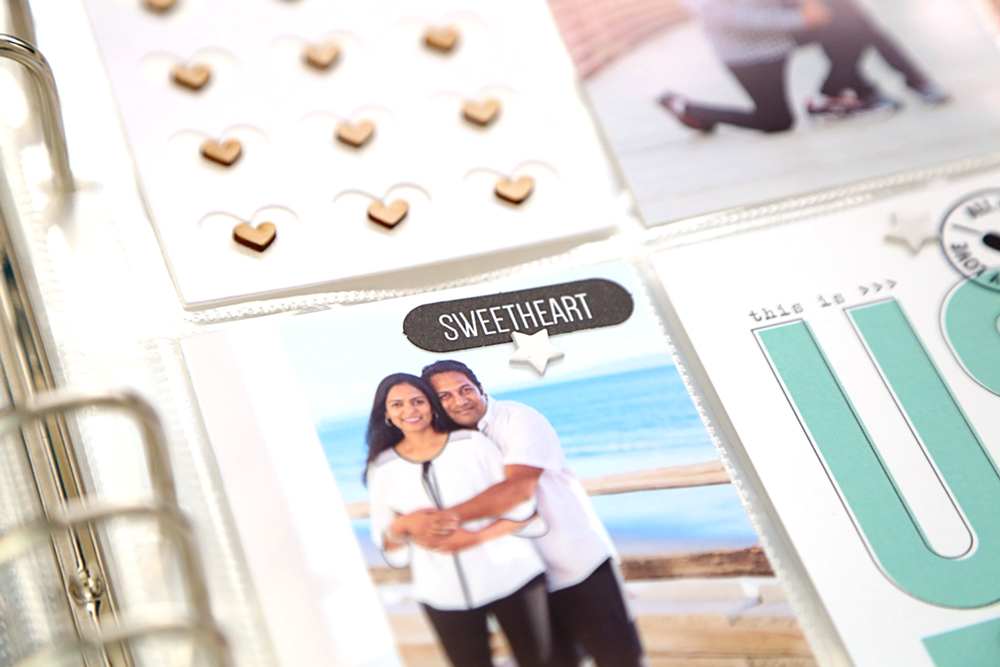
The die cuts from the kit and and Love You Die Cuts, as well as the the Star Chipboard Stickers are the perfect simple embellishments for the negative space in your photos.


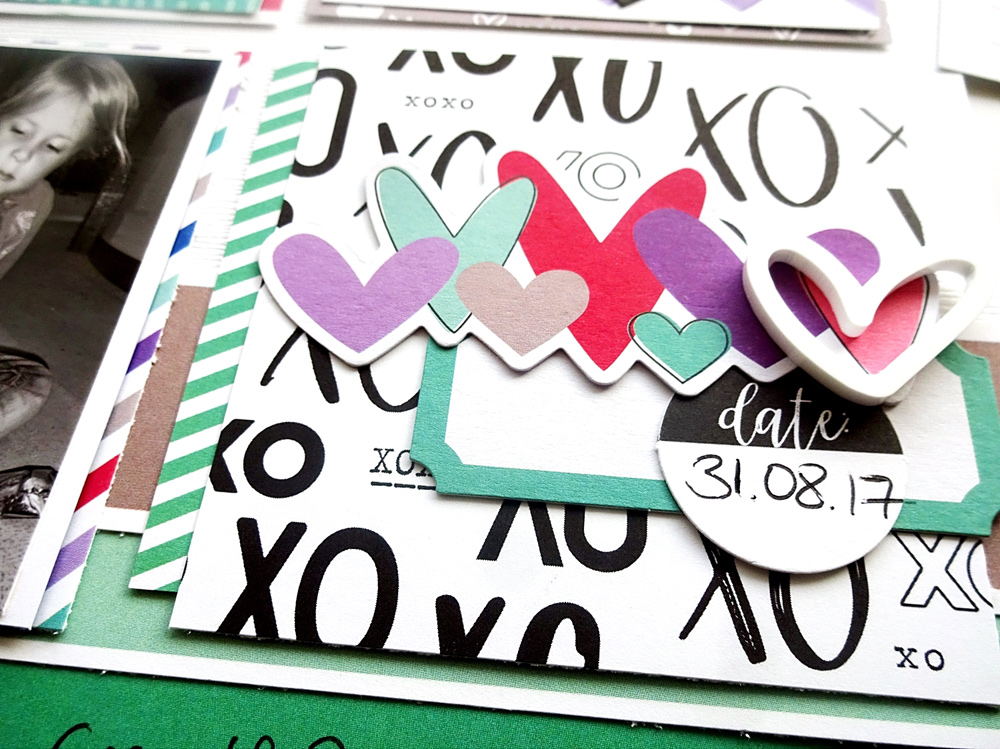
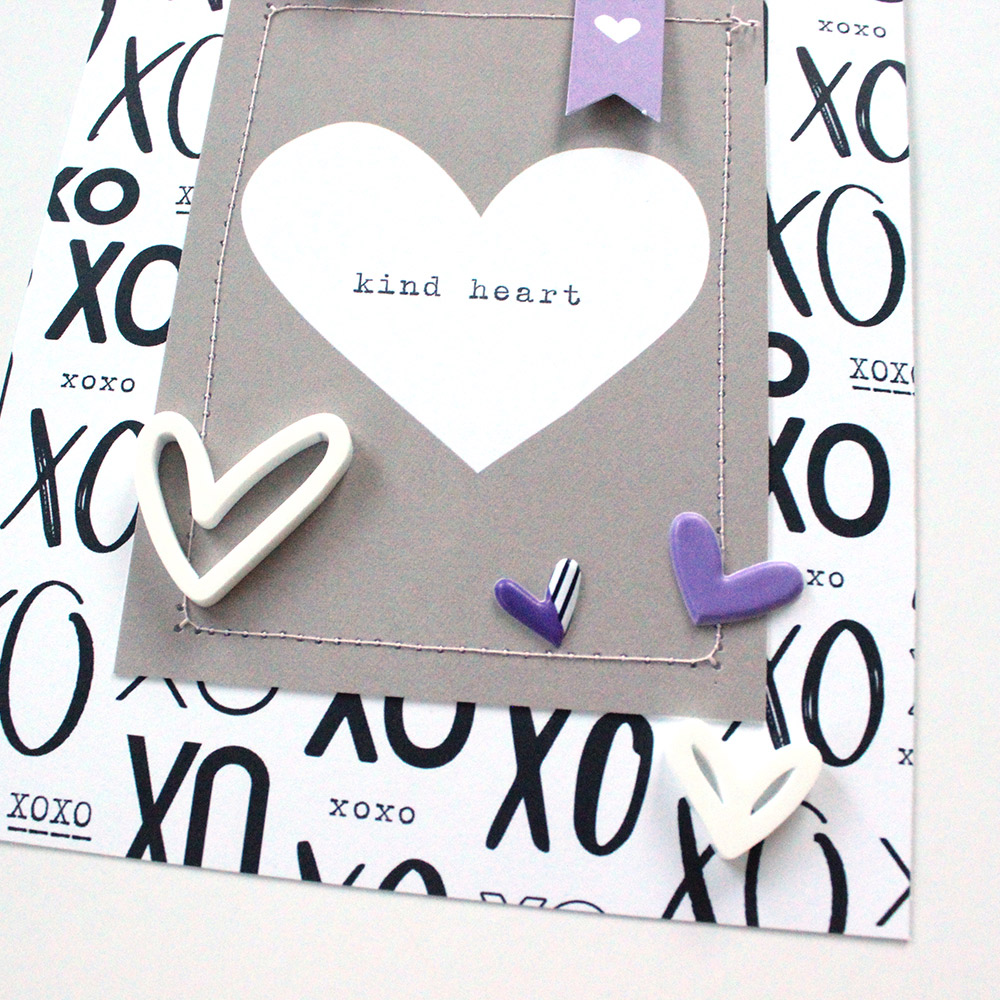
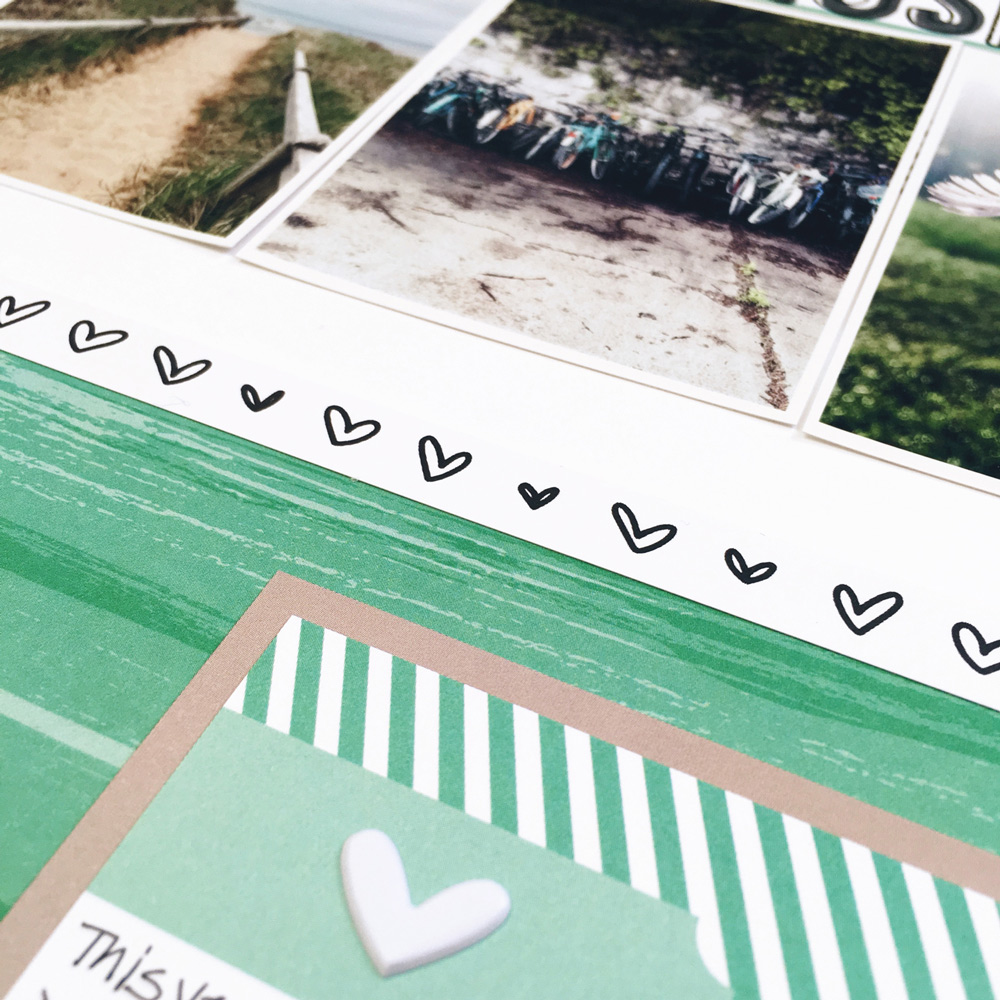
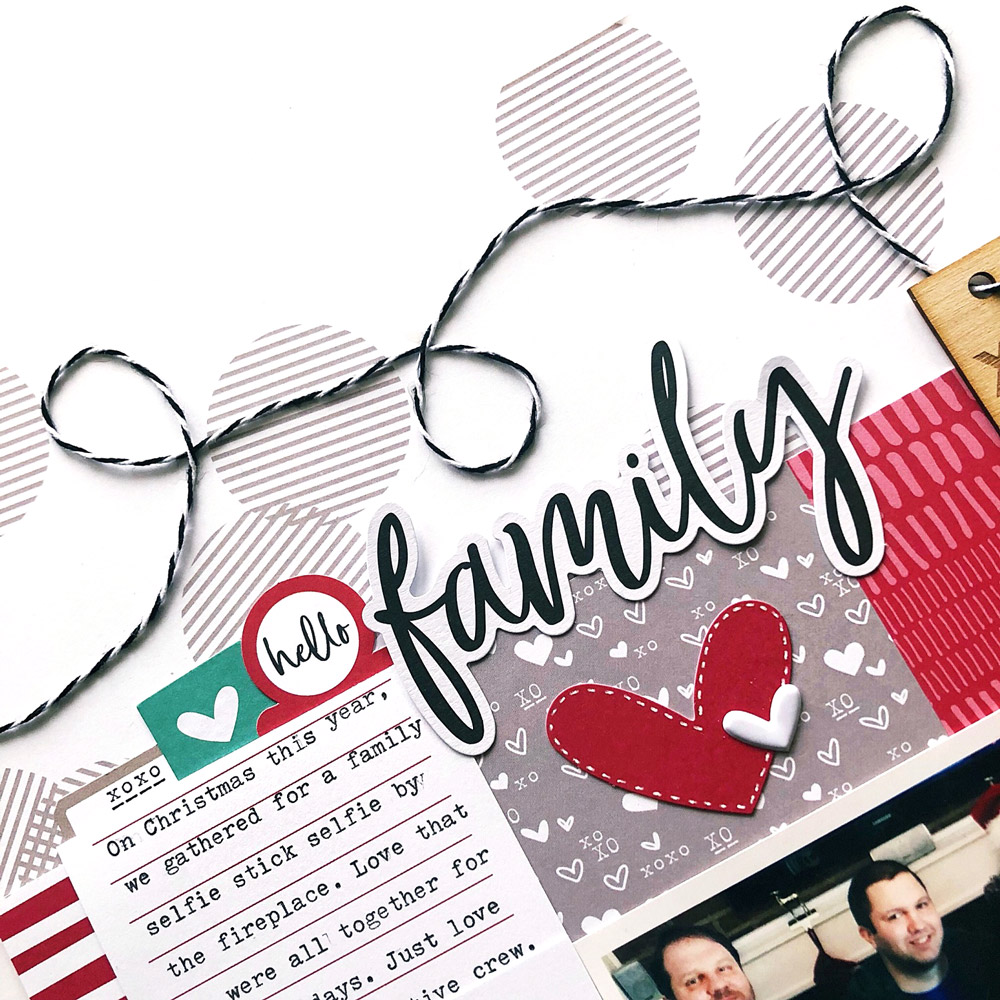
I also loved the little die cut heart tag from the Love You Die Cuts ephemera pack. It was so much fun to embellish it with little wood veneer hearts from the Wood Confetti, or any kind of small embellishment you have on hand.


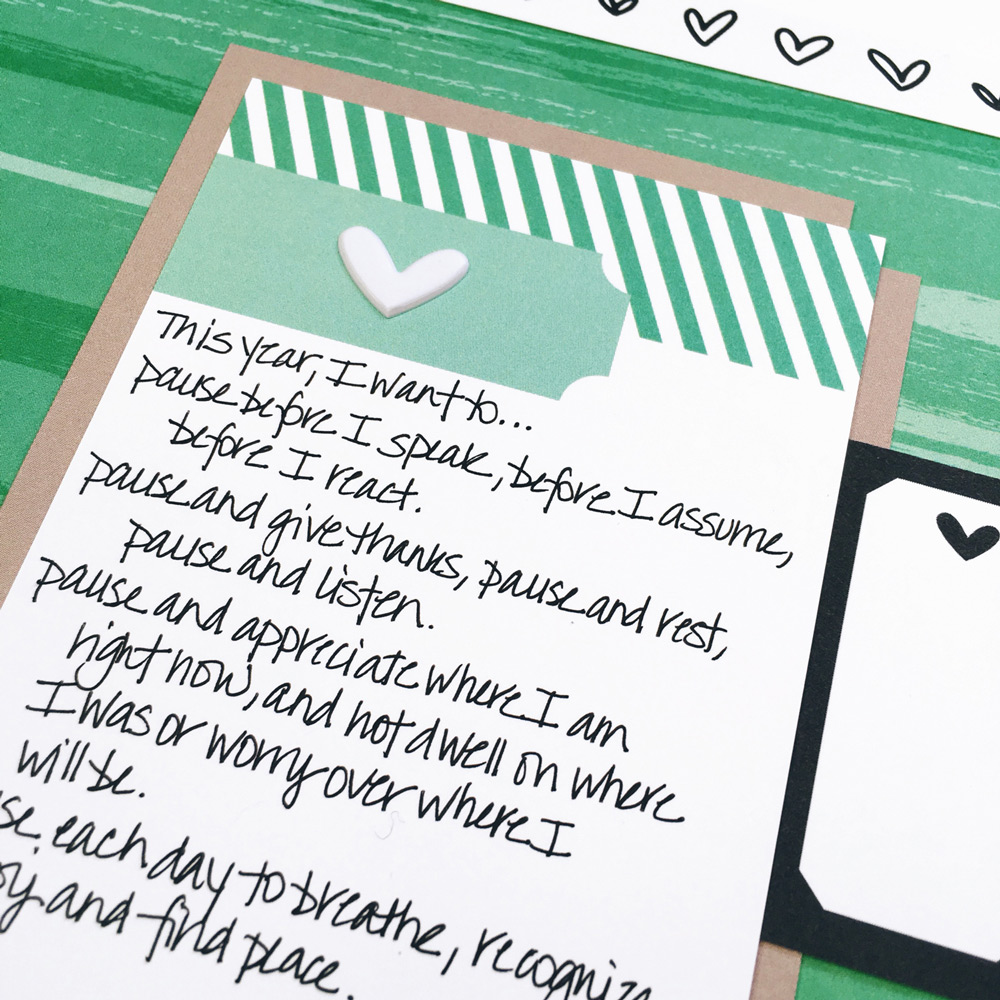
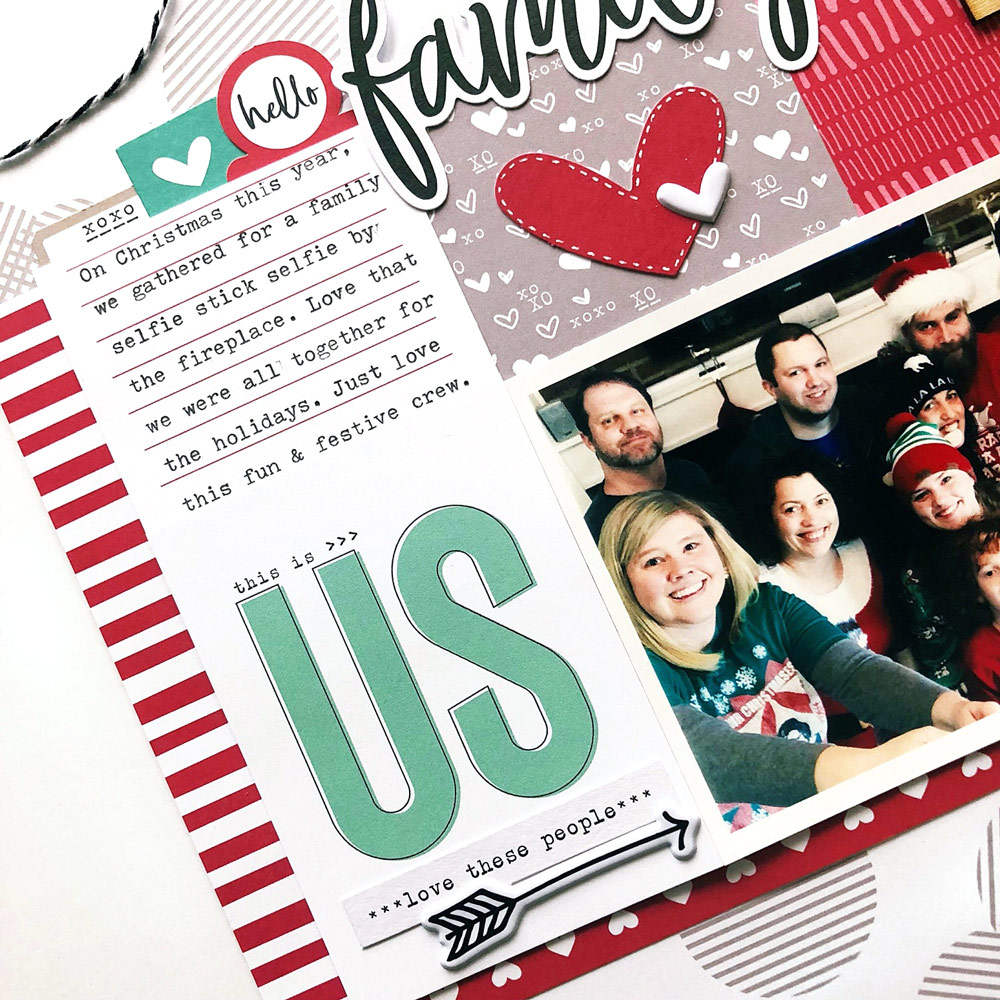
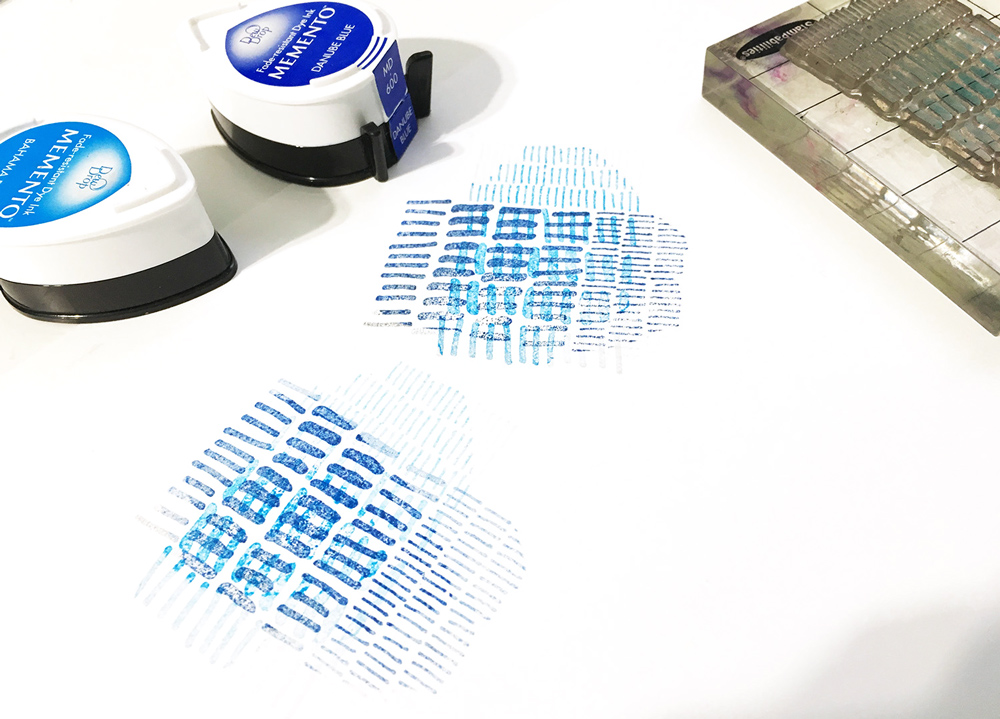
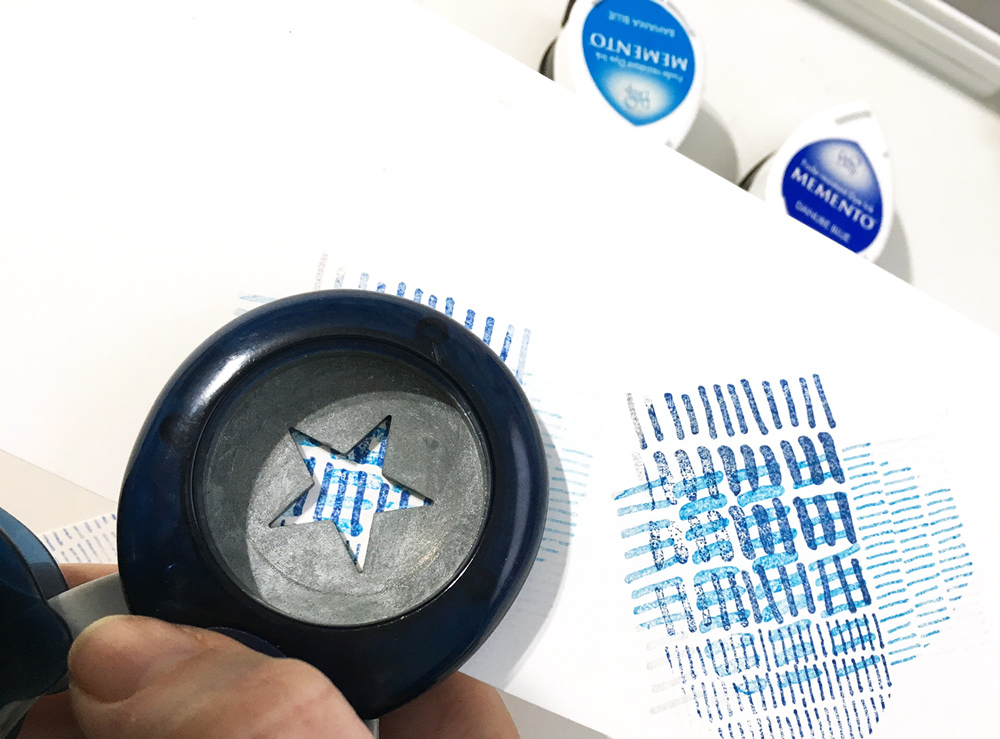
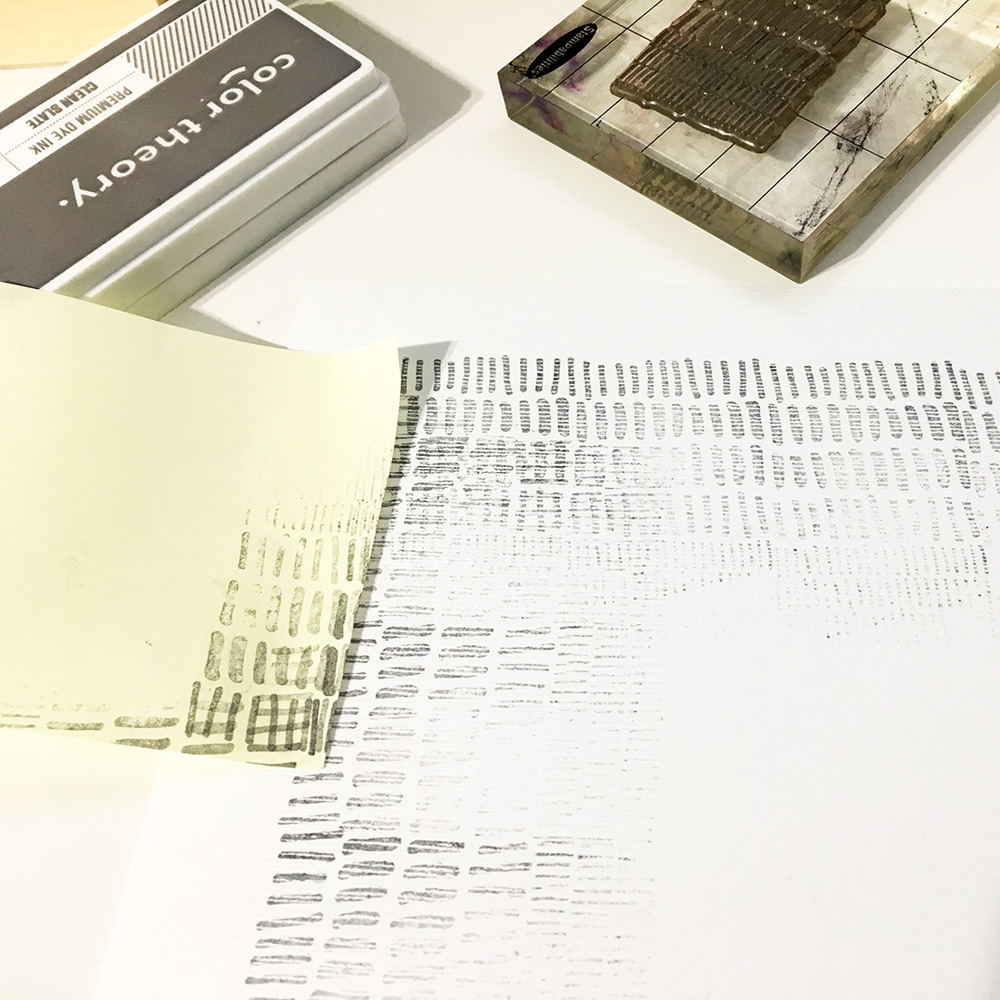
Check out this process video to see how the pages came together and how I went about embellishing the tags and photos. I also have a little segment showing you how I edited the digital tag from the All My Love Printables and typed my journaling.


Thanks so much for stopping by the blog today!
 

Sketch Day with Daniela

This year on the ES blog, we’re bringing back the ever-so-popular sketch day! Use the sketches that we release this year to inspire your projects, which you will create in no time! For our first sketch day of 2018, we have Daniela sharing a beautiful, new layout! Let’s see how the sketch inspired her!
 
Hi there, this is Daniela and I’m so excited to share my first blog post here at Elle’s Studio! I created a layout inspired by this fun and variable sketch using the January 2018 Kit and add-ons:


When I saw the sketch, I knew right away that I had to use the XOXO Paper Stack on my layout. The six rectangles in the sketch are just perfect for using lots of these beautiful papers and get all these wonderful patterns combined on one page. With the sketch inspiration, I created this layout:


Supplies | January 2018 Kit, Love You Die Cuts, Hugs and Kisses Puffy StickersYou Are Loved Wood Veneer, Hand Drawn Acrylic Hearts, XOXO 6″ x 6″ Paper Stack, Live Laugh Love 12″ x 12″ Paper Collection
 
I really do love the black and white “XOXO” pattern in combination with the bold colors of the other papers and die-cuts, so I tried to include layers and clusters that highlight the lovely colors.


The You Are Loved Wood Veneer is perfect for adding a title to your layout! Since I wanted to stick to my color scheme, I used ink and dyed it black. I’m really satisfied with the result and like the contrast of the black wood veneer on the colorful background.


Mixing different textures is always a good way to create focal points and highlights on a page, so I used lots of different add-ons from the January reveal. The Hugs and Kisses Puffy Stickers are a great addition to the paper embellishments and I honestly can’t get enough of these.


Have fun using your January supplies and playing with the sketch. I can’t wait to see what you guys create!


Looking for more sketches and designer-inspired layouts to spark your creativity? Our newest class, From Sketch to Finish Volume 3 is available with or without the 6″ x 8″ exclusive stamp, but only while supplies last. Have you been inspired by the January sketch like Daniela? We’d love to see what you’ve created! Please share your layout on Instagram using the hashtag #EllesStudio so that we can see your work, have a chance to be featured here on our blog and win a $10 gift certificate to the shop! 

Christmas in Paradise with Adrienne Alvis

We’re back with the final blog post featuring our January guest designer, Adrienne Alvis! She’s already shared a layout and a home decor project with us, and this week she’s switching things up to create a pocket page spread using our January monthly kit and add-ons! Let’s see what she documented!
 
Pocket page scrapbooking is one of my favorite ways to document multiple photos. While I haven’t been the best at keeping up with a monthly album, I do try and create pocket page spreads for special events such as our recent trip to the Dominican Republic over the holidays.


Supplies | January 2018 Kit, January Labels, Love You Die Cuts, Hugs & Kisses Puffy StickersWood Veneer Love TagsEnamel DotsXOXO StampXOXO 6″ x 6″ Paper Stack
 
I gathered up several of my favorite photos from our trip and printed them off on my home computer, sizing them to fit inside the 3″ x 4″ pockets of the page protectors. I placed the photos that I wanted in the pages and filled in the other sleeves with 3″ x 4″ journaling tags from the January 2018 Kit.
 
I also cropped a few of the patterned papers from the XOXO 6″ x 6″ Paper Stack to fill in a couple of the sleeves and I really love how they coordinate so well with my overall color scheme.


After I was content with the 3″ x 4″ tag and photo placement, I used some of the stamps from the XOXO Stamp to add stamped arrows and the word “love” to a few of the 3″ x 4″ tags. My pocket page design style is a little more clean and simple than some of my other creations because I like my photos to take center stage. To embellish some of the tags, I added Love You Die Cut labels and added my journaling to a few of the 3″ x 4″ lined journaling tags as well.


I also layered a few of the die cuts and Hugs & Kisses Puffy Stickers directly to my photos, utilizing some of the white space. I love how the puffy stickers add just the right amount dimension to my overall design, without being too bulky for the pocket page sleeves. Some of my favorite embellished tags are the two that I layered some of the January Labels and tags from the January Kit with the Wood Veneer Love Tags…so cute!


I want to thank Elle’s Studio again for having me as a guest designer this month and to you all for taking the time to leave me comments. I hope you enjoyed my creations!


I was born and raised in Southern Illinois and grew up around my family’s farm. My mother was always sewing, making crafts, and taking craft classes, but I didn’t discover my crafty side until after I had my youngest son, almost 11 years ago. I started creating traditional layouts, but soon found a love for making cards, mini albums, home decor projects, and pocket page albums. I am currently designing for Pinkfresh Studio and have been on many other design teams over the past few years. I’ve been married to my husband for almost 12 years now, and we have three beautiful and spirited kiddos, Garrison (15), Jubal (10), and Avery (8). Of course, my children are my main source of scrappy subject matter and I love how documenting their every move and milestone helps satisfy my creative urges. Other than paper-crafting, I have a full-time job as a LuLaRoe fashion consultant and in my spare time I like to read, run, watch movies in bed, listen to music, travel, and work on DIY home projects. You can find more of my projects on Instagram, Facebook, Pinterest and my blog, Paper Fab.
 
Thank you so much for guest designing, Adrienne! We loved featuring your beautiful creations here on the blog! Be sure to follow Adrienne at the links above for more inspiration!  

January Design Team Inspiration: Volume Three

We are back with one last post full of amazing design team projects for you, featuring the January Kit and add-ons! Let’s take a look! 


Bügelperlen by Daniela – supplies used | January Kit, January Digital Cut FilesLove You Die CutsBlack Puffy Alphabet Stickers, Enamel DotsXOXO 6″ x 6″ Paper Stack, Live Laugh Love 12″ x 12″ Paper Collection


You Are Loved Pocket Page Spread by Jess Forster – supplies used | January Kit, Love You Die Cuts, You Are Loved Wood VeneerHand Drawn Acrylic HeartsHugs and Kisses Puffy Stickers, Enamel DotsLetter and Number Stickers — BlackXOXO 6″ x 6″ Paper Stack


You Are Loved by Amanda-jayne Baldwin – supplies used | January Kit, January Digital Cut Files, Love You Die Cuts, You Are Loved Wood VeneerHand Drawn Acrylic Hearts, Hugs and Kisses Puffy Stickers, Enamel DotsXOXO 6″ x 6″ Paper Stack, Family Fun 12″ x 12″ Paper Collection


You Are Loved Card by Laura Hager – supplies used | Love You Die Cuts,You Are Loved Wood VeneerEnamel DotsXOXO 6″ x 6″ Paper Stack


The Best Baby Shower by Melissa Mann – supplies used | January Kit, July Digital Cut File, Love You Die Cuts, Pink Cardstock Alphabet StickersHugs and Kisses Puffy StickersHand Drawn Acrylic Hearts, Dated StampXOXO 6″ x 6″ Paper StackFamily Fun 12″ x 12″ Paper Collection


I Love You More Than… by Candace Perkins – supplies used | January KitLove You Die Cuts, Hugs and Kisses Puffy Stickers, Hand Drawn Acrylic HeartsLetter and Number Stickers — Black


You Are Loved by Jamie Leija — supplies used | January KitLove You Die CutsHugs and Kisses Puffy Stickers, Hand Drawn Acrylic HeartsYou Are Loved Wood VeneerStanley Jr. Alphabet Stamp — Outline, XOXO Stamp, Dated StampXOXO 6″ x 6″ Paper Stack,  Family Fun 12″ x 12″ Paper Collection


Get to Work by Meghann Andrew – supplies used | January KitWhite Cardstock Alphabet StickersHugs and Kisses Puffy Stickers, Star Chipboard Stickers, Dated Stamp, XOXO Stamp, Counting Steps StampXOXO 6″ x 6″ Paper StackFamily Fun 12″ x 12″ Paper Collection


Good Times by Neela Nalam – supplies used | Love You Die Cuts, Hugs and Kisses Puffy Stickers, Hand Drawn Acrylic HeartsXOXO 6″ x 6″ Paper Stack
 
Don’t worry, there’s much more to see on the blog before our next reveal, from our design team, as well as our amazing guest designer! We know you will love having this inspiration when you pull out your kit contents. Be sure to come back tomorrow to see what guest Adrienne Alvis created with our new supplies. 

Handmade Valentines with Laura Hager

Valentine’s Day is fast approaching, and the January Kit and extras are the perfect supplies to create quick and beautiful Valentines for the most special people in your life. Today we have Laura Hager to share two beautiful cards that she created with the new supplies!
 
Hi there, I’m Laura! I’m excited to be working with Elle’s Studio again and to show you my first project for 2018! This month, I’m using the January kit and add-ons to create two cute cards that are perfect for Valentines day!


Supplies | January 2018 Kit, Love You Die Cuts, Hugs and Kisses Puffy Stickers, Hand Drawn Acrylic Hearts, XOXO StampXOXO 6″ x 6″ Paper Stack, Family Fun 12″ x 12″ Paper Collection
 
For my first card, I used a circle punch and the January Kit to create a grid using the circles. I use roller adhesive to attach the circles to the circle patterned paper from the Family Fun 12″ x 12″ Paper Collection. I love adding die cuts for a few pops and texture to the page, and I chose a few from the January Kit and the Love You Die Cuts. There was a teal label in the Love You Die Cuts, so I added that and stamped “Happy Valentine’s Day” to the label using the XOXO Stamp. I wanted a little more dimension, so I added a purple heart with foam adhesive to make it pop off the card a little.


For the second card, I wanted to try a different technique by using my sewing machine to add the pieces to the page. I used the “XO” paper from the XOXO 6″ x 6″ Paper Stack and cut it down to 6″ x 4-1/2″ to create the front of the card. I found a “kind heart” tag from the January Kit and used the sewing machine to trace around the edge of the tag to add it to the front of the card. At this point, the card was just black, white, and gray, so I wanted to add some color, and I chose purple pennant from the January Kit. Next, I added some hearts from the Hugs and Kisses Puffy Stickers. The card still needed a little something, so I also added Hand Drawn Acrylic Hearts to add some 3D elements to the card.


These cards are so easy and quick to make, but they look so cute! I’m so excited to send these out to friends for Valentine’s Day. Are you making cards with the January Kit and add-ons?


Batch-Creating Cards with Jamie Leija

When you sit down to create a card for a friend, or special someone, why not duplicate that design for another greeting to keep on hand for later? Today we have Jamie Leija sharing how she batch-creates her cards, and we love how she used our January Kit and extras to create three beautiful greeting cards, ready to send out today! Don’t miss her process video, too! 
 
Hiya! It’s Jamie and today I’m sharing a trio of cards I made via batch creating. I’ve been doing this with cards for years now. It is easy enough to make one card, but it takes very little extra time to create three!


Supplies | January 2018 KitLove You Die CutsHugs and Kisses Puffy Stickers,  Hand Drawn Acrylic HeartsXOXO 6″ x 6″ Paper StackXOXO StampThank You StampHappy Birthday Stamp
 
I turned to the January 2018 kit and extras which had several options for similar products to stretch my card supplies! One way to stretch your resources are to use stamps. There’s an infinite number of times a stamp can be stamped (as long as you have ink of course!)


I opted to use three different stamp sets to create three different kinds of cards—the XOXO Stamp for the “love you” card, the Thank You Stamp for the “thank you” card, and the Happy Birthday Stamp for the birthday card.


I also turned to the XOXO 6″ x 6″ Paper Stack, choosing three different patterns to cut circles from. Each card is designed the same, but clearly not identical.


Punches are another way I stretch my card supplies, but there was no need to pull these out since there were already tons of die cuts to choose from in the supplies that I had on hand. I used banners from the monthly kit and hearts from the Love You Die Cuts.


I put together a process video to chat through how these cards came together:


Happy card creating!
 

“Inspired By” with Susan Brochu

We’re always trying to bring you new inspiration here to the Elle’s Studio blog, but this year, we’ve decided to show you how our design team members have been inspired by each other each month! Our newest blog series is called “Inspired By.” One design team member will choose another design team member’s project from the kit reveal design team gallery post, and create their own project based off of it. To kick off this exciting new series, we have the lovely Susan Brochu, who has selected a completely different project to be “inspired by!” Let’s see what she created. 
 
Hello everyone, it’s Susan and I’m happy to be bringing you the first installment in our brand-new “Inspired By” series. Each month, one of the team members will be creating a project inspired by another team member’s gallery project. I selected Nathalie’s “In the Desert” traveler’s notebook spread
as the inspiration for my own project.


The dimensions of a full traveler’s notebook spread easily translate to a 12″ x 12″ page so I had a nice starting point. I then rotated Nathalie’s design 90 degrees to the right and created this page about my one little word for 2018.


Supplies | January 2018 Kit, January Labels, Love You Die Cuts, Hugs and Kisses Puffy Stickers, XOXO StampStanley Alphabet Stamp – OutlineStanley Alphabet Stamp – SolidLive Laugh Love 12″ x 12″ Paper Collection
 
Like Nathalie, I used one main color and then supplemented it with black, white and gray. Since my one little word, “pause,” and photos have a restful connotation, I didn’t want the colors of my layout to be distracting. The “B” side of the “Petal” patterned paper in the Live Laugh Love 12″ x 12″ Paper Collection had a lovely teal/green design that was perfect. I cut a six-inch piece of it, added it to white cardstock and then used the branding strip to give the border between the patterned paper and cardstock a finished look.


Now I am far from being the world’s greatest stamper, but the Stanley Alphabet Stamps made it so easy to give my title a three-dimensional look. I first stamped each letter in black with the outline set and then stamped over each one using the solid stamp in a dark gray, just slightly offsetting the letters to get that 3-D effect.


I stamped the broken lines pattern from the XOXO Stamp for a horizontal line to anchor my photos along the top of the page, echoing Nathalie’s design.


The January Kit had a 3″ x 4″ tag with a teal label and diagonal stripe that was ideal for holding my journaling. I matted that card with two 3″ x 4″ gray tags, also from the kit.


I want to encourage you to cut or alter cards, die-cuts or other embellishments to make them work for your project. The cluster of embellishments on the bottom left of my layout includes a black tag from the Love You Die Cuts. I wanted something black for that section of the page, so I just disguised the XO in the center of the tag by covering it with a few embellishments. The large black-bordered label in that cluster is something I cut from one of the 3″ x 4″ tags in the January Kit, and the gray heart was cut from a phrase in the Love You Die Cuts.
 
My title was stamped on a 4″ x 6″ tag from the January Kit—I cut off just the top portion to make it look more like a label and now I’ve got the bottom of the card to use on another project. Don’t be afraid to change those embellishments—it might be hard to make that first cut but once you do, you’ll see how easy it is to get a customized look!


Thank you to Nathalie for inspiring my page. I hope you’ll take another look in the design team gallery and choose a project to be “inspired by”!
 

Going Outside of the Theme with Tracey Fox

Even though the holidays are over, there are still plenty of memories to document. But what do you do when you are short on supplies? Pick up our versatile January Kit and add-ons! That’s what Tracey Fox used to create the Christmas layout that she’s sharing with us today, in quite a successful way! Let’s see what she created. 
 
It’s Tracey Fox here! I’m so excited to share my love for the January 2018 Kit and extras with you in my first blog post as a new member of the Elle’s Studio design team! To demonstrate how versatile the January releases are, I pulled out some red, blue-green, and gray items from the kit, extras, and the Family Fun collection to create a 12″ x 12″ Christmas page.


Supplies | January Kit, Love You Die Cuts, Wood Veneer Love Tags, Hugs & Kisses Puffy Stickers, XOXO 6″ x 6″ Paper Stack, Dated Stamp, Family Fun Bits and Pieces, Family Fun 12″ x 12″ Paper Collection
 
I just love how the colors in these products match the colors in the group selfie I took with my husband’s side of the family on Christmas Day last year. It was super fun to go through and pull out the tags from the January Kit and papers from the XOXO 6″ x 6″ Paper Stack in the same festive colors my family members were wearing. Even more perfect was the “This is Us” tag from the January Kit! I paired that tag with another tag from the kit that had lines for my journaling.


I also loved playing with lots of hearts for this family-themed layout, and there is no shortage of hearts in the January kit and extras! I used a pen to add some dashed lines around the die cut hearts from the Love You Die Cuts and the heart on the gray tag from the kit to add an extra touch of embellishment.


Finally, three of the Wood Veneer Love Tags strung with some swirly baker’s twine added the perfect finishing touch to the page. I love how the diagonal lines on one of the wood tags mimics the pattern of lines in the background paper I chose from the Family Fun 12″ x 12″ Paper Collection.


Do you ever use non-themed supplies to document your holiday photos? I find that kits from Elle’s Studio always contain enough great colors that you can easily pull out the right products for absolutely any occasion. I challenge you to think outside the box (and the obvious themes for the month) when you use your kit and extras. Thanks for letting me share with you today!
 

Hearts and Arrows with Laura Wonsik

Stamps are a great product to have on hand to spark your creativity, and today we’re blown away by how design team member Laura Wonsik has used the newest stamp in our shop: the XOXO Stamp. You will love her new layout, and she’s shown you how to re-create her page below! Let’s take a look.
 
Hello! This is Laura Wonsik and I am so thrilled to be doing my first blog post as a design team member! I made a 12″ x 12″ layout focusing on the XOXO Stamp and was amazed by how versatile it is—I used it three different ways on this layout.


Supplies | Love You Die CutsPink Cardstock Alphabet Stickers, Enamel DotsXOXO StampXOXO 6″ x 6″ Paper Stack
 
I started by playing around with the tally marks pattern included in the XOXO Stamp. One of the ways to think outside of the box with stamps is to consider how they can be used with each other as well as how you can use a part instead of the whole. For example, I stamped the marks pattern criss-crossed over itself to create a new pattern!


I practiced on paper and then decided to stamp over the punched-out die cut hearts from the 3″ x 4″ tag featured in the Love You Die Cuts.


Another option for this technique would be to stamp the pattern criss crossed on a piece of paper and then punch a shape out instead of having the shape punched out first.


Once my hearts were complete, I stamped the arrow from the XOXO Stamp pointing in random directions and adhered the hearts with pop dots over the arrows in random order.


Next, I randomly placed enamel dots around the hearts and arrows. Then I stamped the “Love You” words from the XOXO Stamp on smooth, white paper and fussy-cut it out as the title. I added the Pink Cardstock Alphabet Stickers so that it would say “We love you so,” since it’s a photo of my daughter with her grandparents.


The last thing I did was create a border around the grid of photos and paper. Like I said before, one way to stretch your supplies is to think about how you can use a part instead of a whole. I stamped with only the thin tally marks section of the XOXO Stamp pattern repeatedly to create a border, using a Post-It for the masking technique.


I hope you learned some new ways to use these awesome products and try them on your own. Happy crafting!

Keeping Track of 2018 with Guest Adrienne Alvis

Today we welcome back our guest designer for the month of January, Adrienne Alvis! We know that you will love the home decor project that she’s sharing with us today—it’s the perfect way to kick off a new year and keep track of 2018, and all that you have planned for it! Let’s take a look.
 
I’m back again with a little home office decor project that I created using the 2018 Calendars in the shop! I had a small calendar clipboard stand leftover from last year so instead of throwing it out, I decided to reuse it and make my own pages for it!


Supplies | 2018 Calendars, January 2018 Kit, Love You Die CutsStar Chipboard StickersHugs and Kisses Puffy StickersEnamel DotsXOXO StampXOXO 6″ x 6″ Paper Stack
 
I started by gathering my supplies and cutting down several of the patterned papers from the XOXO 6″ x 6″ Paper Stack to 4″ x 6″ so they would fit nicely on the clipboard, which is about 5″ x 7″ in size. I also used some of the 4″ x 6″ journaling tags from the January 2018 Kit as background pieces, too.


I layered the 3″ x 4″ 2018 Calendars on top of several of the 4″ x 6″ patterned paper pieces and used my sewing machine to sew them down for a more “homespun” feel.


Next, I embellished the monthly cards using the Hugs and Kisses Puffy Stickers, several of the Love You Die Cuts, and a few of the colorful Enamel Dots. My biggest concern was adding too many embellishments and it being too bulky to clip down, but the die cuts were perfect for adding flair without the bulk, so were the stamps from the XOXO Stamp.


I used some black ink and several of the stamps to embellish many of the background patterned papers and even directly onto the calendar cards. I also used a few of the leftover paper strips from the XOXO 6″ x 6″ Paper Stack that I cut down to create a nice layered look.


I really love how everything came together so easily and how the different embellishments and papers coordinated to make a year-round home decor piece! I have this calendar displayed in my home office—I really love how easy it was to make, and how such a simple piece added a big statement in my space!


I was born and raised in Southern Illinois and grew up around my family’s farm. My mother was always sewing, making crafts, and taking craft classes, but I didn’t discover my crafty side until after I had my youngest son, almost 11 years ago. I started creating traditional layouts, but soon found a love for making cards, mini albums, home decor projects, and pocket page albums. I am currently designing for Pinkfresh Studio and have been on many other design teams over the past few years. I’ve been married to my husband for almost 12 years now, and we have three beautiful and spirited kiddos, Garrison (15), Jubal (10), and Avery (8). Of course, my children are my main source of scrappy subject matter and I love how documenting their every move and milestone helps satisfy my creative urges. Other than paper-crafting, I have a full-time job as a LuLaRoe fashion consultant and in my spare time I like to read, run, watch movies in bed, listen to music, travel, and work on DIY home projects. You can find more of my projects on Instagram, Facebook, Pinterest and my blog, Paper Fab.
 
Be sure to find more of Adrienne’s work at the links above, and stay tuned for another project from her using the January kit and add-ons next week!