Stamps are a great product to have on hand to spark your creativity, and today we’re blown away by how design team member Laura Wonsik has used the newest stamp in our shop: the XOXO Stamp. You will love her new layout, and she’s shown you how to re-create her page below! Let’s take a look.
Hello! This is Laura Wonsik and I am so thrilled to be doing my first blog post as a design team member! I made a 12″ x 12″ layout focusing on the XOXO Stamp and was amazed by how versatile it is—I used it three different ways on this layout.
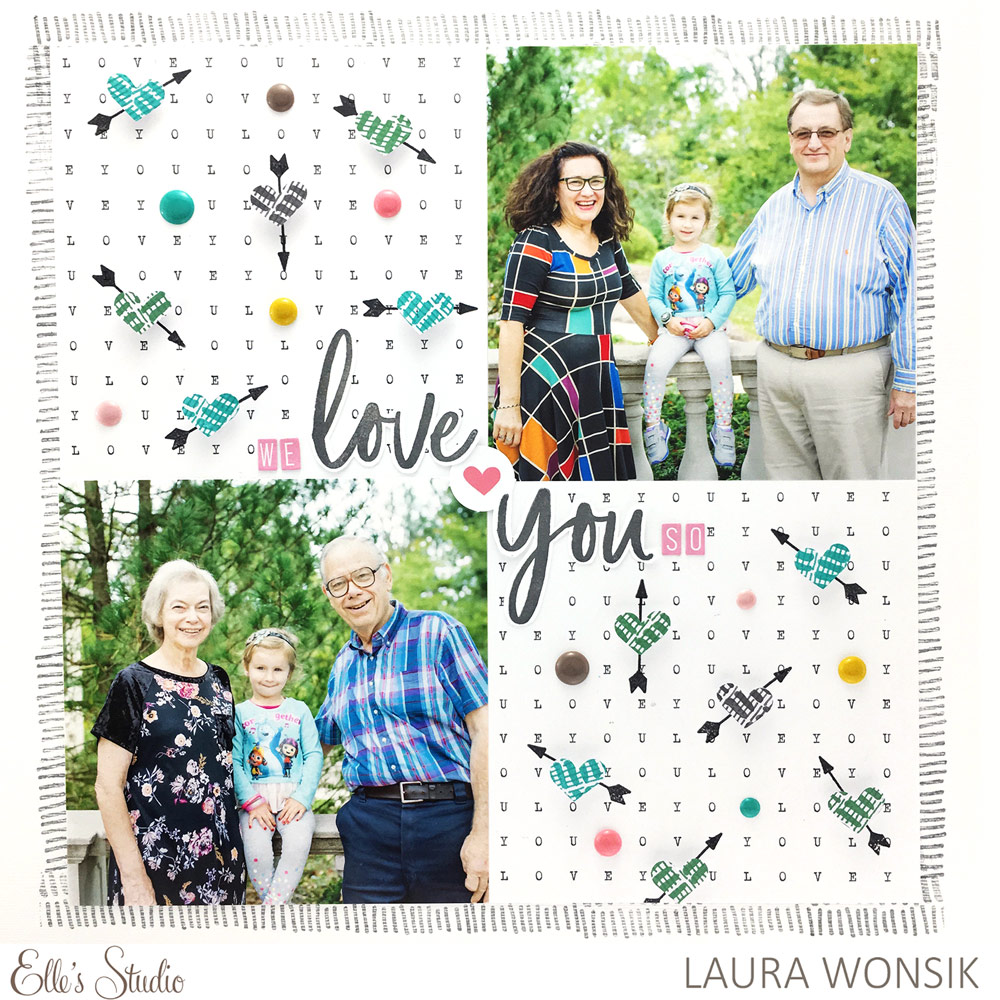
Supplies | Love You Die Cuts, Pink Cardstock Alphabet Stickers, Enamel Dots, XOXO Stamp, XOXO 6″ x 6″ Paper Stack
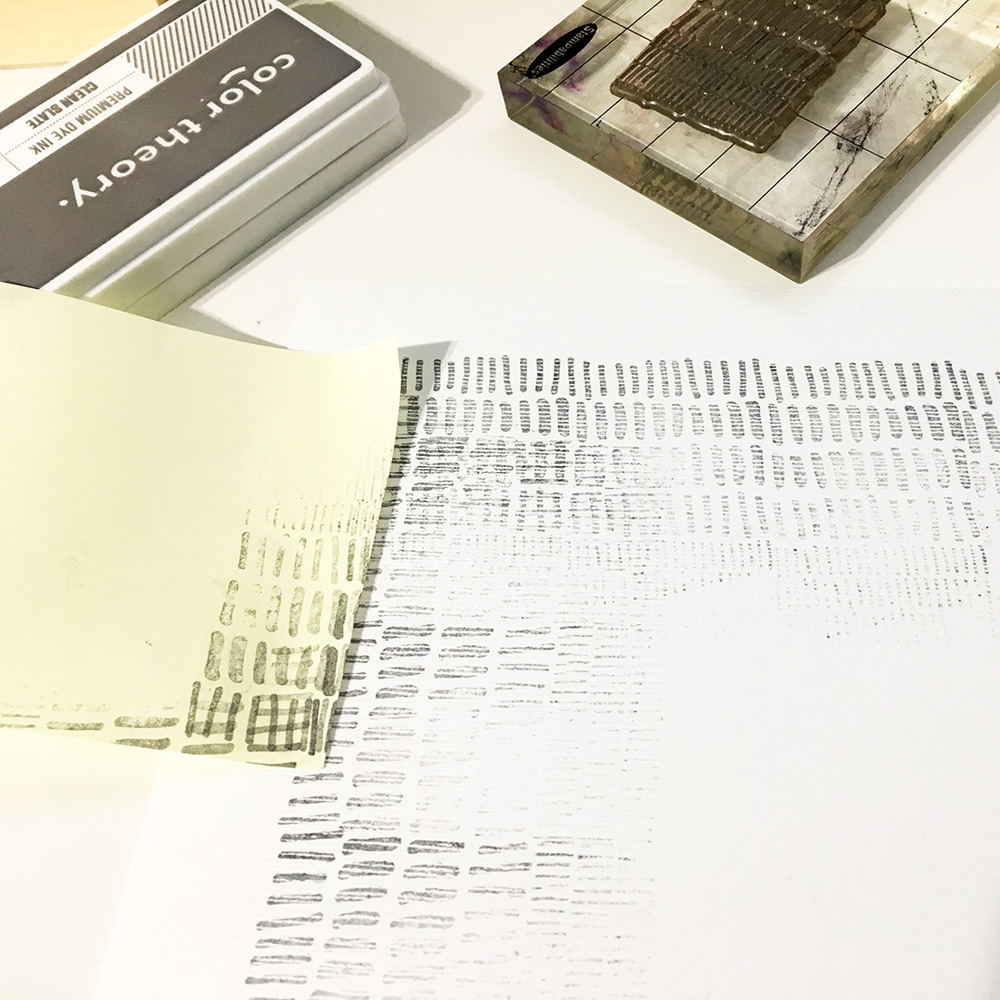
I started by playing around with the tally marks pattern included in the XOXO Stamp. One of the ways to think outside of the box with stamps is to consider how they can be used with each other as well as how you can use a part instead of the whole. For example, I stamped the marks pattern criss-crossed over itself to create a new pattern!
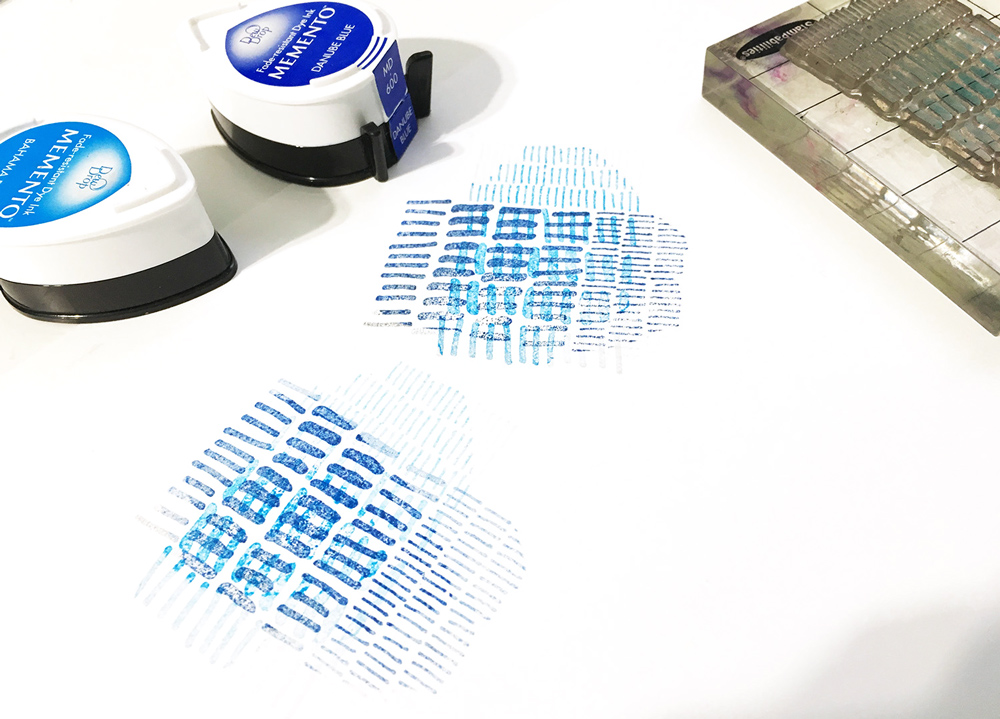
I practiced on paper and then decided to stamp over the punched-out die cut hearts from the 3″ x 4″ tag featured in the Love You Die Cuts.
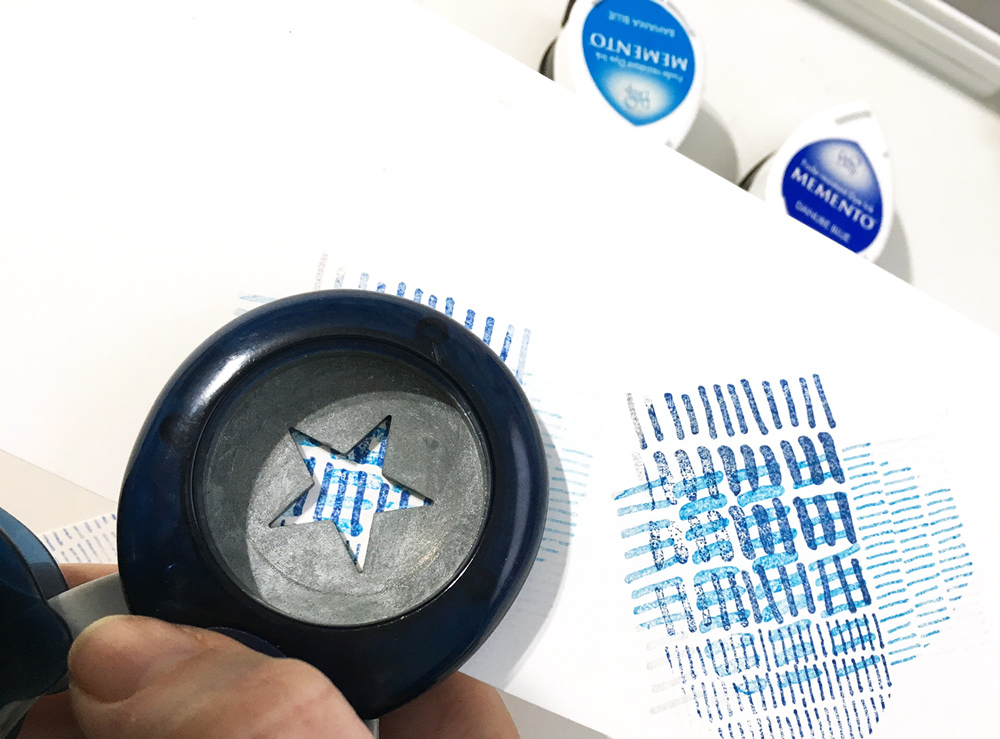
Another option for this technique would be to stamp the pattern criss crossed on a piece of paper and then punch a shape out instead of having the shape punched out first.
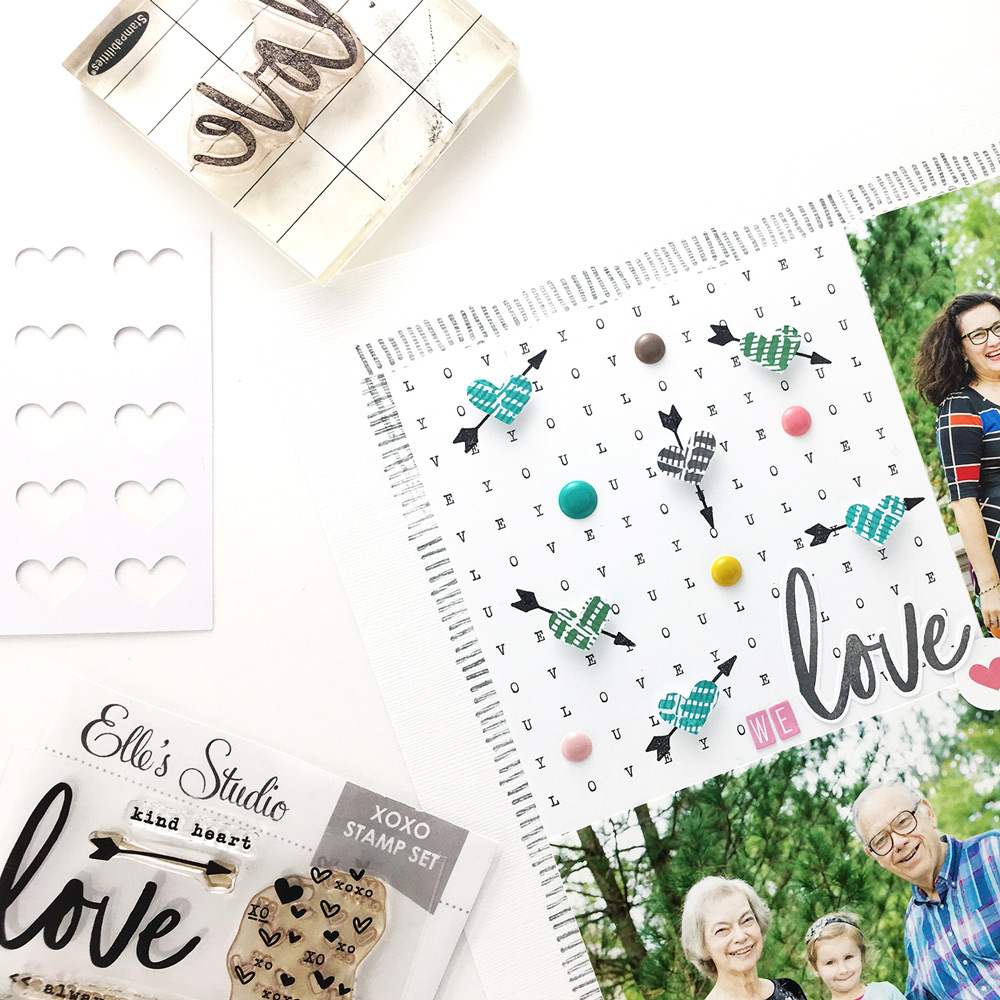
Once my hearts were complete, I stamped the arrow from the XOXO Stamp pointing in random directions and adhered the hearts with pop dots over the arrows in random order.
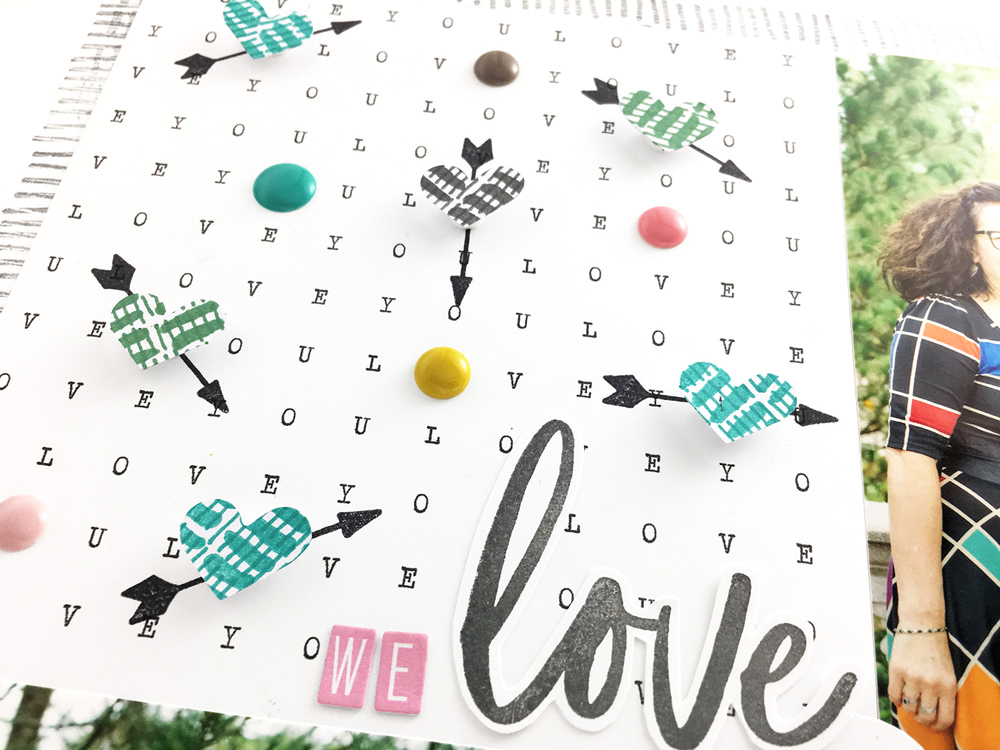
Next, I randomly placed enamel dots around the hearts and arrows. Then I stamped the “Love You” words from the XOXO Stamp on smooth, white paper and fussy-cut it out as the title. I added the Pink Cardstock Alphabet Stickers so that it would say “We love you so,” since it’s a photo of my daughter with her grandparents.
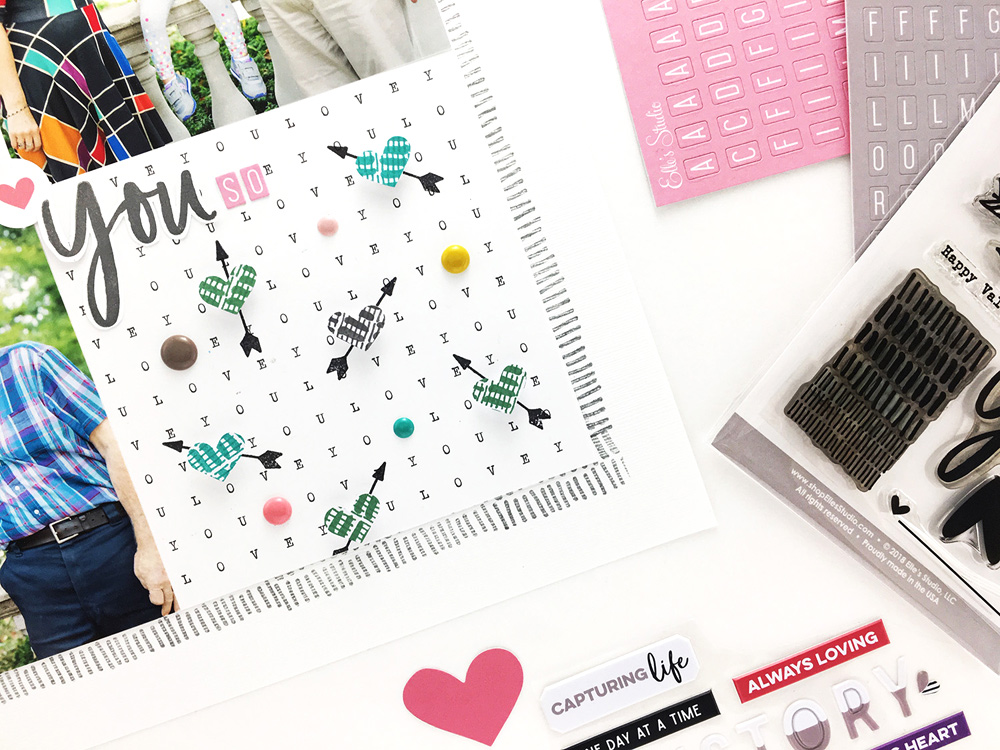
The last thing I did was create a border around the grid of photos and paper. Like I said before, one way to stretch your supplies is to think about how you can use a part instead of a whole. I stamped with only the thin tally marks section of the XOXO Stamp pattern repeatedly to create a border, using a Post-It for the masking technique.
I hope you learned some new ways to use these awesome products and try them on your own. Happy crafting!

Hearts and Arrows with Laura Wonsik
