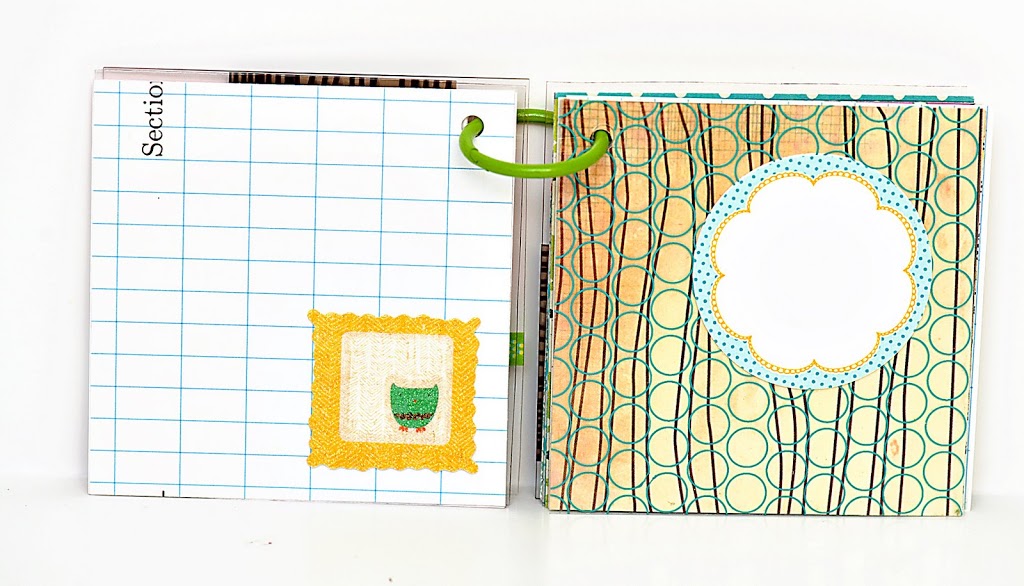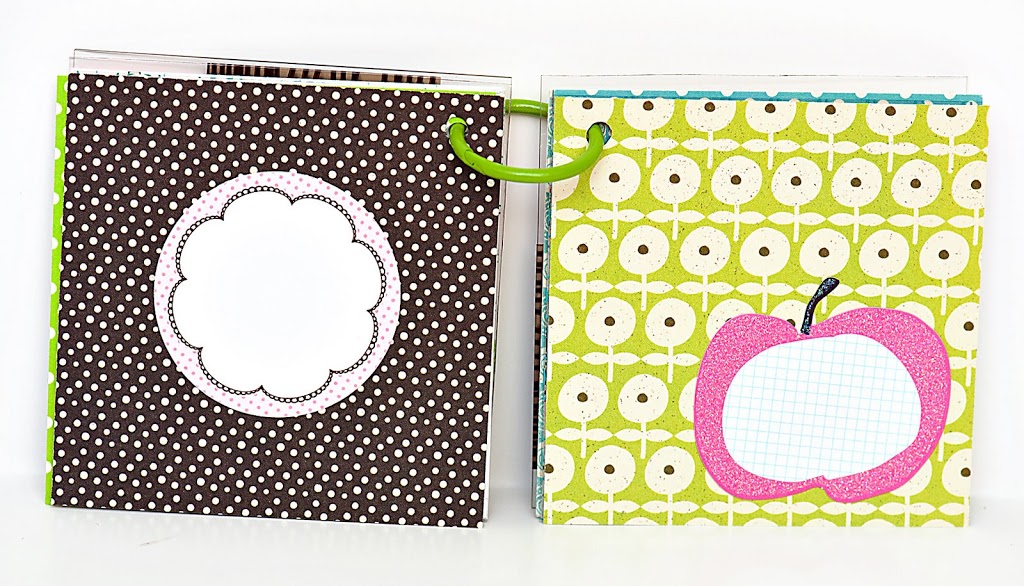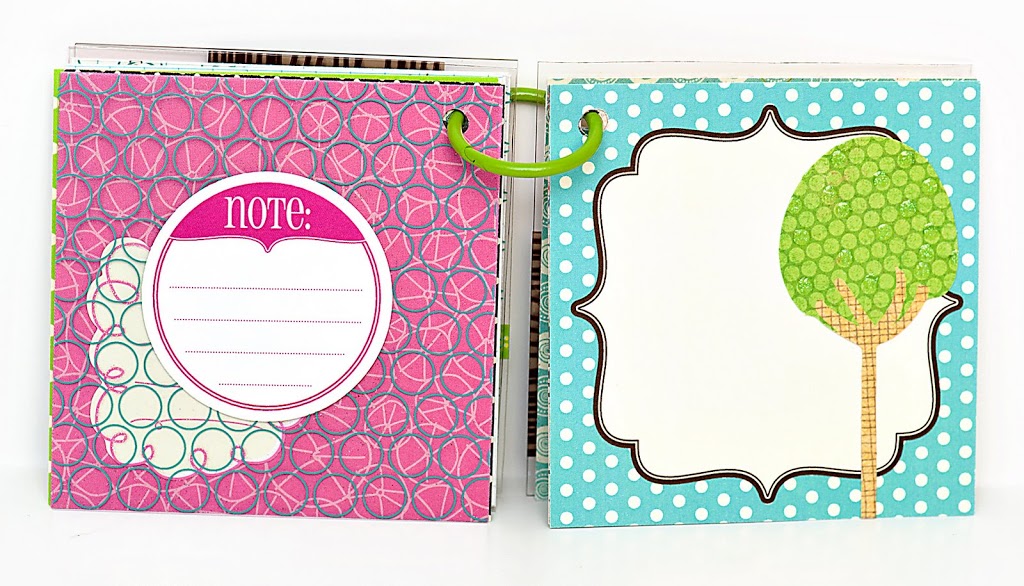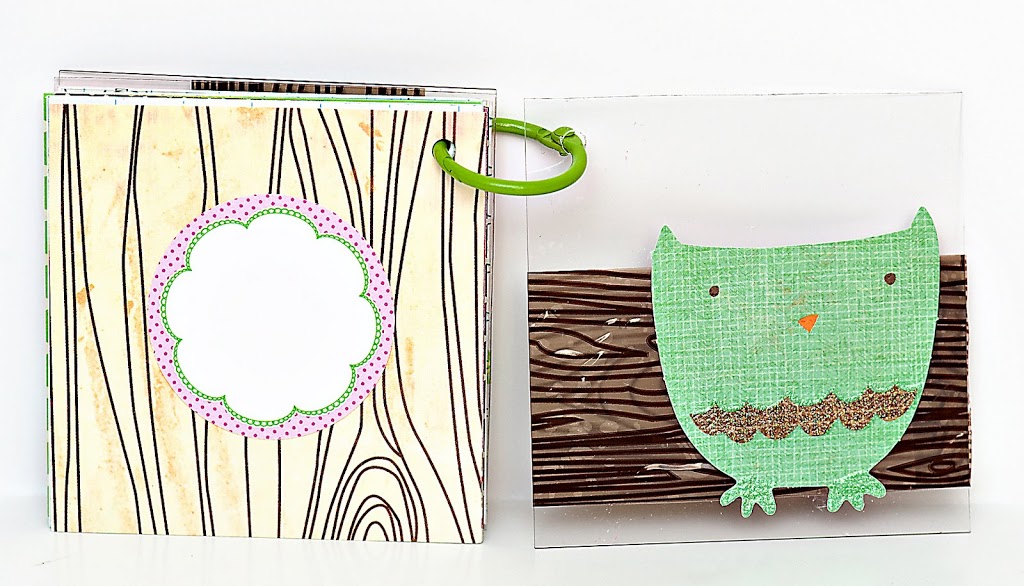

Summer 2009 • Documented – page two + three

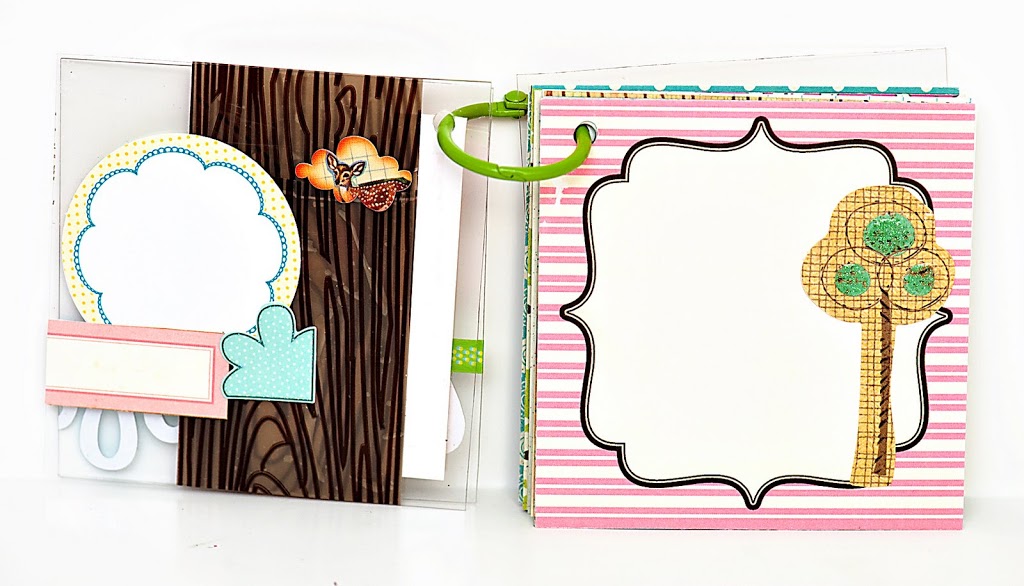
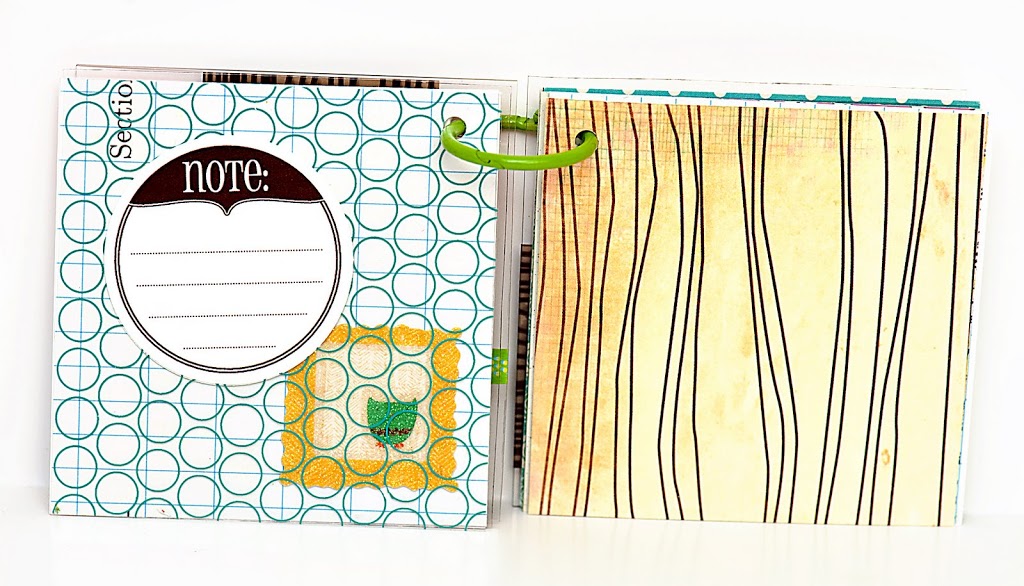
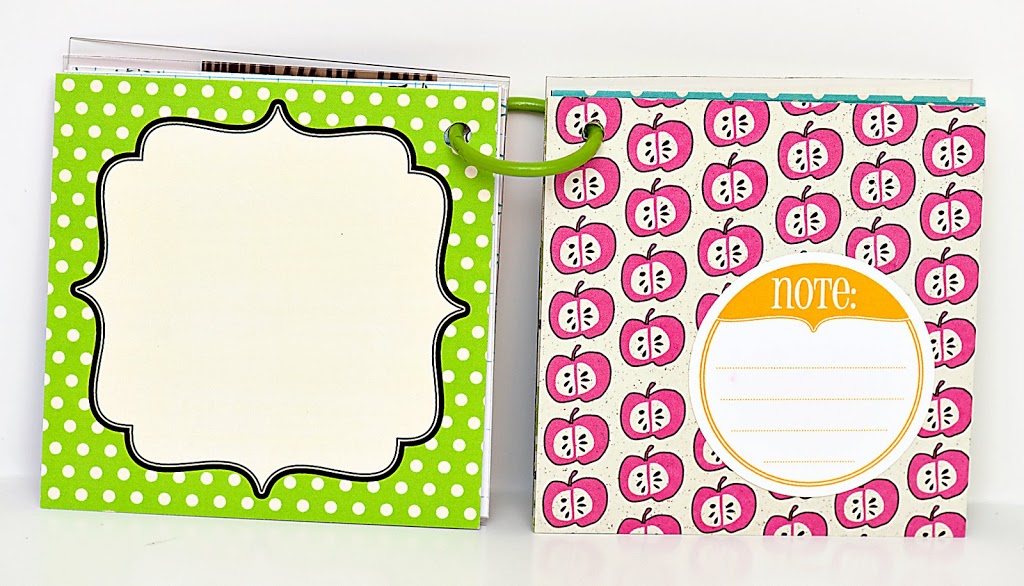
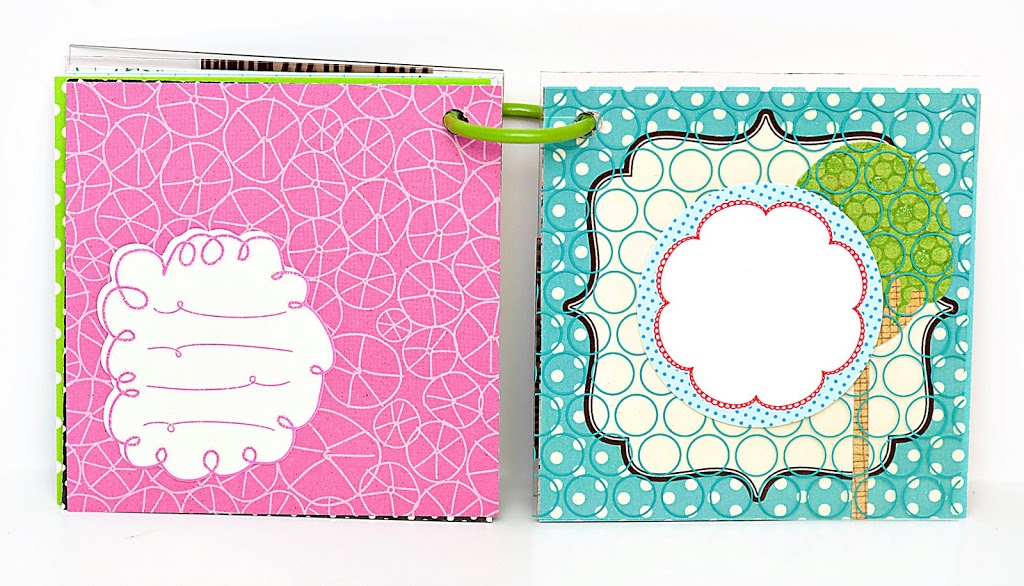
We are ready for page two! A couple things before we start – some people were wondering what the size of our mini and photos are. The mini (a Chatterbox Wood Veneer Album) is 7 x 6 inches. For our pictures, I print them out at varying sizes. I’ve been known to use 3 x 2, 3 x 5, 4 x 6 and 5 x 7. I print all my photos at home when I’m ready to use them. The only reason I do this is because I never know what size I want to use, so I’m usually printing them at the last minute!

Also, winners!! from our last summer post are:
Christine on July 13, 2009 6:25 PM
Alison on July 14, 2009 8:29 AM

Congrats, ladies! Email us your postal address and we’ll get your goodies out asap!

HUGE thank you to everyone who left a comment, we love them sooo much!! It was so fun to read what everyone’s favorite part of summer is! Spending time with family was one that was mentioned a lot and I have to agree, that is my favorite part, too!

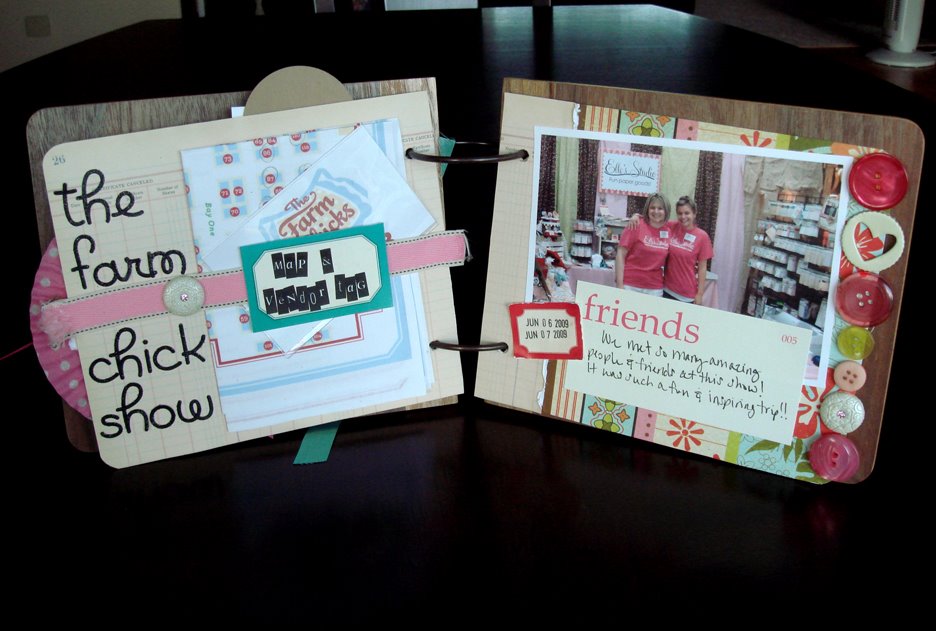
Should we get started? For page two, we are going to scrap about The Farm Chick Show we were at in June. This layout and idea would work great for any event, show or place you go to this summer. And, we are going to tackle a two page spread in a mini! I know some people, including me, worry about the layout carrying over from left to right and looking like one layout, two pages that belong together. The space in the middle that the binding creates is hard to work around, but we have found a solution and will share it in a couple steps below 🙂

But first, we have to get our pages ready. When working on a mini, one thing I find frustrating is there is always something behind the page what you’re working on. The first page of our mini is behind page two and it has a ton of embellishments on it making it very thick.
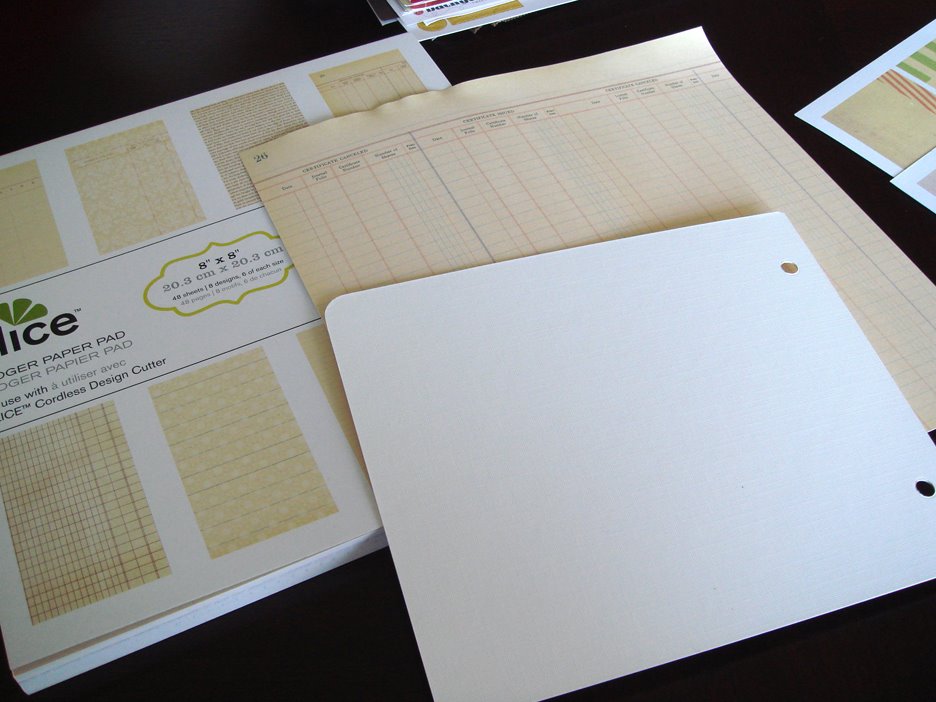
Instead of trying to work on this uneven surface, we trace the page and cut out the shape on the scrapbooking paper we are going to use for the background. Once we completely finish the page we will glue the two pages together!
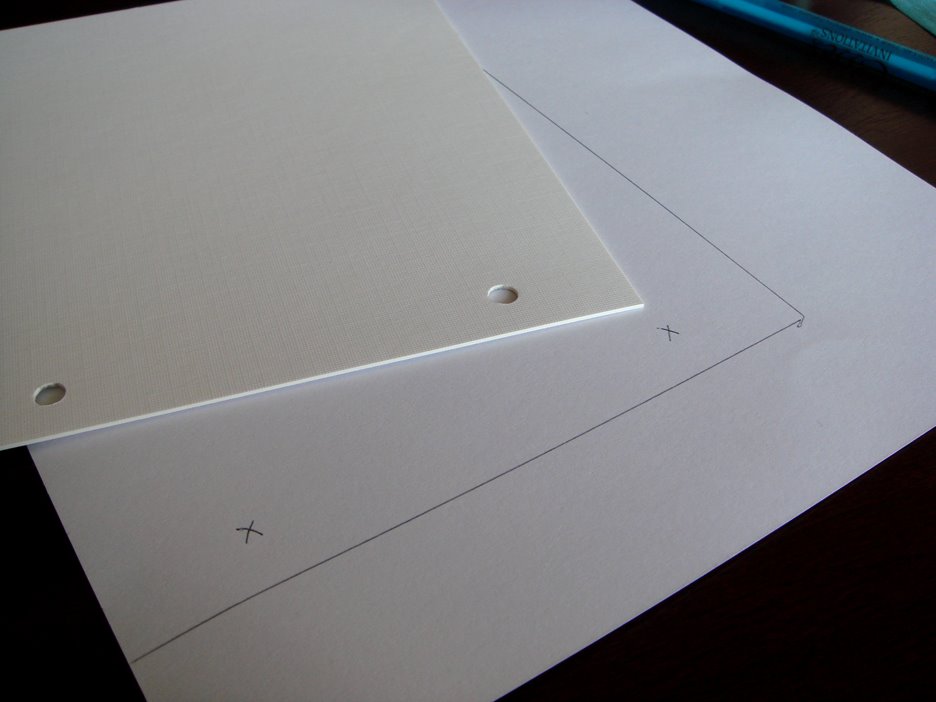
We are using a piece of paper from our Slice paper pad from Making Memories. After you have traced and cut out your page, make sure you mark or punch where your holes will be!
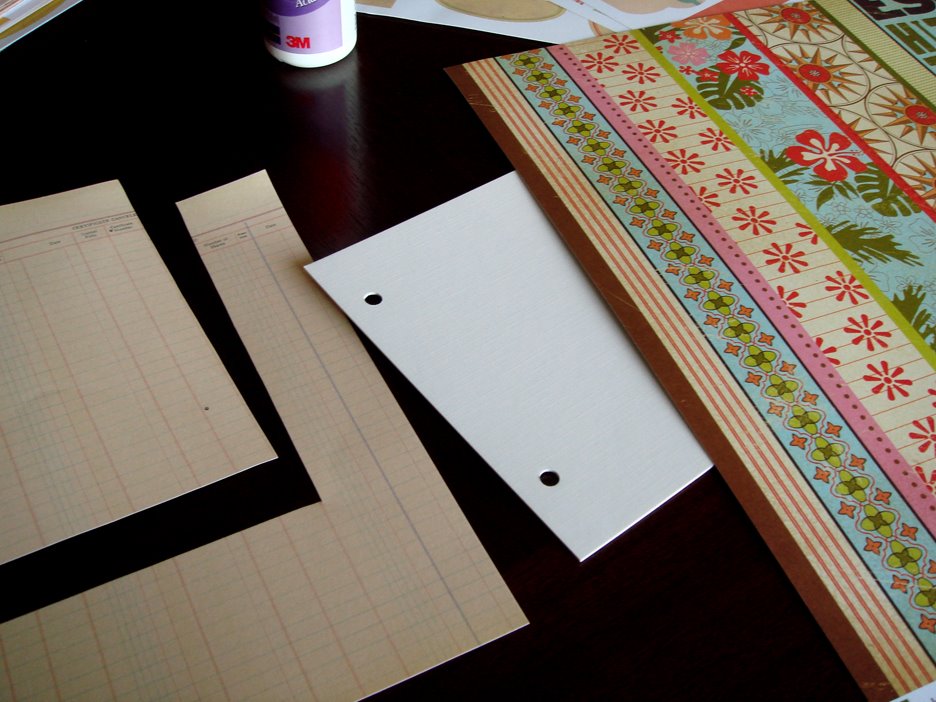
Now, for our simple solution on doing a full page spread in a mini… You’ll want to use a piece of the paper you used for the left hand page background on your right hand pages left side (that got a little confusing!). Even if it’s just a tiny strip! This helps your eye carry over from left to right and makes a smooth transition between the two pages!
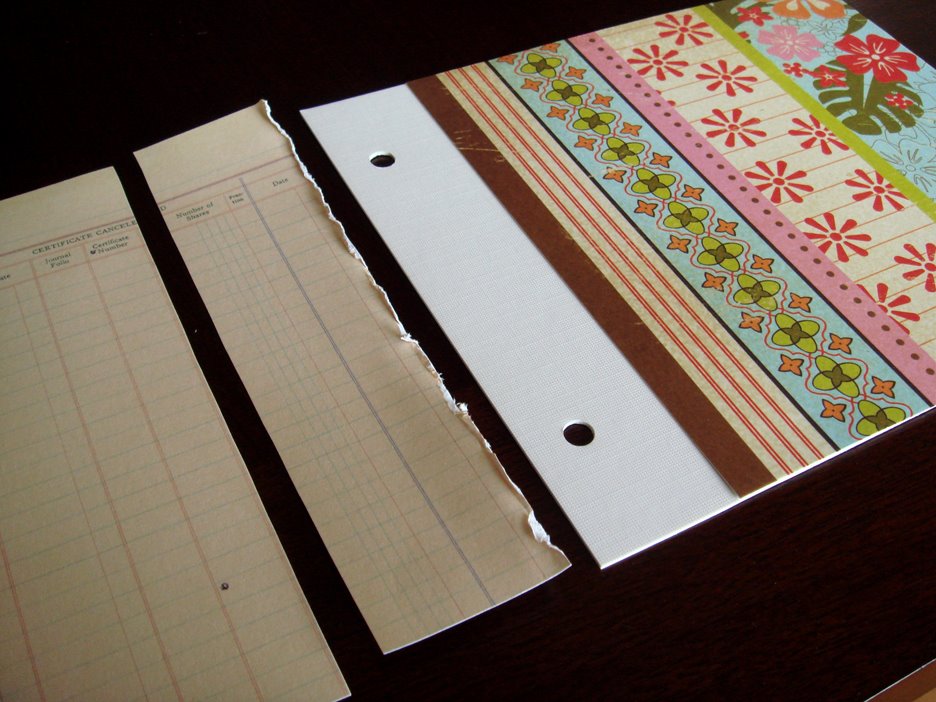
We used our fingernail to junk the edges up… worked perfect!!
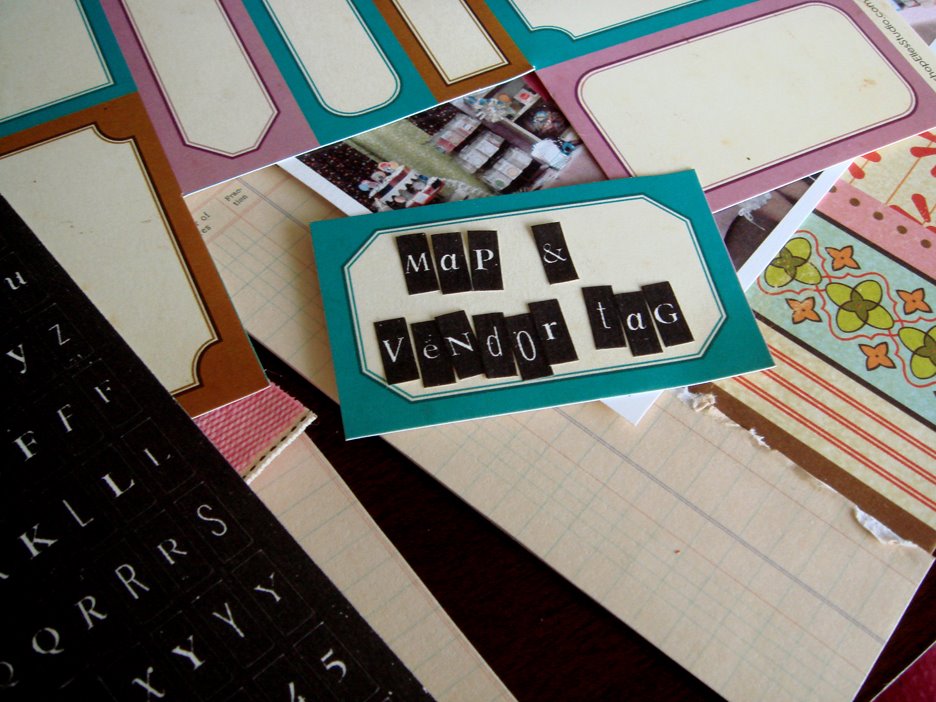
Now, for the left page!
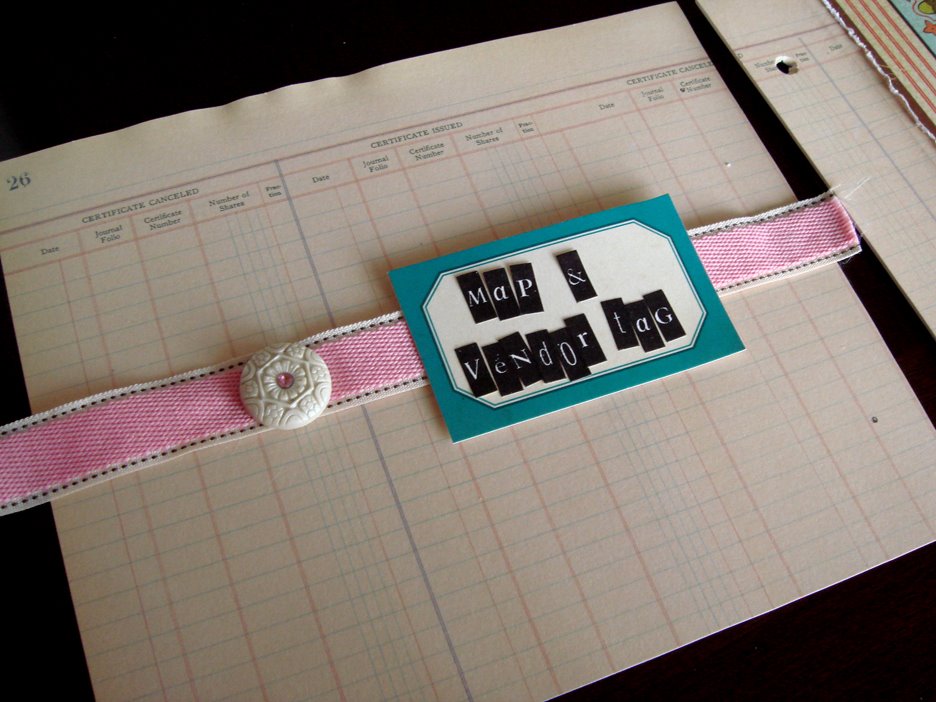
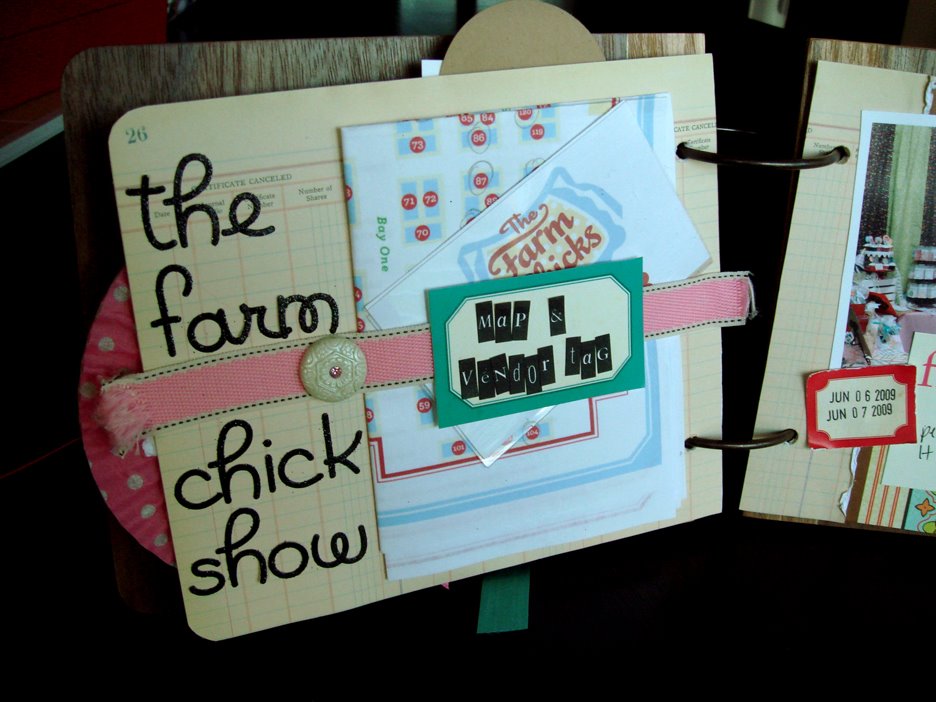
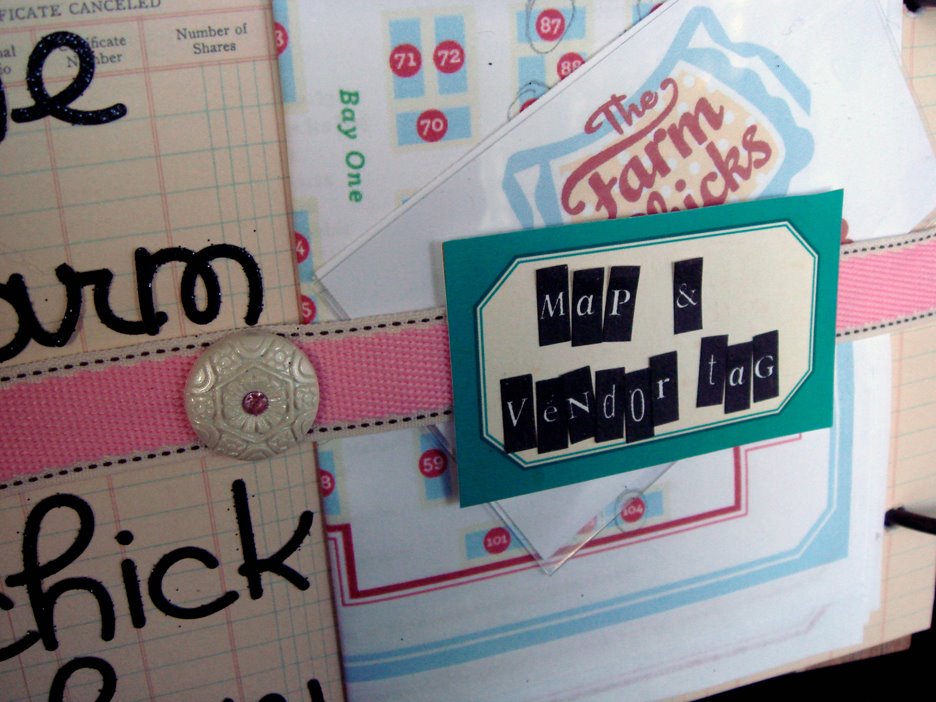
Using a piece of ribbon and a Jenni Bowlin button (which we are in love with!!) we made a little holder for our vendor map and badge! We used our Cut Outs for the label. You could write on, use a typewriter or use stickers like we did for the title.You’ll have to figure out where the items fit in order glue the ribbon down perfectly so it will hold your items tightly. We used a hot glue gun to get an instant hold for everything – the ribbon, button and label.
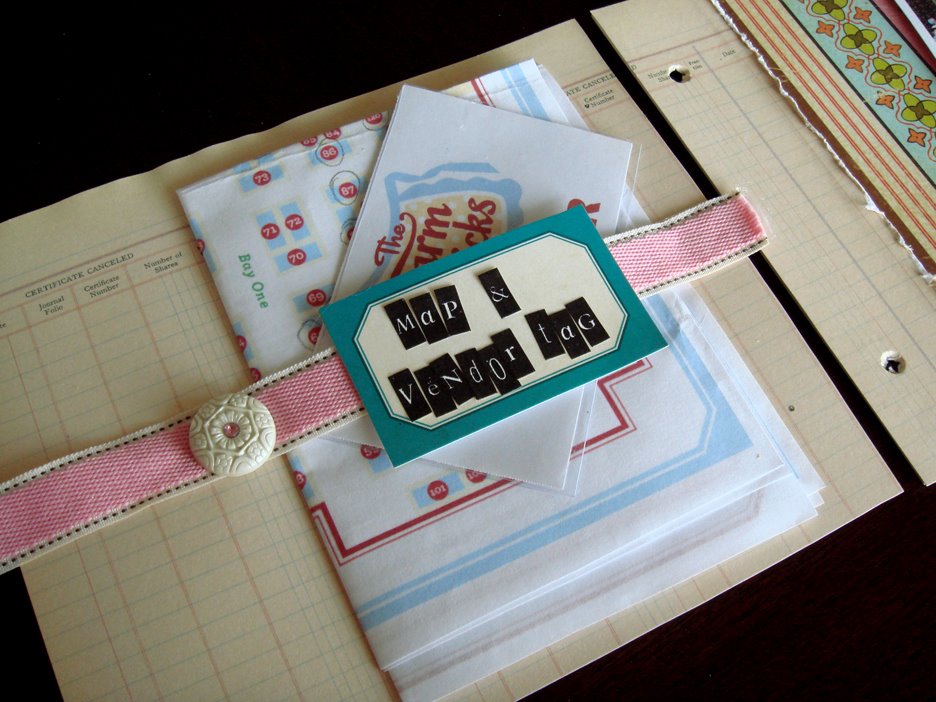
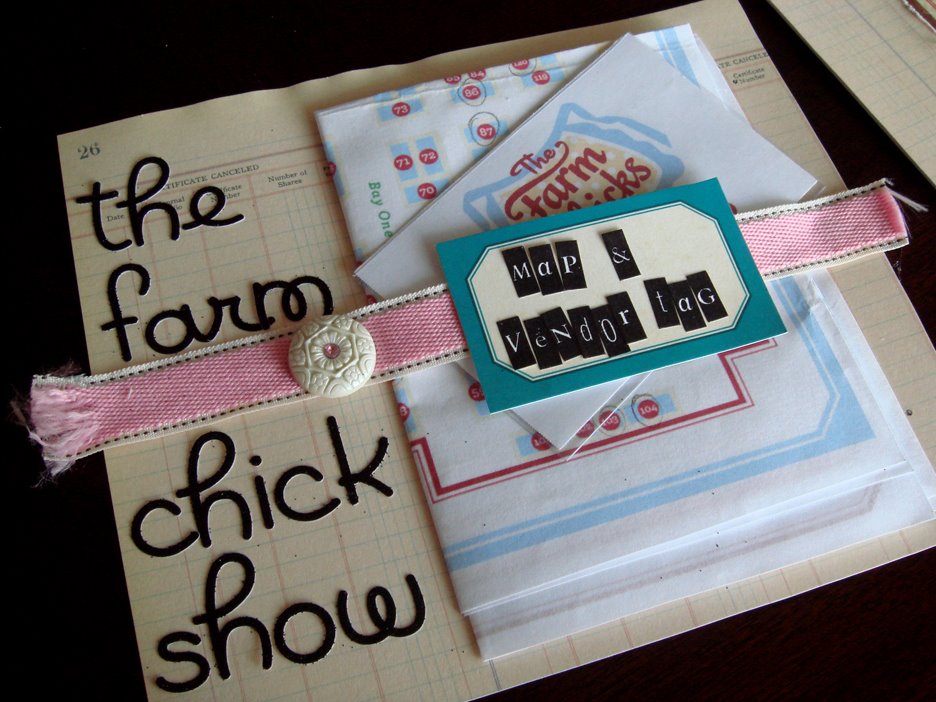
Added some stickers for the pages title and the left side is done! I love how it contains items from the event and am excited to think about pulling them out in ten years and the memories that will come with it!

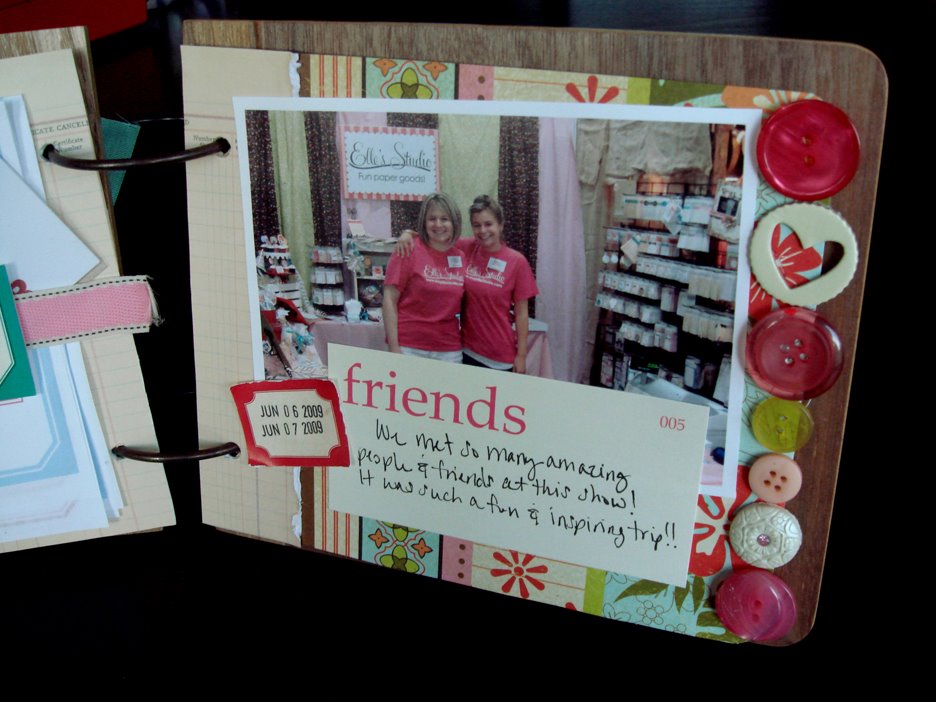
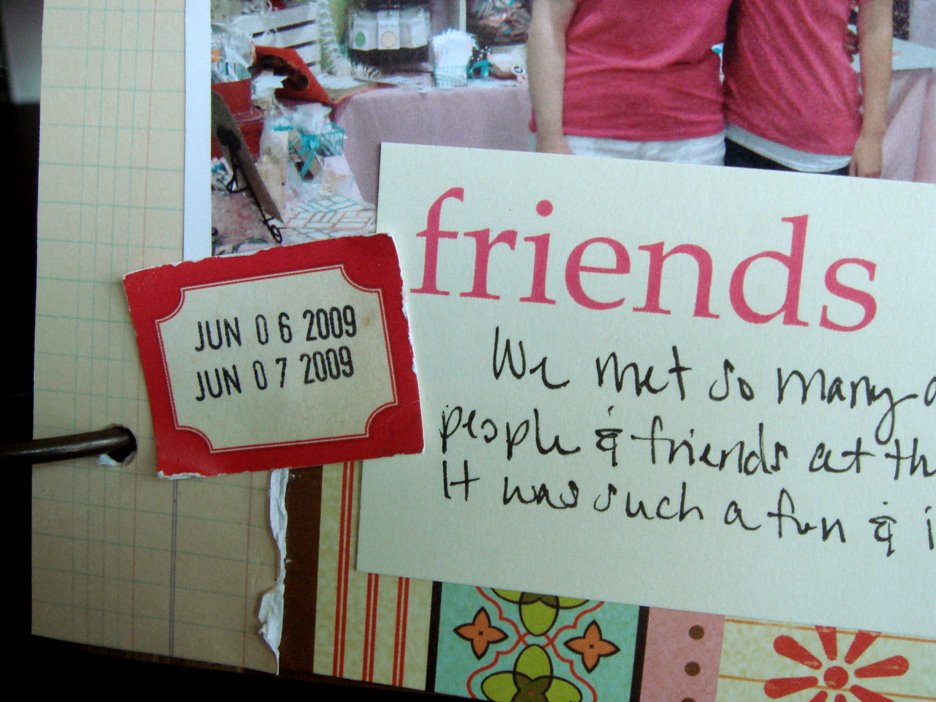
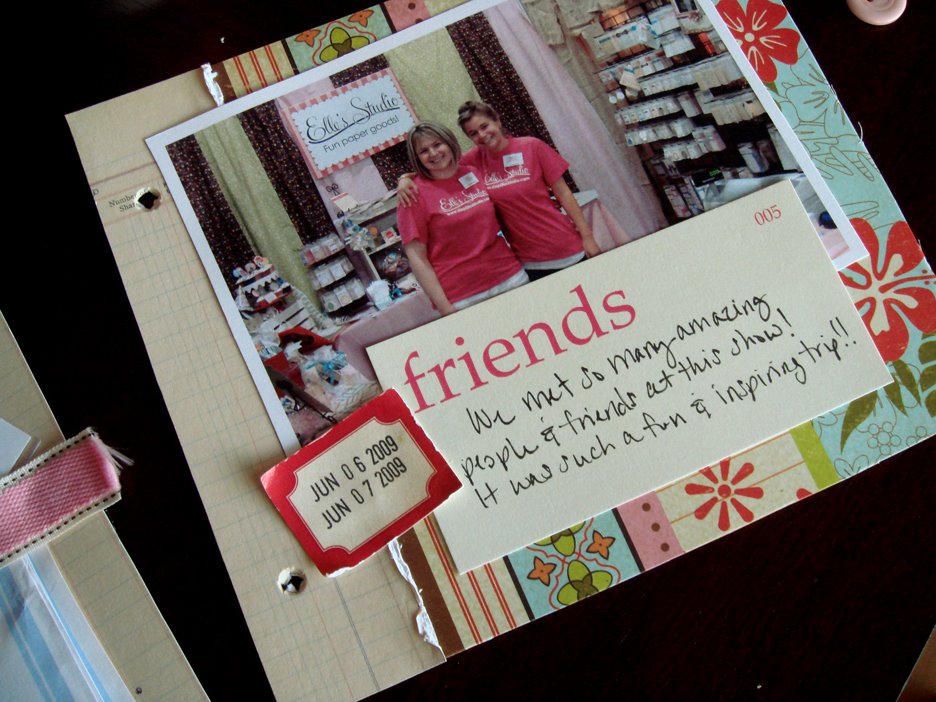
For the right side, I picked out one main photo from the show and cut it out with a white border. I love the look of white borders on photos! It helps them pop off the page and has the perfect contrast against the patterned papers.We are using another Cut Out label and stamping the dates of the show we went to on it!
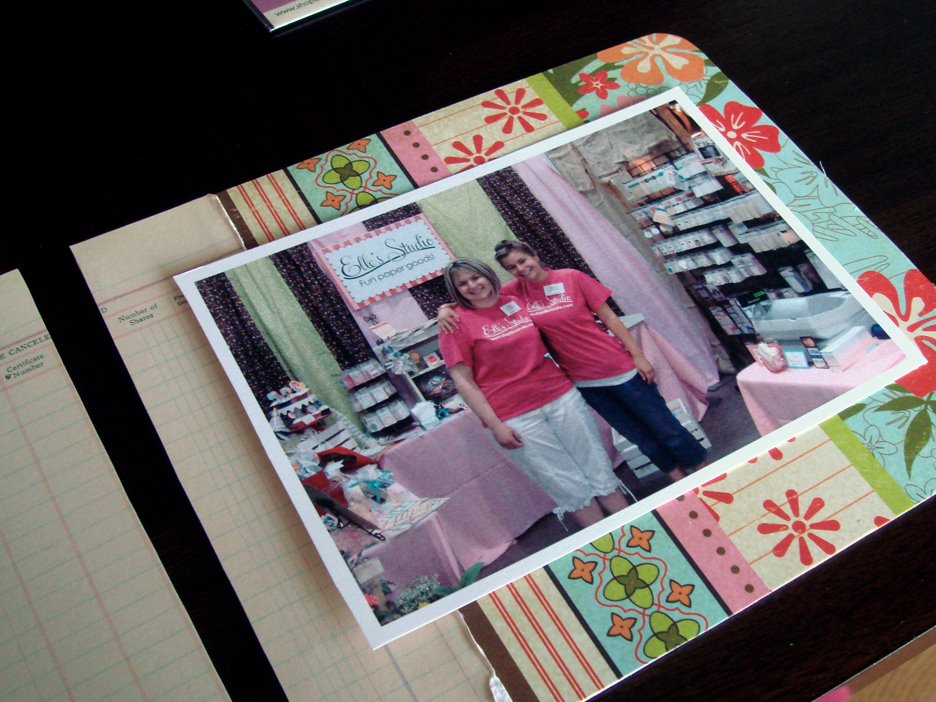
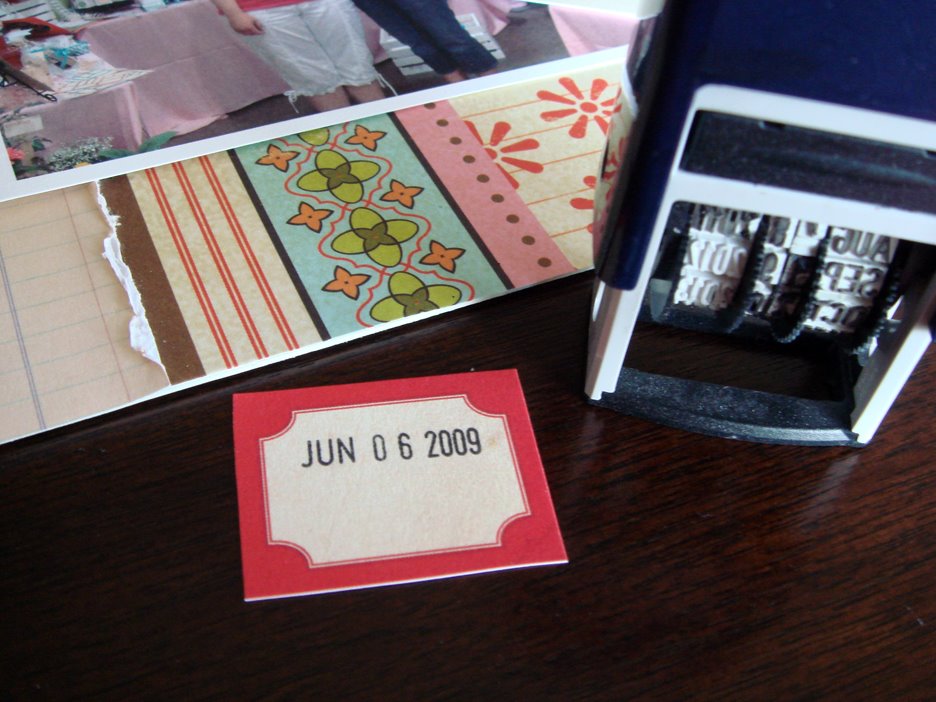
We used a Picnic Flashcard as a journaling tag. These flashcards are fun to journal on, it adds the perfect vintage touch! Also, we junked up the edges of the Cut Out tag with our fingernail again. I love how it makes it look old, and like it holds so much history!
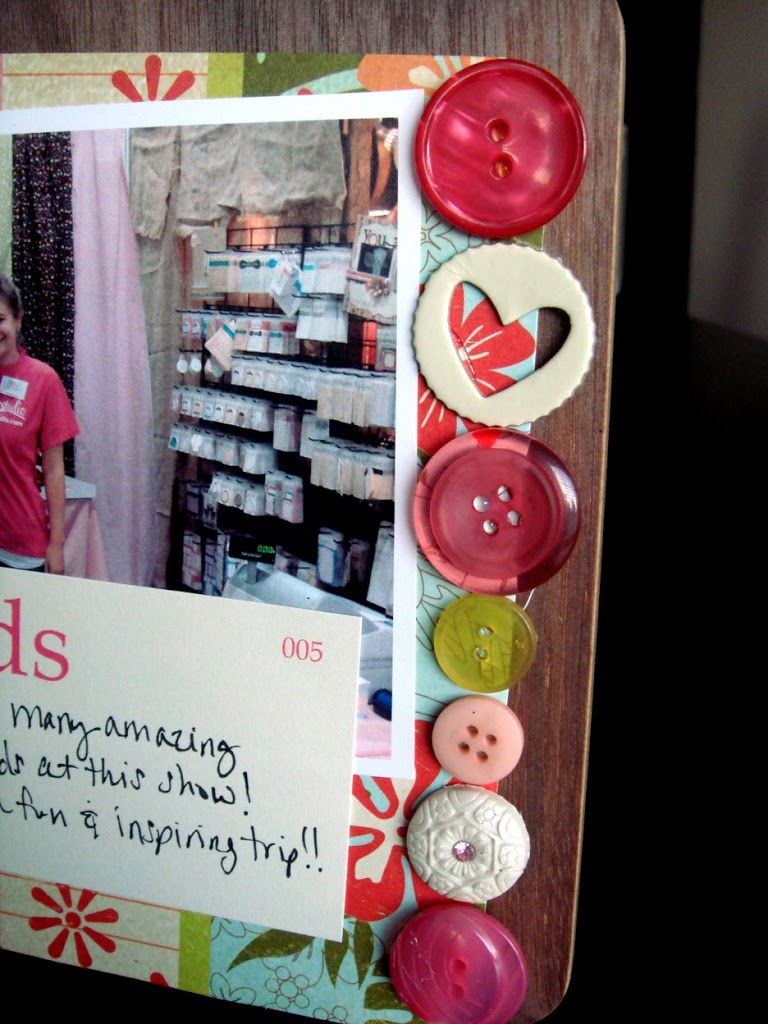
And, we added a button/embellishment border. We used the glue gun on this one, too. We also used another Jenni Bowlin button. Using the same embellishment on both pages also helps tie the two together.Some more close-ups:
Our first 2 page spread is complete! We had so much fun creating that spread! And… don’t forget, you could use this technique on any event. You could put movie tickets, napkins, coasters, advertisement flyer’s, take home restaurant menus, ice cream cone holders, etc. in your holder. Also, just a reminder that the tags we used today are available together in the Summer Pack at a special price for July only!

Next time you’re going somewhere, take a look at your surroundings. What would work in your summer mini? What would be something fun to save to represent the event? You never know what you’re going to find!!

Our next installment will be late next week. In the meantime, start thinking about all the funny things that have happened this summer that you don’t have a photo for 🙂

Hope everyone has a wonderful and creative weekend!
xo, Elle

p.s. We are participating in a giveaway at Ali’s blog today! Head over there to enter 🙂
Sketch with Tara Anderson!

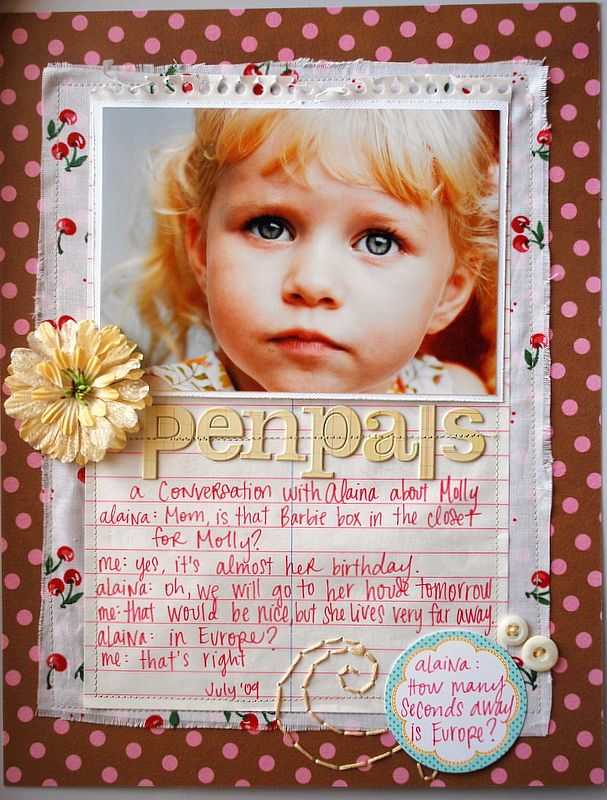
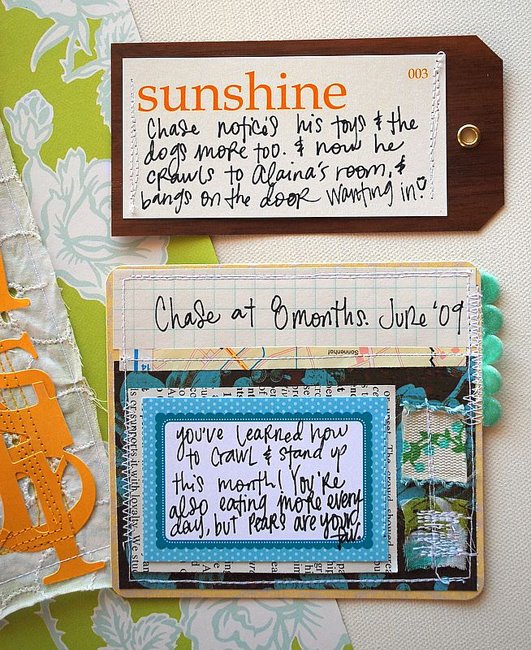
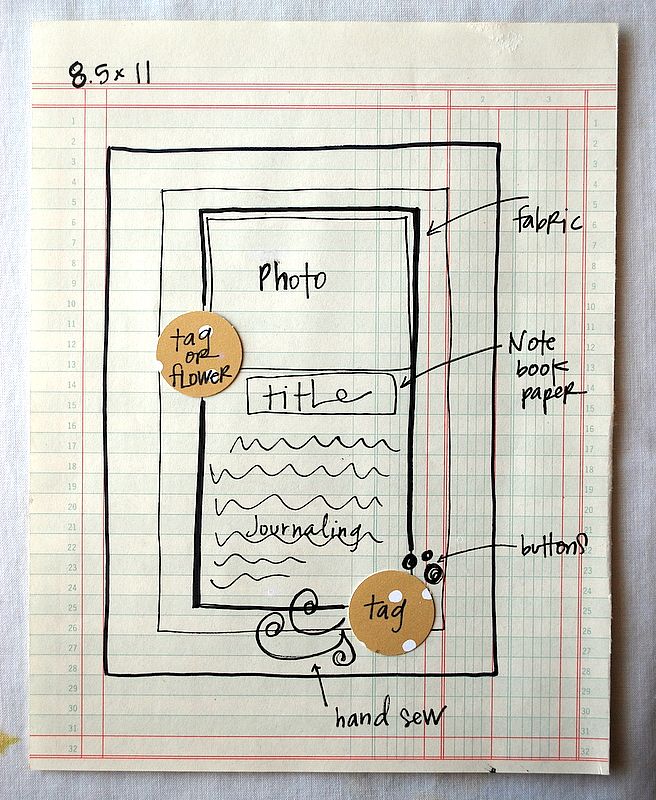
We have an amazing sketch to inspire you this morning, by Tara Anderson!And, here’s the beautiful page she made from her sketch:
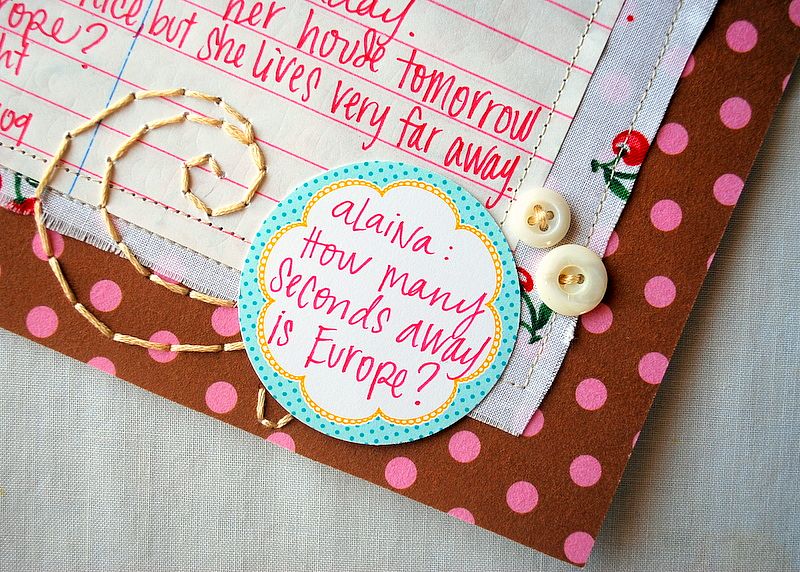
So cute!! We love the embroidery and the way she made that tag pop! Also, the notebook paper page she used behind the photo and the way the torn edges peek out at the top, so fun! Not to mention that adorable picture, so sweet!

Tara’s work is pure eye candy and full of gorgeous details! If you haven’t checked out her full gallery, make sure you do here!

Thank you, Tara, for continuing to inspire us!!
xo, Elle

p.s. Don’t forget about the giveaway here! It’s still going till Saturday 🙂
Summer 2009 • Documented – Page 1+ Giveaway!

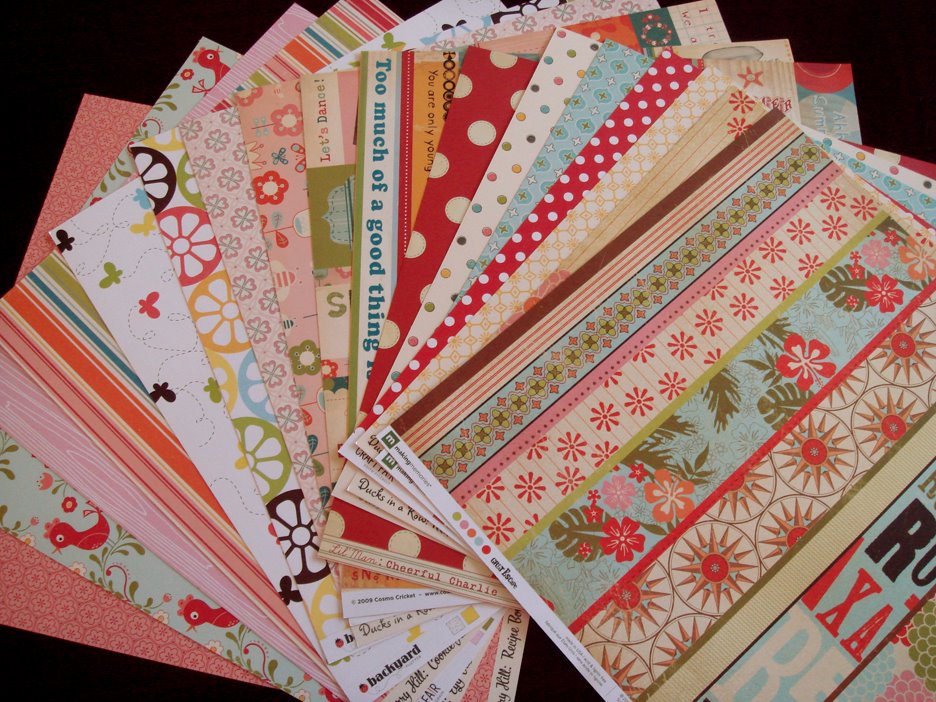
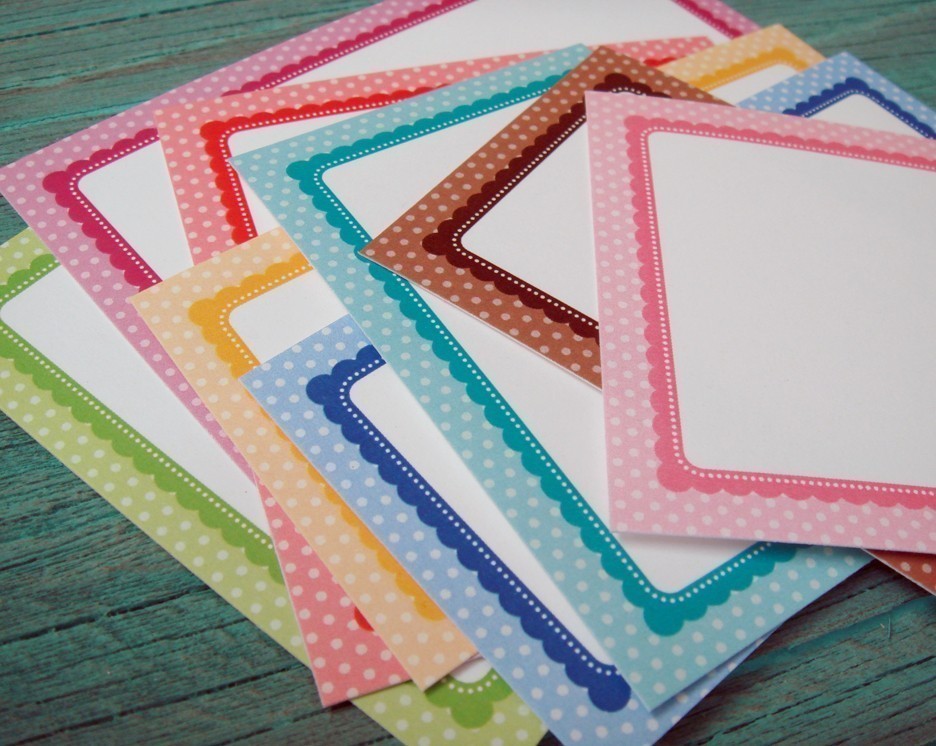
Day two, here we come! We are having lots of fun gathering things and taking pictures. We’ve been getting some emails on what papers would work best with the Summer Pack tags and our new digital download kit and the good news is, almost any kind will work! Below is a small sample of what we pulled from our stack to work with.
All these papers seem to go great! And, really almost anything would work. We work hard to design our tags to be very versatile so you can mix and match them to almost anything out there! If you have any questions about our little workshop, please don’t hesitate to email us!

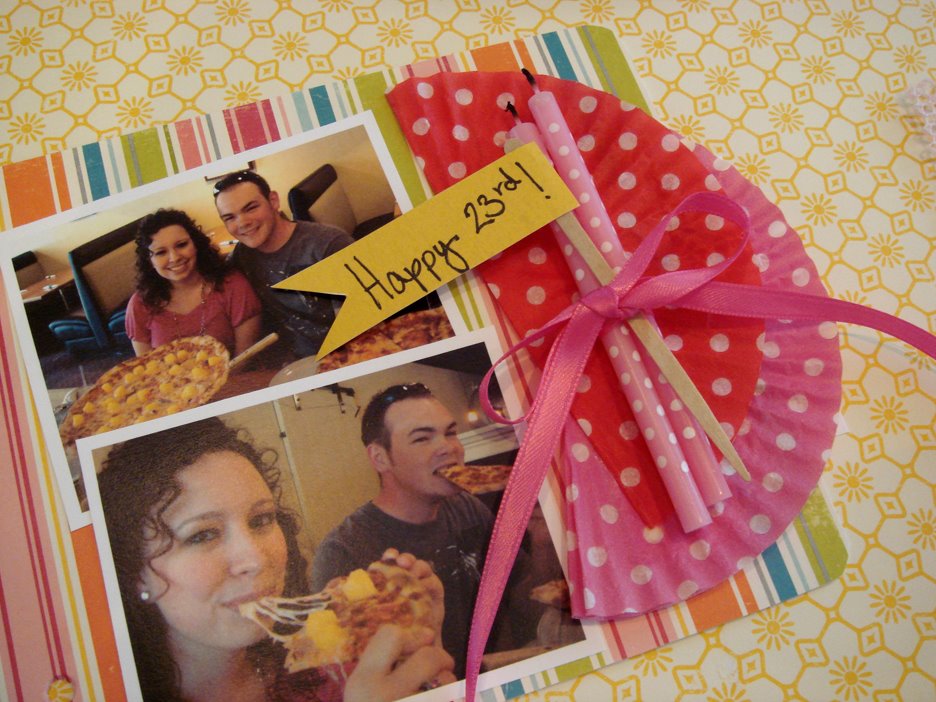
Okay, back to our mini book! We are working on page 1 today. I wanted the first page to document the beginning of summer since it is the beginning of our book! My sister’s birthday is on May 31st and always starts off our summer just right!
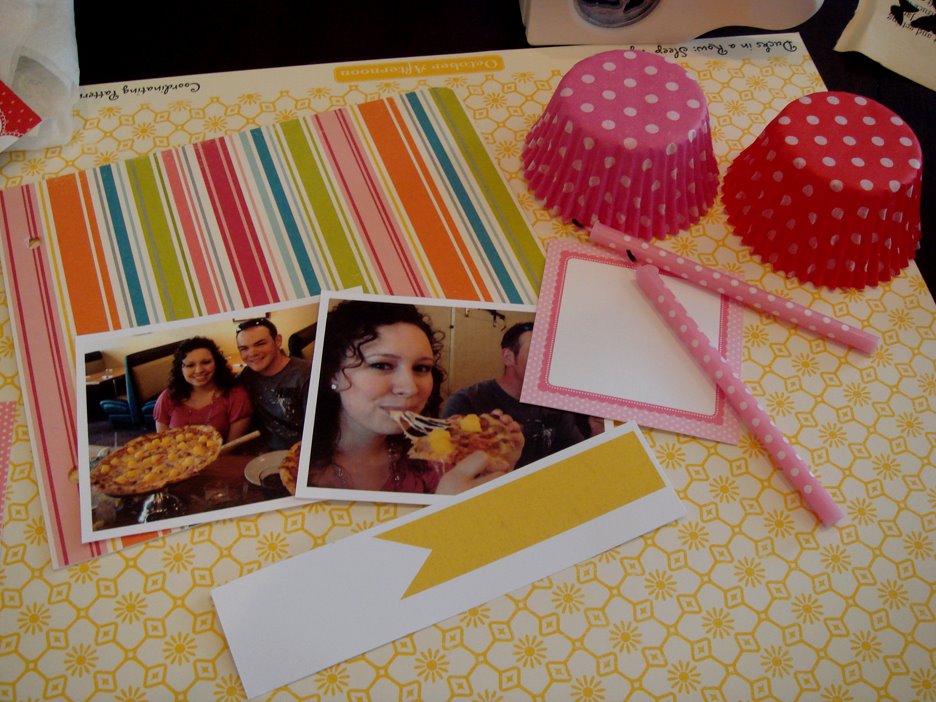
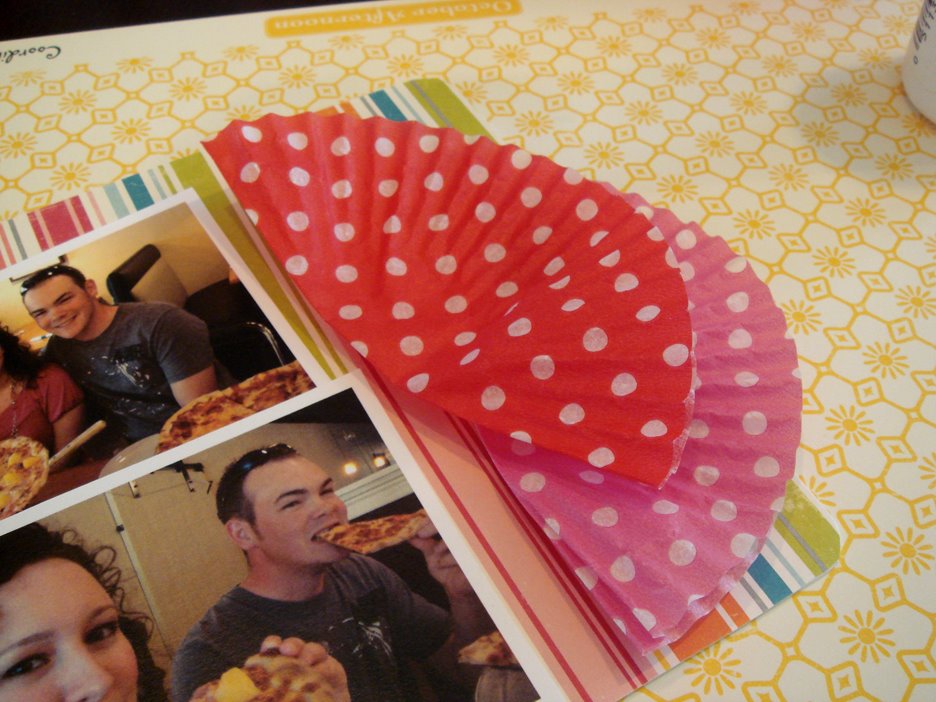
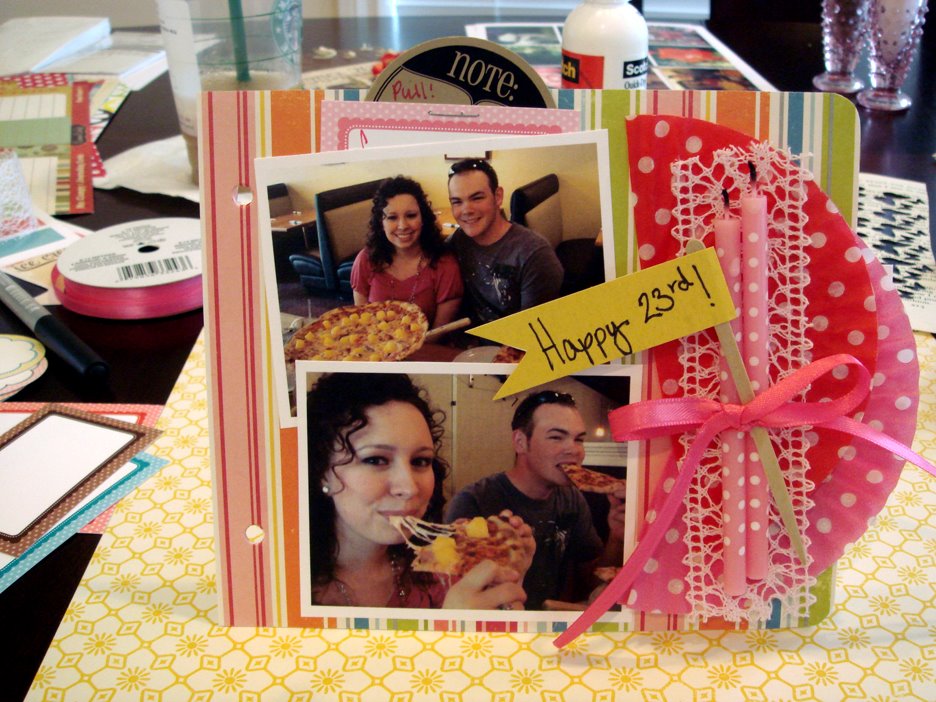
Gather your supplies. From her party we had pizza and cupcakes, the best combo, ever!! I saved the leftover candles and asked my mom if she had any left over, unused cupcake wrappers from when she baked the cupcakes. I love saving and collecting bits and pieces from get-togethers and places we visit. I save them in a little box and if I can incorporate them in a page, I do! If not, they will eventually get thrown out.
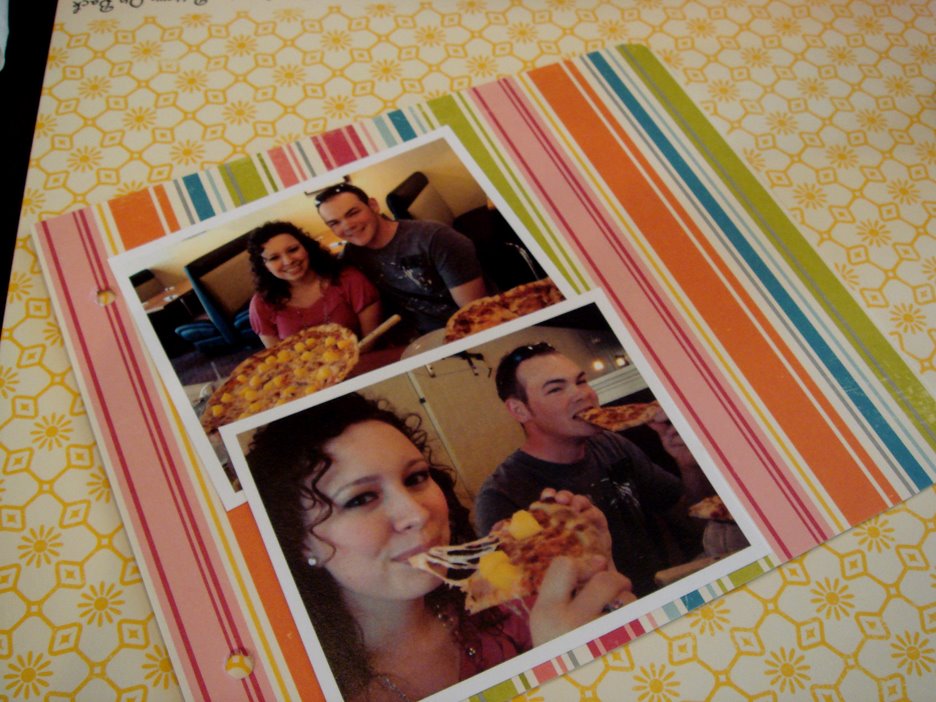
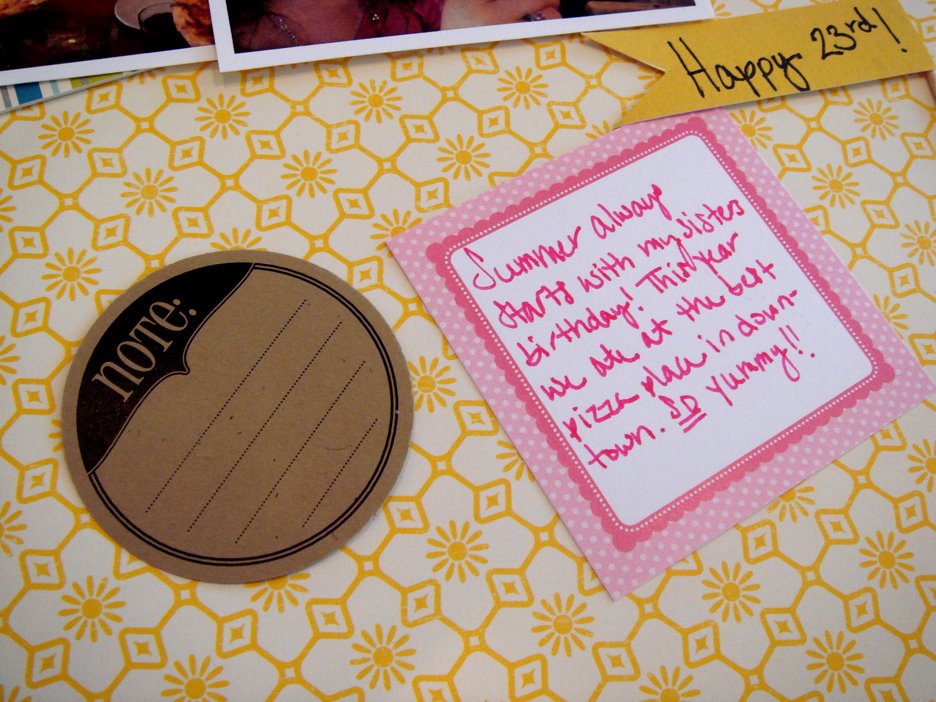
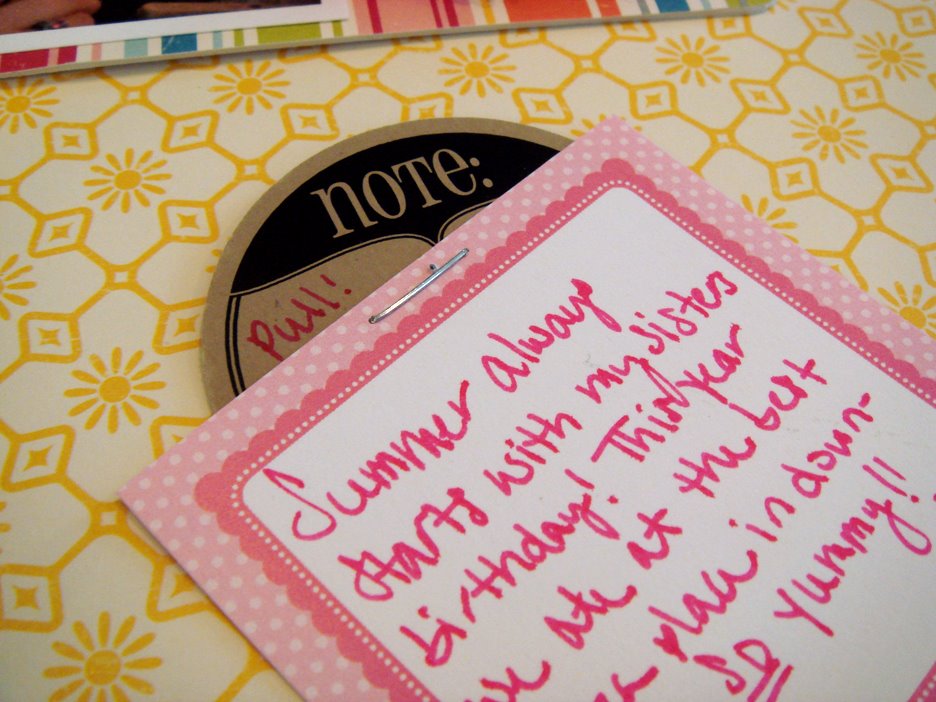
I first layout my photos and get a basic idea of what the layout will look like. For this layout, since I have such large embellishments and little space on my page, I decided the journaling would be in a hidden behind the top photo.
Since the journaling will be hidden, I wanted to make a little pull tab on the main journaling tag!
I added a Chic Note tag to The County Fair journaling tag and it worked out perfectly!
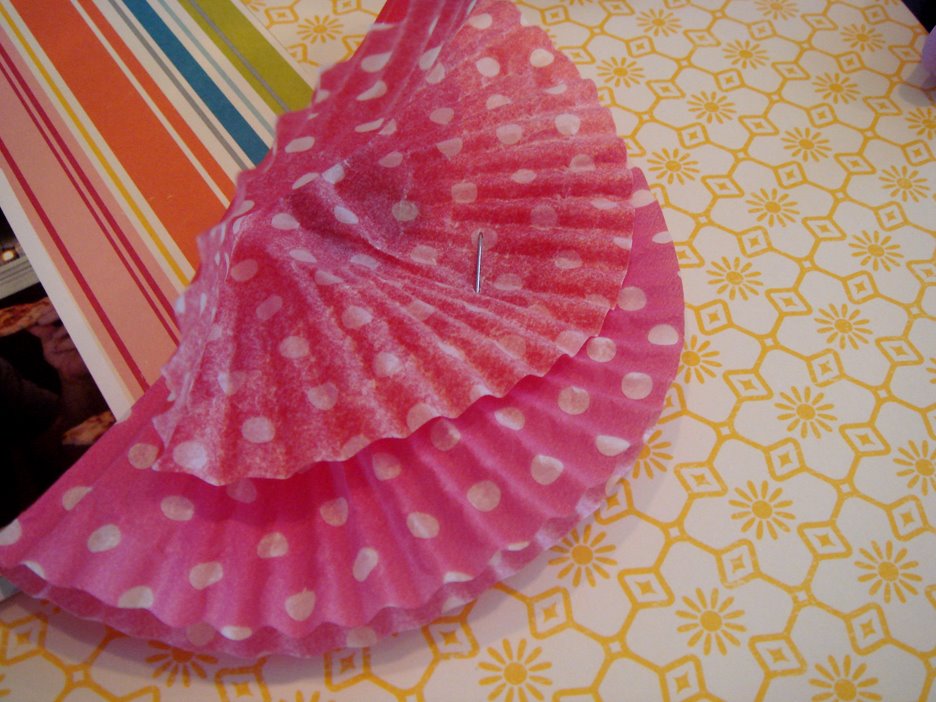
Now, I quickly found out that cupcake liners don’t lay very flat. Once I got figured how I wanted them to lay I stapled them together and then glued them to the page.

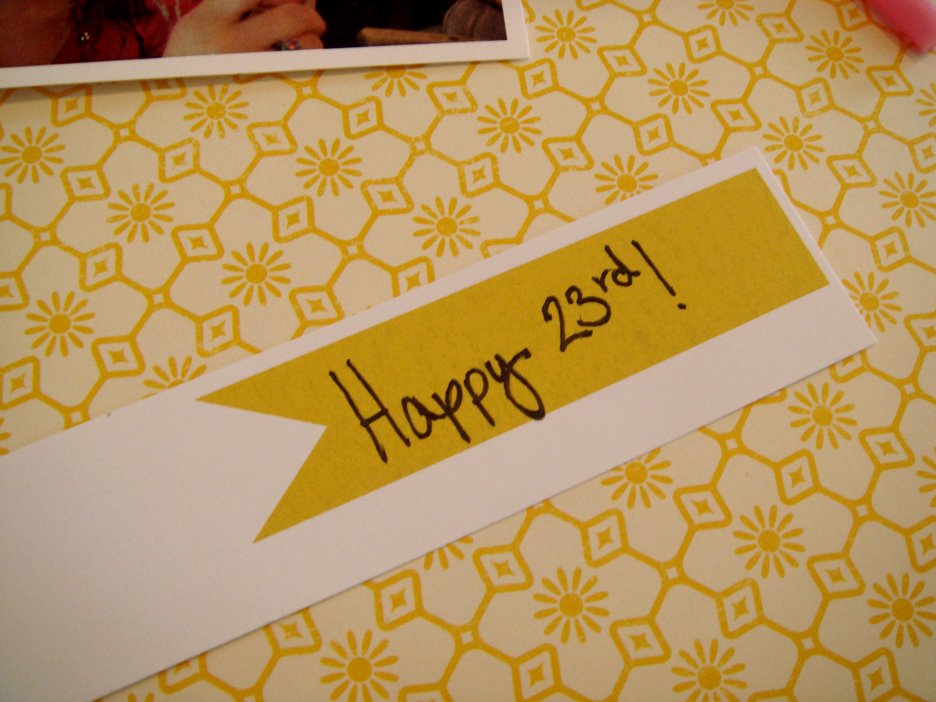
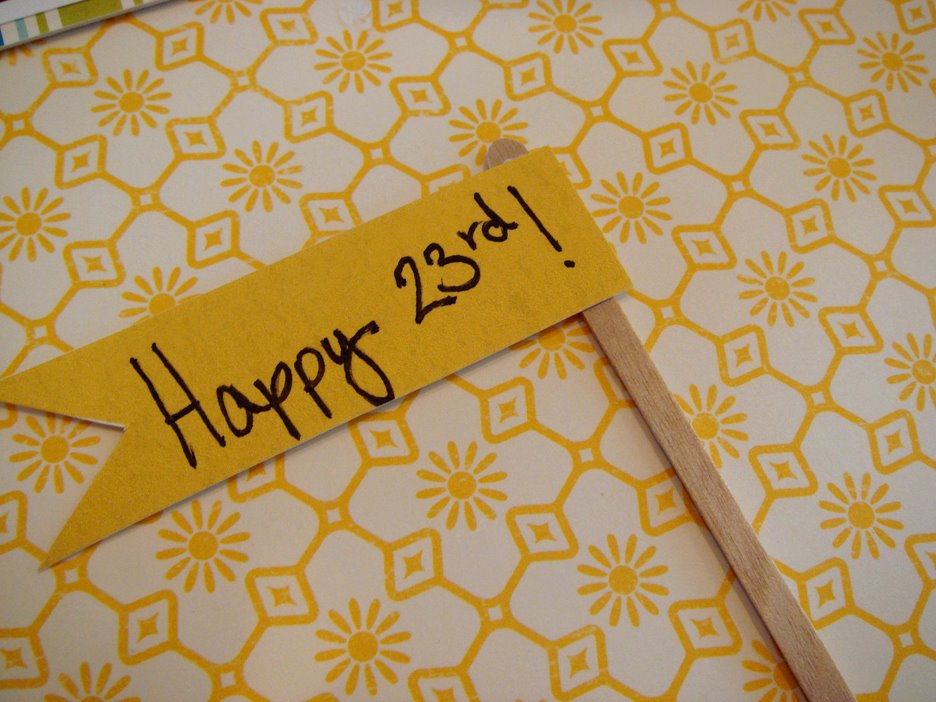
Next, I wanted to make a little pennet out of the pennets from our digital download. If you are going to write something on them, write on them first and then cut them out.
Glue the pennet to a toothpick or foodpick and you have the perfect little pennet!
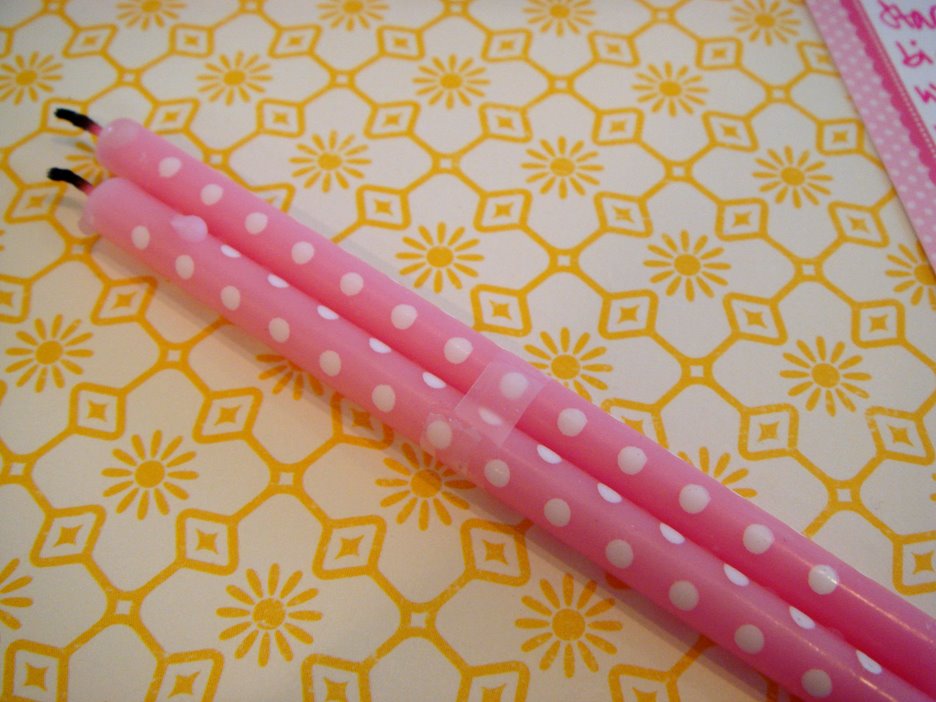
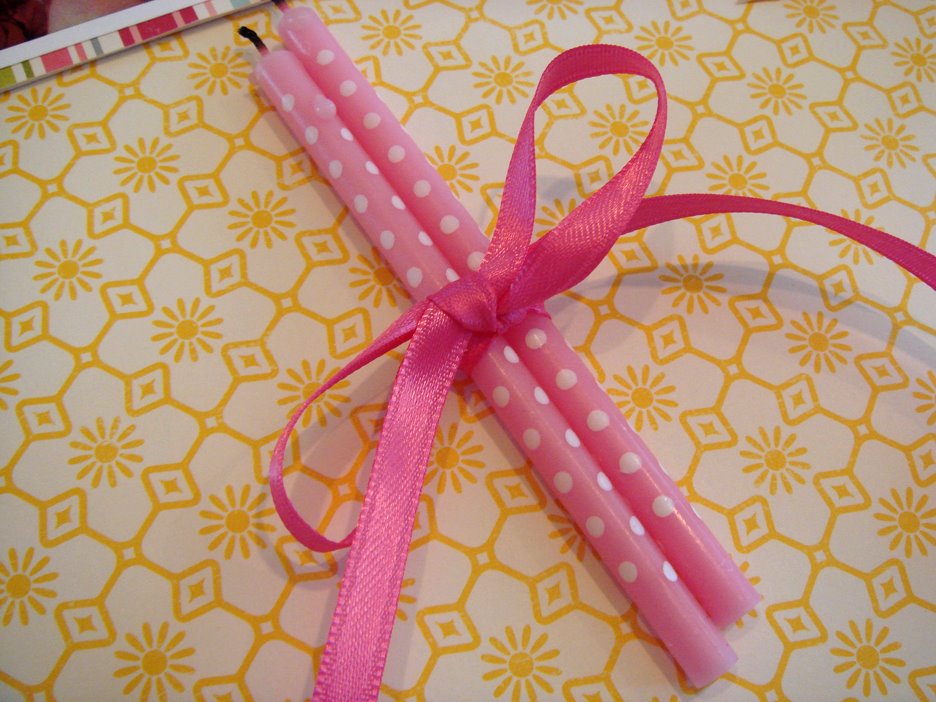
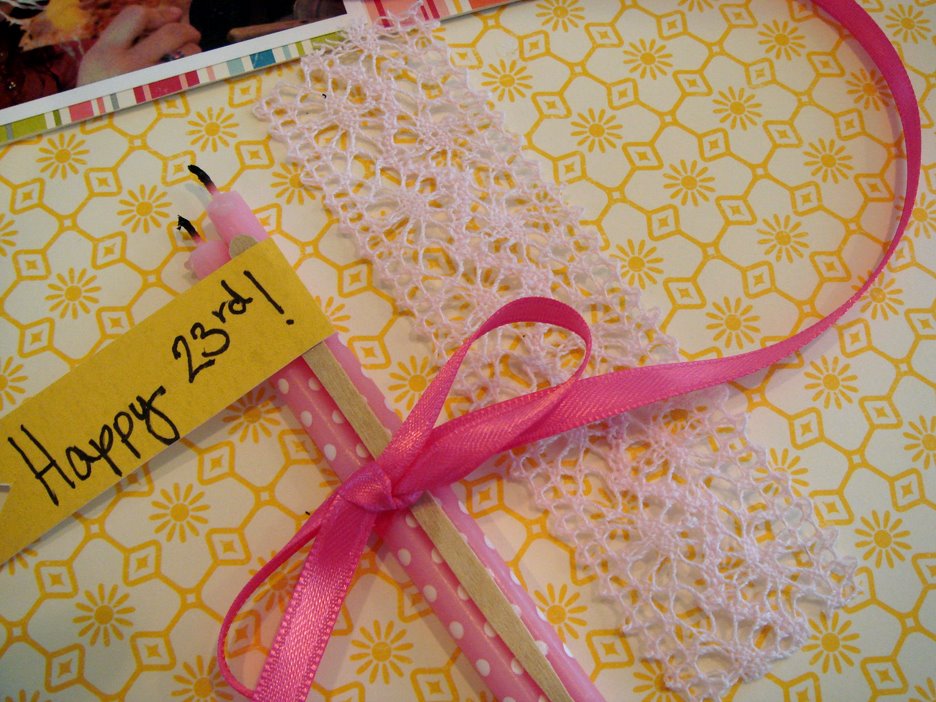
Now, for those candles I saved… Taping candles together works a lot better than gluing 🙂
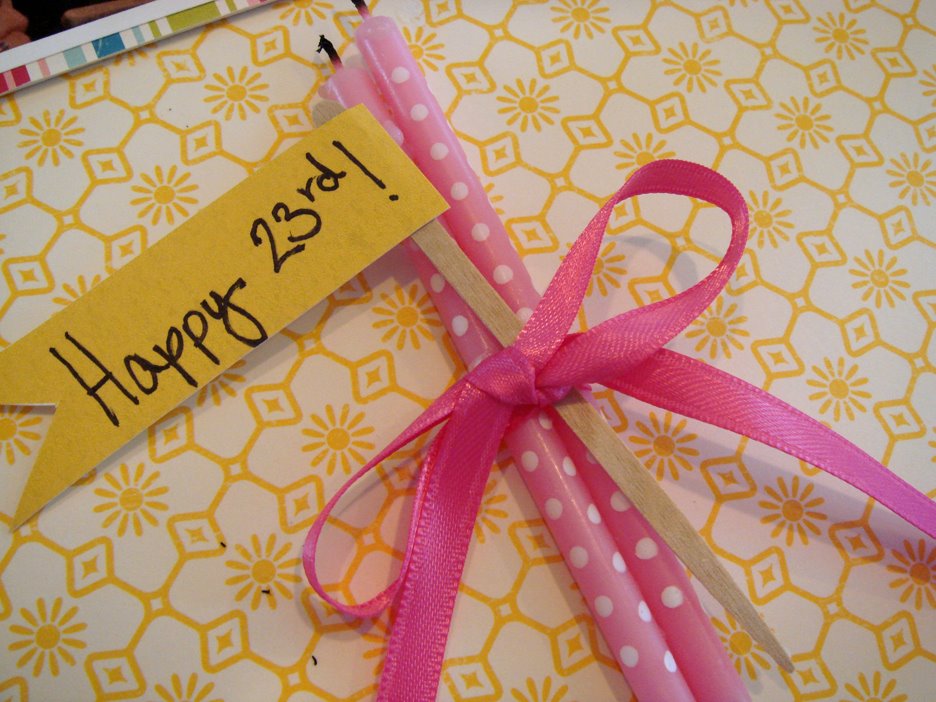
The little bow around them adds the perfect touch… almost…
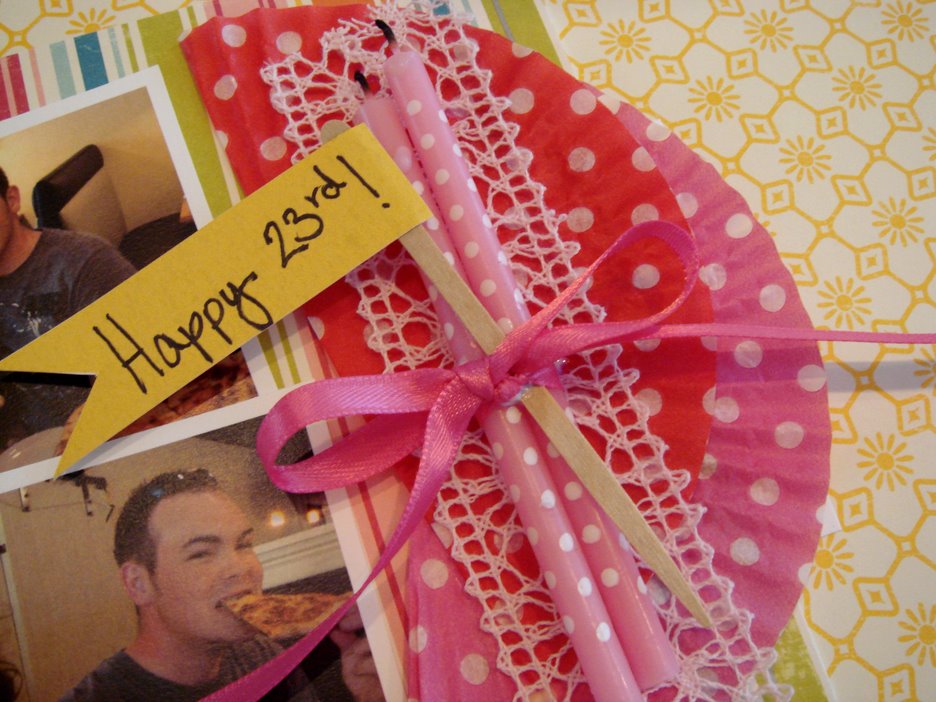
Tuck the pennet in and it’s just perfect!
My plan was to add the candles on top of the cupcake wrappers, but they didn’t show up as good as I thought they would…
So I took them back off and added some lace!

I love it 🙂 The perfect way to represent our beginning of summer!

By the way, save your scraps! Yes, I’ll admit it… I save everything 🙂 But, we have a fun idea for later and we can put our scraps to use!
Giveaway time 🙂
We are giving away a pack of our Summer Vintage Flashcards and The County Fair journaling tags to TWO people! Just leave a comment below, telling us what your favorite part of summer is, and we’ll draw two names on our next Summer 2009 – Documented day, Saturday, July 18th!

Thanks for stopping by and happy creating!!
xo, Elle

P.S. We updated our Summer 2009 page at our website and we added some blinkies! Please feel free to add them to your blog or website. Thank you so much to everyone for your support! We really appreciate it!

Currently in love with…

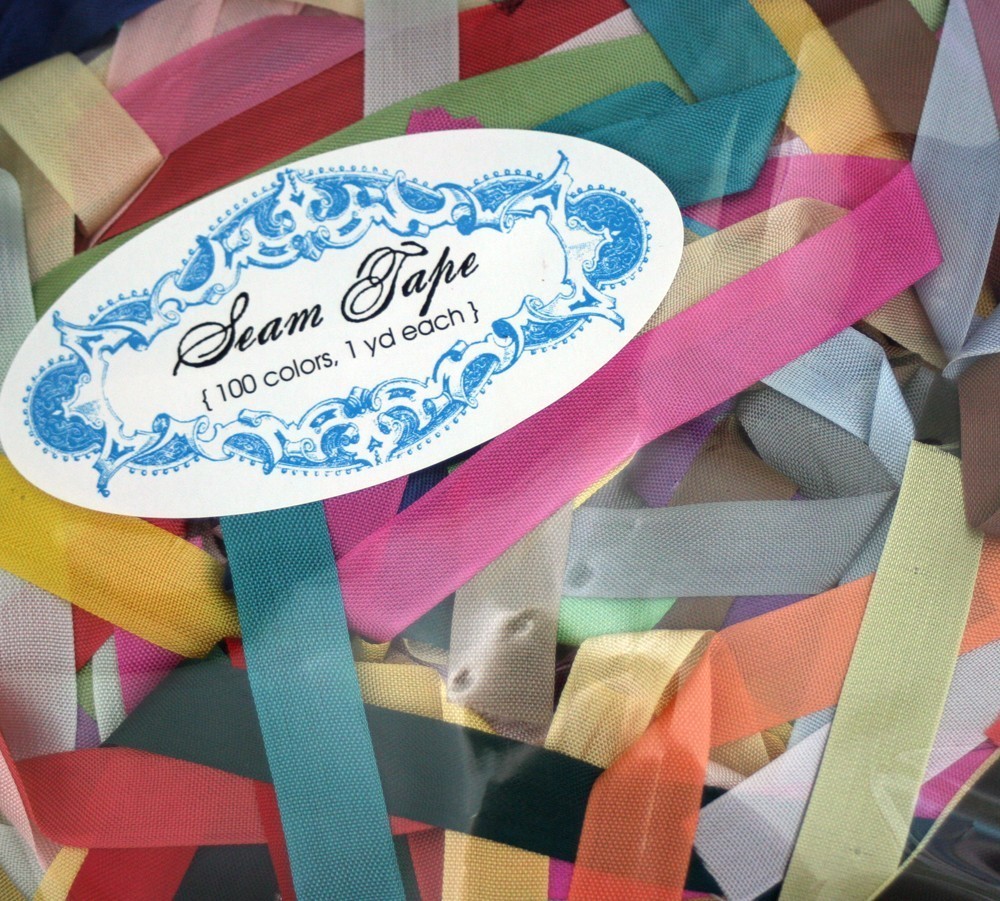
This amazing package of vintage seam tape arrived this week and I love every single color!
So cute! I can just imagine drinking my coffee out of this and the smiles it would bring!

{photo via traci*s retro’s}

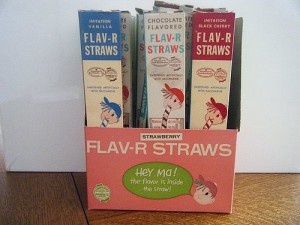
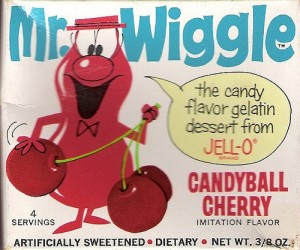
Lately, I can’t stop looking up vintage candy via flickr! The packaging is just too cute!

{photo via traci*s retro’s }

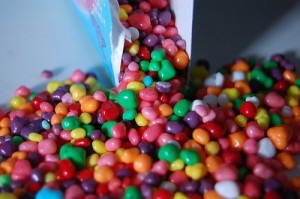
And, I fell in love with Nerds, again! So yummy!!

{photo via SiobhansShadow’s}

This top is so cute and affordable!
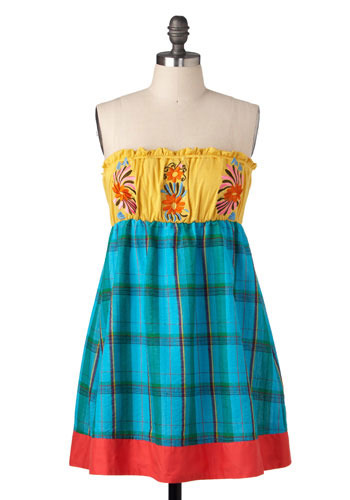
And, this dress is to die for!
That’s it for now 🙂 We are feeling so, SO inspired lately… it’s amazing!

We’d love to see and hear about what you’re currently in love with! Feel free to leave us a comment and link!!

Happy weekend, everyone!
xo, Elle

Summer 2009 • Documented – Cover + Free Download!

Welcome to day 1! We are so excited to get started! First thing to do is select or make a mini book! You can make one out of paper or chipboard scraps, binding it with a binder ring or even twine. Or, you can purchase one already made from your local scrapbook shop or online …and, don’t forget, Etsy has a ton of great ones, too! We love evalicious and Elise’s shops!
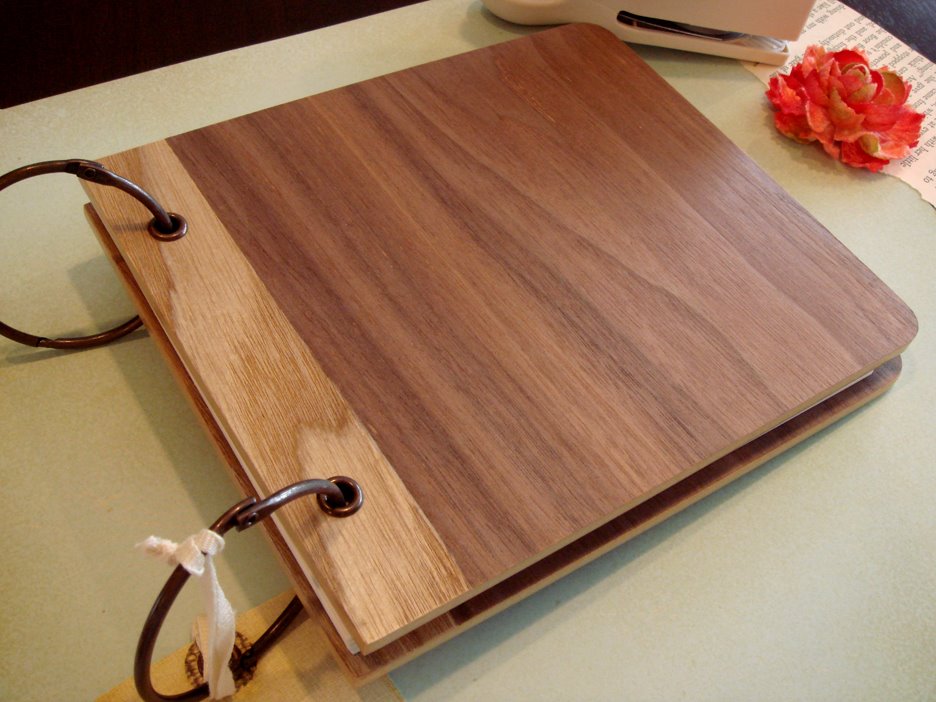
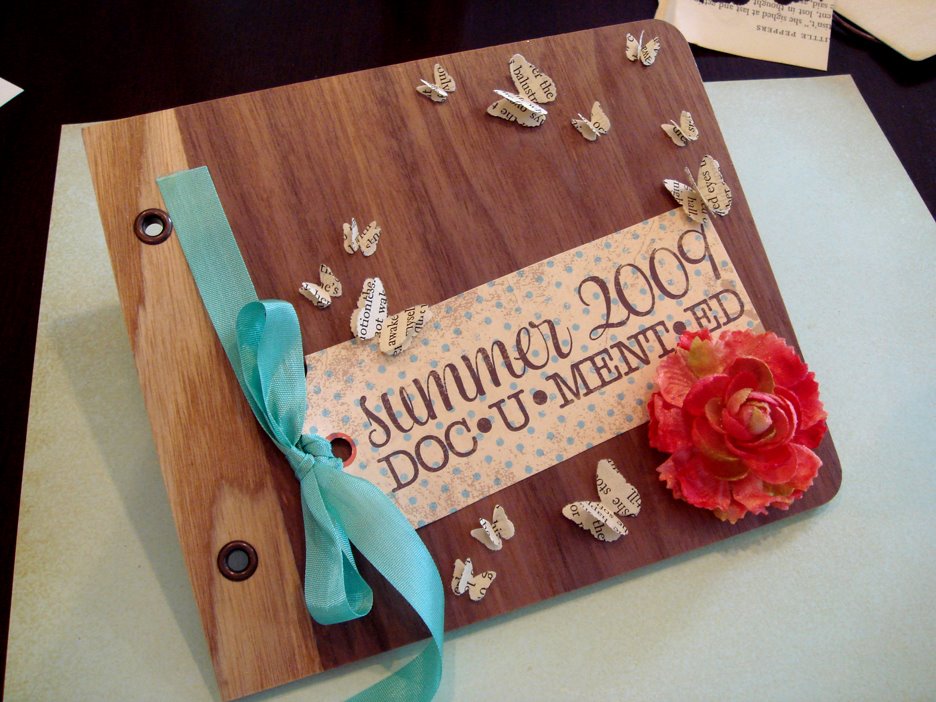
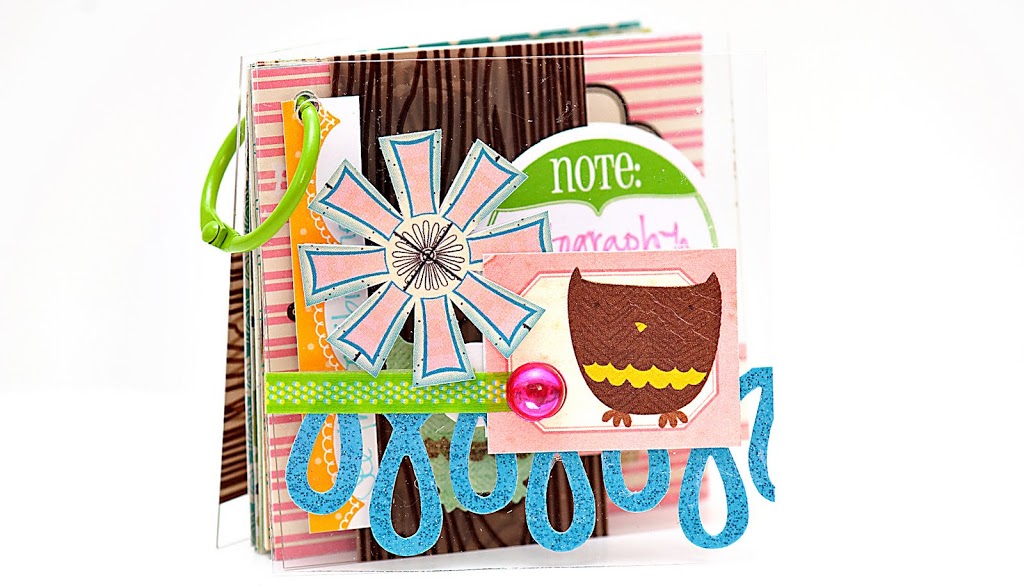
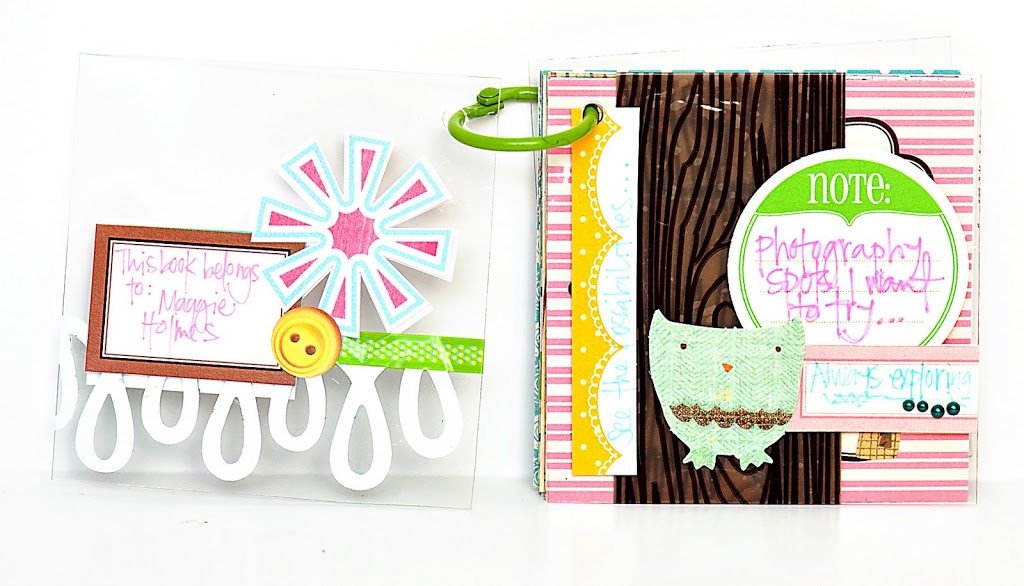
When we saw the Chatterbox Wood Veneer Album we knew it would be perfect! It is made of real wood and is amazing! The inside pages are really nice and thick – they will hold up great!
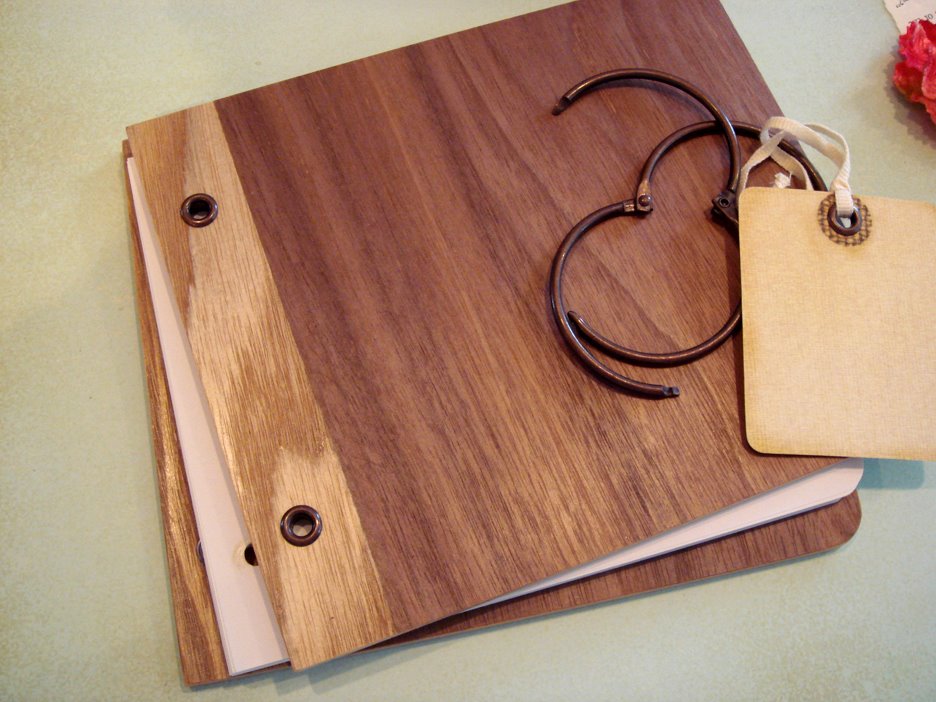
First thing, remove the rings and put them in a safe place for later. We like to work with everything taken apart and then put it all back together when we’re finished. It’s a lot easier working on a flat surface this way!
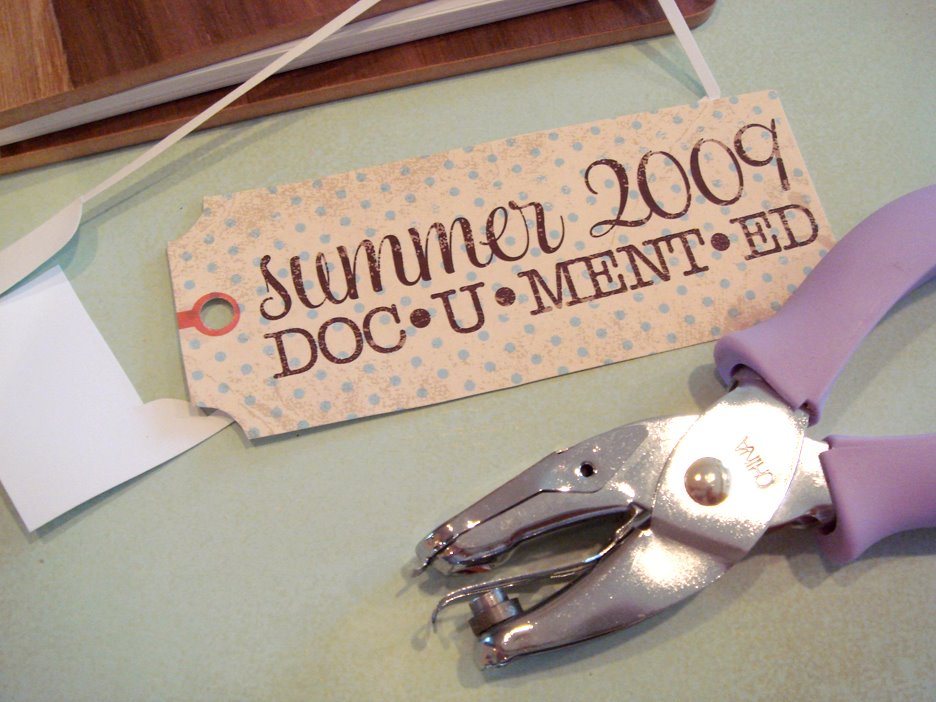
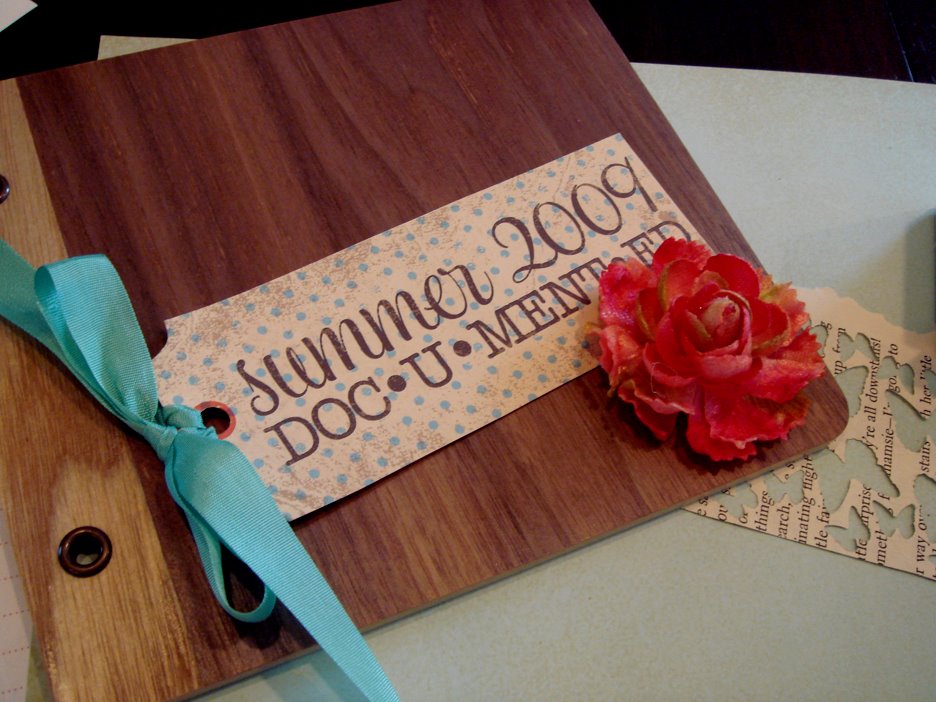
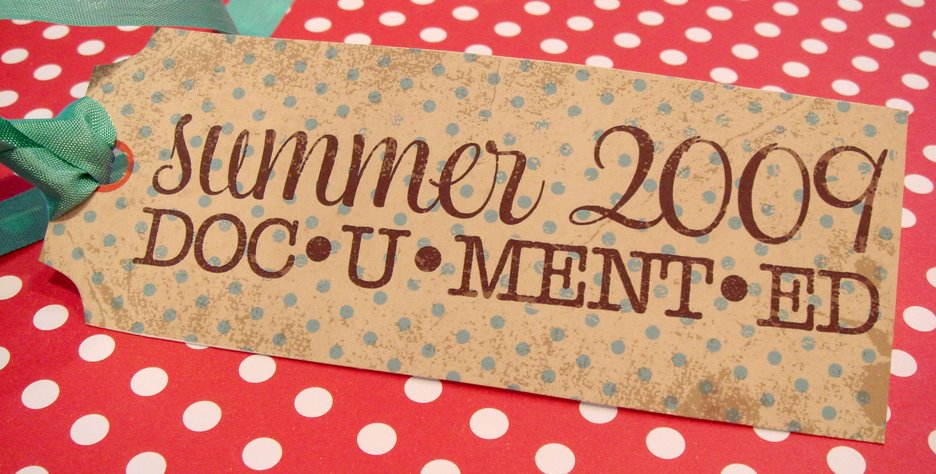
Print and cut out your title tag {full kit or free download}. Use a 1/4 hole puncher to punch a hole in the middle of the red circle. Then, string a ribbon through the hole and tie a bow if you’d like.
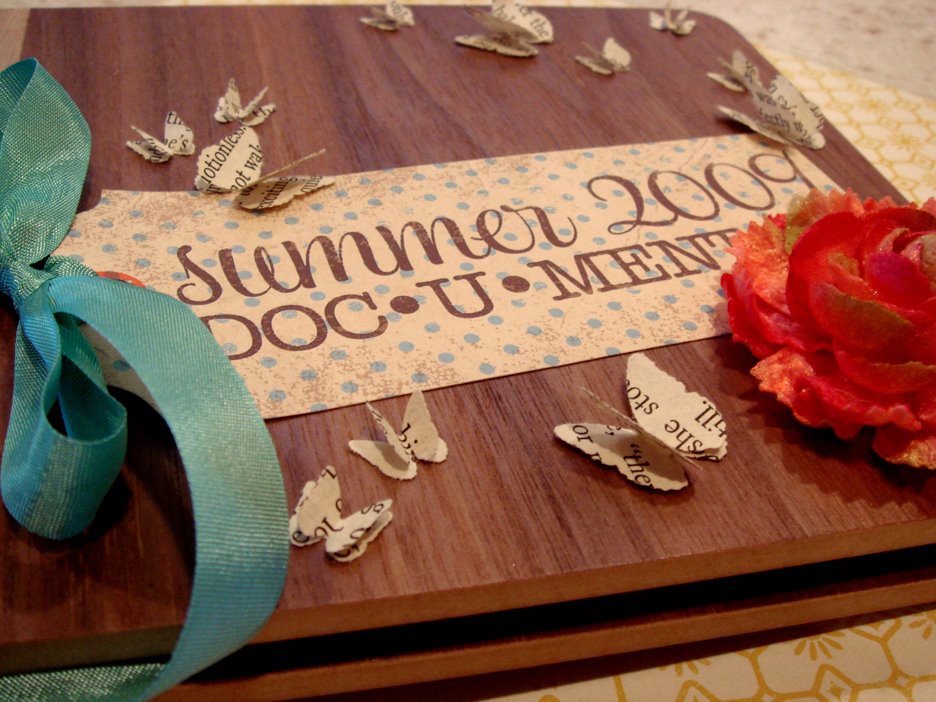
Place your tag on the cover of your mini book anywhere you’d like. And, add any extra embellishments! We chose a Prima Windsor Rose and some Martha Stewart butterfly punches!
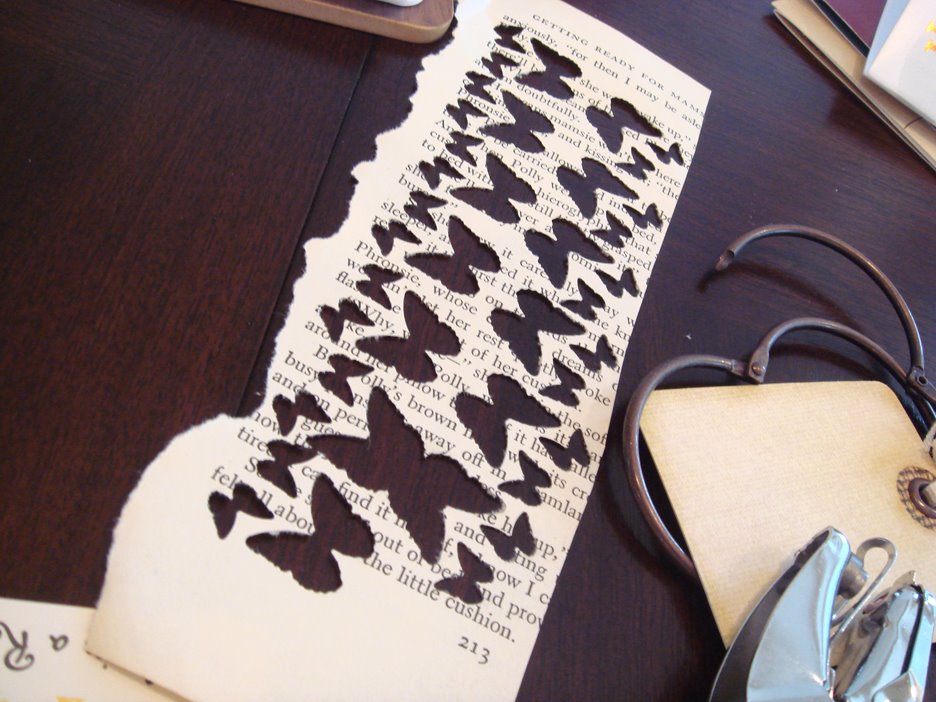
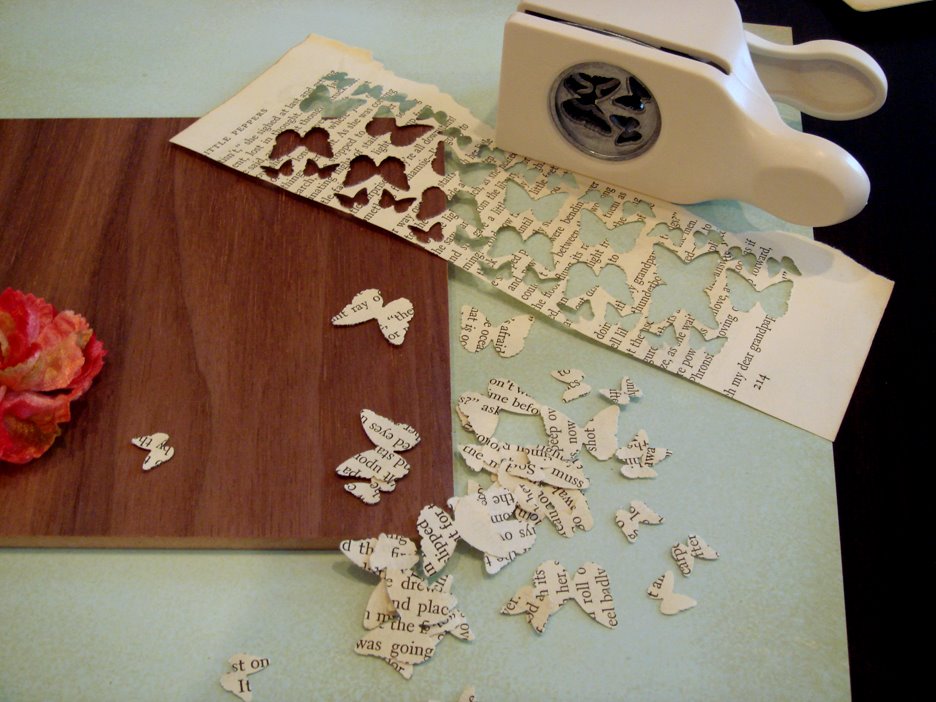
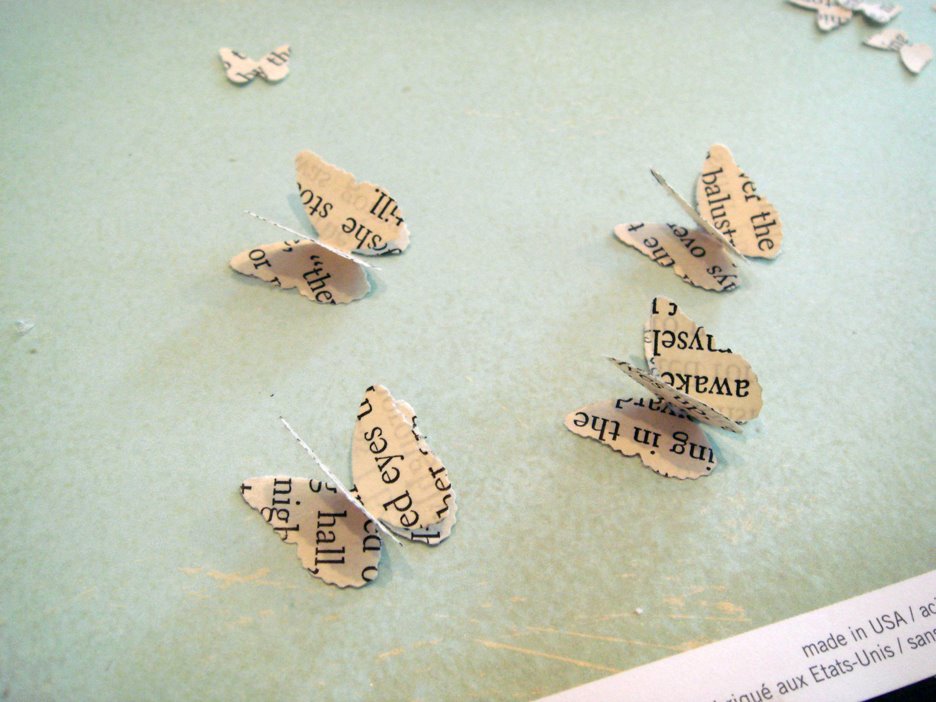
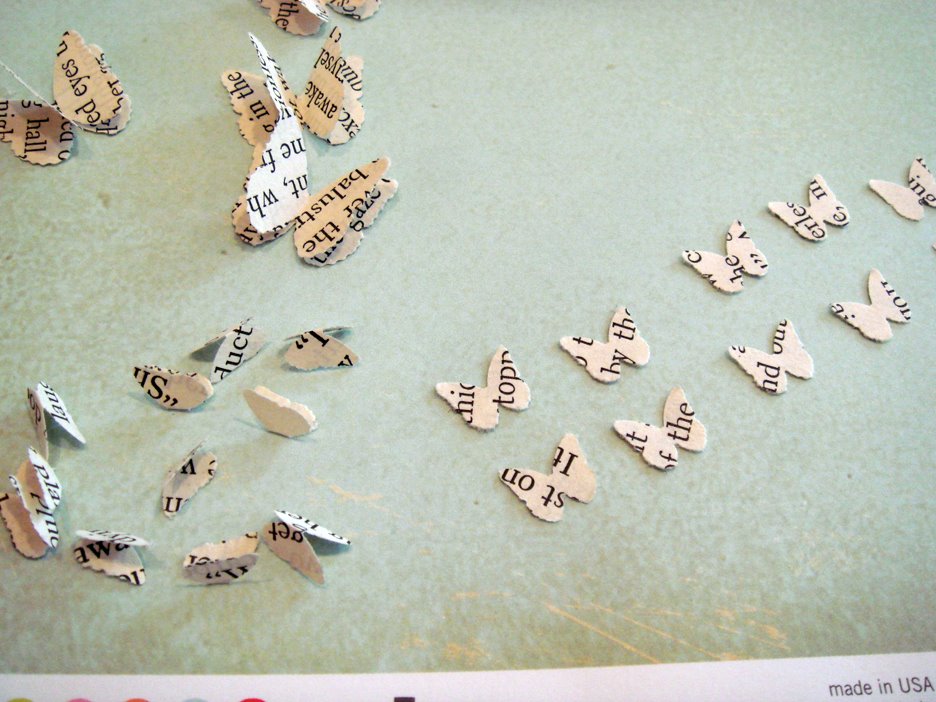
We have an old book that always use for scrapbooking around here. We took a page from it and punched a bunch of butterflies out of it. Our Martha Stewart punch as big and small butterflies in one punch and so far it is my favorite!
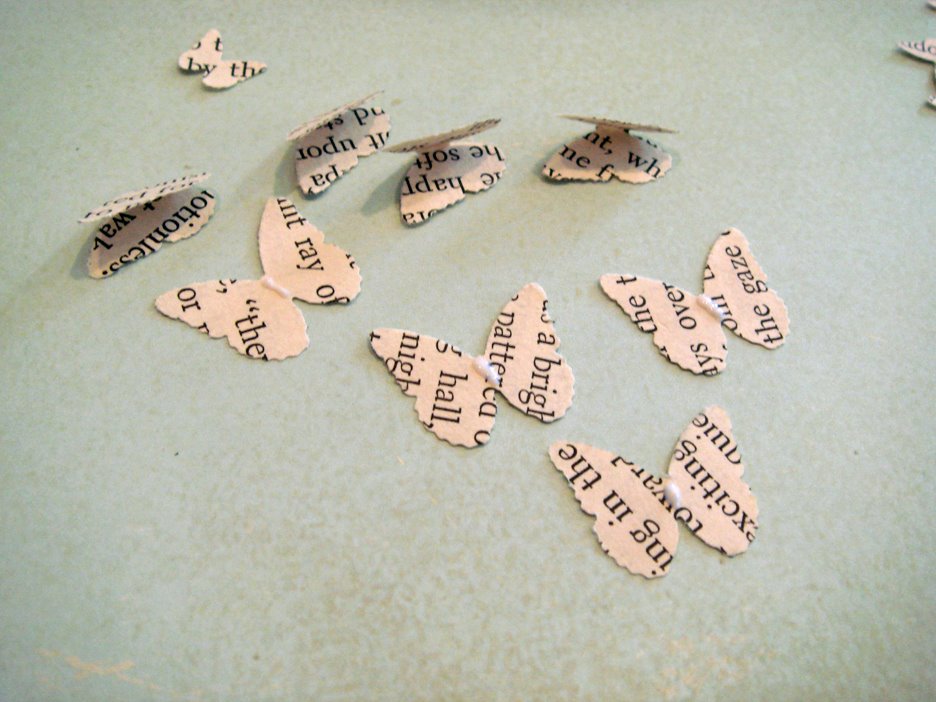
We wanted the butterflies to look three dimensional so for every butterfly we used two punched butterflies. First lay one down flat and add a drop of glue to the middle of the body. Then, take another butterfly, that is the same size, and fold it in half. Stick the middle of the folded butterflies body in the glue… it should look like this:
Do it again with the smaller ones. Warning!: The smaller ones are a lot harder to hold, but totally worth it!!
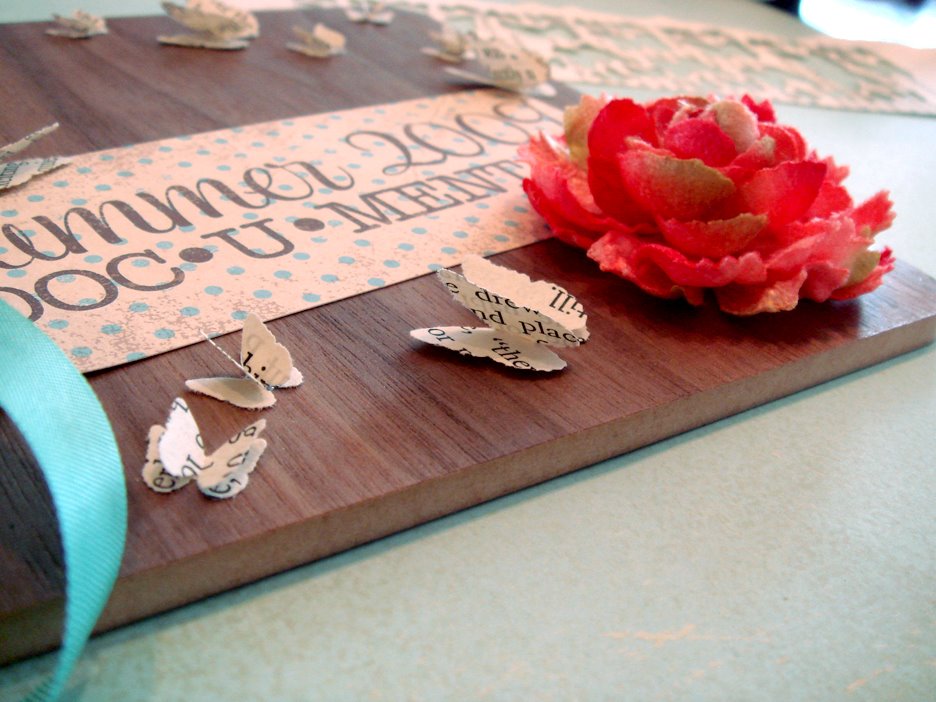
When your butterflies have dried, place them on your mini book. We didn’t glue them down right away, we played with the placement for awhile until it looked just perfect. Again, we only glued the center down because we didn’t want the butterfly to lay down perfectly. We loved the way both layers were “lifted” off the cover, appearing like it was ready to take flight!
And, that’s it! Your cover is complete and ready for you to start on the inside!

Don’t forget, you can download the FREE title tag here or download the full .pdf file. The full .pdf file has 28 tags that you can incorporate into your mini book! There is also the Summer Pack of tags that we will be using, too! The Summer Pack is 15% off for the month of July, only!

We’ll be working on our first inside page in a couple of days – in the mean time, start thinking about how you start the summer. Is there something that always happens that marks the beginning? Maybe it’s your child’s last day of school… Or, that first hot summer day. For me, it’s my sister’s birthday! And, that will be our first page in our mini book!

Thanks for stopping by! Happy Creating!
xo, Elle

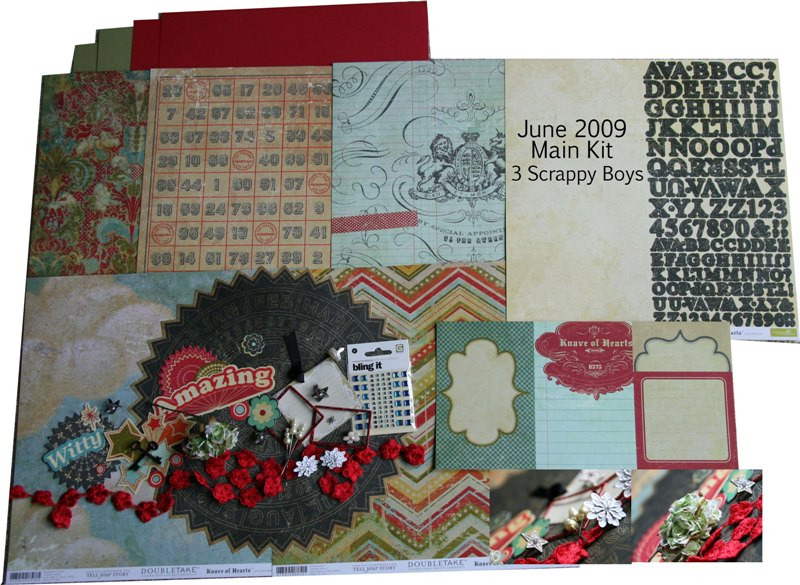
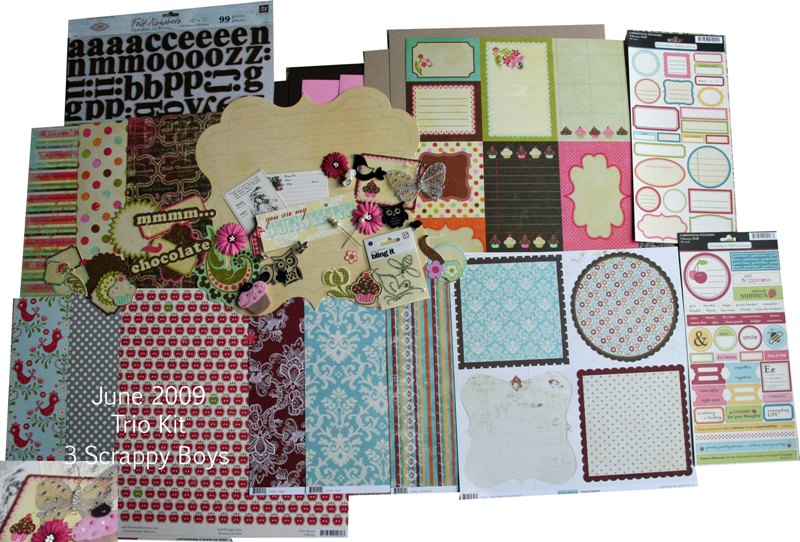
Retailer of the Month – 3 Scrappy Boys, Inc.

Heather Nistler and is the owner of 3 Scrappy Boys, Inc., your home for all of your online scrapbooking needs! She bought 3 Scrappy Boys almost a year ago after being a Design Team member for the founder for a number of years. Heather is a passionate scrapper, and “collector” of scrappy awesomeness! The best part? No need to change the companies name when she bought the company! She has her very own 3 Scrappy Boys: Alexander (10), Isaac (9) and Harrison (6)!
3 Scrappy Boys, Inc. features the hottest scrapbooking papers and embellishments in their store. If you are looking for one stop shopping, awesome kits that are filled with fun embellishments and unique touches from favorite Etsy retailers? They have got it all! We, at Elle’s Studio, have been super lucky and grateful to have been included in some of Heather’s past kits! Make sure you check out their awesome message board and gallery, it’s loaded with awesome ideas and feel free to add your own, too!

They also have a Sizzling Summer Crop going from July 6-27 on the message boards. There will be lots of fun, and of course lots of prizes! They also have a Sketch-A-Day Challenge and various other challenges being offered by their DT members every other day!

And, just for Elle’s Studio blog readers they are doing a discount! How about 25% off your total order! When you check out at their site, enter coupon code: elle25

——————————————————————————-
Every month we will be highlighting one of our retailers who has a store special just for you! We feel honored to be able to support our retails and encourage you to check them out!

Summer 2009 • Documented

It’s never too late to start documenting your summer. We’ll be looking back on June and scrapbooking through July and August as we put our mini book together! This mini book will be highlighting events of the summer and not something we’ll be doing daily, since we know how busy summer can get!


Join us all month long to see how we put our booklet together, how we tie in our tags with the project, and for tons and tons of inspiration! To add to the fun we’ll be doing giveaways and will also have a couple FREE downloads along the way!


We’d love you to work with us and put your own mini book together! We’ve created a fun, pdf download of a bunch of bonus tags perfect for this project! This pdf file will be available towards the end of this week. We also put together a summer pack of tags, at a special price for July, which we’ll be incorporating into our mini book. These tags are not required, and we encourage you to use what you have on hand already 🙂


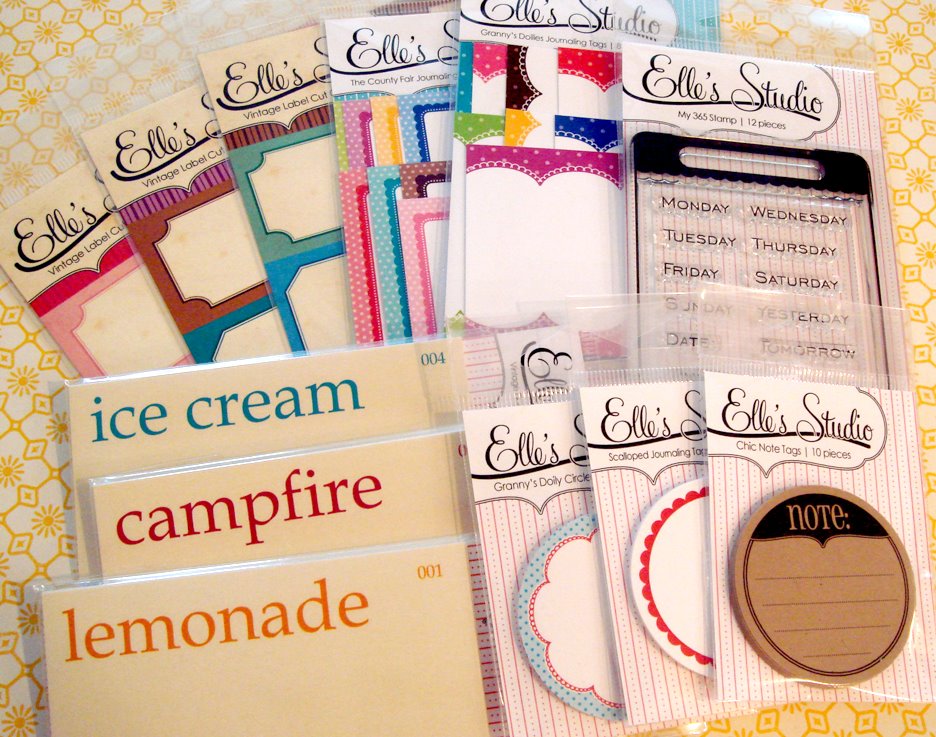
Here is what the Summer Pack contains:

Our project is called: Summer 2009 • Documented. If you want to get a jump start and begin collecting your supplies, please feel free to!


Here’s a list of supplies to get us started:

Mini booklet or chipboard/cardstock pages that can be bound

Glue, scissors, punches, etc.

Pattered or collected papers

Miscellaneous embellishments

Journaling tags

Pictures

Collected and found objects and materials from the summer


We’ll be back on Thursday to show you the cover and give you your first free download to get you started! After that, we’ll be posting on this topic throughout July and August, so keep checking back in! You can use the “Summer 2009 – Documented” logo on the right side of this blog to filter through our posts and only show those that relate to this project! If you have any questions please feel free to email us, we’ll answer them as soon as possible!

Can’t wait to get started!

xo, Elle


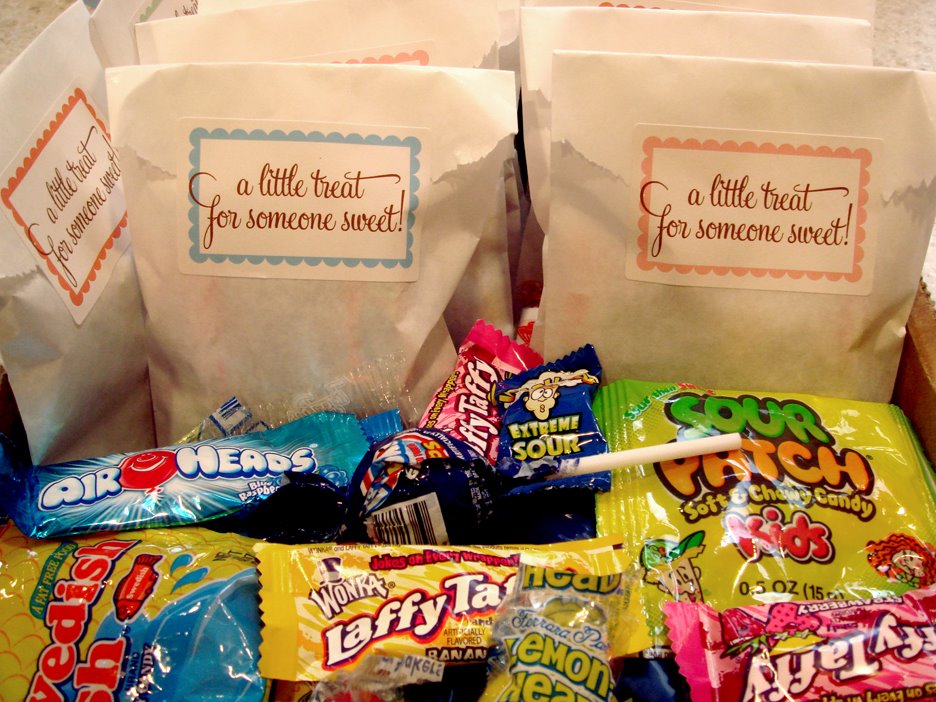
P.S. We thought we’d add to all the fun and include a little bag of sweet treats to those who purchase our “Summer Pack” of tags 🙂 Yummy!! {while supplies last!!}


Happy 4th of July!

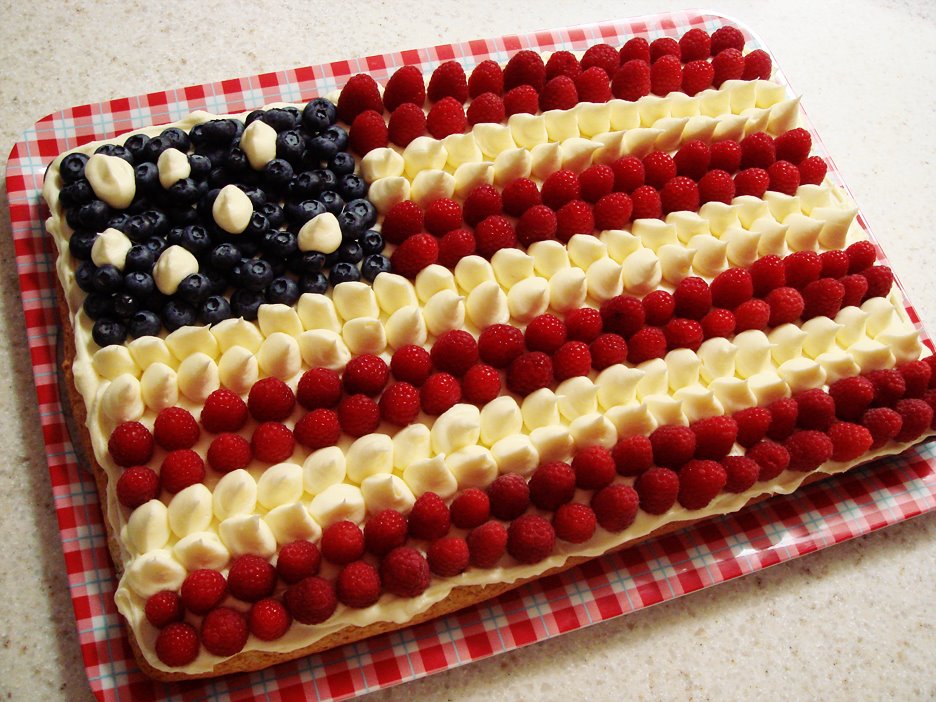
Happy 4th of July, everyone! May you have a safe and happy one 🙂
xo, Elle

{the above cake was made by my mom, it’s a family tradition! The recipe came from Martha Stewart Living, July 2001}

Tara Anderson – Guest Designer for July!

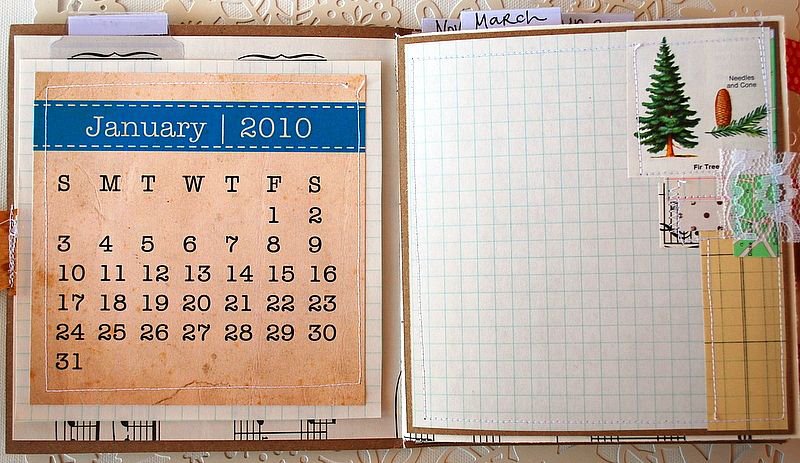
Tara Anderson is our Guest Designer for July! She spoiled us this month with some amazing layouts and a mini date book featuring our new 2010 Vintage Calendars! Her gallery is pure eye candy! We love the way she mixes vintage papers into her scrapbooking, so inspiring! We hope you find it inspiring, too! Check out her full gallery here!
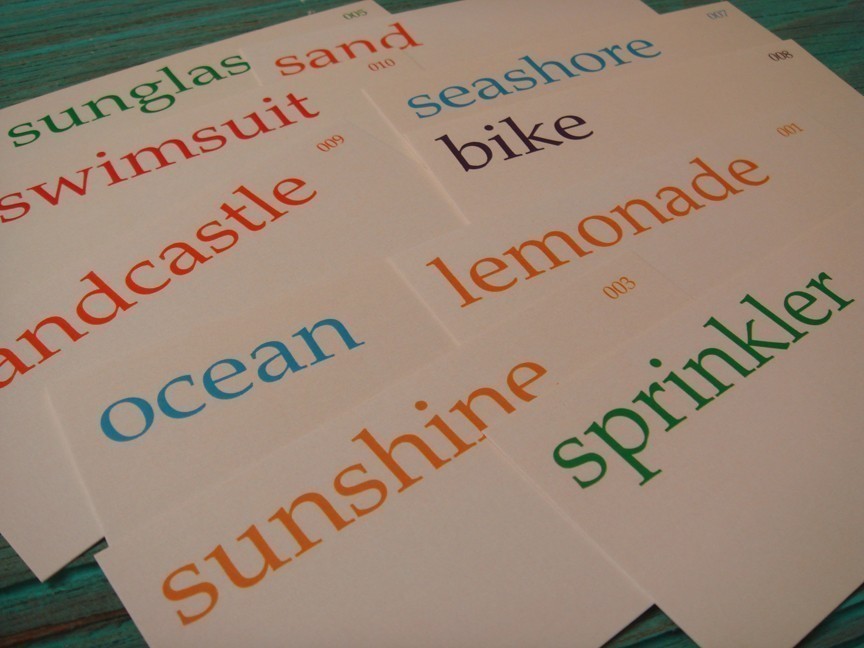
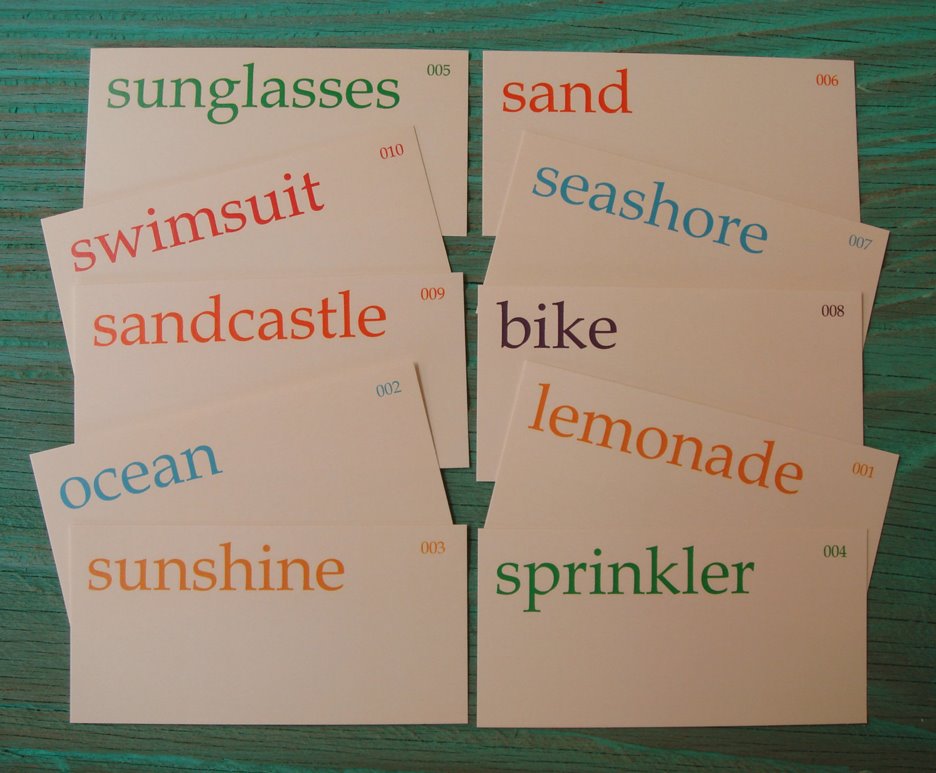
She also picked our Vintage Summer Flash Cards to be the special of the month! So, for the entire month of July you can get 10% off them!Check back here on the 15th to see more from Tara! You can also visit her blog or her adorable Etsy shop!

Thanks so much for the creative inspiration, Tara!
xo, Elle