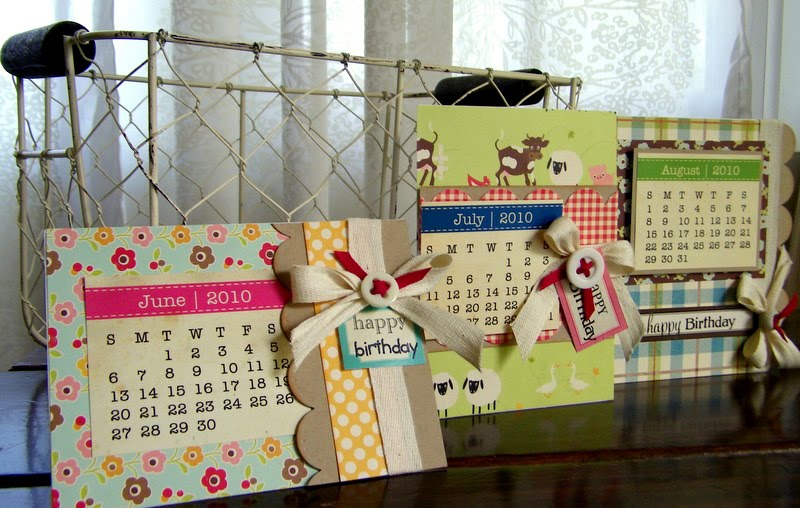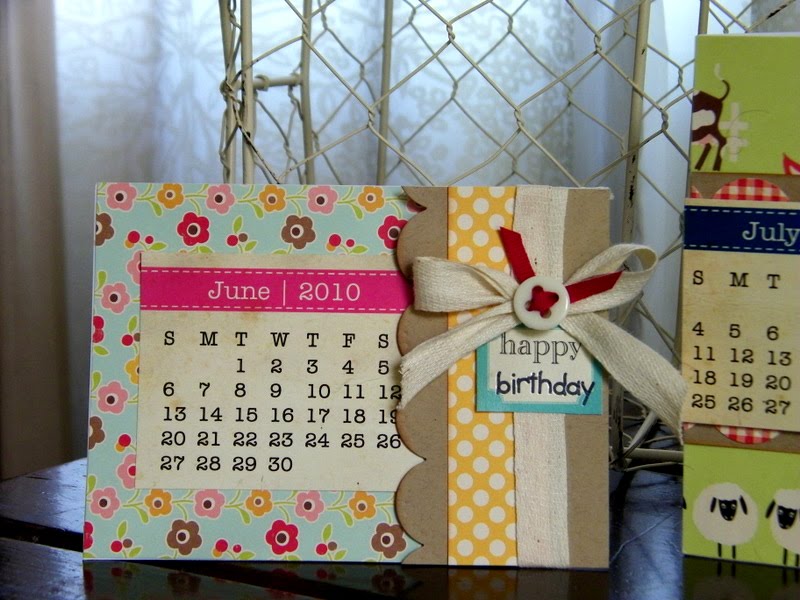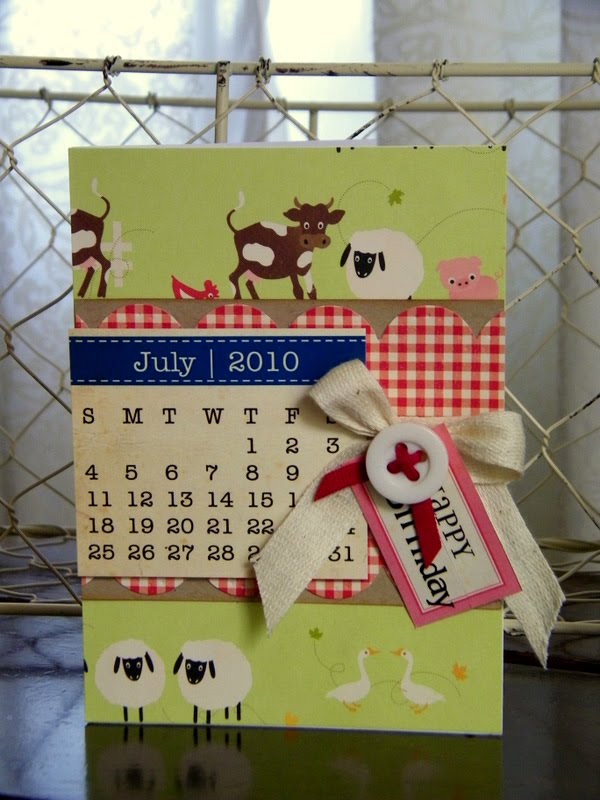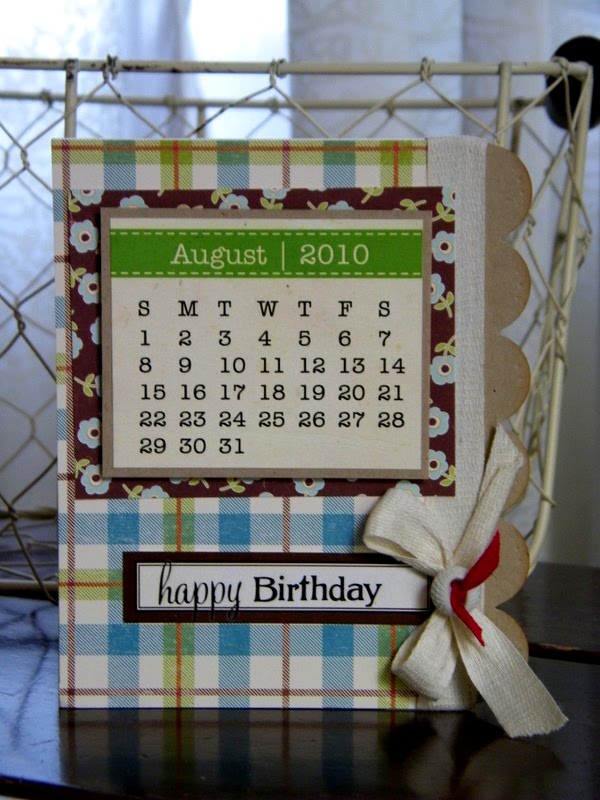
Lots of stuff… coming soon!

Since I’ve gone a couple days without a blog post I thought I better let you know that… we’re still here!!! We are currently in major lock down mode finishing the final details for our new items πŸ™‚ and will be making a launch date announcement very soon!

Stay tuned for Designer Spotlight, sneak peeks, and a post about Monkey Bread all next week! We’re super excited!!

Happy weekend, everyone!
xo, Elle
P.S. Are you working on your cards??

Watercolor Stamping Tutorial by Daniela!

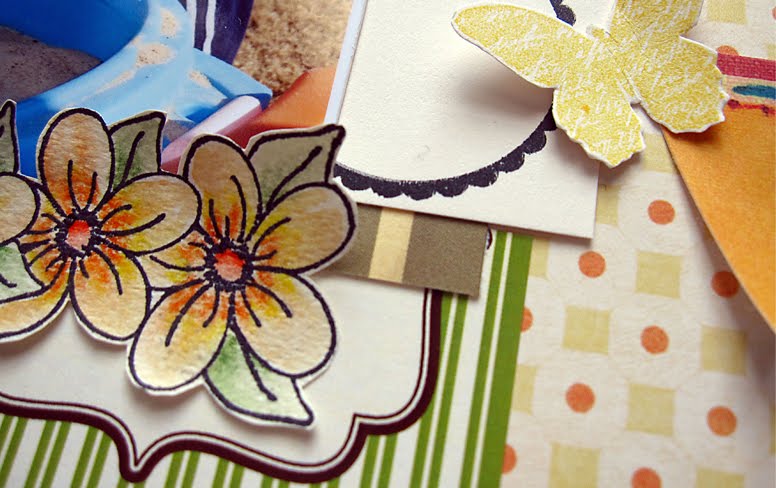
Did you see this cute layout by Daniela, in the Inspiration Gallery? If you take a look at the close up you’ll notice some water-coloring in the stamped flowers…
When I saw them I immediately asked her if she could do a little tutorial for us on how you color a stamp in like she did here, and she put one together for us! We are so excited to share this with you this morning, it looks like so much fun to try, too! Plus, she makes it look pretty simple πŸ™‚ Let’s get started!

———————————————————————————–

Watercolor Stamping Tutorial
by Daniela

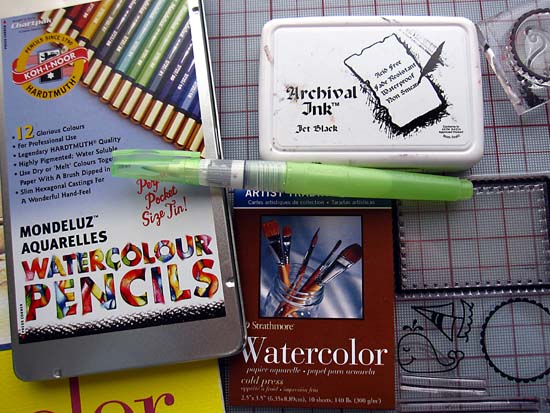
You will need watercolor paper, waterproof ink (like StazOn or Ranger Archival Ink), watercolor pencils, paintbrush or Aqua painter and stamps – (I used the Whale of a Time stamp set here). I buy a large watercolor pad at a craft store and cut it down to size. In addition, they have these ATC size watercolor sheets that are perfect for tags and cards.
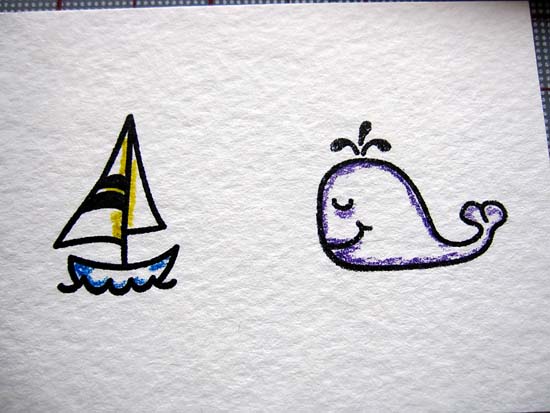
Stamp your images on watercolor paper and outline with watercolor pencil of your choice. You do not need a lot of color, plus you can always add more if needed.
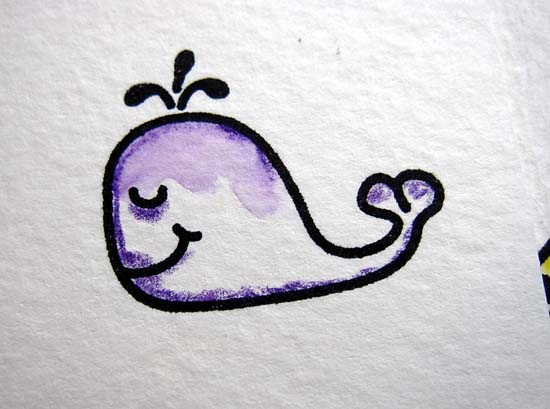
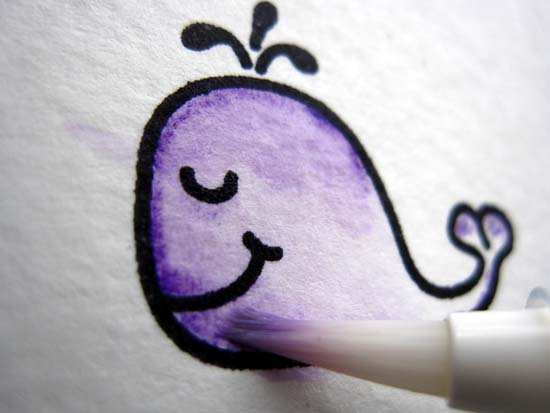
Make sure your brush/aqua painter is damp, not too much water. Start working from the edges in circular motion to blend the color. Keep wiping the brush on scratch paper or a paper towel to remove excess color/water and keep blending.
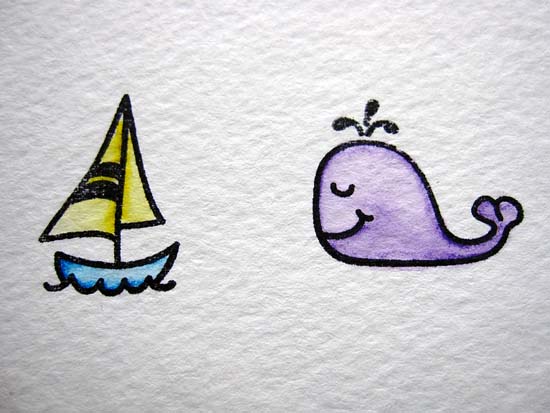
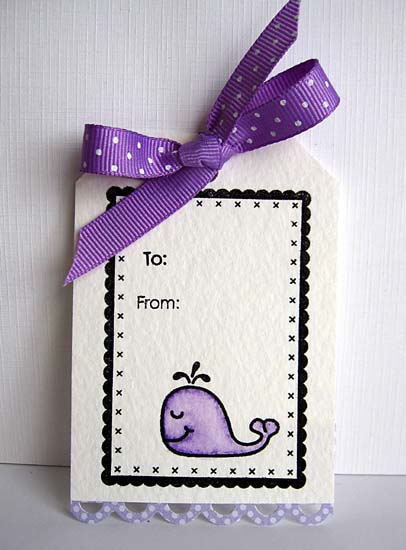
This is what it looks like all completed.
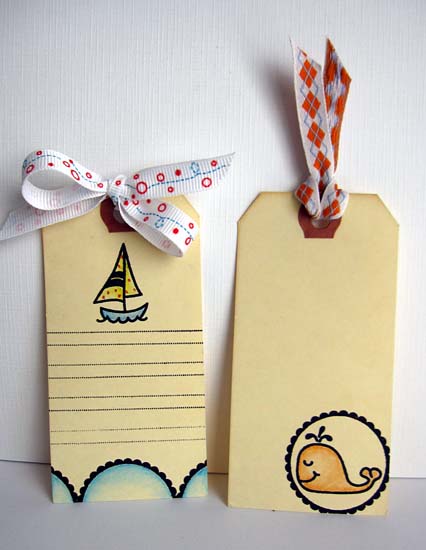
I stamped and colored the whale and made a tag out of the ATC size paper. I added a punched edge to the bottom.
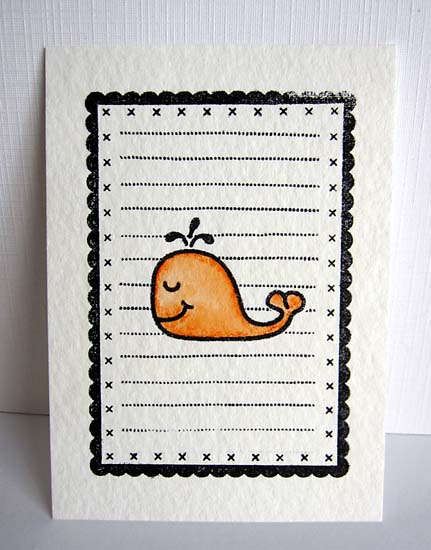
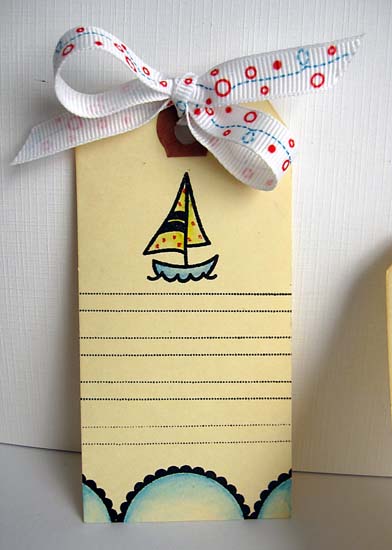
For this journaling tag I stamped the whale in the middle. I added the lines by masking the whale.
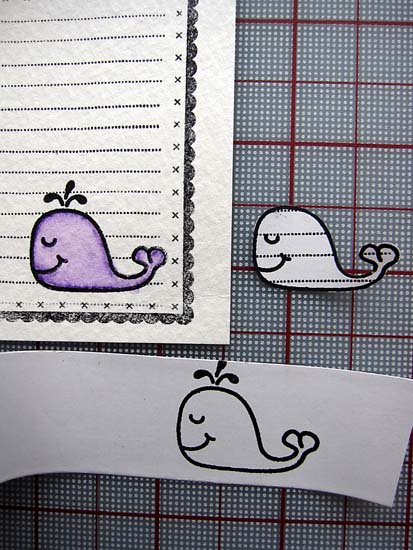
Masking – I stamped the whale on art masking tape, but you can use scrap paper or a post it note. Cut the image out. Lay it over the original image to cover/mask it and then stamp the lines. Save it, because you can use it again.
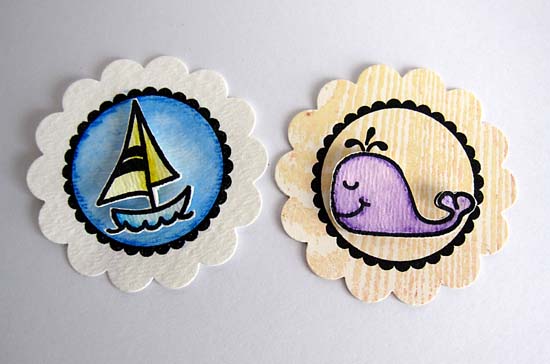
I stamped and painted the circle tag. I cut the boat and adhered it with foam adhesive. For the whale tag, I stamped the circle tag on some left over stamped cardstock and punched it out. I cut the whale out and used foam adhesive to adhere the whale over a stamped whale base.
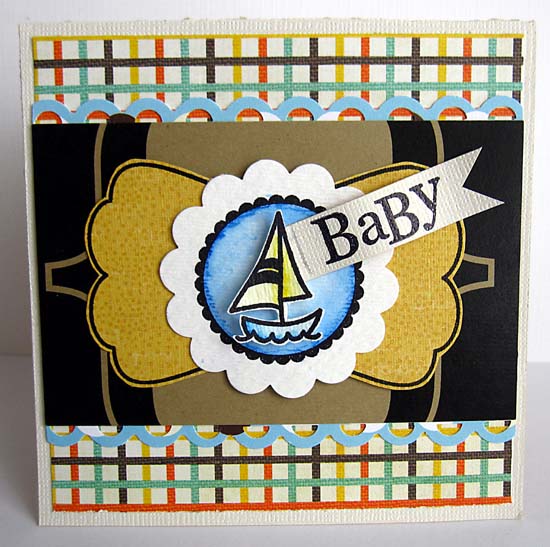
I used the boat tag for the card. I addition, I used a stamp from Let It Snow stamp set and a tag from Prompts, Patterns and Journaling Tags.
You can use a blender pen with watercolor pencils. The blender pen is perfect for blending watercolor pencil colors, eliminating the need for water and a paintbrush. The colors intensify and blend smoothly, and you don’t need the watercolor paper.
Stamp images and outline with watercolor pencil. Use the blender pen to blend the colors in circular motion starting from the edges.

———————————————————————————–

Thank you so much, Daniela, for showing us how fun this can be! This is such a great way to color in those stamps and make them match your own color scheme – we love it and can’t wait to try it!! And, Daniela is the spotlighted designer this month! Stay tuned for that post on the 10th!

For the entire month of April we have our Whale of a Time Stamp Set 40% off!

April Blog Challenge – Cards for Operation Write Home!

We have a super-duper exciting blog challenge for you this month! We have teamed up with Operation Write Home to do a card contest – kind of like the one we did back in November! Our combined total in November, that was sent in by our readers, was 348! That is an amazing number and we are hoping we can do it again… or even more, this time!

The way this challenge will work: Create a big or little bunch of cards (Very important: no glitter can be used on the cards) and then mail them in to Operation Write Home with our packing slips (mailing address are on the packing slips) CARDS MUST BE POSTMARKED BY APRIL 19th. You will receive one entry into our drawing for every card you create. The ladies that help run Operation Write Home will then tally each batch of cards they receive and send me a detailed list of who sent what. From that list we’ll be drawing TWO winners that will each receive a $30 gift certificate to our store on April 25th!

Don’t forget to photograph your cards, too, and link us up to them in the comment section or by email. We’d love to feature them on our follow-up post, when we announce the winner, on April 25th.

Alright, are you excited?! Personally, I LOVE this organization! They send all the cards to our troops who are overseas. The troops can then use these cards to send back home to their family and loved ones. Sometimes, these special cards are the only thing our troops have to write on! Some are stationed in areas where there isn’t even a store to purchase a card or paper. Plus, everyone knows how special it feels to get a card from a loved one, but imagine getting a card from a loved one who is so far away, maybe otherwise unreachable by phone or email?!

We’ve got some inspiration from our Design Team to help you get started! We’ll start with Samantha’s cards:
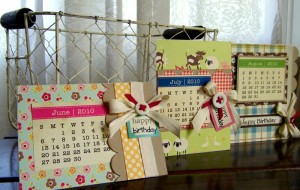
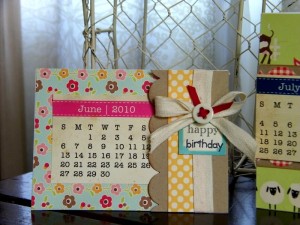
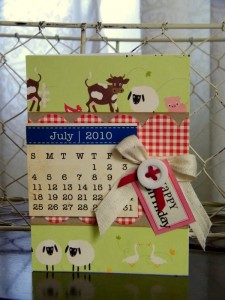
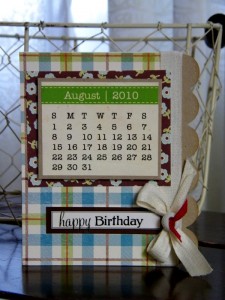
These ares are so clever! They use our 2010 Vintage 3 x 3 Calendar tags and Samantha says that you can make them in advance and they just circle the date of the birthday when you go to mail them! Love that!!

Next, we have two cute ones from Laurie:
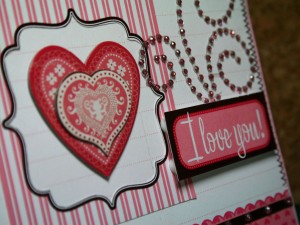
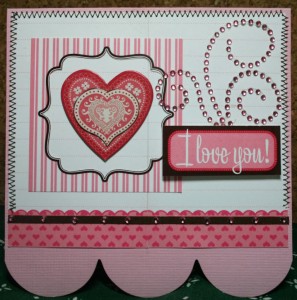
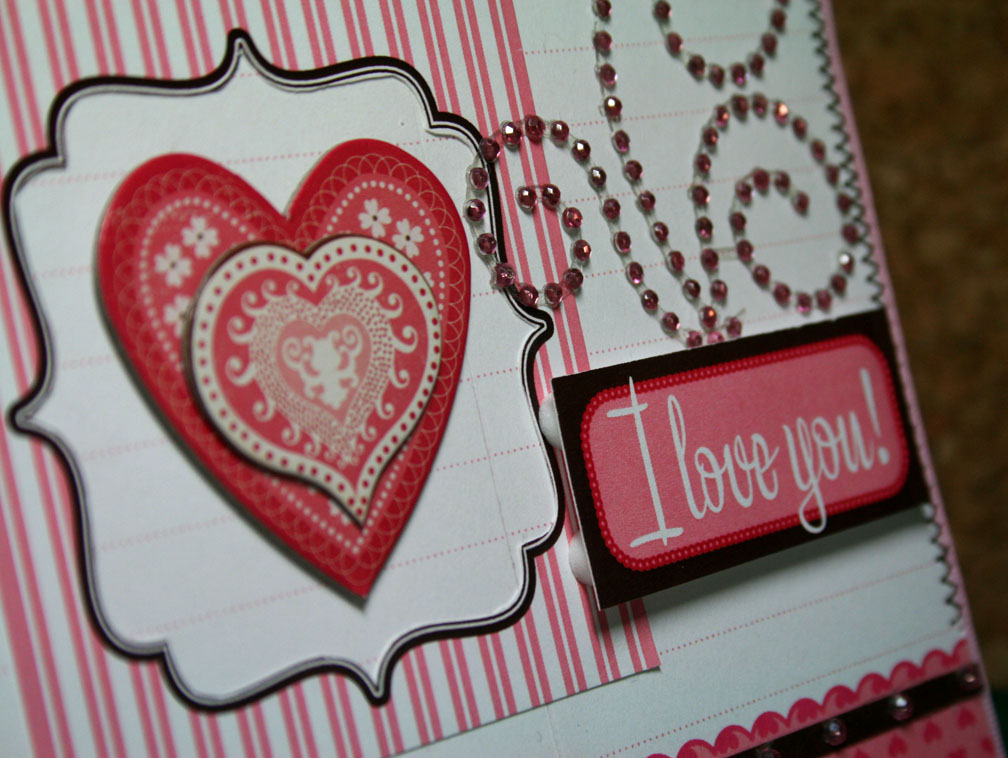
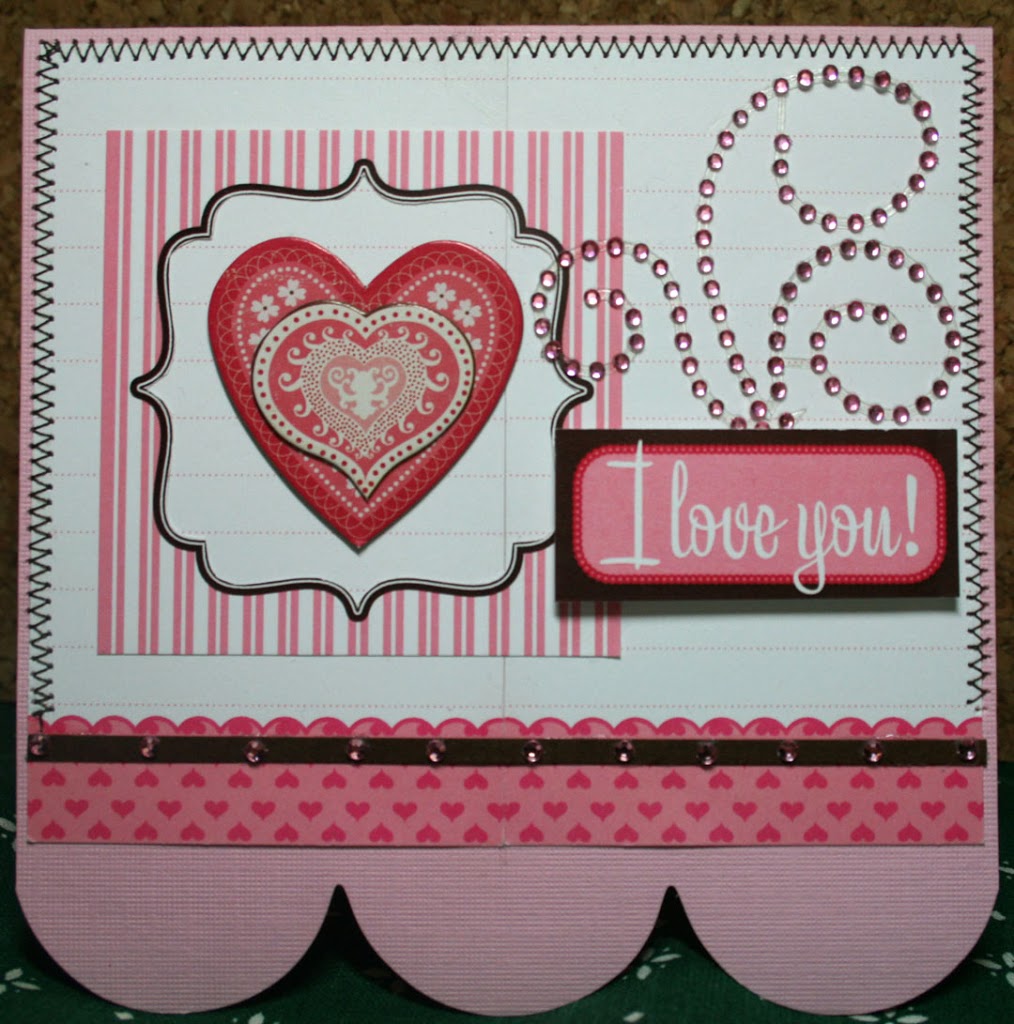
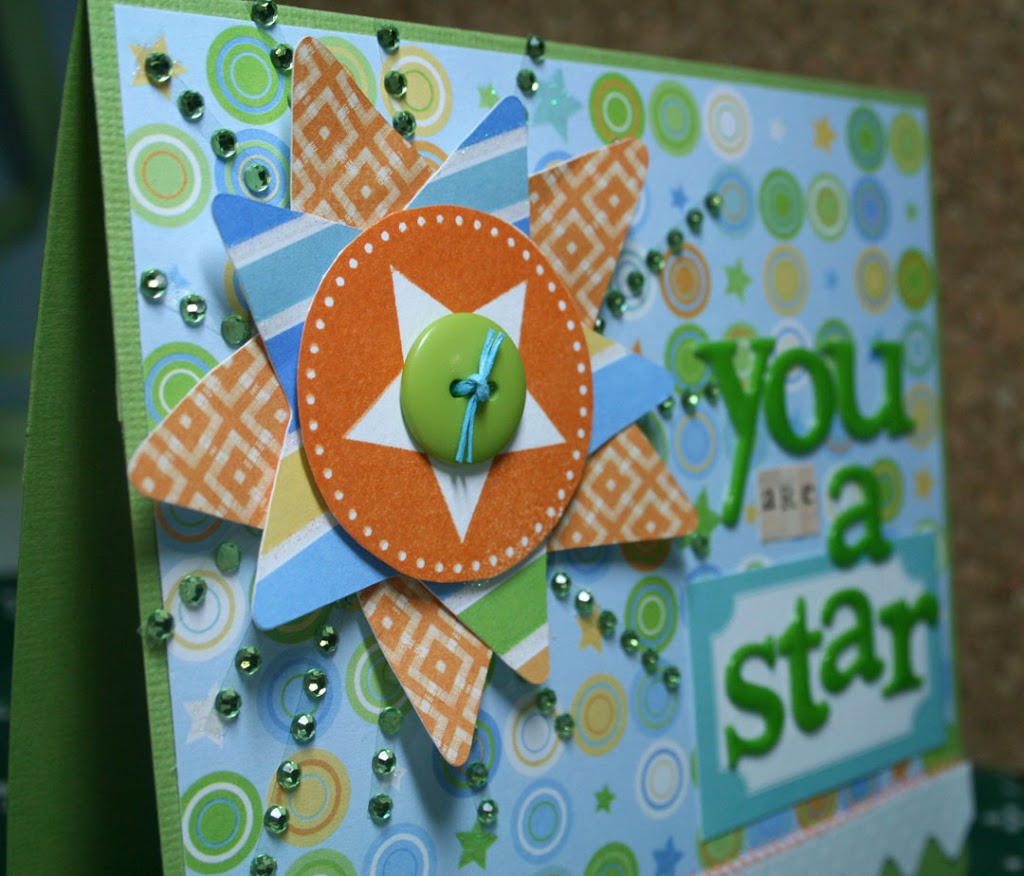
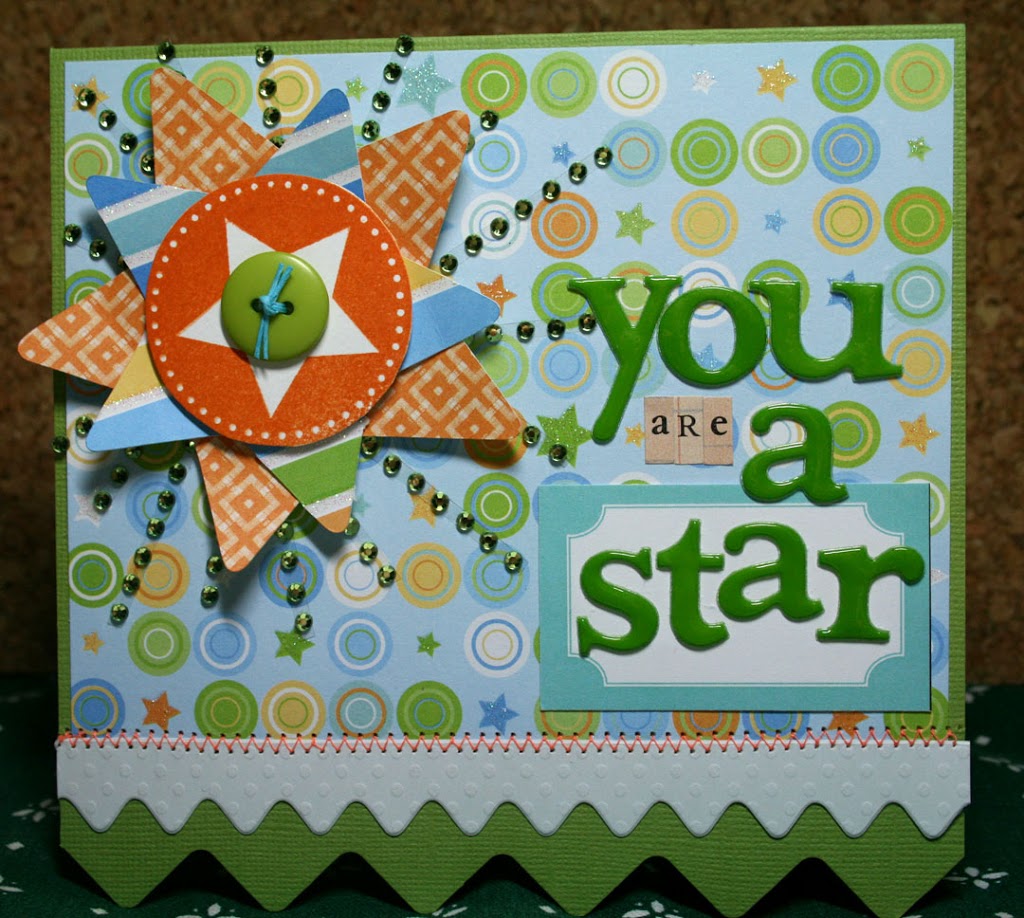
These are both so fun! I love how she used our Star stamp and made an embellishment with the other stars! And, the pink and red “I love you” card is just beautiful!

Thank you so much for your inspiration, ladies! So perfect πŸ™‚

Now… are you ready to get started on yours? We have answered a couple questions below – if you have any more please post them in the comment section and we’ll answer them asap!

We are so excited to be doing this again! And, remember, even if you can only make one card, that one card will touch someones life out there πŸ™‚ Every card counts!!

xo, Elle
P.S. We’d LOVE extra help in spreading the word about our contest! Thanks so much!!

How do you enter?
For every card you make and send in to Operation Write Home (postmarked by April 19th) with our packing slip, you’ll receive one entry into our drawing. Two people will each win a $30 gift certificate to our store!

Do I have to include an envelope?
They have A2 envelopes, already! So, if you make your card A2 size (4.25 x 5.5 inches) you don’t have to worry about the envelope! But, if you make an odd size card, please make an envelope to match.

What about a donation?
Although a donation is not required, it is greatly appreciated. Even if it’s just a dollar, that dollar helps with shipping costs and purchasing more envelopes.

Cards are made! Now what do I do?
Print this packing slip and fill it out. This packing slip is very important in order for you to gain entries into the contest. Pack your cards and packing slip into an envelope or box, along with a dollar or two if you can, and ship them to Operation Write Home (shipping addresses are on the packing slip). CARDS MUST BE POSTMARKED BY APRIL 19th!

Operation Write Home will be keeping track of all our cards and entries and sending us the list to draw the names from.

Don’t forget, we’d love to show what was sent in, in our normal 25th follow-up post! Take a photo of the cards before you send them in and link us up in the comment section below.

What card themes are they looking for?
Operation Write Home’s blog is a great place to find the most up-to-date information on what themes they are running low on. They also report every Thursday on the cards they have received, so you can look for your name and make sure they got your package!

Most important to remember! NO GLITTER!!! At all!! Double check your supplies before you start so you don’t accidentally use some!

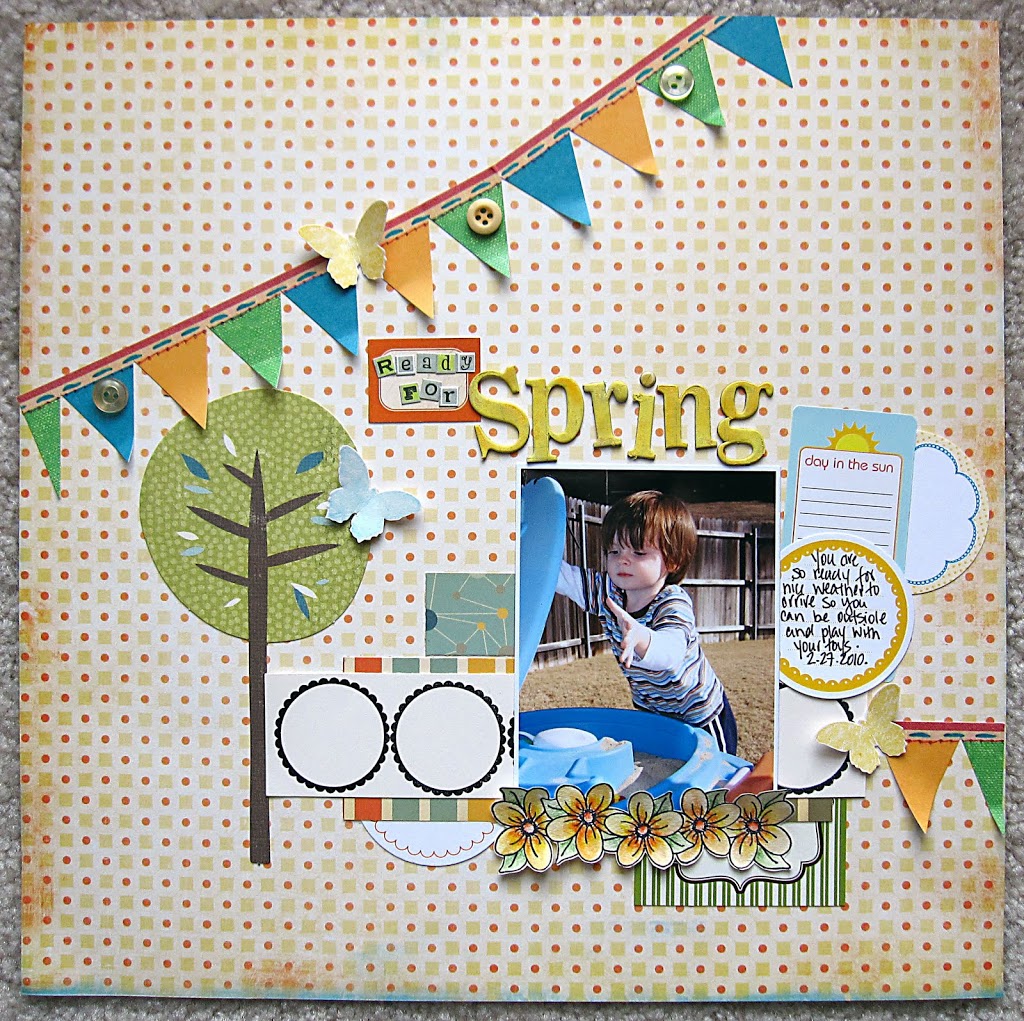
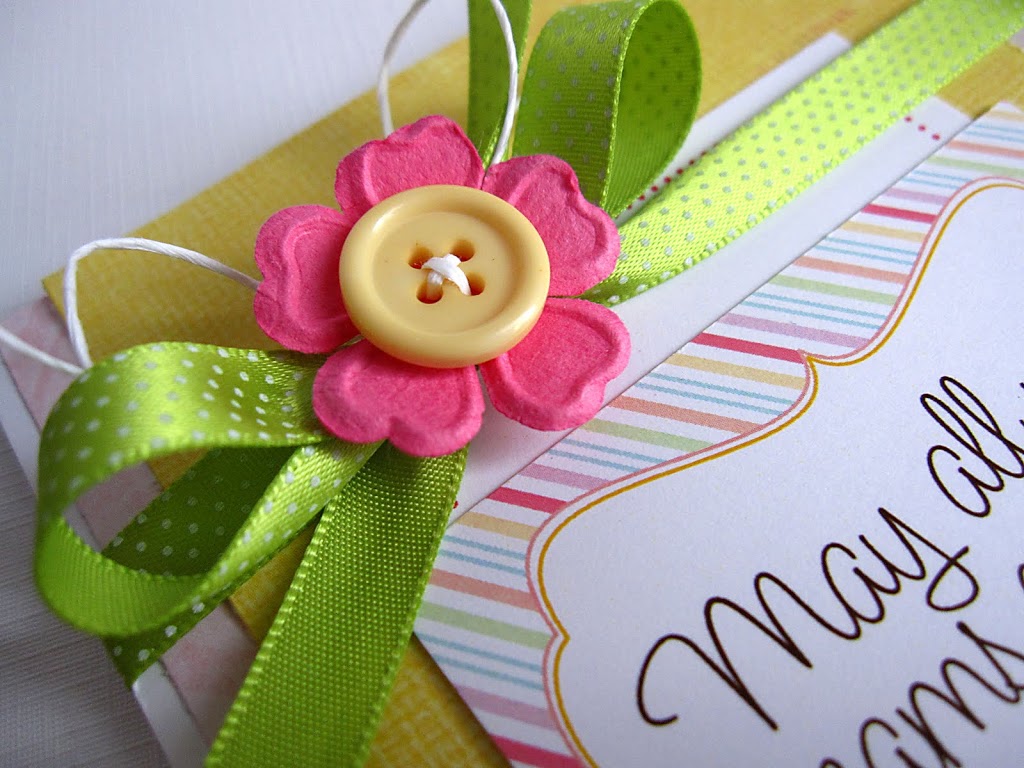
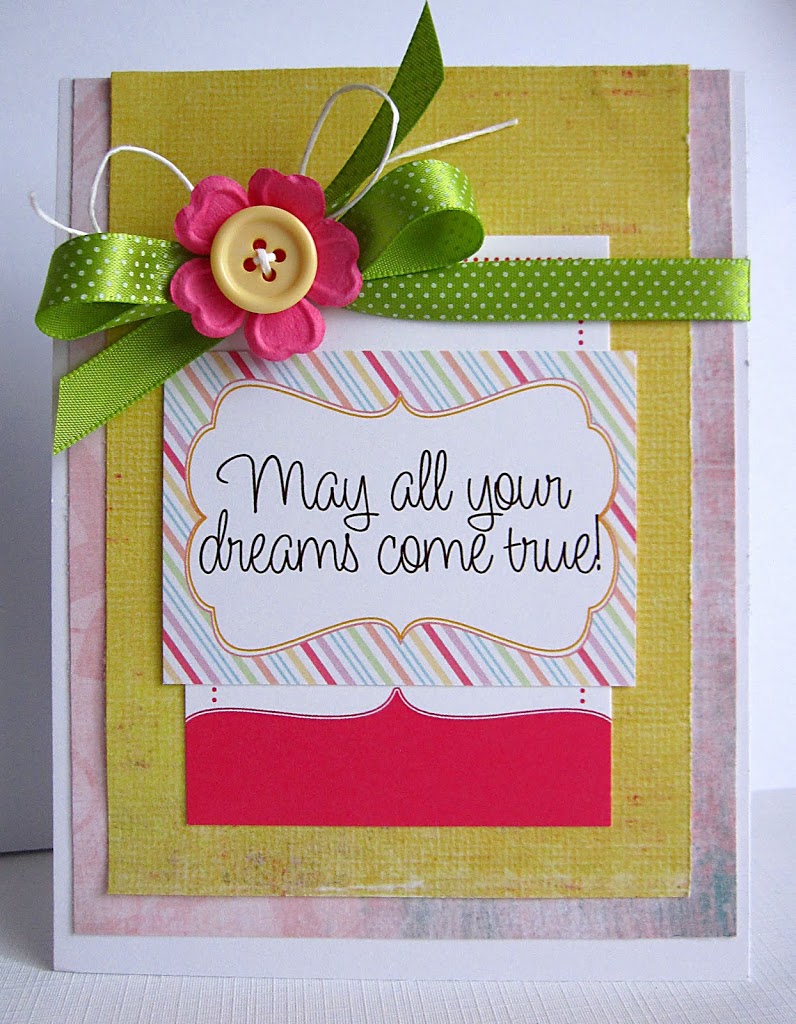
“May all your dreams come true!” by Daniela

Supplies: Elle’s Studio Birthday Cut Out and Chic Journaling tags
Is March over already?! Wow… this month went way to fast! Daniela made this card for us today and I thought it was the perfect way to end our month long birthday celebration πŸ™‚ We’ve had such a blast with you all this month and our dreams really have come true!

Thank you all so much for making these last three years so much fun! We’ve made so many wonderful friends and met so many amazing people – we are so thankful for each and every one of you πŸ™‚

And, huge thanks to our Design Team for keeping us inspired all month long and showing us how to use our Birthday Cut Outs to make some super cute cards and tags! You ladies are awesome!
We love you all!
xo, Elle

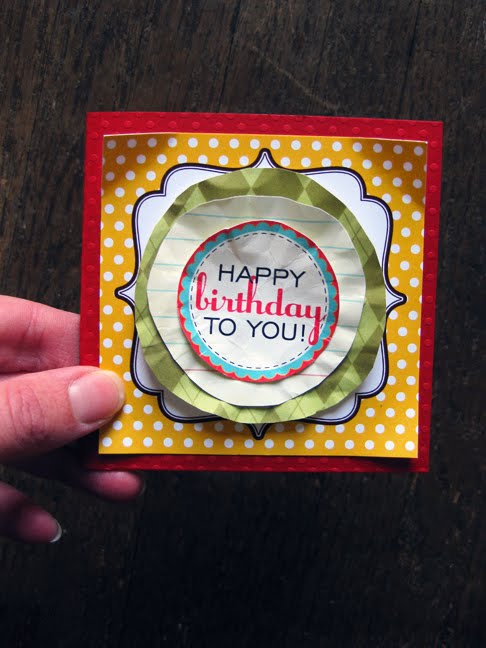
Happy Birthday To You! by Paige

Paige made this little cutie for us today! I love how it looks like a flower – the layers are just yummy! And, I like how she used the Lollipop Tag as the background layer, and put the Birthday Cut Out on top!

Thanks so much, Paige, for keeping us inspired! Love this little card πŸ™‚

We have an update on the Grab Bags we posted about yesterday! They are going FAST! We are down to less than 10 on the medium and we only have 14 left of the Xlarge – so if you were thinking about getting one… don’t delay! I’m not sure when we’ll be doing these again… but it probably won’t be for a very, very long time! And, don’t forget! All orders (including grab bag orders) in March receive a FREE Birthday Cut Out!

We also wanted to say a huge “Thank you!” to those who already purchased one! Half of them have already shipped and should be arriving soon and the other half will be shipping first thing tomorrow morning πŸ™‚ We hope you love them! When we packed them up we made sure that if we were the one receiving the package that we’d be happy, so we hope you are, too!

There is one final birthday card to share with you tomorrow and that will be wrapping up our amazing month long birthday celebration!
xo, Elle

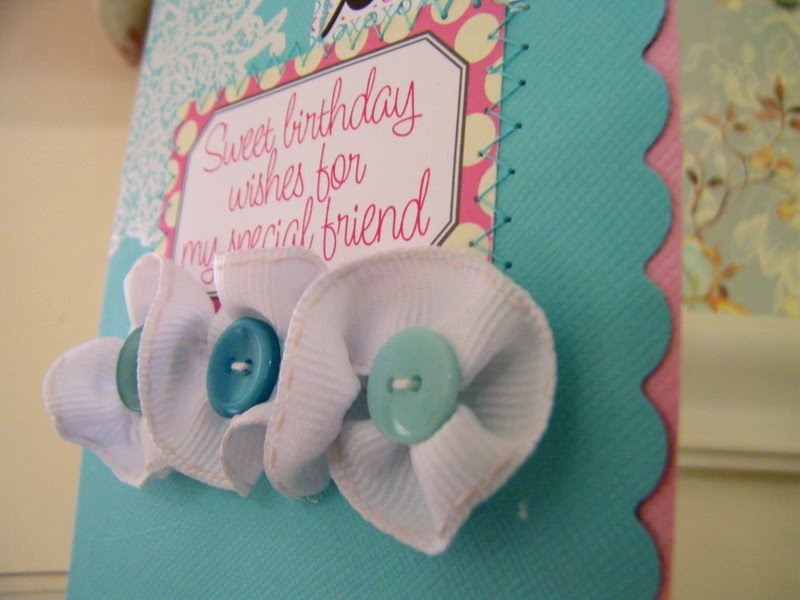
Birthday Card Tutorial with Ruffled Ribbon By Samantha

Today we have a super sweet card tutorial by Samantha! She makes making ruffled ribbon look super easy πŸ™‚ We love it!

Let’s get started:
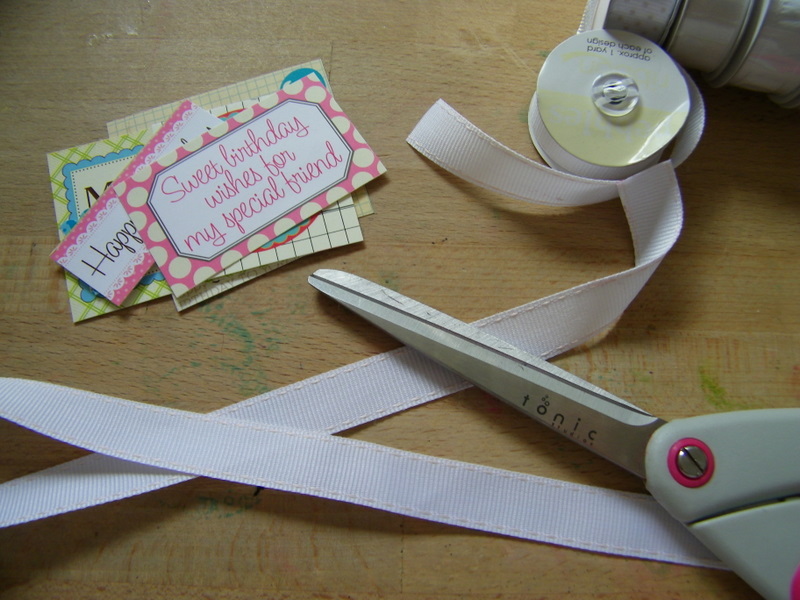
1. Gather up your supplies, you will need a ribbon that has a stitch running through it. I used a ribbon from Pebbles Inc.
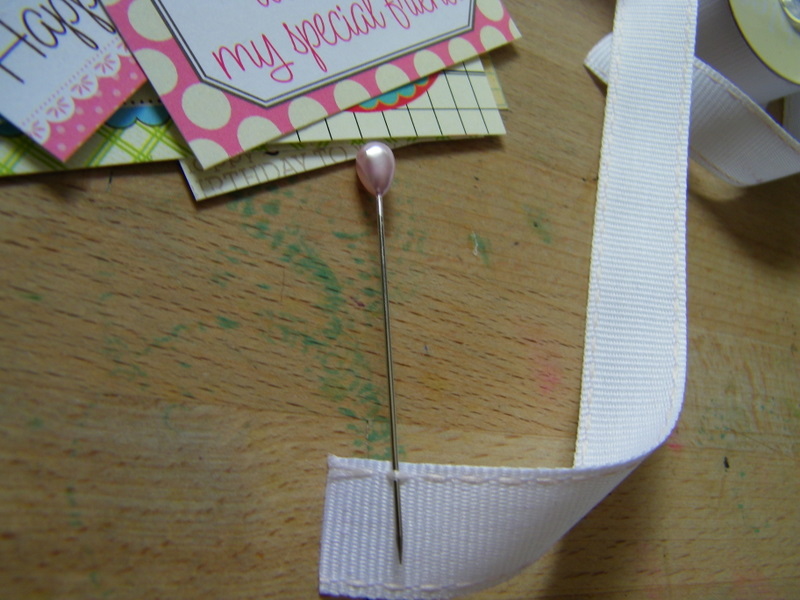
2. On one end of your ribbon, pull a couple of inches of the stitch. I needed a pin to pull this stitch out.
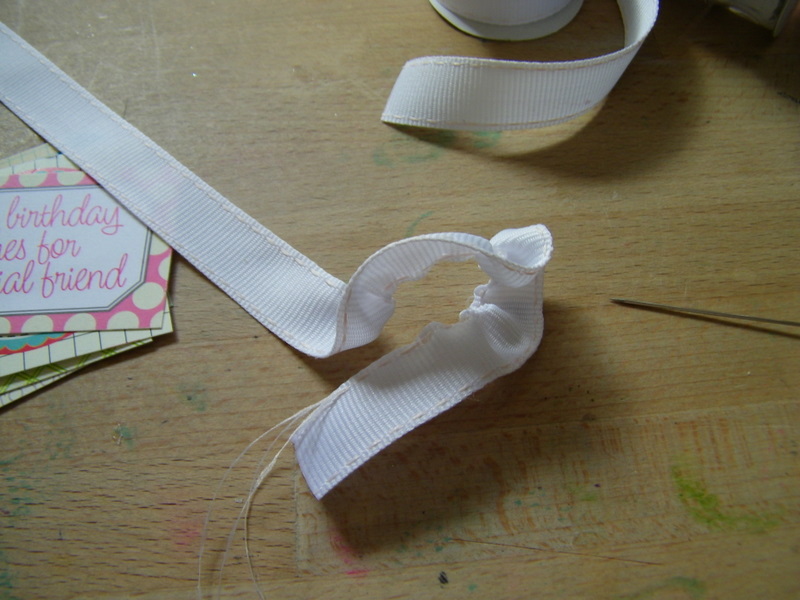
3. Begin pulling the thread out. Make sure you don’t pull the entire thread out.
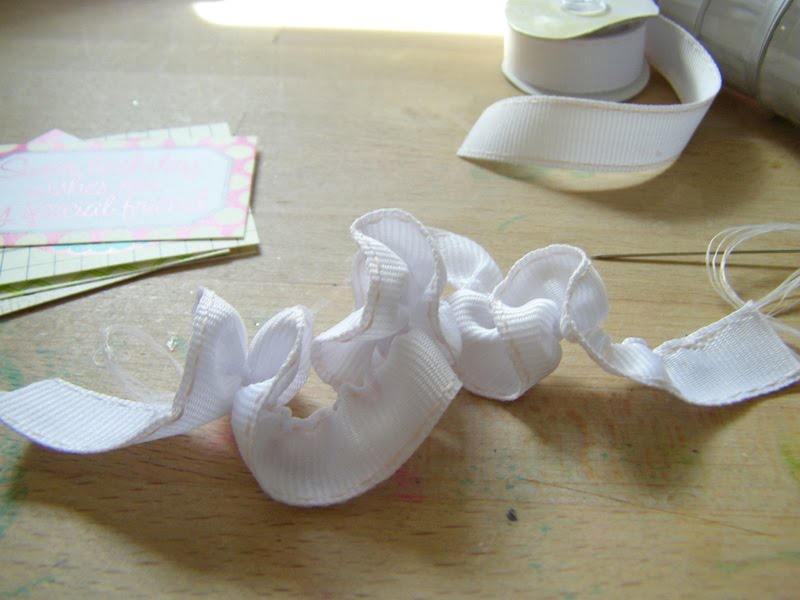
4. You will have a ruffled ribbon like this.
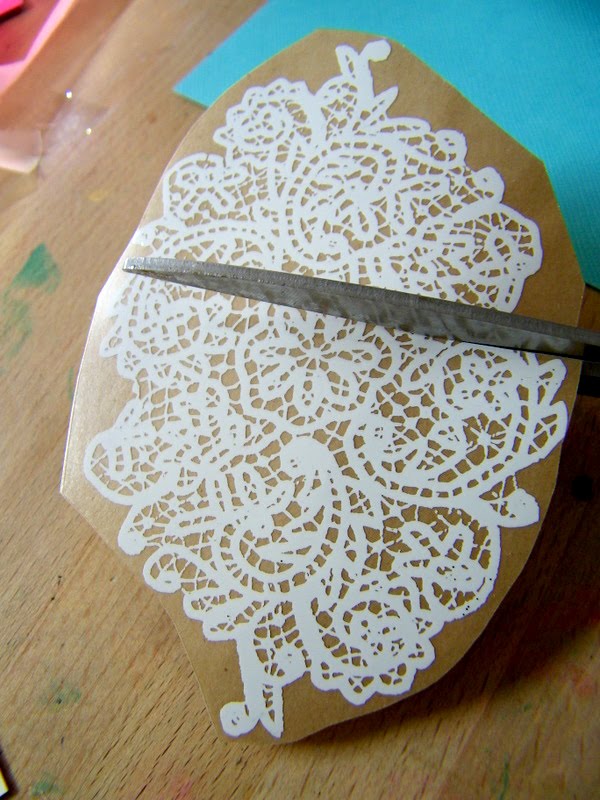
5. Cut a rub on doily in half.
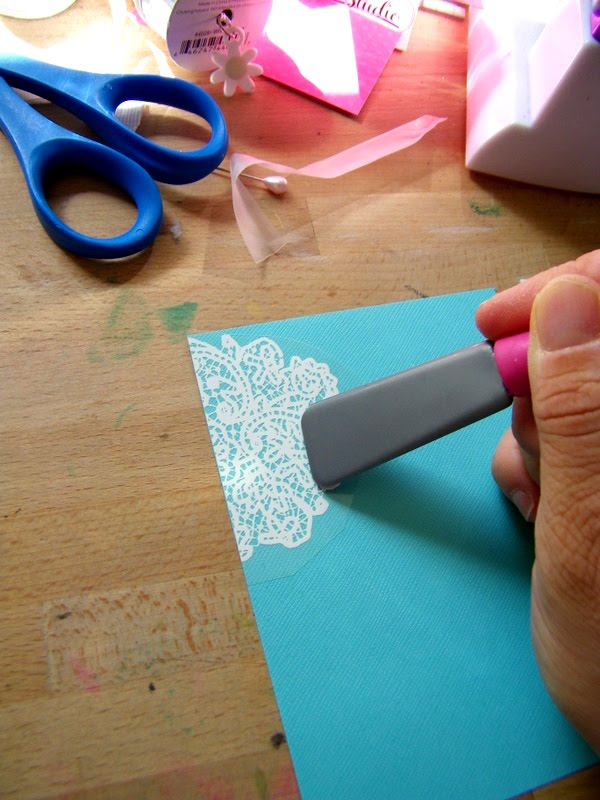
6. Rub on to your card surface.
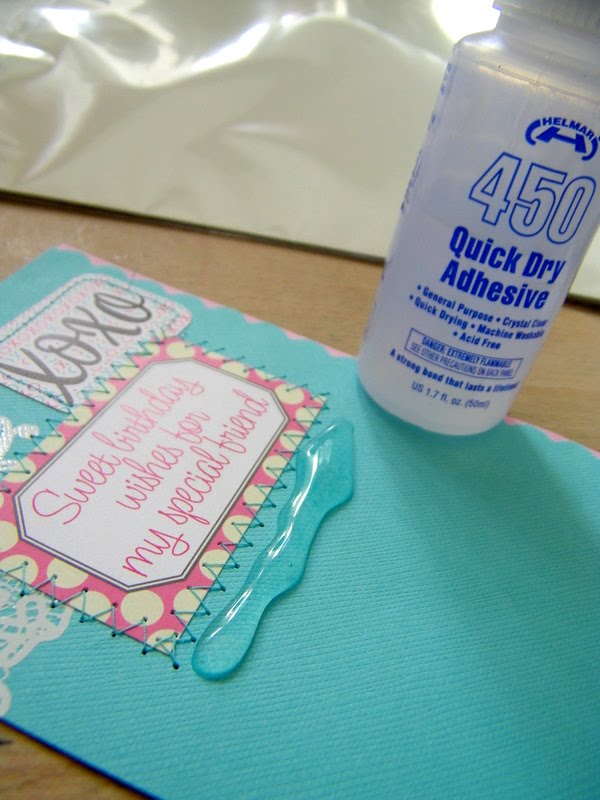
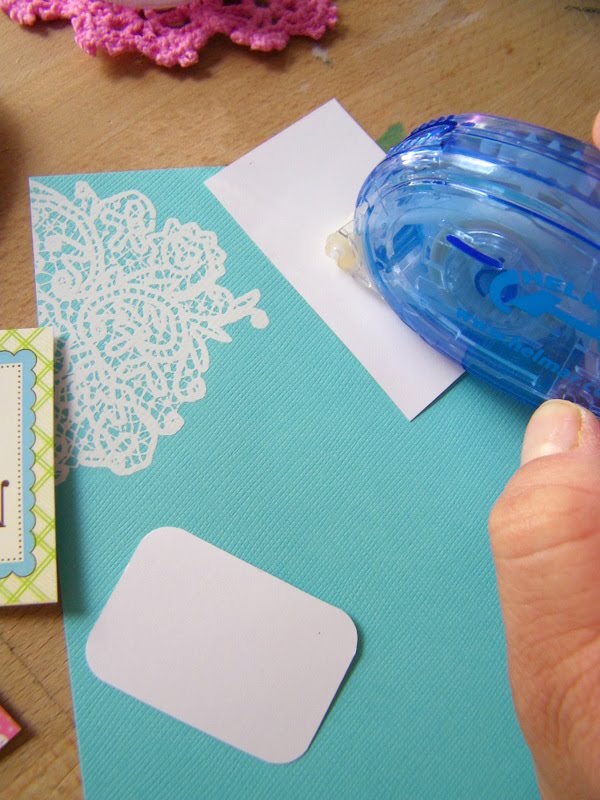
7. Affix your Elle’s Studio tags with a tiny bit of Helmar adhesive. You don’t need a lot since these are going to be stitched down with a machine. Keep the adhesive away from the edges, you don’t want it on your machine’s needle.
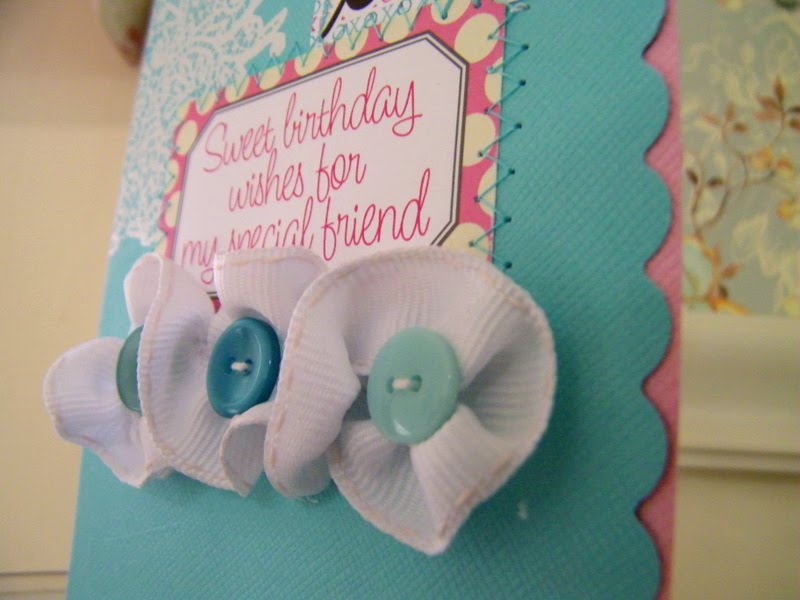
8. After stitching the tags down use a generous amount of Helmar 450 Quick Dry. Let it set for about a minute. Glue your ribbon down, I played with mine and made a figure 8-sort of.
9. One of the great things about this glue is that it does not set instantly , so you can play around with your ribbon a little to get the result you desire. Add buttons to the centers of the flowers.
10. Let your card dry for 20 minutes.
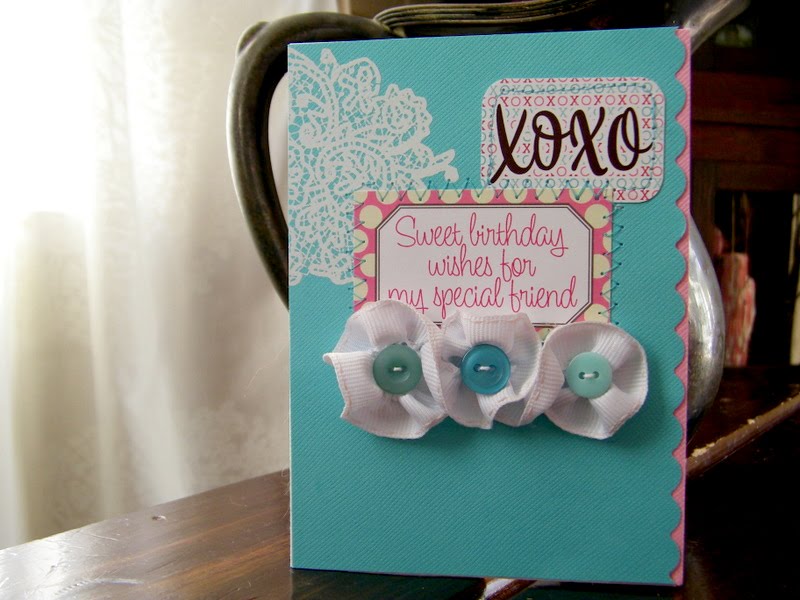
Tada! You’re finished and now you have a super sweet card to share with someone special! Love those ribbon ruffles, too! So much fun!!

Thanks so much for inspiring us today, Samantha! It is awesome!
xo, Elle

P.S. Just wanted to thank you for the amazing response to the grab bags! Two-thirds have been sold, so if you’re still thinking of getting one… don’t delay!

Our First Ever Grab Bag Sale!
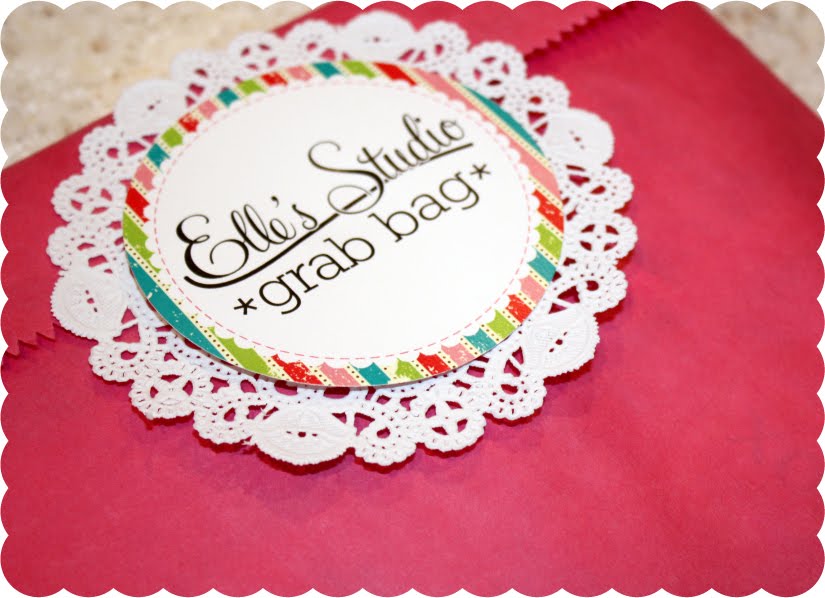
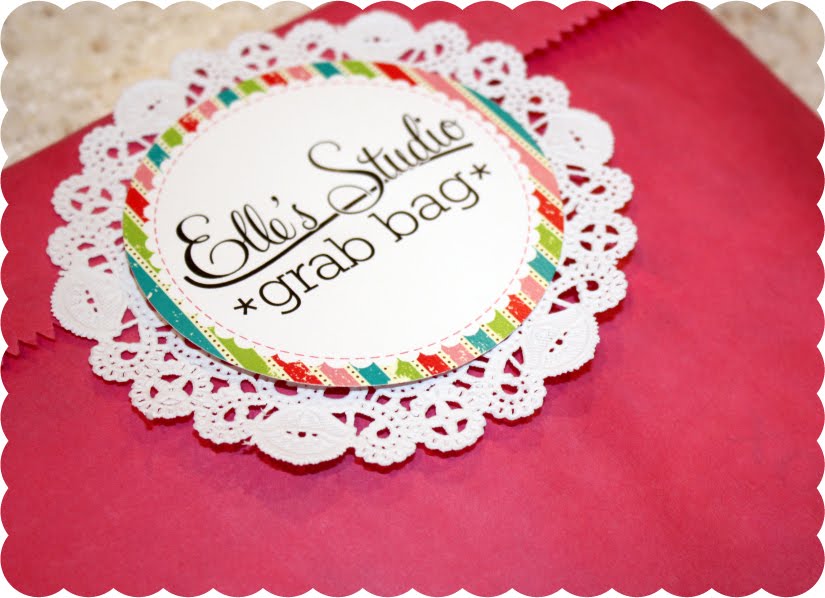
We are super excited to announce our very first Grab Bag sale… ever! Here’s a little peek at what the Grab Bags look like:
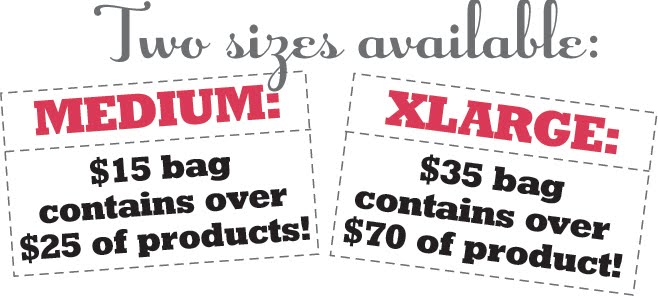
We decided to have two sizes available: Medium and XLarge! Both sizes contain an amazing amount of items for their price!

What’s in a grab bag? Well… we can’t tell you exactly what’s in them πŸ™‚ But, we can say that they may include journaling tags, stamps, and cut outs! Bags contain newer, semi-old and even some retired and maybe out-of-print items! Holiday items will be kept to a minimum and you will not receive any double items! We promise each bag will have a great mix of items and each bag will be unique!

There’s only one catch… our Grab Bag supply is very limited! So don’t delay… order today! (LOL! Sorry, I couldn’t resist the rhyme!)

Happy Creating!
xo, Elle
p.s. A fun tutorial will be coming tonight πŸ™‚ Two blog posts in one day? Woohoo!!!!

Raffle Winners – Week 4

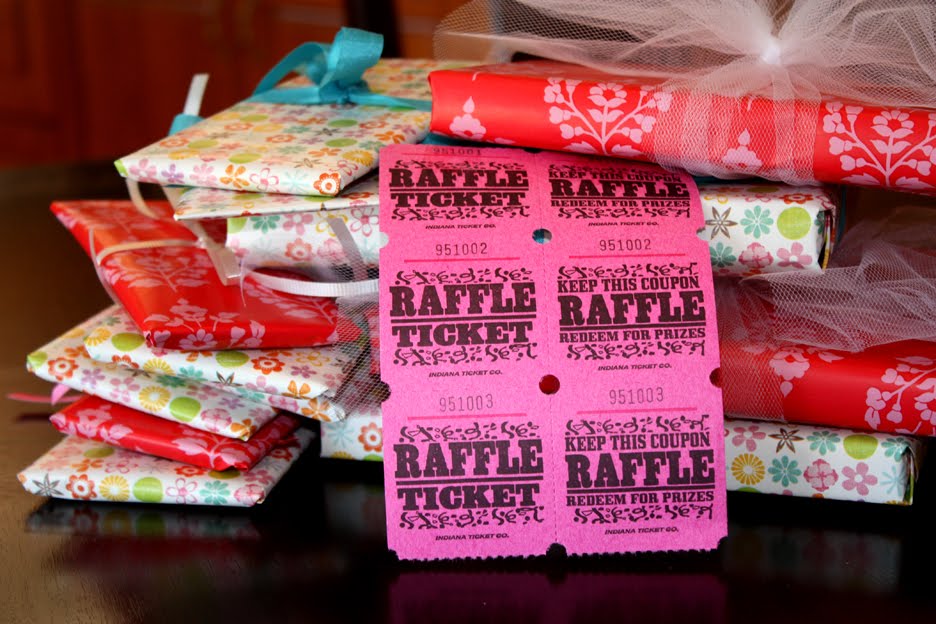
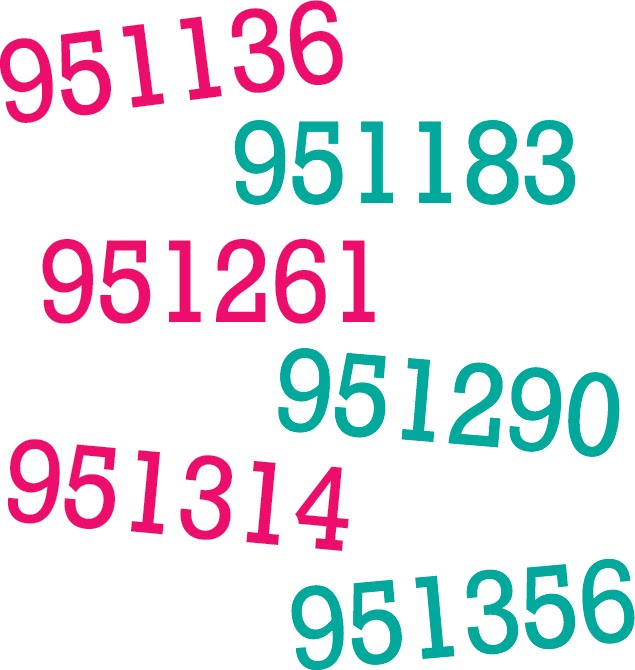
Today is our very last birthday raffle drawing πŸ™ We have had so much fun sending these presents out to the winners! To end our celebration with a bang, we decided to draw SIX tickets!! We were going to do five, but today while drawing we decided six would be even better! So grab your tickets and check them to see if you are holding any of these numbers:
If you have a ticket with any of those numbers, email us as soon as possible to claim your present! We’ll get them shipped asap πŸ™‚ Also, we are looking for a couple ticket holders from last weeks post, so double check that one, too! And, for those who purchased over this weekend, we pulled your tickets out before the drawing, so when your package arrives in the mail, make sure you check your tickets to see if you’re holding any of the above numbers πŸ™‚

This month was so much fun and so inspiring! This has been the BEST birthday so far and we hope there are more to come πŸ™‚ Thank you all so much for making it the best, ever! We still have a tutorial and two more cards to share with you in the next three days of March.

Also, for the last three days of March, we will still be shipping the Birthday Cut Outs FREE with every order, but since the raffle drawings are over, there will be no more raffle tickets shipped out after today’s orders. And, tomorrow, check here at 8:00 am PST for the Grab Bags!!

Happy weekend!
xo, Elle

Weekend update :)

Hey everyone!

I’m writing a more personal blog post tonight πŸ™‚ There has been so much going on around here it’s been crazy, but we are still having a blast!

My mom called me earlier this week and wanted to know if I would come over and help her dye Easter eggs! I could hardly wait for the weekend!
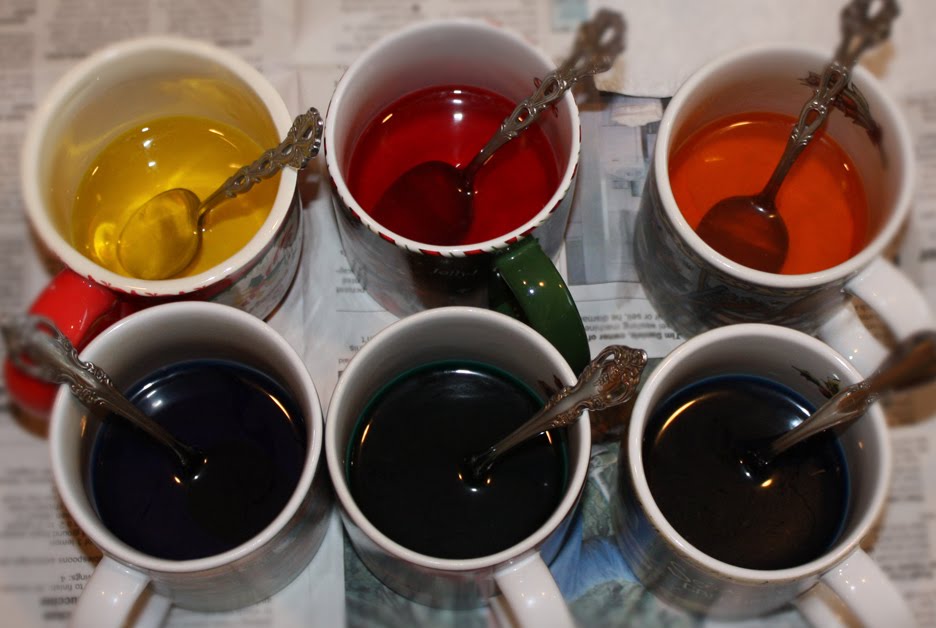
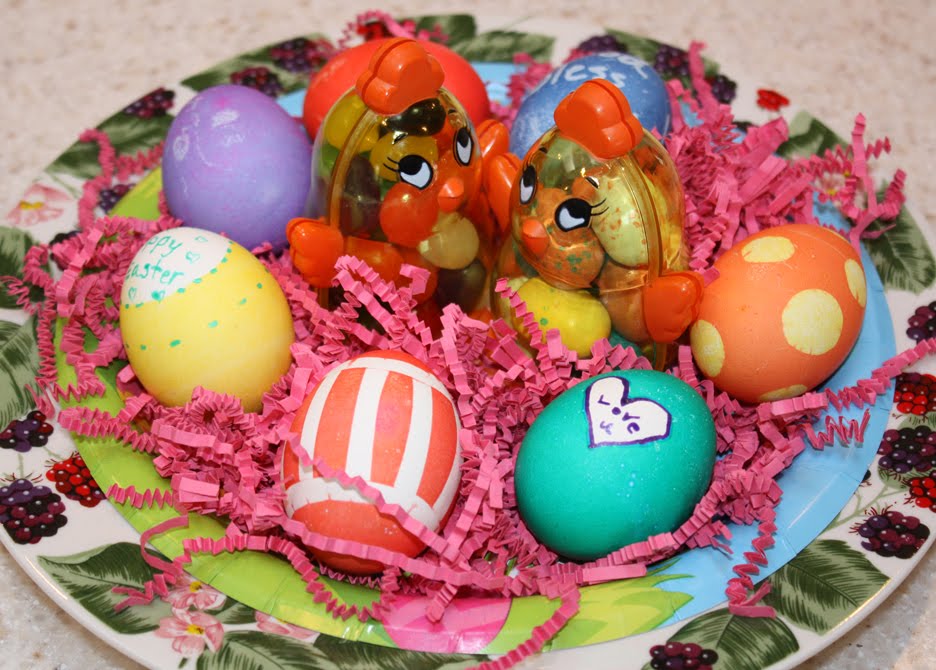
My mom and I had a blast dying the eggs – we dyed some for my grandparents, dad and me… the only egg eaters in the family. She had bought the kit with the “glittery spray” but it didn’t really work to well… so we tried some other things! She then put them on this cute plate and made it all pretty for my grandparents πŸ™‚
After that, I went back to the studio to do a little catching up – we have some more fun coming, soon! First, we have put together a VERY LIMITED quantity of Grab Bags that will go up for sale first thing Monday morning. They are packed full of items at AMAZING prices but extremely limited! They will go live 8:00 am PST time.
And, another exciting thing is we are in the final proofing stages for our new items! We have set a tentative launch date for mid April – should have a more exact date very soon πŸ™‚ We can’t wait! Look out for sneak peeks coming soon!

Hope everyone is having an amazing weekend! Our last raffle drawing is tomorrow and we decided to make it a HUGE one! We’ll be drawing five names, instead of just three πŸ™‚
xo, Elle