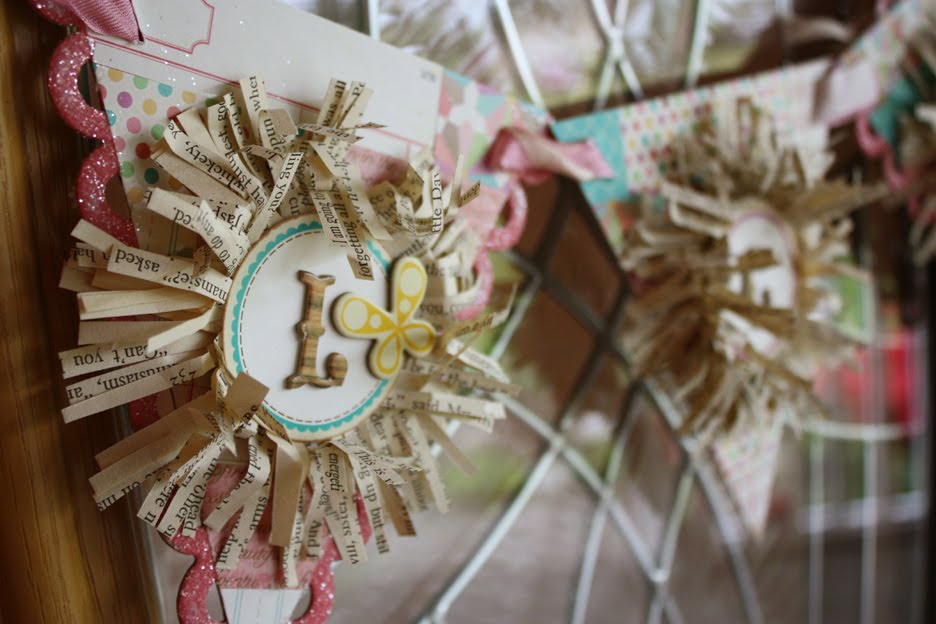
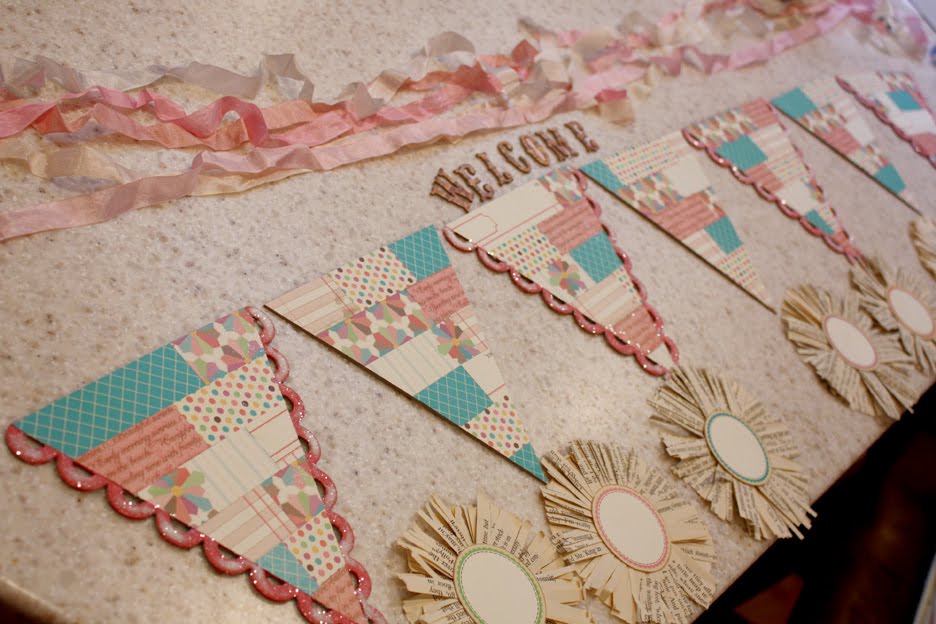
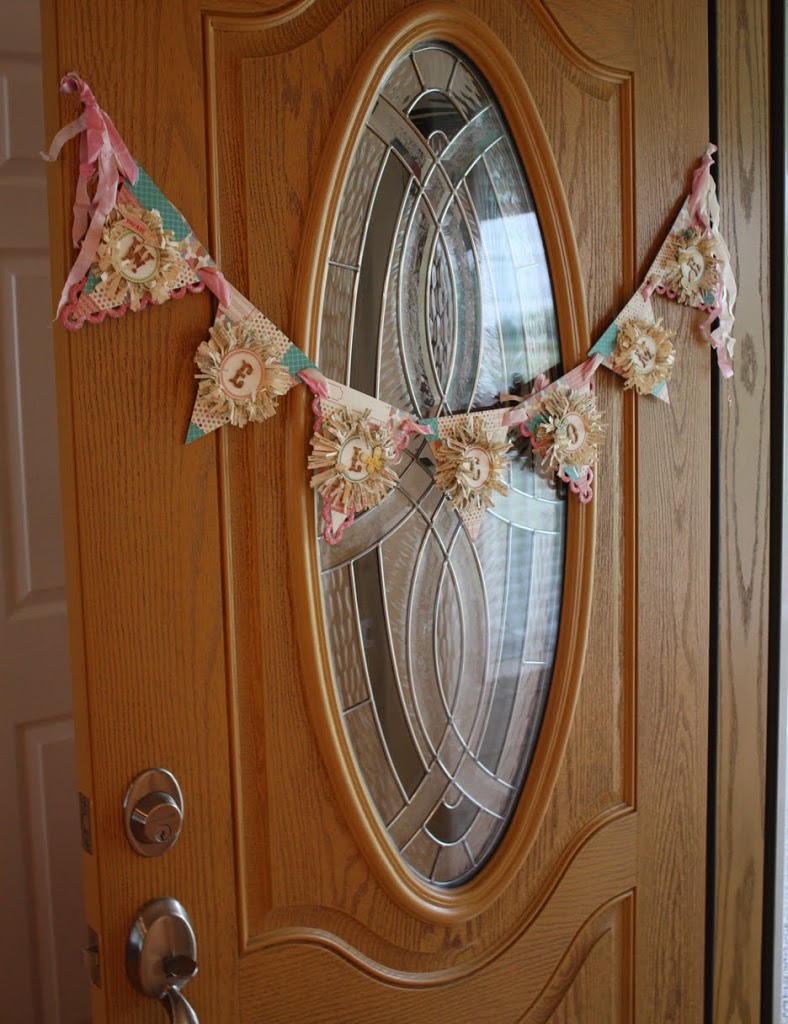
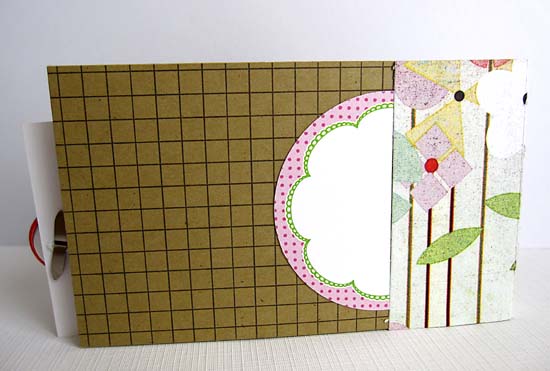
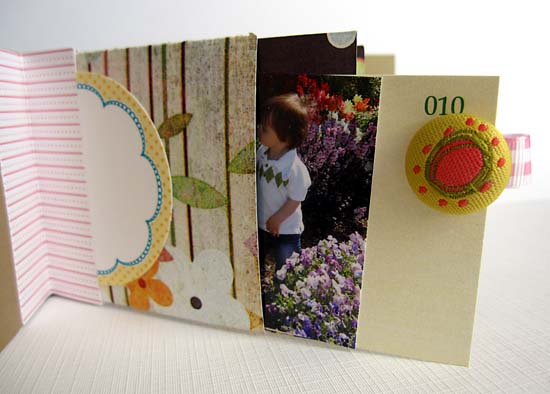
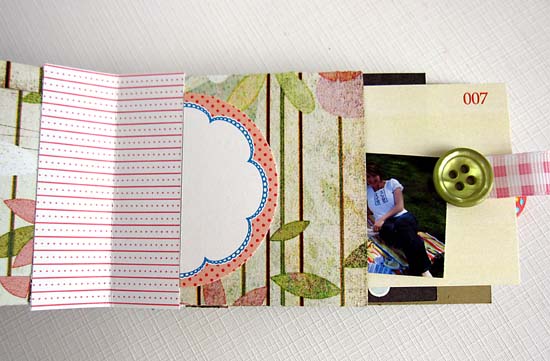
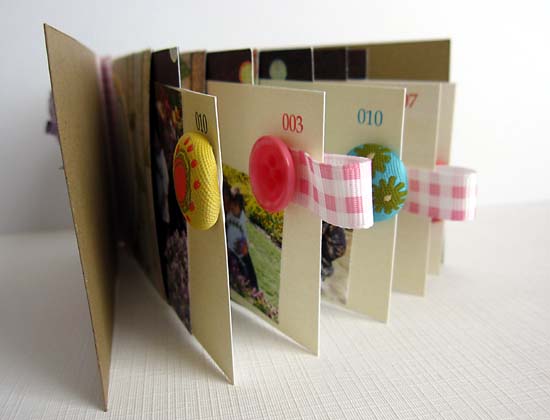
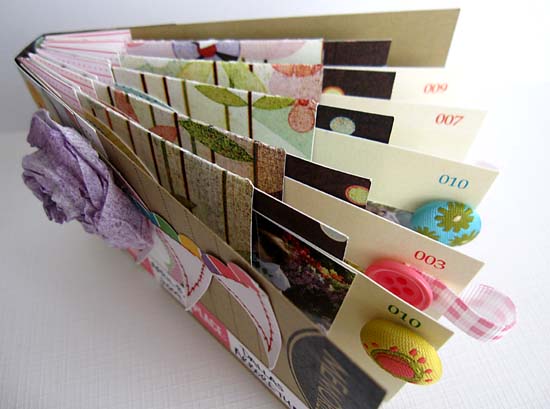
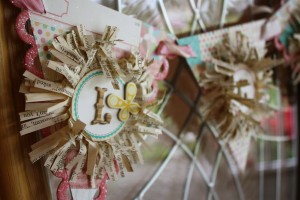
 Today we have a fun banner tutorial for you! It’s pretty easy to make, and flexible, too, so you can use up some items from your stash! I chose the word “Welcome” because I’m giving it to my mom for Mother’s Day, but you could chose “sunshine” or “summer”, or something completely different 🙂 Totally up to you!
Let’s get started!
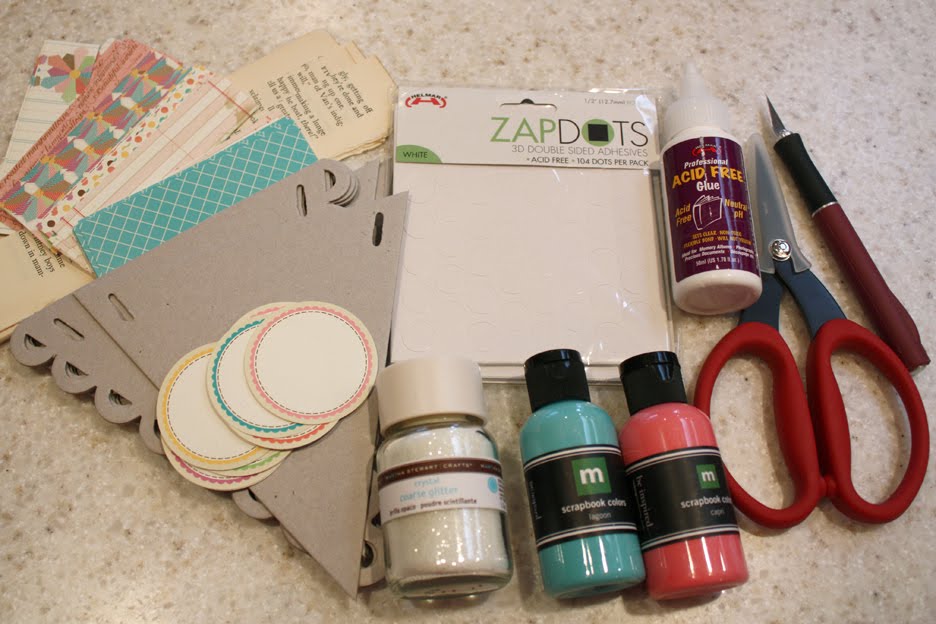
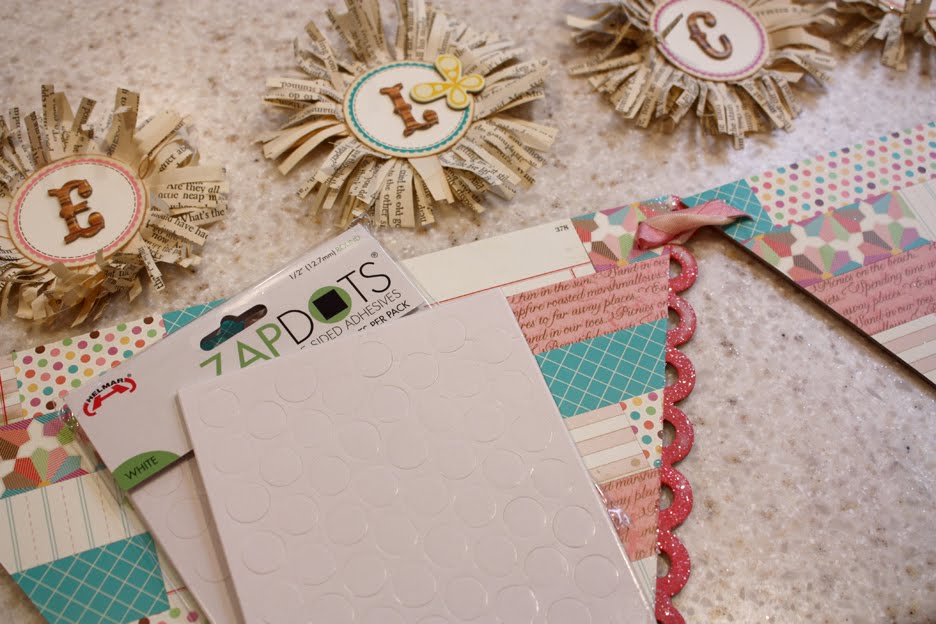
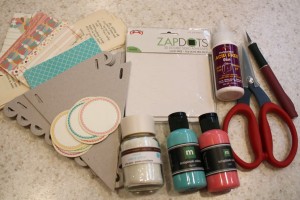 You’ll need:
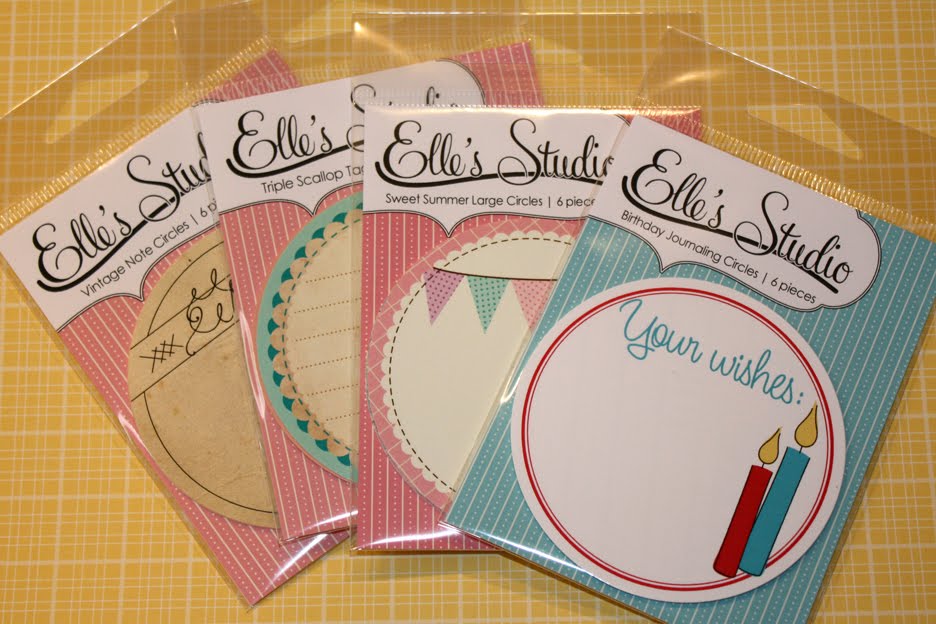
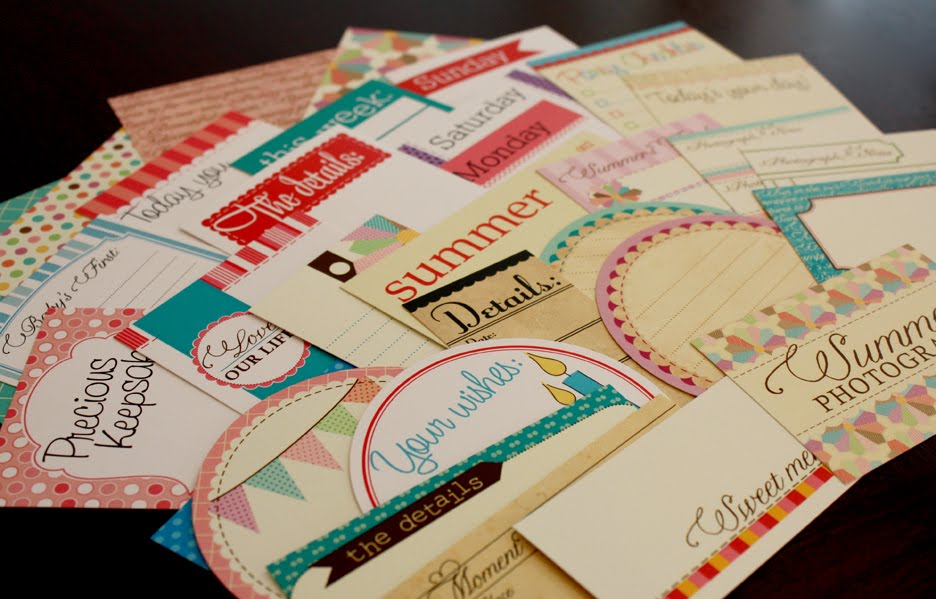
Elle’s Studio Mini Papers
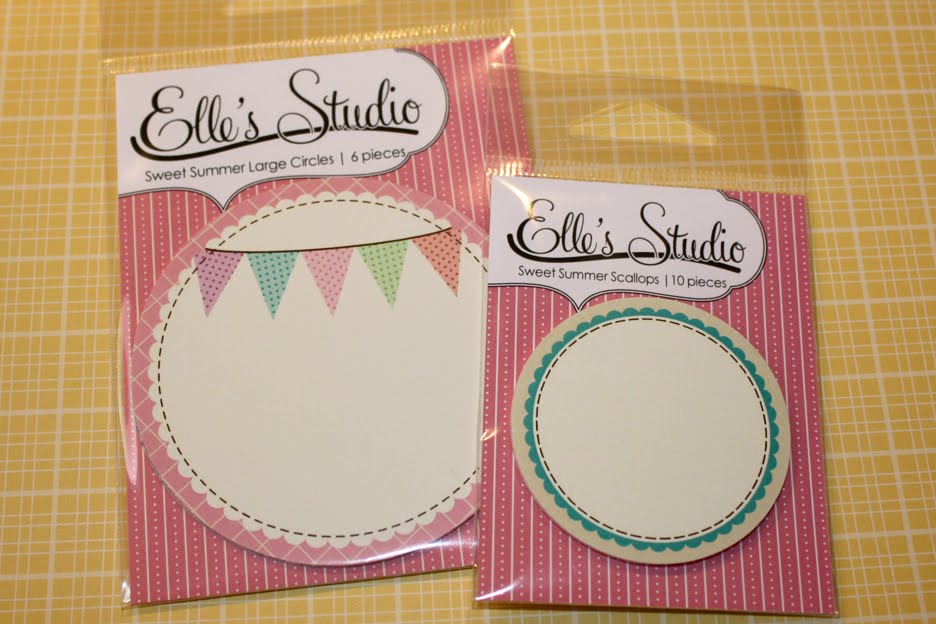
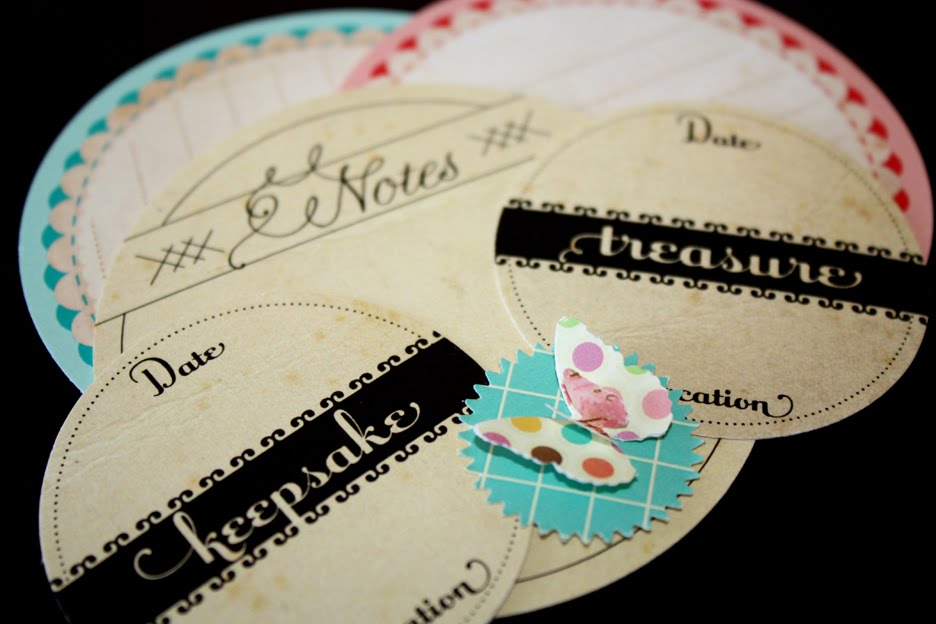
Elle’s Studio Sweet Summer Circles
Maya Road Mixed Scallop Triangle Banner Album
Old book papers
Exacto Knife
Sissors
Glitter
Paint (if your glitter is see through)
Adhesives: Helmar Tape Runner, ZapDots, 450
Chipboard letters
Embellishments
Ribbon or Seam Binding
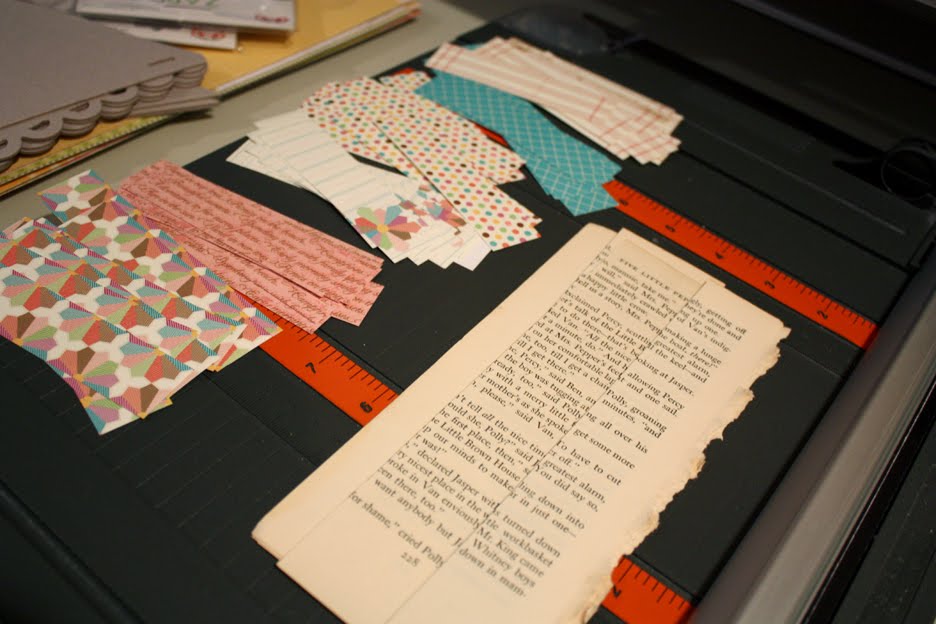
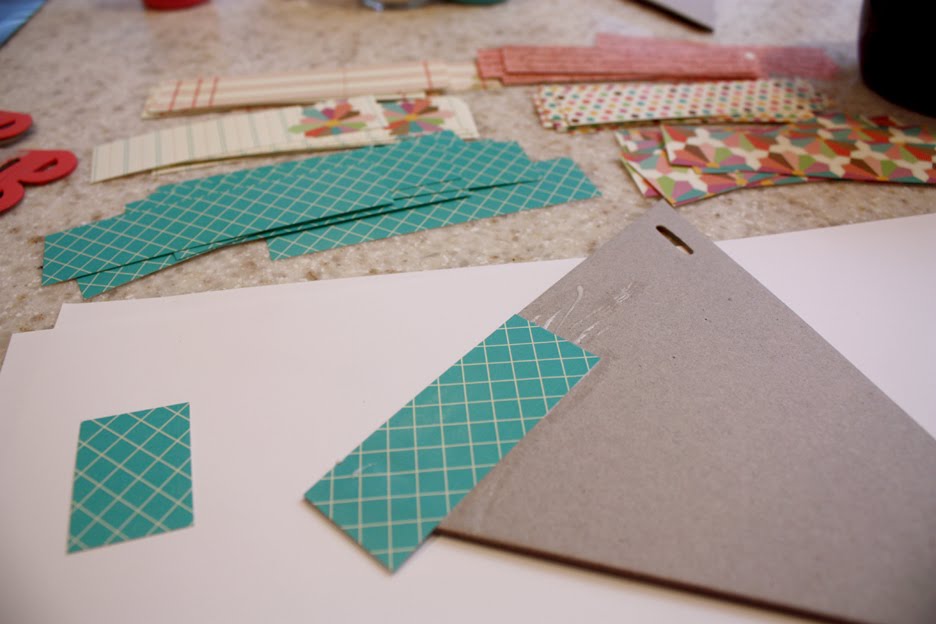
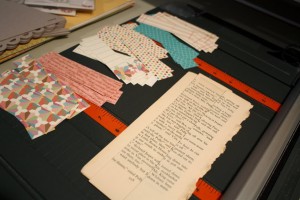 1. Start by cutting your Elle’s mini papers into 1 inch strips and your book papers into 1.5 inch strips.
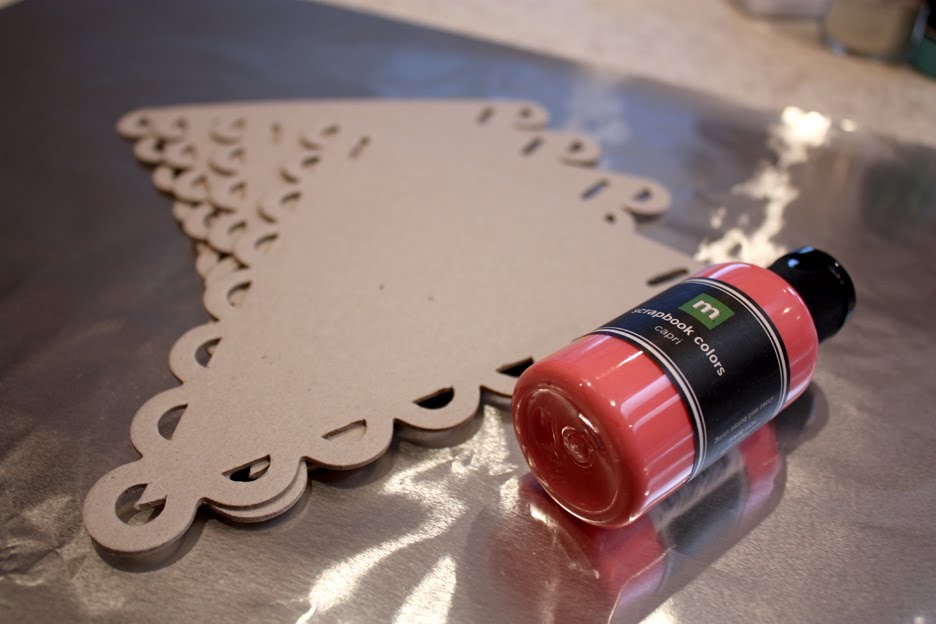
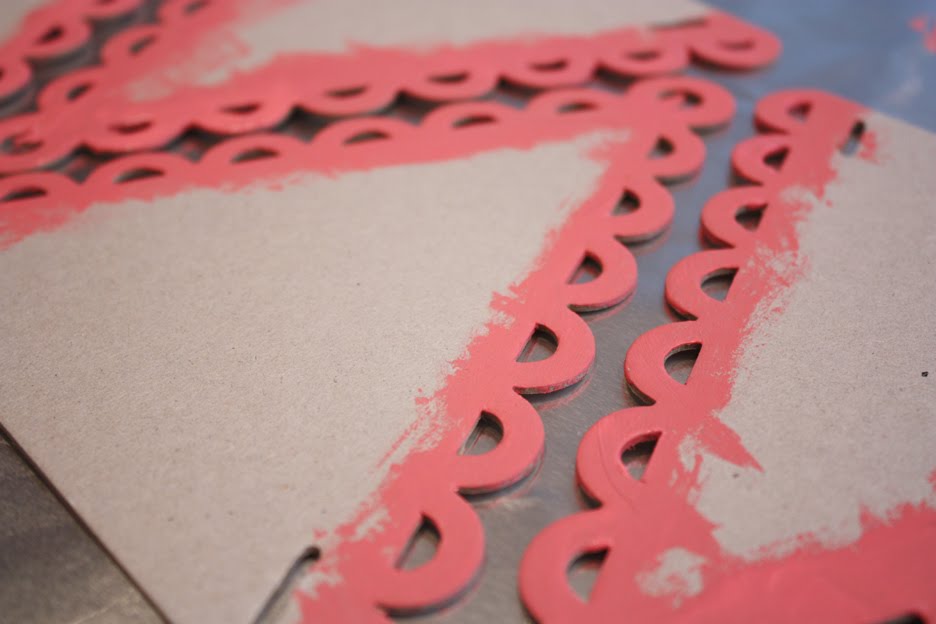
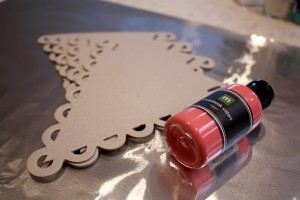 2. If your glitter is see through like mine, you’ll want to paint the chipboard so the color of the paint will show through the glitter. It was a hard choice between pink or aqua, but I went with pink 🙂
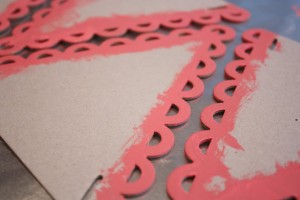 Just paint the scalloped part, the other parts won’t show.
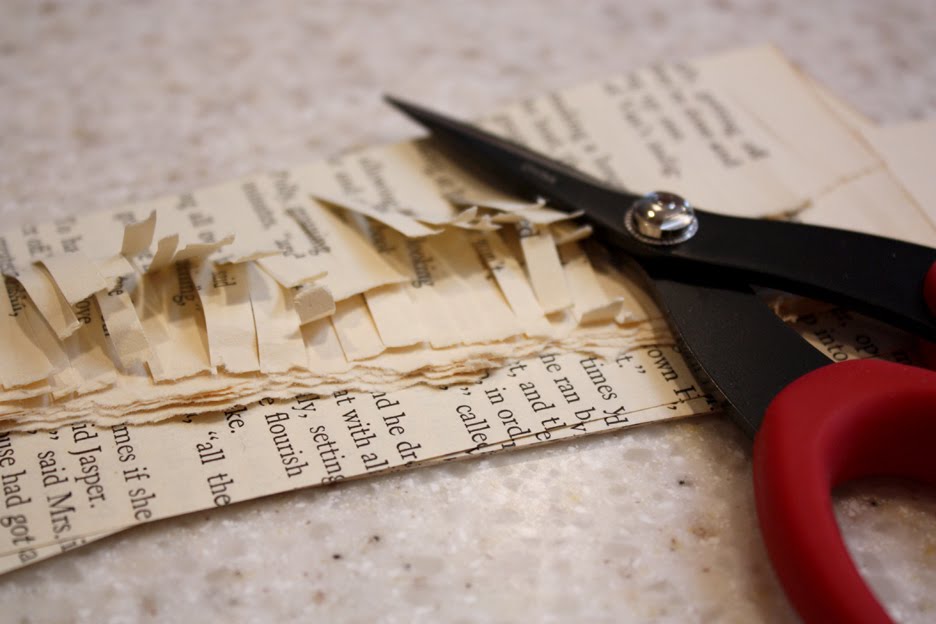
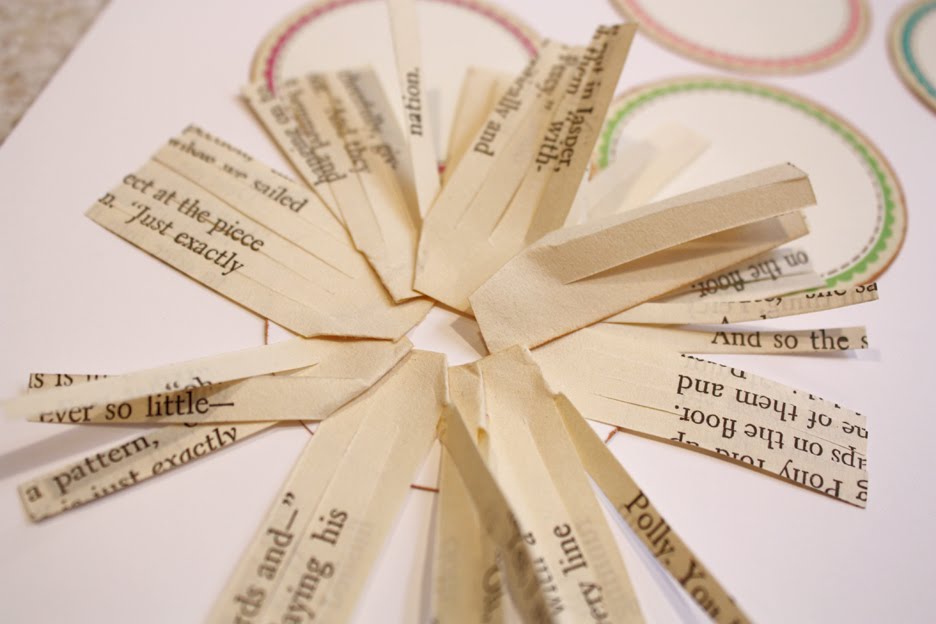
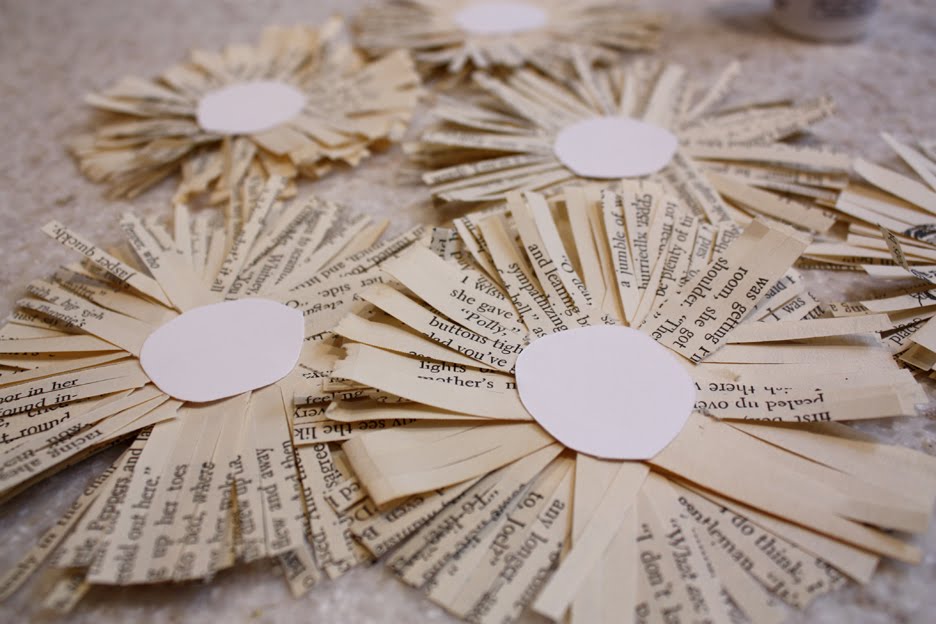
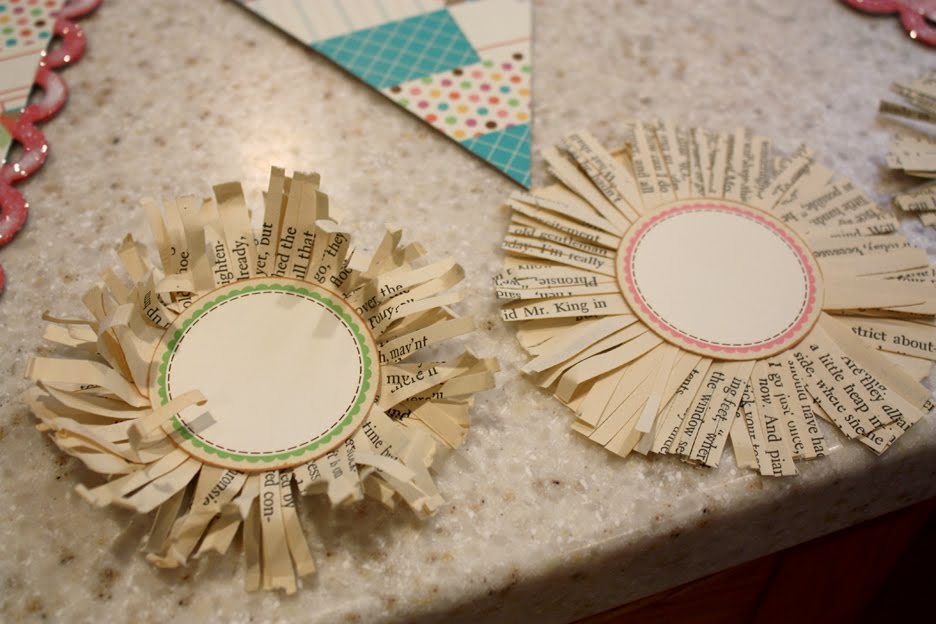
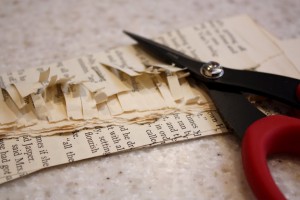 3. While those are drying, we’ll get our circles ready. Start by fringing your book papers. I tried to make my cuts at every 1/4 inch. (BTW: Those Tim Holtz scissors are amazing!! I wish I would have bought them along time ago!!)
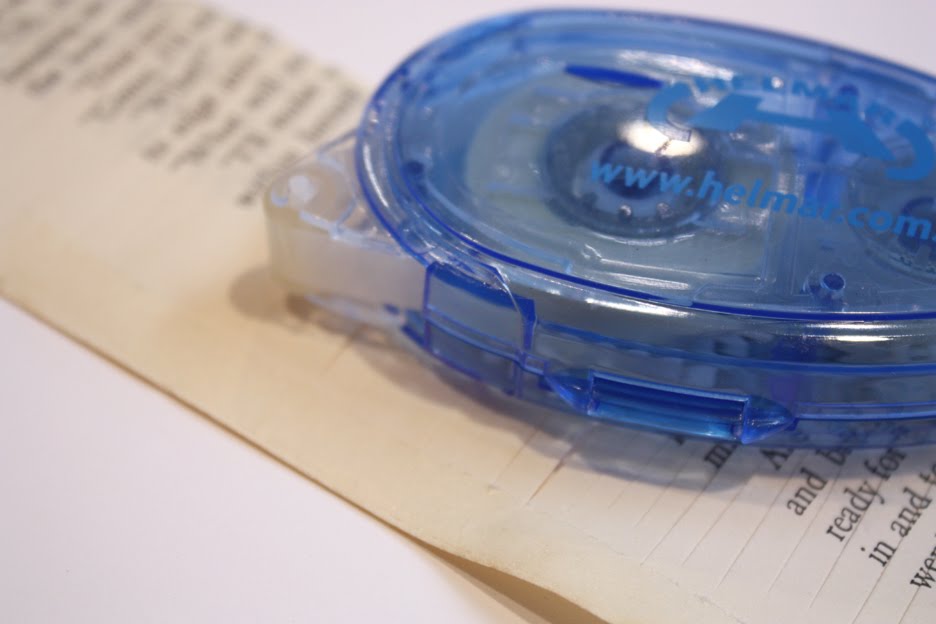
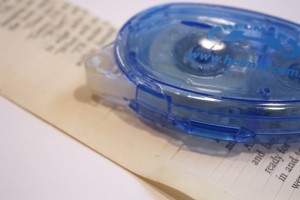 3. Then, I took my Helmar tape runner and ran it along the bottom, unfringed edge. This tape runner is my FAVORITE! This worked so much better than glue, which I have used in the past. No waiting for it to dry and these Helmar tape runners really, REALLY stick!
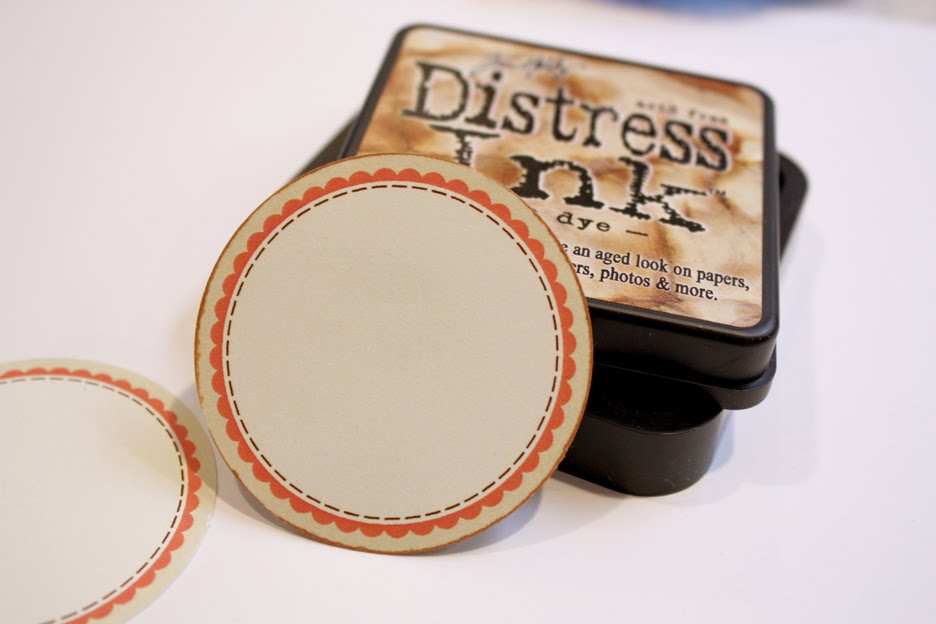
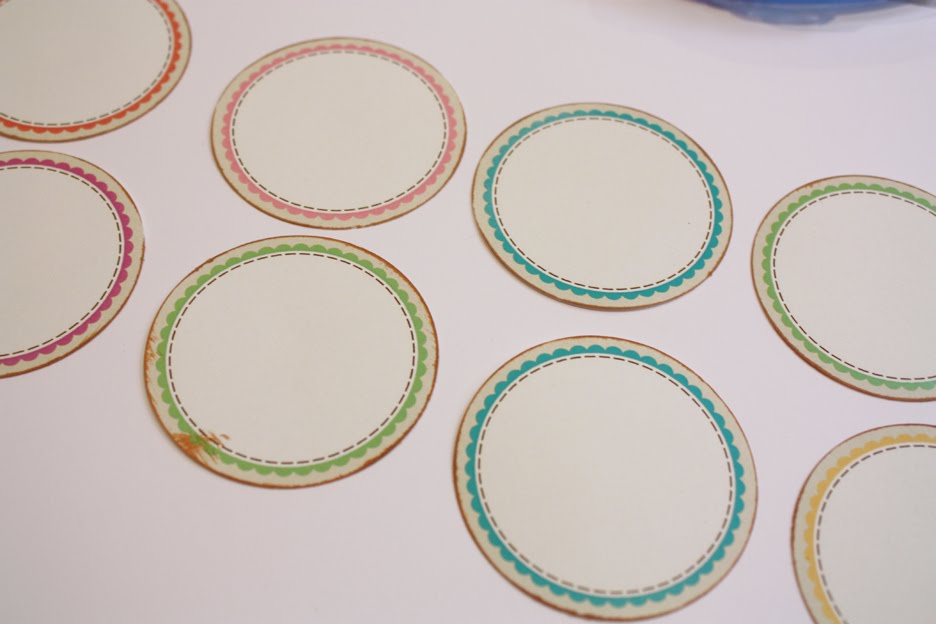
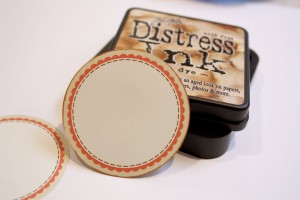 4. Oops! Forgot to ink the edges of the circle tags! No worries, the glue from the tape runner won’t dry 🙂
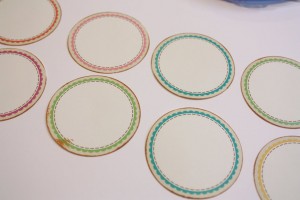 The inking around the edges really helps the circles stand out since they where almost the same cream color as the book pages. I got a little wild with that green one up there 🙂
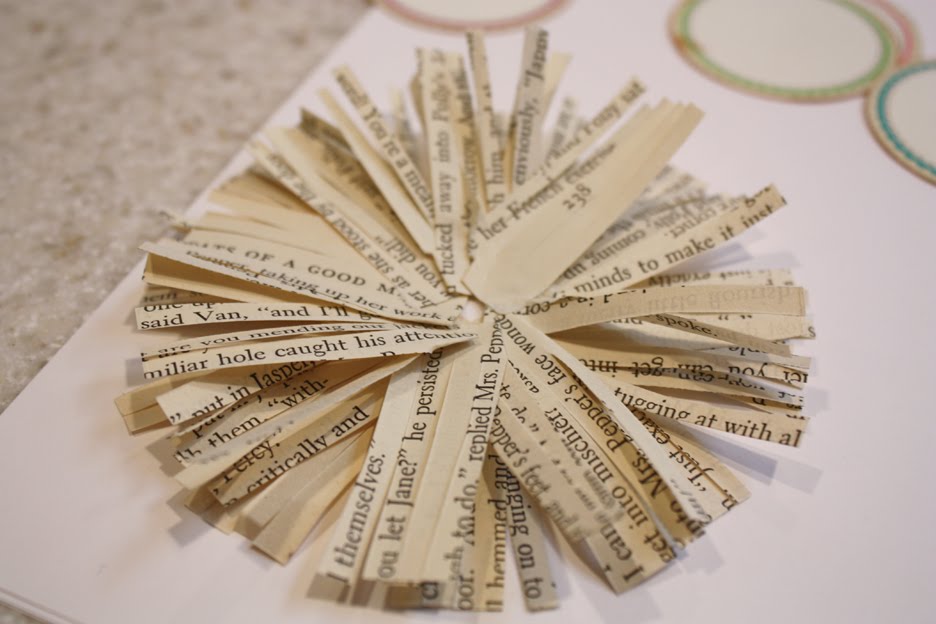
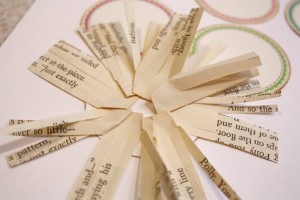 5. Okay, we are ready to start putting the book pages on the circles! You’ll want to work the fringed book pages around the back of the circle tags, starting about 2/3 the way into the center.
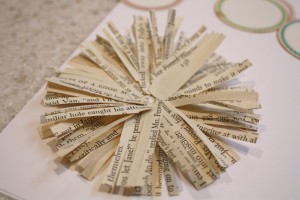 Keep adding fringed book pages until you get the fullness you’re looking for. This took about 3.5 book strips for me, but it was a shorter book, so for you it will vary.
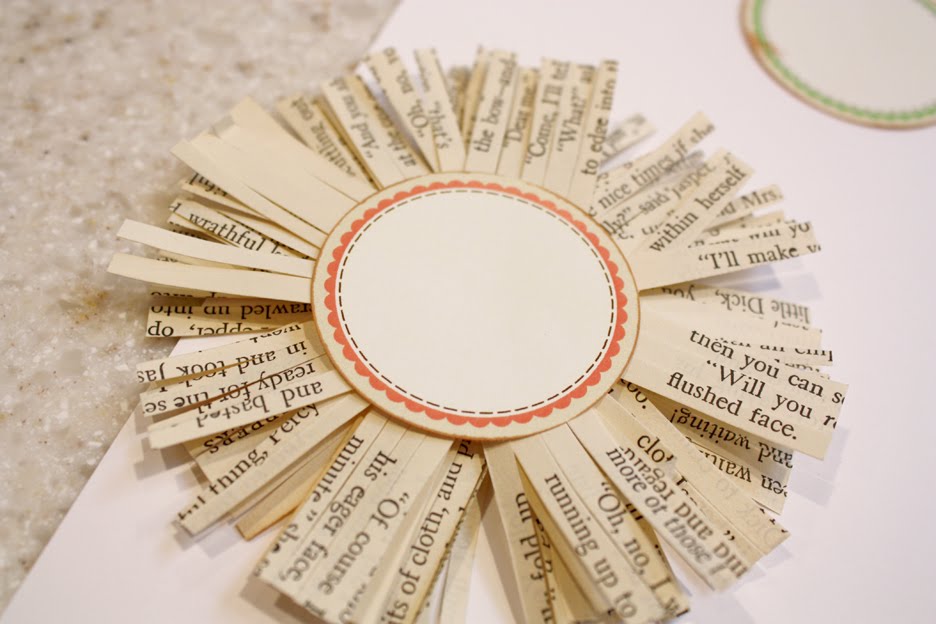
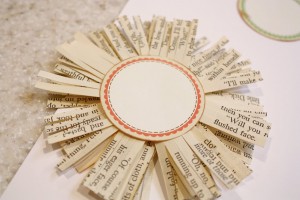 Here’s the view from the front (above), back view is below:
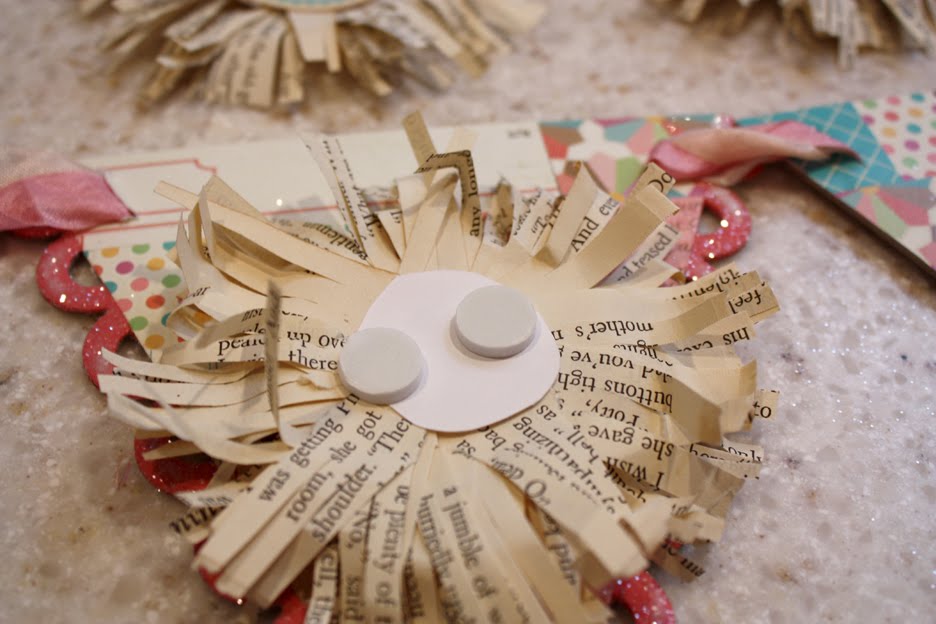
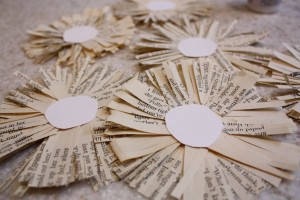 6. I cut small circles and glued them with the Helmar 450 glue, on the back, so that later, the ZapDots will have something to stick to.
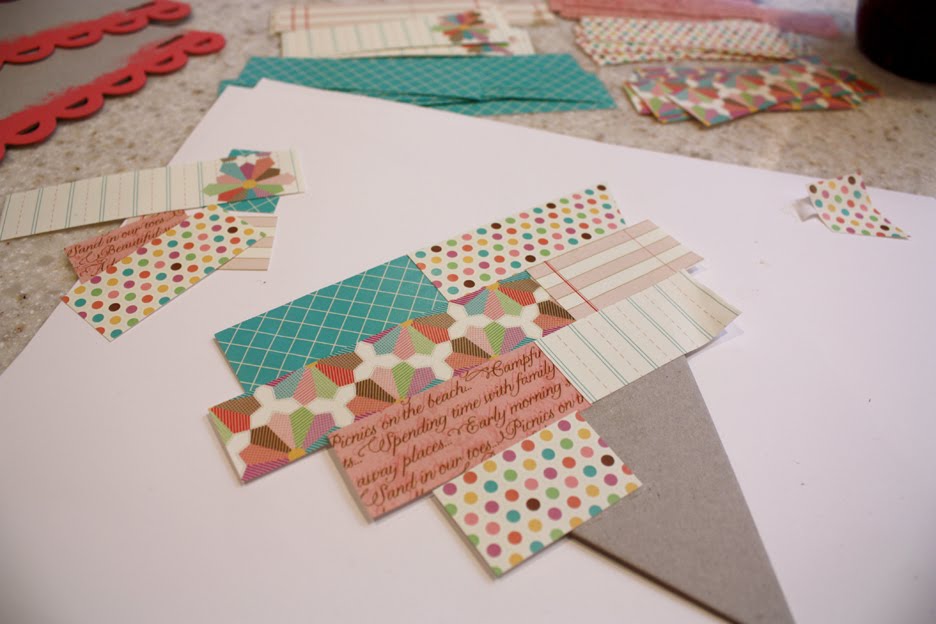
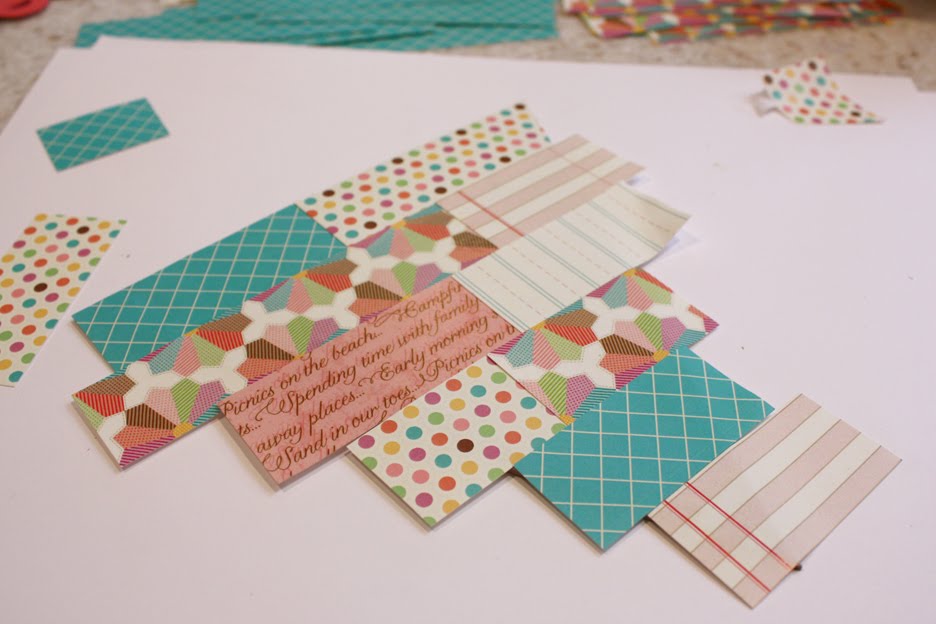
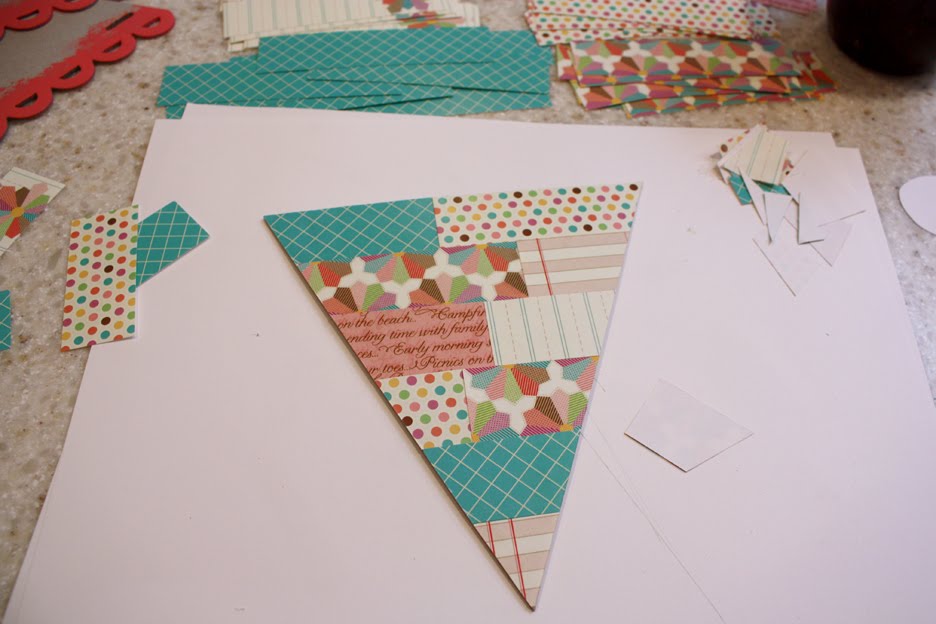
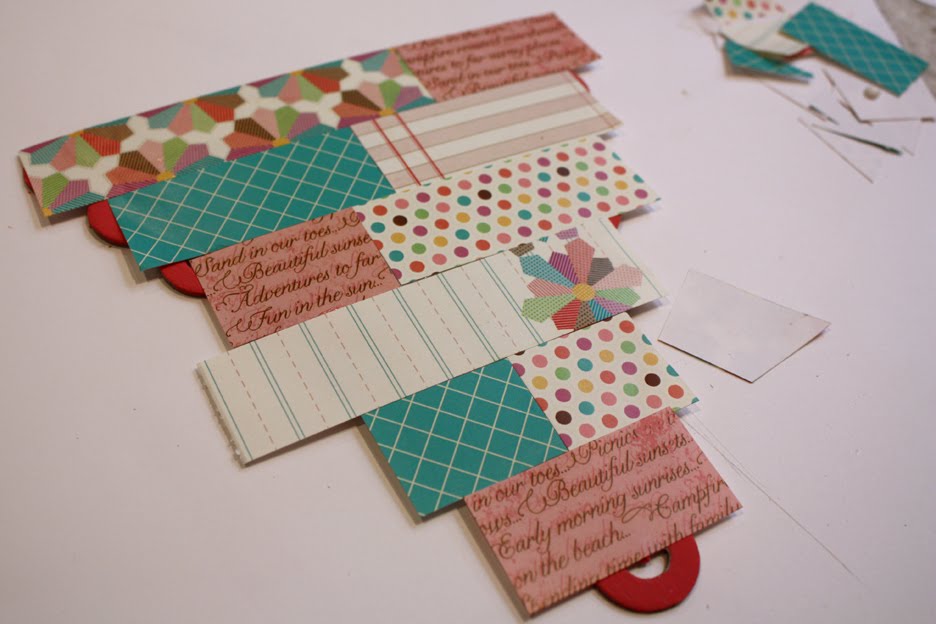
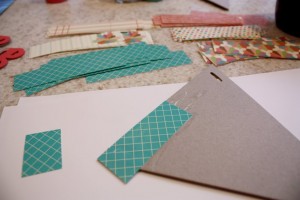 7. Once you’re circles are done you can move on to making the quilts on your banner! We’ll start with the non-scalloped edged triangles. Glue the Elle’s Mini Paper 1 inch strips onto the chipboard and make sure you are going over and off the edge of the triangle.
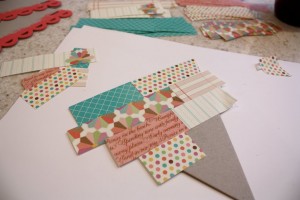 Try to vary where the seems hit, this will help give it that extra quilted look. I started with using glue, then I switched to the tape runner. The tape runner worked perfectly and saved me lots of drying time!!
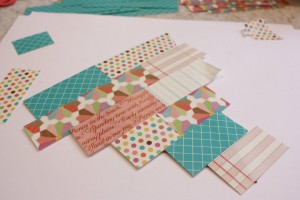 Ta da!
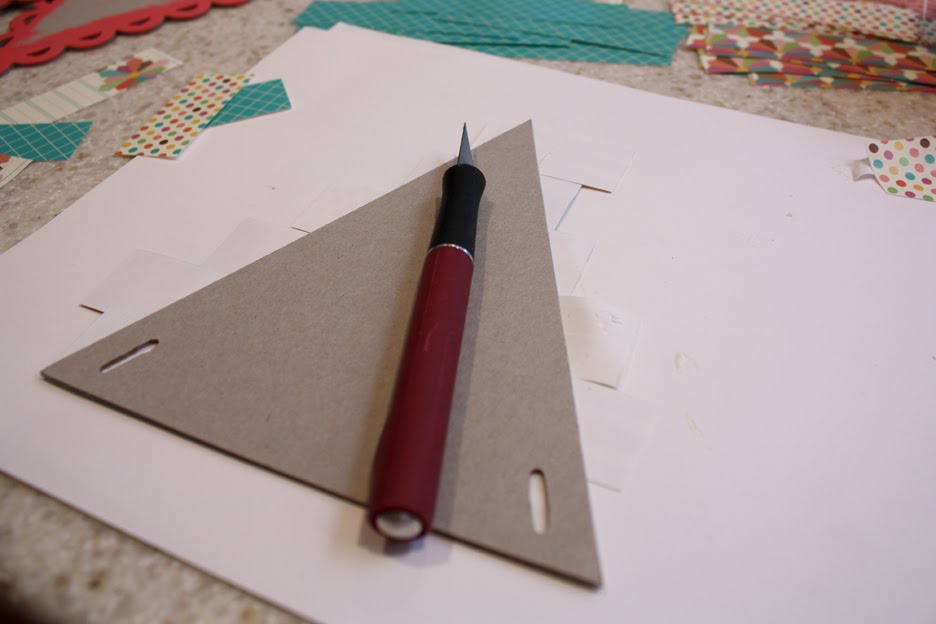
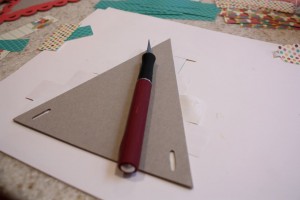 8. Flip it over and trim the edges off with your Exacto knife.
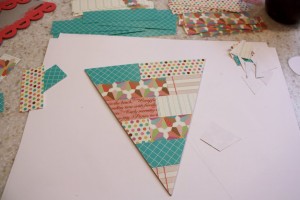 When you flip it back over, it will look like this!
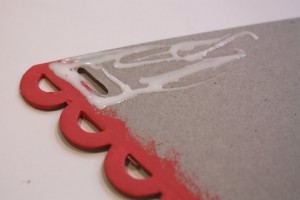 9. Okay, this is where it gets a little trickier… And, you can see I went back to the glue, but later I switched again to the tape runner 🙂 I am so used to grabbing for the glue!!
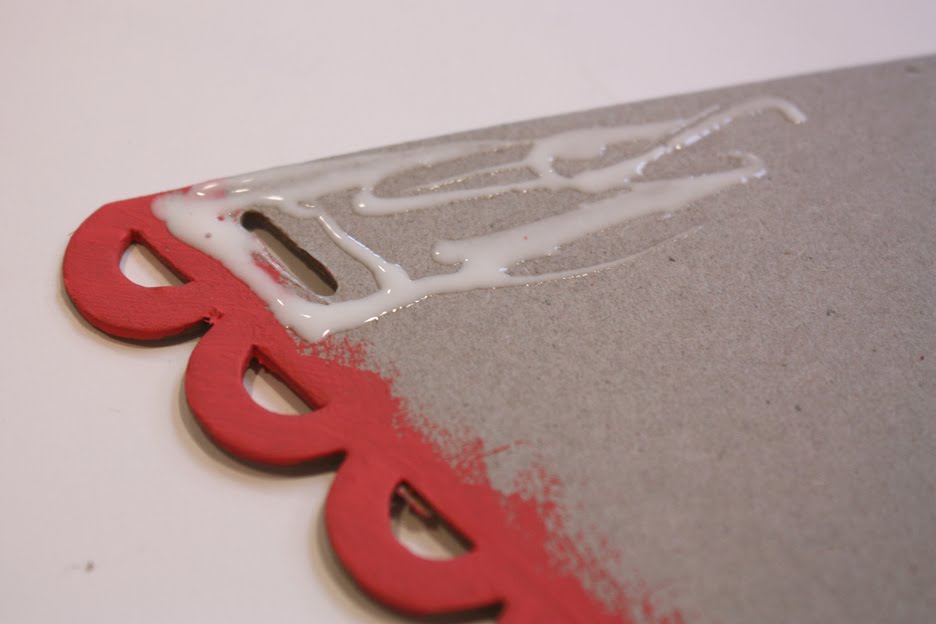
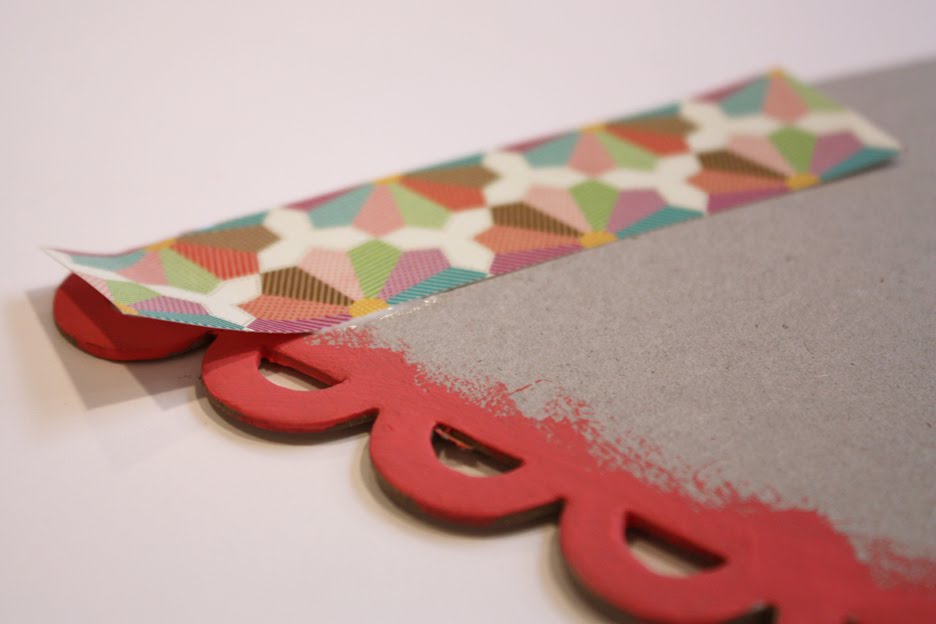
When working with the scalloped edges you have to be very careful to not get any glue on the scalloped edges. You’ll want to glue, or run the tape up to the edge of the scallop, but not into the scallop!
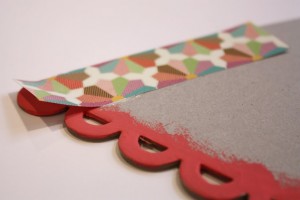 This is what it will look like when you glue your strips on, they should lift off those scalloped edges 🙂
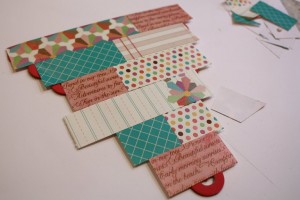 Keep going with those paper strips!
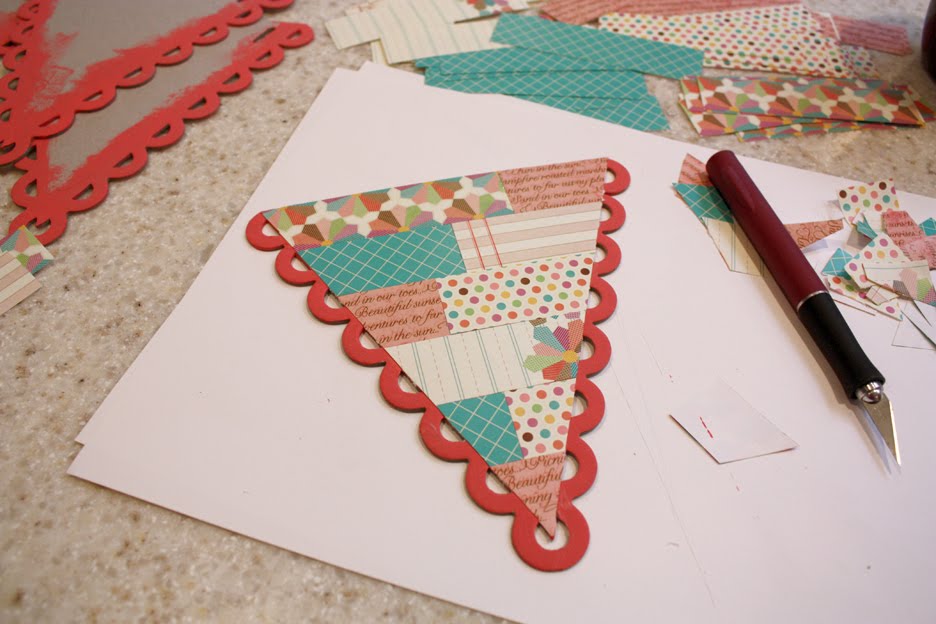
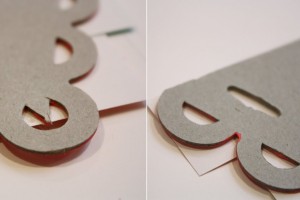 10. Once it is completely covered in paper you are ready to cut off the extra edges. This gets a little tricky, too, but I’ll try to explain it as best as possible…
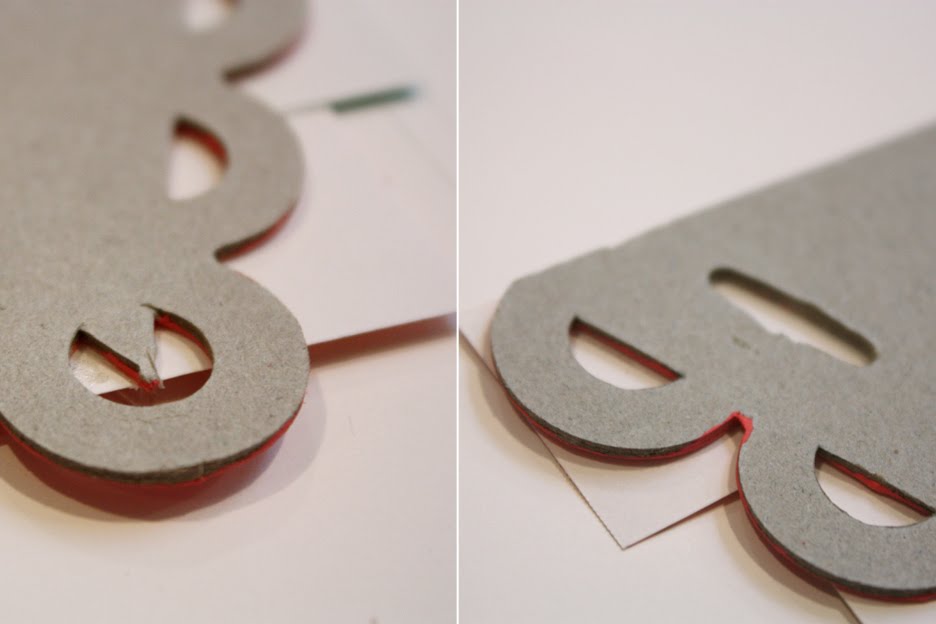
First, flip it over so you can see the back. This lets you see where each scallop is. At the very top scallop (on both sides), cut a slit with your Exacto knife, and at the very bottom cut both sides of that point with your Exacto knife.
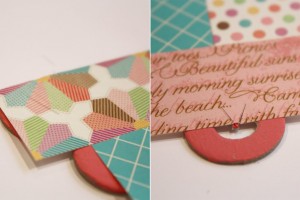 Flip it back over, and make sure you can see your two slits at the top and the cut point at the bottom.
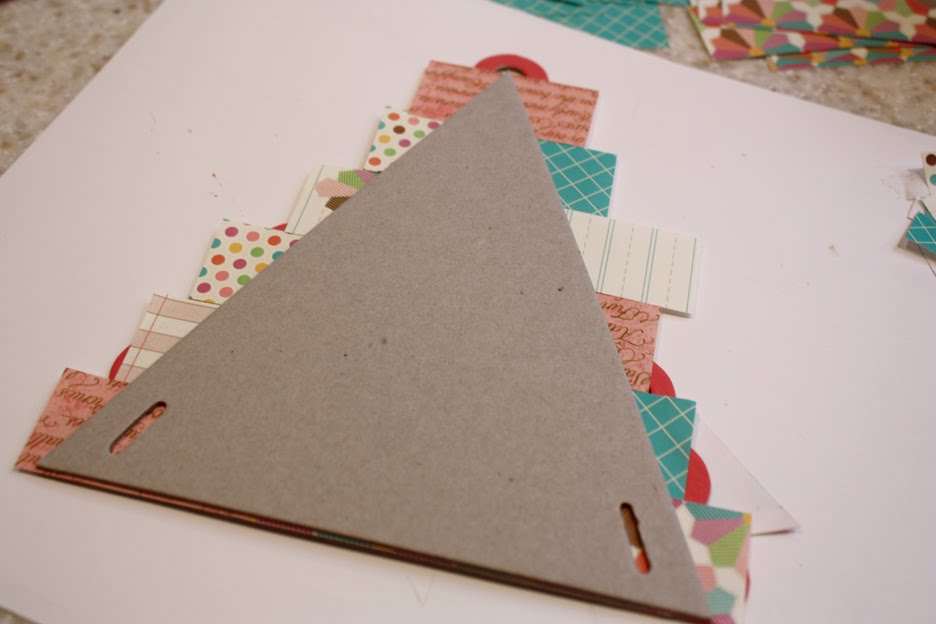
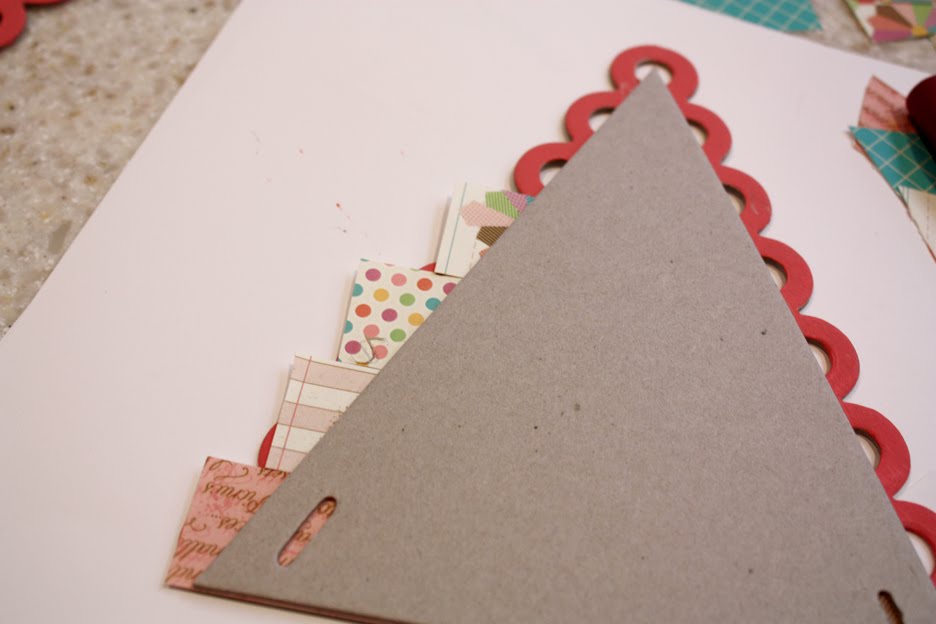
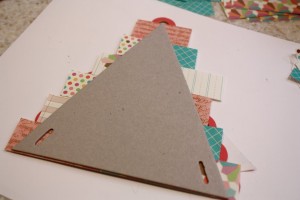 11. Now, grab one of those triangle banner pieces without a scalloped edge (I had an extra because my word was only 7 letters). Put the non-scalloped piece on top of the covered scalloped piece and line it up with your slits.
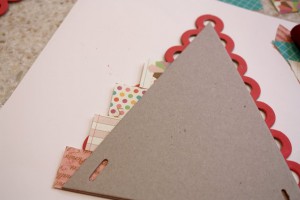 12. Run your Exacto knife along the non-scalloped edge piece, cutting off the paper pieces that are on the scalloped piece.
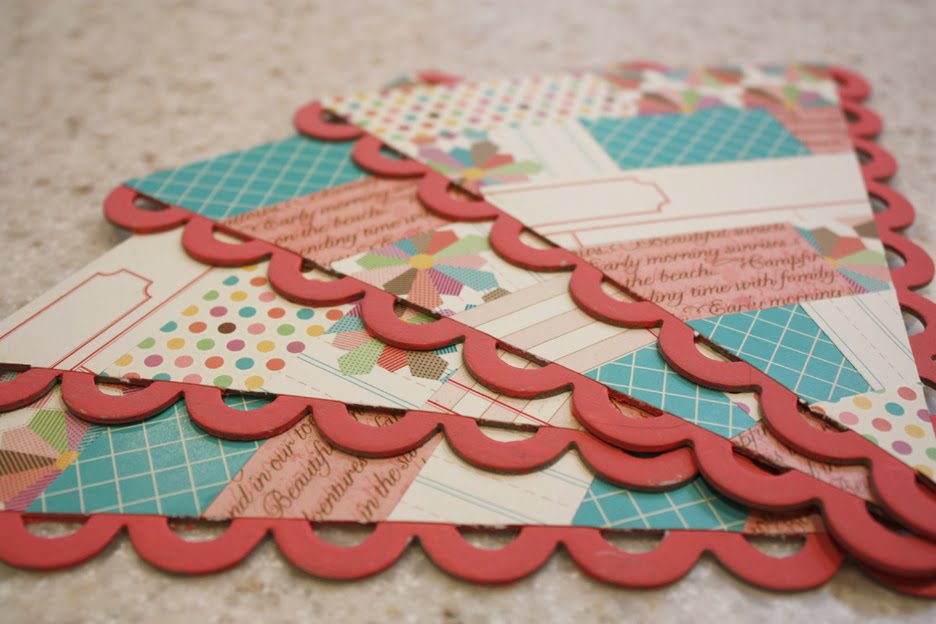
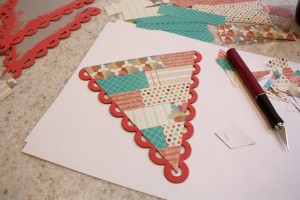 This is what it will look like!
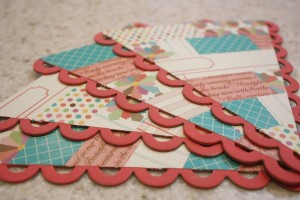 Here’s a close up 🙂
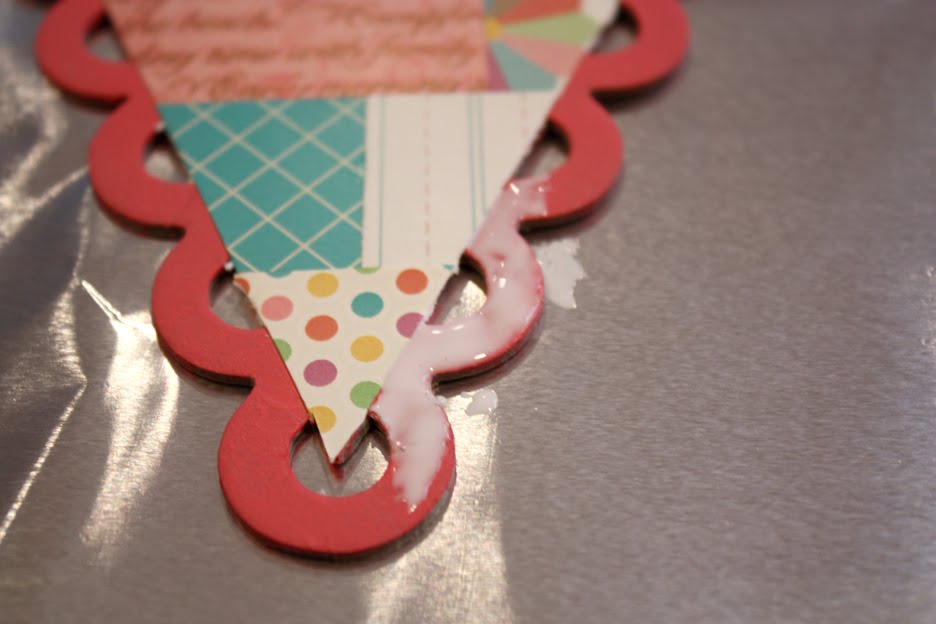
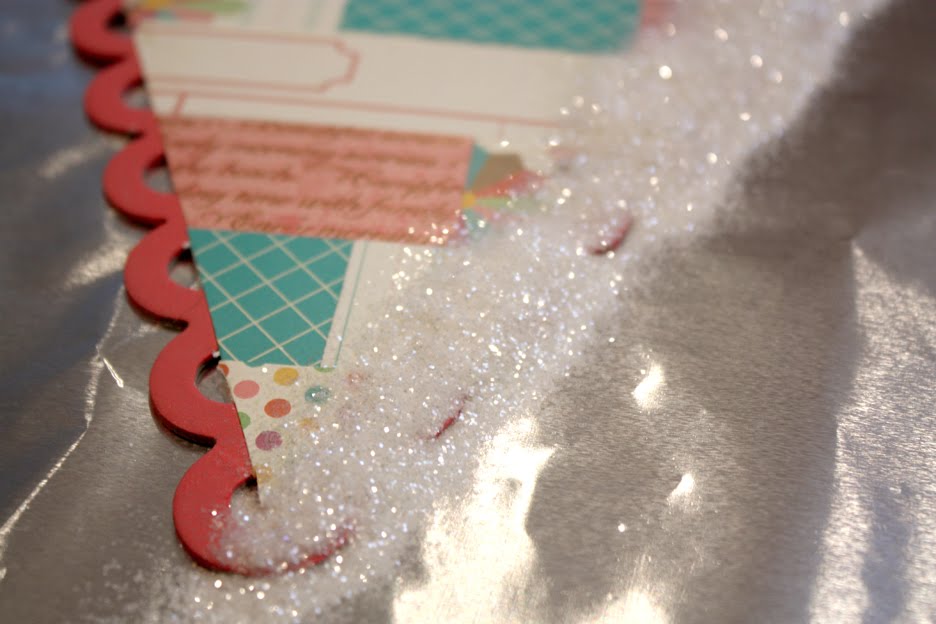
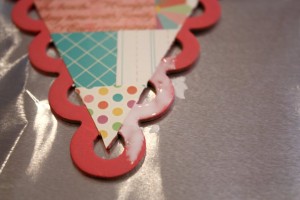 13. Now you’re ready to glitter! I did one side at a time so the glue wouldn’t dry before I could get the glitter on. You’ll want to just glue the scalloped, painted edge. Try to not get any glue on the paper part. I used a paint brush to brush the glue on.
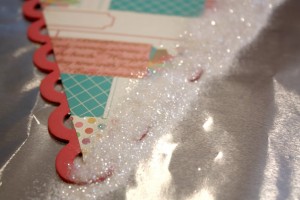 Love that glitter!
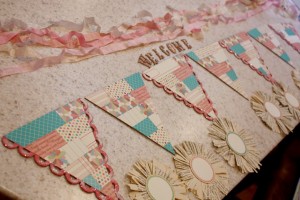 14. After the glitter dries you are ready to start assembling!
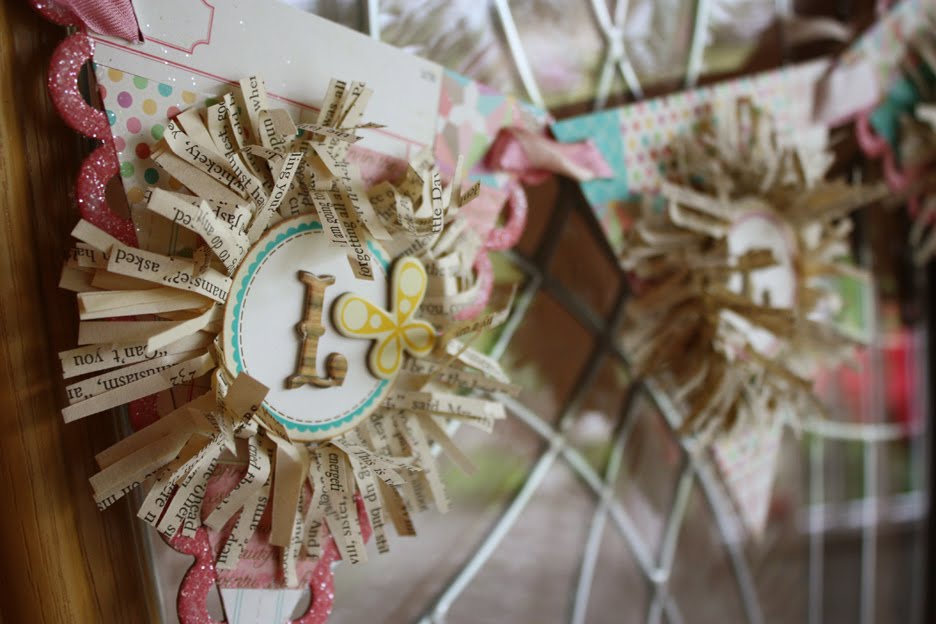
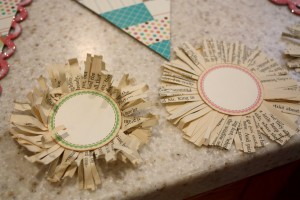 15. Use your fingers to crinkle the edges of the fringe book pages around the circle. Here’s a after/before shot 🙂
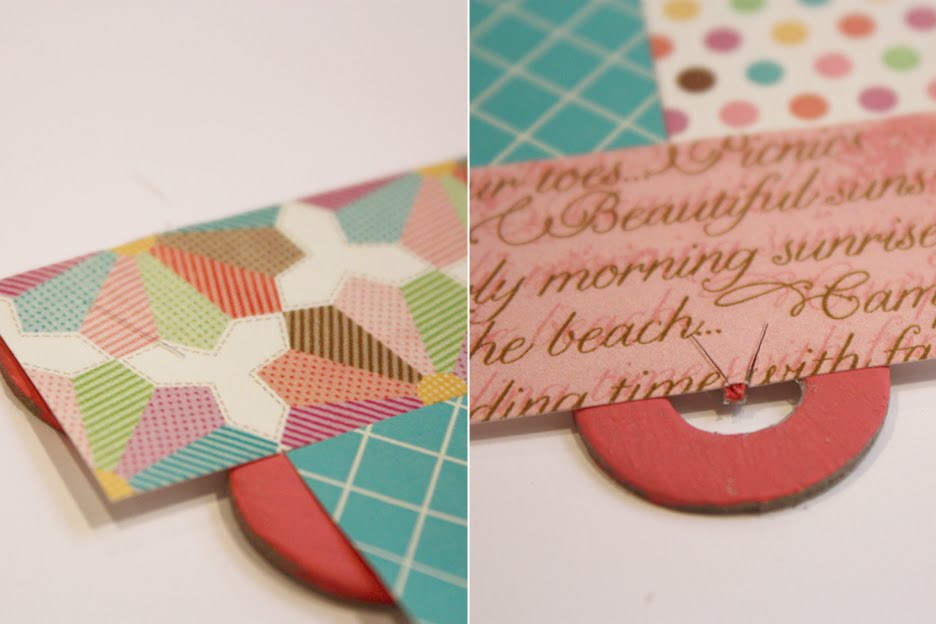
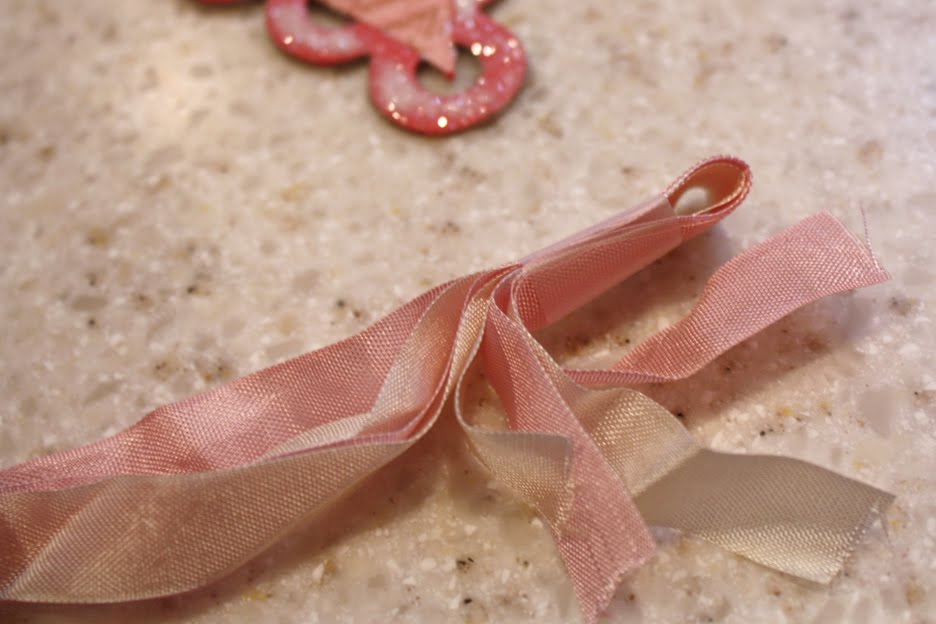
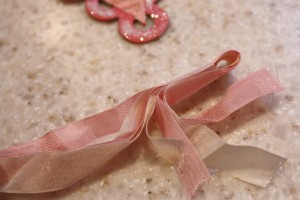 16. For the ribbon, I used four different shades of pink seam binding to string through my banner. When working with mulitple pieces of ribbons or yarn, you’ll want to loop the ends over and tape them together so you can push them through the holes easily.
Make sure you go back and cut slits where the ribbon is going to go through if you haven’t already!
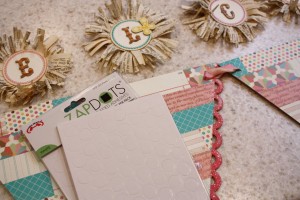 17. Once your banner is strung, you can start adding those circles!
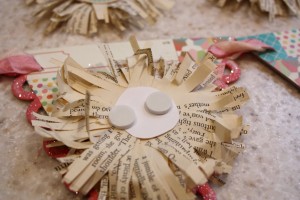 I used two ZapDots per circle, on the back.
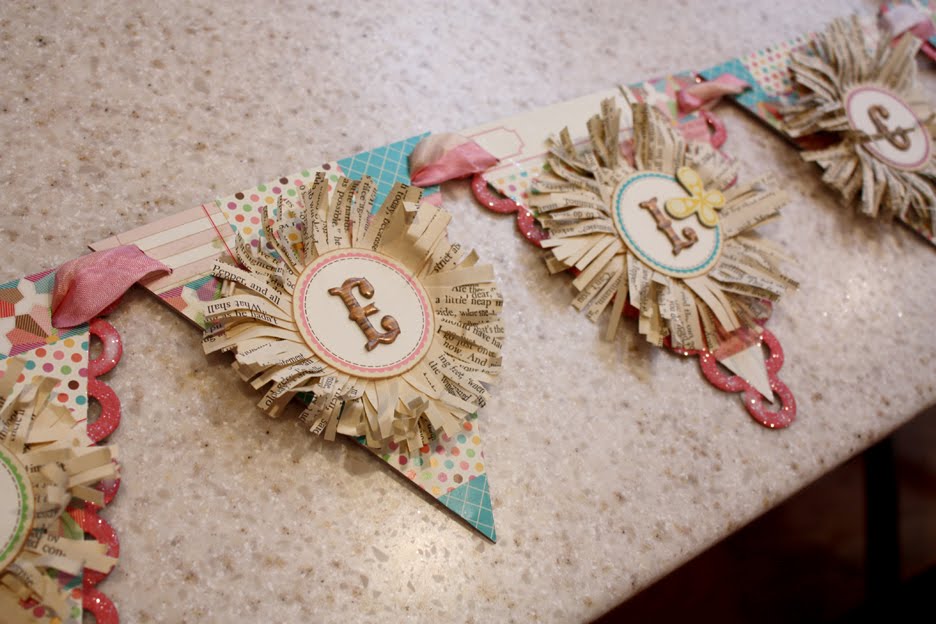
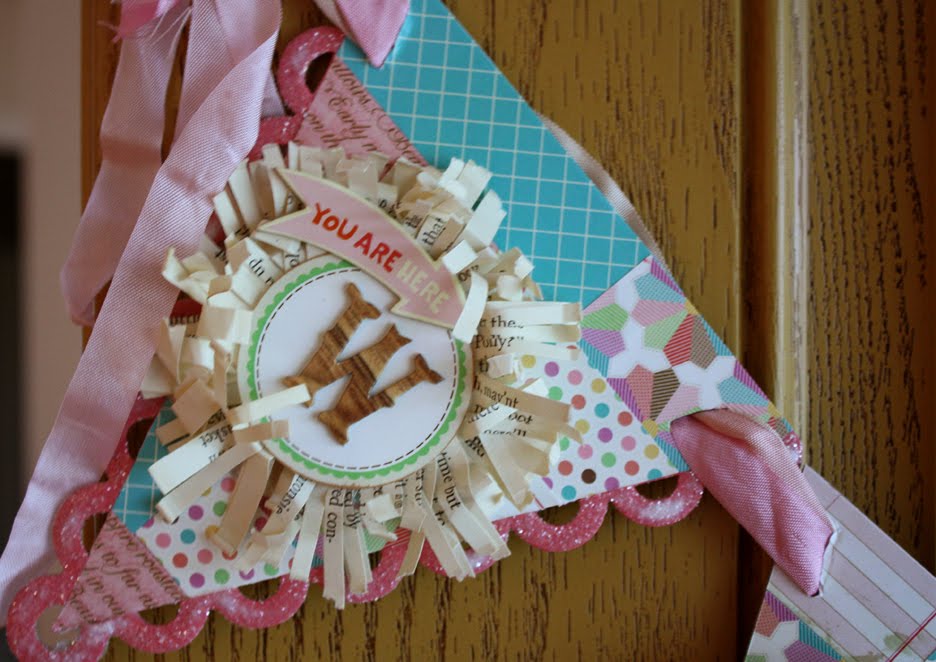
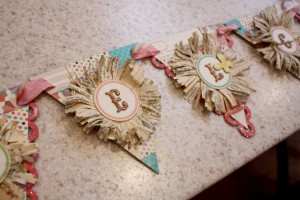 18. Stick the circles to the banner pieces, add your letters to the circles and then add any extra embelllishments to them! We had a sheet of the Girl Friday Ready-Set-Chip from Cosmo Cricket and the butterflies and little “You are here” arrow worked out perfectly!
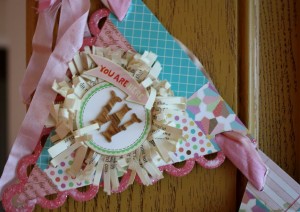
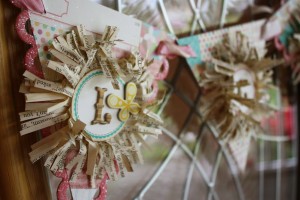
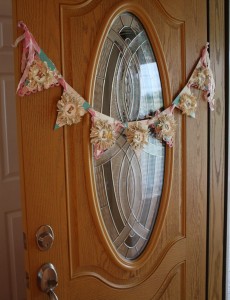 Ta da! It’s finished 🙂 I can’t wait to give this to my mom for Mother’s Day and see where she hangs it!
Please feel free to ask any questions, if you have them! I’ll do my best to respond to them in the comments section!
Happy creating!!
xo, Elle

 We are celebrating National Scrapbooking Day all weekend long and we have some fun giveaways and extra special sales planned just for you!
 There is FREE SHIPPING on all orders over $45 (use coupon code NSDB2010 at checkout) all weekend long at our shop! This includes international orders, too!
 We’ve also put all our Limited Quantity Items on sale at 25% – 75% off! Don’t miss out on this amazing deal – all these items will never be printed again, so get them while supplies last! New, Limited Items where just added, too! Including some valentine’s items and calendars!
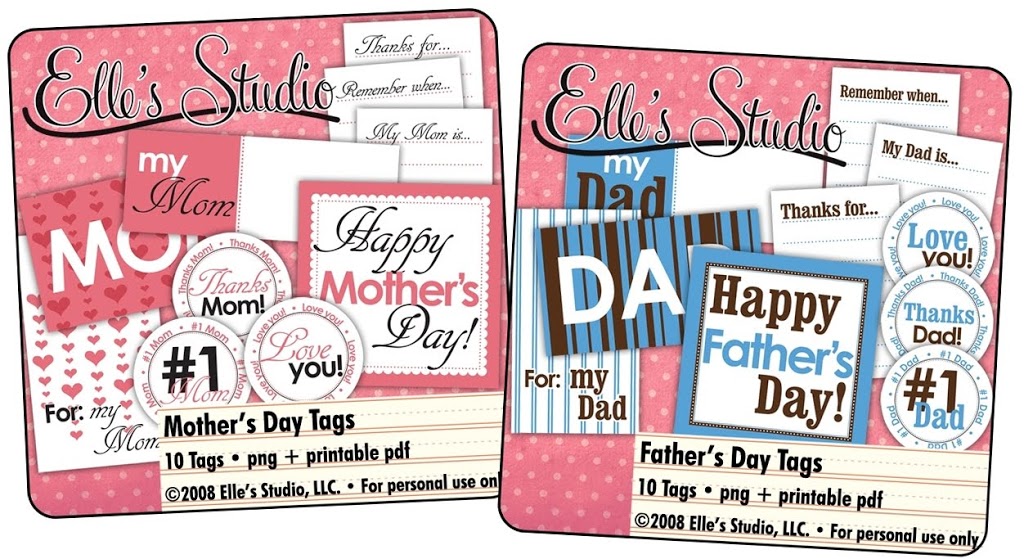 And, just in time for Mother’s and Father’s Day, we put these two digital kits on sale for 50% off, this weekend only! These two kits are great for making cards, or even a mini album for your special parents 🙂