Thankful Thursdays!

Thursdays here!! If you’re a new reader here, this is part of our Thankful Thursday series (every Thursday we write what we are thankful for) and we’d love for you to join in! You can use the image above on your blog and post either your blog link to your thankful post, or what you’re thankful for this week, in the comment section below!

I am thankful for:

OUR VETERANS: I’m so thankful for those who have served and are still serving our country. The sacrifices you’ve made for us are unimaginable and because of you, we are free. You are all the true heroes of our country! Thank you so much for all you have done for us!!

YOUR COMMENTS: WOW! I am so thankful for each and every reader who stops by and for those who also leave a comment! Your words mean so much to mean and always brighten my day – thank you sooooo much!!

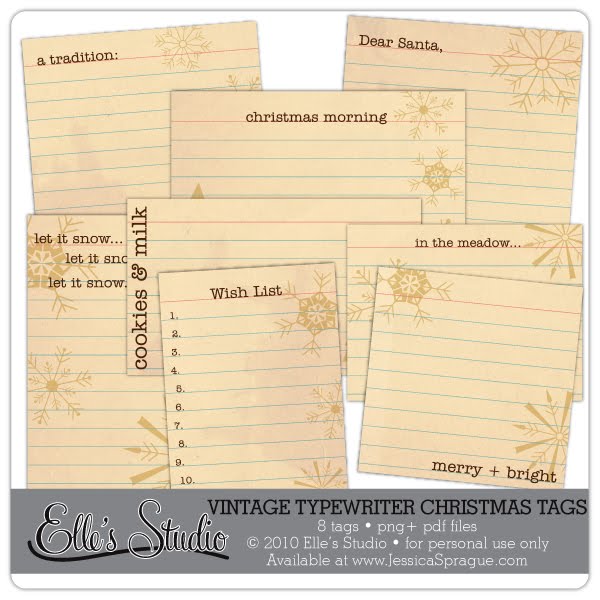
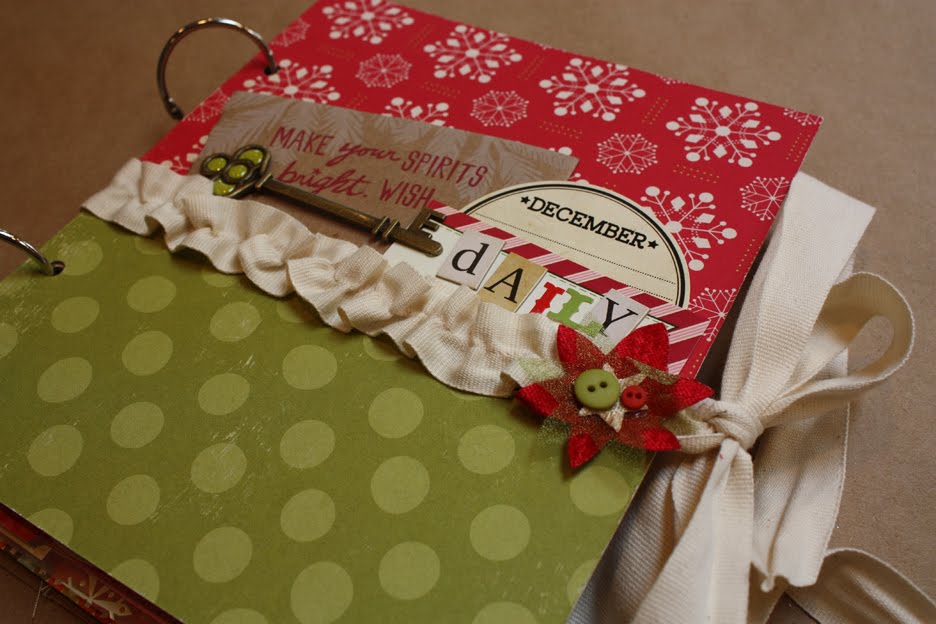
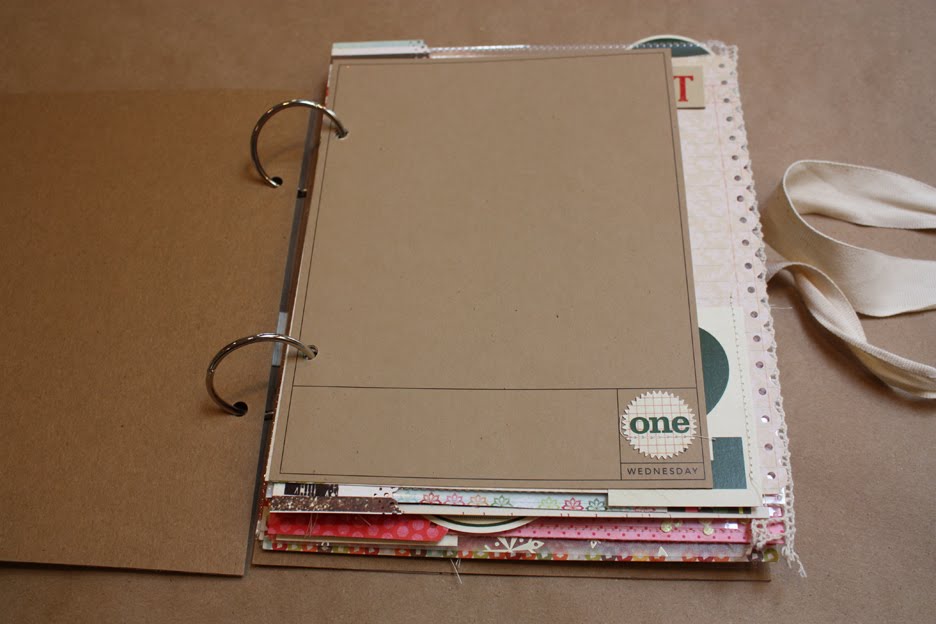
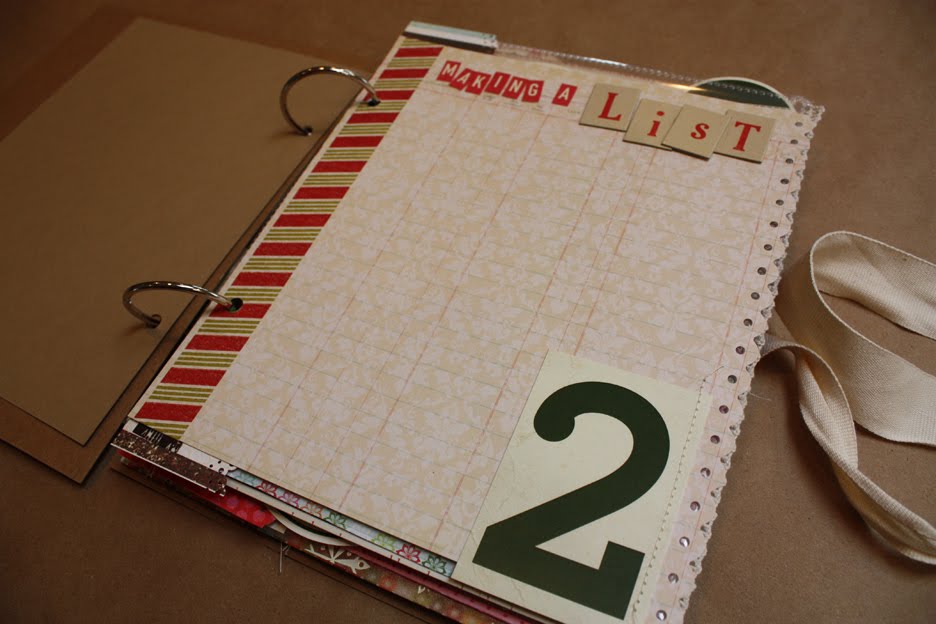
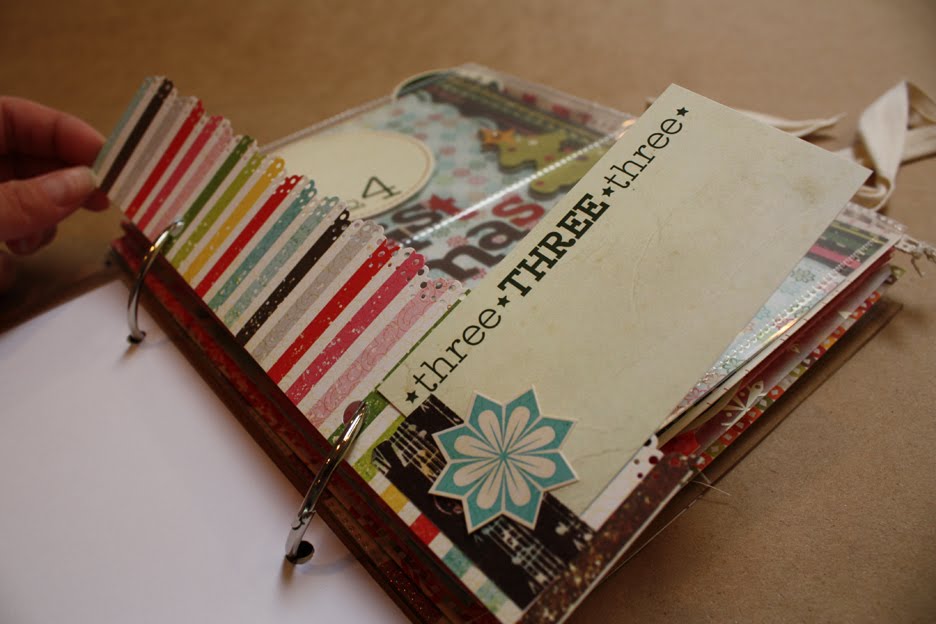
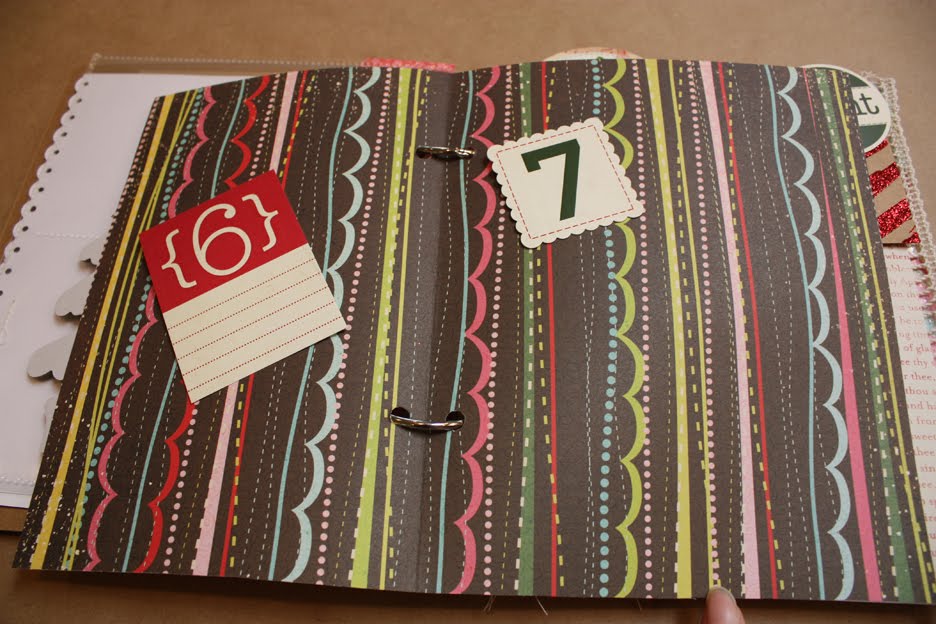
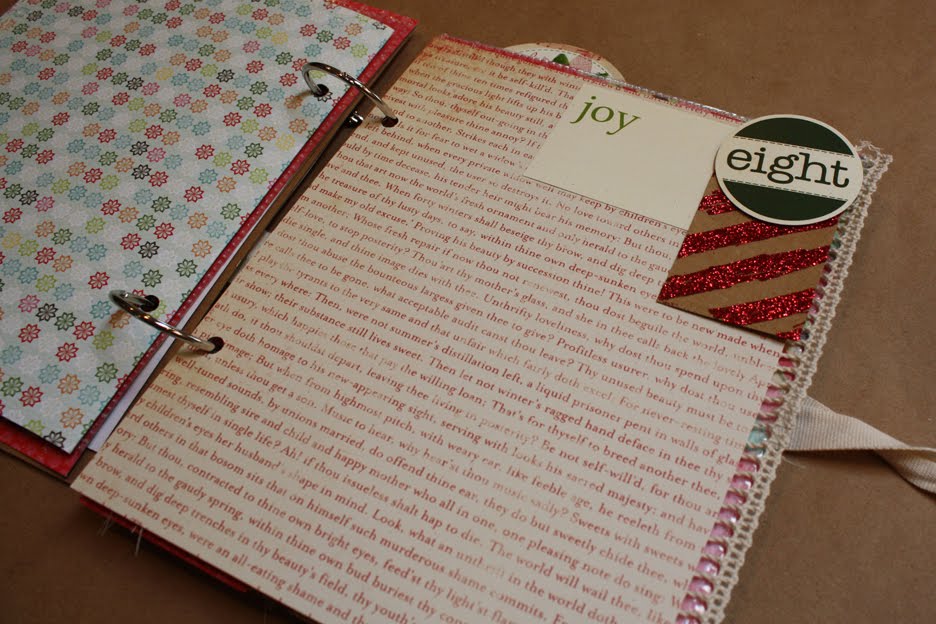
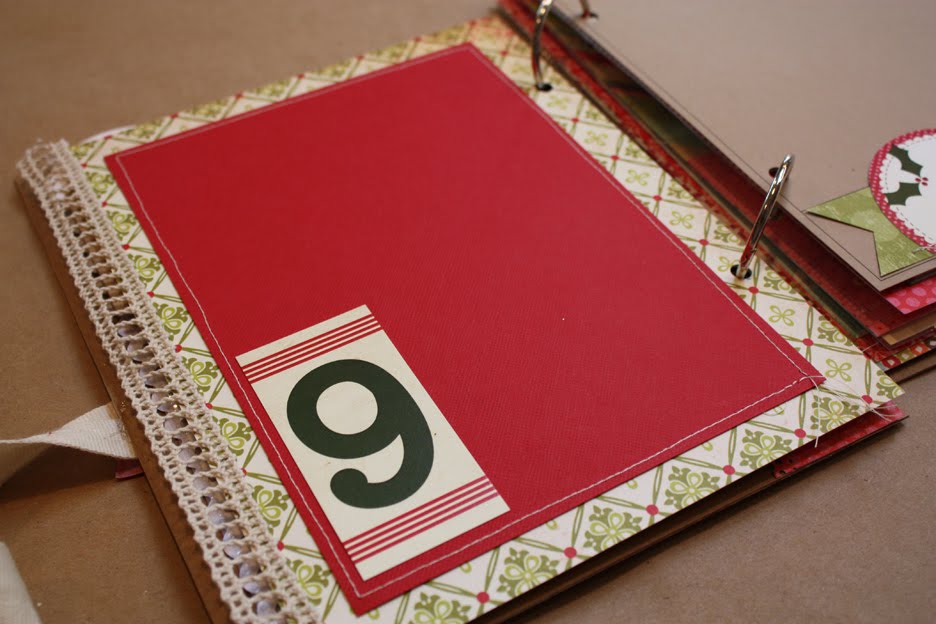
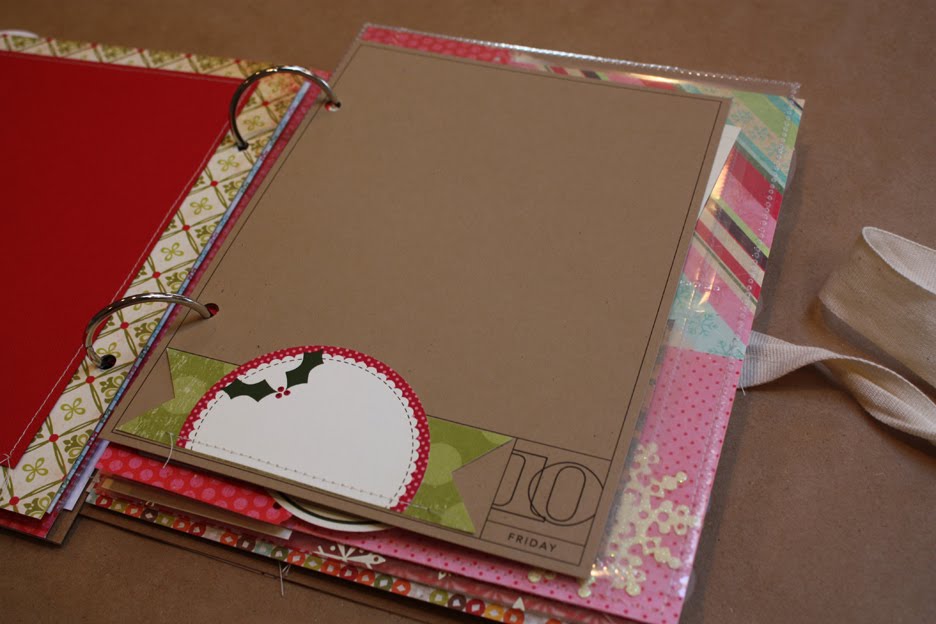
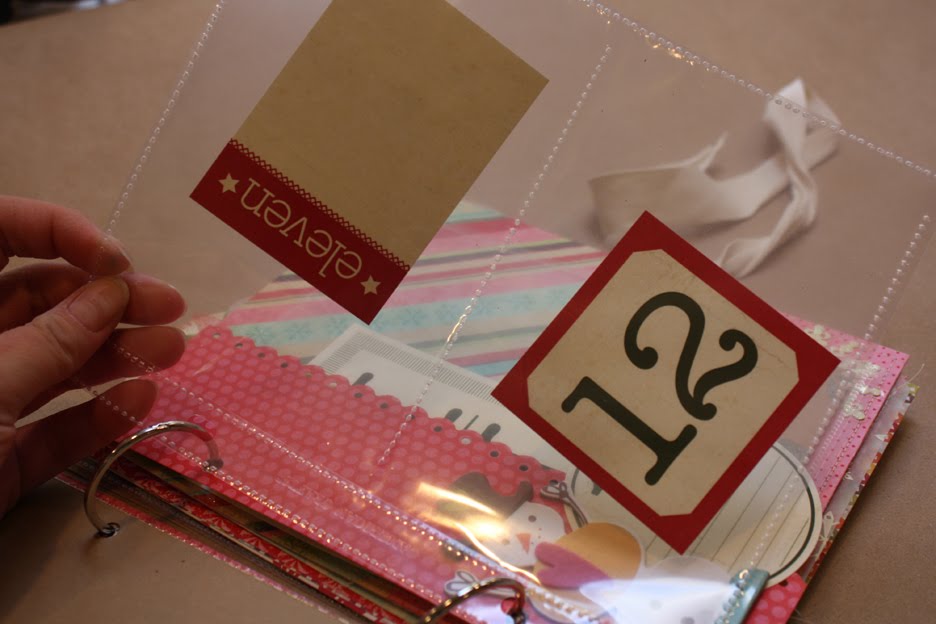
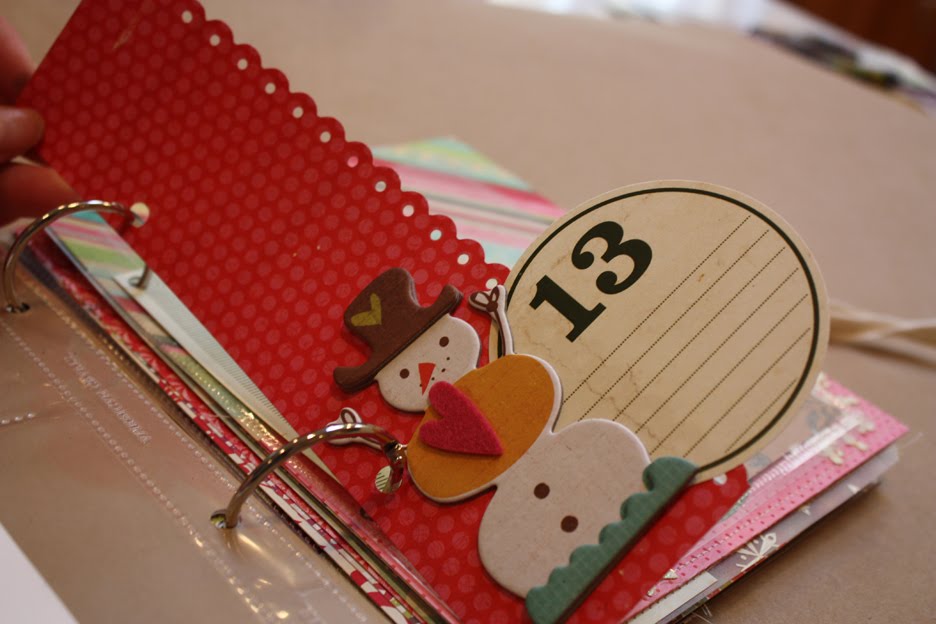
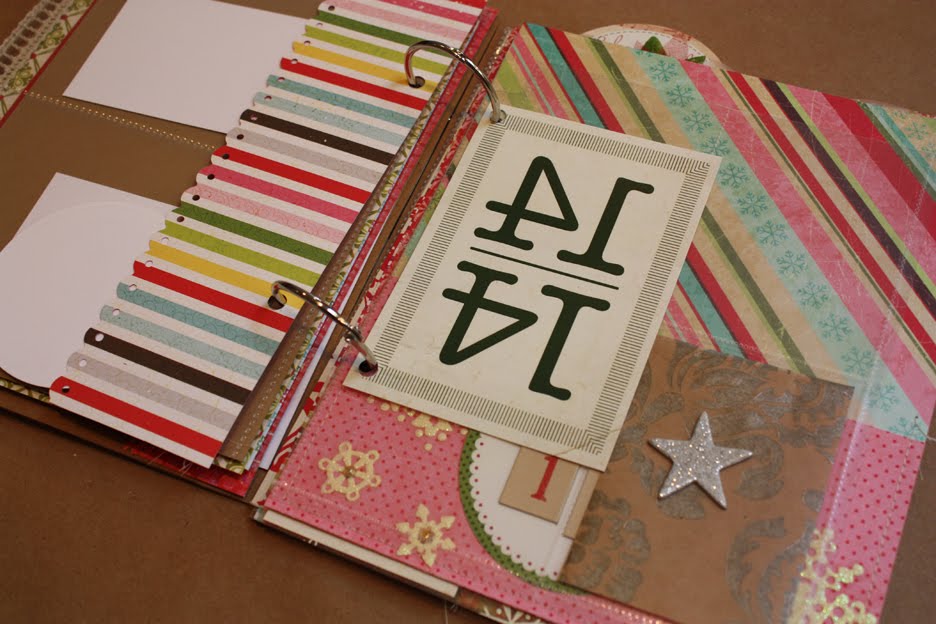
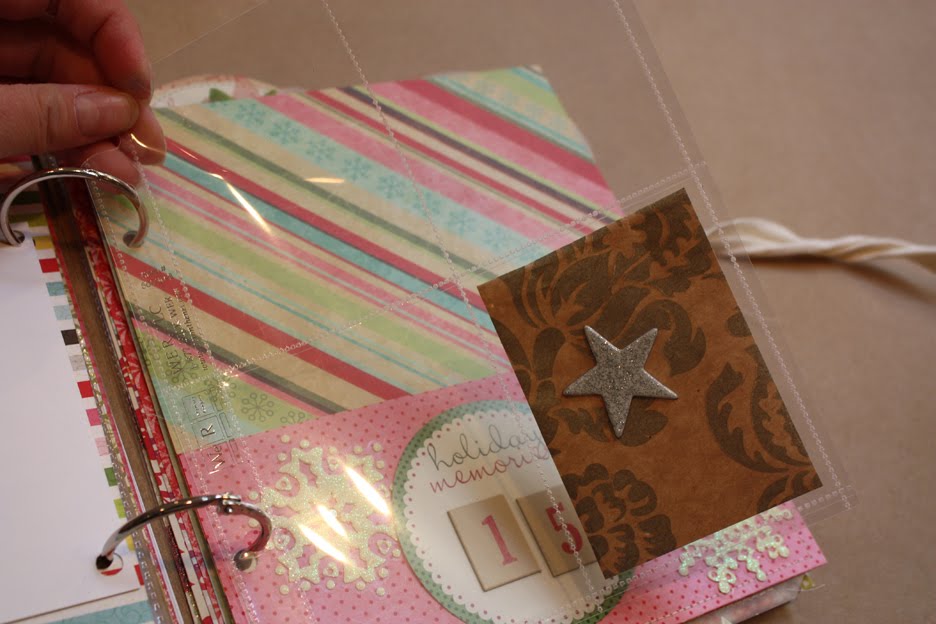
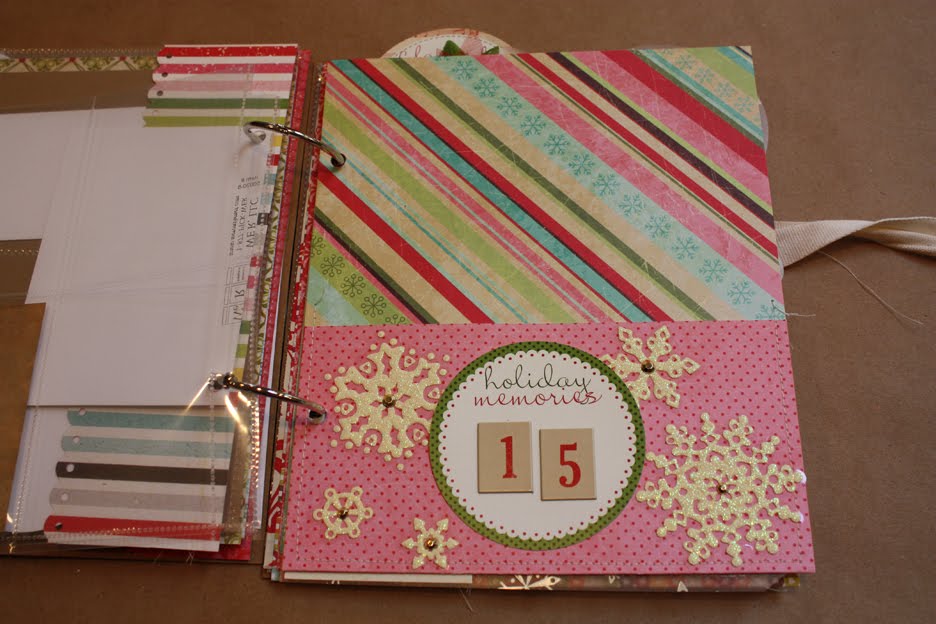
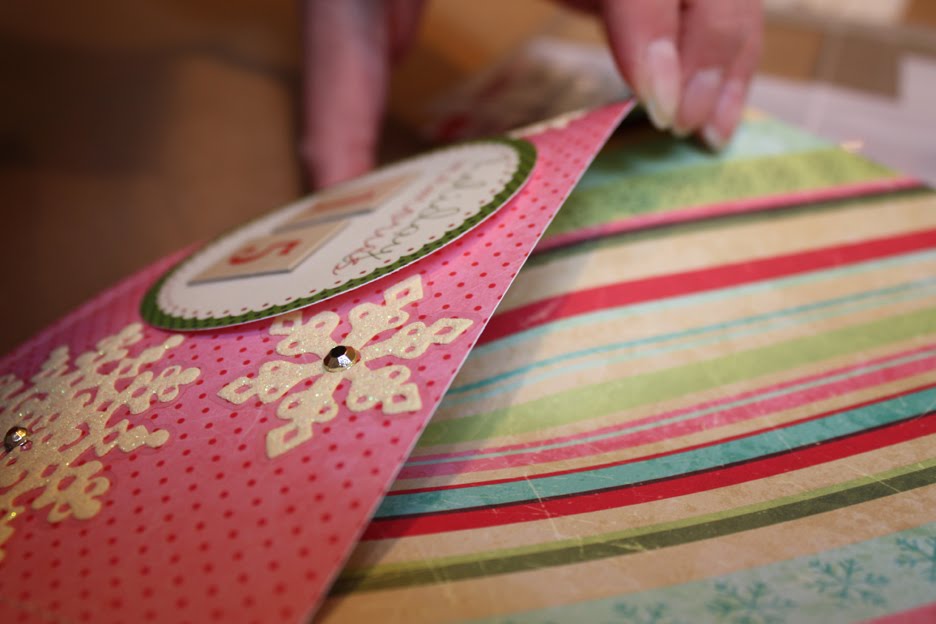
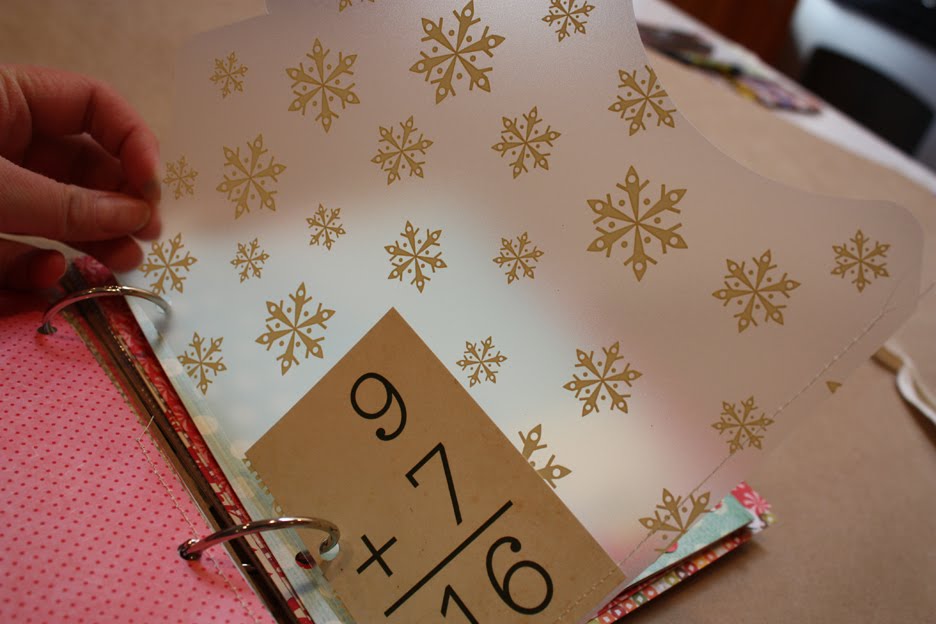
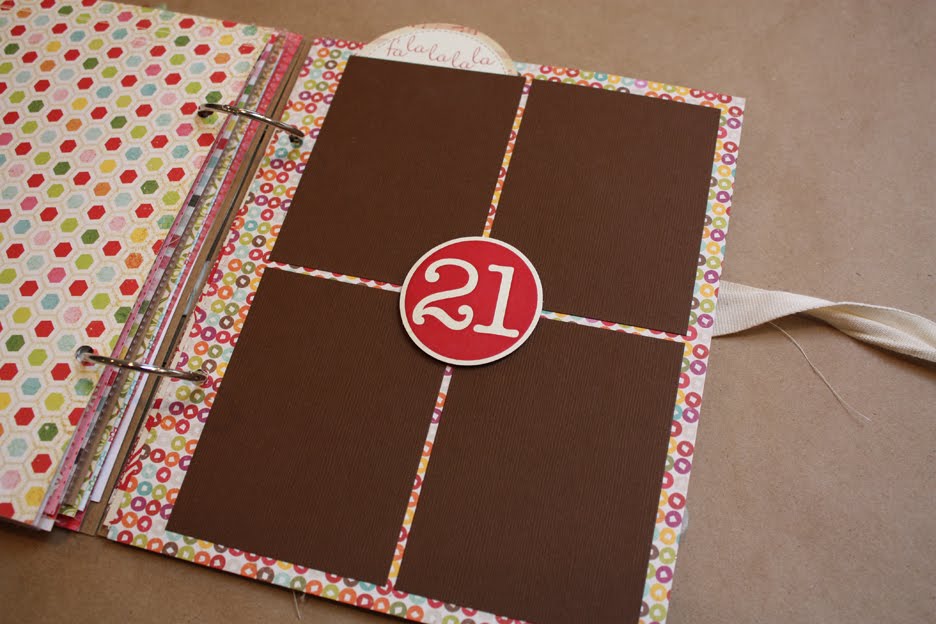
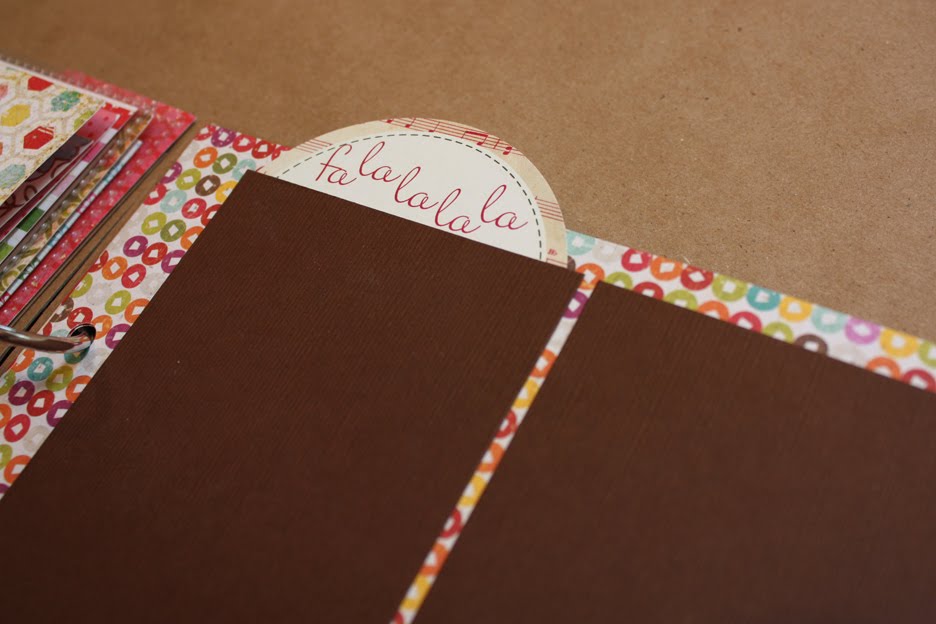
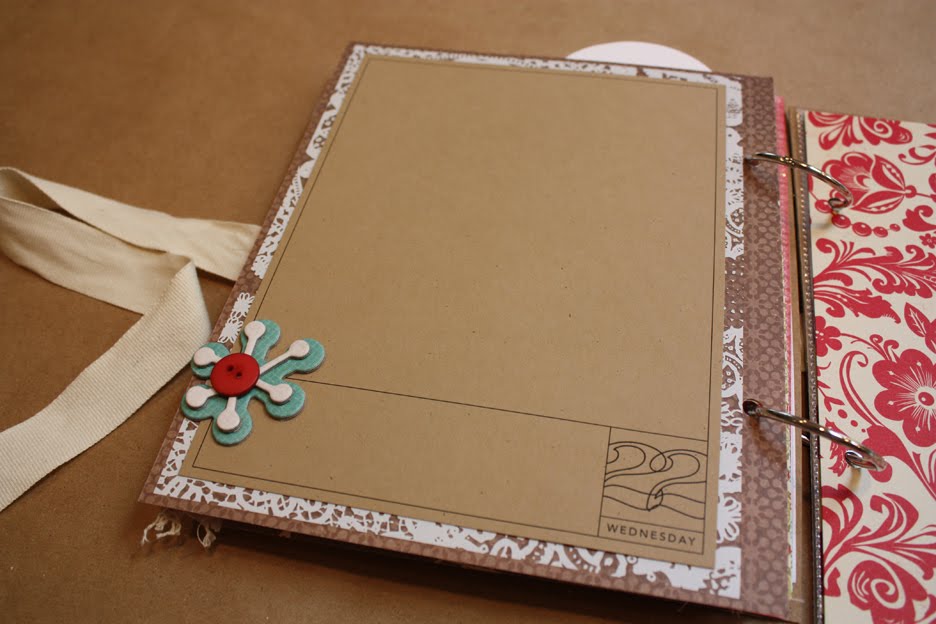
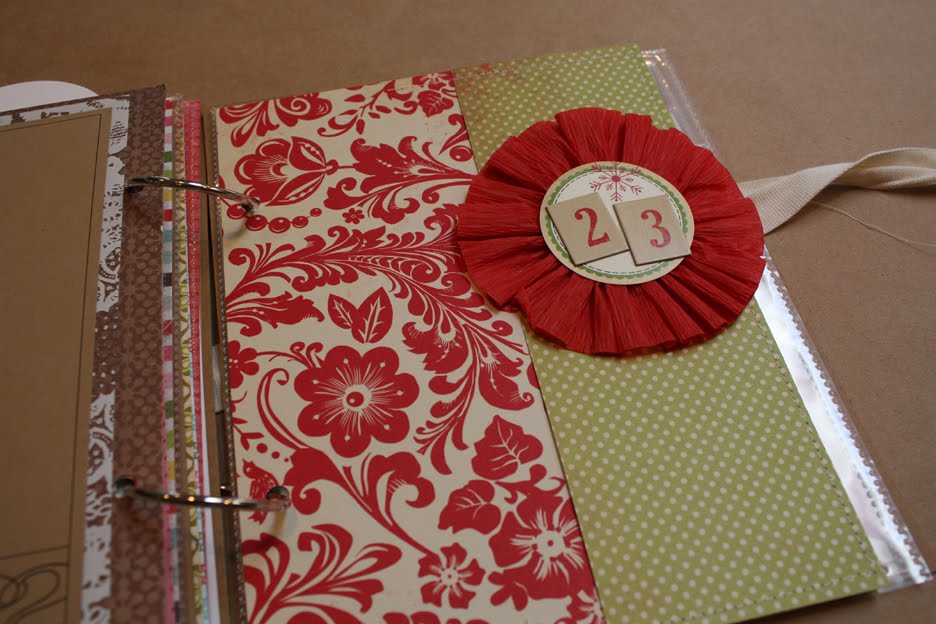
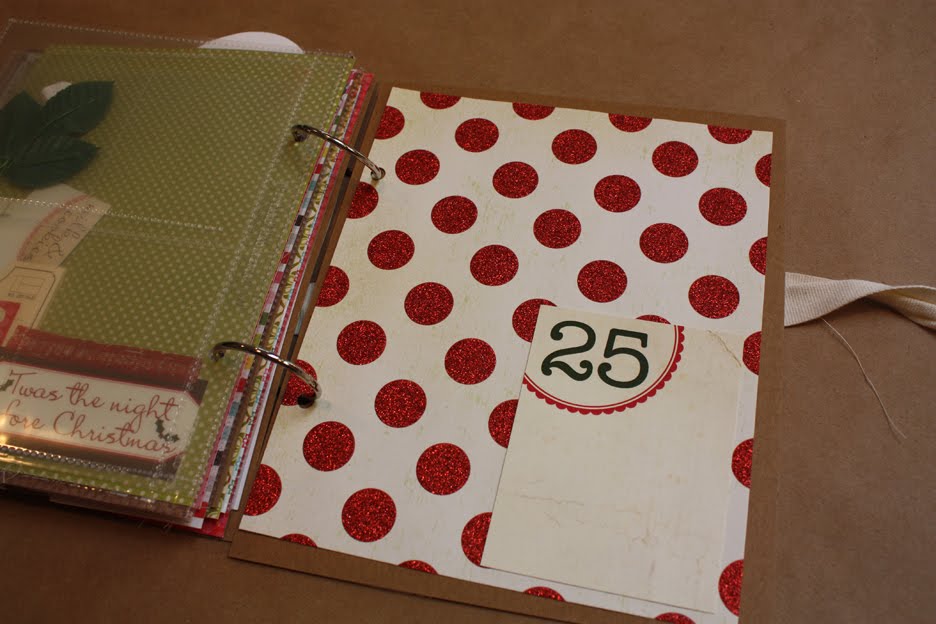
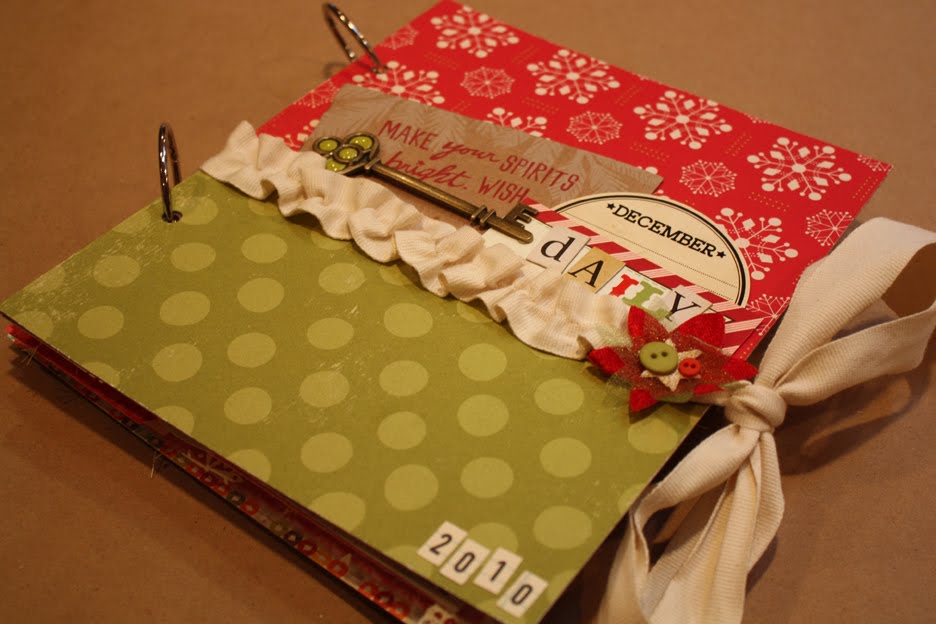
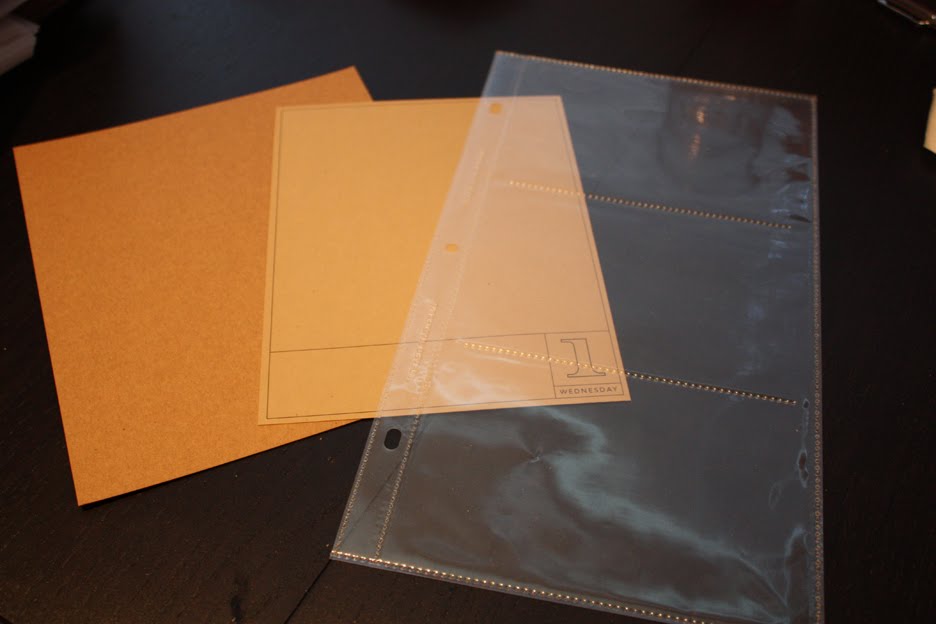
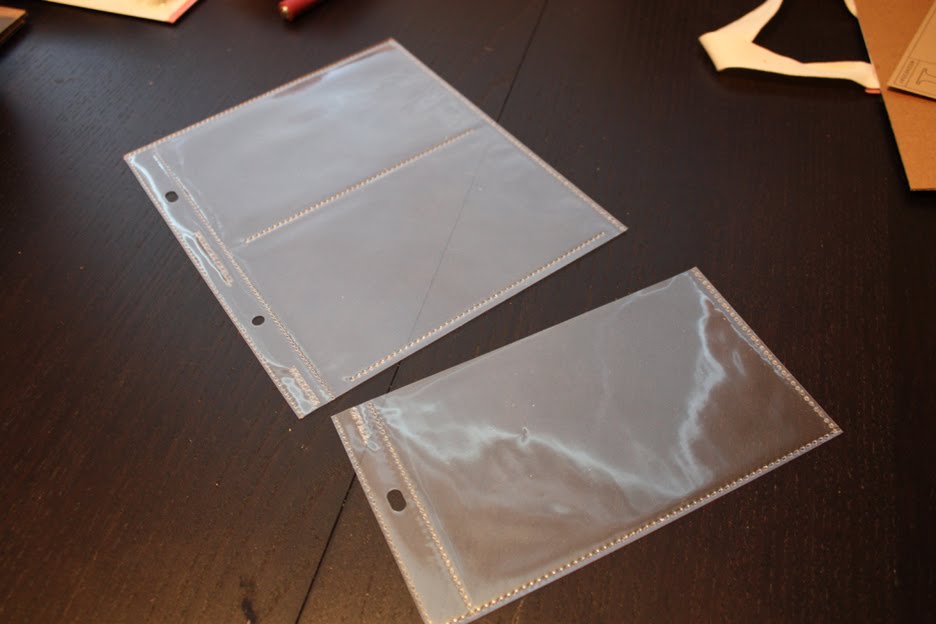
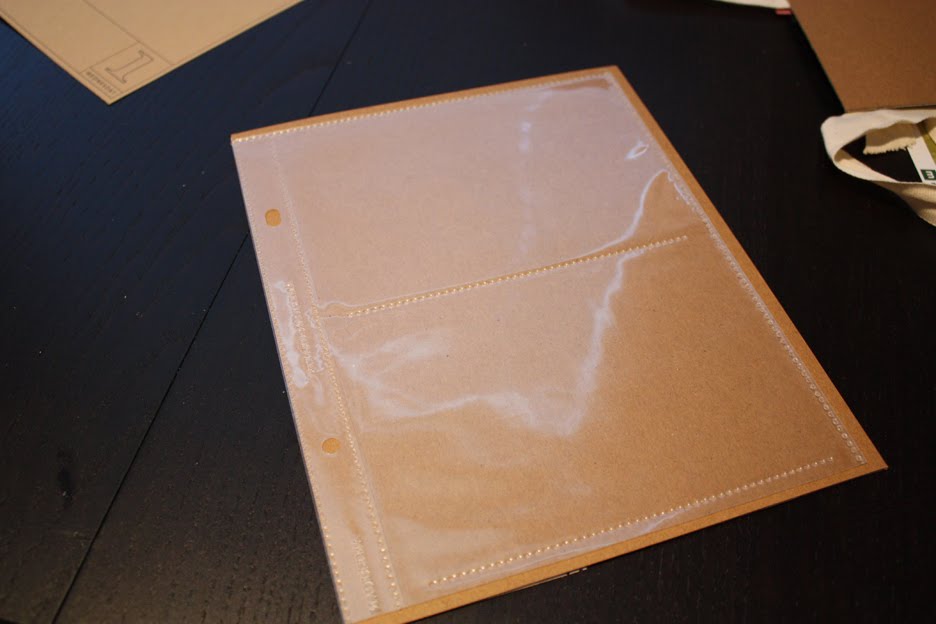
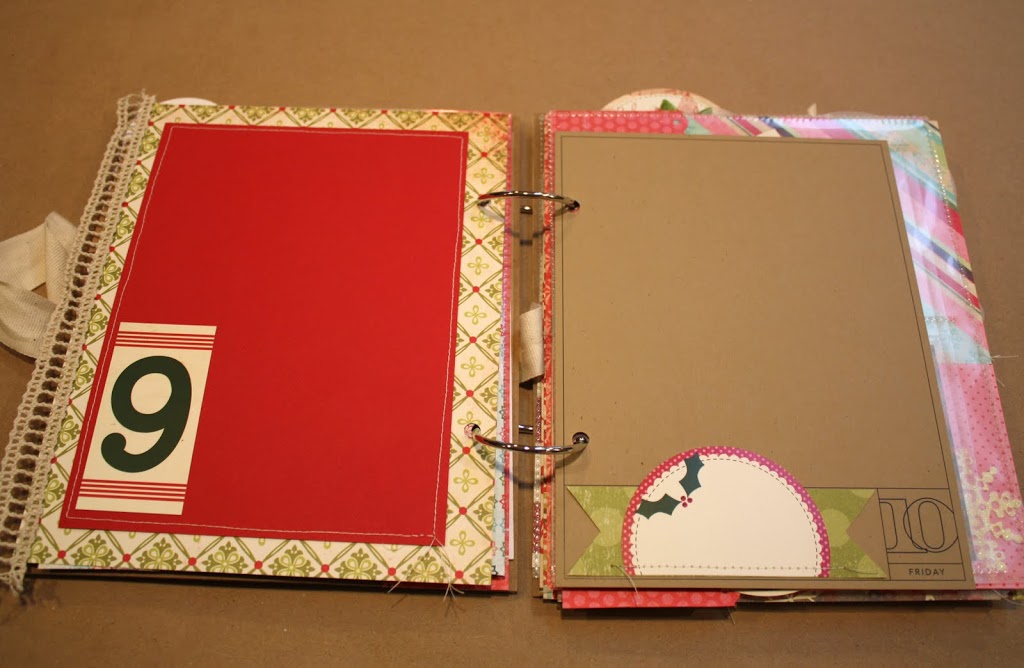
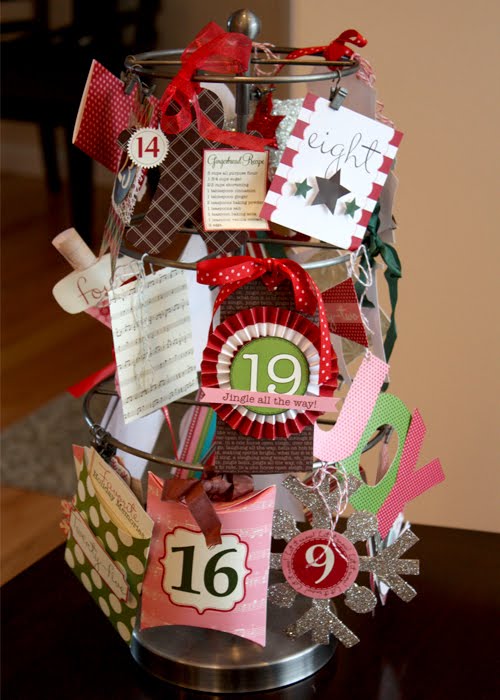
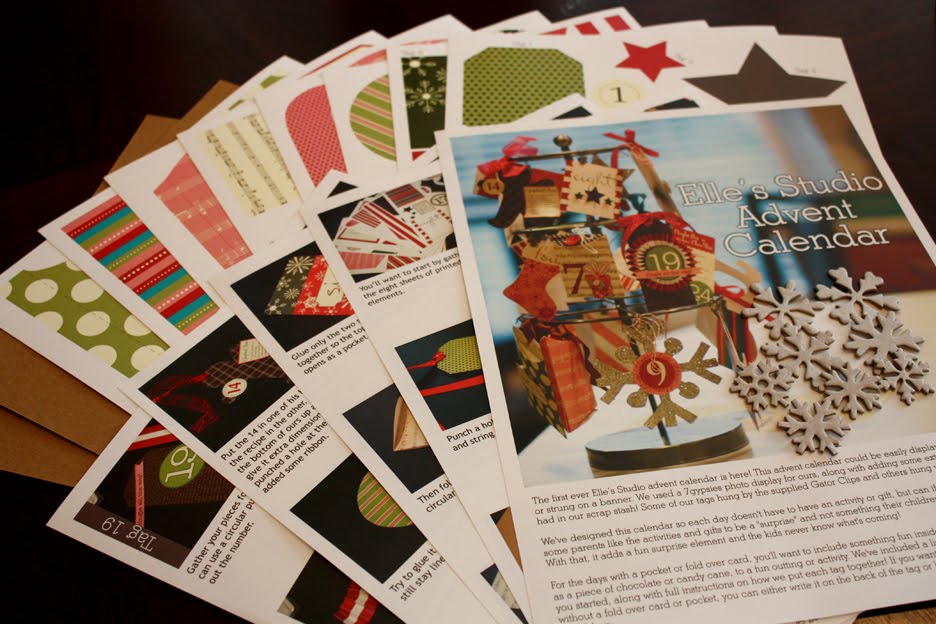
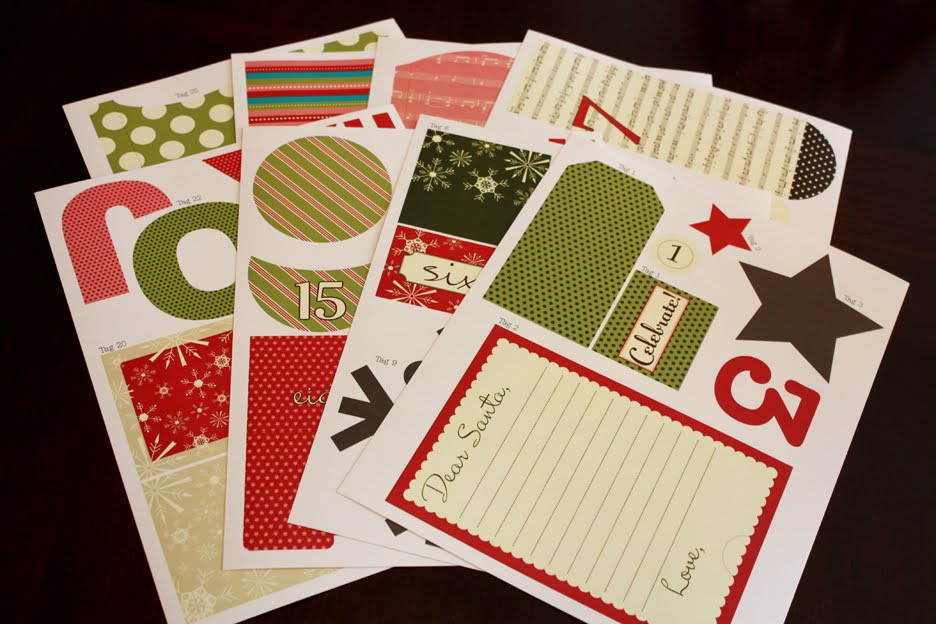
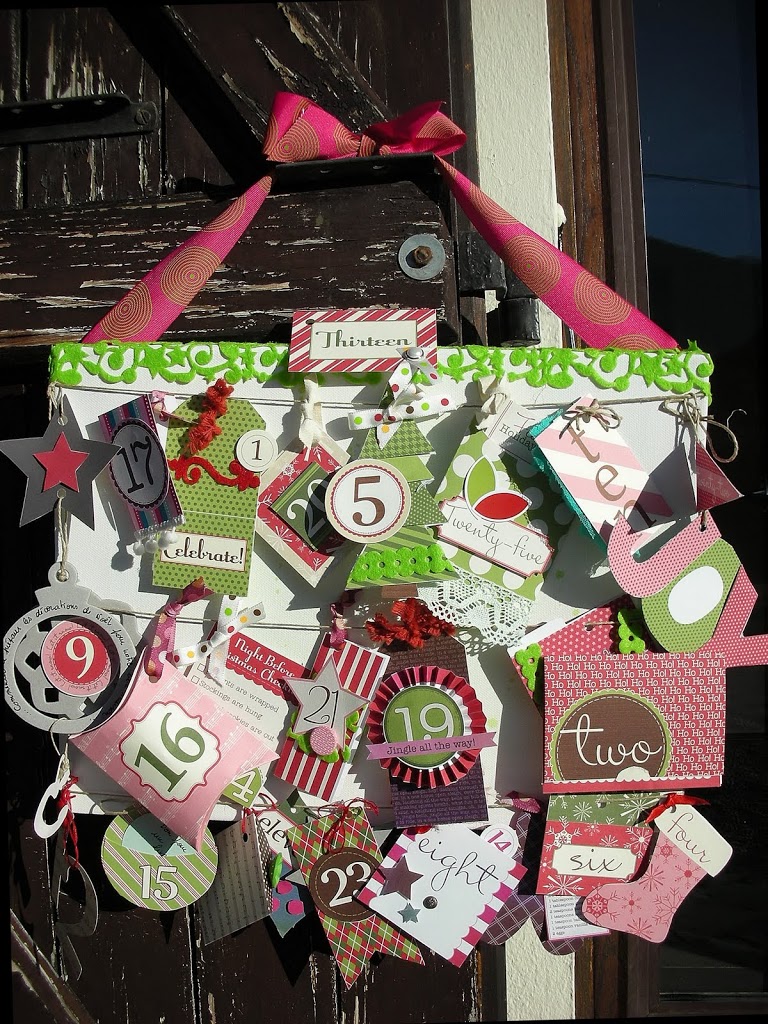
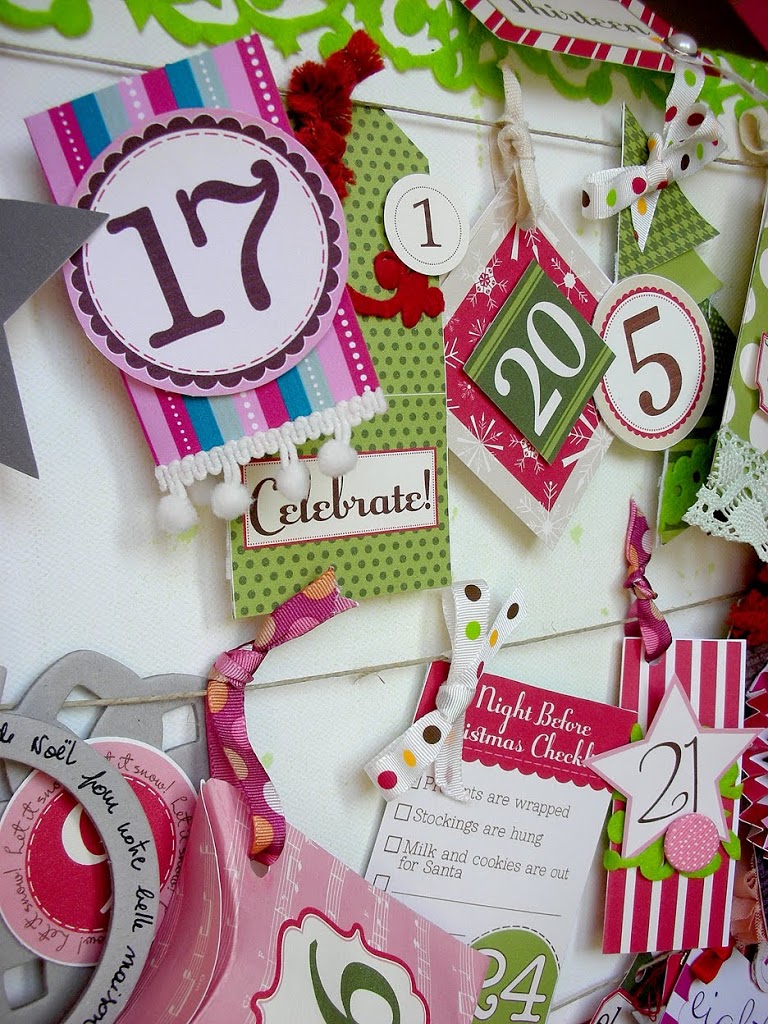
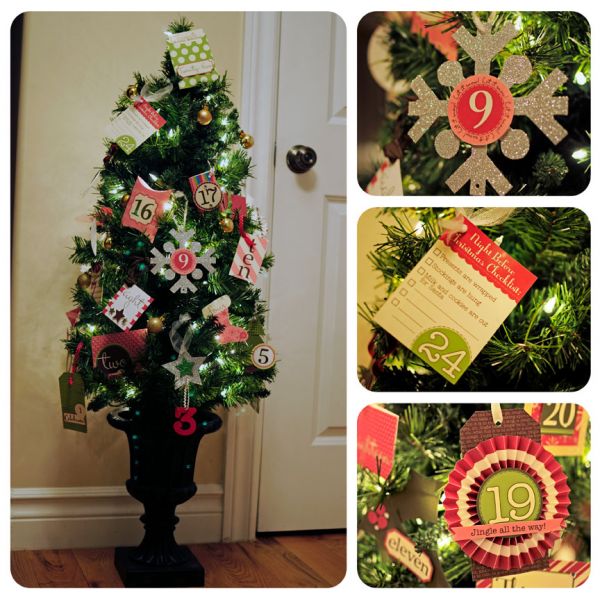
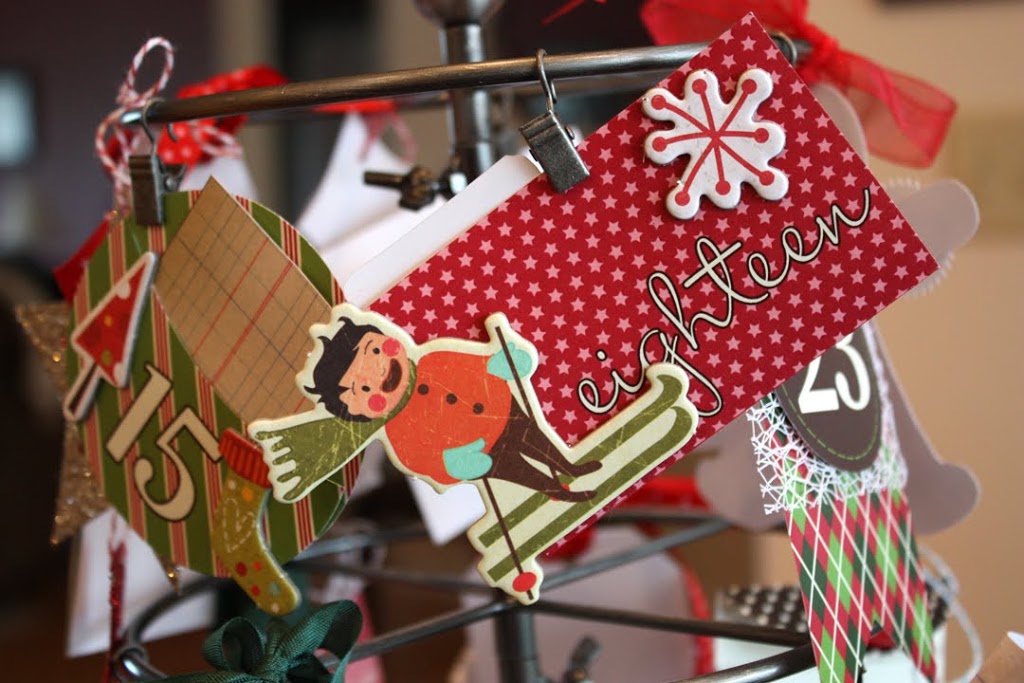
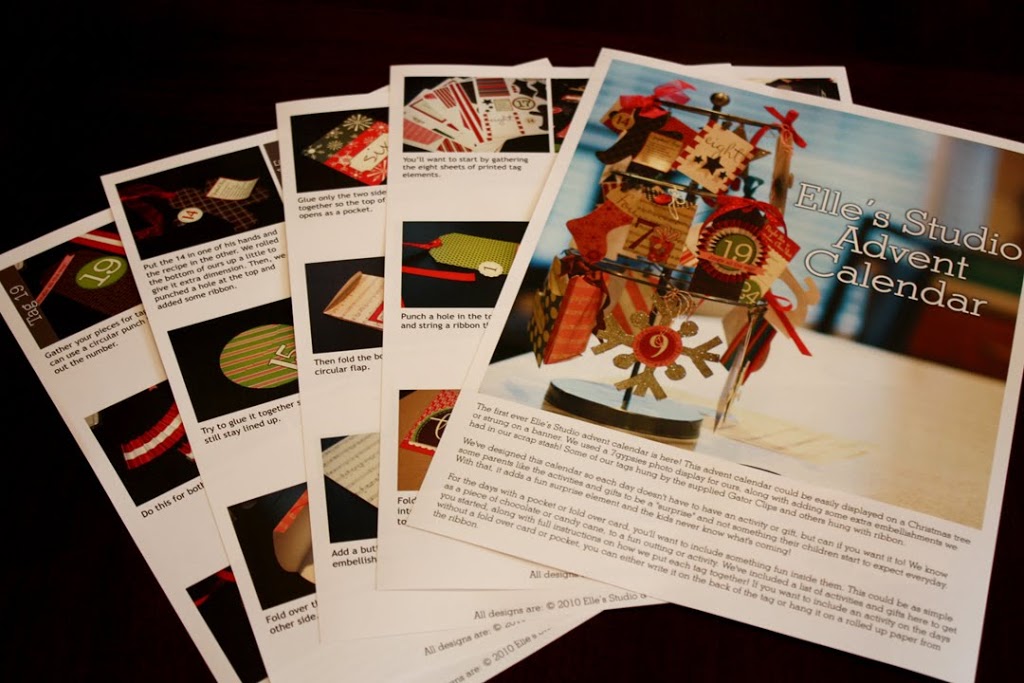
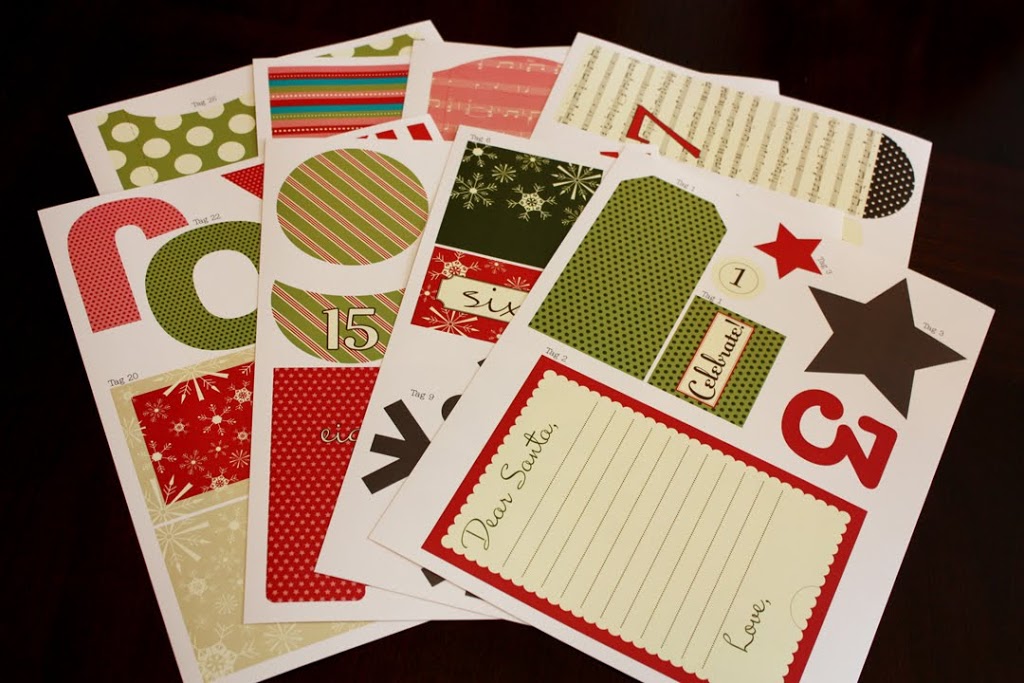
HOLIDAY CRAFT PROJECTS: It’s getting dark now earlier and earlier so that means there seems to be more crafting time at night and I’m loving working on my holiday craft projects! So thankful for being able to get lost in these holiday projects!

Operation Christmas Child

Operation Christmas Child is a tradition that I’ve been doing for as long as I can remember and it’s one of my favorite traditions that I look forward to all year long! It’s amazing that such a simple gift can have such a large impact on a child’s life. It’s so fun to go shopping, take your goodies home and pack your shoebox, knowing that some child is going to receive this gift – and for some children, it’s the first gift they have ever received… in their entire life.

This project is so simple, too! Our church recommends these plastic shoeboxes so then the box, itself, becomes a gift. I found them at Walmart for about $1 each. These plastic containers also protect the contents against water damage and can be used in the future to store other things. But, a simple cardboard shoebox works, too!
I love going shopping for the items! First you pick either boy or girl – I did one for each. Then, you pick an age group and purchase items based around your choices.

Every year I try to include some basic items like: a bar of soap, toothpaste and a toothbrush, some hard candy, etc., for both the boys and girls.
Then, from there, I like to do things like crayons, puzzles, watercolors, playing cards, beads, jump-ropes and a fun toy!
I can’t imagine what joy this gift will bring to a child, and I’m so thankful for the entire Samaritan’s Purse operation – it’s really incredible!

You can visit the Samaritan’s Purse website for more information on how to pack your box, and find a drop off location near your home! Collection week is November 15th – 22nd and they collect all over the world! And, remember… EVERY BOX makes a difference!

One Buck Wednesday + a retired item is back and more digi news!

It’s $1 Wednesday at JessicaSprague.com and we’ve made our Scalloped Journaling Tags in Christmas colors by special request! You can get these Scalloped Christmas Journaling Tags download for $1, today only! It also comes with a printable pdf file, so if you aren’t into digital scrapbooking you can print the pdf file and use them on your paper layouts!
Other digi news: We turned this retired design (above) from last year into a digital download! These were one of my favorite tag sets from last year and I’m so excited to bring them back! These, too, come with a printable pdf file, along with the pngs, so you can print them out and use them on your traditional paper layouts! These would also be great for your December Daily albums!And, don’t forget about our holiday banners! They are now available at our digital shop, at JessicaSprague.com‘s site! We have Merry Christmas, Happy Holidays and Peace Love Joy! Just download and print to create an awesome holiday decoration!
Last, but not least! Our Advent Calendar is a great weekend project! We’ve been having so much fun hearing the stories about everyone creating theirs! This would also be something fun to work on Thanksgiving night or weekend – a great way to welcome in the holidays! This kit is also available already printed, at our store.

Just a reminder: All our digital and hybrid items are now being sold at JessicaSprague.com. All of our paper tags are sold at our main website, ShopEllesStudio.com

December Daily – Inside pages

Today’s the day I get to share the inside base of my December Daily! This weekend we had perfect picture taking weather so I took full advantage of it 🙂 There’s a ton of photos here and I’ll try to include as many details as possible, but if you have any questions please leave them in the comments section and I’ll answer them there!

While creating this album I tried to keep it as simple as possible, knowing that this is just the base and lots of embellishments can/will be added later. Some pages I did front + back, some I did not. I really wanted to go for a homemade look and tried not to get to technical or caught up in the details. For example, when cutting each page I didn’t measure. I wanted each page to be different so it would have a really layered look when finished.

Also, most of our number tags are only slightly tacked down with removable adhesive so I can put them on top of a photo or journaling that I’ll be adding later.

Please refer to this post to read about the cover, plus how I came up with the size for my album.
Page 1 | Our Christmas Mix & Match Numbers + Ali Edwards December Daily Overlays
Page 2 | Our Christmas Mix & Match Numbers, The Girls’ Paperie Chipboard Alpha, and Christmas Wrap Paper Tape
Page 3 | Our Christmas Mix & Match Numbers, Echo Park Sticker + paper and 7Gypsies Paper Tape (A large photo will attach to this, behind the embellishments)
Page 4 +5 | Our Christmas Mix & Match Numbers + American Crafts Page Protector (cut down)
Page 6 + 7 | I did a tiny bit of planning here – the first weekend in December is always the week we put our tree up, so I made sure I planned for this while putting these pages together.
Page 6 +7 inside | Our Christmas Mix & Match Numbers (I didn’t adhere them yet, I will after I put in the photos from the weekend. )
Page 8 | Our Christmas Mix & Match Numbers + one of our Christmas Flashcards
Page 9 | Our Christmas Mix & Match Numbers + The Girls Paperie paper and trim (I only tacked the 9 to the page with a tiny bit of removable adhesive. The 9 will go on top of a photo that fits into this space.)
Page 10 | Our Christmas Mix & Match Numbers and Christmas Journaling tag + Ali Edwards December Daily Overlays
Page 11 + 12 | Our Christmas Mix & Match Numbers + American Crafts Page Protector (cut down)
Page 13 | Our Christmas Mix & Match Numbers, Echo Park paper and a Crate Paper Snowy Days embellishment (A large photo will attach to this, behind the embellishments)
Page 14 | Our Christmas Mix & Match Numbers, found objects and We R Memory Keepers Page Protector (cut down)
Page 15 | The Girls’ Paperie Chipboard Alpha, our Christmas Journaling tag, and K & Company Glad Tidings Snowflakes
Page 15 is also a pocket! Can’t wait to see what it will hold 🙂
Page 16 | Our Christmas Mix & Match Numbers + a piece of translucent plastic that I’ve been holding on to forever because I loved it so much! I can’t remember who made it though!
Page 17 | Our Christmas Mix & Match Numbers + Crate Paper Chipboard Embellishment
Page 18 | Ali Edwards December Daily Overlays, Crate Paper Chipboard Embellishment and our Holiday Story Journaling Tag (the top of the “tradition” tag is not glued down so the photo can slide under it)
Page 19 | Our Christmas Mix & Match Numbers + The Girls’ Paperie Poinsettia Flower
Page 20 | Our Christmas Mix & Match Numbers + Crate Paper Chipboard Embellishment
Page 21 | Our Christmas Mix & Match Numbers + Christmas Journaling Tag (the Christmas Journaling Tag can still be pulled out so extra journaling can go on it!)
Page 22 | Ali Edwards December Daily Overlays + Crate Paper Chipboard Embellishment
Page 23 | The Girls’ Paperie Chipboard Alpha, our Holiday Snowflake Tag
Page 23 is also a pocket!
Page 24 | Our Christmas Mix & Match Numbers. Christmas Tiny Tags and a Holiday Story Tag
We have a lot of activity at our house during Christmas Eve and Christmas day. Because of this, I’ll want to include a little of everything, so I added some extra photo pages and kept the design simple, just in case it needs to be altered later 😉
Page 25 | Our Christmas Mix & Match Numbers (Not glued down yet. I’ll probably tuck this tag behind a photo for some hidden journaling, but we’ll see!)

That’s it for now! I haven’t decided if I’ll do the entire month or just the 25 days, so we’ll see! Also, I’ve gathered a small box of items that will be my go-to items for finishing this booklet during December. I find that keeping coordinating items in front of me while working on a project helps me stay focused and get it finished! I’ll share my box of goodies later this week! There’s lots of our other Christmas tags in it for embellishing 😉

Thanks for stopping by and letting me share this with you today!
xo, Elle

December Daily – cover + creating

Every year I’ve wanted to make a December Daily album, but over the years, when December 1st came around I felt really overwhelmed and ended up not making one, or not finishing what I had started. So, this year when Ali was talking about starting ahead of time, I took her advice! Make your base album first, so then all you have to do in December is insert photos + journaling! Brilliant!! Now I’m so excited for December to get here. I can’t wait to see this album come to life with photos and memories!
I used two pieces of chipboard to create my cover and back of my album. Covered them in some scrapbooking paper, then added a Starbucks coffee holder from last year, a December month tag and a red/white striped tag from our Christmas Tiny Tags. Then, I added the word Daily from some stickers I had in my stash, and a key from the Dear Lizzy collection – love the way the green in the key matches the green paper below 🙂

I also had the cream ribbon left over from a blanket I ordered (it tied the blanket up). I had my mom help me create the ruffle with just a basic running stitch and by pulling one of the strings – so fun! The ribbon will run across the front…
And across the back – tying in a bow to hold the booklet together! The back has the left over piece from the red paper on the front (the red paper is from The Girls Paperie collection that I adore!)
And, here’s a side shot! Just love the thought of this doubling in size as we go through December 🙂

The hardest part, for me, starting this project was determining and setting a size for this album. I knew I wanted to incorporate some photo pages to hold 4 x 6 photos, along with some of Ali Edwards Overlays.
So, I cut off the bottom of a 3-up 4 x 6 photo page…
Which ended up being really close to the size of Ali’s overlays! Then I cut two pieces of chipboard that where a little bit larger than both of the photo pages and overlays.
The holes for the album where then determined by photo pages because they where the only thing that had a set hole.

It worked out great! My main focus, when putting this project together, was to “keep it simple and manageable – with no rules”. When projects have rules, or set sizes, I tend to get bored 😉

And, here’s a little peek inside! I’ll have a full post on Monday, with each page showing!
I wanted to give you a little peek inside today 🙂 For the numbers, we are using most of our Christmas Mix & Match numbers and I love how it turned out! Can’t wait till Monday!

Happy weekend!
xo, Elle

A peek inside our Advent Calendar

We wanted to give you an in-depth look at our advent calendar kit! You can purchase it already printed or digitally, and each kit comes with everything you need to create the 25 tags, along with step by step instructions to guide you along the way!

Here’s a look at the entire kit (This is the already printed version that also comes with the chipboard snowflake and chipboard sheets):
And, here’s a closer look at all the elements:
Each of the element pieces is clearly marked so you know which piece goes with which tag:
To display our advent calendar, we used 7Gypsies Artist Trading Card (ATC) Display with the Gator Clips. We found a couple of the stands still available online here, here and here.

But, the best part is that you don’t have to have the stand to display it! Here are a couple of other great ideas:
Sophie displayed hers on a board and attached the tags to wires – I love this idea! It would look so cute hung on a wall, near your Christmas decorations!

Mindy made this one above and put it on a tree! I love this idea, too! Such a fun and festive way to decorate 🙂 You could even hang them in your traditional Christmas tree and make it a “game” to find one everyday!

Thanks so much for sharing your creations with us Mindy and Sophie! This has made me so excited for this holiday season 🙂

If you have any questions regarding our advent calendar kit, please feel free to post them below and I’ll answer them in the comments section!
xo, Elle

P.S. The printed kit is also available for shipping overseas, too – we have both First Class and Priority Mail options available, cost is based on the weight of your package and will be determined at checkout 😉

Thankful Thursday

Thursdays come fast and I love it!! If you’re new here, this is part of our Thankful Thursday series and we’d love for you to join in! Don’t forget you can use the image above on your blog and post either your blog link to your thankful post, or what you’re thankful for this week, in the comment section below!

I am thankful for:

HEALTH: I’m so thankful for my health and my family and friends health. These last few weeks with a couple colds and flu’s here and there, and a friends scare, I’ve realized how important our health is. Everyone’s doing great now and I’m so thankful for that!

FALL LEAVES: They are such a beautiful sight – yesterday while driving to the post office the ground was covered in them. Loved watching them blow around at the stop light and … I have to admit… I’m thankful I don’t have to sweep any!

DAILY DECEMBER PROJECT: I finished the base of my album (will be posting soon) and when I was done I realized how thankful I was for Ali’s idea to get this part done before the holidays began. Now, all I have to do is insert the pictures and journaling… and maybe some extra embellishments 🙂 and it’s complete! Also, I’m thankful for Ali’s project because it’s my nephew’s first Christmas and I can’t wait to document it!

November blog challenge!

Our November blog challenge is here and we want you to scrapbook something you’re thankful for! And, if you’ve been participating in our Thankful Thursday posts, the journaling is already done! You can go pull one of those you’ve previously done or write a new one!

Two of our design team members have created two beautiful layouts to get you inspired – lets check them out:

By Amy Heller:
By Sheri Twing:
Thanks so much for the amazing inspiration, ladies!

Now it’s your turn! We want to see what you’re thankful for! Upload it to the web and post your link here, in the comment section OR email us a photo of your project. And, make sure you get them in by the 25th of November. Everyone that does will be entered into a drawing for a $25 gift certificate to the shop! The winner will be announced here on the 25th and we’ll be posting some of the entries we receive 🙂

Good luck, everyone! We are excited to see your creations!
xo, Elle

Our first ever Advent Calendar is here!

We are so excited! As we were designing our new valentines and planning for spring (I know, crazy huh?!) I kept thinking about creating an advent calendar and couldn’t get it out of my mind! So, I stopped fighting it and got to work 🙂 I wanted all the tags to be different and colorful. Some interactive and some just decorative. I LOVE how it turned out and hope you do too!

And, a super big bonus, since we are releasing it so late we wanted to make it available in both printed and digital formats! You can either buy the kit pre-printed from us here or buy the digital version and print it yourself, here!

Here’s a closer look at some of the tags:
Don’t forget, you can add extra embellishments to the tags, too!
Both kits come with full color, step-by-step photo instructions, plus a list of activities and gift ideas that you can include in your tags!
And, all the elements you need to make the 25 tags! Just cut them out and start gluing!
The already printed kit includes: 8 pages of printed elements that are ready to be cut out to create the 25 tags, 5 double-sided pages of instructions that also include a page of activities and gift ideas, 2 pieces of 8.5 x 11 chipboard, and 8 chipboard snowflakes!

The digital PDF kit includes: All PDF files for you to print at home – the elements to create 25 tags, full instructions with photos and a list of ideas for activities and gift ideas to include in your advent calendar!

To display our calendar, we used a 7Gypsies Photo Display and some Gator Clips, but you could easily display this on a tree (or in your tree for an extra fun “hunt” each day) or string it from a banner! There’s lots of possibilities!

We are super excited about the holiday season! It’s going to be a great one!
xoxo, Elle