Project Life

It’s Tuesday which means another week of Project Life here at Elle’s Studio!  This week’s Project Life covers the week of February 13-19.  My theme for this week as I was putting together my Project Life was: Break the Rules!!

Yes you read right, Break the Rules.  I think it’s funny how as crafters we can establish a set of unspoken rules we feel we must follow.   I feel like sometimes those “unspoken rules” could limit our creativity.

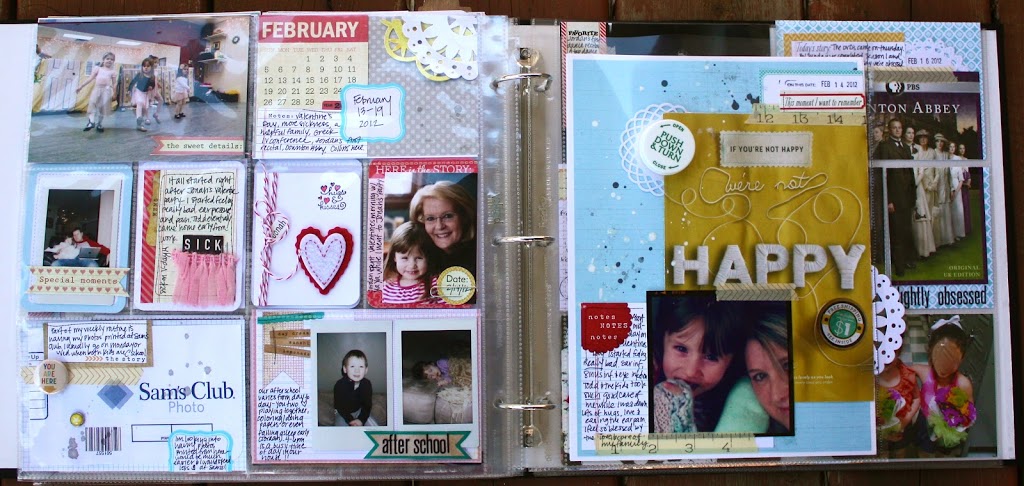
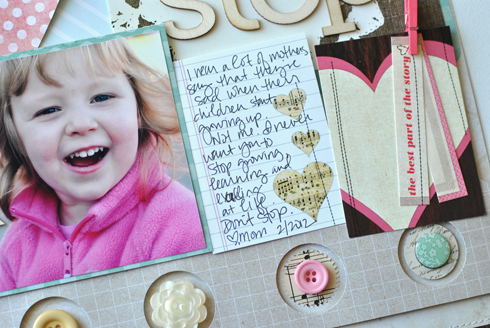
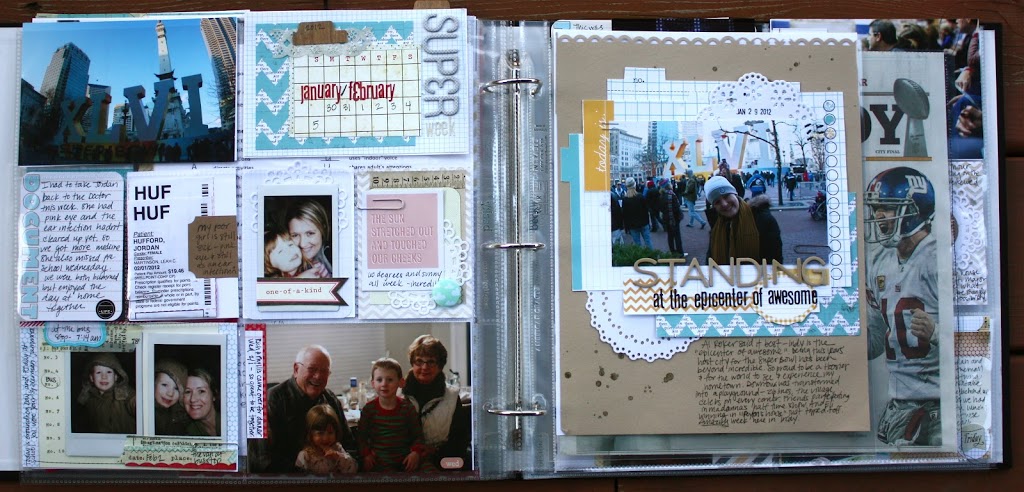
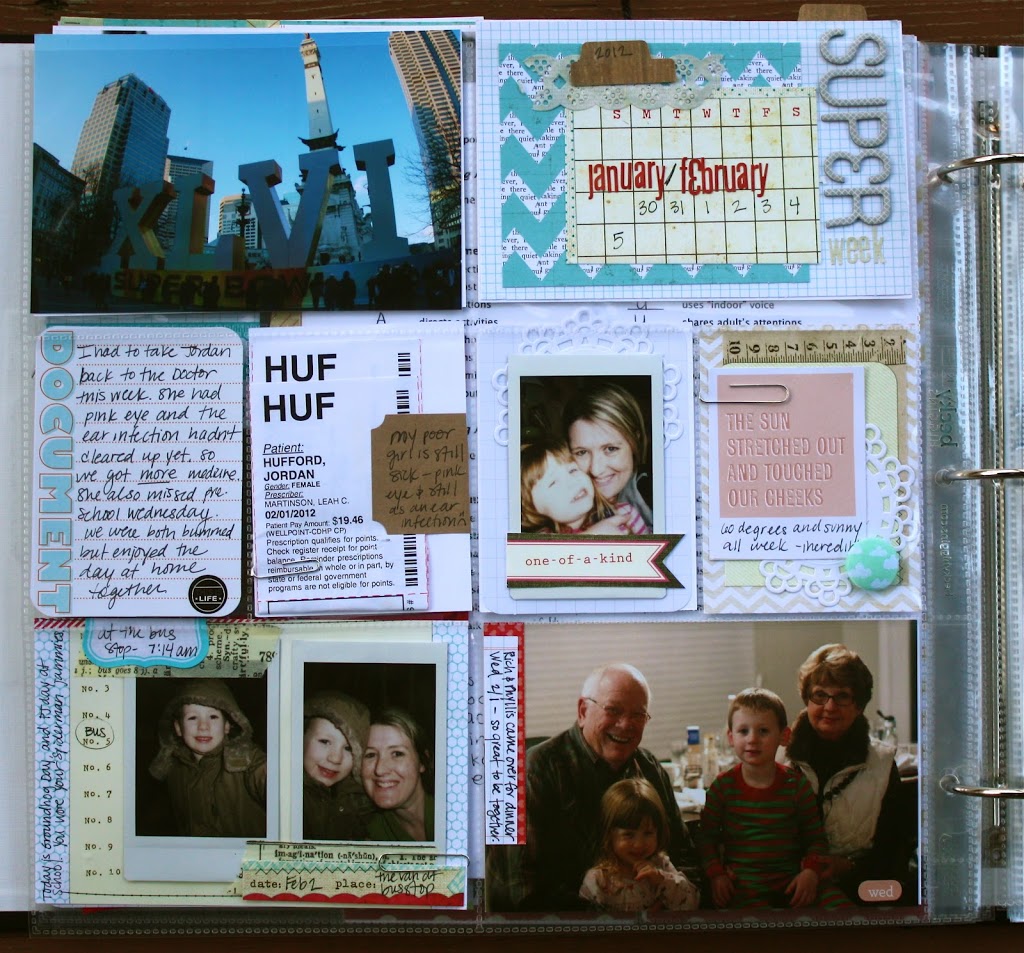
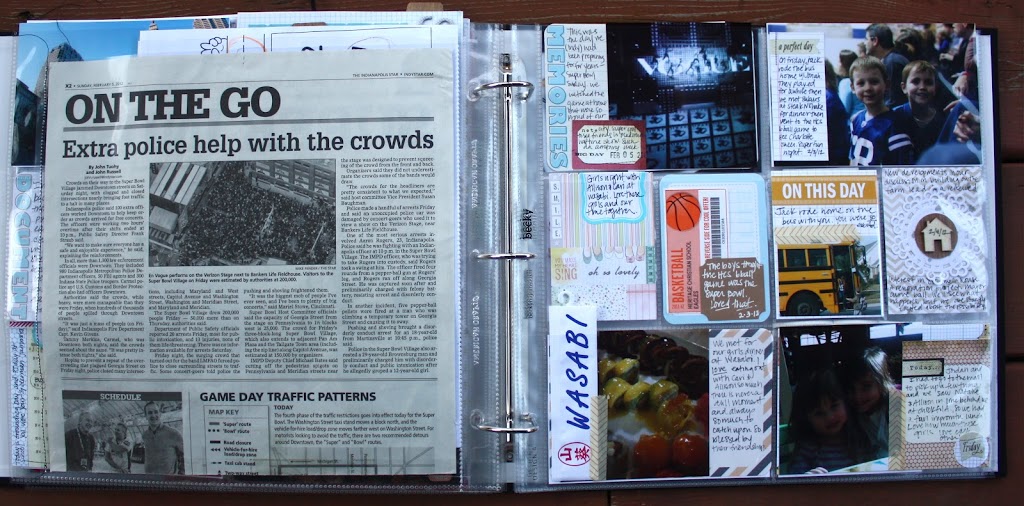
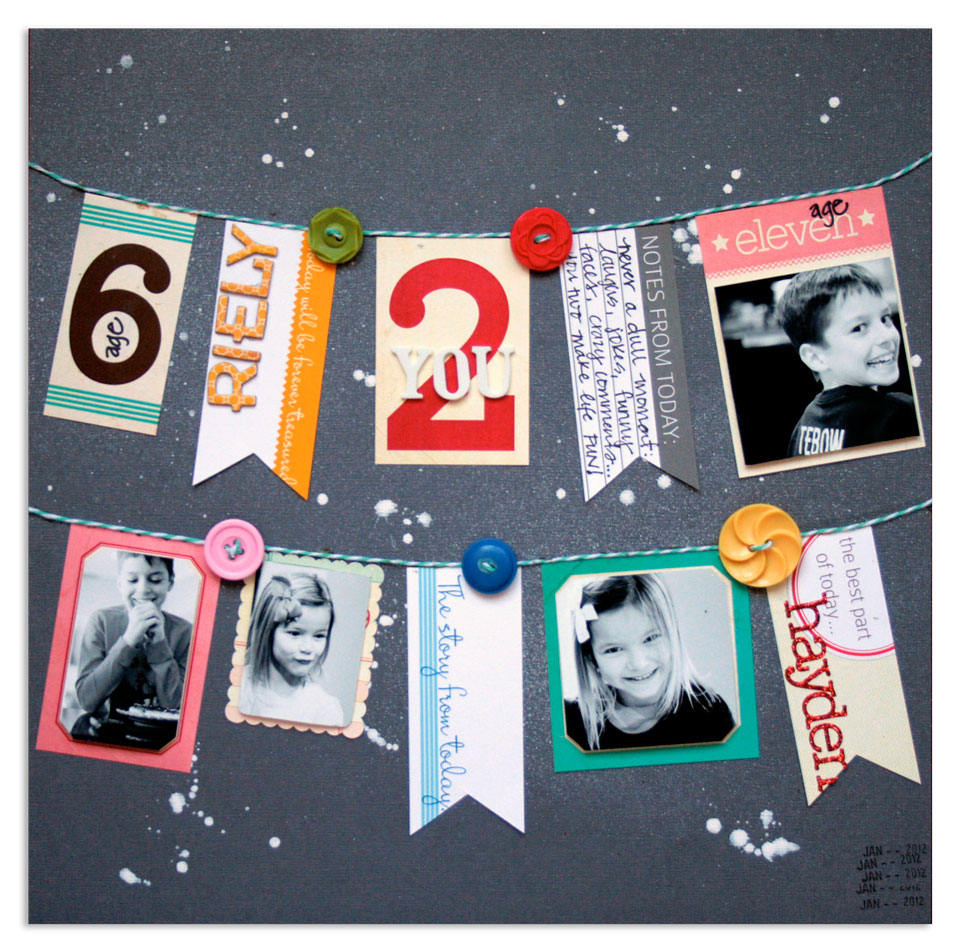
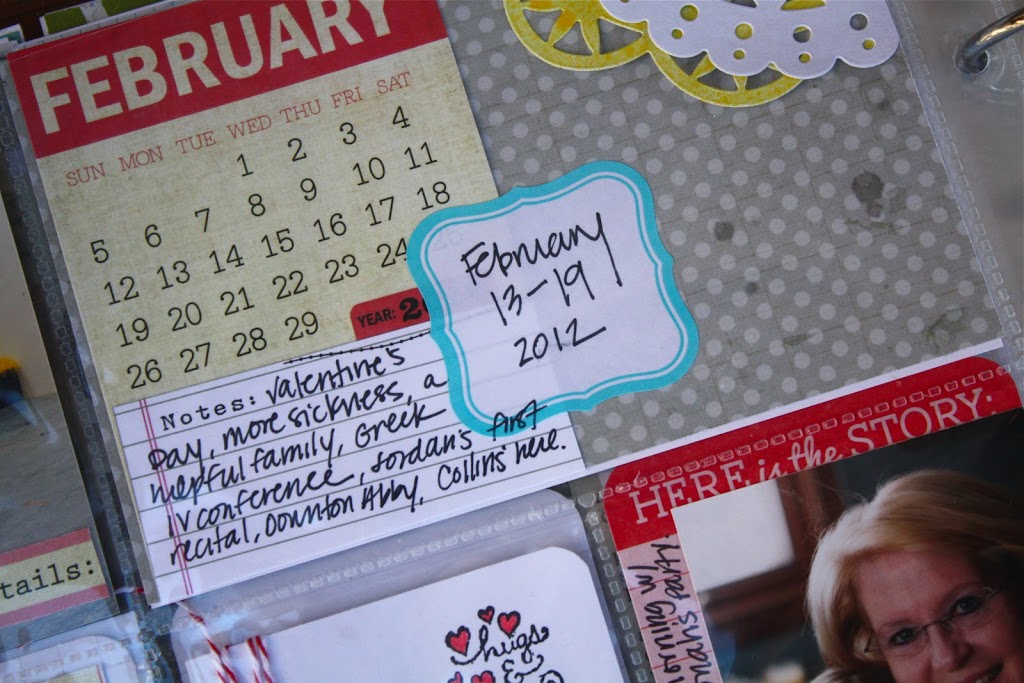
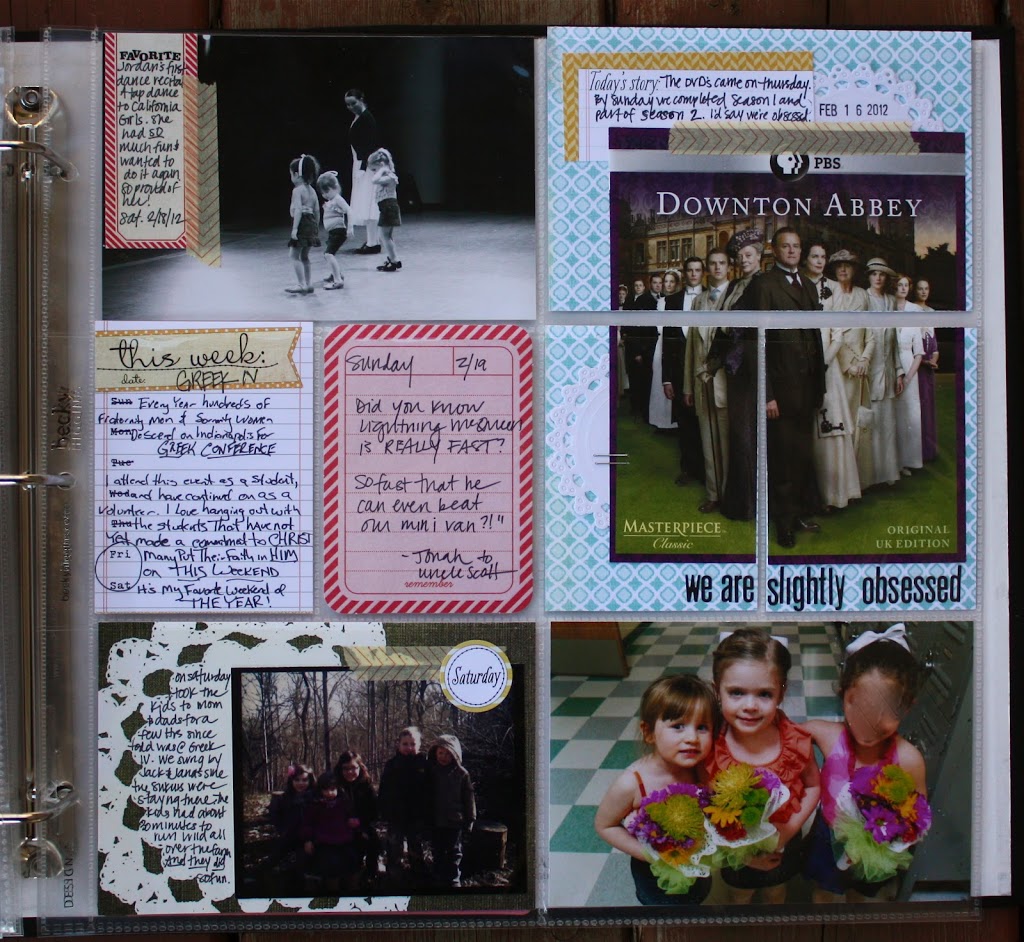
One of the first rules I “broke” in this week’s Project Life was displaying my photos chronologically.  I have always felt that I should place the photos from approximately monday through wednesday on the left side, and on the right side should be about thursday through the weekend.  All appearing in order of course.   Well, I decided to mix it up a bit this week and included a photo from Thursday in the top left corner (shock!).

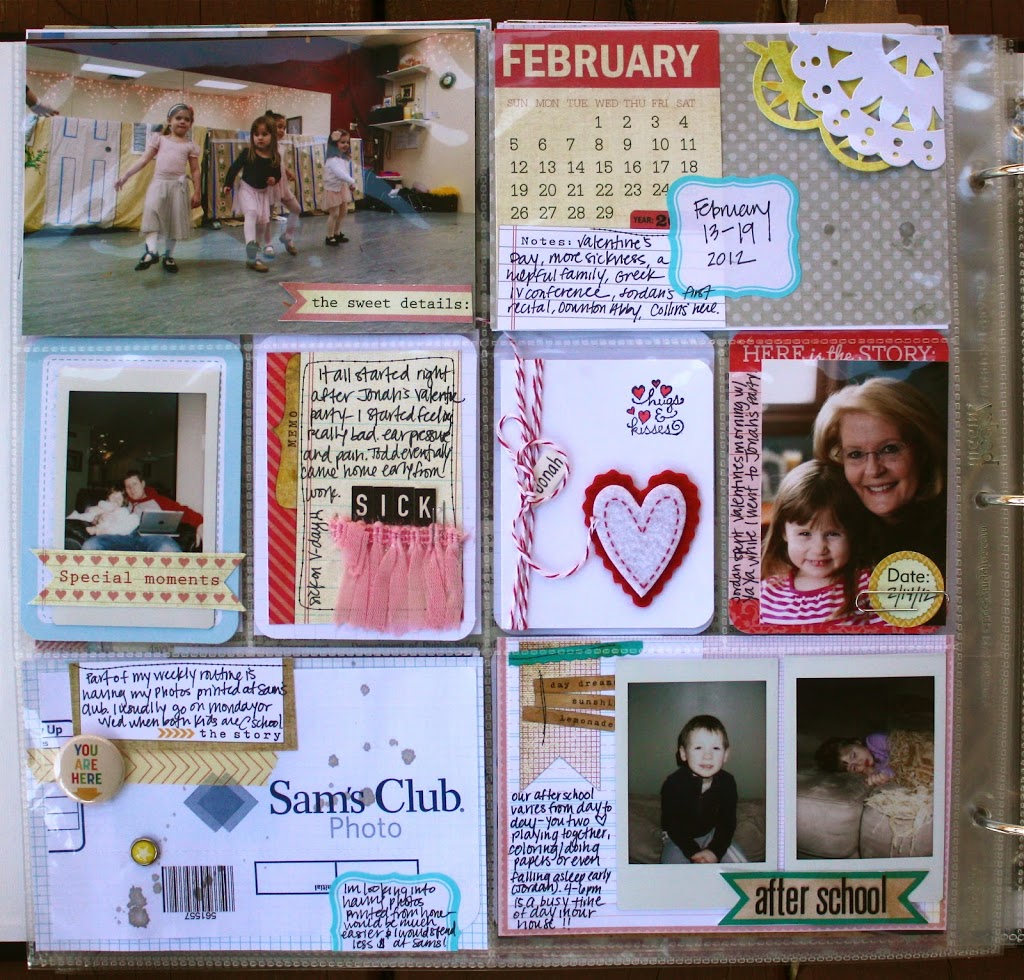
It occurred to me that the correct “chronological order” of my week is not what I want to remember about our lives years down the road.   I want to remember the stories and special moments from that particular week.   So if a photo looks better placed in a different spot, then I am going to go for it!!

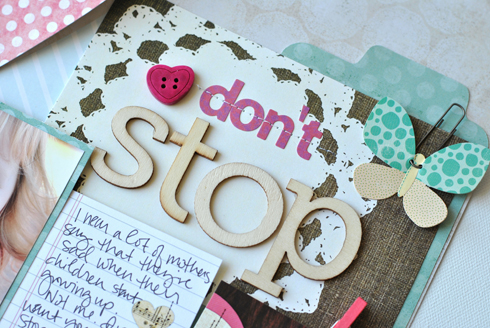
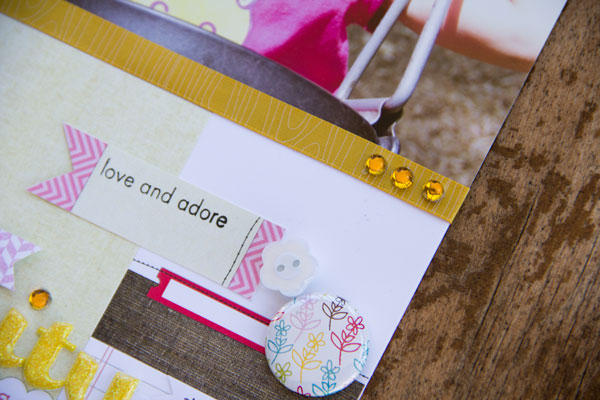
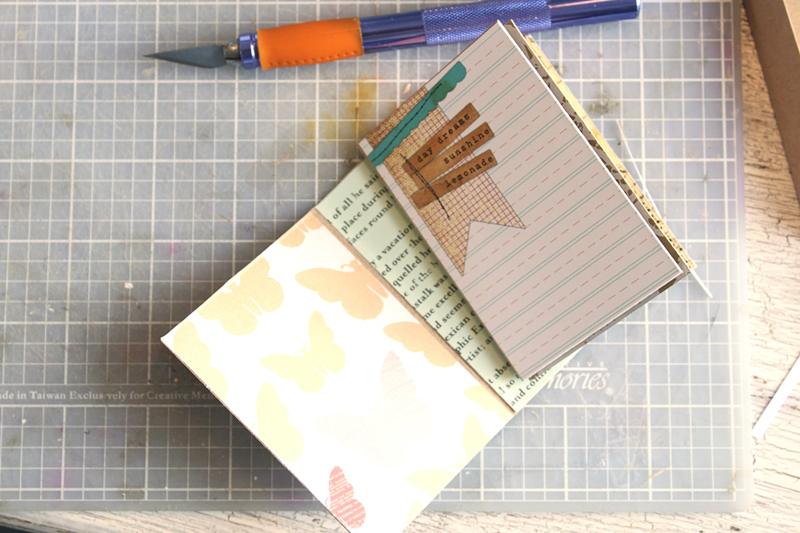
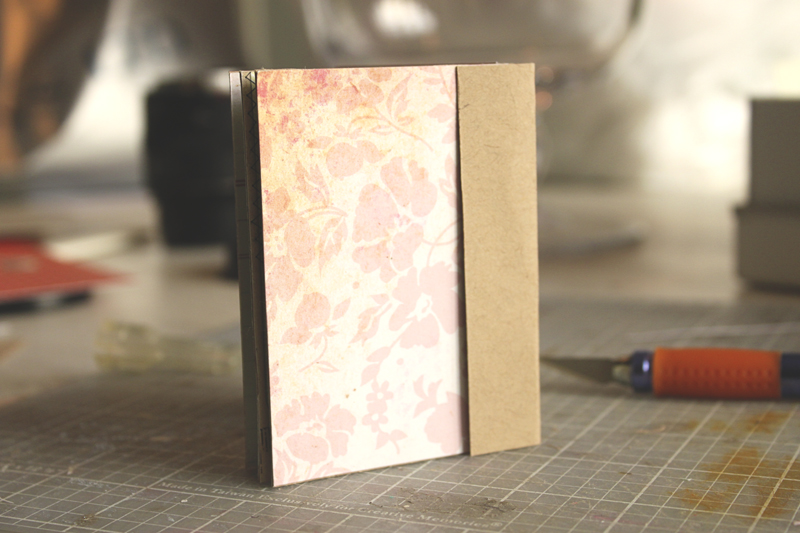
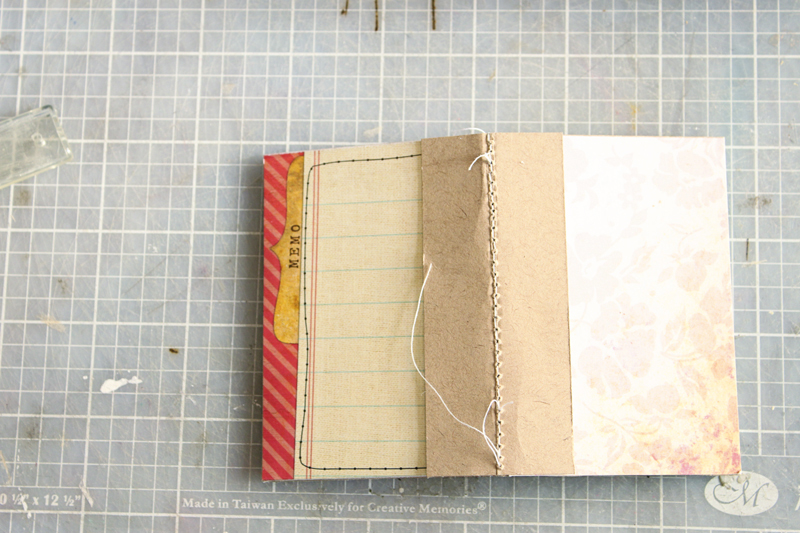
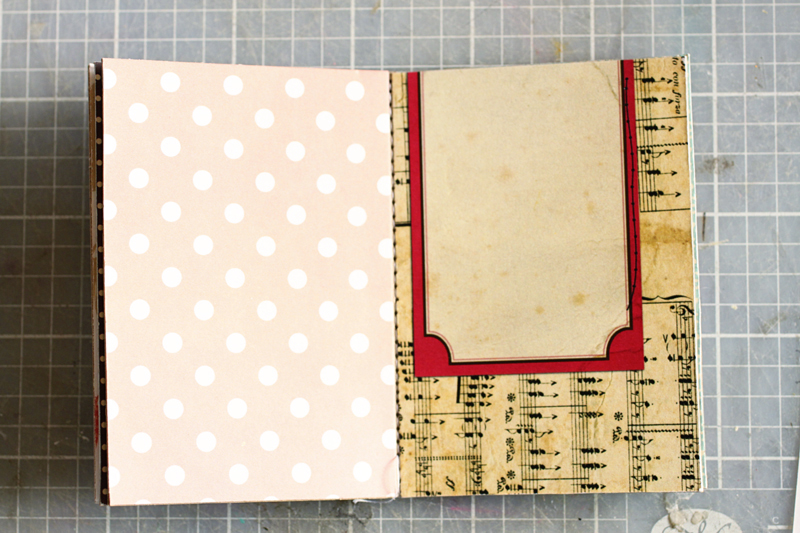
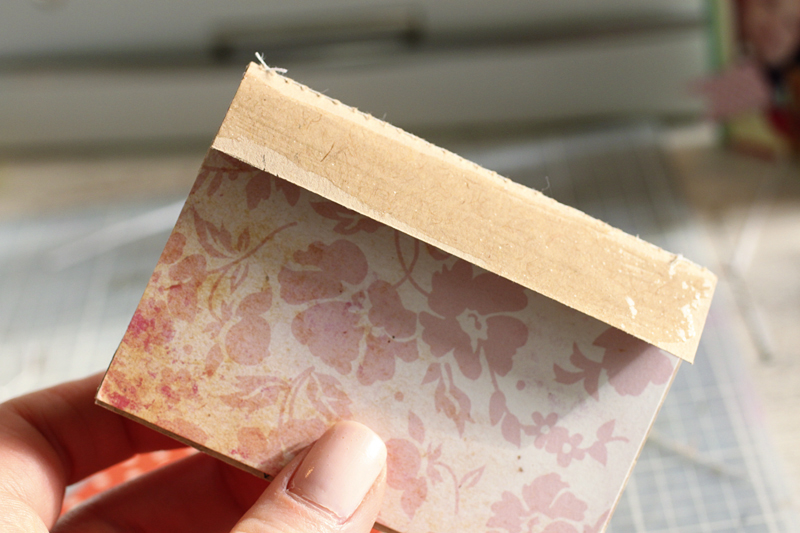
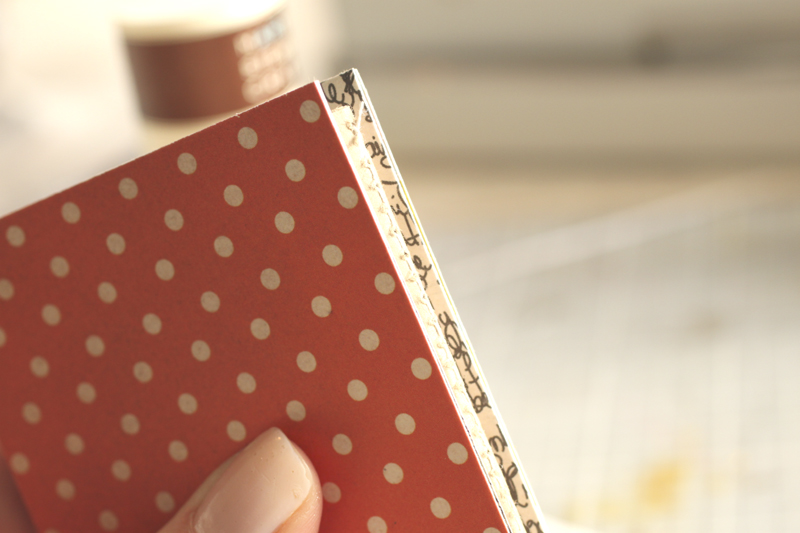
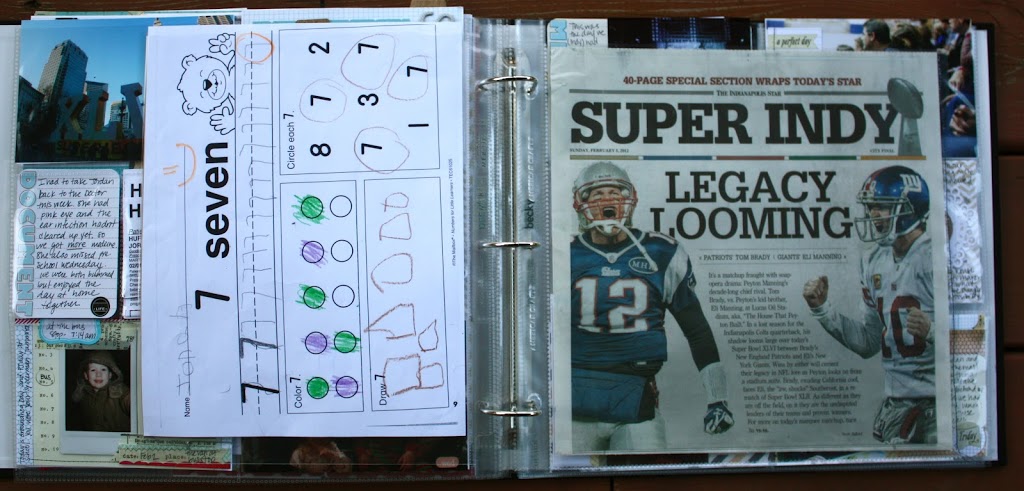
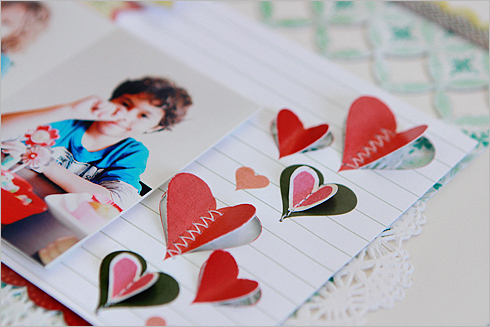
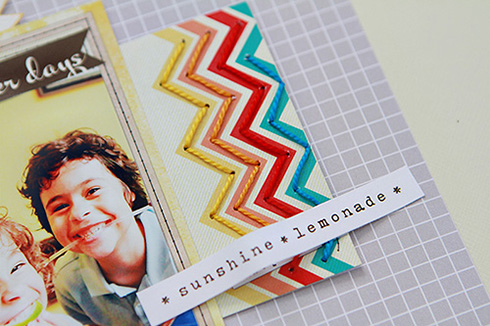
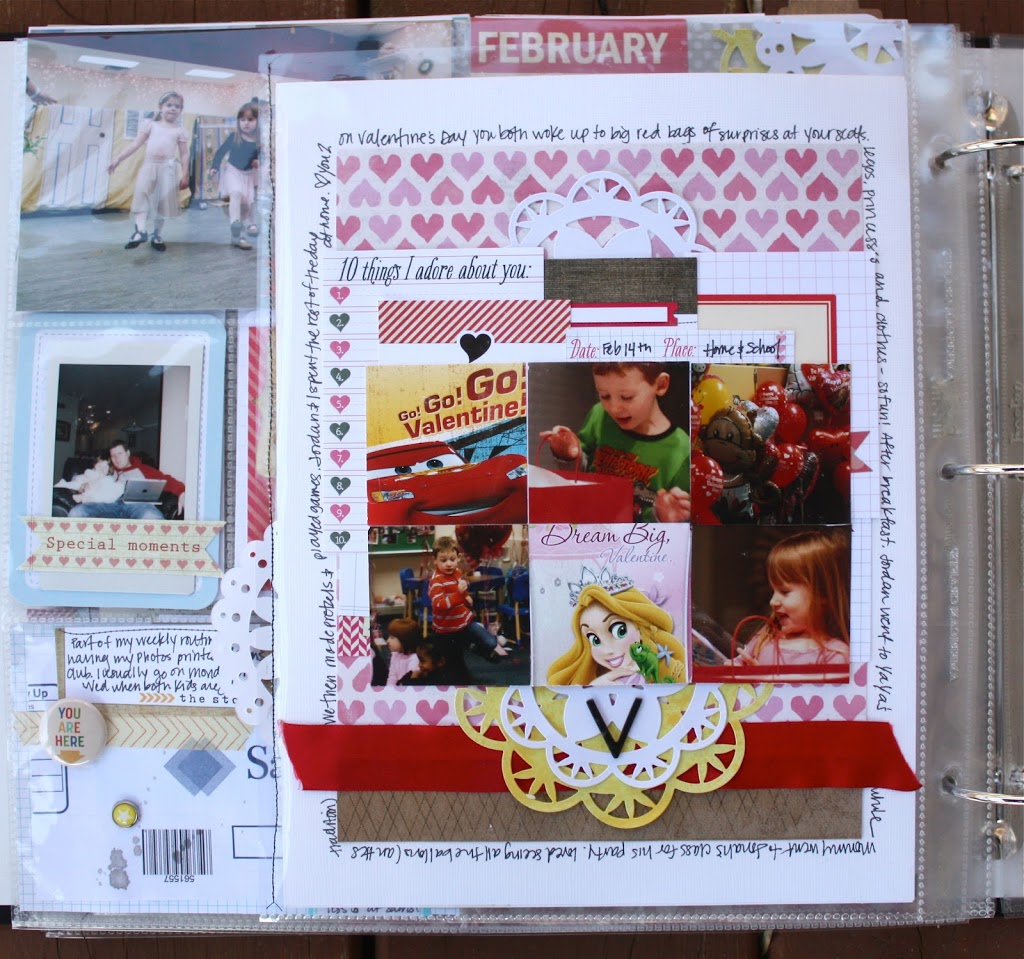
The second rule I broke, was I created a layout specifically for Project Life.   I dabbled with this a bit in last weeks post, however this layout is much more geared toward Project Life.  First of all, it’s double sided.  Second, it incorporates Project Life “elements”, such as a catalogue cover, my prescription bottle cap, and my children’s Valentine’s from this year.  These are not items I would put in a regular layout, And it took much less time to create!   It’s fun and inspiring to see layouts and Project Life intersect.

For this layout insert, I created an 8.5 x 11 layout that’s double-sided.  One element that I love about it, is that there is a doily sticking out on the side as a “tab”.  With that doily, I wasn’t able to place the layout in a regular 8.5 x 11 page protector, because it wouldn’t fit.  So, I placed the layout in a 12 x 12 page protector and trimmed the side where I wanted the page protector to end.   With the layout in the page protector, I taped top part of the layout (at the opening of the page protector) shut, and paper clipped the sides.   I began stitching from the bottom to the top.   It was trial and error, because i did start stitching at the top but the protector would bunch up quite a bit due to the bulkiness of the bottle cap.  I stitched over the doily as well.   I love how it turned out!

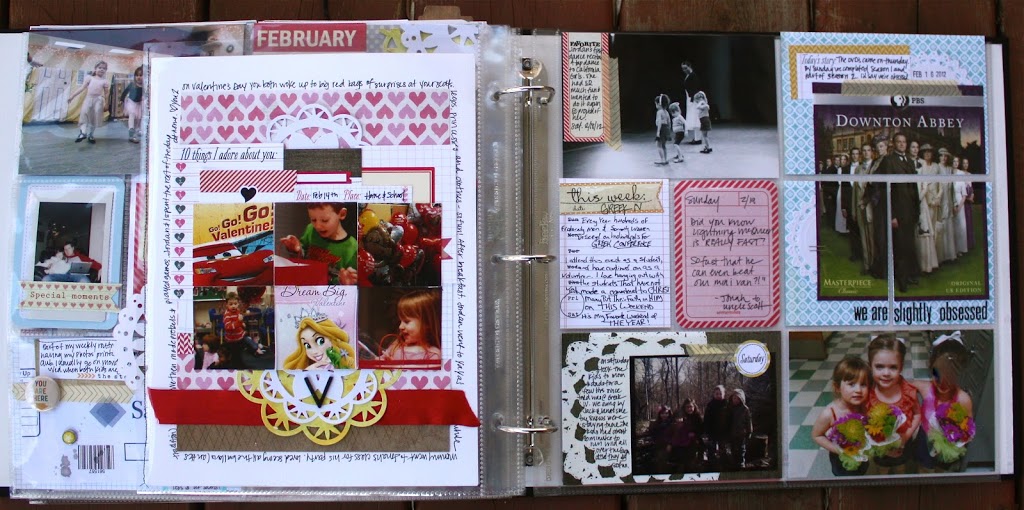
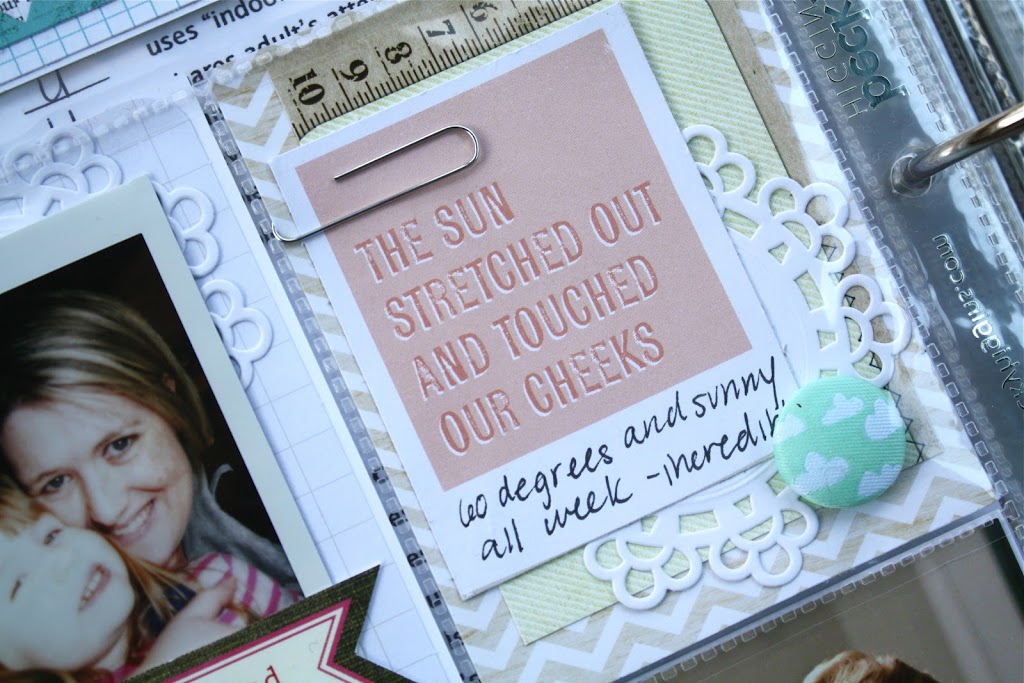
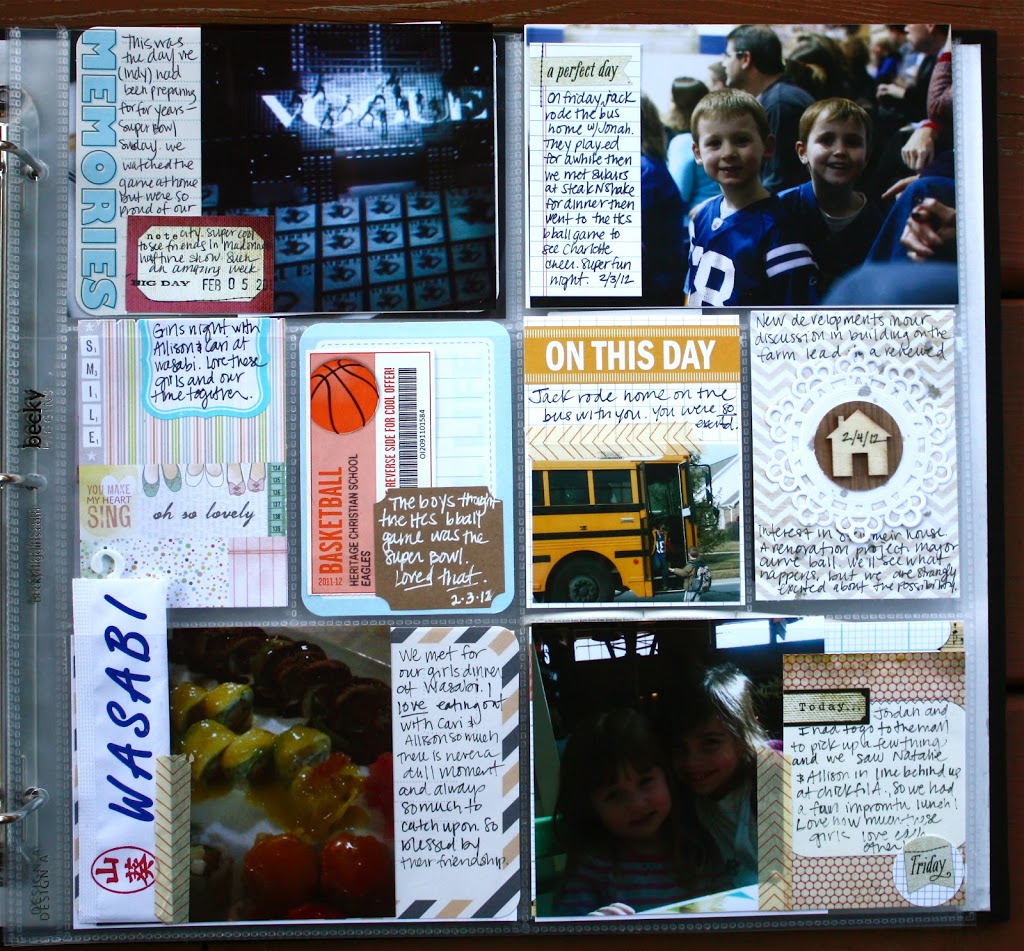
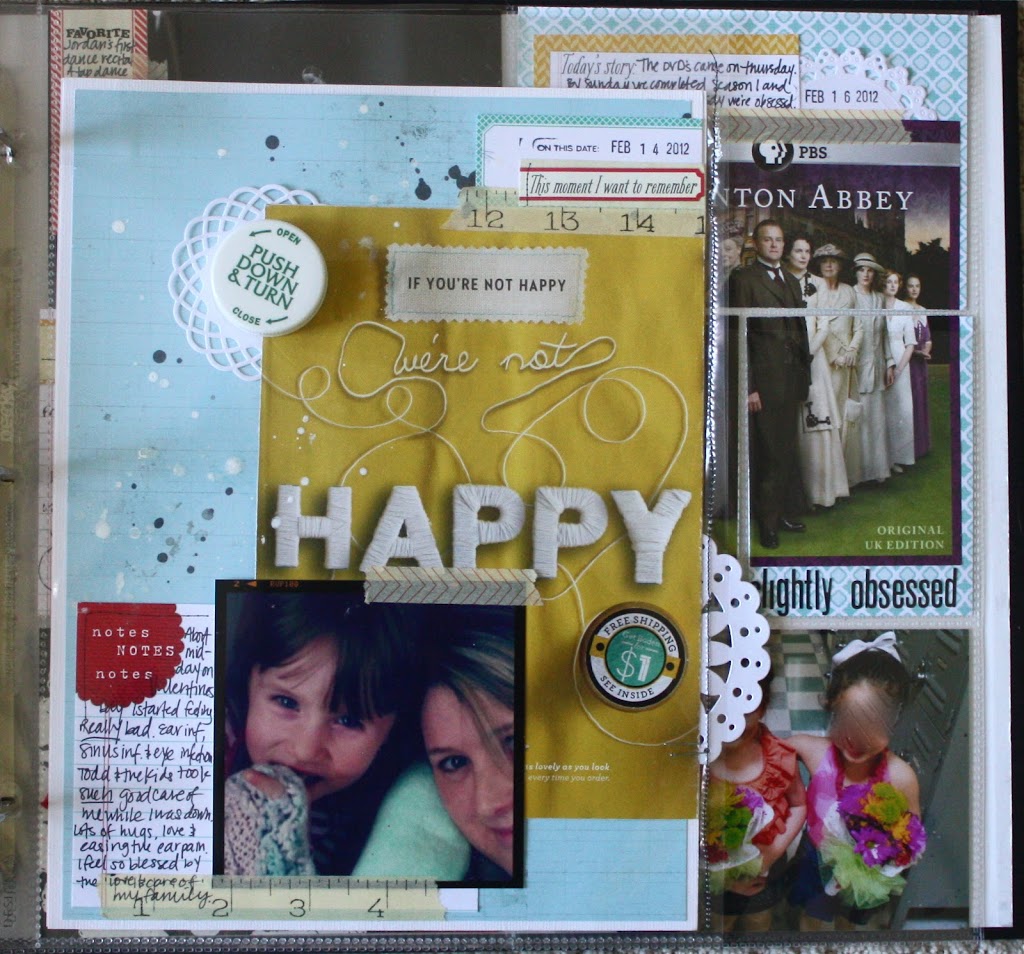
The third rule I broke, was limiting my self to each compartment of the Project Life page protectors.  I really enjoy Kelly Purkey’s style and how she approaches her Project Life album.  She frequently uses enlarged photos and breaks them up into many different pockets in her album (you can see an example of this here).   I was too chicken to try this with an enlarged photo, so instead I used a DVD cover to try it out.  I think it’s a fun way to break things up a bit, and add a different element to your page.   I also think it’s a great way to highlight a photo you love, OR a great way to still create a great Project Life page if you didn’t take many photos (just pick one!)

I hope a few of these ideas inspire you to “break the rules” a little bit and try something new this week as you create your Project Life spread!

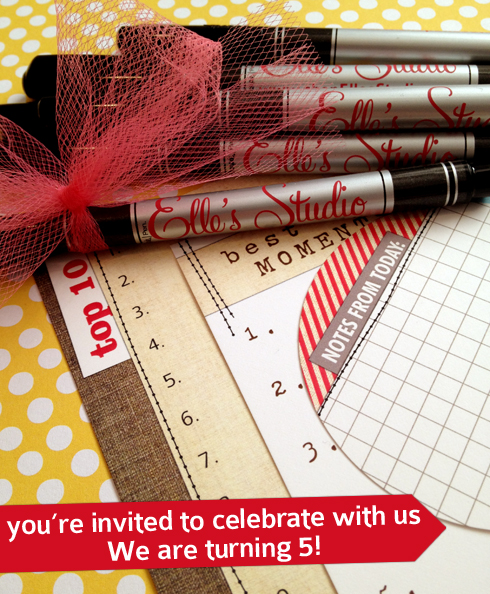
We have a winner from last week’s Project Life post!  Congrats to Kerry!!!  Please send us the following info to info@shopellesstudio.com to claim your prize!
Name:
Address:
Prize: Project Life Feb 21

We have another giveaway today!  Leave a comment here for a chance to win a $15 Prize Pack from Elle’s Studio!

Project Life was created by Becky Higgins as a way to simplify how you document life and preserve memories. Photo pockets used in my Project Life album are created by Becky and can be found here.  You can read of all the Elle’s Studio Project Life posts here.

You’re invited to celebrate with us all March long!

This March, we will be five years old, already! Can you believe it? We are so excited to be turning 5 that we thought we should celebrate all month long!

Check back on March 1st to see some very fun surprises – like a free gift with every order and some new items, too! Lots of sneak peeks in the photo above πŸ™‚

Also, every Saturday in March will be something extra special, so make sure you tune in for all 5 Saturdays… and I can’t leave without giving you a little hint about the first Saturday… It usually only happens once a year, but we’ve decided to do it again just for you guys! And, it has something to do with shipping πŸ˜‰

We can’t thank you enough for all your support during these years! We look forward to spending many more with you πŸ™‚

Make It Sunday with Jennifer Chapin

Hi! My name is Jennifer Chapin and I’m excited to be here on the Elle’s Studio blog sharing a layout! A little about me – my husband and I live in Eastern Iowa with our little girl Keira and our dog Hunter. We are also expecting a new baby in August! During the week I work as a nurse. Currently I am designing for GCD Studios, Pretty Little Studio and my local store, the Scrapbooking Studio. I was also on the Elle’s Studio team in 2011. You can visit my blog here: {creative crafting}.

Here’s how this layout came together:
1. I started with a topic and title in mind for this layout. When Elle sent me tags from the One and Only line, I knew the hearts would match perfectly! I started with a neutral base of patterned paper, then added the bottom border of buttons.

2. One of my new favorite techniques is to use your punches to create negative space. I punched a strip of patterned paper with my circle punch and popped it up on foam adhesive. In the negative space, I added embellishments, buttons and brads.

3. I added my photo, journaling cards and title (card behind title is from the Collected Large Journaling tags), then used my Silhouette to cut a large heart for above the photo. All the patterned papers I used on this layout are from the new My Mind’s Eye Miss Caroline line.

Thanks again Elle for asking me to participate! I had a lot of fun making this layout!

February Guest Designer : Cindy Liebel

Last July I got to meet and hang out with Cindy at CHA in Chicago and she is one of the sweetest ladies! And, to top it off, she is also an amazing scrapbooker – After seeing her layouts in person at CHA I was dying to see her guest design for us! So, you can image the happy dance I did when she said yes!

Here’s just a tiny peek at two of her amazing layouts – you can check out the rest of her layouts in the Inspiration Gallery!

Name : Cindy Liebel
Location : Virginia
Blog : http://tctliebel.typepad.com
Twitter : ct2designs

What are three products you can’t live without?  
Cardstock, punches & brads/pearls

Where do you scrapbook?
I use our dining room as my scrapbook studio. it’s right off the kitchen & the family room, which is perfect because i can cook dinner and still interact with the family while they are watching a movie.

What do you listen to/watch while scrapbooking? 
XM Radio, channel 51 BPM…love dance music

What is your favorite color combination? 
I LOVE tone-on-tone look


What/who inspires you?
My children inspire me ALWAYS

What are three facts about you that others might not now? 
I’m a slow reader, I can do 27 regular pushups in one minute & I chew gum really loud


Alright, now it’s time to give away Cindy’s favorite Elle’s Studio items!

Just leave a comment to be entered to win: Layered Number Cut Outs, One and Only Strips, and Pink Pennants! One comment per person, please. We’ll draw the winner this Wednesday, February 29th, 2012.

Mini Album Tutorial by Meghann!

Hi everyone! Meghann here with a simple tutorial on how to create your own book-bound mini album, like the “You Are My Number 1” mini that I made for the January Inspiration Gallery. It really is so simple and fun! I could see giving this as a gift, of just keeping in your purse as a tiny brag book!

Supplies needed: Cardstock, chipboard, trimmer, liquid glue, bone folder or scoring mat, patterned paper and/or Elle’s Studio tags, sewing machine, wide Washi tape (I used a 3/4″ wide tape)

Step 1: Cut two pieces of chipboard to 2-5/8″ x 3.75″ for your cover. Cut 3 pieces of cardstock to 5″ x 3.5″ for your pages. Cut one more piece of cardstock to 2″x 3.5″. This will be what attaches your cover to your pages.

Step 2: Fold the 5″x3.5″ sheets in half width-wise using a bone folder or a scoring mat. Fold the smaller cardstock piece in half lengthwise.

Step 3: Cover both sides of your chipboard covers with patterned paper of your choice. I find that a liquid glue used sparingly is the best method.

Step 4: Put your three folded cardstock pages together and squeeze as if you were closing your book. The middle two pages stick out further than the outer page. This may be just a pet-peeve of mine, but I usually trim them at this stage so that the pages are even when the book is closed.

Step 5: Start adhering patterned paper and/or tags to the inside of your pages. For this album, I used the Handmade Layers Note Tags and scrap patterned paper. One good tip: Don’t adhere your paper or tags all the way to to the crease of your page- it will fold closed better if there is a small gap between the crease and the start of the paper, as you can see below.

Remember to lay out your pages as your book will go together, so that you can have the patterned paper designs that look nice together on pages next to each other.

Step 6: Put your pages together as they will go in the book and place the small strip of cardstock on the outside, lining up the creases. While holding together with the inside of the book facing you, use your sewing machine and sew along the crease of the pages.

The backside will look like this once you’re finished with this step. (Don’t worry, we will cover up that unfinished edge.)

The inside should look like this- a nice stitched line.

Step 7: Generously glue both sides of the small cardstock piece with liquid glue. This is what will attach your pages to your cover.

Press the pages in between the inside of the front and back covers, with the sewn pages pushed in about 1/16″ from the outside edge of your covers. Make sure that you have your covers turned the correct way before you squeeze! 

Now this is the part where you have to be patient. Put something heavy on the book and wait until the glue dries before moving on to the next step.

Step 8: Once dried, run a thin line of glue along the edge of your front and back covers along the spine of your book. This will ensure that your washi stays in place.

Attach a piece of wide washi tape to cover your unfinished sewn binding.

Step 9: You’re finished creating the album! Now you can add photos & embellishments as you see fit. Just remember, with this mini, you might want to stay away from dimensional embellishments on the pages, as it will be very difficult to close.

I hope you enjoyed this tutorial, and you can see that creating your own bound mini really is fairly simple! This can easily be switched up to any size that you choose. Happy creating!

Sketch Thursday 02.23.12

We have another great sketch this week inspired by Kimberly‘s ‘love you more’ layout from the January gallery.

Once again, two of our awesome DT girls played along and created awesome layouts (did I mention awesome? :))

Ursula said: I was really inspired by the large photo and the tag border.  I didn’t want to have the tags go all the way across so I decreased the number of tags and only applied them to half my page. Since my photo was more girly, I dressed it up with some ruffled fabric and stitching.

Kim said: I loved the banner cluster at the top of the layout so I decided to layer some Elle’s Studio tags and other bits and pieces too.I kept the little snippets days of the week tag as one large tag instead of cutting it into seperate tags. When I was assembling the layout I decided to skip the banner at the bottom as my pattern paper was busy enough, I just added a tag or two stapled to the left side of my page to finish it off!

Now who’s ready to scrap?! If you create a layout inspired by this sketch please post your link here for a chance to win a $10 Elle’s Studio gift certificate. Link must be posted by 11:59pm on Wednesday, February 29, 2012.  Gift certificate can be used towards purchase of products only and can NOT be used for shipping charges. Gift certificate balance must be used in a single transaction.

Last week’s randomly selected winner is Jennie! Congratulations!  Please email the following information to info@shopellesstudio.com.
Name:
Contest: 02.16.12 Sketch

Our February Inspiration Gallery is LIVE!

Our February Inspiration Gallery is here and it is awesome! When I saw these projects being turned in I could not wait for you to see what the ladies on our Design Team have done – There are some great projects in there to get you inspired!

Also, come check out who our special guest is this month! We will be highlighting her in a couple days πŸ™‚ She did some amazing projects, too!

Inspiration just in time for the weekend! Love it!!

Project Life

Welcome to another week of Project Life here at Elle’s Studio!   For this week’s project life I am sharing the week of January 30th- February 5th.

As you can tell by the dates I have gotten slightly behind in my Project Life album.  We had multiple rounds of colds and ear infections in our family the last few weeks (myself included!).  I reminded myself this week that there is no “time table” when it comes to Project Life.  I see so many people post on message boards that they have fallen behind and feel very discouraged.  My hope today is to share with you that life happens and some days you can not get it all done, and that’s okay.  “Being caught up” is really a subjective term.  Don’t let what other people are doing, or where they are at in their Project Life album discourage you and your progress.  There are no rules here.

This was a fun week to document because it was Super Bowl week.  I live in Indianapolis (which was the host city for the Super Bowl), so life here was very exciting and electric.  You can see on my title page how I even called it “Super Week”.

In addition to many of Elle’s Studio Handmade Layers and Collected items, I used Lily Bee Design’s Buttercup line, and Dear Lizzy’s Neapolitan line.  Both of these collections look great with Elle’s Studio tags!  I included an 8.5 x 11 layout I made for Lily Bee in this week’s project life.  I’ve never included a layout before, but I love how the smaller sized layout works with a Project Life spread.

In addition to the layout, I also included one of my son’s school papers, prescription stubs, ticket stubs, chopstick packaging, and the front page of the Indianapolis Star on Super Bowl Sunday.

In case you didn’t see, we added Dear Lizzy’s new roller stamp to our shop this week!  I had the chance to  play with it and LOVED how perfectly it works with our tags!!   It’s a great stamp for Project Life.

One of my favorite Elle’s Studio items that I use EVERY week in my Project Life are the Daily 3×4 Tags (seen here as the “On This Day” tag).  The pack contains a tag for every day of the week plus three bonus tags.  It never fails, I always include one of these for a photo or journaling in each week’s Project Life!

We have a few winners to share with you today!

Congrats to Samantha the winner of Ali’s Favorite Items.  Please contact us at info@shopellestudio.com with the following info:
Name:
Address:
Prize: Ali’s Favorite Items.

AND, congrats to Becky, the winner of our February 7th Project Life giveaway!  Please contact us at info@shopellesstudio.com with the following info:
Name:
Address:
Prize: Feb 7 Project Life.


We have another giveaway this week!  Leave us a comment here for a chance to win a $15 prize pack from Elle’s Studio.  We will announce the winner next Tuesday on our weekly Project Life post.


Project Life was created by Becky Higgins as a way to simplify how you document life and preserve memories. Photo pockets used in my Project Life album are created by Becky and can be found here.  You can read of all the Elle’s Studio Project Life posts here.


Make It Sunday with Lisa Dickinson – 02-19-12

Lisa Dickinson is a graphic designer living in Colorado with her husband, Mike, and two children, Hayden and Riely. She currently designs for Jenni Bowlin Studio, Lily Bee Design and Creative Memories and recently authored the book Design Workshop from Ella Publishing. Her simple but eclectic style has been featured on the pages of Scrapbooks Etc, Creating Keepsakes, Scrapbook & Cards Today, and Scrapbook Trends.  You can see more of her work at Gettin’ By, where she blogs about scrapbooking, motherhood, running, and her deep-seated hatred for the font Comic Sans.

While I love using Elle’s Studio tags for journaling, I also think they can make perfect homes for photos as well!  On this page, I strung a variety of Elle’s tags across my page pennant-style, using several of them as frames for my photos.

Here’s how this layout came together:
1.  Spray a dark gray cardstock with white mist. I used Mister Huey in Calico White by Studio Calico.

2.  Select an assortment of tags to create a banner.  Use some for journaling, and decorate others with a variety of letter stickers:

3.  Use a few of the larger tags to hold your photos. Measure the interior of the tags that will be holding your photos and print your photos according to your measurements.  I used foam squares to adhere my photos to the tags for a bit of dimension:

4.  Arrange your tags in two rows across the page, arcing them slightly to look as if they are hanging from a line.  Adhere them to your cardstock.

5.  Glue a long piece of twine across the top edge of each row of tags.  Embellish with buttons to complete your banner.

Challenge

Hello and happy weekend, everyone. Today I’m super excited to introduce a new blog feature… challenges! Each month we will issue a new challenge to (hopefully) spark some creativity and get you scrapping. Fun, right?! Who’s ready to get started?
This month’s challenge is to embellish your embellishments. For my layout, I dress up my Elle’s Studio tags πŸ™‚

I started with a 4×6 journaling tag and cut around some of the hears to add dimension. Then, I embellish them by adding patterned paper and machine stitching (straight or zigzag depending on the size).

ES products used: One And Only Large Journaling Tags, Pennants – True Love

You can interpret this challenge in many different ways… cut it, sew it, pop-dot it, add some glitter, sequins, twine or floss…you get the idea. Here’s another example from my September gallery where I added some floss over the zig zags on the tag:

I hope you are inspired to get creative and play along with us. Post your newly created layout to this blog post by Friday, March 17th for your chance to win a $10 gift card to the Elle’s Studio Store! I can’t wait to see what you all come up with.