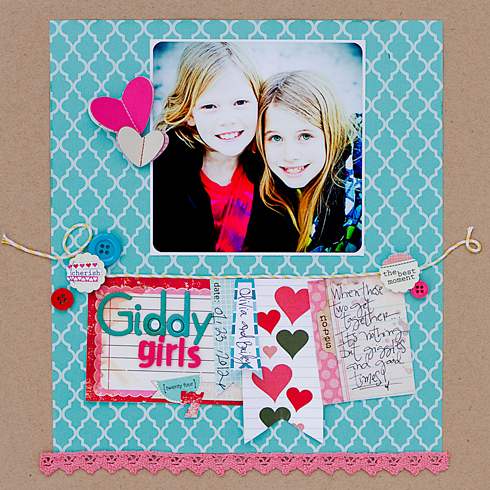
Welcome back to Sketch Thursday! Today we have a clean and simple sketch inspired by Rahel‘s Fun layout from January’s gallery.

Lots of white space + fun elements… what’s not to love, right? Meghann and Valerie played along with the sketch this week and look at the beautiful layouts they created:
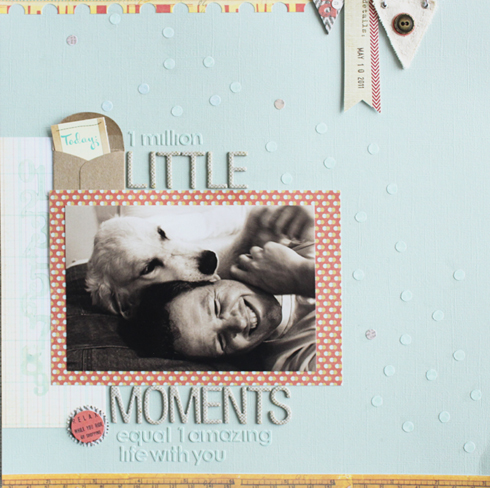
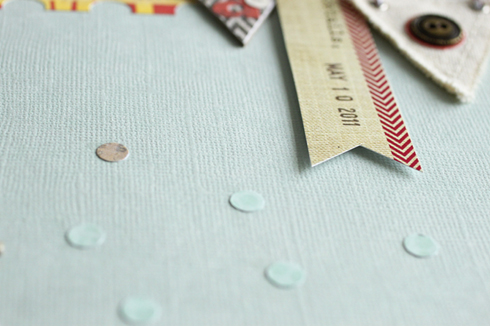
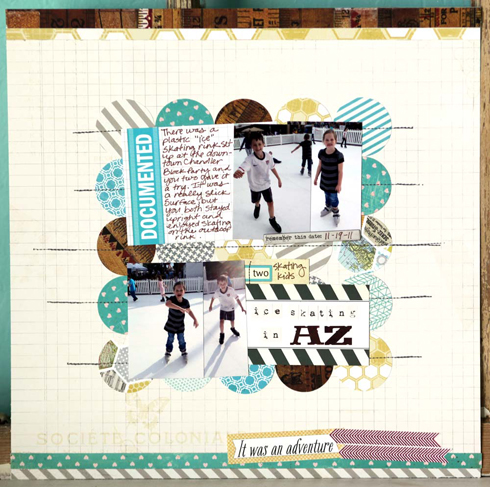
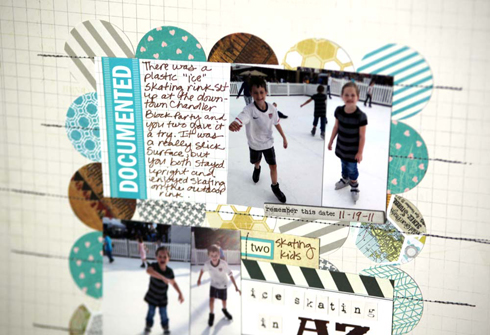
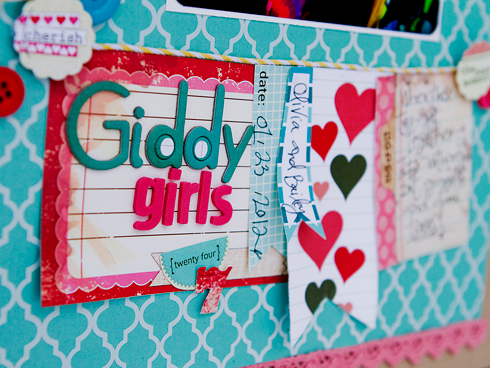
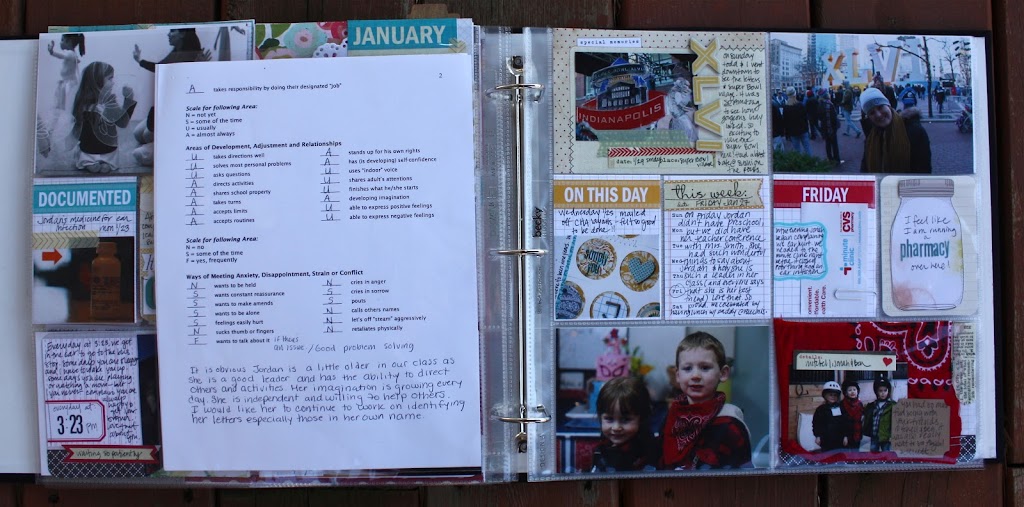
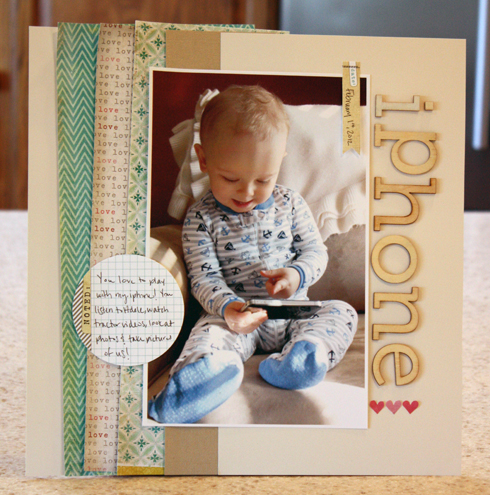
Meghan said: I really loved this sketch and I was intrigued by the simpleness of it, as well as the diagonal line of embellishments. I’m not a very simple scrapbooker, so I put my own spin on it by adding much more but using more tonal elements, such as the teal alpha stickers in my extra-long title and the teal confetti against the teal background. This is a great way to add more without it looking like too much more!
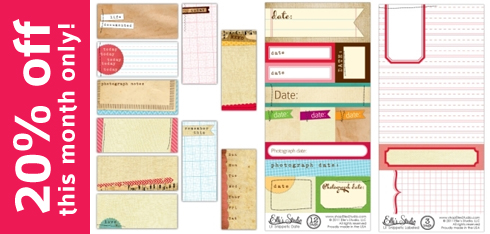
ES supplies used: Lil’ Snippets Days of the Week Turquoise- Today, Pennants- Red
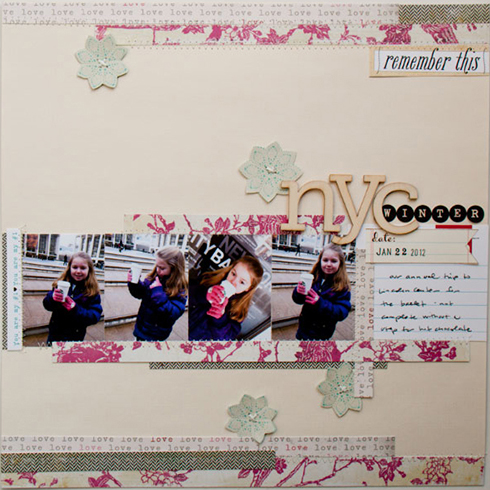
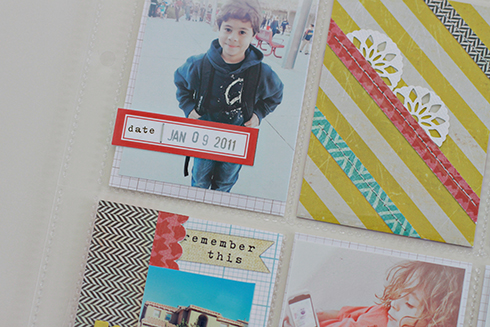
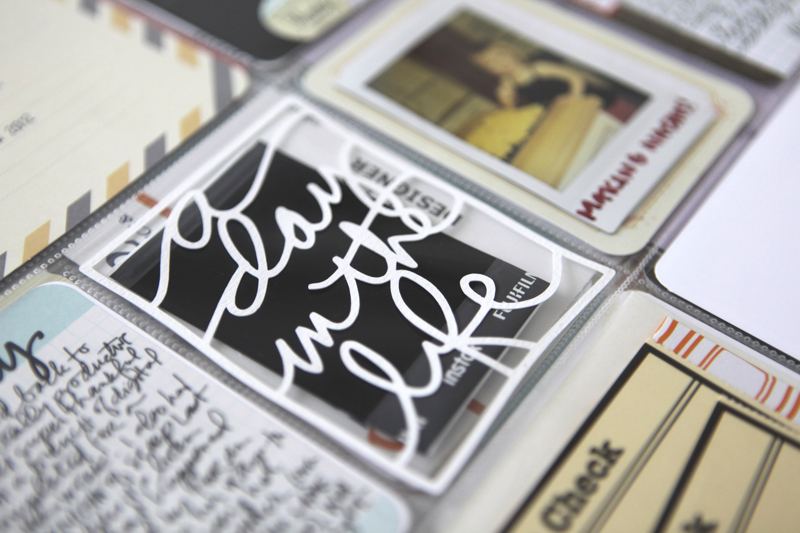
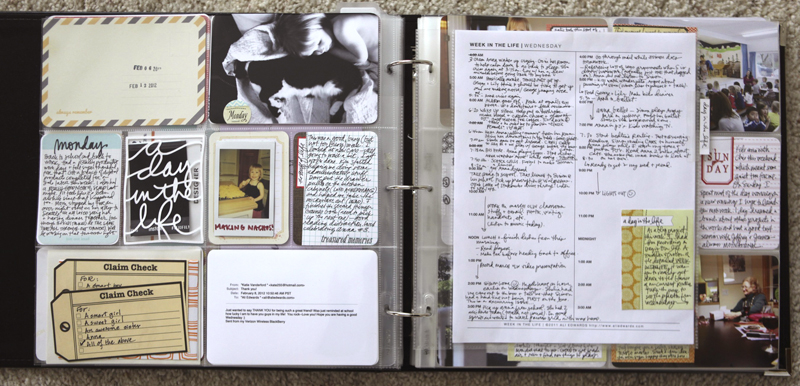
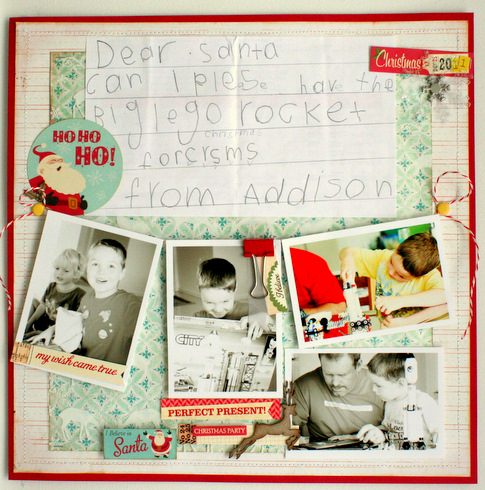
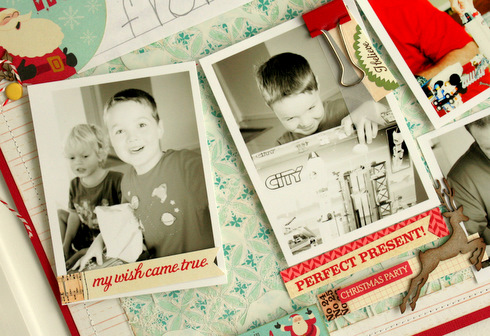
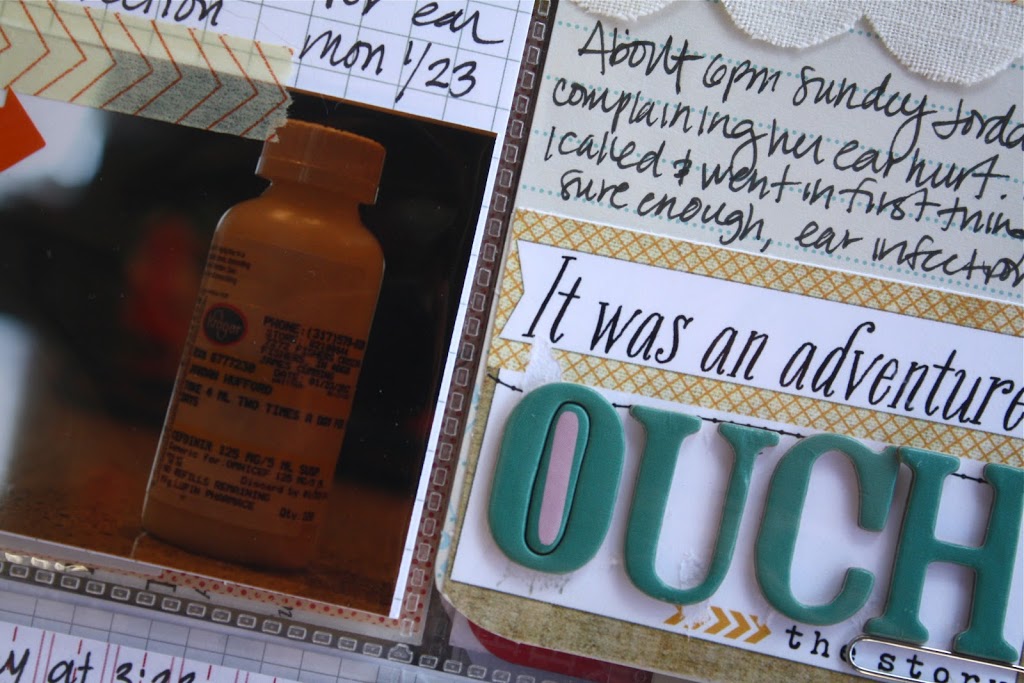
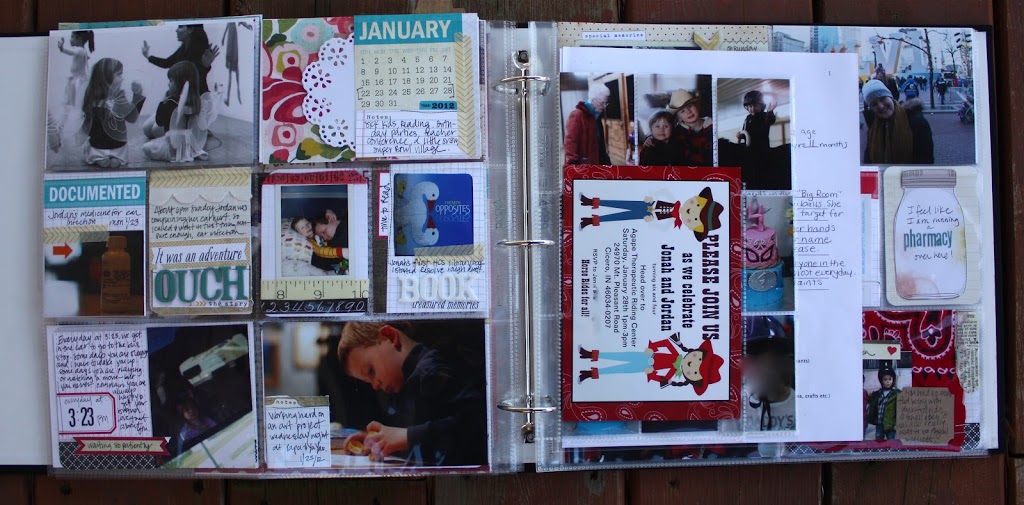
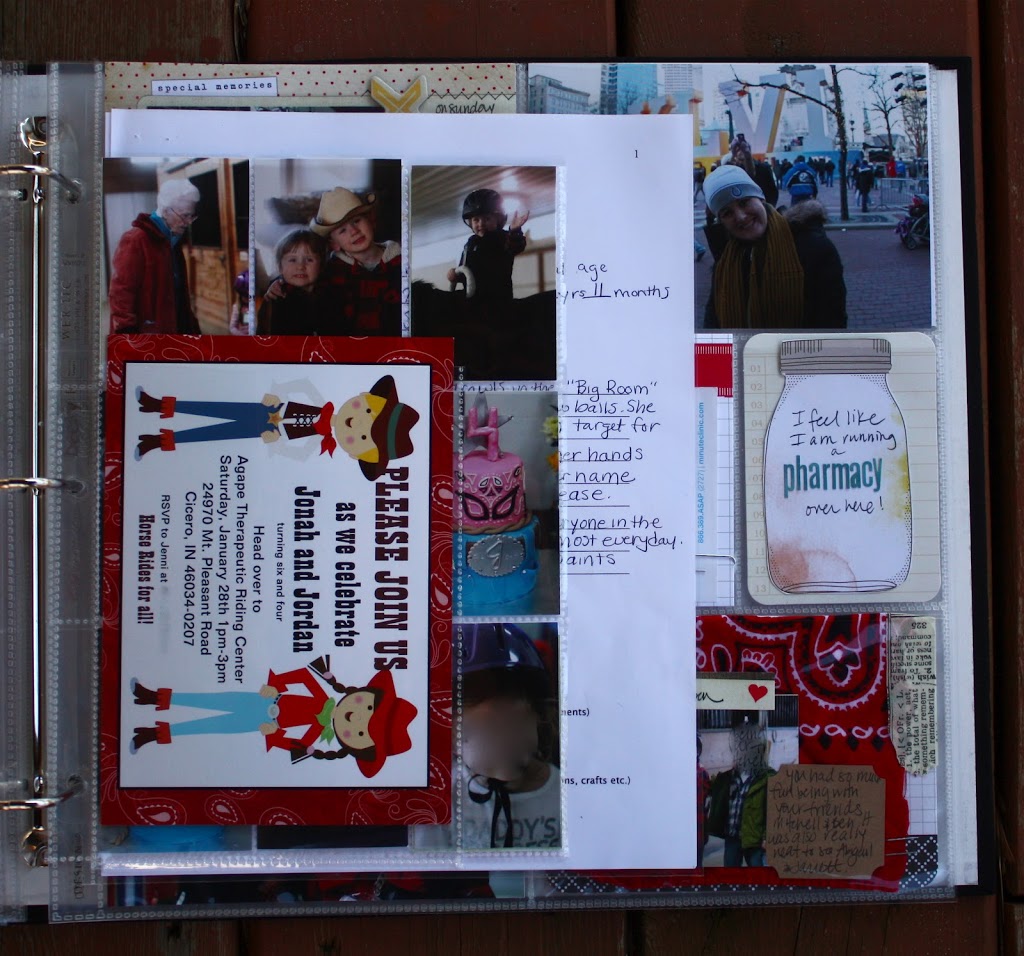
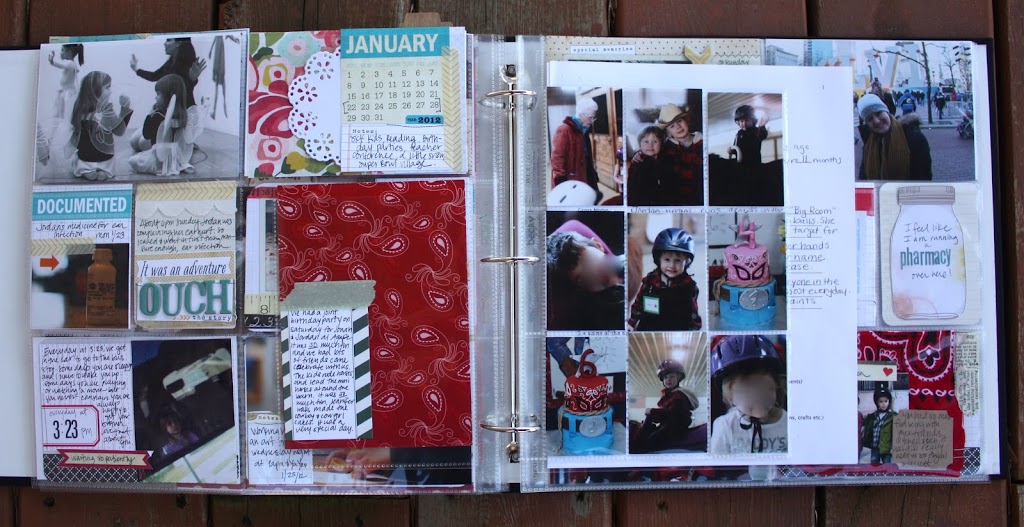
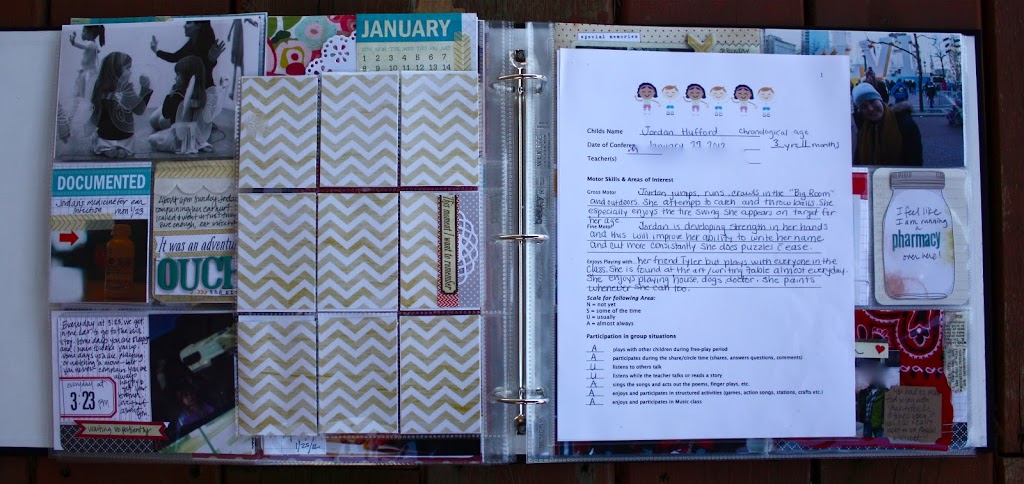
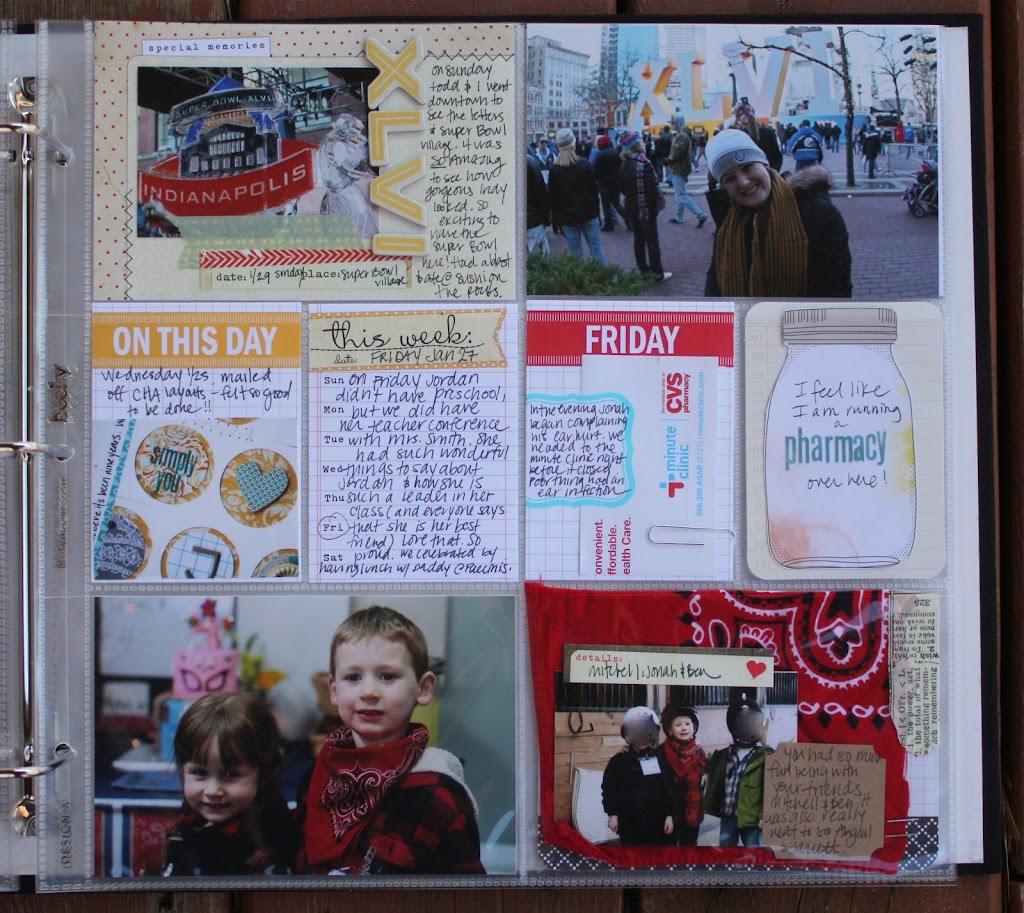
Valerie said: I love how Rahel uses white space and small strips of paper and tried to incorporate both elements into my page. I moved the strips to the top and bottom and replaced the photo with a strip across the page.
ES Supplies used: Lil’ Snippets This Week – Grey, Lil’ Snippets Date, Everyday Large Journaling Tags
Now you know the drill 🙂 Take inspiration from this sketch, create something cool and post it here for a chance to win a $10 Elle’s Studio gift certificate. Link must be posted by 11:59pm on Wednesday, February 22, 2012. Gift certificate can be used towards purchase of products only and can NOT be used for shipping charges. Gift certificate balance must be used in a single transaction.
Last week’s randomly selected winner is Alison! Congratulations! Please email the following information to info@shopellesstudio.com.
Name:
Contest: 02.09.12 Sketch