Hi everyone! Meghann here with a simple tutorial on how to create your own book-bound mini album, like the “You Are My Number 1” mini that I made for the January Inspiration Gallery. It really is so simple and fun! I could see giving this as a gift, of just keeping in your purse as a tiny brag book!
Supplies needed: Cardstock, chipboard, trimmer, liquid glue, bone folder or scoring mat, patterned paper and/or Elle’s Studio tags, sewing machine, wide Washi tape (I used a 3/4″ wide tape)
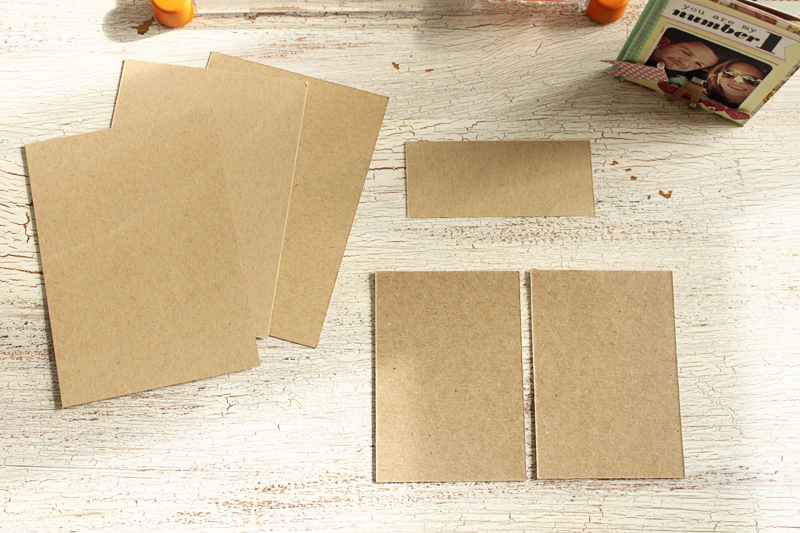
Step 1: Cut two pieces of chipboard to 2-5/8″ x 3.75″ for your cover. Cut 3 pieces of cardstock to 5″ x 3.5″ for your pages. Cut one more piece of cardstock to 2″x 3.5″. This will be what attaches your cover to your pages.
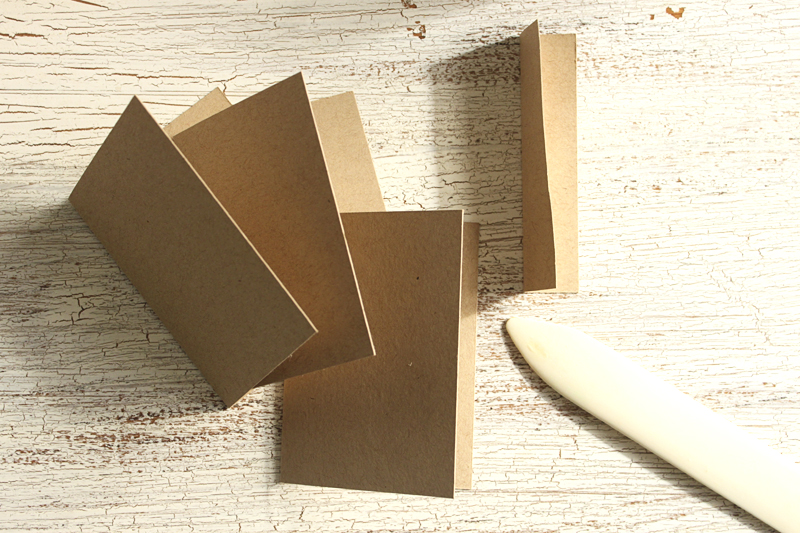
Step 2: Fold the 5″x3.5″ sheets in half width-wise using a bone folder or a scoring mat. Fold the smaller cardstock piece in half lengthwise.
Step 3: Cover both sides of your chipboard covers with patterned paper of your choice. I find that a liquid glue used sparingly is the best method.
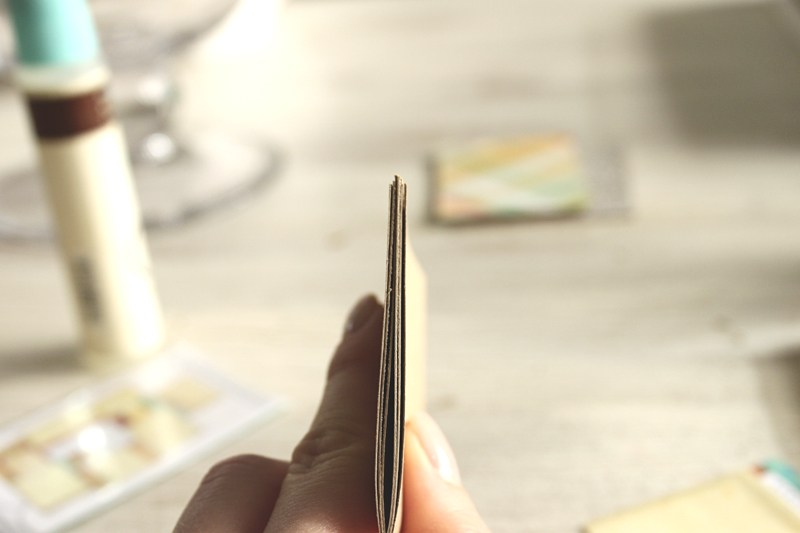
Step 4: Put your three folded cardstock pages together and squeeze as if you were closing your book. The middle two pages stick out further than the outer page. This may be just a pet-peeve of mine, but I usually trim them at this stage so that the pages are even when the book is closed.
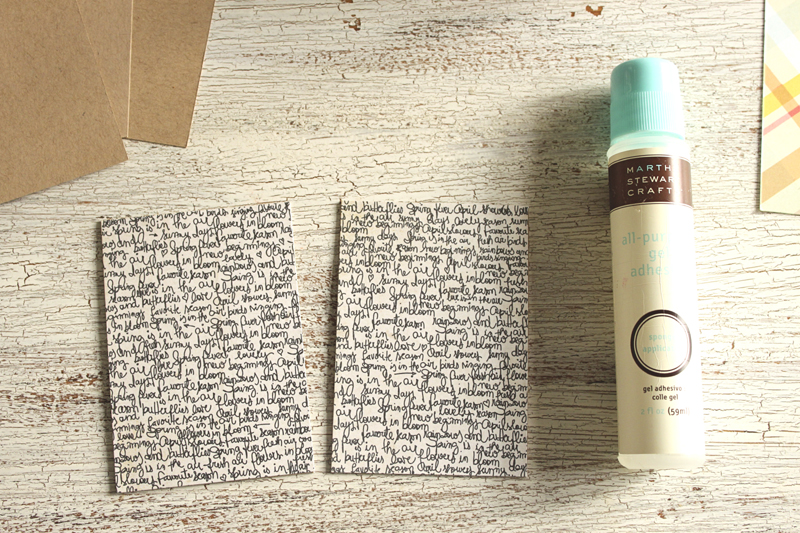
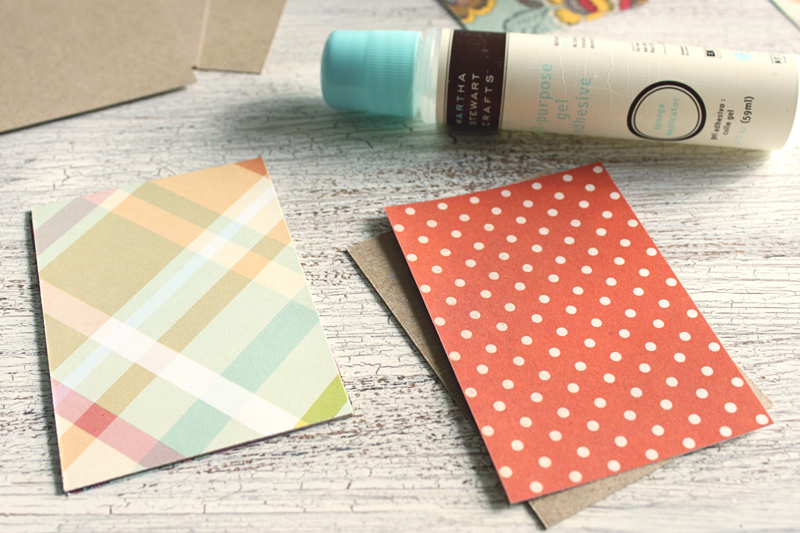
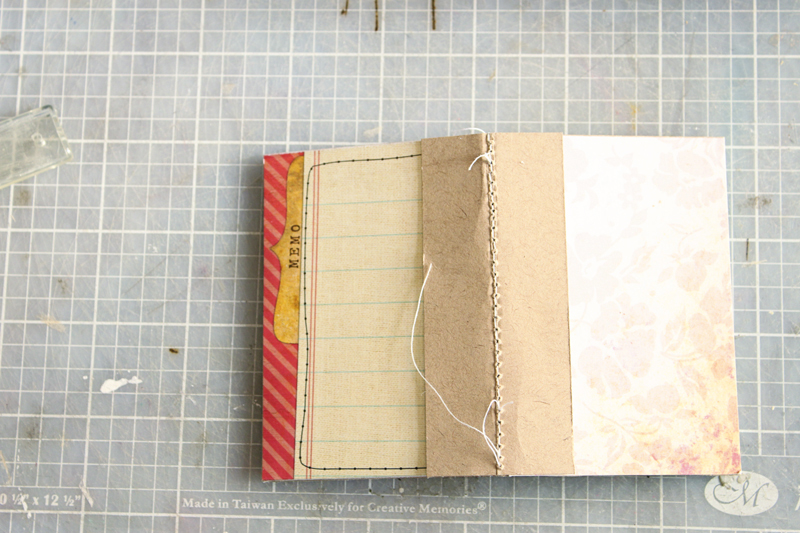
Step 5: Start adhering patterned paper and/or tags to the inside of your pages. For this album, I used the Handmade Layers Note Tags and scrap patterned paper. One good tip: Don’t adhere your paper or tags all the way to to the crease of your page- it will fold closed better if there is a small gap between the crease and the start of the paper, as you can see below.
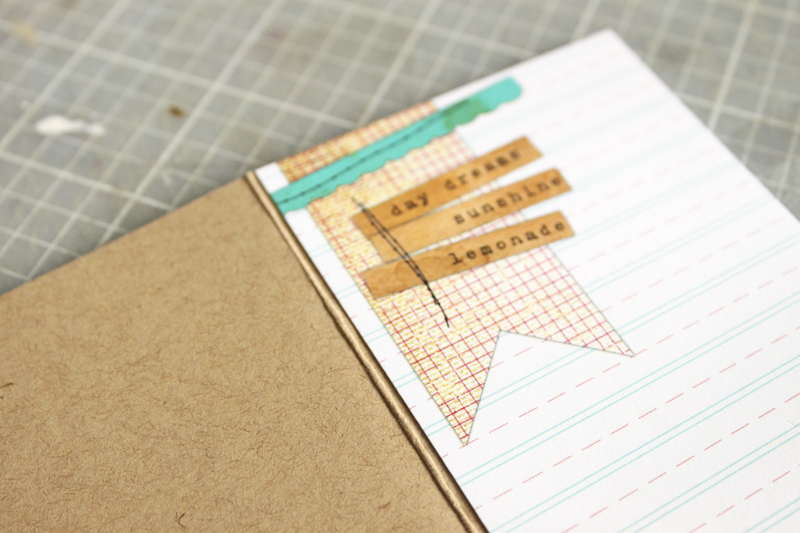
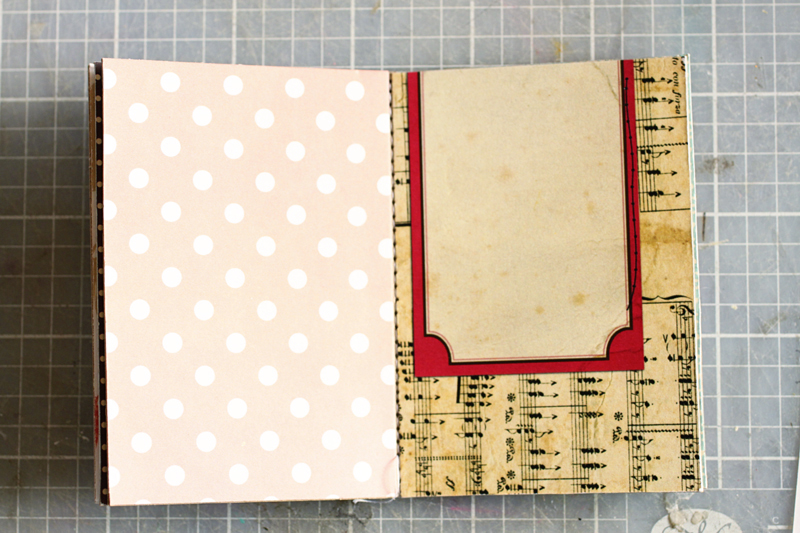
Remember to lay out your pages as your book will go together, so that you can have the patterned paper designs that look nice together on pages next to each other.
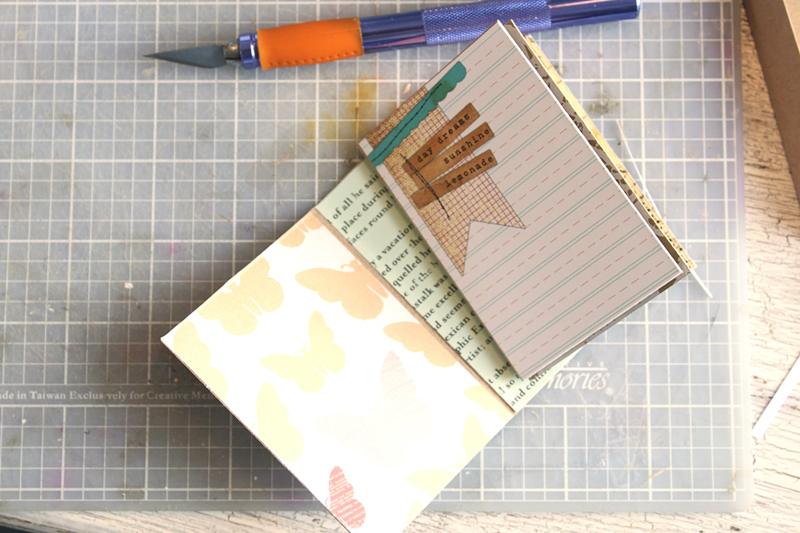
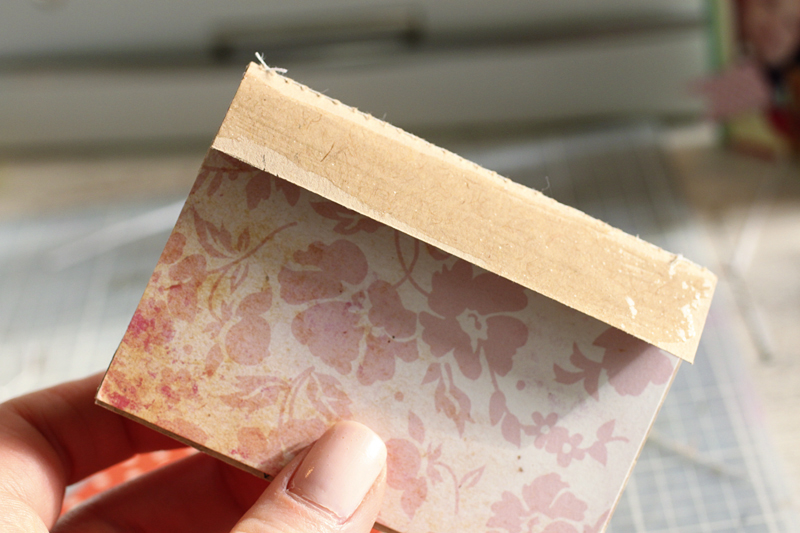
Step 6: Put your pages together as they will go in the book and place the small strip of cardstock on the outside, lining up the creases. While holding together with the inside of the book facing you, use your sewing machine and sew along the crease of the pages.
The backside will look like this once you’re finished with this step. (Don’t worry, we will cover up that unfinished edge.)
The inside should look like this- a nice stitched line.
Step 7: Generously glue both sides of the small cardstock piece with liquid glue. This is what will attach your pages to your cover.
Press the pages in between the inside of the front and back covers, with the sewn pages pushed in about 1/16″ from the outside edge of your covers. Make sure that you have your covers turned the correct way before you squeeze!
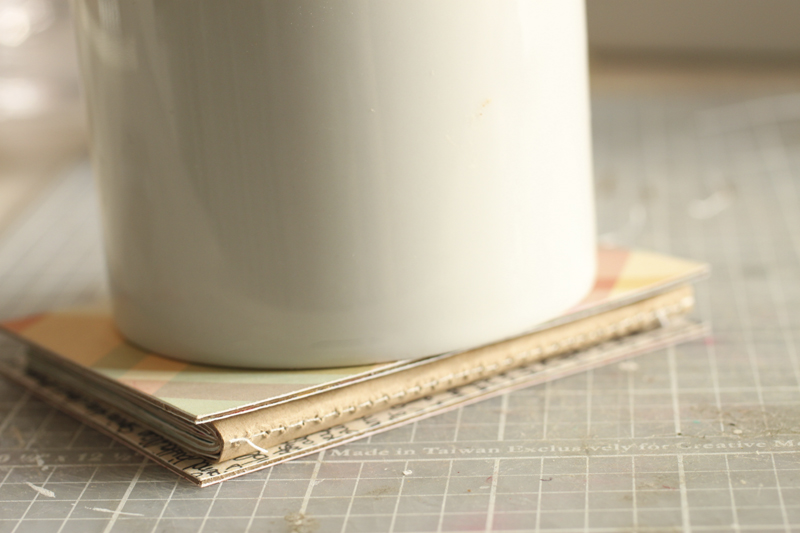
Now this is the part where you have to be patient. Put something heavy on the book and wait until the glue dries before moving on to the next step.
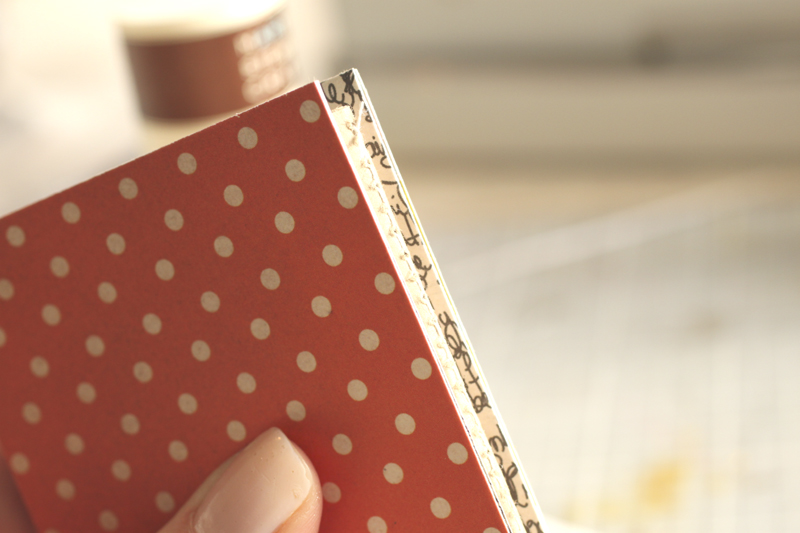
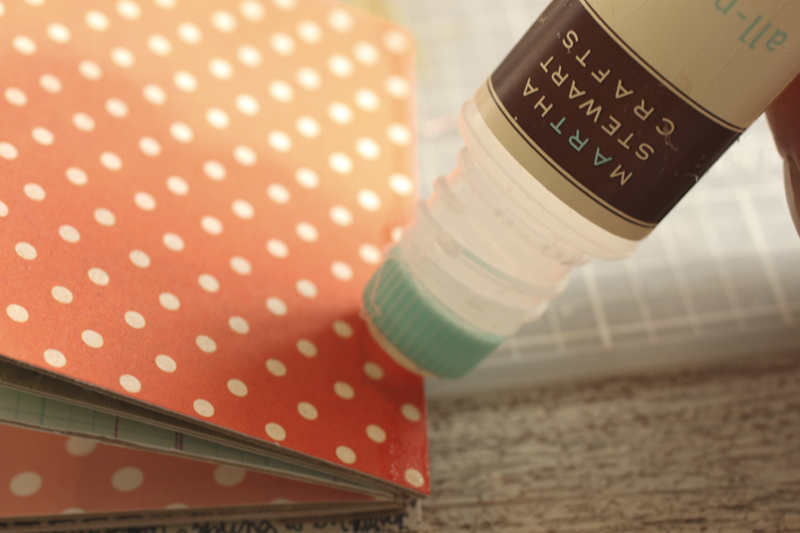
Step 8: Once dried, run a thin line of glue along the edge of your front and back covers along the spine of your book. This will ensure that your washi stays in place.
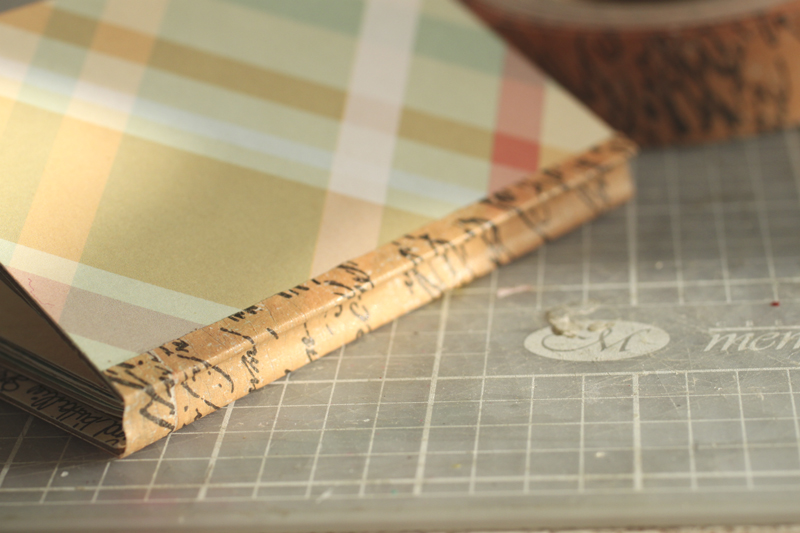
Attach a piece of wide washi tape to cover your unfinished sewn binding.
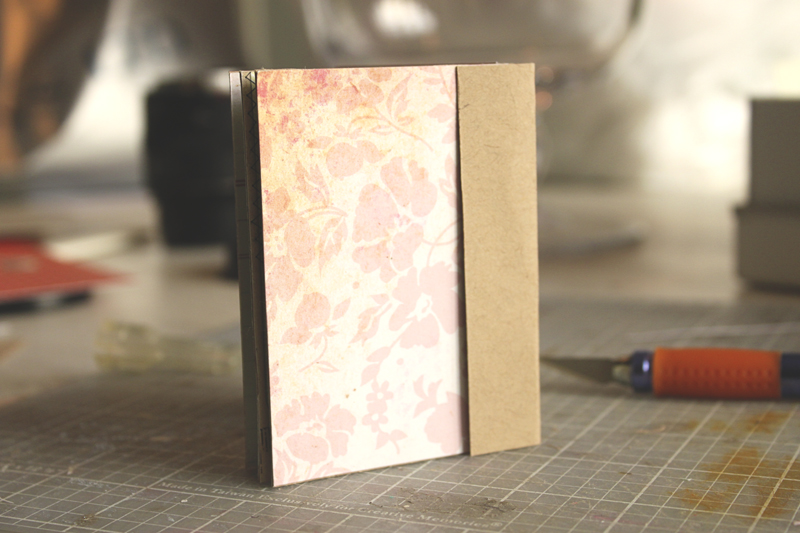
Step 9: You’re finished creating the album! Now you can add photos & embellishments as you see fit. Just remember, with this mini, you might want to stay away from dimensional embellishments on the pages, as it will be very difficult to close.
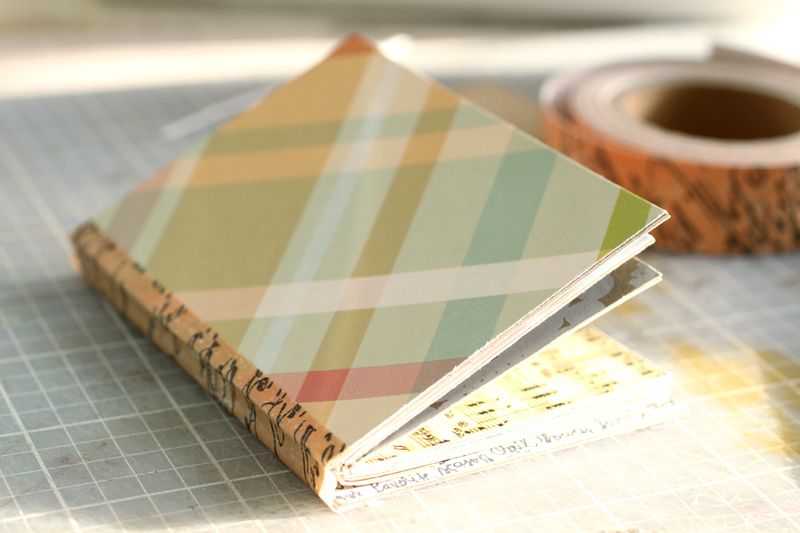
I hope you enjoyed this tutorial, and you can see that creating your own bound mini really is fairly simple! This can easily be switched up to any size that you choose. Happy creating!
Comments