A sneak peek at what is coming November 10th!

EllesStudio-NovemberKit-SneakPeek1
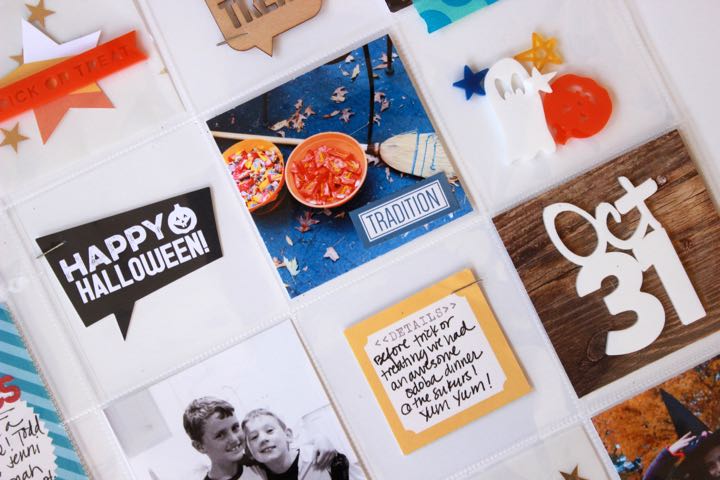
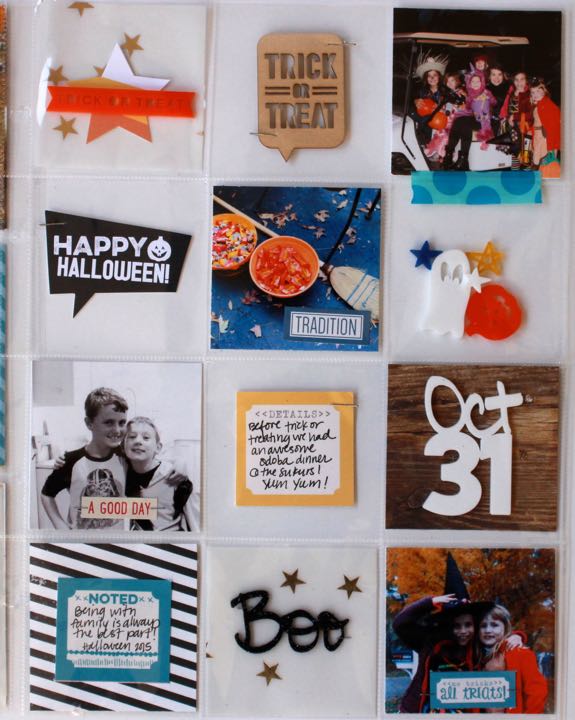
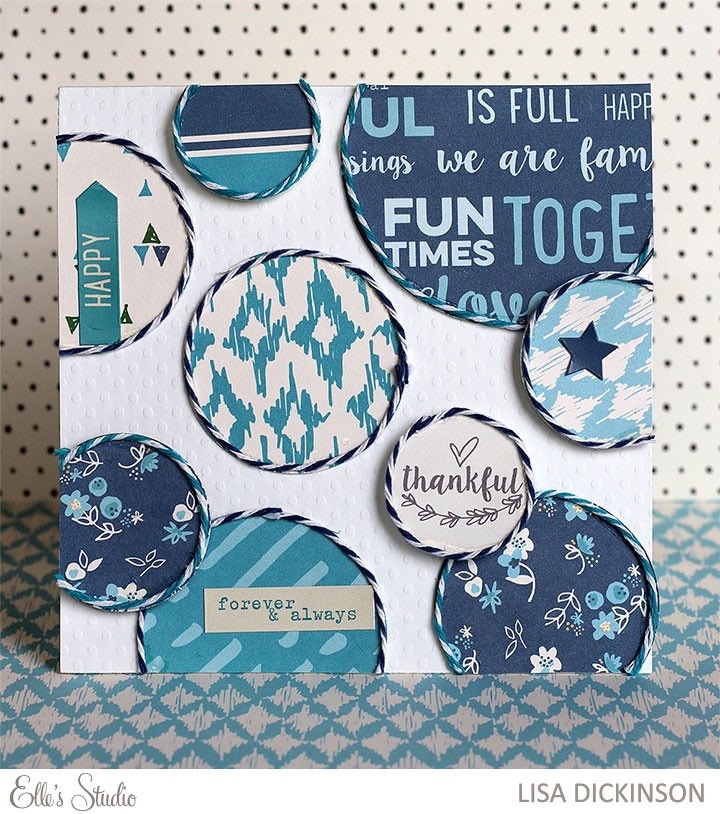
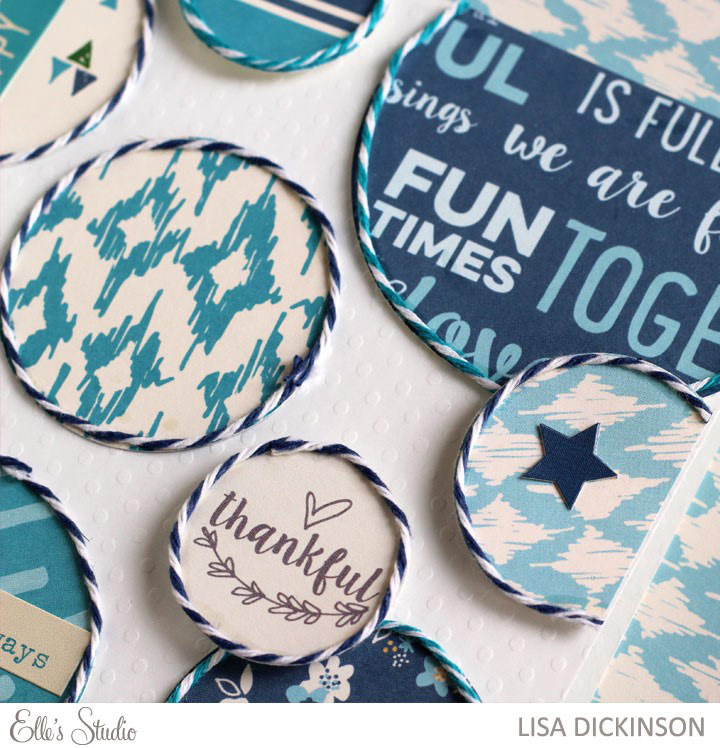
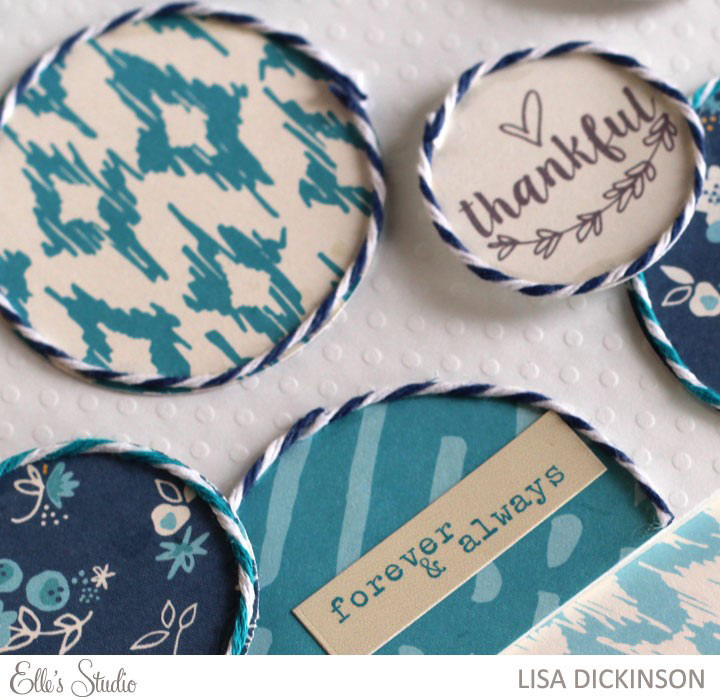
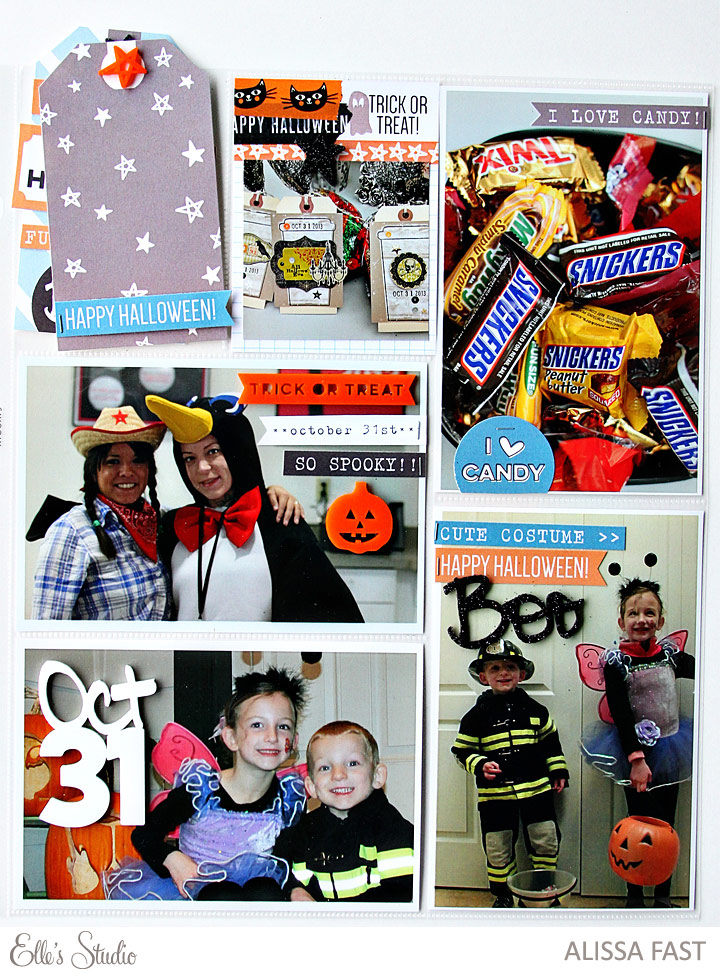
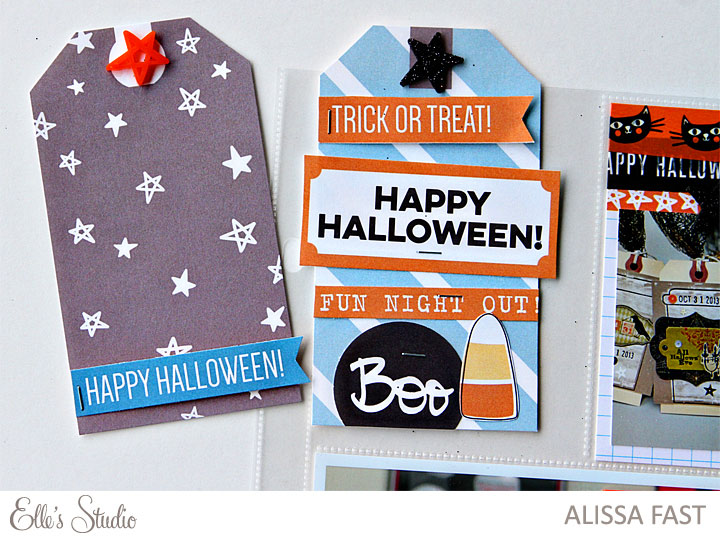
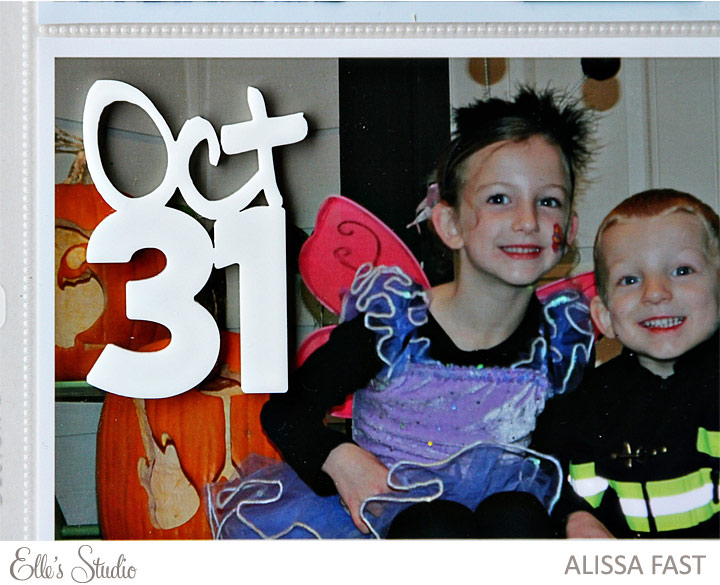
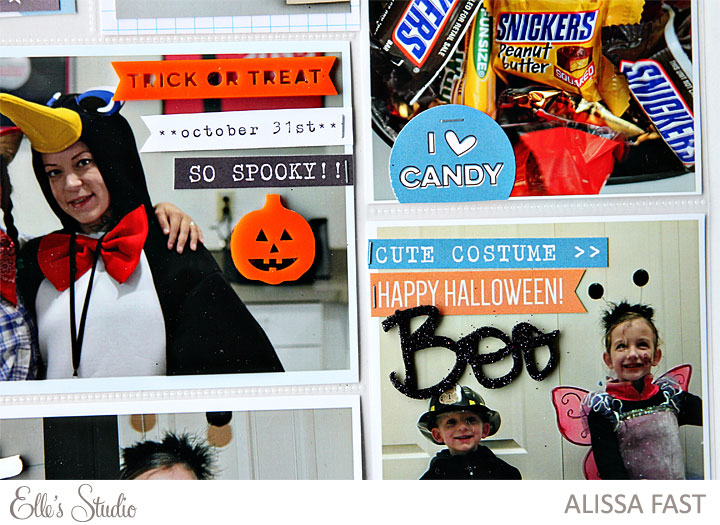
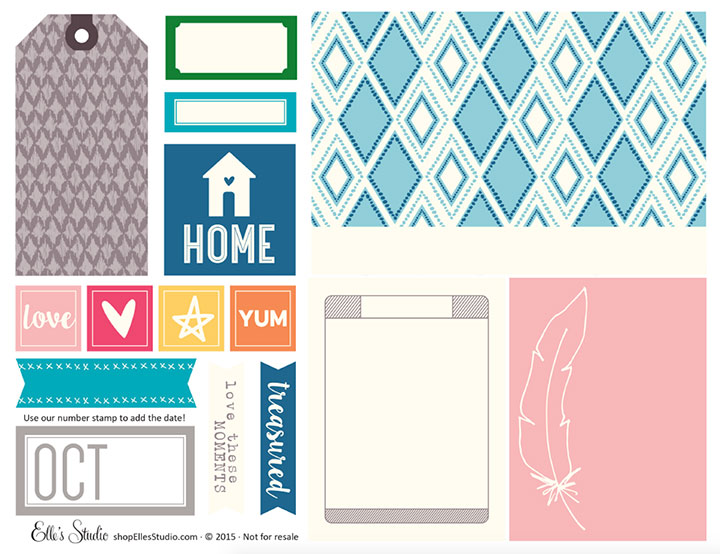
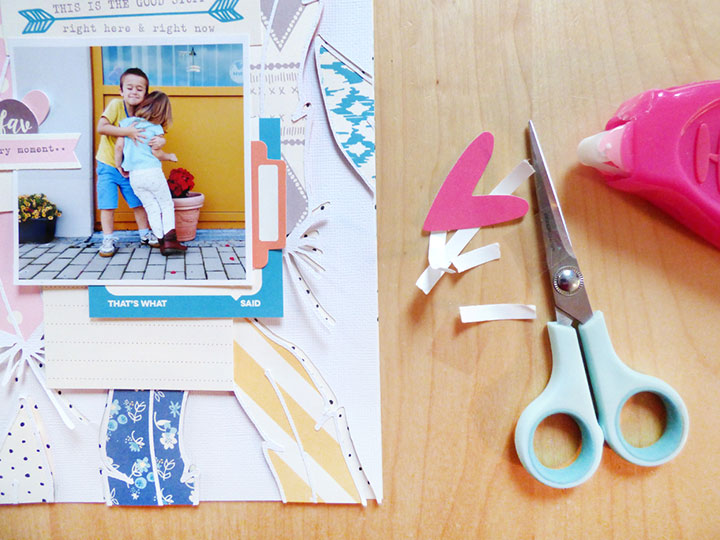
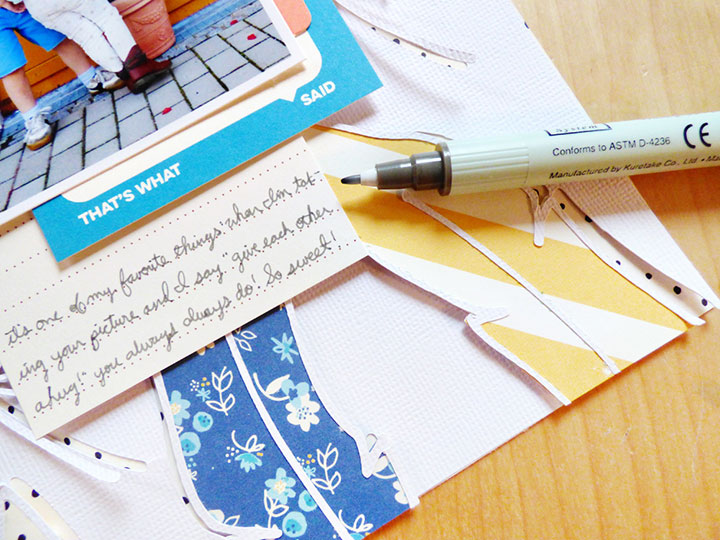
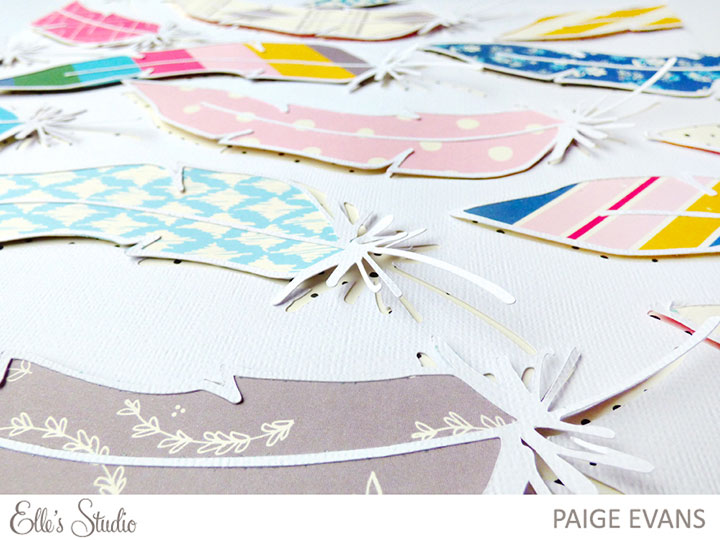
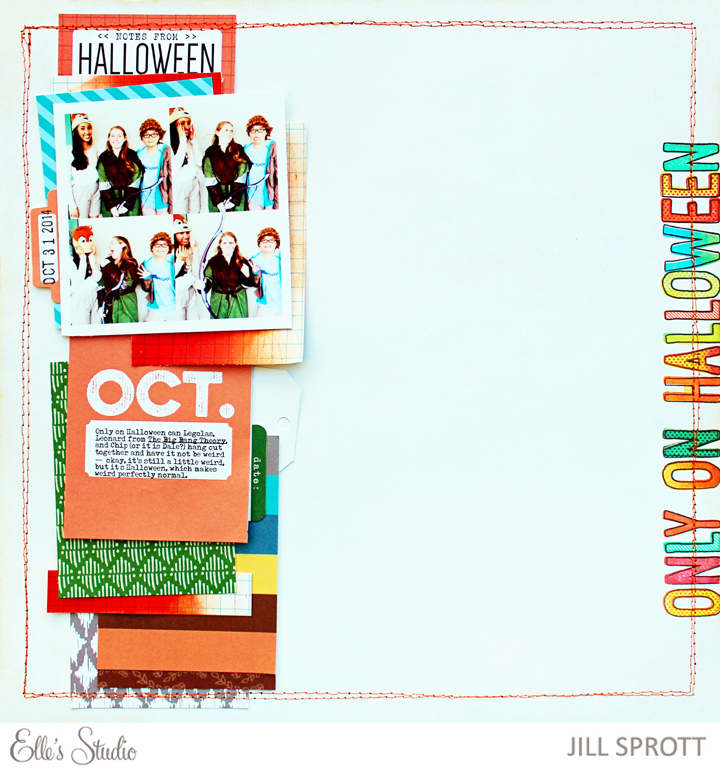
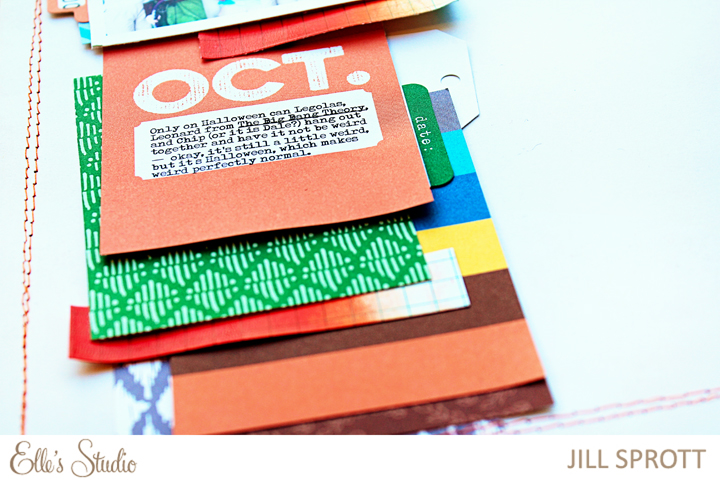
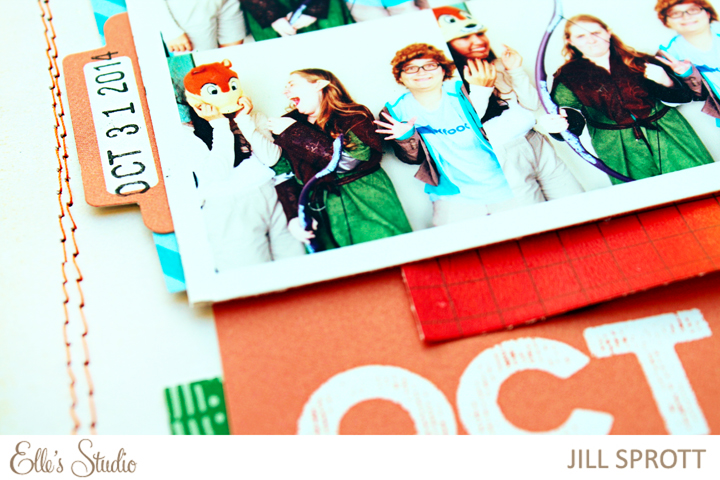
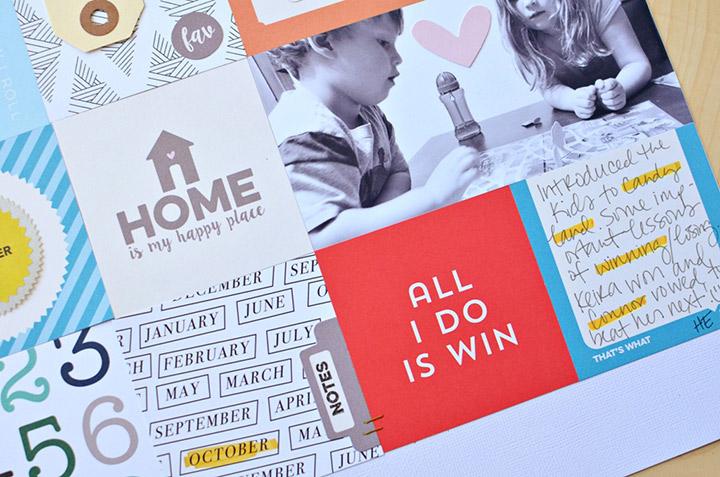
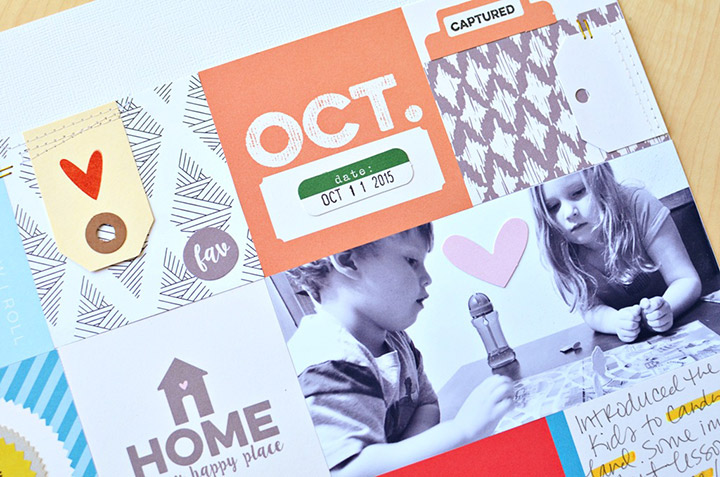
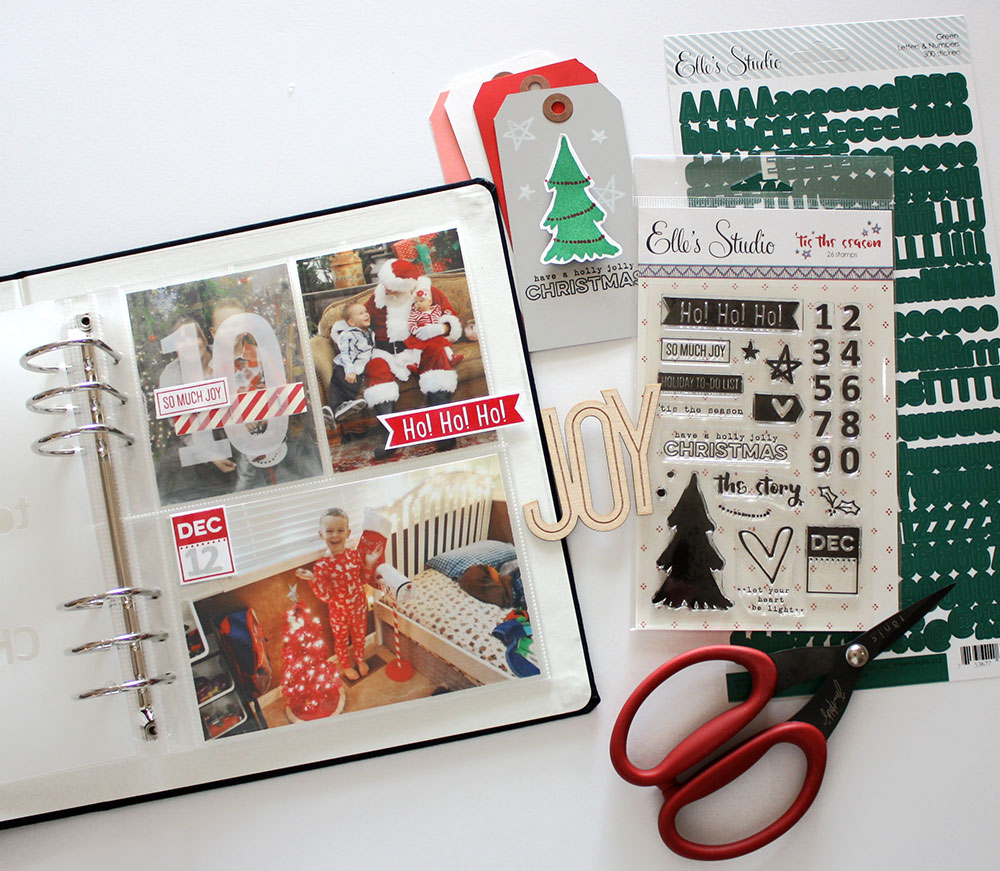
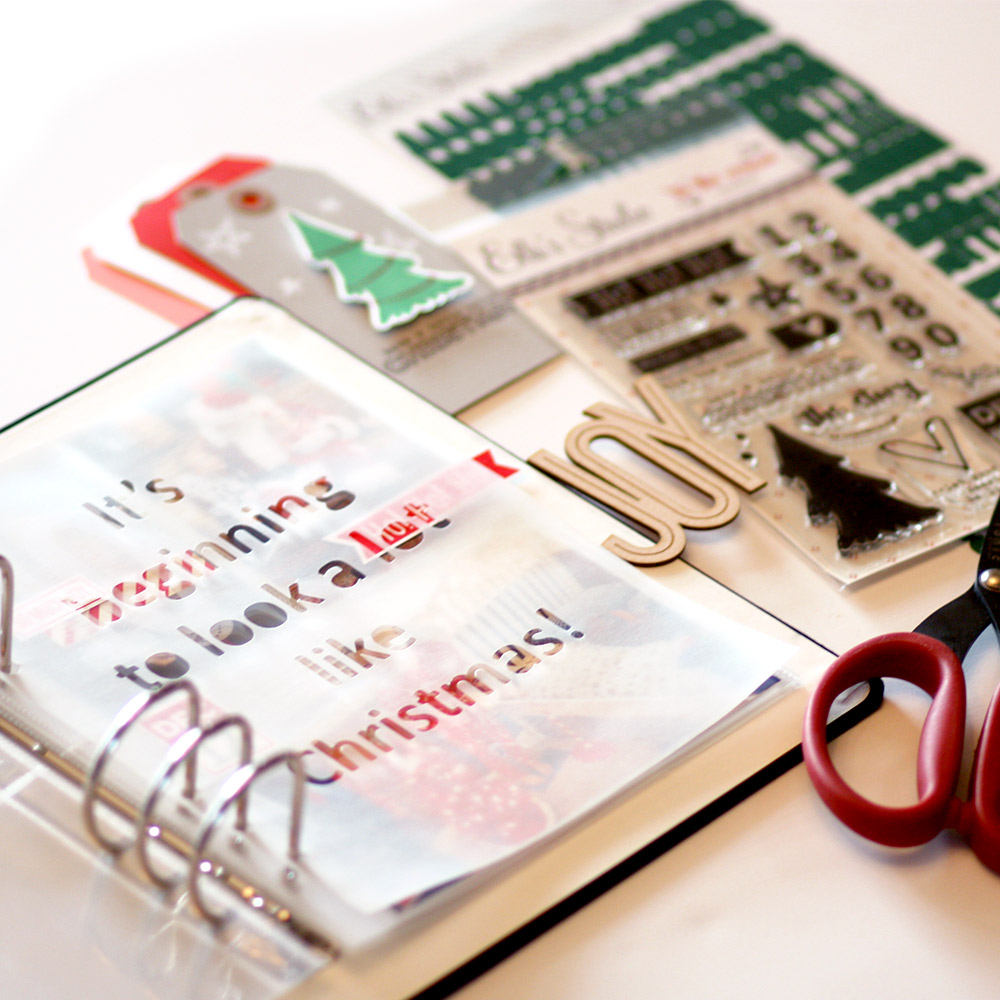
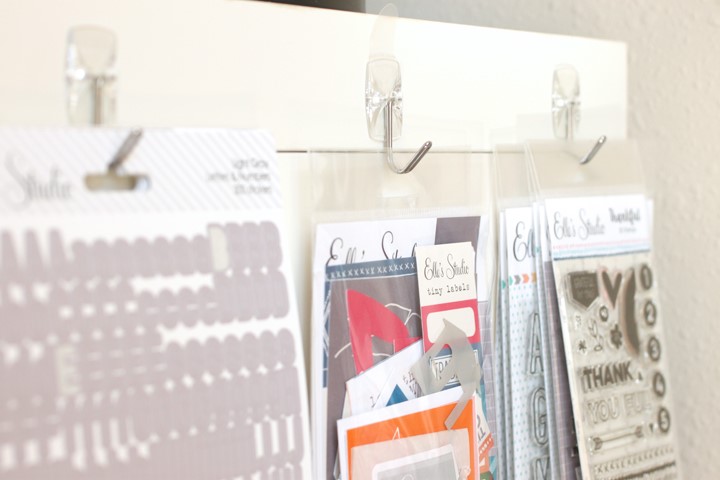
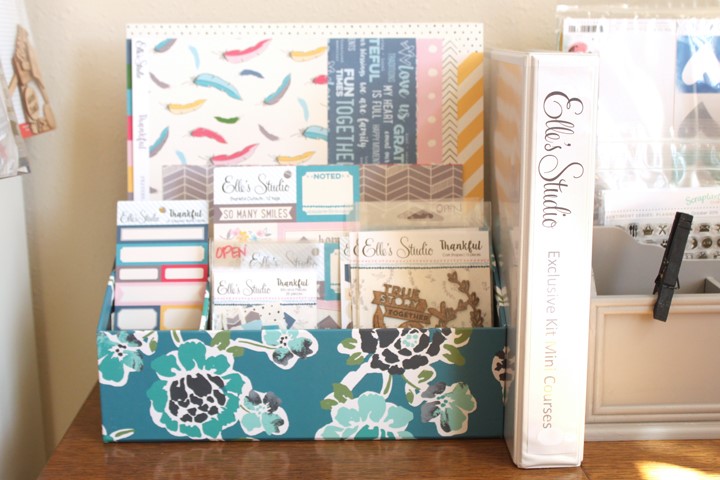
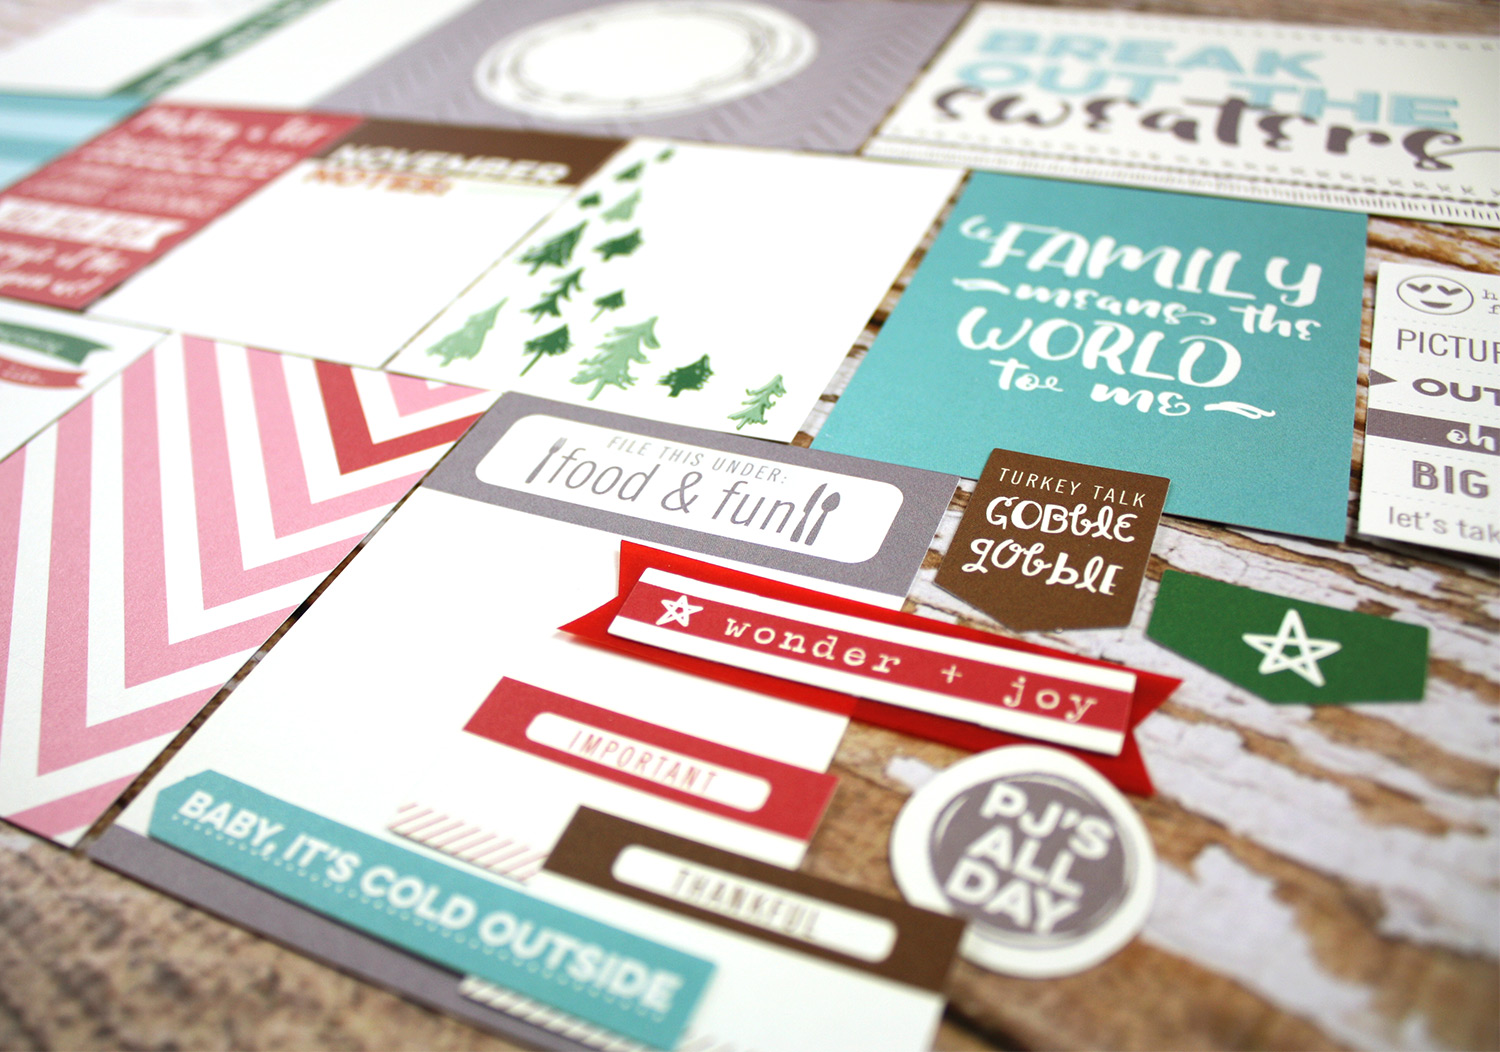
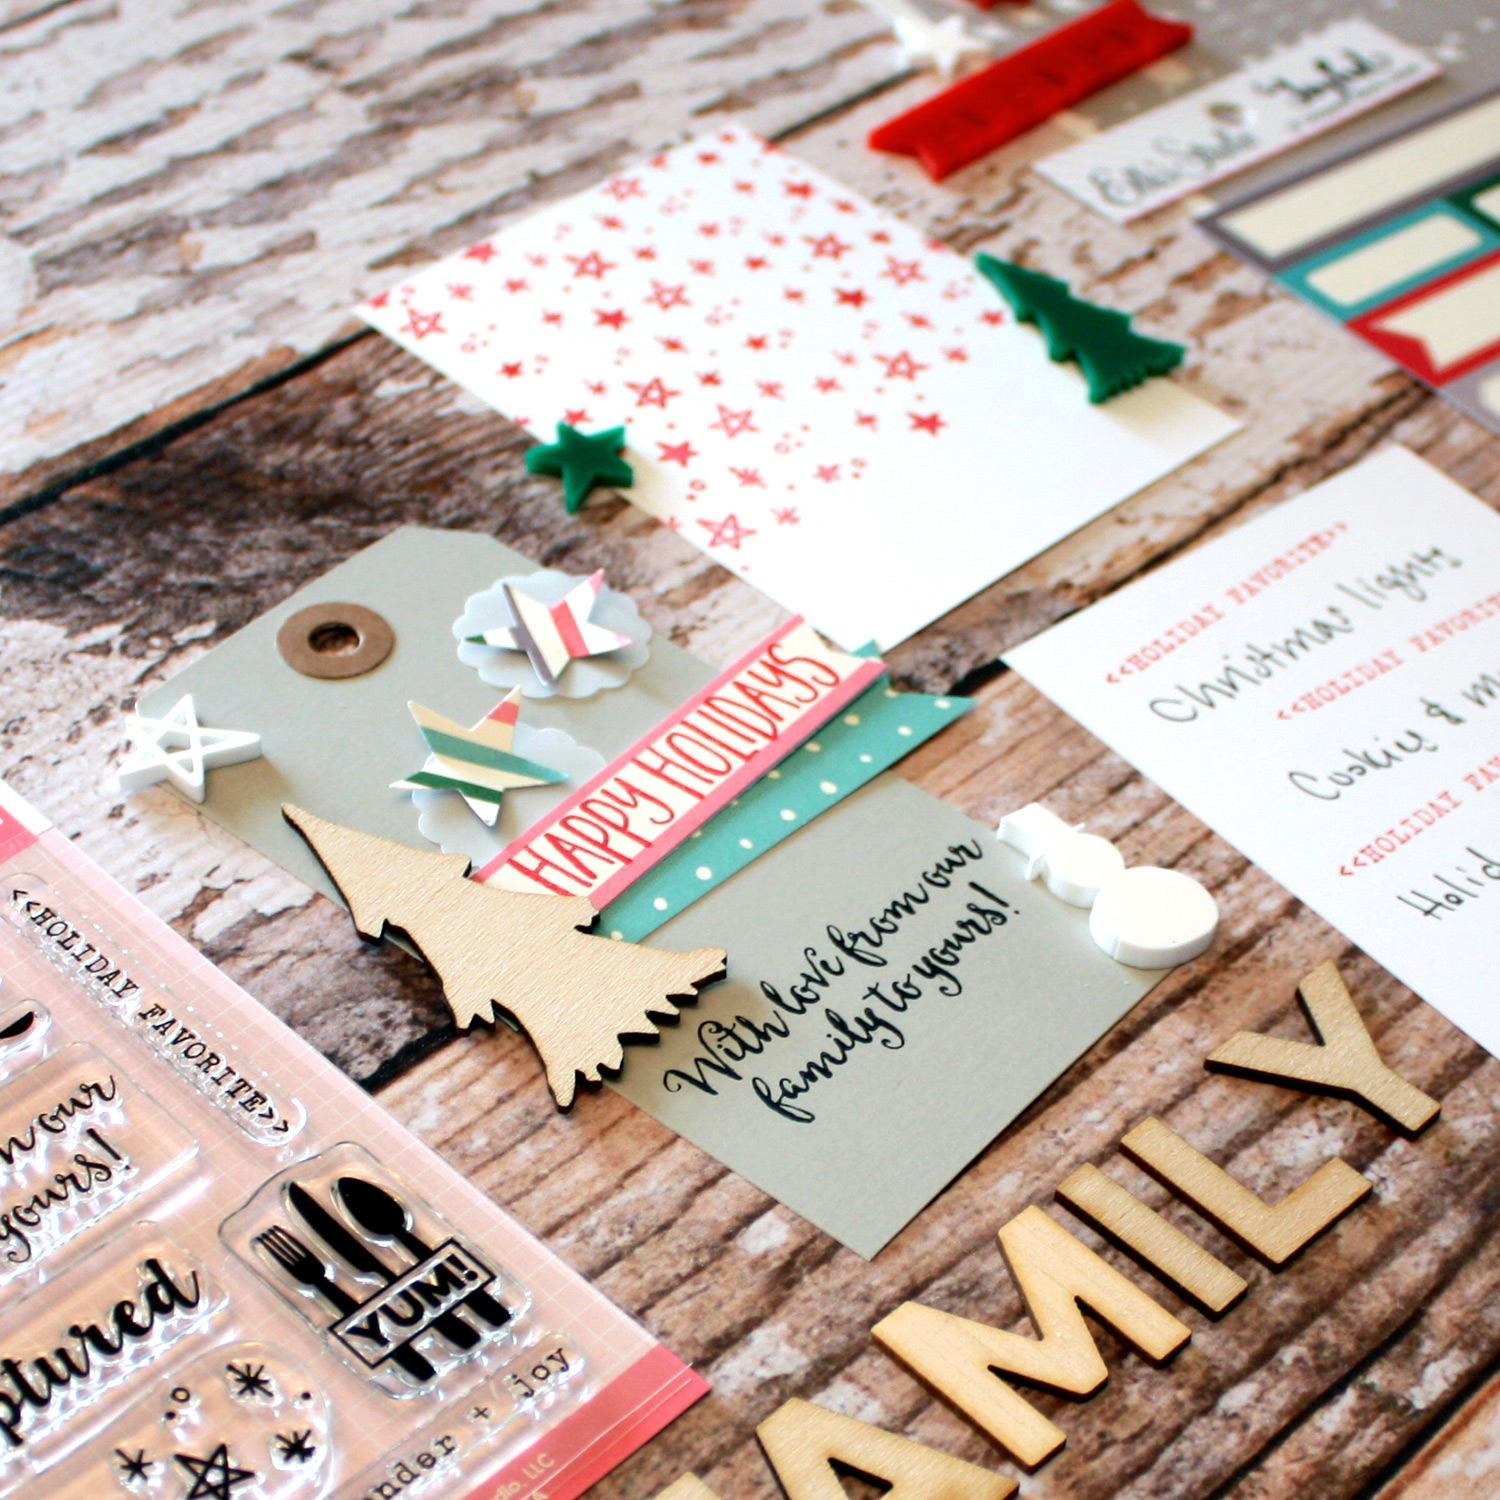
Happy November, everyone! A new month is here and we are so excited to show you this sneak peek of our November kit! This kit is packed full with over 35 journaling and embellishment tags to help you capture your memories and document your stories. Above is a sneak peek of what’s in store for our November kit – Just a reminder that these kits are limited and will not be restocked – Our October kit is almost sold out!

Our next launch will be Tuesday, November 10th, at 8:00 am PST and don’t forget, if you purchase the kit on launch day (November 10th), you save $2 with our launch day special pricing of only $9.99! These kits can also ship first class, so depending on your location, shipping starts out at around $2 for USA, and $6+ for international.

This launch will also include a brand new stamp that coordinates with our November kit, and some fun wood veneers and acrylic pieces!

EllesStudio-NovemberKit-SneakPeek2

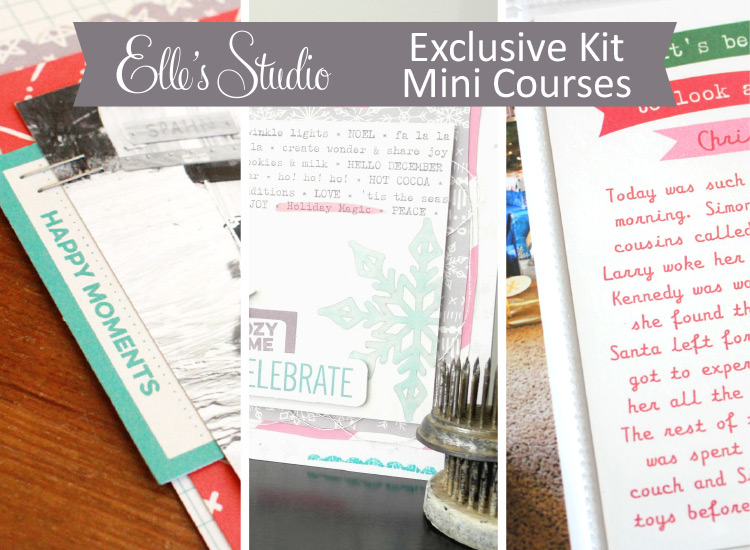
And, for those who are looking for extra inspiration (besides our blog posts, and design team gallery projects) we will have another mini course just for you! Here’s the first peek at our Exclusive Kit Mini Course for November – any guesses for who our three amazing contributors are?

EllesStudio-NovemberKit-SneakPeek3
And, we are bringing back our FREE SHIPPING special! Orders $50+ will ship for free worldwide!

EllesStudio-NovemberFreeShip
We are giving you the code now so you’ll be ready when our launch starts on Tuesday, November 10th at 8:00 am PST! *Please note: if you are paying with PayPal, you will first visit PayPal to enter your information in, and then when you are returned to our site you will be able to enter the free shipping code. If you have any problems, please email us and we will be happy to help!

If you haven’t signed up for our newsletter, make sure you do to receive a reminder of when everything is available for sale! It’s going to be a BIG day, so set your alarm and mark your calendar! We hope to see you there!

PROJECT LIFE | HALLOWEEN

Today I am sharing a page from my fall 2015 Project Life album: Halloween!IMG_9556

Halloween is over and we are now entering the holiday season (which seems to happen earlier every year!), but first, I wanted to make sure to document our fun Halloween weekend.  I couldn’t wait to document our evening with the Elle’s Studio October 2015 Kit, and the Halloween Acrylics and Glitter Foam pack (and a few items I have been saving from our 2014 Halloween Ephemera Pack).   This helped to create the perfect Halloween themed layout!IMG_9553

When journaling about our halloween I wanted to share a bit about what we did that night, about our costumes, and about our halloween traditions.  A little bit of everything helps to document the memories of the evening!

IMG_9561

I included a 3×3 grid pocket page that included four photos and a bunch of the acrylic pieces from the Halloween Acrylics and Glitter Foam pack.  The acrylic pieces are thick and very durable… and the perfect addition to any trick or treating memories.  I hope you had a great Halloween!

IMG_9564

Elle’s Studio Products Used: Elle’s Studio October 2015 KitHalloween Acrylics and Glitter Foam, Numbers Stamp, Letter & Number Stickers- Red, Thankful Paper Collection Pack, Thankful- Stickers

Sketch Thursday

EllesStudio-SketchThursday-10-29-15
Happy Thursday, everyone! If you are looking for some inspiration for today or the weekend, we’ve got the perfect sketch for you!

2018_3958_14439669008804_bigToday’s sketch was based off of Kay’s Cousins layout. We love how she used four of our Thankful papers in the background, and then made that photo pop by layering it with more of our Thankful papers!

We can’t wait to see what you all do with this sketch! For a chance to win a $10 gift certificate to our shop, create a project inspired by today’s sketch, upload it to the Member gallery and leave a comment here with the link by November 18th. A random winner will be selected and posted with the next sketch on November 19th.

Our randomly selected winner this week is: Rachel with her “Favourite August Moments” layout:

6327_3978_14450916983498_bigCongrats!! Please email us at info@shopellesstudio.com to claim your prize, with the following information:
Name & Address:
Contest: Sketch Thursday
Prize: $10 Elle’s Studio gift certificate

Thankful Card by Lisa Dickinson

EllesStudio-Lisa-Card01
Hello, everyone! Lisa here – One of my favorite tricks to keep the design process quick and easy is to limit my color palette. For this card, I used papers from the new Thankful collection, selecting those patterns that were primarily blue or aqua.

EllesStudio-Lisa-Card02
I cut a variety of circles to fill the front of a 5×5 card base. For a bit of added texture, I glued baker’s twine around the edge of each circle before adhering them to the card. As a finishing touch, I embellished the circles with sentiment stickers in the same color palette.

EllesStudio-Lisa-Card03Supplies used: Thankful Paper Collection Pack, Thankful Bits & Pieces, and Thankful Stickers

We’d love to see you try out this fun tip! Make sure you share your projects by uploading them to our Member Gallery or with the hashtag #ellesstudio on Instagram!

Halloween Pocket Pages with Alissa Fast

Good Morning, All! Alissa here today with a fun Project Life insert featuring the new Halloween acrylic and foam set and the Halloween printable. I love Halloween and Project Life about my life would not be complete without Halloween getting a full page to celebrate.
EllesStudio-Alissa-PL-01
I had a lot of photos to include and my favorite PL pages are full of photos with embellishments layered on top.

EllesStudio-Alissa-PL-02
I added 2 tags from one of the printable sheets that can be pulled out to view. One is the title card and the other will have journaling about this fun day!

EllesStudio-Alissa-PL-03
I love the acrylics that Elle has recently added to the store and this Oct 31 one is just perfect. I always adhere the thicker embellishments to the outside of the pocket. For the page I used an extreme tape runner from Tombow. It’s perfect and I don’t think I can pry those acrylics off.

EllesStudio-Alissa-PL-04
I can’t wait to see what you all do with all your Halloween photos! I recommend you pick up a pack of the embellishments and the printables, too! They will all be perfect for the photos of your little goblins and ghouls.

Have a great day!
Alissa

Enjoy Every Moment with Paige Evans

EllesStudio_PaigeEvans_11Paige is joining us today to share a fantastic step-by-step layout tutorial using our exclusive kit for October,  along with our Home Printables, and Thankful Paper Collection! We love how she used all these products together and can’t wait to show you Paige’s simple steps to create this beautiful layout!

Here’s how Paige said it came together:EllesStudio_PaigeEvans_01
1. Trace the feather from the Home printables in Silhouette Studio.

EllesStudio_PaigeEvans_02
2. Mirror and repeat the feather all over the page. (I’ve included the cut file here if you want to use it!)

EllesStudio_PaigeEvans_03
3. Cut the feather page from white cardstock using a Silhouette Cameo.

EllesStudio_PaigeEvans_04
4. Back the feathers with patterned papers from the Thankful collection.

EllesStudio_PaigeEvans_05
5. Gently place the feathers in their original position on the cutting mat.

EllesStudio_PaigeEvans_06
6. Peel off the cut background and adhere it to the B-side of “Stripes” paper.

EllesStudio_PaigeEvans_07
7. Use foam adhesive to adhere the feathers in place.

EllesStudio_PaigeEvans_08
8. Slightly offset the feathers so the background patterned paper shows through a bit.

EllesStudio_PaigeEvans_09
9. Embellish your photo with bits and pieces from the October 2015 kit.

EllesStudio_PaigeEvans_10
10. Journal with a gray pen to finish!

enjoy-every-moment-detail-by-paige-evansIsn’t it amazing?! We love those feathers and all those amazing layers! Thanks so much for sharing with us today, Paige! We would love to see how this layout inspires you – make sure you upload your projects to our member gallery for a chance to be featured on our blog!

Challenge: Using 3 x 4 tags on your layouts

Hey everyone, Jill here! Because they come in all colors and sizes, Elle’s Studio tags can easily find a home on any project. I’m a fan of the 3” x 4” tags, which can be used a variety of ways. One of my favorite ways to use them is to work them into the layers of a layout.

OnlyonHalloween ESJillBLOG
There are a total of six 3” x 4” tags on this page, layered over and under each other to create a fall palette of colors fit for a Halloween-themed page.

Onlyon Halloweendet2BLOG
Among the tags are bits of patterned paper — a graph pattern (“Together” from the Thankful collection) painted red-orange, and a green pattern (“Celebrate” from the Joyful collection) to pick up the color of my daughter’s costume, and the Oct. from the exclusive October kit.

Onlyon HalloweendetBLOG
The layout initially began with an asymmetrical design, but I decided to establish a sense of balance by stamping the title up the right side of the page, using all three sets of the new Jordan alphabet stamps (in solid, outlines, and dots/stripes). I then stitched around the page to unify the layout.

What are your favorite uses for the 3” x 4” tags from Elle’s Studio? I’d love to see your projects! Be sure to share them in the Elle’s Studio gallery.

Thanks for visiting the blog today!

Our kit with your stash!

jenchapin-use-your-stash-(5)
Hello! It’s Jennifer here, and today on the blog I am sharing a layout showing you how to use the October kit along with items from your stash. The bright colors in this kit were perfect to mix with some scrapbooking supplies I had on hand.

jenchapin-use-your-stash-(2)jenchapin-use-your-stash-(3)
I used a simple grid layout for this layout, printing my photo a 6×3 to fit within the grid design. I love the heart stamp from this month’s set too and stamped it on a tag with red ink.

jenchapin-use-your-stash-(4)
I hope this shows you how versatile our monthly kits are! They are perfect for use with any supplies in your stash to create a layout or card. Thanks for stopping by today!

New holiday items are here!

EllesStudio-Holidayitems-web
Did you see the new holiday items that we just added to our shop! There are 9 new items, including an exclusive stamp, wood veneers, vellum numbers, and an acrylic piece that all pair perfectly with our Joyful collection! We have also added more shipping tags in white, red, and pink! The shipping tags work so well with the stamps and are a fun element to have around for layouts, cards, mini albums, December Daily, and even gift wrapping!

EllesStudio-Christmas02
I am really excited to document the holidays this year! I couldn’t resist playing around with photos from last year to test out the new products and it got me so excited! This year, as part of my December album, I think I will be capturing some of our November family traditions, too, with our Thankful collection, and then December with our Joyful collection, our November and December exclusive kits (wait until you see them!!), and these new items!

EllesStudio-VellumNumbers-web
These vellum numbers are a new item from us, too!  We did numbers 1 – 10 so they can easily adapt for when you need them! You could also mix the vellum numbers up and use them some days and our stamp on the others!

EllesStudio-HolidayPages
We also added these FUN Holiday Pages cut files! Here is what one of the pages looks like when cut out of vellum and added to my album:

EllesStudio-Christmas01How awesome is that?! I love when albums have different items and textures added in  – it makes them so fun and interesting to look at! You could also cut them out of watercolor paper and watercolor on them, or glitter paper! SO many possibilities!

We made these Holiday Pages cut files to fit inside 6 x 8 inch pocket pages, however they can easily be made larger to fit any album! I enlarged the file a little bit and then punched holes in the side to fit this album! I love how the photos from the next page peek through the words!

Thanks for stopping by and peeking at all the new items – the holidays are such an exciting time, and we’ll have even more in store for you in the coming months with our November and December releases on the 10th!

Workspace Wednesday with Meghann Andrew

Hey there, it’s Meghann here, and today I’m sharing with you a little bit of my happy place, my creative space in our home.

My room has completely been a work in progress since we moved in two years ago. When looking at the house before we purchased, as soon as I saw the lovely light coming in from the huge window, I knew that this would be my creative space. (As well as a napping room for our Golden Retriever, Toby.)

EllesStudio-Workspace-MeghannAndrew01
I have two major areas in the room, my desk space, mainly for working on the computer, and my tall desk, which I use for scrapbooking while standing. This is also my space for photographing process videos, since I get great afternoon light from these windows.

EllesStudio-Workspace-MeghannAndrew02
Most of my product is stored on my Ikea Expedit shelving system, but I also use the sides as hanging space.

EllesStudio-Workspace-MeghannAndrew03
On the right side of my shelf, over my sewing table, I’ve created a hanging area for my Elle’s Studio alphas, my latest 6 exclusive kits, as well as the latest stamp sets and embellishments.

EllesStudio-Workspace-MeghannAndrew04
I love having these out and right in my line of vision, so that I will grab a kit whenever I’m looking for just the right tag to use on a project. Having this area just behind my standing desk is a game-changer for me.

EllesStudio-Workspace-MeghannAndrew05EllesStudio-Workspace-MeghannAndrew06
I used 3M Command hooks with clear adhesive to hang my ES supplies. Each hook holds up to 1/2 pound. If I ever need to change up the spacing, they come off easily without damaging my shelf.

EllesStudio-Workspace-MeghannAndrew07jpg
Next to my product wall sits my grandmother’s sewing table, which I currently use to hold “in progress” projects. On top of this, I have a desktop organizer (purchased from Target) in which I store the latest ES collection. The rest of my ES collections are stored in a Cropper Hopper paper storage bin on my shelving unit. At the moment, I’ve been using a lot of Thankful, but in the next month or so, I’ll be switching out to keep Joyful here. This is where I also store my Exclusive Kit Mini Course binder, with all of the previous courses to inspire me if I get stuck in my creative process.

EllesStudio-Workspace-MeghannAndrew08
This is my stamp cube in my Expedit shelving unit, where I store, in bins from Ikea, all of my photopolymer clear stamps. My Elle’s Studio stamps are stored in their own bin, so that I can easily flip through them when I’m looking for just the right element on my project.

It has definitely taken my years to get to this organizational level, and I’m constantly evolving my organization as my scrapbook process evolves. Thanks so much for joining me in my space today!