PROJECT LIFE

Today I am sharing a fall themed page in my Project Life Album. IMG_9464

This past week was our Fall Break.  We had a fun overnight at the Great Wolf Lodge (a large hotel that has an indoor water park).   I couldn’t wait to break out my Elle’s Studio October Kit and document our weekend with the beautiful fall colors.IMG_9474

When we checked in, all of our information was in a neat woodgrain folder.  I kept that folder and incorporated it (along with the hotel logo) in this spread.  I also used a trick or treat map in the spread.

IMG_9485

In addition to using the Elle’s Studio October 2015 Kit and many pieces from the Thankful collection, I was excited to use a little bit of our Joyful collection!   The Joyful Bits and Pieces has a vellum pine/Christmas tree that was perfect for my lodge feel. The Joyful Journaling Tags has a pine tree journaling card that I incorporated in the right page.  I loved using Holiday themed items early on my Fall Break Spread!

IMG_9478

Elle’s Studio October 2015 Kit , Joyful Bits and Pieces, Joyful Journaling Tags, Thankful- Stickers, Thankful Bits and Pieces, Jordan Alphabet Stamp- Solid, Jordan Alphabet Stamp- Outline, Elle’s Studio September 2015 Kit, Elle’s Studio July 2015 Kit, Thankful- Cork Shapes, Numbers Stamp

Using our October Course for Inspiration by Daniela Dobson

Enjoy-every-moment-by-Daniela-Dobson
Welcome to the Elle’s Studio blog post today. It’s Daniela here to share a card I made based on the October Exclusive Mini Kit course. It’s a fun course and I learned so many new things. One of the things I learned, that I incorporated into this card, was embossing and watercolor techniques that Joy uses. It is such a fun and easy technique that I haven’t thought of, but have all the supplies on hand. I basically followed her exact instructions. Stamping and heat embossing the feather from Tradition stamp and then using watercolor pencils to color in the feathers. I love this technique.

Enjoy-every-moment-close-2-by-Daniela-Dobson
I die cut the tag, that is included in October Cut Files, from white cardstock and then I created a shipping style tag by stamping one of the elements from Tradition stamp. It’s pink in my photo (at the top of the tag where the twine is tied through) on the white tag. I was so excited when I read about that and wanted to make a tag for the card. Now I can have a tag whenever I need one to match any project. I layered several tags and bits and pieces from the October Kit  and added some paint splatters.

Enjoy-every-moment-close-by-Daniela-Dobson
As I was reading the class I was coming up with many ideas in my head about what I wanted to create next! This class is such an asset to have with you while creating – besides the amazing step-by-step projects featured by our contributors, there are also inspiring take-aways and tips that expand on our contributors material! Even if you didn’t purchase the October kit, the tips and techniques covered in this course can work with almost any products, on any project!

The class is available now and at just $4.99 it is an amazing bargain, but will only be available till October 31st, 2015, so don’t miss out!

Thanks for stopping by! Be sure to share your projects using Elle’s Studio October Exclusive Mini Kit course.

Halloween Treat Bag by Meghann Andrew

EllesStudio-Halloween-MeghannAndrew01Welcome to the Elle’s Studio blog post today. It’s Meghann here to share an easy Halloween treat bag and tag that you can create with the Elle’s Studio Home printablesJordan alphabet stampJordan alphabet stamp outlineThankful stampTradition stamp,  October exclusive kit and Halloween acrylics and glitter foam pieces.

Call me frugal but when I put one little cookie into a bag I get at my local bakery, it feels like a waste to throw it away afterward! I take them home to use as treat bags later. If you don’t have a leftover bag, these can be purchased at any big box craft store, typically in the baking section.

EllesStudio-Halloween-MeghannAndrew02
Since the bag is made from kraft paper, I pulled out a piece of scrap kraft to try out some pattern ideas before I actually stamp on my bag. I love the feather from the Thankful stamp in black and the diamond from the Tradition stamp in orange.

EllesStudio-Halloween-MeghannAndrew03
With my pattern decided, I put a piece of scrap paper over the glassine window of the treat bag and begin to stamp my feathers in black, being sure to turn the direction of the feather around the bag.

EllesStudio-Halloween-MeghannAndrew04
Once my feathers are finished, I stamp the diamond in orange in the gaps between the feathers, being sure to stamp off on the edges of the bag.

EllesStudio-Halloween-MeghannAndrew05
To finish off my patterned background, I stamp the feather outline from the Tradition stamp set in metallic gold ink over the solid black feathers.

EllesStudio-Halloween-MeghannAndrew06
The beautiful metallic sheen on the feathers just takes this bag to the next level! While I let the ink dry, I set to work on my tag for the top of the bag.

EllesStudio-Halloween-MeghannAndrew07
I opened up the feather tag PNG file from the Home printables digital file in Photoshop. After selecting an orange color, I fill in the background and the inside of the feather.

EllesStudio-Halloween-MeghannAndrew08
After recoloring my 3” x 4” tag, I placed it onto an 8-1/2” x 11” background and duplicated it three more times. I printed the tags out onto coverstock paper and cut them out.

EllesStudio-Halloween-MeghannAndrew09
To cut my tag to look like a shipping tag, I grabbed a spare tag from my stash to use as a template. I also use the tag tab from the Tradition stamp in black at the top to make it look more like a shipping tag.

EllesStudio-Halloween-MeghannAndrew10
Using the Jordan alphabet stamp, I stamp the word “spooky” along the left side of the tag in black.

EllesStudio-Halloween-MeghannAndrew11
I then went back over the letters with the Jordan alphabet stamp outline, again in gold to match the feathers on my treat bag.

EllesStudio-Halloween-MeghannAndrew12
To finish off the tag, I attached the “really good eats” tag from the October exclusive kit and the “yum” tag from the Home printables with a mini stapler. I also added two stars from the Halloween acrylics and glitter foam – one directly on the tag, the other attached to a paperclip that I can use to attach the card to the bag.

EllesStudio-Halloween-MeghannAndrew13
I made a tasty pumpkin snack mix to fill my bag, making it the perfect “spooky” treat for a friend!

Thanks for stopping by! Be sure to share your Halloween projects using Elle’s Studio products with the hashtag #ellesstudio on Instagram!  Happy Halloween!

Sketch Thursday

EllesStudio-SketchThursday-10-15-15Pull out your favorite patterned paper or extra 3 x 4 inch tags and get ready to layer with today’s sketch! We pulled the inspiration for this sketch right out of our Design Team Gallery!

5559_3949_14438203178808_bigLisa’s October layout is full of fun layers of tags from our October kit, stitching, and our October cut files! We love how she captured her October with the three square photos, too!

We can’t wait to see what you all do with this sketch! For a chance to win a $10 gift certificate to our shop, create a project inspired by today’s sketch, upload it to the Member gallery and leave a comment here with the link by October 28th. A random winner will be selected and posted with the next sketch on October 29th.

Our randomly selected winner this week is: Sharmon with her “You Make Me Smile” layout:

2340_3975_14448445716782_bigCongrats!! Please email us at info@shopellesstudio.com to claim your prize, with the following information:
Name & Address:
Contest: Sketch Thursday
Prize: $10 Elle’s Studio gift certificate

Exclusive Kit Mini Course – October 2015

EllesStudio-ExclusiveKitMiniCourse-OctoberEvery month we will now be offering a new downloadable PDF class to go along with our monthly kit! This is the perfect tool to add to your kit purchase if you are looking for a creative jumpstart, or a fresh and fun way to use the kit!

October’s class features three different designers: Leanne Allinson, Joy Taylor, and Natalie Elphinstone. This month you’ll get to learn how Leanne makes custom hand-cut embellishments for her fun layout, embossing and watercolor techniques that Joy uses on her delightful cards, and how to use digital PNG files directly on your photos as Natalie did on a darling pocket-page spread – and so much more! There are over 10 pages full of tips, techniques, and fun ideas using our October kit and coordinating extras, with projects highlighting concepts that can easily be transformed to fit any type of project you are working on! This class comes as a downloadable PDF file and will only be available until October 31st, 2015, so don’t miss it!

SpecialBonusThis month, we have a special BONUS for you! If you purchase our October kit + Tradition stamp, you will receive the October Mini Course for free, via email! The class course will be emailed to the email on your order form within 24 hours of kit + stamp purchase. This offer is only available while our October kit + Tradition stamp are in stock!

Since this is a downloadable PDF, you can view it on your computer, tablet, or smart phone, but you can also print it out and take it with you into your scrap room! Here’s a peek at just a couple pages in this month’s course, printed out:EllesStudio-Octobrr2015minicourseThis class is such an asset to have with you while creating – besides the amazing step-by-step projects featured by our contributors, there are also inspiring take-aways and tips that expand on our contributors material! Even if you didn’t purchase the October kit, the tips and techniques covered in this course can work with almost any products, on any project!

The class is available now and at just $4.99 it is an amazing bargain, but will only be available till October 31st, 2015, so don’t miss out! And, we want to thank everyone who has already purchased the class – We feel so blessed to have such amazing support from you all!

Halloween Treats with Toni From

Happy Monday! Toni here today sharing some Halloween craftiness. I was completely in love with the October Elle’s Studio Kit and exclusive Halloween Acrylics and Glitter Foam Kit.

EllesStudio-HalloweenItemsI saw those acrylic pieces and just knew I had to make Halloween candy favors for my kids. Didn’t they turn out darling? I had a ridiculous amount of fun making them!

EllesStudioTreatBags-Toni1For my first favor, I used a green and white striped bag and filled it with Pumpkin Spice Candy Corn. I then adhered the Halloween card from the October Kit. I attached a couple of acrylic pieces from the Halloween Acrylics (the pumpkin and white speech bubble,) and a couple of enamel bits and pieces from my stash. I used a black star paper clip to hold everything to my bag.

EllesStudioTreatBags-Toni2

My second favor, used a clear bag that I had on hand (these are generally used to package cookies for the holidays.) I added a cup of candy, and tied it loosely with some twine from my stash. I then took a shipping tag and a couple stripes of washi tape from my stash and glued the acrylic piece “Trick or Treat” to the top. I then adhered the adorable candy corn acrylic piece. Seriously isn’t that just the perfect finishing touch?

EllesStudioTreatBags-Toni3I know my kids will love getting these on Halloween and they were super simple to make, and a lot of fun. I might (ahem) have eaten a few too many Pumpkin Spice Candy Corn in the process.  *I will not be held responsible for candy consumed while recreating these treat bags.*  🙂

I hope this post inspired you to use your Elle’s Studio items to make some fun treat bags. We would love to see what you are creating. Make sure to upload your projects to the gallery and tag your projects using the hashtag #ellesstudio when posting on Instagram!

Have a great day!

Our October Kit + extras have arrived!

EllesStudio-OctoberKit
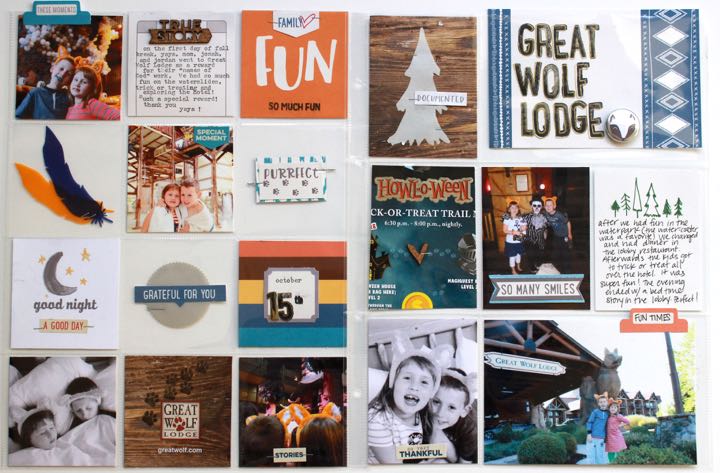
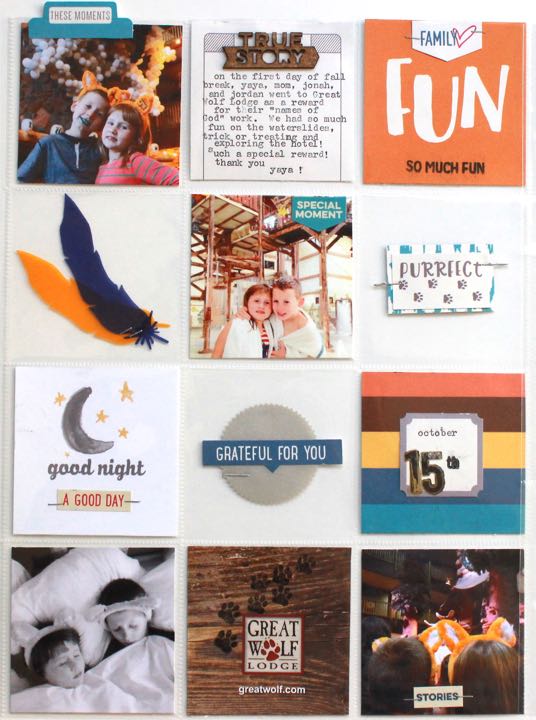
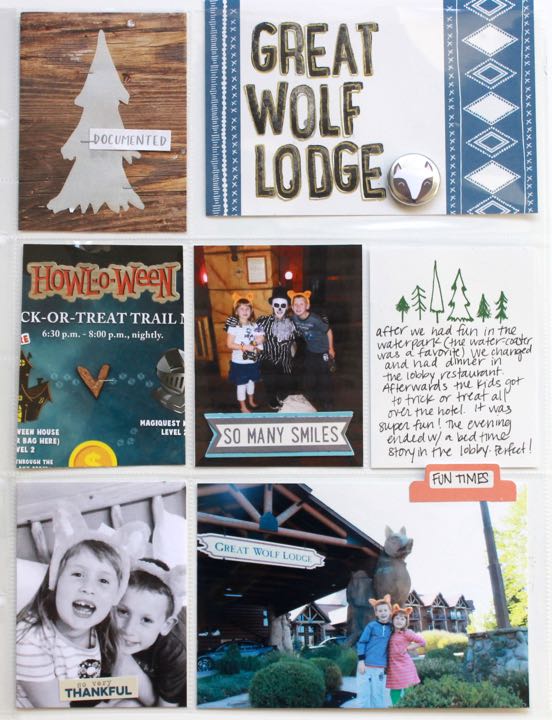
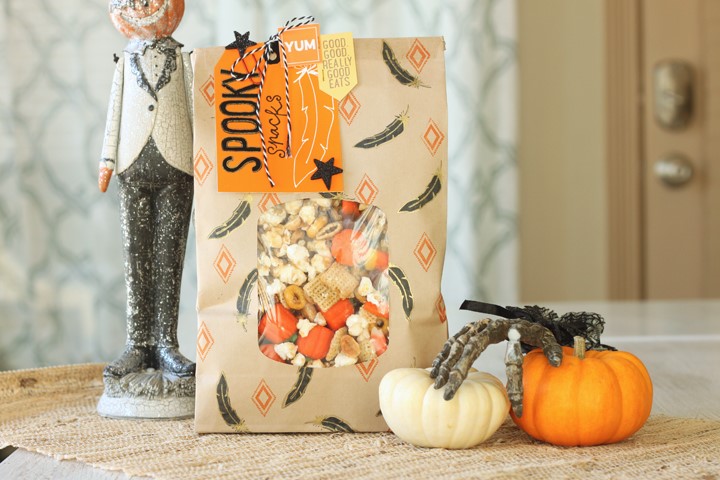
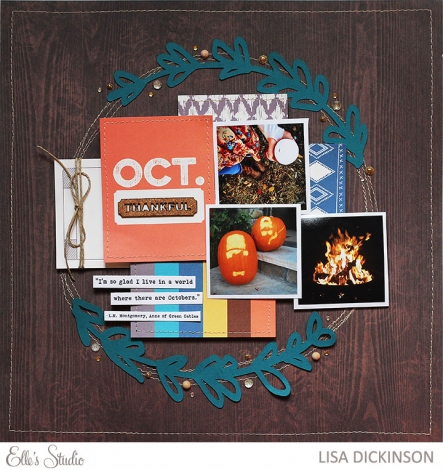
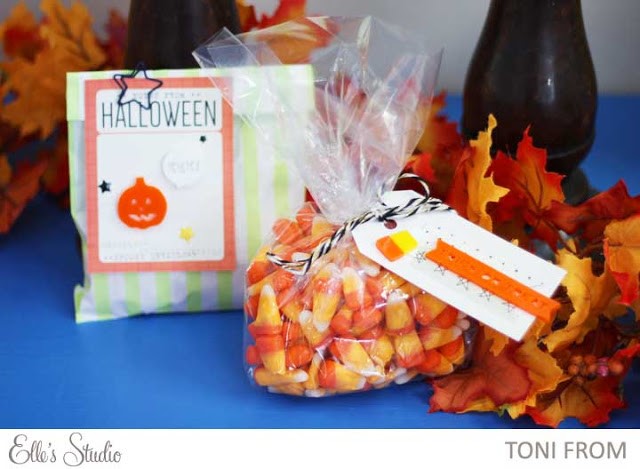
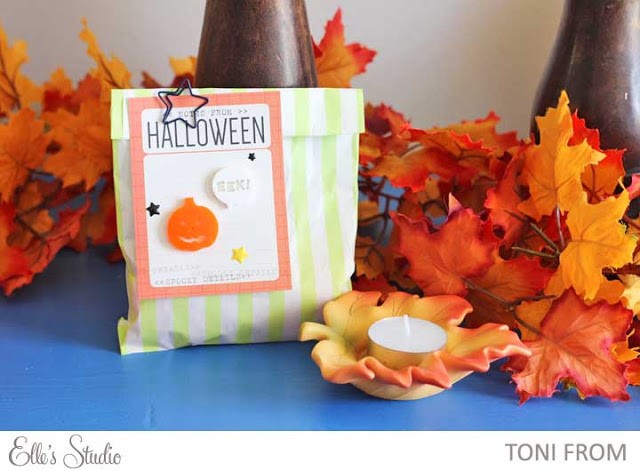
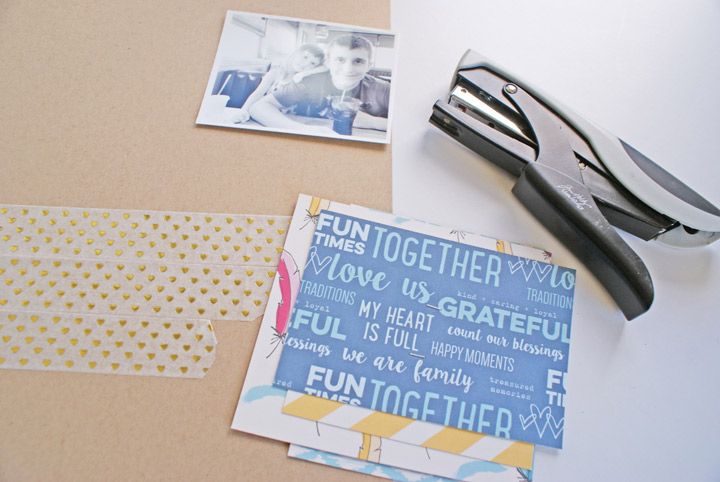
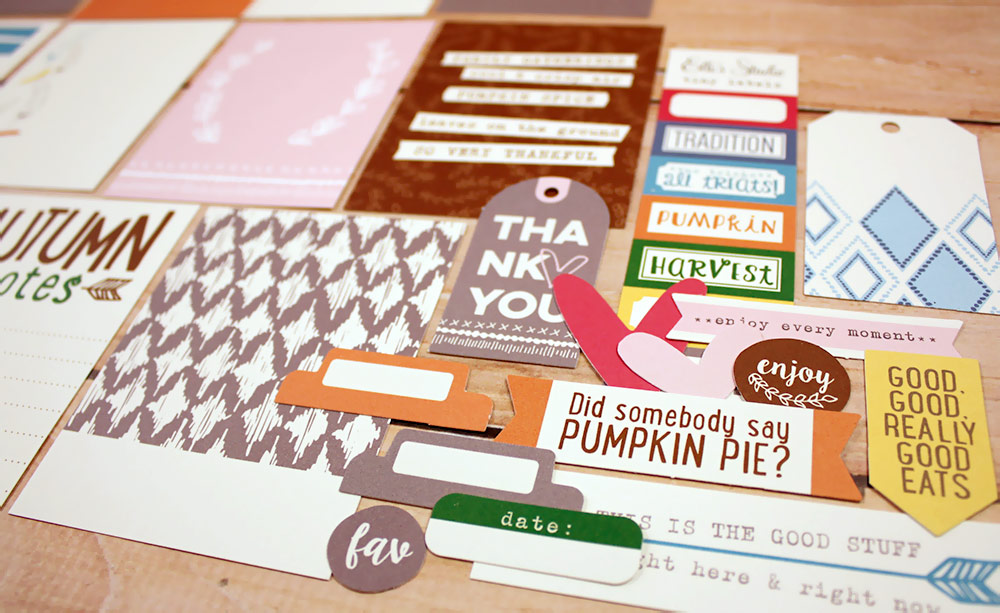
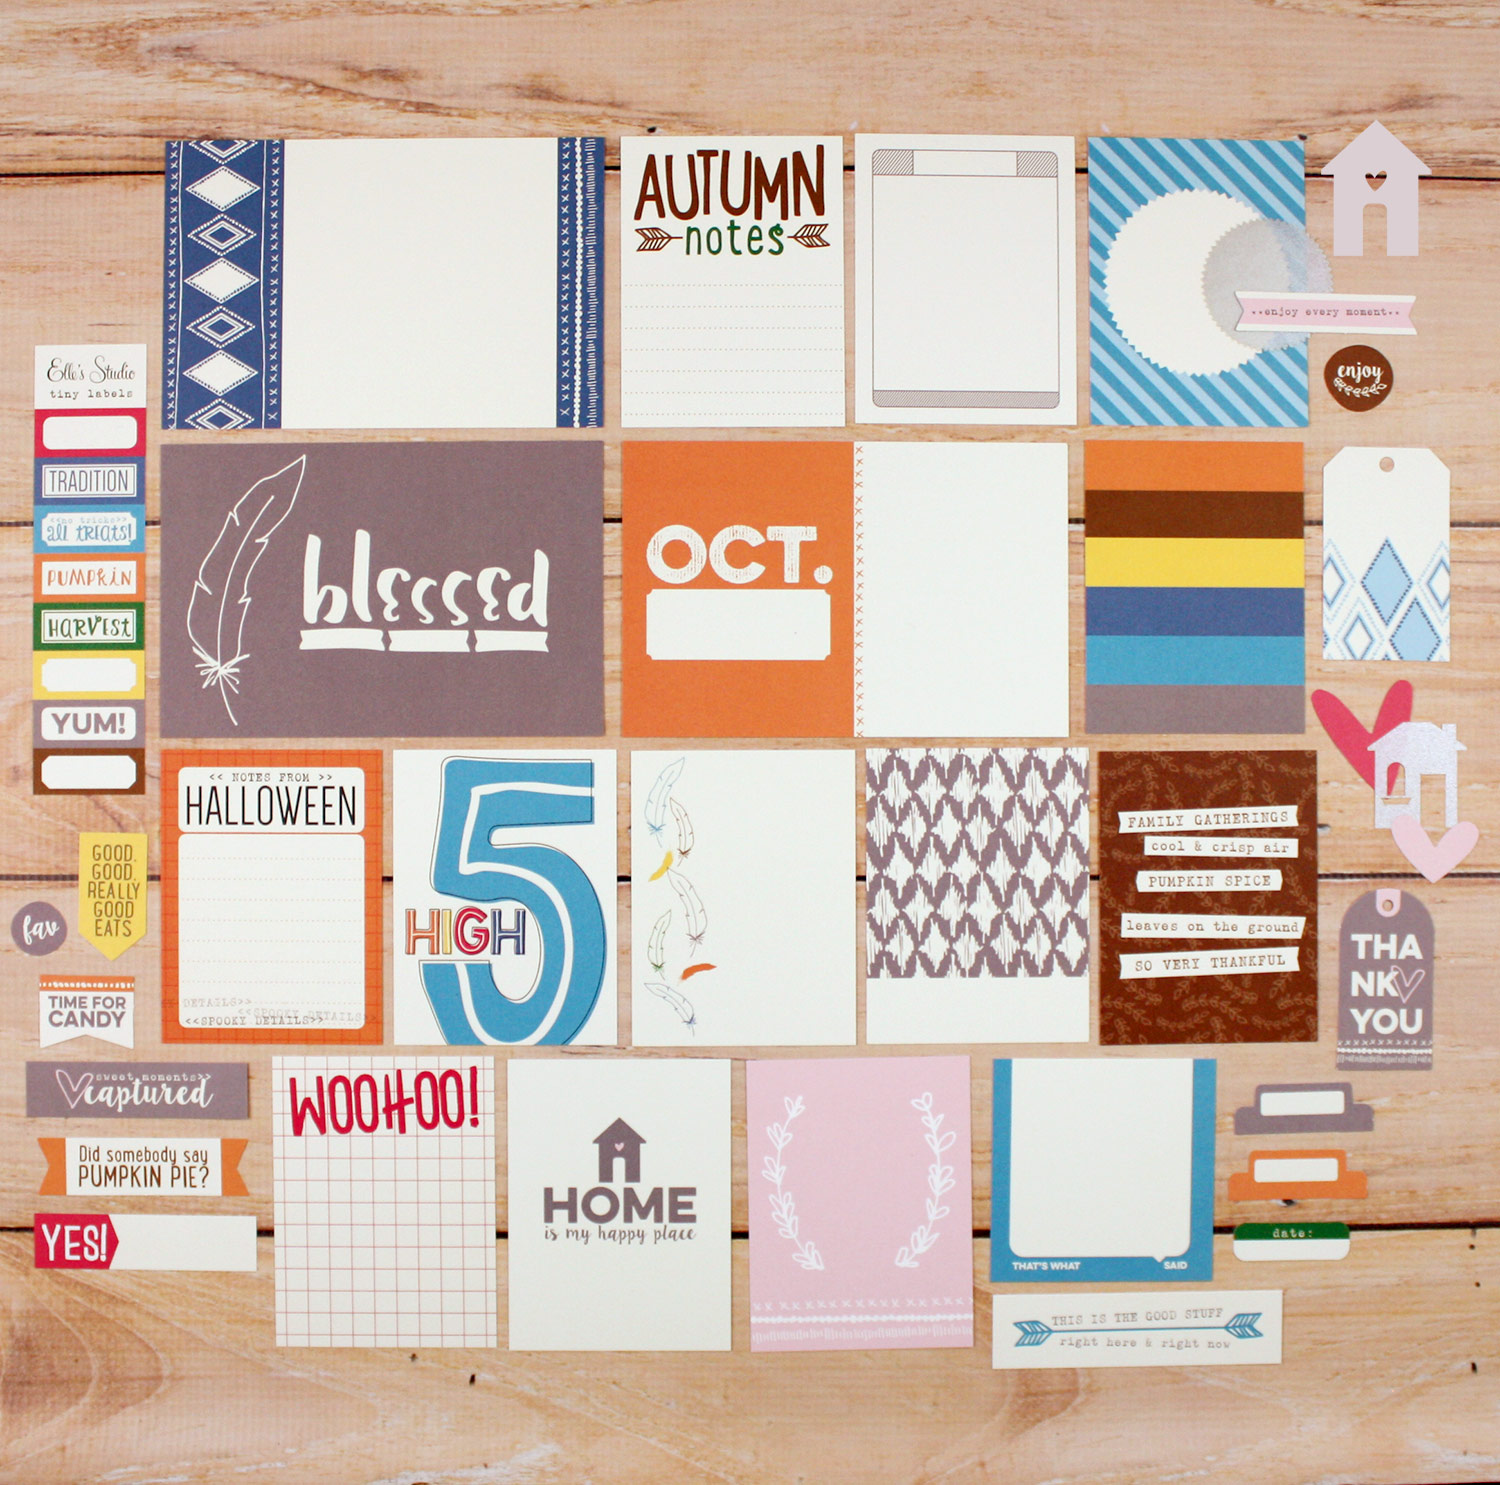
A new season is here and our October exclusive kit will have you ready to document all your fun memories and moments this month! This kit is packed full with over 35 journaling and embellishment tags, designed by us, to help you share your stories on your scrapbooking layouts, Project Life albums, cards, planners, and more! When designing our kits, we love to think of tags that can be used as prompts to help make it easier for you to get your story started and documented, and this kit is full of that and more!

Just a reminder that our kits are limited and once they sell out we will not be restocking. Look for a new kit each month on the 10th at 8:00 am PST, and as a special bonus to celebrate launch day, kits will be on sale for $9.99 for today only, regular price after that will be $11.99. These kits can ship first class: shipping for USA residents will start around $2.00 and go up from there, depending on the weight of what is in your cart. For overseas, it will run about $6+ depending on your location.

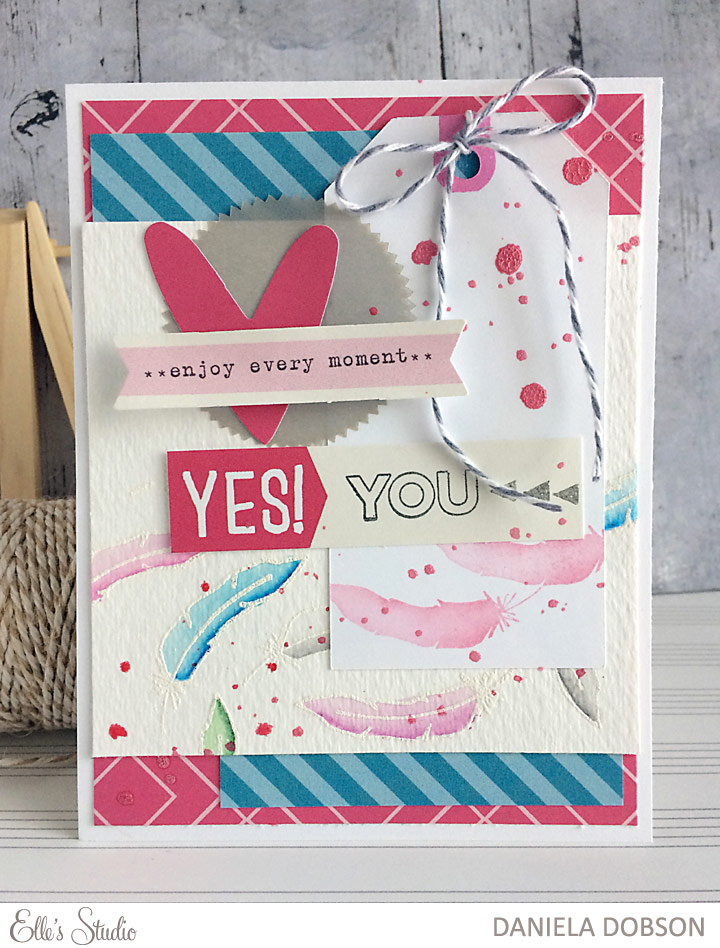
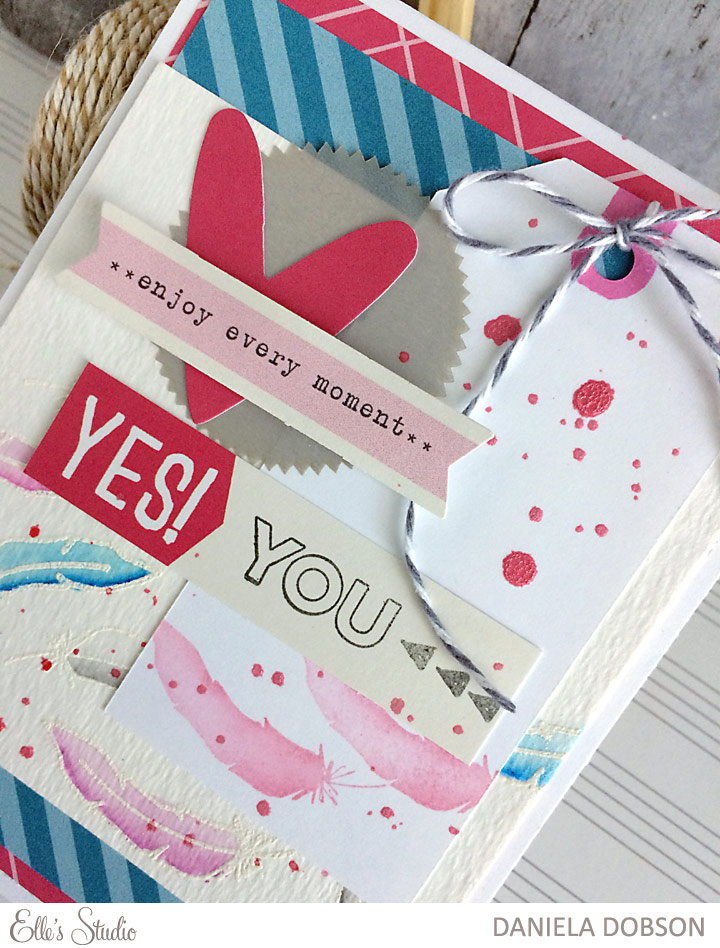
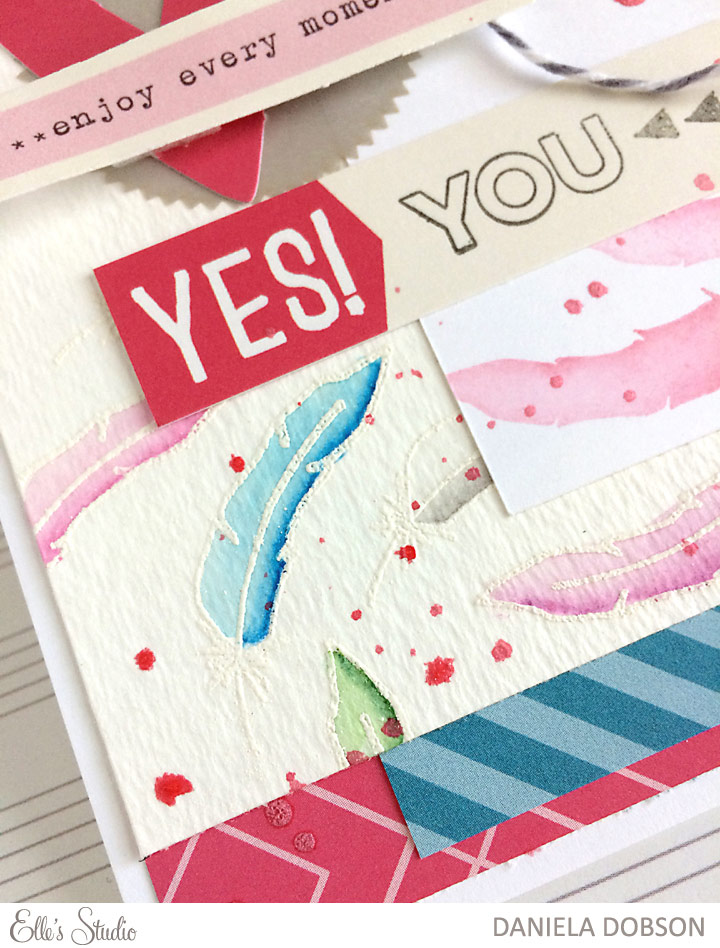
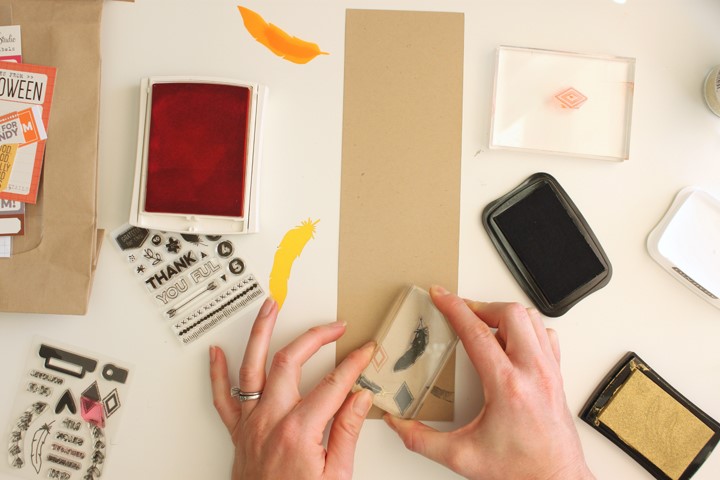
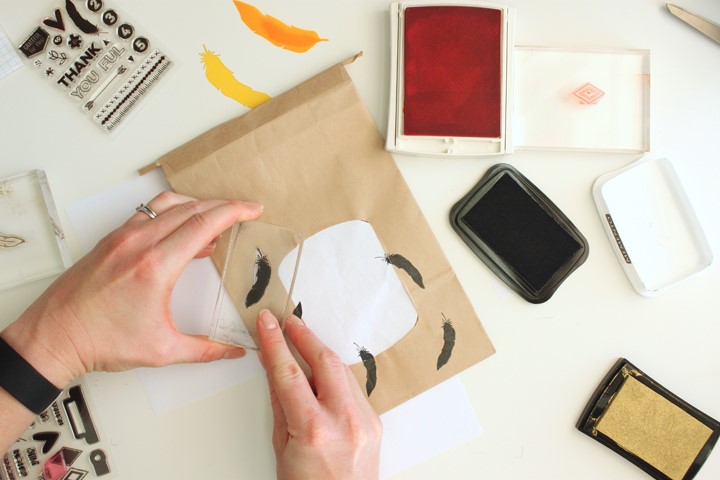
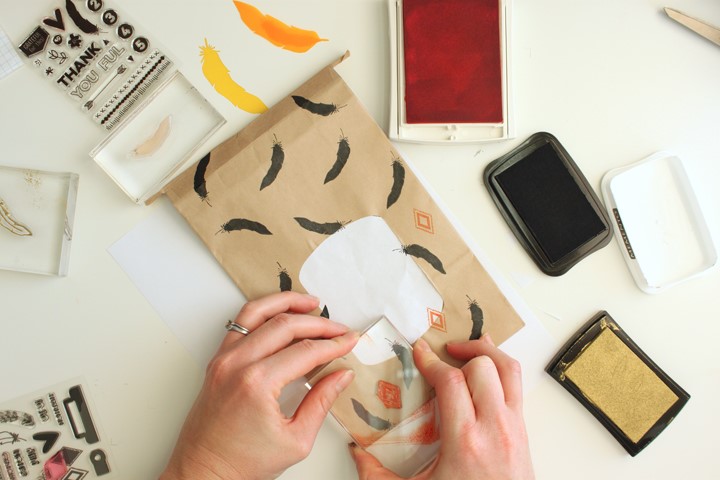
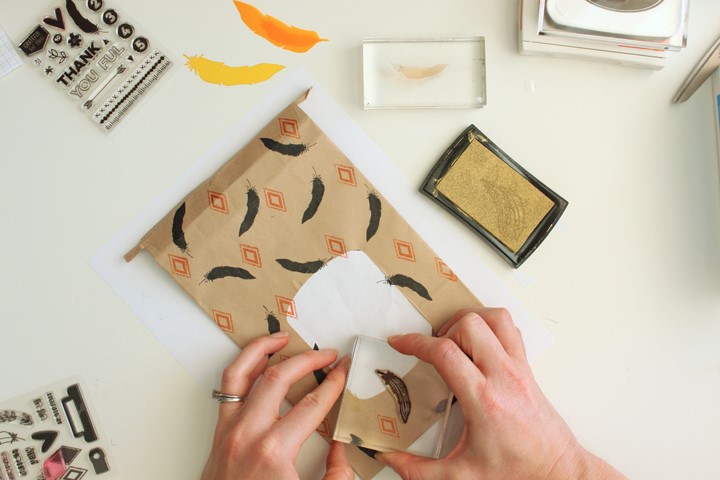
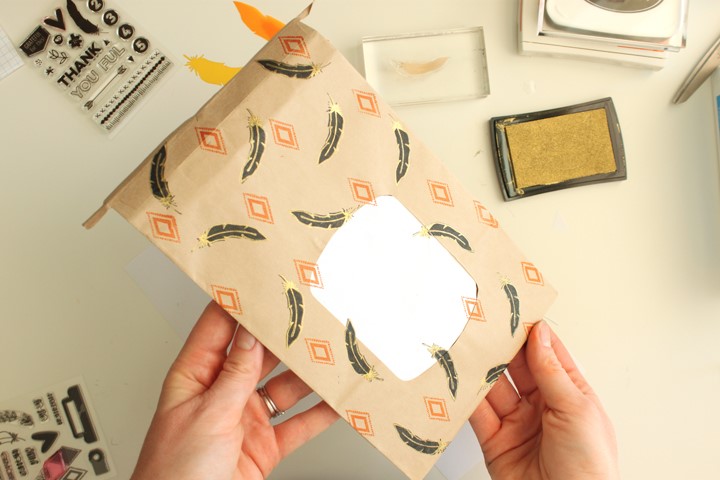
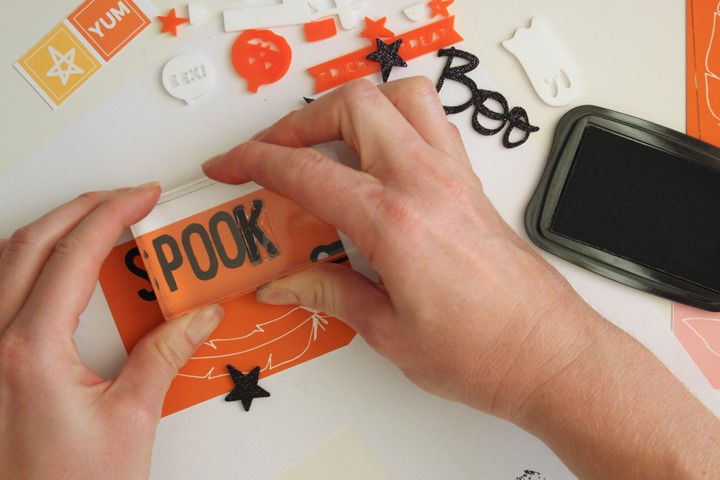
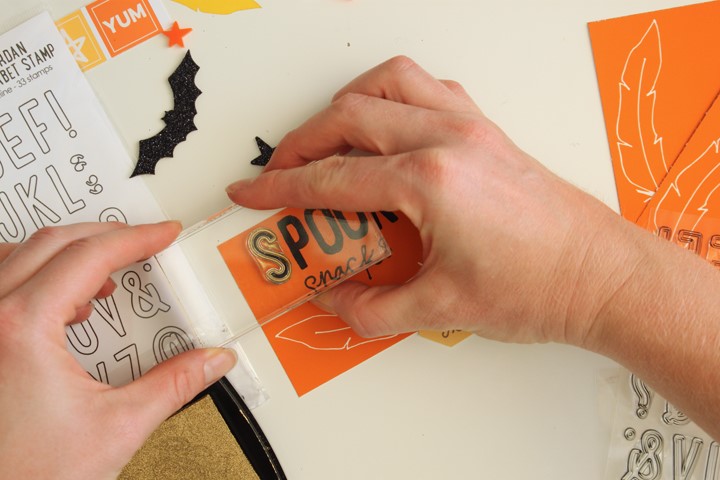
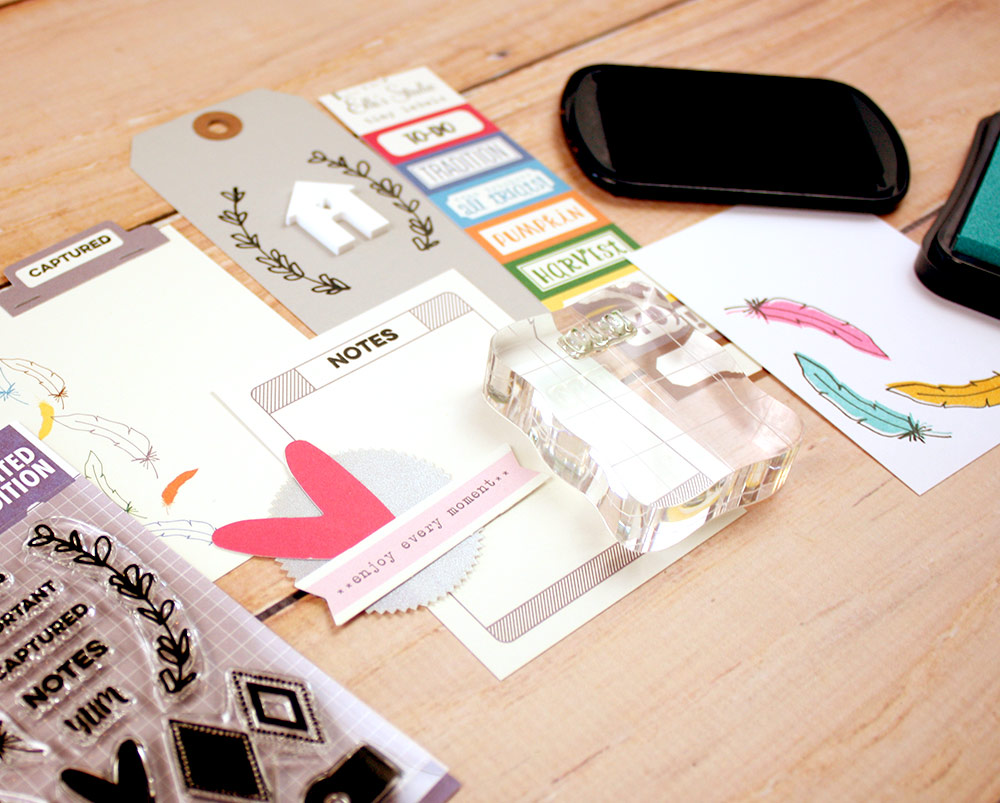
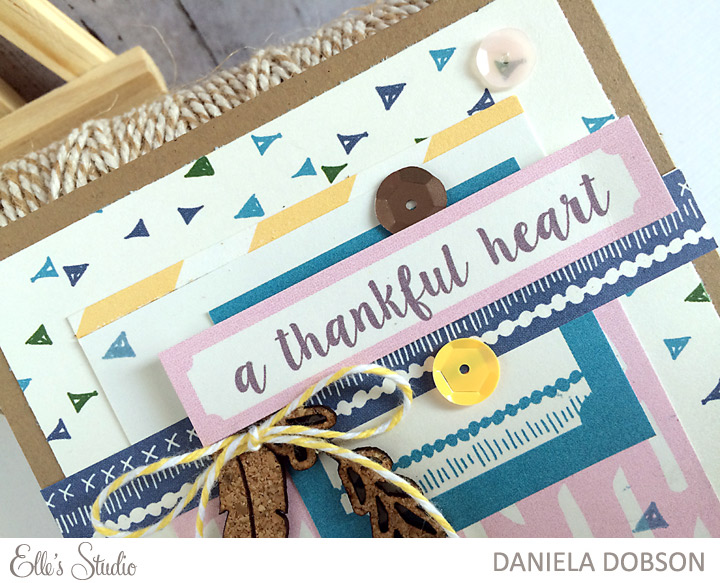
Coordinating with our kit this month, we have a brand new stamp:EllesStudio-OctoberKit-Stamp02
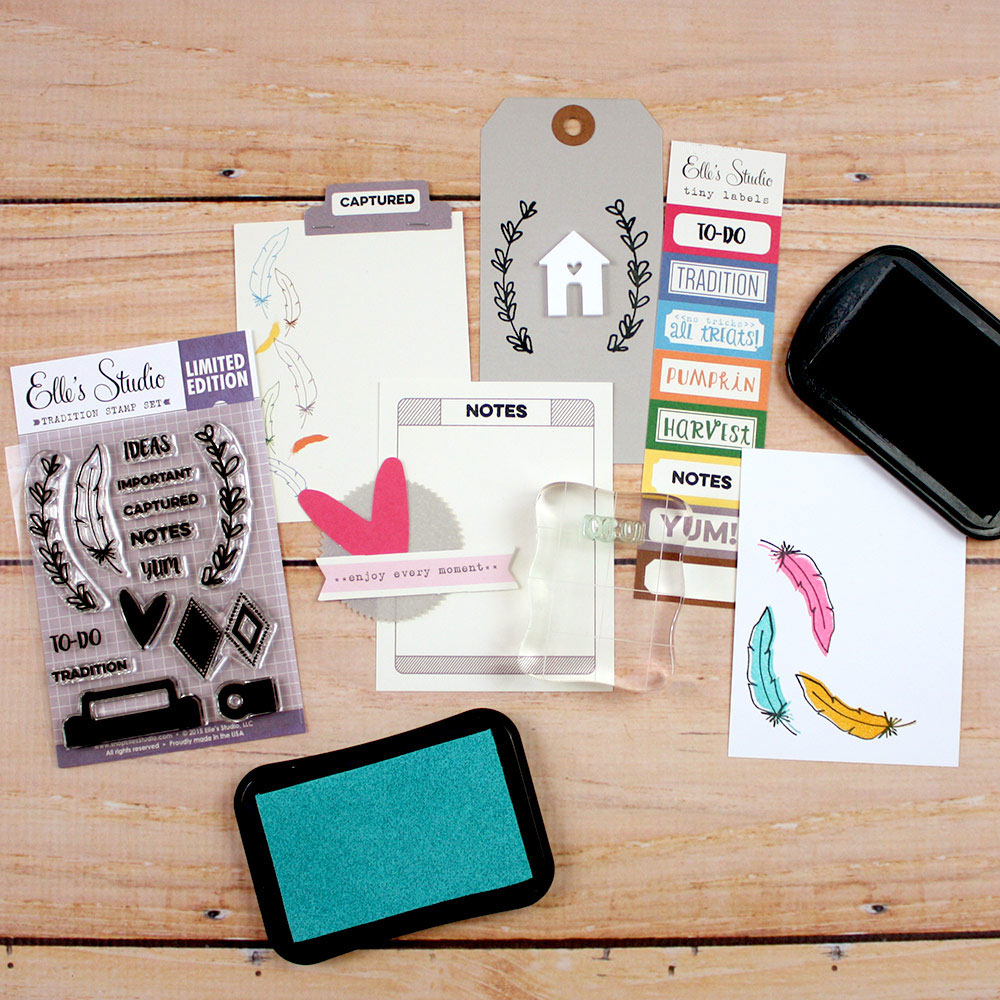
With our new Tradition stamp you can create your own tabs, use the stamp in the lower right hand corner to create shipping tags, make patterns, and more! Also, with the feather outline you can stamp and then fill in with watercolors, or use the feather on our Thankful stamp to fill it in!

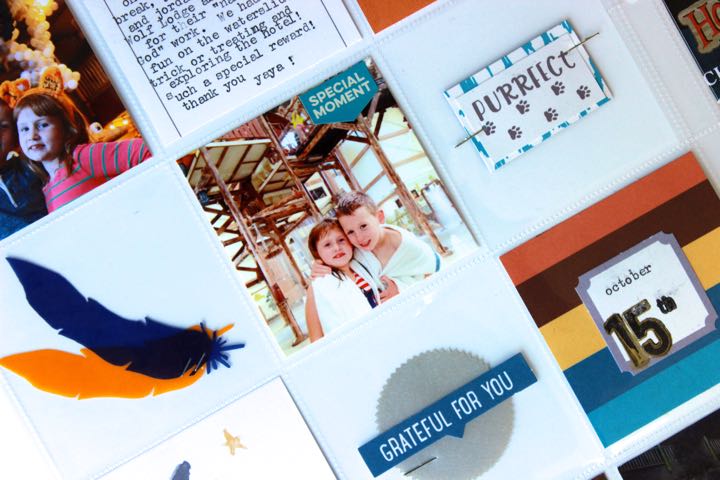
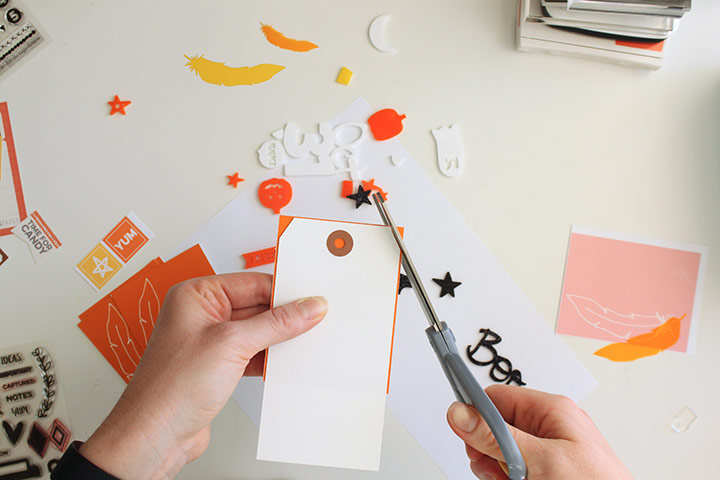
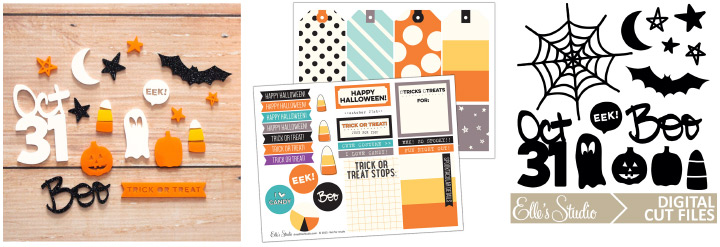
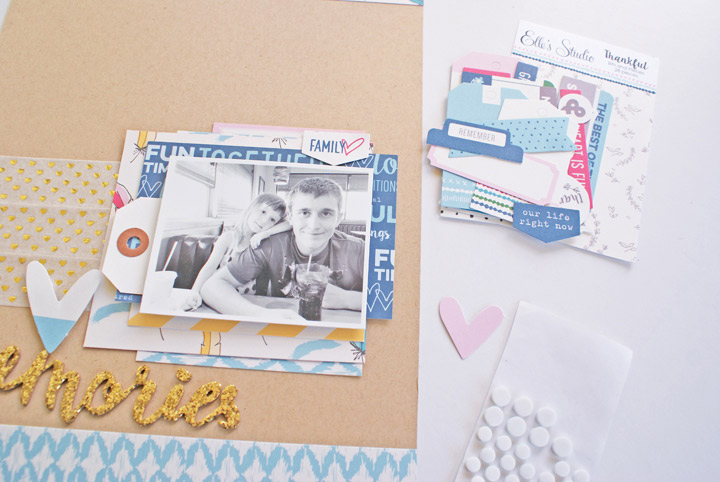
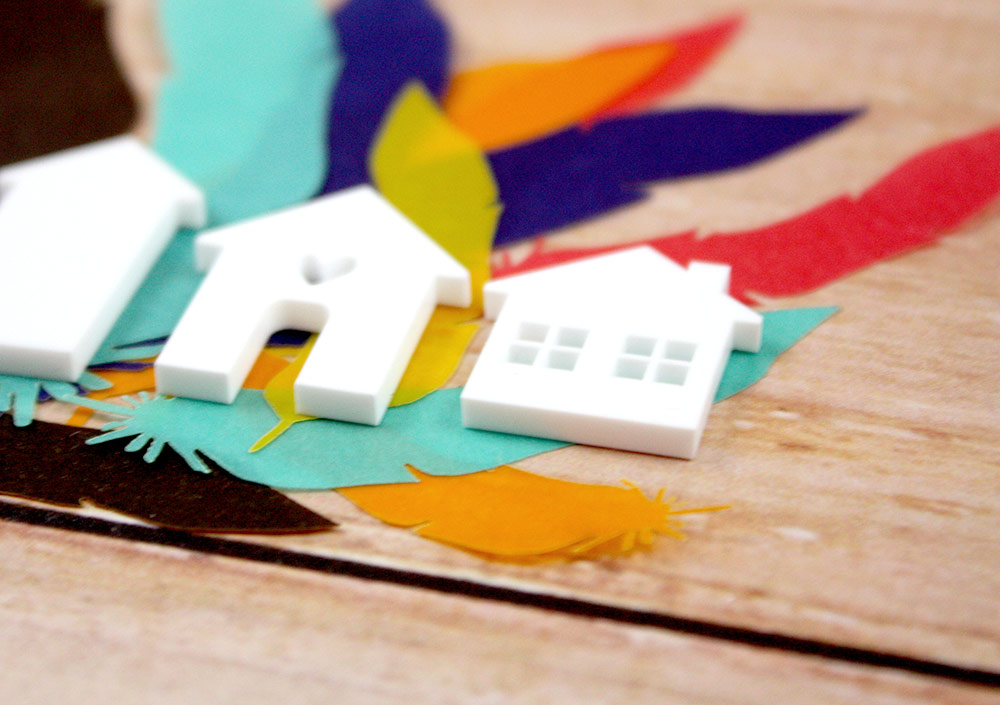
This month we also have two fun add-ons – vellum feathers and white acrylic houses!EllesStudio-OctoberKit-extras

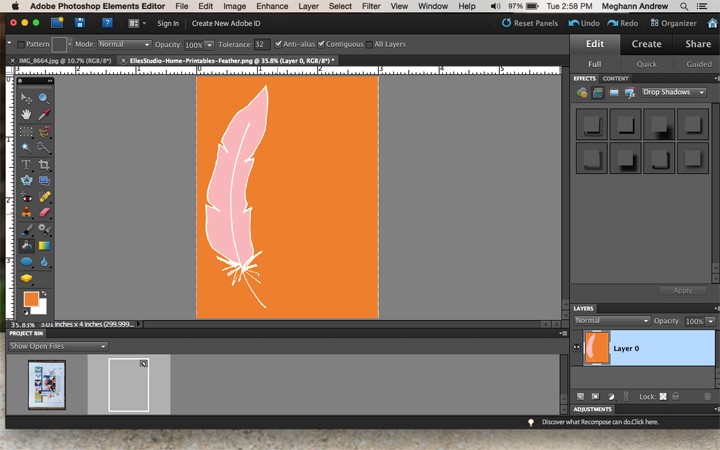
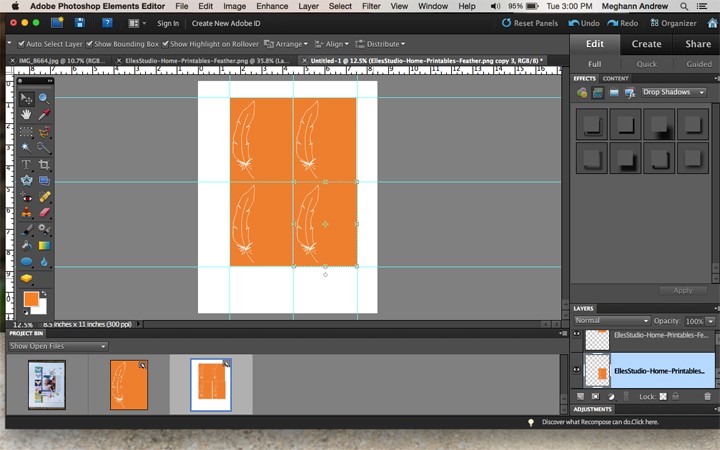
And, there are coordinating printables and cut files this month – once you download these files, you can use/print them over and over again!EllesStudio-Octoberkit-digitals
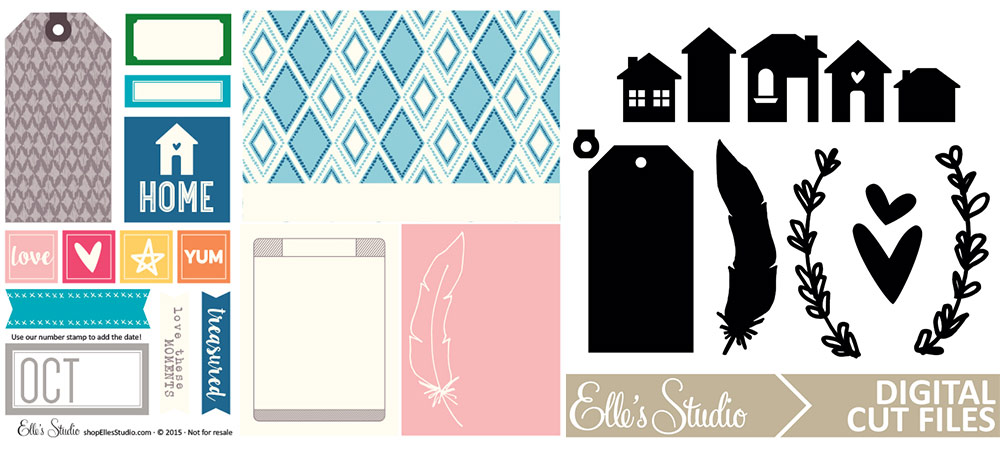
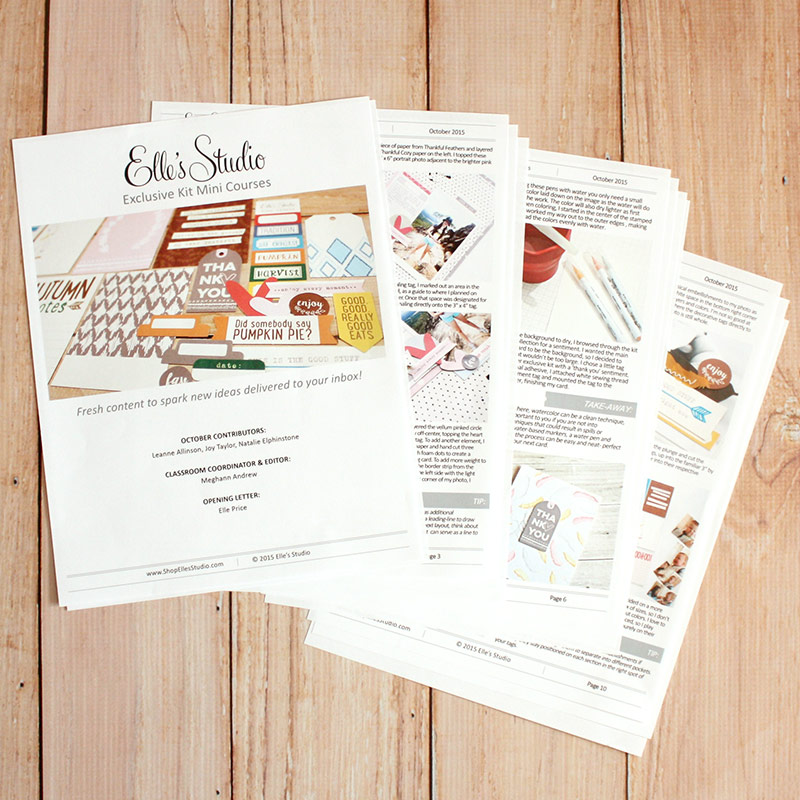
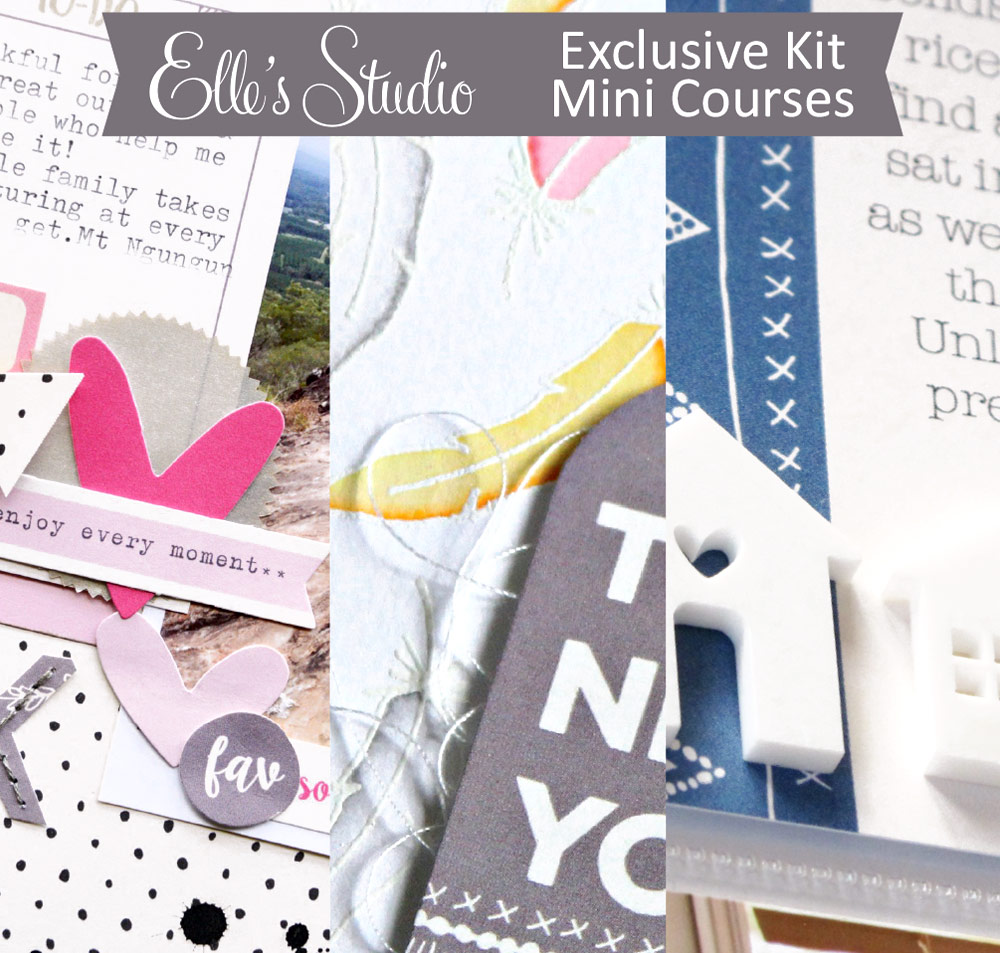
For those looking for extra inspiration, say hello to our October Mini Course:EllesStudio-ExclusiveKitMiniCourse-October
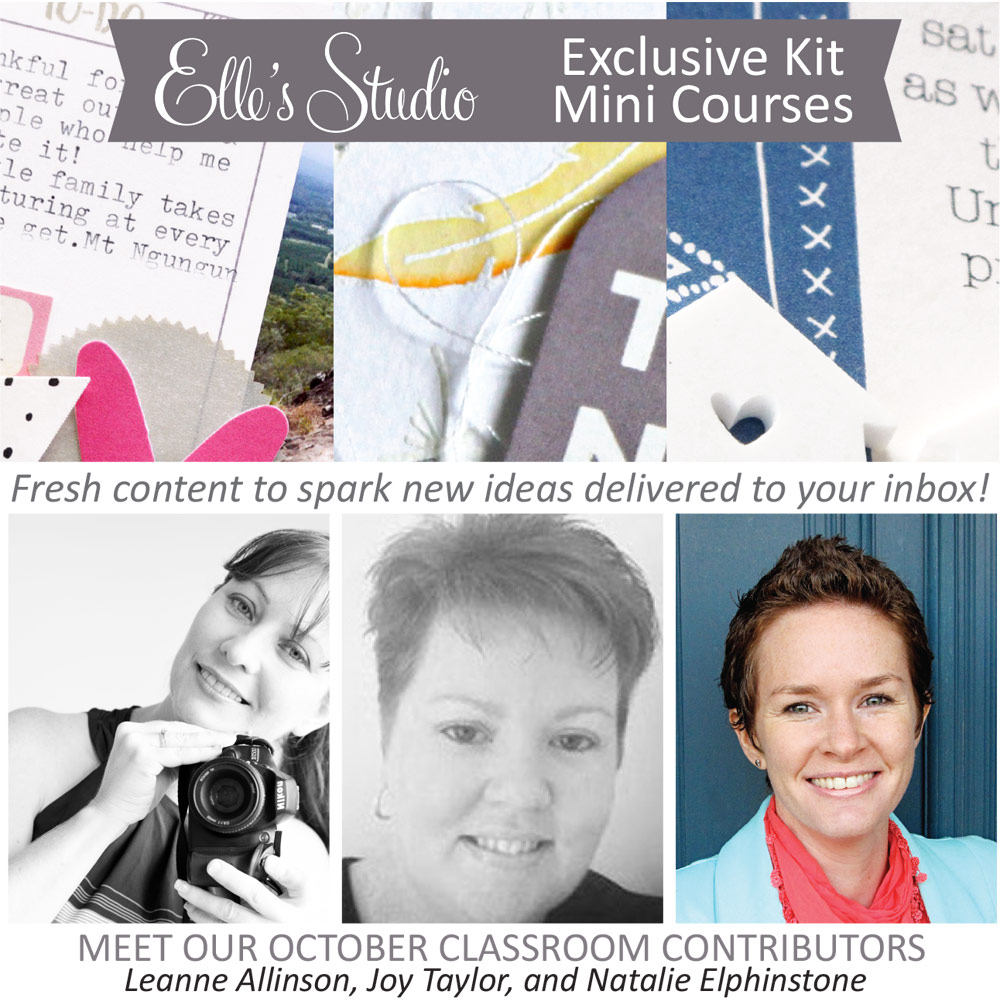
Every month we are now offering a new downloadable PDF class to go along with our monthly kit! This is the perfect addition to your kit purchase if you are looking for a creative jumpstart, or fresh and fun ways to use the kit! October’s class features three different designers: Leanne Allinson, Joy Taylor, and Natalie Elphinstone. This month you’ll get to learn how Leanne makes custom hand-cut embellishments for her fun layout, embossing and watercolor techniques that Joy uses on her delightful cards, and how to use digital PNG files directly on your photos as Natalie did on a darling pocket-page spread – and so much more! There are over 10 pages full of tips, techniques, and fun ideas using our October kit and coordinating extras, with projects highlighting concepts that can easily be transformed to fit any type of project you are working on! This class comes as a downloadable PDF file and will only be available until October 31st, 2015, so don’t miss it!
SpecialBonusThis month, we have a special BONUS for you! If you purchase our October kit + Tradition stamp, you will receive the October Mini Course for free, via email! The class course will be emailed to the email on your order form within 24 hours of kit + stamp purchase. This offer is only available while our October kit + Tradition stamp are in stock!

FreeShipping-saleitems
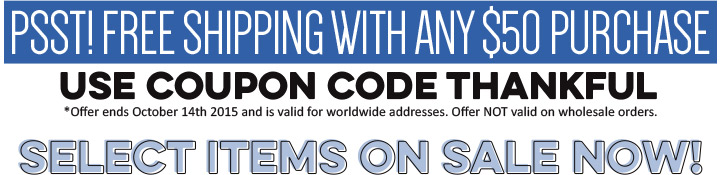
We have also have some select items on sale and have brought back our most requested offer – FREE SHIPPING on all orders $50+, including international address, with coupon code
THANKFUL! *Please note: if you are paying with PayPal, you will first visit PayPal to enter your information in, and then when you are returned to our site you will be able to enter the free shipping code. If you have any trouble, please contact us at info@shopellesstudio.com

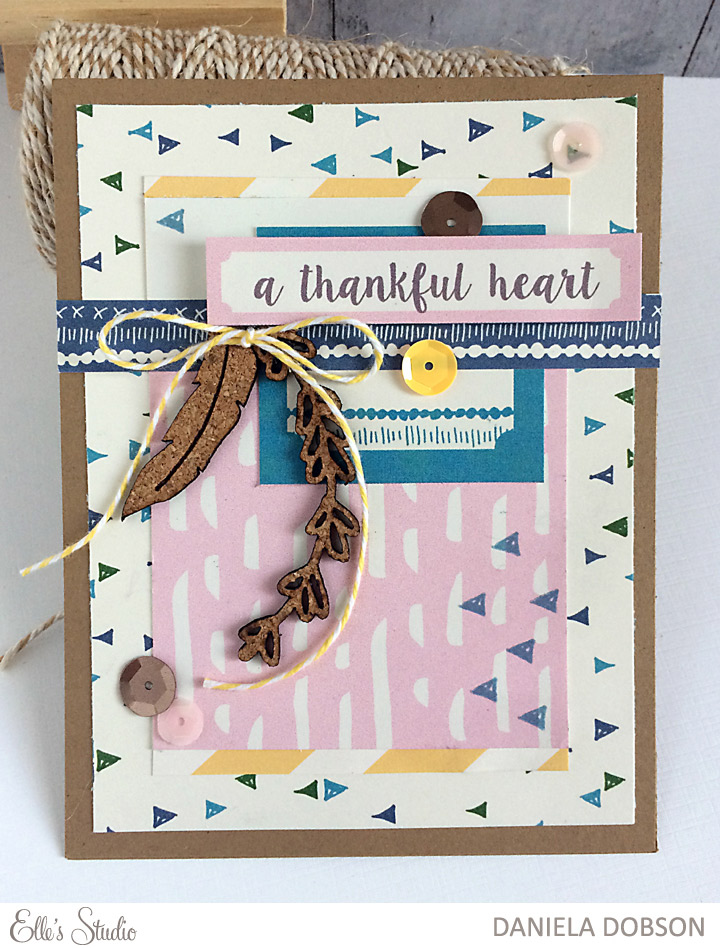
Since today is the 10th, that also means our Design Team has some brand new inspiration for you in our gallery! Make sure you check out their amazing projects in the Design Team Gallery and don’t forget, once you log in, you can bookmark your favorites, leave comments and see close ups of our design team’s projects, too:

EllesStudio-OctoberKit-DTLayouts
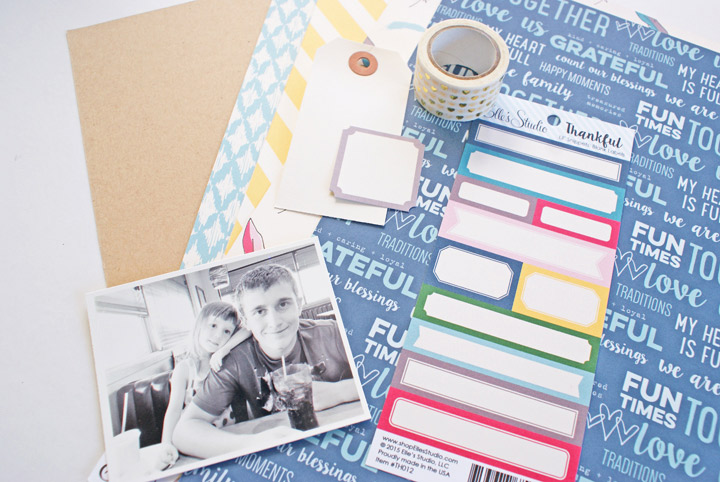
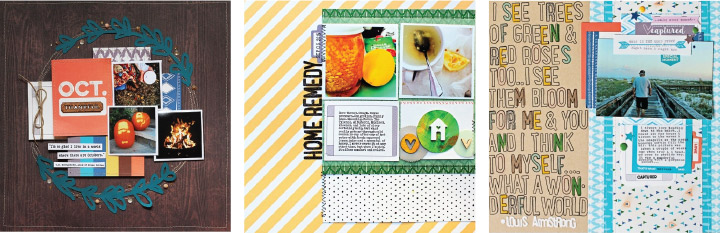
Along with our October kit + extras, our Design Team also worked with our new collections, Thankful and Joyful, that are available now in our shop!

It’s an exciting month with lots of fun traditions and memories to capture! We hope these products help document your memories and make them even more special! Thank you joining us today!

Creating Layers with Michelle Wedertz

I was super excited to get the assignment of creating a layout featuring layers because it gave me a good excuse to play with all the fun patterned papers from the Thankful Collection – a collection that I have declared my all time fave from Elle’s Studio!

When I sit down to create with layers, my first step is always to sort out my supplies that I want to use. To make this process go quickly, I have a set of guidelines that I follow when I am picking them out. First, I want to go for a variety of papers and I look for large and small patterns, patterns that are more solid in color, multi-colored patterns, and neutrals. Generally, I will only choose one multi-colored patterned paper and will base my other choices off of what will work that particular piece of paper. Also, I won’t choose papers that are too similar in pattern. Second, I will look for matching tags and labels that I can layer in with my papers. Finally, I look for products such as washi tape or vellum to add in additional texture. Having all of my basic supplies pulled out and ready to go is a real time saver and lets me have a visual of all my options as I work.

Process-1
I like to take a fairly simple approach to building layers. I always start with my “star” paper-the paper I want to feature the most. In this case I went with the darkest blue paper and used it as my top layer. Underneath I mixed in the rest of the papers, making sure only a little bit of each peaked out from behind. To make this process easier, I like to staple the papers together and then attach them to the base with adhesive. Stapling also leaves me the option of easily adding in more pieces as I go.

Process-2

Finally, I like to use pop dots to add dimension to my layers. Here I adhered the photo and some diecuts from the Bits & Pieces pack with them.

Process-3
Here’s a look at my final project:

MemoriesMemories-2Memories-3Supplies: Thankful Patterned Paper Collection; Thankful Bits & Pieces; Thankful Stickers; and Letters & Numbers – Light Pink.

I hope these guidelines and tips inspire you to create some fun layers on your next project!

A sneak peek at what is coming October 10th!

EllesStudio-OctoberKit-SneakPeekHello October! Are you as excited as I am for this new season? It’s always so fun and refreshing when seasons change! Our next kit + extras launch is almost here and we can hardly wait to bring you another exclusive kit that will be full of fun journaling and embellishment tags to help you capture your memories and document your stories. Above is a sneak peek of what’s in store for our October kit – Just a reminder that these kits are limited and will not be restocked! Our last couple of kits have sold out pretty fast!

Our next launch will be this Saturday, October 10th, at 8:00 am PST and don’t forget, if you purchase the kit on launch day (October 10th), you save $2 with our launch day special pricing of only $9.99! These kits can also ship first class, so depending on your location, shipping starts out at around $2 for USA, and $6+ for international.

EllesStudio-OctoberKit-SneakPeek-Extras02This launch will also include a brand new stamp that coordinates with our October kit, and some fun vellum and acrylic pieces!
EllesStudio-OctoberKit-SneakPeek-Extras01
Here’s the first peek at our Exclusive Kit Mini Course for October, too – any guesses for who our three amazing contributors are?

EllesStudio-ExclusiveKitMiniCourse-OctoberSneakOur Mini Courses are designed for people who are looking for extra inspiration (besides our blog posts, and design team gallery projects) and are purchased separately from our kit. This month, we have a special BONUS for you! If you purchase our October kit + Tradition stamp, you will receive the October Mini Course for free, via email! We will also have some great sale items to choose from, and our most requested offer is back- FREE SHIPPING!

FreeShipping
We are giving you the code now so you’ll be ready when our launch starts this Saturday, October 10th at 8:00 am PST! *Please note: if you are paying with PayPal, you will first visit PayPal to enter your information in, and then when you are returned to our site you will be able to enter the free shipping code.

If you haven’t signed up for our newsletter, make sure you do to receive a reminder of when everything is available for sale! It’s going to be a BIG day, so set your alarm and mark your calendar! We hope to see you there!

A Thankful Heart Card by Daniela Dobson

Thankful-heart-by-Daniela-DobsonHello everyone, Daniela here with a card using my favorite technique: layering! This fun card was put together using the new Thankful collection and these six steps:

1. Make card base from Kraft cardstock.
2. Cut your patterned paper slightly smaller than the card front and adhere.
3. Layer a journaling tag (with yellow patterned paper underneath), blue tag from Thankful Cutouts, paper edge strip, and a pink tag from Thankful labels. Use foam squares for dimension.
4. Stamp triangles from Thankful Stamp set using blue ink.
5. Adhere Thankful Cork Shapes.
6. Add twine bow and sequins.

Thankful-heart--close-2-by-Daniela-DobsonProducts used: Thankful Paper Collection Pack, Thankful Cutouts, Thankful Labels, Thankful Cork Shapes, Thankful Journaling Tags, and Thankful Stamp

We hope this inspires you to get started on your cards! Don’t forget to share your projects with us by uploading them to our Member Gallery!