 Welcome to the Elle’s Studio blog post today. It’s Meghann here to share an easy Halloween treat bag and tag that you can create with the Elle’s Studio Home printables, Jordan alphabet stamp, Jordan alphabet stamp outline, Thankful stamp, Tradition stamp, October exclusive kit and Halloween acrylics and glitter foam pieces.
Call me frugal but when I put one little cookie into a bag I get at my local bakery, it feels like a waste to throw it away afterward! I take them home to use as treat bags later. If you don’t have a leftover bag, these can be purchased at any big box craft store, typically in the baking section.
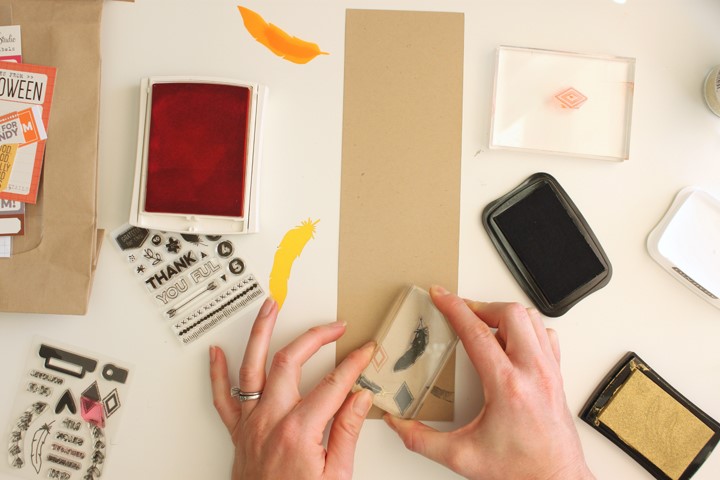
Since the bag is made from kraft paper, I pulled out a piece of scrap kraft to try out some pattern ideas before I actually stamp on my bag. I love the feather from the Thankful stamp in black and the diamond from the Tradition stamp in orange.
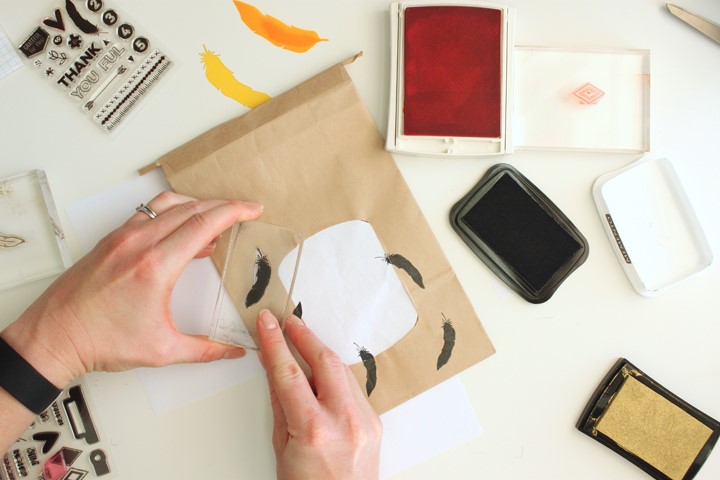
With my pattern decided, I put a piece of scrap paper over the glassine window of the treat bag and begin to stamp my feathers in black, being sure to turn the direction of the feather around the bag.
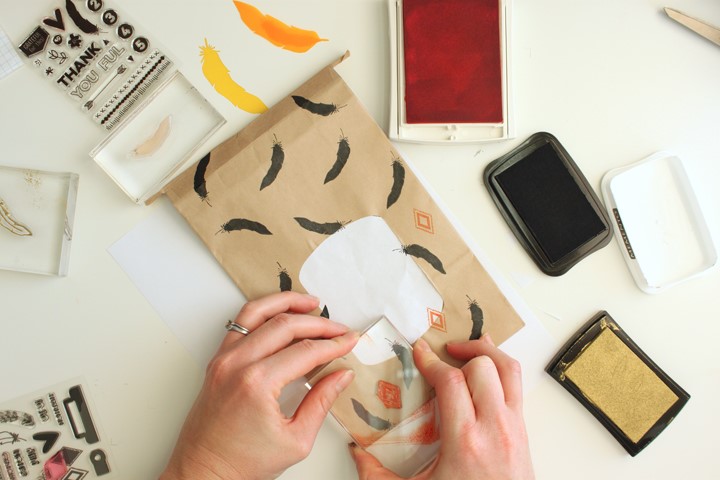
Once my feathers are finished, I stamp the diamond in orange in the gaps between the feathers, being sure to stamp off on the edges of the bag.
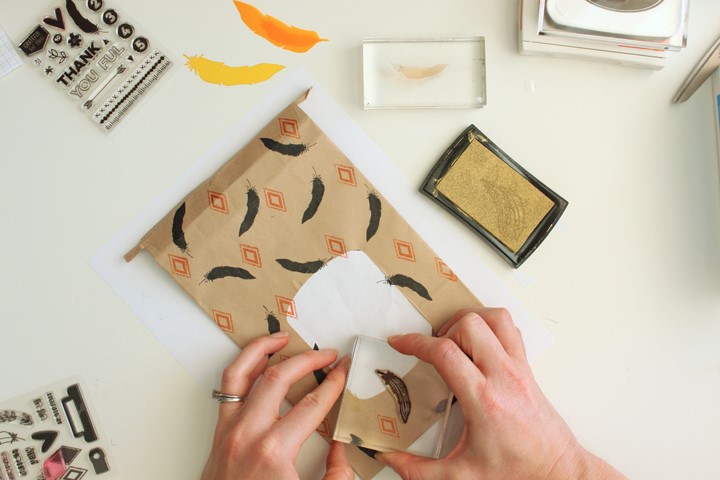
To finish off my patterned background, I stamp the feather outline from the Tradition stamp set in metallic gold ink over the solid black feathers.
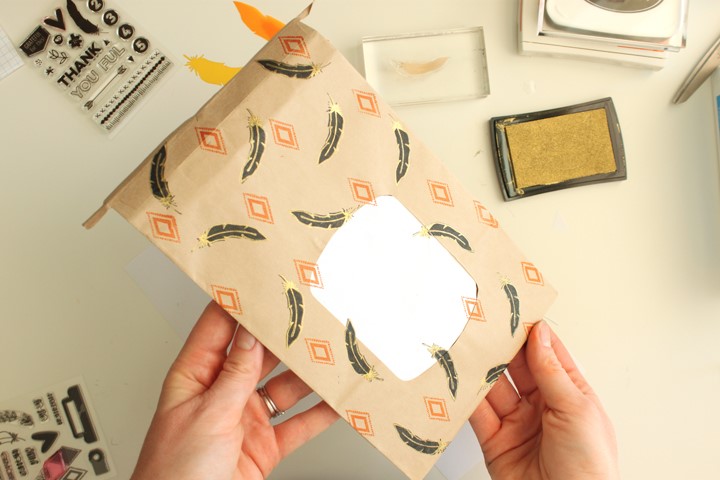
The beautiful metallic sheen on the feathers just takes this bag to the next level! While I let the ink dry, I set to work on my tag for the top of the bag.
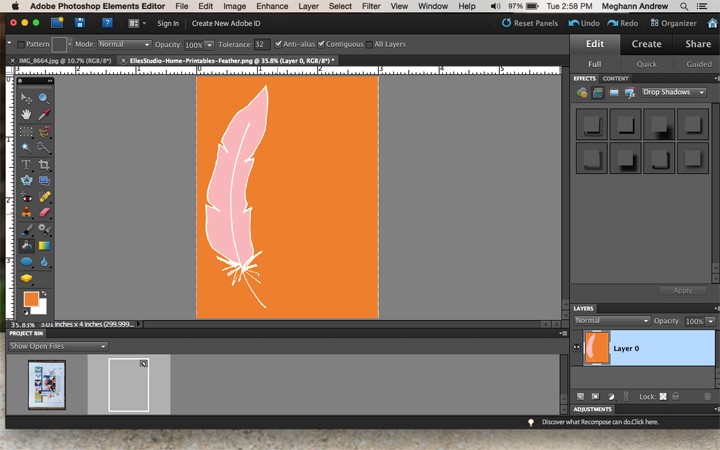
I opened up the feather tag PNG file from the Home printables digital file in Photoshop. After selecting an orange color, I fill in the background and the inside of the feather.
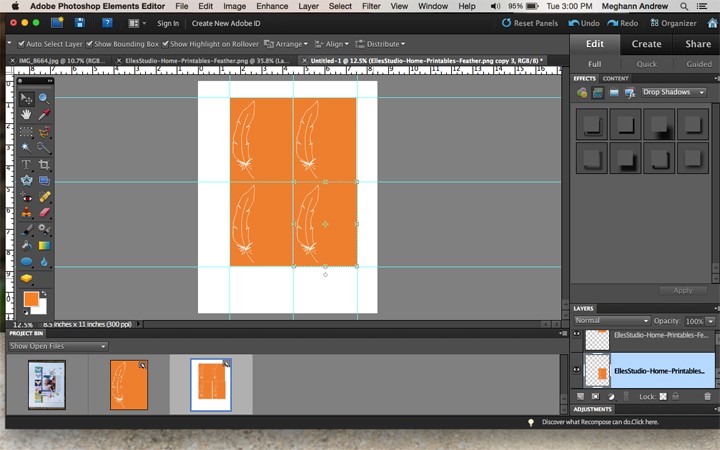
After recoloring my 3” x 4” tag, I placed it onto an 8-1/2” x 11” background and duplicated it three more times. I printed the tags out onto coverstock paper and cut them out.
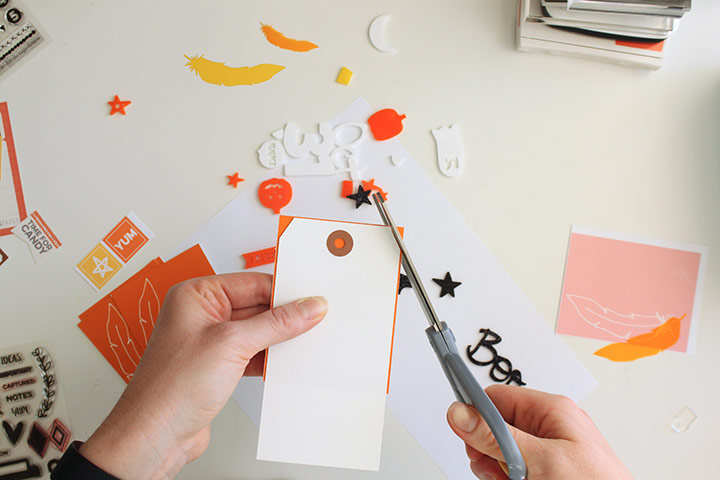
To cut my tag to look like a shipping tag, I grabbed a spare tag from my stash to use as a template. I also use the tag tab from the Tradition stamp in black at the top to make it look more like a shipping tag.
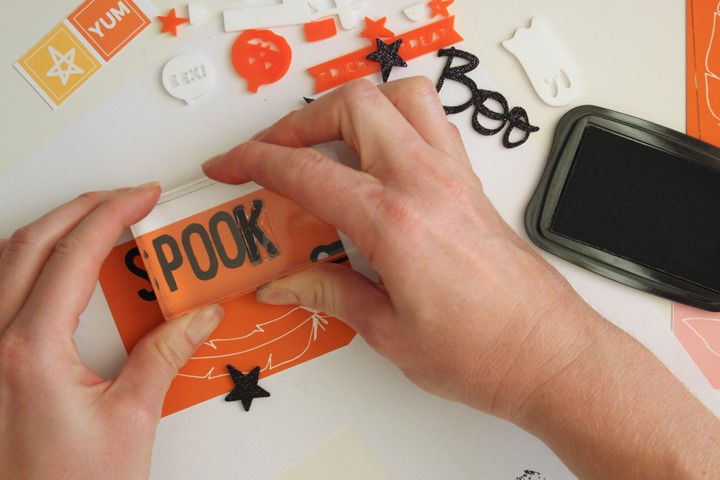
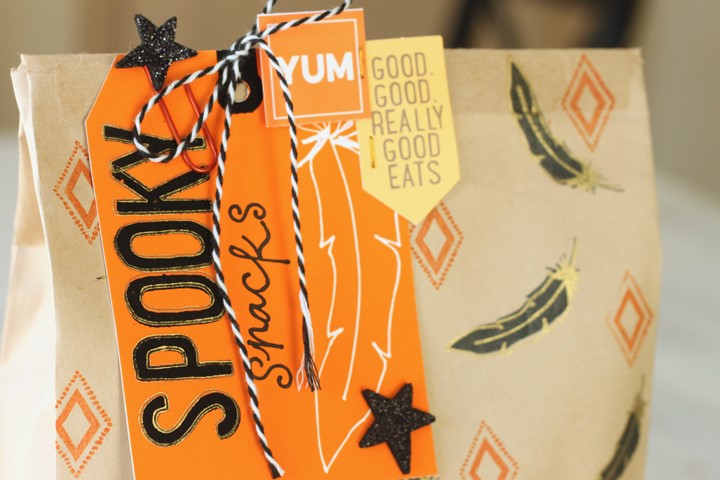
Using the Jordan alphabet stamp, I stamp the word “spooky” along the left side of the tag in black.
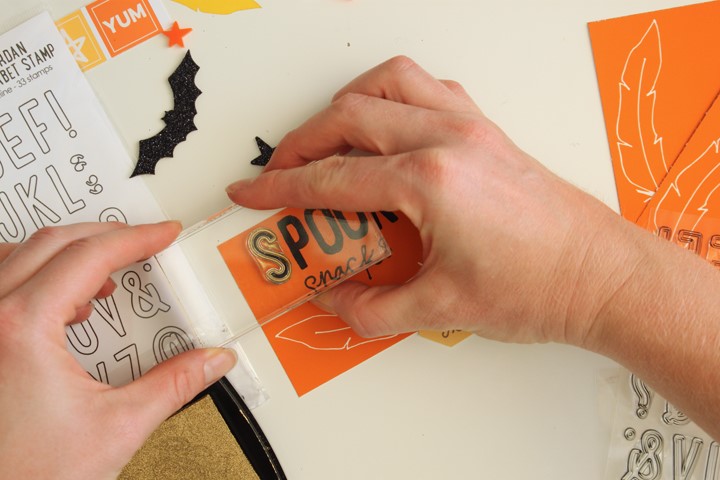
I then went back over the letters with the Jordan alphabet stamp outline, again in gold to match the feathers on my treat bag.
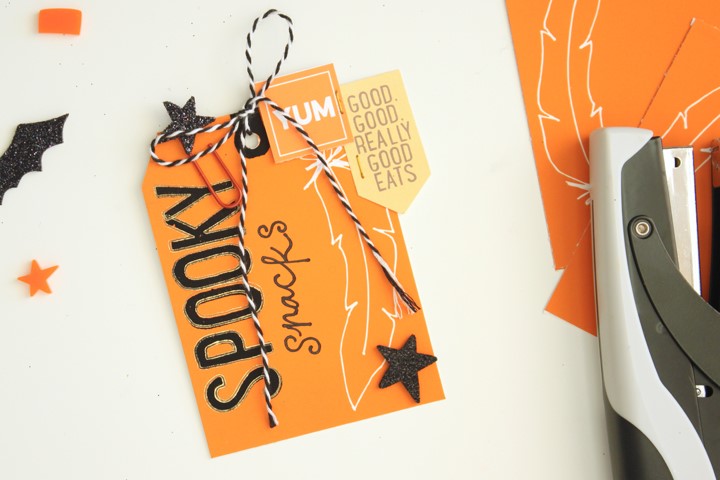
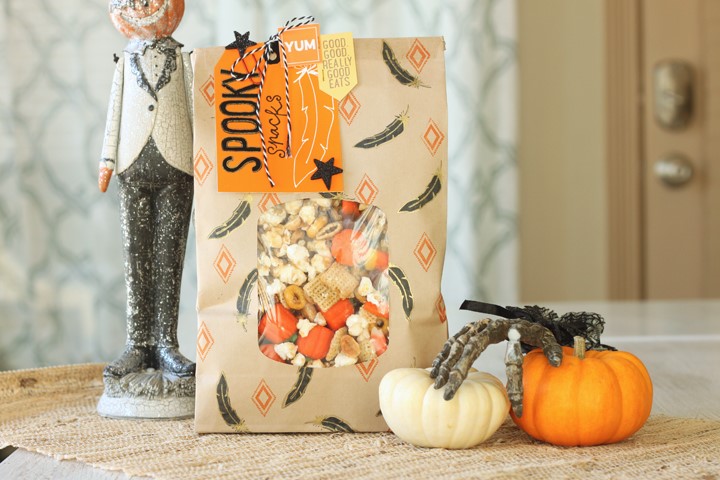
To finish off the tag, I attached the “really good eats” tag from the October exclusive kit and the “yum” tag from the Home printables with a mini stapler. I also added two stars from the Halloween acrylics and glitter foam – one directly on the tag, the other attached to a paperclip that I can use to attach the card to the bag.
I made a tasty pumpkin snack mix to fill my bag, making it the perfect “spooky” treat for a friend!
Thanks for stopping by! Be sure to share your Halloween projects using Elle’s Studio products with the hashtag #ellesstudio on Instagram! Happy Halloween!
Comments