2018 Title Page with Jamie Leija

New yearly albums require a special kick-off page to introduce the new memories that the album will contain, and today Jamie Leija is sharing a truly amazing page that she created, using our February 2018 Kit and extras. Let’s see what she made!
 
Hiya! It’s Jamie and today I’m sharing the title page for my 2018 album. I have to say, I’m totally in love with it and even more excited to start documenting my 2018!


Supplies | February 2018 KitPink Cardstock Alphabet StickersDark Purple Cardstock Alphabet StickersShapes & Dots Puffy StickersAll the Details Stamp, Family Fun 12″ x 12″ Paper Collection
 
I love how title pages get to be special. They set the tone and kick off the entire album. For this year’s, I decided to include a photo of each of family members of the Leija-Tomerlin clan. That was my starting point. The rest was just play!


I feel like rainbows are a major trend these days and I completely love that! I’m a color girl through and through so making this page was a blast!
 
I started by drawing a “starburst” of lines radiating out from the middle of the page. Then I used a paper piercer to poke holes in the cardstock. I didn’t stitch just then. Instead I used two scraps of paper to mask off each triangle and then stamped away in a single color using the All the Details Stamp. You guys, did you realize there are 45 stamps included in this set?! I used every last one of them on this page!


I repeated this around the entire circle and then I went back and stitched the lines using corresponding thread. I love the extra texture this adds.


To finish the page, I pulled the two most colorful journaling tags from the February 2018 Kit and adhered them in the middle of the page. They were the perfect backdrop for the photos of each of us. I added 2018 to the top and our names using the pink and dark purple cardstock letter stickers to the bottom and then I was done!


This may have taken longer to create than my usual page, but it’s so worth it! How do you start a new year’s album?
 

Weekend Adventures in Pockets with Neela Nalam

A quick weekend trip may seem short when Monday comes around, but you an take hundreds of photos, and make many memories. How will you document them? A pocket page is the perfect solution! Today, we have Neela Nalam sharing a beautiful spread that documents a skiing weekend with her family. We know that she will inspire you to tell your weekend stories, too!
 
I loved making these pocket pages about our annual ski trip that we did last year. I hadn’t recorded a story about this trip anywhere yet and the February 2018 Kit seemed to be the perfect fit for these photos. I chose to do a double page spread of 9″ x 12″ size. I like this size a lot, as it is big enough to summarize a short getaway.
 

Supplies | February 2018 Kit, February Icon LabelsPink Cardstock Alphabet StickersWood Veneer Cameras, Wood Veneer Icons, Shapes and Dots Puffy Stickers, Icon Stamp, All the Details Stamp
 
I had colorful and bright photos, so I tried to pick tags with colors that coordinated or contrasted with the colors in my photos. I love all the colors in the kit and found it hard not to incorporate a bunch of them. The Wood Veneer Icons are pretty much my favorite add-on item this month and can be used in the design of your pocket, or just  for decoration. You cannot go wrong!


I love all the journaling tags included in the February 2018 Kit, too. The different designs allow variety in the way you include journaling in your pockets. It was fun to follow the prompts on some of the tags to tell a story that I may not have told otherwise. I also like the general tags where you can tell your own story.


The All the Details Stamp has so many fun phrases on it and is so versatile. I used it to stamp the “THIS WAS FUN” phrase on the label from the February Icon Labels and the “love this photo” circle onto a journaling tag from the kit.


I hope you enjoyed checking out these pocket pages and that I’ve given you inspiration to get your weekend getaways documented. If you are interested to see the process on how these pocket pages came together, check out my process video.


Icon Stamp Pocket Pages With Laura Wonsik

Each exclusive stamp set we release is created with memory-keeping in mind, and the new Icon Stamp comes complete with a journaling block, lines to keep your writing straight, as well as fun icons to embellish your tag. We challenged Laura Wonsik to use our newest stamp in a pocket page layout, and she ended up using it through an entire spread in such an amazing way! Let’s see how she used it.
 
Hello! I am so excited to share one of the many projects I have already made with the FABULOUS Icon Stamp! Pocket page scrapbooking is one of my all-time favorite documentation methods, and while this stamp set is great for all types of documenting, it’s especially perfect for pocket pages!


Supplies | February 2018 KitFebruary Cut Files, Cork Speech Bubbles, Icon Stamp
 
One of my go-to methods for scrapbooking in pockets is to repeat a card design for all of the journaling spots in a spread. The Icon Stamp is PERFECT for that since it has so many icon options to pair with the journaling stamp.


A recent favorite technique of mine is masking with Post-its. You might think, “Why wouldn’t cardstock or paper work instead?” and while they technically would, Post-its are perfect because they already include temporary adhesive and are so thin that there is an almost seamless transfer when you peel it up.


I started this spread by looking at my photos and picking seven coordinating ink colors. Then, considering the content of my stories for the week, I picked seven of the icons to use to create a pattern on the outside of the journaling block, masking with Post-it notes at the journaling spot line. Then, I repeated the “The Details” circle stamp on each one, raised with a pop dot, and coordinating with the color.


To tie all of the tags together, I made a patterned 4″ x 6″ tag with all of the icons and coordinating colors on it. Then, I used one of the cut files as a clipping mask for my photo in Photoshop and added it on the title card with the date.


Lastly, I stamped three more of the circles to go on top of the photos. I love these simple elements and how they keep the focus on the photos but tie everything together visually.


Thanks so much for stopping by and I hope you enjoy this stamp set as much as I do!
 

The Perfect Match with Daniela

We love when our exclusive kit matches up perfectly with your cherished photo memories, and that was certainly the case with Daniela’s layout today. She had the perfect photo to document, and with a bit of help from the February Kit and extras, she created the perfect layout to document her memory. Let’s see what she created! 
 
Hi Elle’s Studio friends! This is Daniela, and I’m so excited to show you a layout created with the fun February Kit and extras. I had these pictures of my son’s first day of school that I wanted to highlight. Back here in Germany, we have a tradition: Every child is given a large cornet of cardboard filled with sweets and little presents on this special day. Guess what— this cornet matches exactly the colors of the shapes and dots puffy stickers of the February reveal, so it wasn’t hard to decide what to do with these, but look for yourself!


Supplies | February 2018 Kit, February Cut FilesShapes and Dots Puffy StickersBlack Puffy Alphabet StickersWood Veneer Icons, Family Fun 12″ x 12″ Paper Collection, Stanley Jr. Alphabet Stamp — Solid
 
I used one of the February Cut Files to create my “hooray” title. I love how the different colors of the puffy stickers can be found in the tags in the February Kit, so I used one of these 3″ x 4″ tags to place the stripes behind the cut-out word “hooray” and added puffy stars in the same colors below.


One of my favorite pieces in the February Kit is the cobalt blue card with the saying “be kind, be brave, be you!”. That’s exactly the advice I want to give my boy for this new journey, so I added this tag next to one of the pictures.


Layers are something I just can’t get enough of, so I used several papers included in the Family Fun 12″ x 12″ Paper Collection, and of course lots of embellishments from the February kit and add-ons. These Wood Veneer Icons are so fun, and the bold colors of the kit are perfect for happy pages.


Well, that’s it from me today. Thanks for stopping by, and have fun using your February goodies! Don’t be too thrifty with them; they are so beautiful and deserve to be used!
 

One Product, Three Ways: Cork Speech Bubbles

We love all of our new product on offer this month, but there’s something really great about the Cork Speech Bubbles! They’re graphic and add perfect sayings or icons to any project. Plus, they have a great texture that allows them to stand apart from the paper. We challenged three of our design team members—Candace Perkins, Suzanna Stein and Meghann Andrew to use them on their projects. Let’s see what they created! 


Supplies | February 2018 Kit, Icon Printables, February Blank Label Stickers, Cork Speech BubblesShapes & Dots Puffy StickersAll the Details Stamp
 
Candace | I adore cork, and because these speech bubbles are the perfect size they fit in the pockets without too much bulk and are the perfect embellishment for any week. For my pages, I chose to spread the speech bubbles around the layout on various 4″ x 6″ photos.  I found that the cork not only added the perfect final touch to the spread, but also highlighted the overall stories for the week.


I can’t wait to see how you use these cute speech bubbles in your pocket page scrapbooking!


Supplies | February 2018 Kit, Cork Speech Bubbles, Love You Die CutsLive Laugh Love Double-Sided Journaling TagsLive Laugh Love 6″ x 6″ Paper Stack, Family Fun 6″ x 6″ Paper Stack, Family Fun 12″ x 12″ Paper Collection
 
Suzanna | I’m so excited to share this layout I created, focusing on the Cork Speech Bubbles! I knew I wanted to create larger versions of the two speech bubbles I chose, so I grabbed some of my favorite Elle’s Studio patterned papers and fussy cut various sizes.


From there, the layout came together quickly – I layered the speech bubbles around the layout, added my photo, and embellished! I finished it off with some gold splatters and smaller die cuts from the February 2018 Kit. I hope this layout gives you a little inspiration on how to use the cork speech bubbles in your next scrapbook layout!


Supplies | February 2018 KitCork Speech BubblesShapes & Dots Puffy Stickers, Letter and Number Stickers — Black
 
Meghann | Cork has a great textural quality, and because of its surface texture, it makes a great temporary stamp surface! To create the colorful speech bubbles that adorned my card background, I simply adhered the front side of two different shapes of the cork speech bubbles to acrylic blocks using temporary roll-on adhesive. I inked  the back sides up with pigment ink, so that the ink stayed on the cork surface, and stamped onto my smooth, white card background, being sure to apply even pressure.
 
I love that the stamped image isn’t perfect—it adds to the texture on the background. After I stamped the speech bubbles, I simply wiped the ink off of the back with a paper towel until it was no longer inked, added foam dimensional adhesive to the back, and adhered to my card front. The bubbles double as stamps and embellishments! To continue my sentiment, I added “for you” using the black Letter and Number Stickers.
 
To add more of the rainbow design, I punched a scalloped edge on the two colorful striped cards from the February 2018 Kit and added them along the left side, then embellished with Shapes & Dots Puffy Stickers. This is definitely a technique that I will be using more often with my cork shapes. If you don’t have pigment ink, try using a thin layer of acrylic paint, too!


We’d love to see the creative ways that you’re using the Cork Speech Bubbles this month! Share your project on Instagram using the hastag #EllesStudio, and you could win a gift certificate to the Elle’s Studio shop, and be featured here on our blog!

“Adventure Awaits” with February Guest Designer Steph Grimes

We are so excited to welcome February guest designer Steph Grimes to the Elle’s Studio blog. We love how Steph uses Elle’s Studio product to tell her stories in pockets, but today she’s sharing an awesome layout with us, created using the February Kit and add-ons! Check out below, then learn a bit more about Steph, and follow her via her social media links below!
 
Hello everyone! I’m Steph Grimes and I am so excited to be guest designing for Elle’s Studio this month! For my first post today, I created this 8-1/2″ x 11″ layout using the February Kit and add-ons as the opening page to my 2018 family yearbook. As soon as I saw the blues, greens, and purples in the kit, I immediately thought that they would be a good match for this photo of my tiny family from our Christmas card photo shoot on the beach.


Supplies | February 2018 KitFebruary Icon LabelsShapes and Dots Puffy Stickers, Wood Veneer Icons, Star Chipboard StickersWhite Cardstock Alphabet Stickers, Teal Puffy Alphabet StickersIcon Stamp, Stanley Jr. Alphabet Stamp—Outline, Stanley Jr. Alphabet Stamp—Solid
 
I used two of the 3″ x 4” tags to add some layers under my photo, then to balance that color, I cut the striped tag into color strips and added them along the left side of the photo, giving a great place to add the Wood Veneer Icons. For the light teal tag with the plus signs, I simply tore the bottom edge off to create a different element of texture.


I chose these specific Wood Veneer Icons to represent things I hope for my family for this new year: love, memories, togetherness, and travel. I also used the same icons, in addition to the geotag, from the Icon Stamp to create more embellishments for my page. I stamped these in a light gray ink, punched them out with a circle punch and adhered them around the page. I then added a variety of color and size puffy dot stickers from the Shapes & Dots Puffy Stickers on top to add more color and dimension across the page.


For my title, I wanted to create something with a bit more interest than just adding the puffy stickers. Don’t get me wrong, I *love* the Teal Puffy Alphabet Stickers (they are a great font and my favorite color!), but I wanted something more. I decided I could use the Stanley Jr. Outline Alphabet Stamps to stamp the word “adventure” all the way down the side of the page in a light grey ink, for a subtle base layer on the page. For the actual title, I stamped “Adventure” in a darker grey outline and then used the Stanley Jr. Solid Alphabet Stamps to stamp a second-generation teal infill. Then I added “Awaits” using the delightful Teal Puffy Alphabet Stickers.


To finish off the layout, I added a cluster of layered embellishments on the bottom right corner of my photo. The die-cuts in the Elle’s Studio kits are always a favorite of mine and I was happy to find the “we have the best time” half-circle in this kit that was perfect for this photo. I also used a grey February Icon Label from this month’s add-ons as a base for a sub-title created with the White Cardstock Alphabet Stickers. To create a visual triangle with the purple on my page, I added a purple heart from the Shapes & Dots Puffy Stickers and then a medium-sized light teal star from the Star Chipboard Stickers for good measure (have I mentioned teal is my fave?!?).
 
I typically work on pocket style pages these days, so this layout was a fun break from the norm for me and I am so pleased with how it turned out. I hope you are able to find a bit of inspiration from it!


Hi, friends! I’m Steph Grimes and I live in Maryland with my wonderful husband and our sweet little red pup, Ruby. I love crafting, Tom Petty, road-tripping, and playing tabletop games. I have been scrapbooking since I was in college in some form or other. I enjoy documenting all types of stories from our day-to-day life to our grandest adventures – like the three-week cross-country trip we took a couple years ago. You can find my work on Instagram or my recently-begun YouTube channel. I am honored to be an Elle’s Studio guest designer – thank you for having me!
 
Be sure to check back next week for more inspiration from Steph, but until then follow her at the links above to see what she’s been creating! 

February Reveal Design Team Inspiration

Our talented design team has been at it once again, this time with our new February 2018 Kit and add-ons! We know you will love the stunning projects they’ve created to share with you today! 


Cozumel by Tracey Fox – supplies used | February 2018 Kit, February Cut Files, Wood Veneer Cameras, Wood Veneer Icons, Shapes and Dots Puffy StickersBlack Puffy Alphabet StickersAll the Details Stamp, Icon StampLive Laugh Love 6″ x 6″ Paper Stack, Live Laugh Love 12″ x 12″ Paper Collection


January Pocket Page Spread by Jess Forster – supplies used | February 2018 Kit, The Best Banner Stickers, Shapes and Dots Puffy Stickers, Monthly Puffy StickersAll the Details Stamp


Adventures by Suzanna Stein – supplies used | February 2018 KitShapes and Dots Puffy Stickers, Cork Speech BubblesLetter and Number Stickers — BlackLight Gray Cardstock Alphabet StickersEnamel Dots


Week Four Pocket Page Spread by Candace Perkins – supplies used | February 2018 Kit, Icon PrintablesFebruary Blank Label Stickers, Wood Veneer Icons, Shapes and Dots Puffy StickersAll the Details Stamp


Hooray by Laura Wonsik – supplies used | February 2018 KitCork Speech Bubbles, Icon Stamp


November 6-12 Pocket Page Layout by Nathalie Leonelli – supplies used | February 2018 Kit, February Blank Label StickersCork Speech BubblesWood Veneer IconsShapes and Dots Puffy Stickers, White Cardstock Alphabet StickersLetter and Number Stickers — White, Counting Steps Stamp


Arjun & Anika by Neela Nalam – supplies used | February 2018 KitThe Best Banner StickersCork Speech BubblesShapes and Dots Puffy StickersFamily Fun 12″ x 12″ Paper Collection


Urijah by Jamie Leija — supplies used | February 2018 KitThe Best Banner StickersCork Speech BubblesWood Veneer IconsShapes and Dots Puffy Stickers, Gray Puffy Alphabet Stickers, Letter and Number Stickers — Light Gray


Together by Melissa Mann – supplies used | February 2018 Kit, February Cut Files, February Icon LabelsThe Best Banner StickersCork Speech BubblesShapes and Dots Puffy Stickers, Family Fun 6″ x 6″ Paper StackFamily Fun 12″ x 12″ Paper CollectionAll the Details Stamp


January 2018 by Meghann Andrew – supplies used | February 2018 KitIcon Printables, Love This Printables, Counting Steps Journaling TagsThe Best Banner StickersFebruary Blank Label StickersShapes and Dots Puffy StickersMonthly Puffy Stickers, Ampersand Wood VeneersTitle Builder Wood Veneer, Title Builder AcrylicDark Teal Cardstock Alphabet StickersTeal Puffy Alphabet Stickers, Sky Blue Puffy Alphabet StickersWood Veneer Snowflakes, Title Builder StampHappy Birthday Stamp, All the Details StampIcon Stamp


True Story by Daniela Dobson – supplies used | February 2018 Kit, The Best Banner StickersShapes and Dots Puffy StickersAll the Details Stamp, Icon StampXOXO 6″ x 6″ Paper Stack


Garden Book by Laura Hager – supplies used | February 2018 KitAmpersand Wood VeneersShapes and Dots Puffy Stickers, Green Puffy Alphabet Stickers, Dark Purple Cardstock Alphabet Stickers, Family Fun Blank LabelsAll the Details Stamp, So Cozy StampStanley Junior Alphabet Stamp—Solid


Five is the New Cool by Amanda-jayne Baldwin – supplies used | February 2018 KitFebruary Icon LabelsThe Best Banner StickersShapes and Dots Puffy StickersCork Speech Bubbles, Wood Veneer IconsLetter and Number Stickers — Light Gray, Live Laugh Love 12″ x 12″ Paper CollectionIcon Stamp


Be Brave by Andrea Gray – supplies used | February 2018 Kit, All the Details Journaling Tags, Cork Speech Bubbles, Shapes and Dots Puffy StickersBrave Acrylic, Light Gray Cardstock Alphabet Stickers, XOXO 6″ x 6″ Paper StackStanley Alphabet Stamp—Solid


Good Eats by Susan Brochu – supplies used | February 2018 KitFebruary Blank Label StickersWood Veneer IconsCork Speech Bubbles, Shapes and Dots Puffy StickersWhite Cardstock Alphabet StickersXOXO 6″ x 6″ Paper Stack, Live Laugh Love 12″ x 12″ Paper CollectionAll the Details StampIcon Stamp


Weeks 11 & 12 by Wendy Antenucci – supplies used | February 2018 Kit, February Blank Label StickersThe Best Banner StickersCork Speech Bubbles, Wood Veneer Icons, Wood Veneer CamerasAmpersand Wood Veneers, Shapes and Dots Puffy StickersLetter and Number Stickers — BlackStanley Alphabet Stamp—Outline, Dated StampIcon Stamp


Mausekind by Daniela – supplies used | February 2018 Kit, The Best Banner Stickers, Wood Veneer Icons, Wood Veneer Cameras, Shapes and Dots Puffy Stickers, Live Laugh Love 12″ x 12″ Paper CollectionStanley Alphabet Stamp—Outline, Stanley Alphabet Stamp—SolidIcon Stamp


Bronx Zoo by Nancy Damiano – supplies used | February 2018 KitAll the Details Journaling TagsFebruary Blank Label Stickers, Shapes and Dots Puffy Stickers, Black Puffy Alphabet Stickers, Red Puffy Alphabet StickersAll the Details Stamp
 
If you’re inspired to get creative, be sure to pick up the February 2018 Kit and add-ons while supplies last! Stay tuned for more design team inspiration using these fun and colorful products, here on the blog next week!

Our February kit + add-ons have arrived!

Today is the day of our BIG reveal and we are so excited about all the fun new items we just added to our shop! This month our kit + add-ons will have you ready to document all your everyday real life moments, and more! Plus, it will take you right into the month of March!

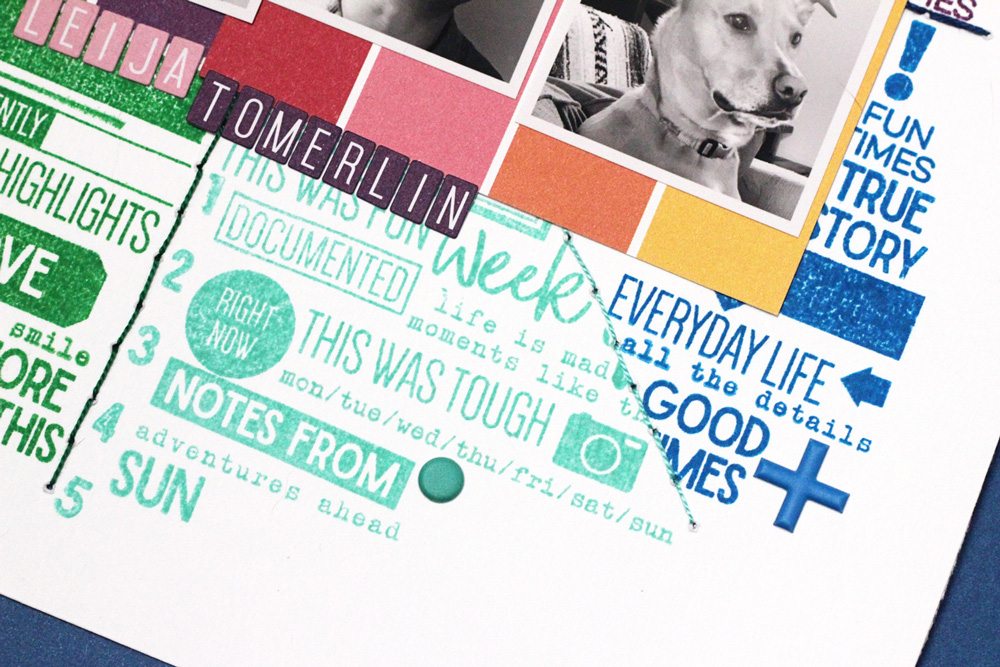
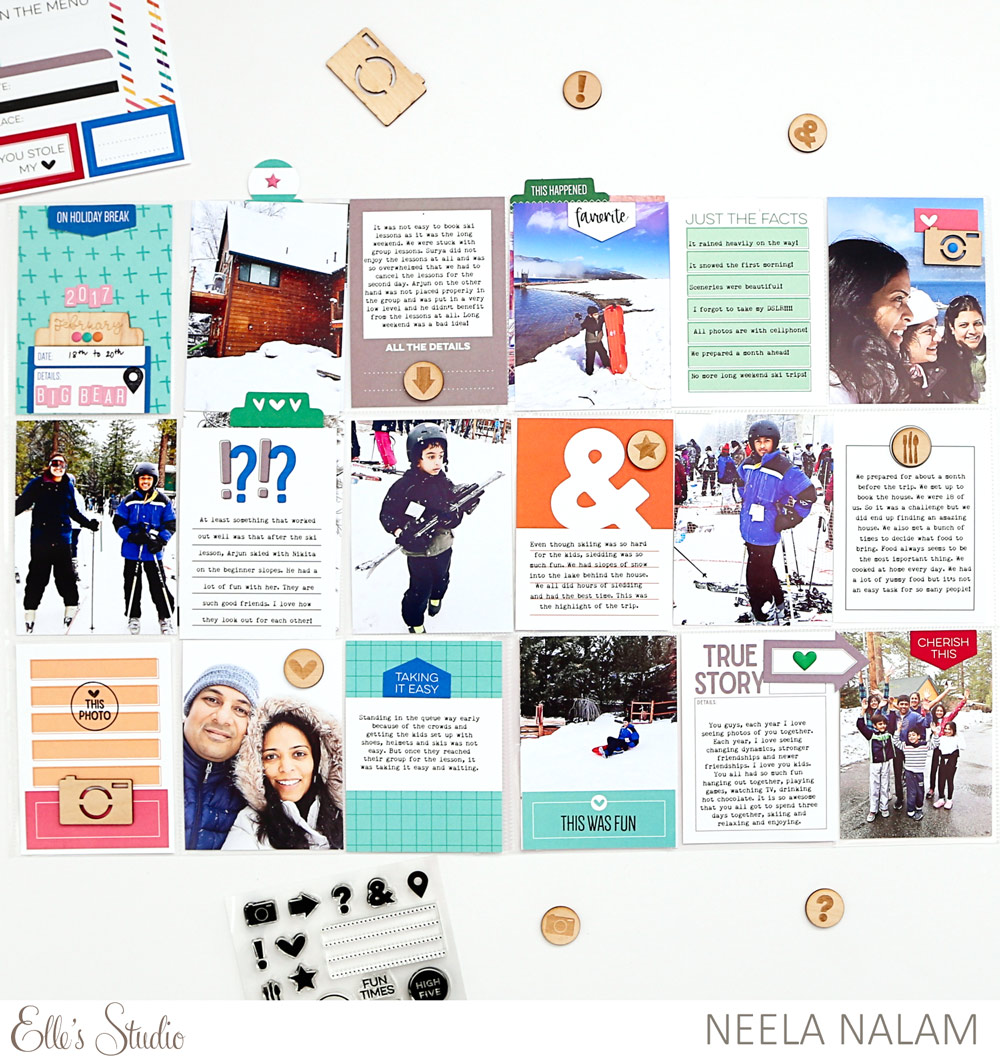
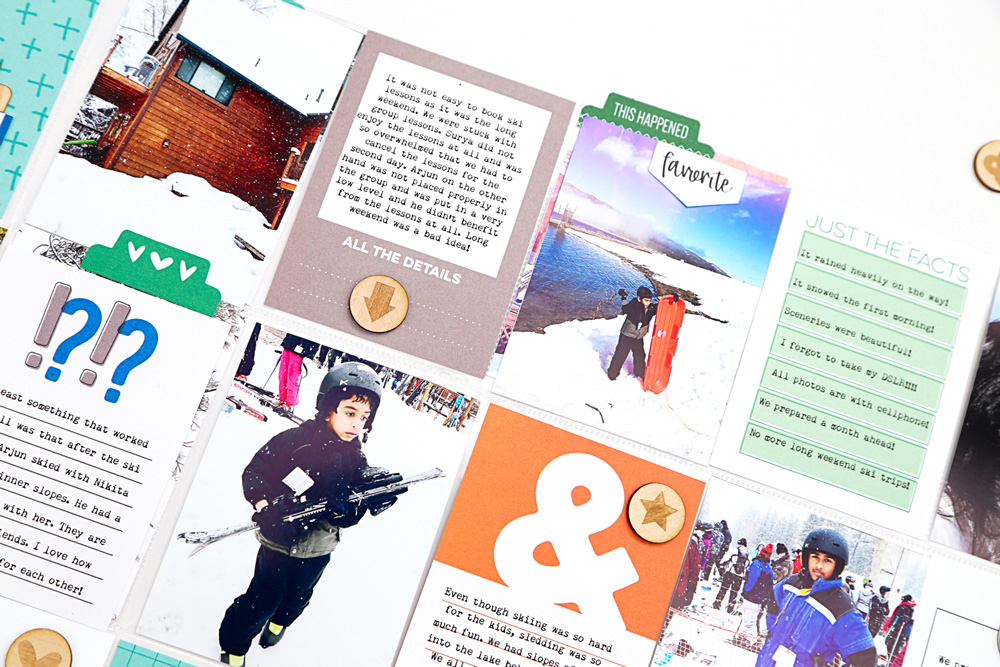
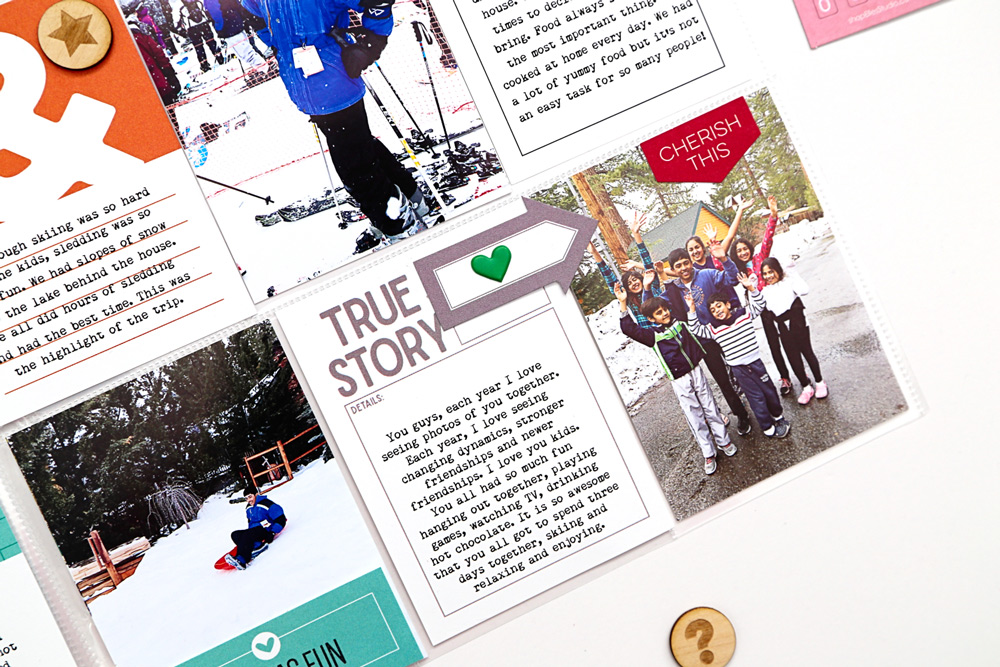
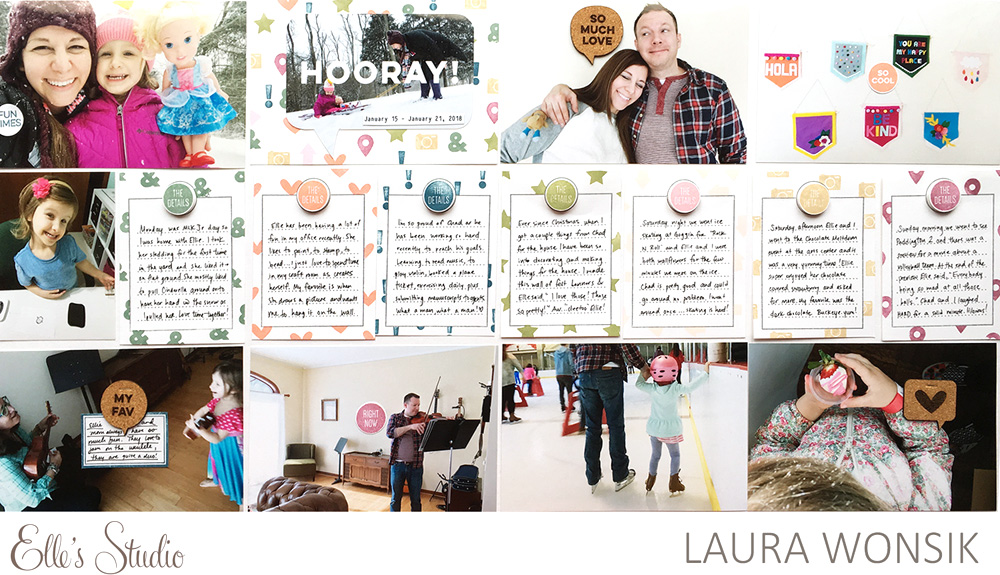
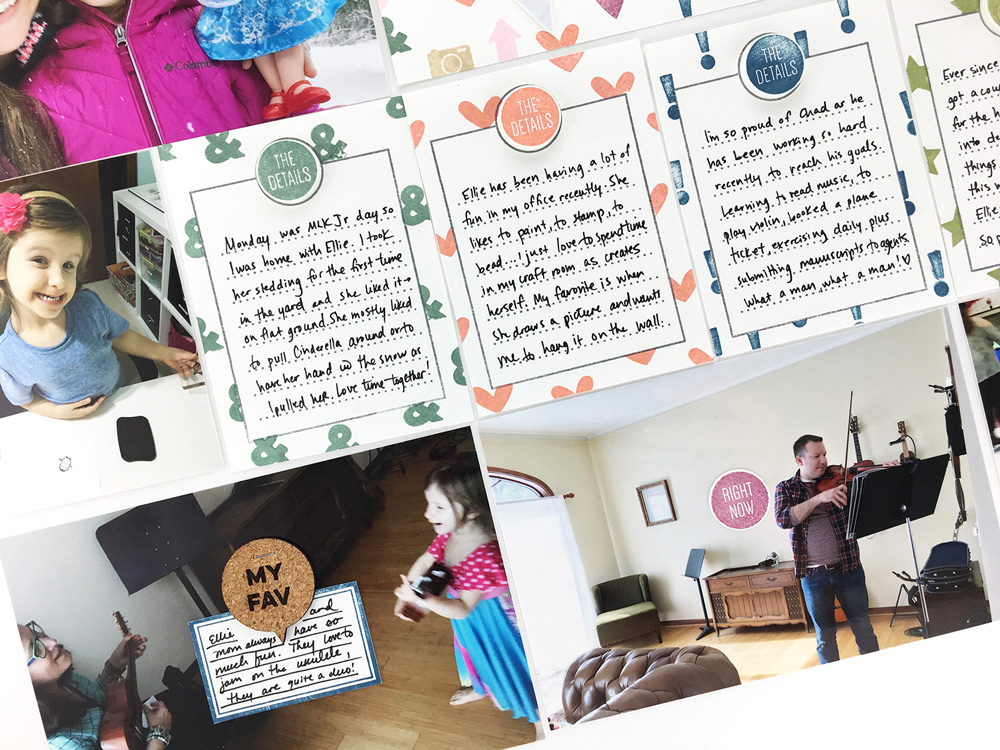
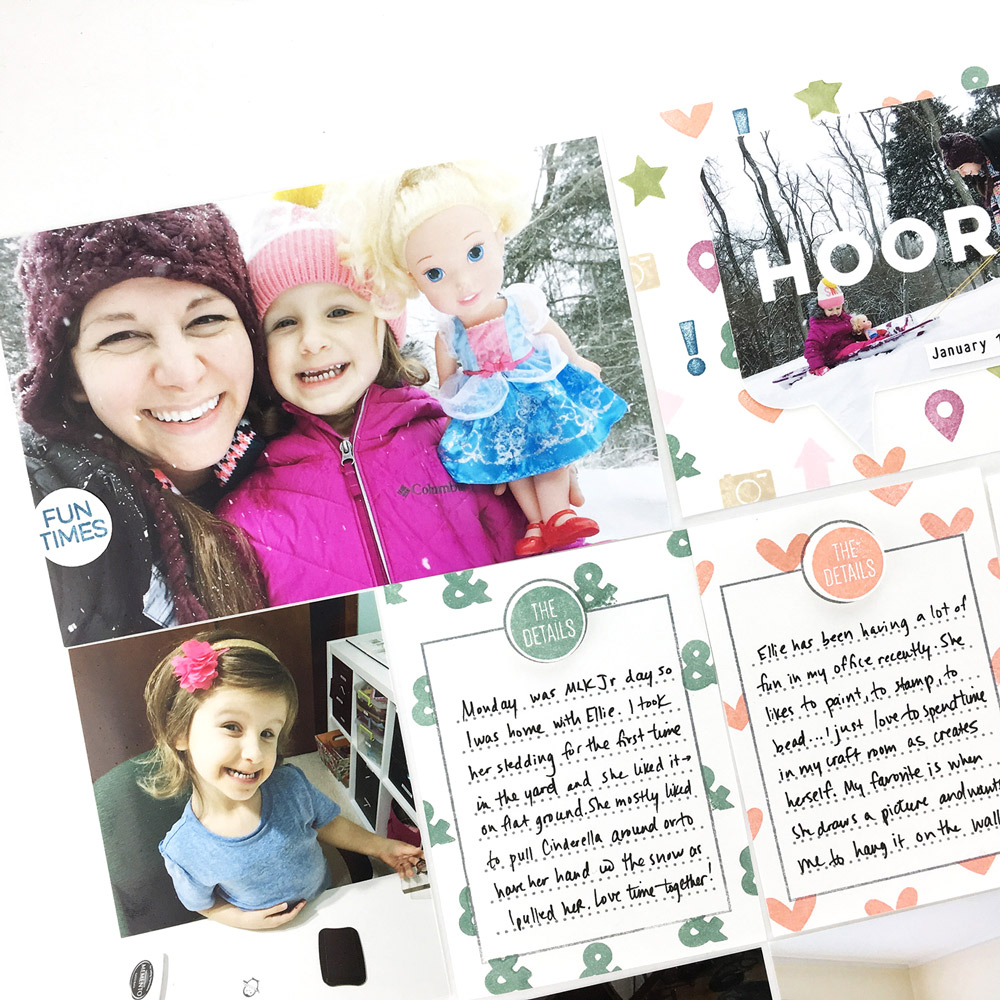
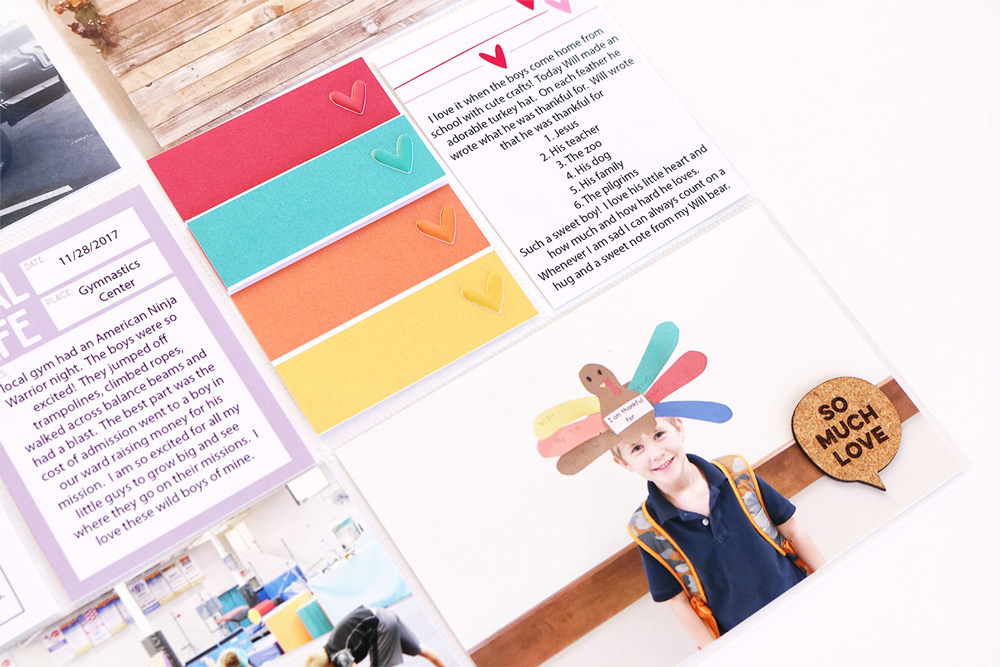
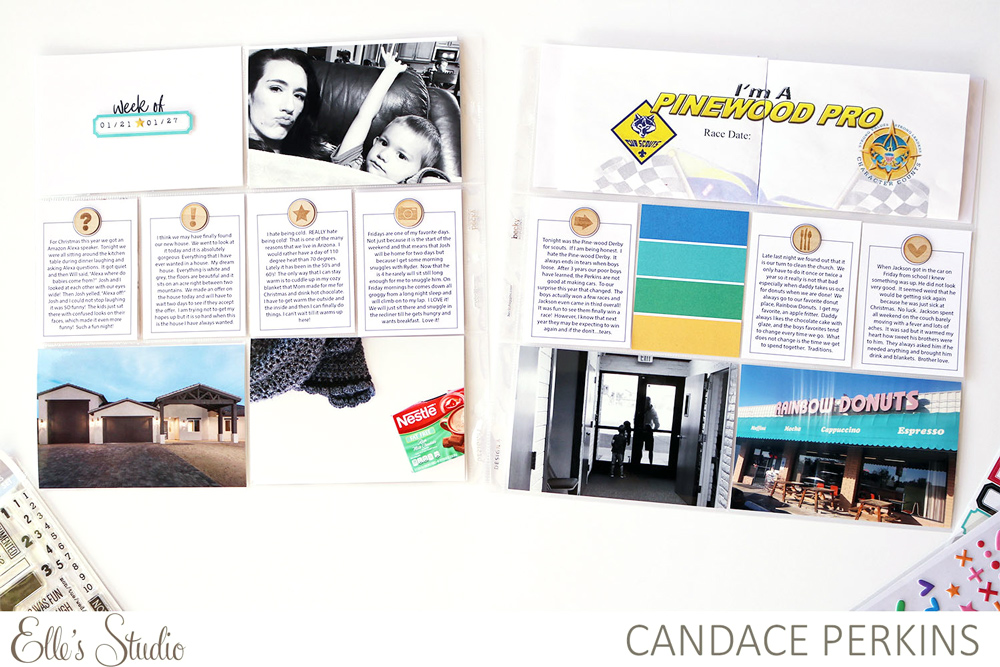
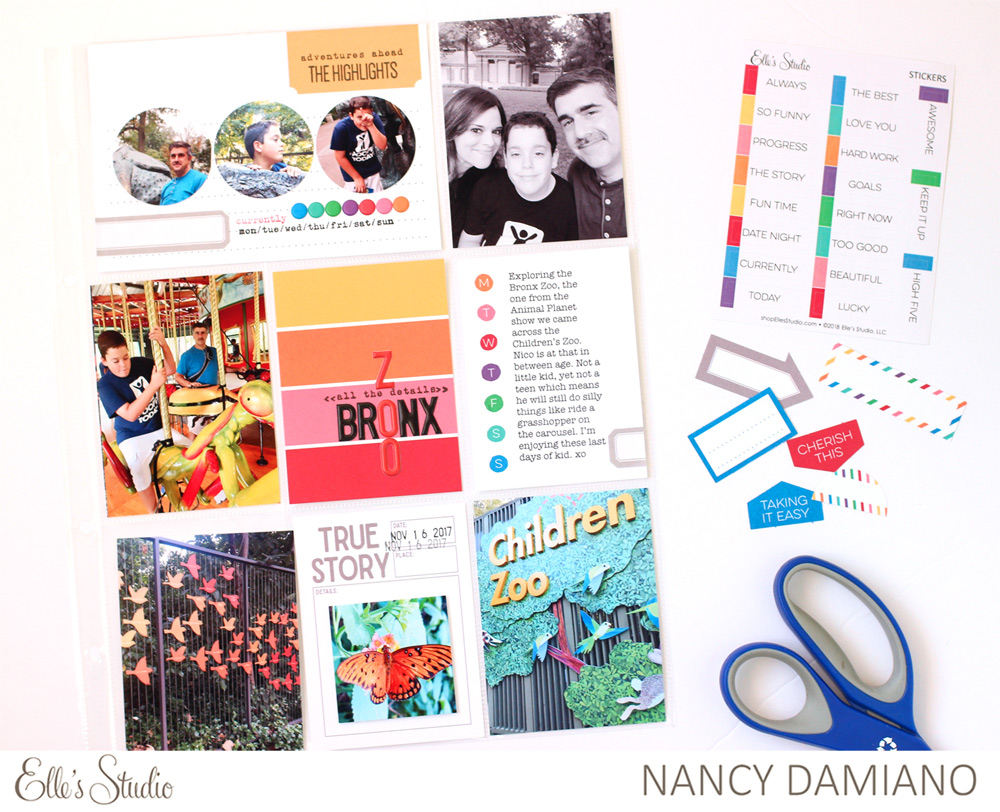
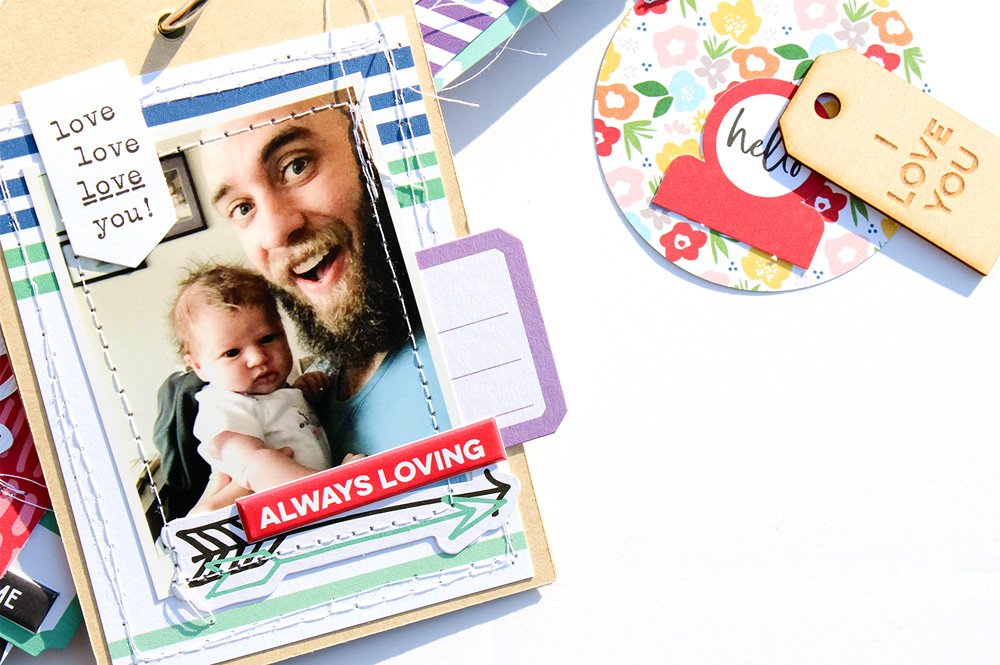
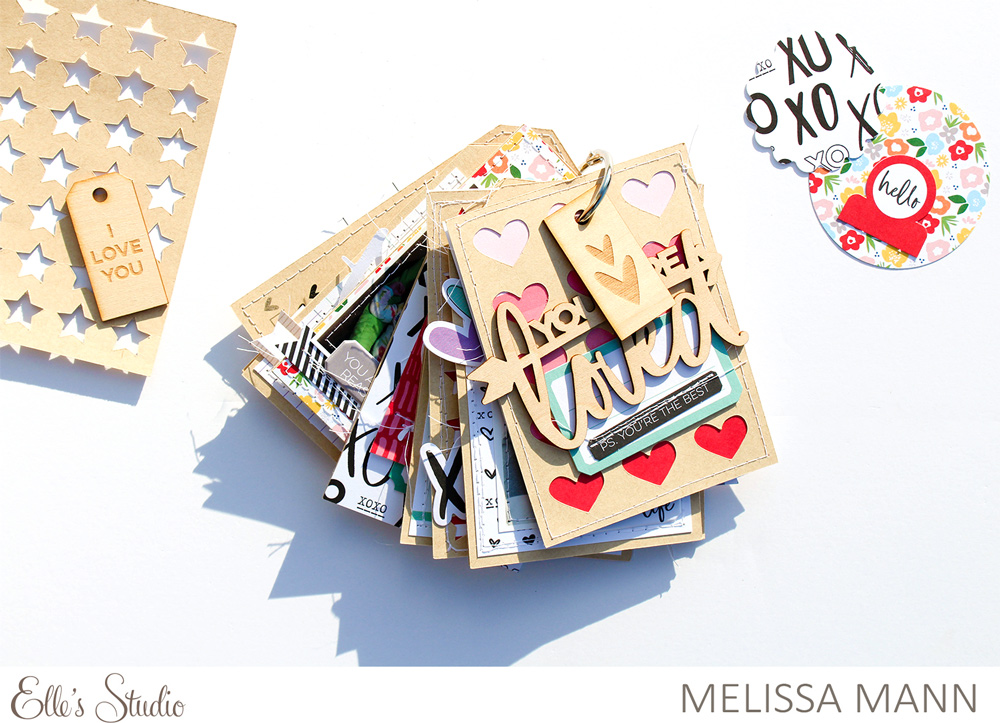
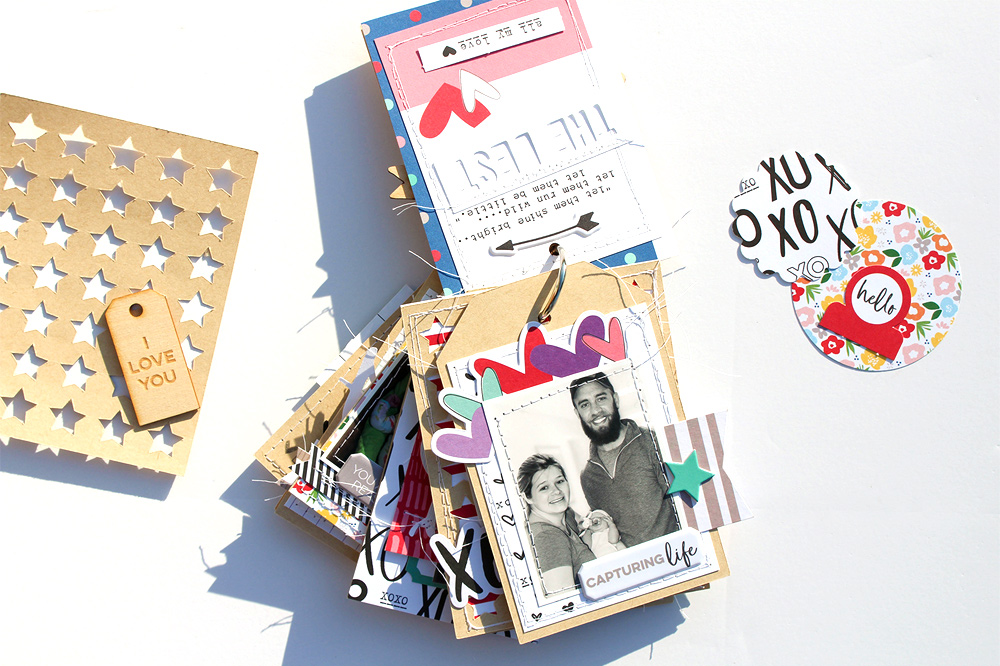
February’s kit includes 3 – 4 x 6 inch tags, 18 – 3 x 4 inch tags, and 26 die cuts, that will work great on your scrapbooking layouts, Project Life albums, Traveler’s Notebooks, cards, planners, and more! When designing our kits, we love to think of tags that can be used as prompts to help make it easier for you to get your story started and documented, and this kit is full of that and more!

Here’s what our February kit looks:

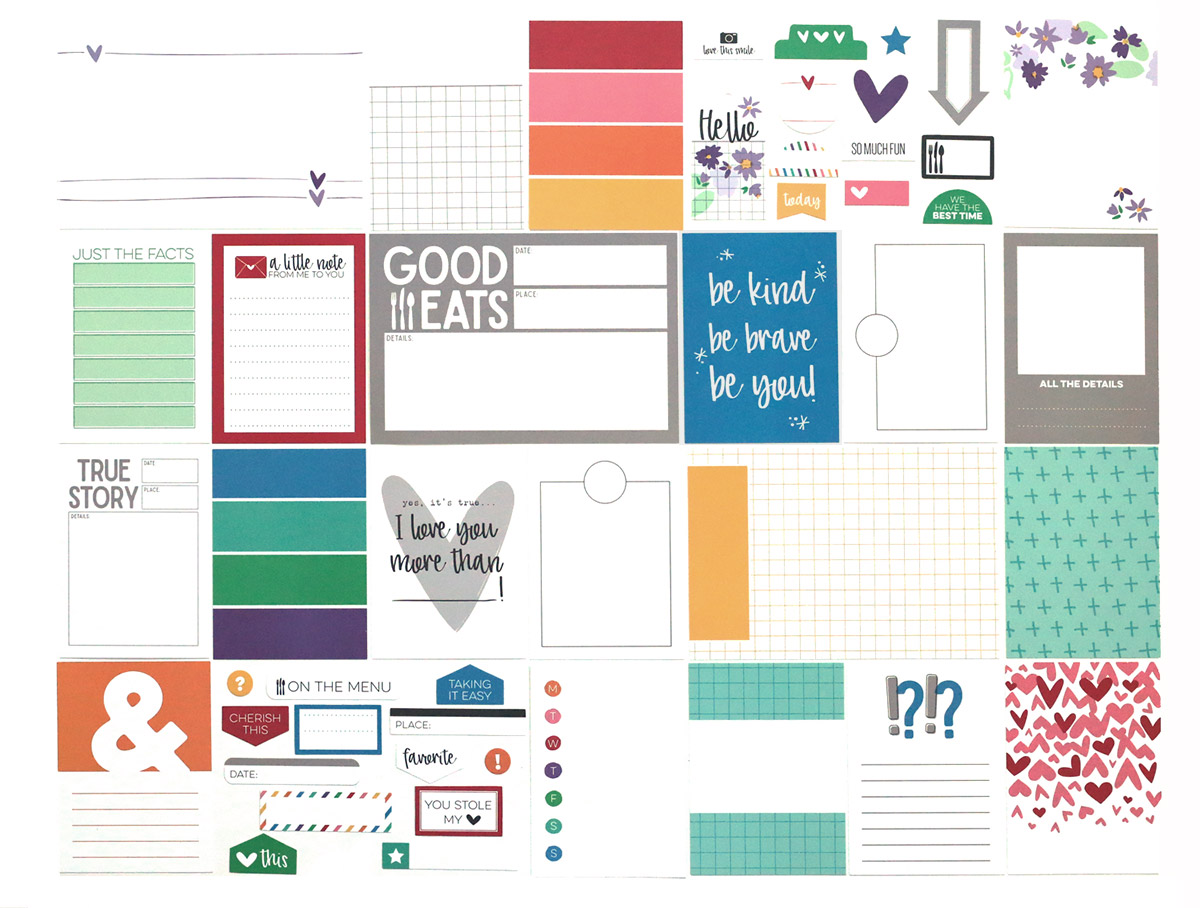
Don’t forget – our monthly kits are limited and once they sell out we will not be restocking! Look for a new kit each month on the 10th at 8:00 am PST, and as a special bonus to celebrate launch day, kits will be on sale for $9.99 for today only, regular price after that will be $11.99. Or, you can lock in our $9.99 price and receive FREE (USA) or reduced (International) shipping on products added to your order with a subscription! If you haven’t started a subscription yet, you’ll want to read below for details!

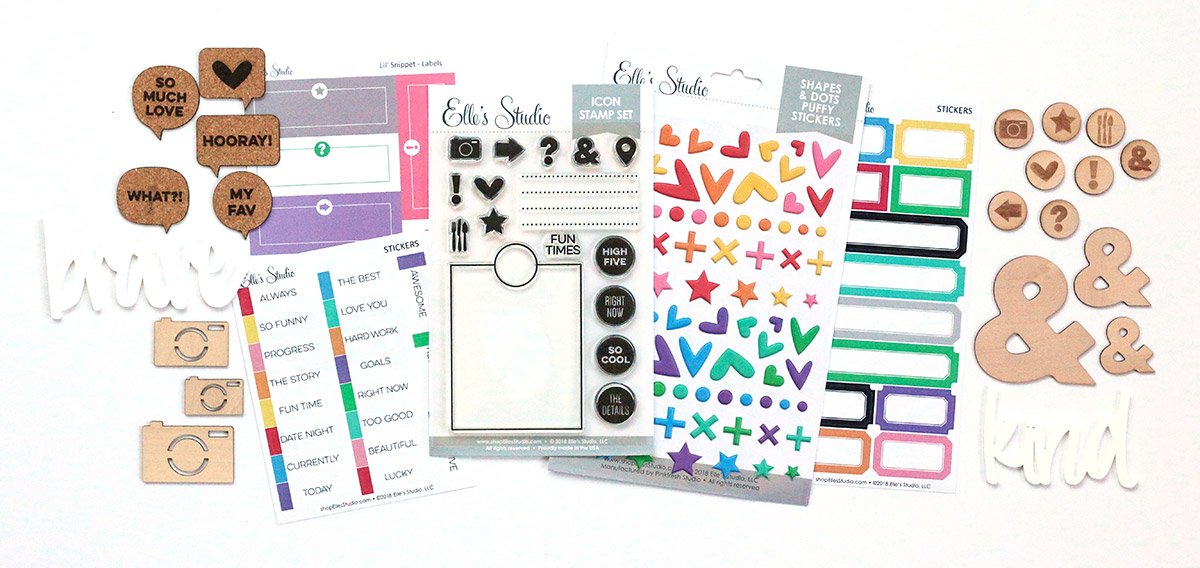
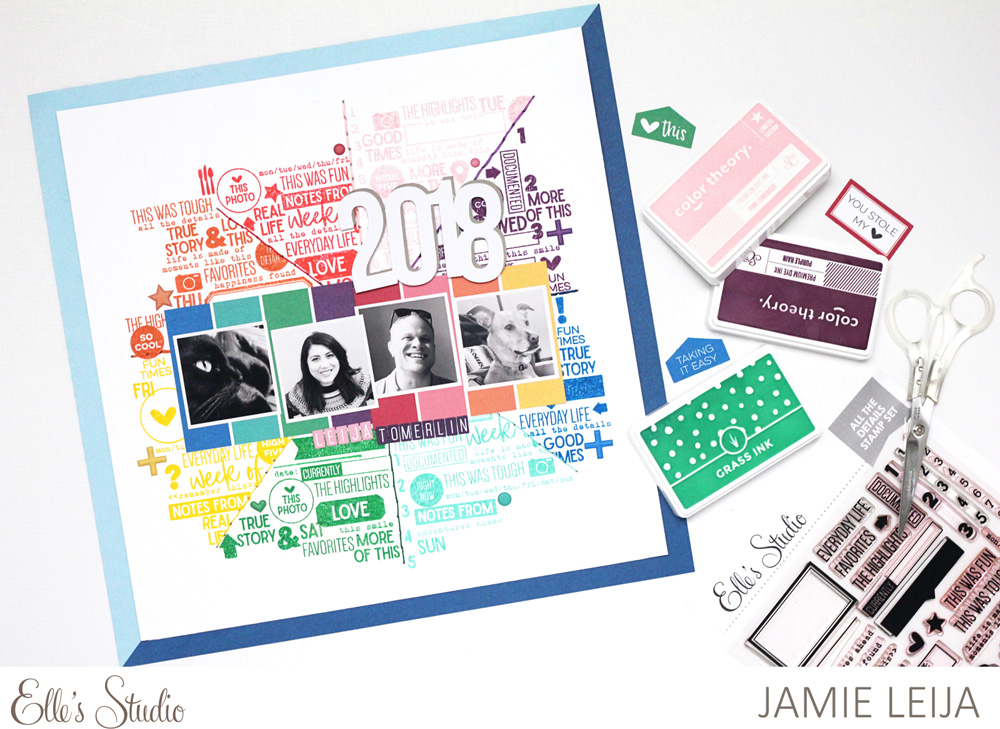
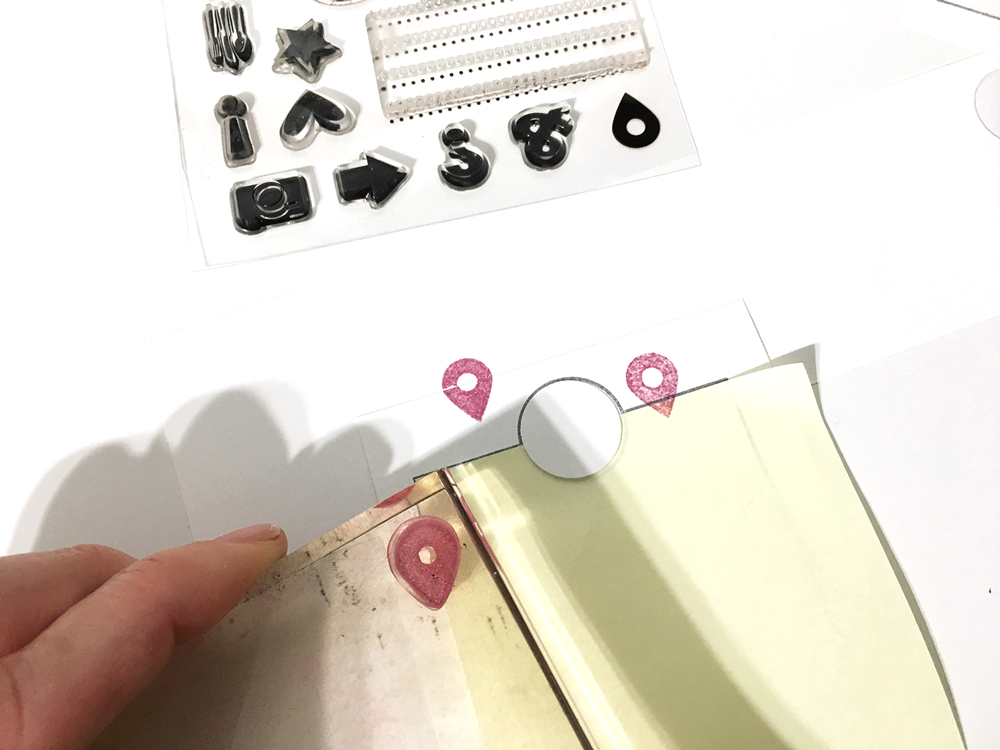
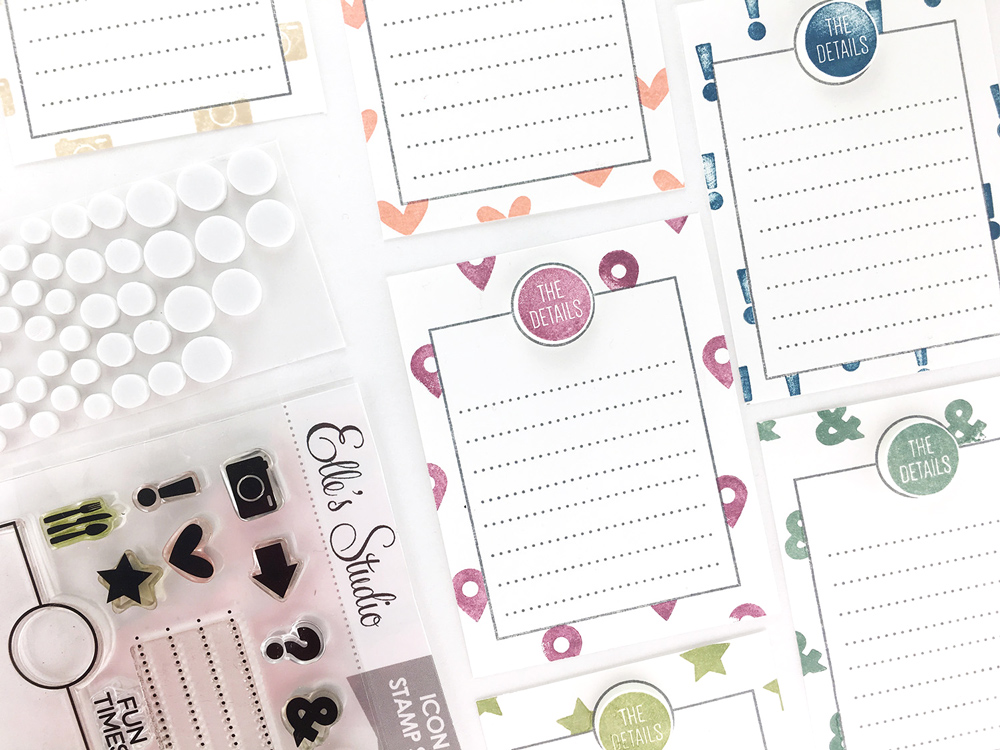
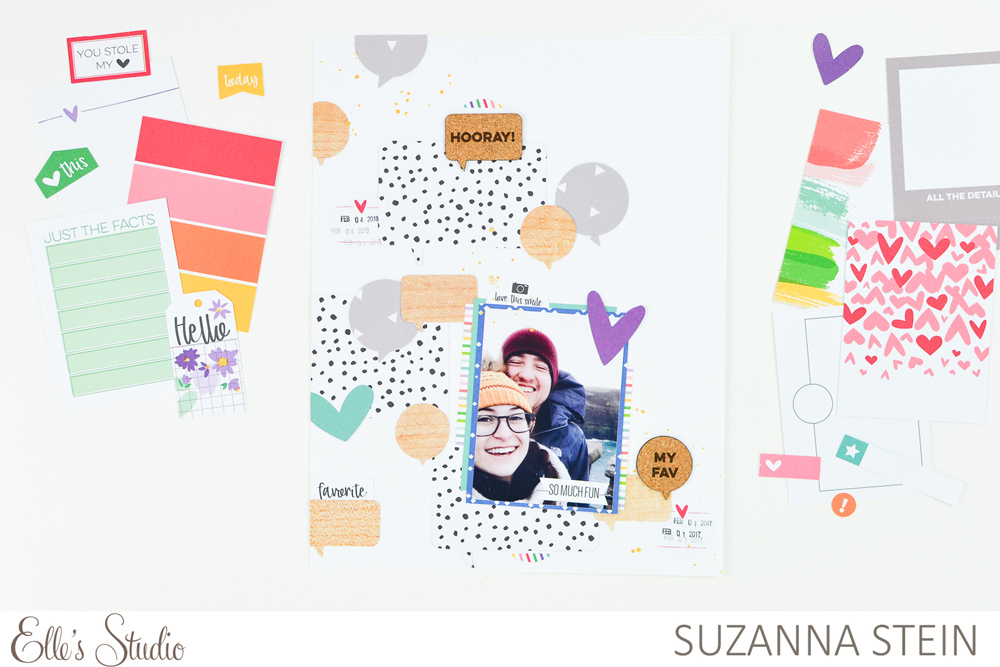
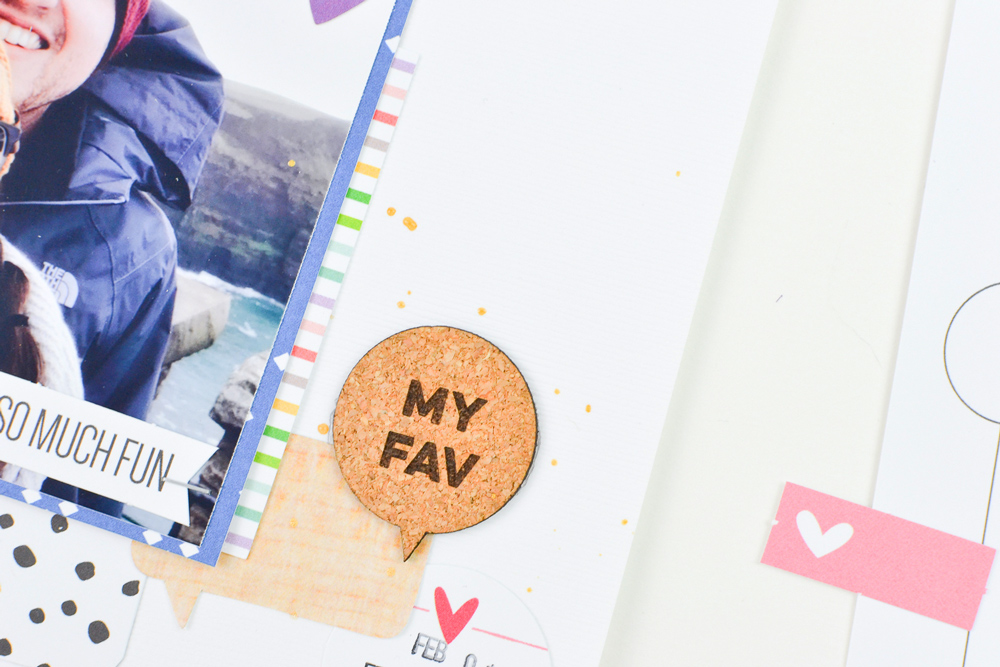
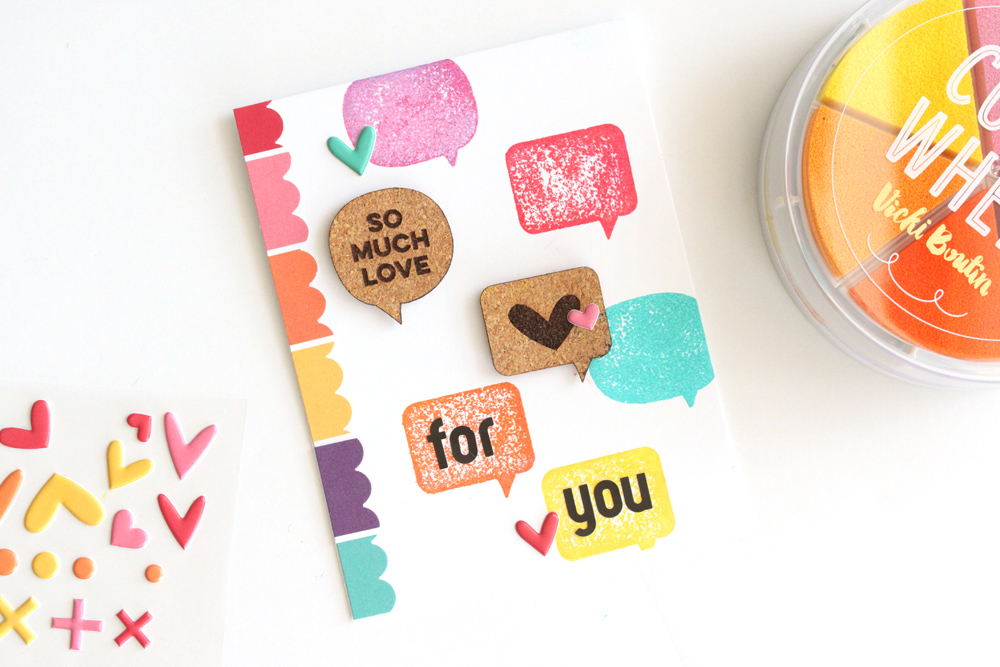
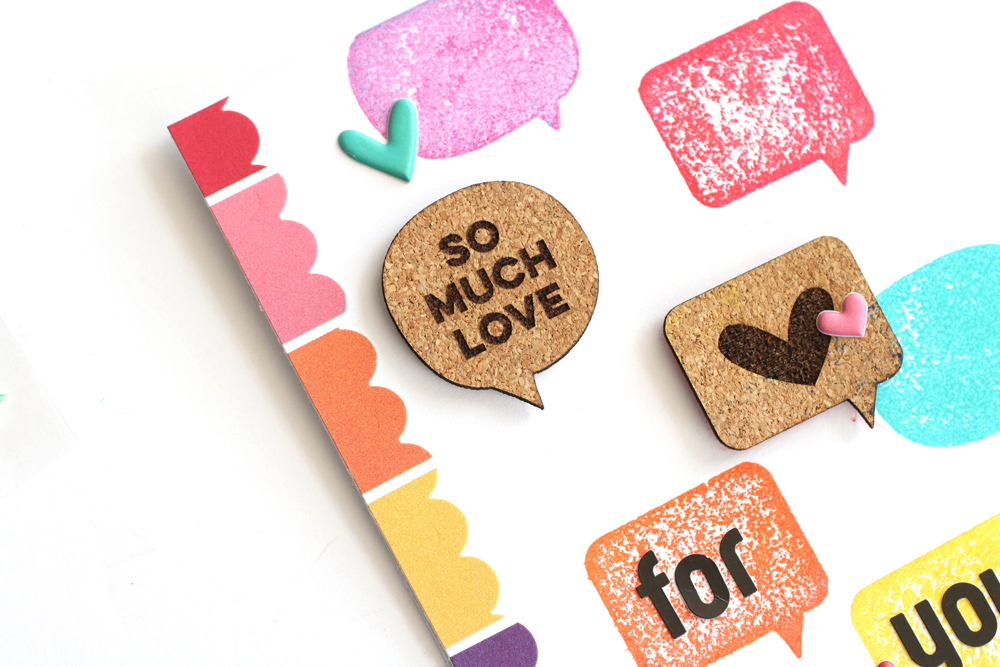
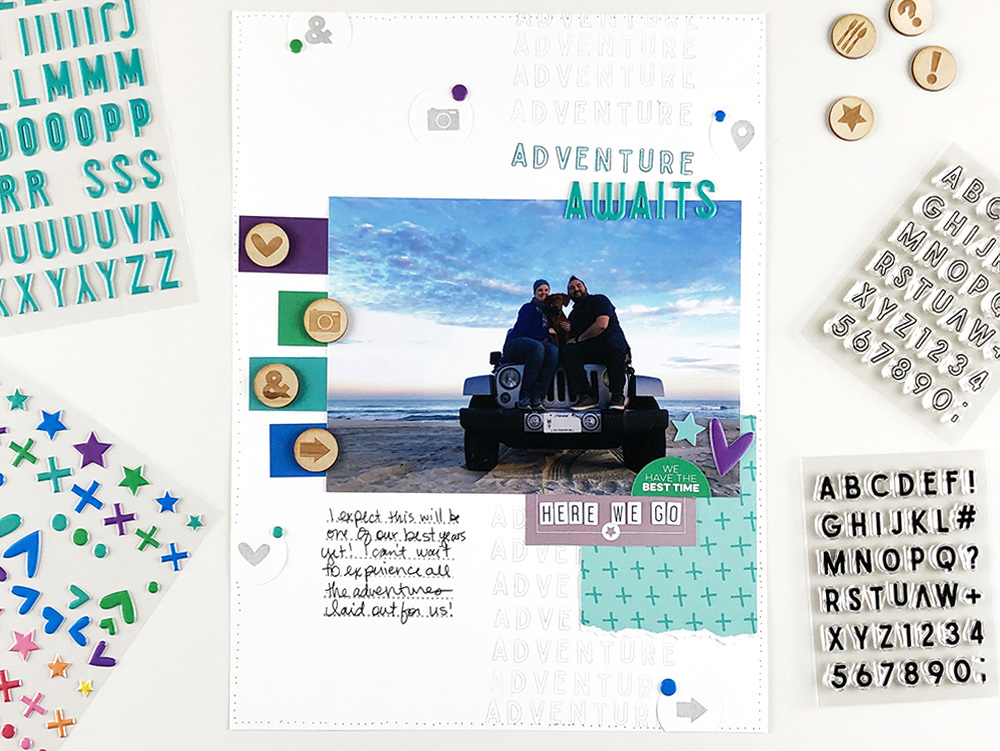
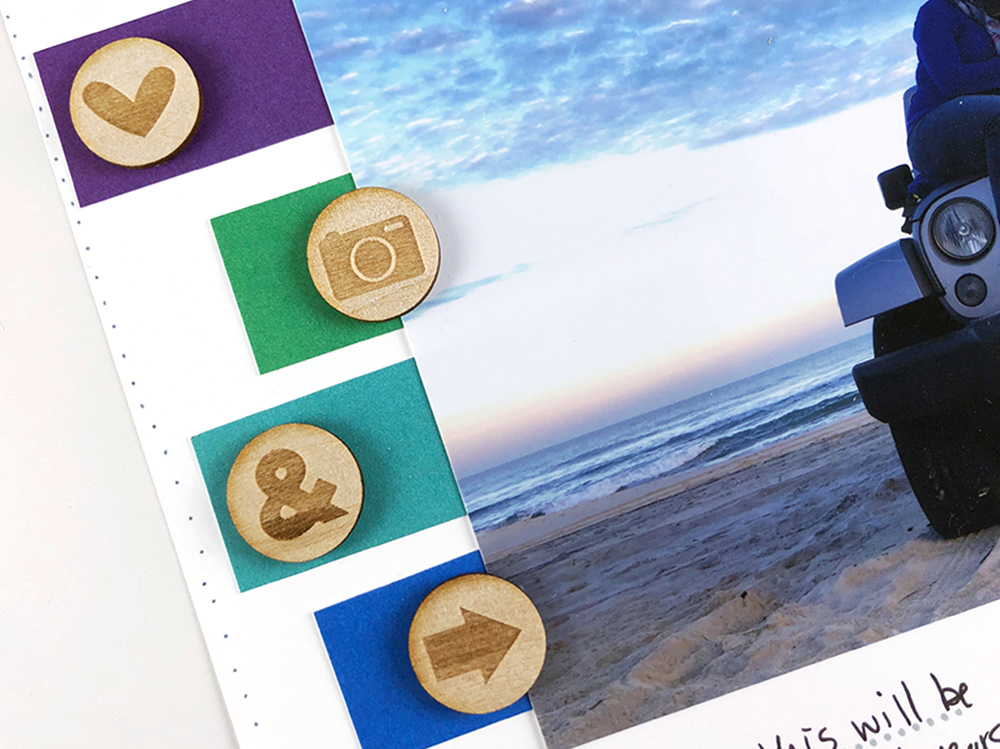
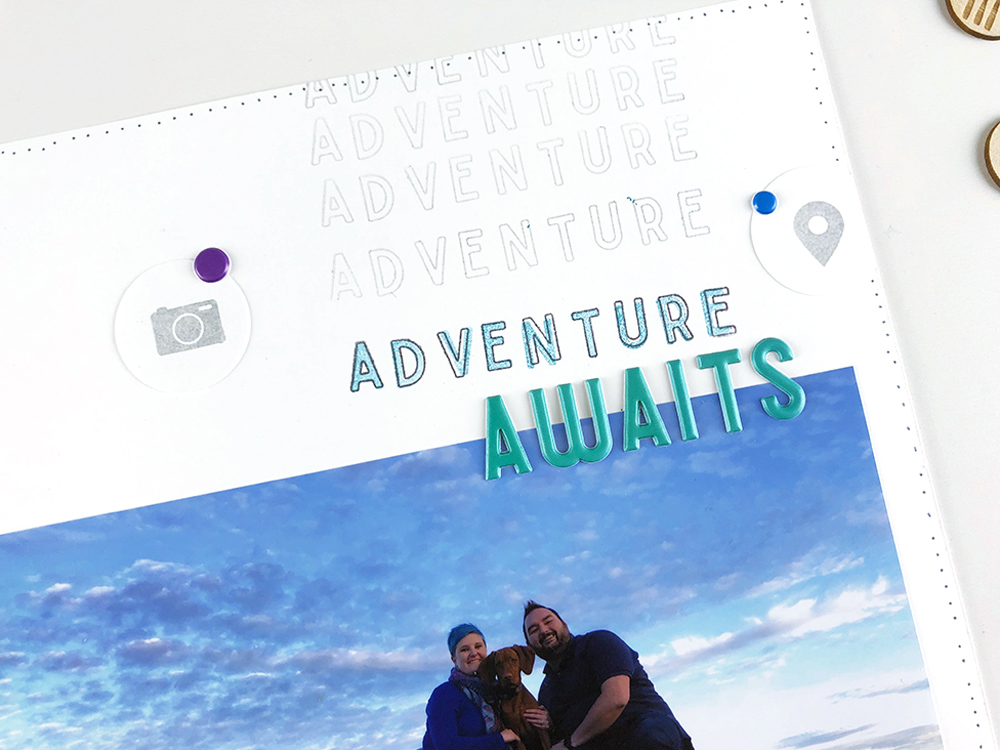
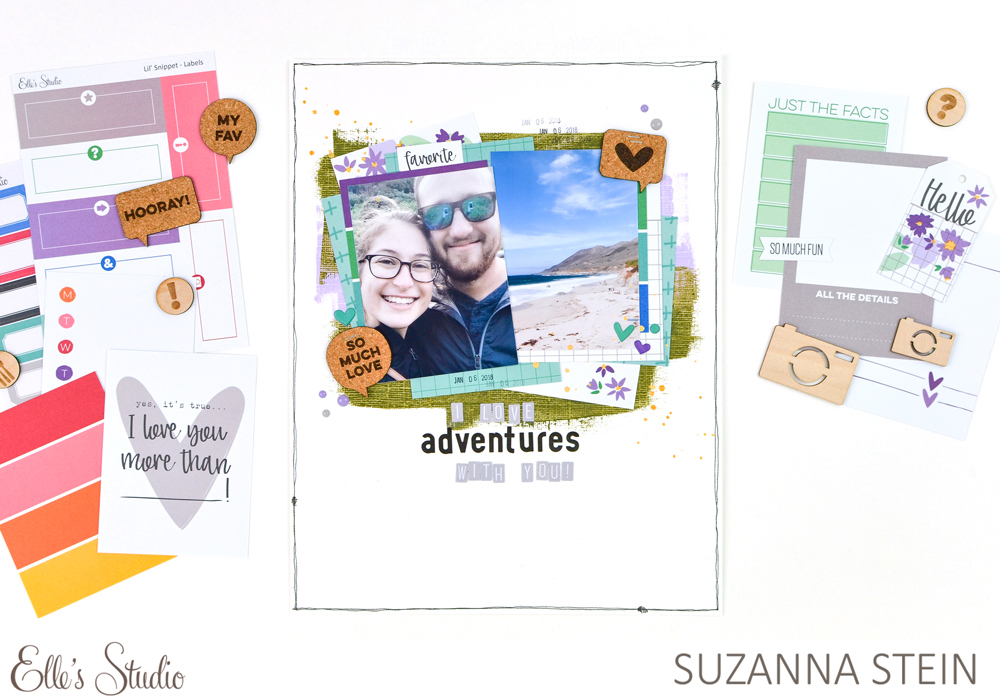
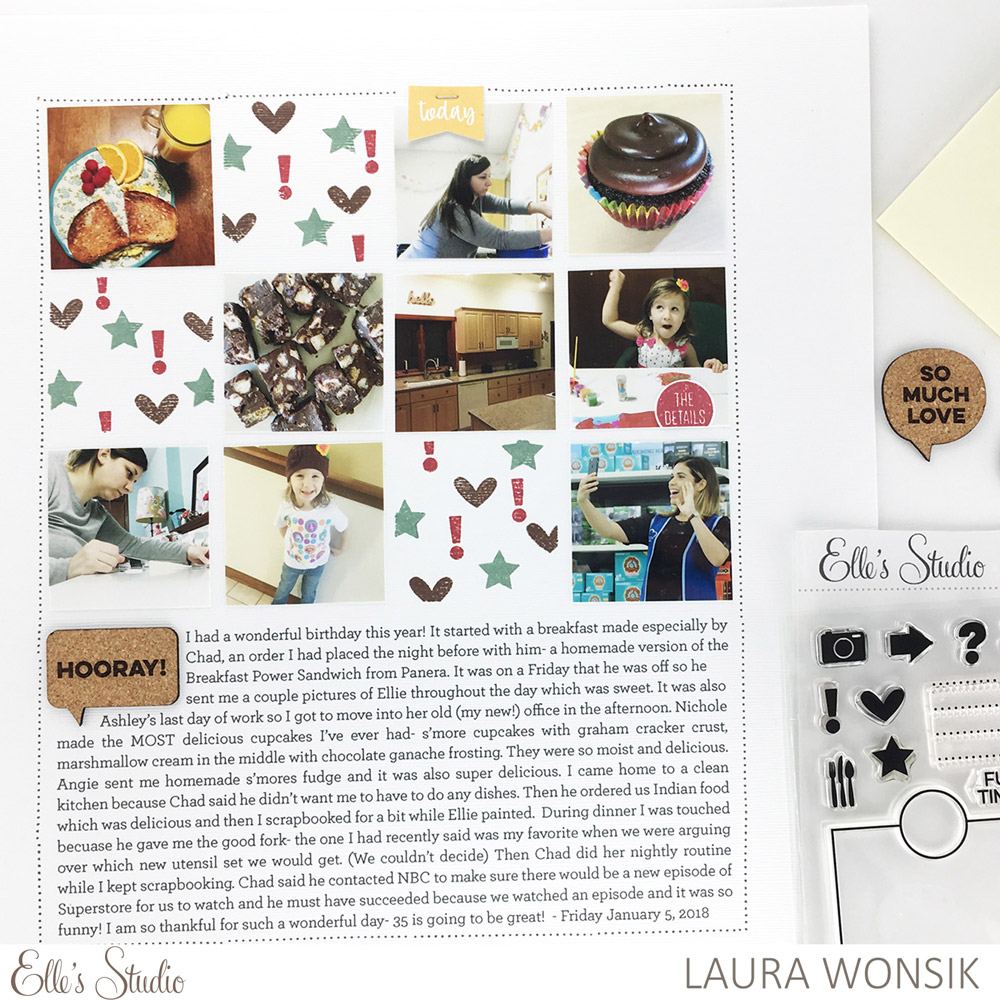
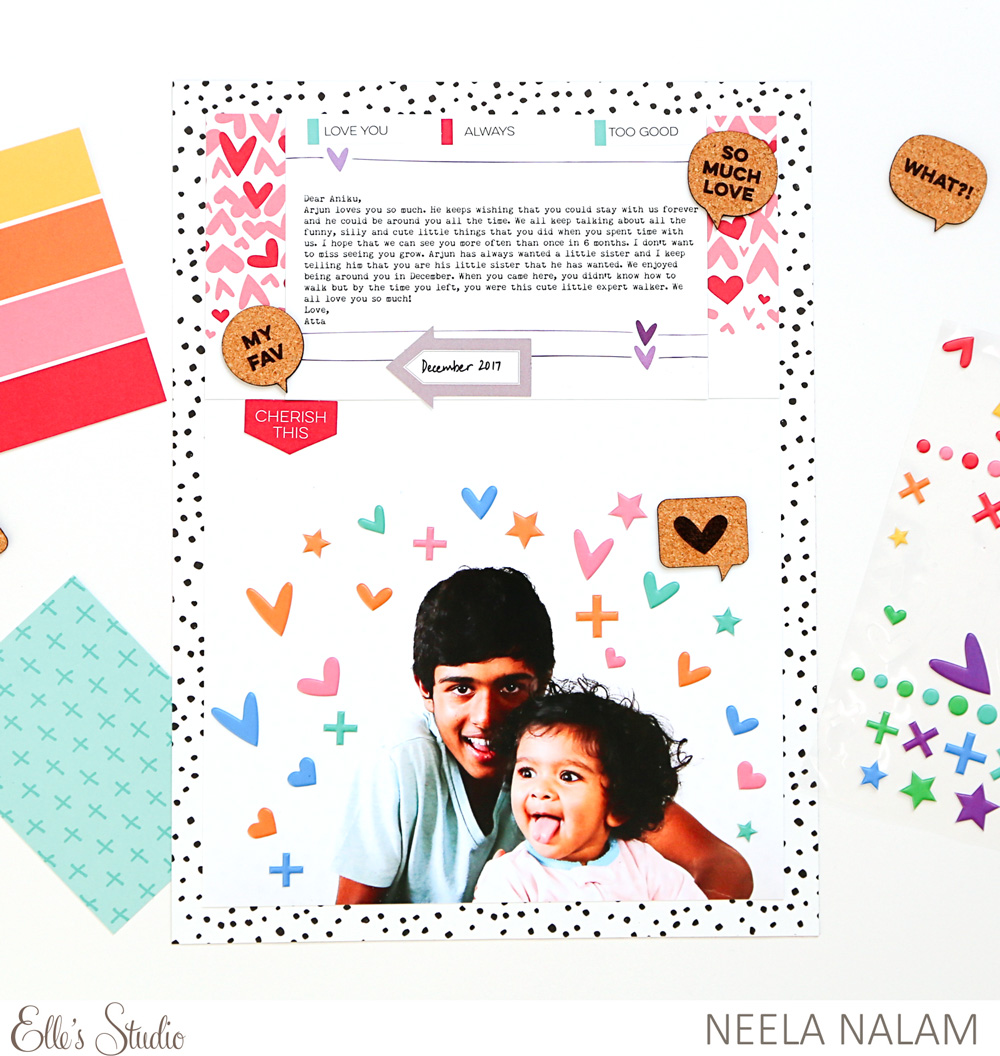
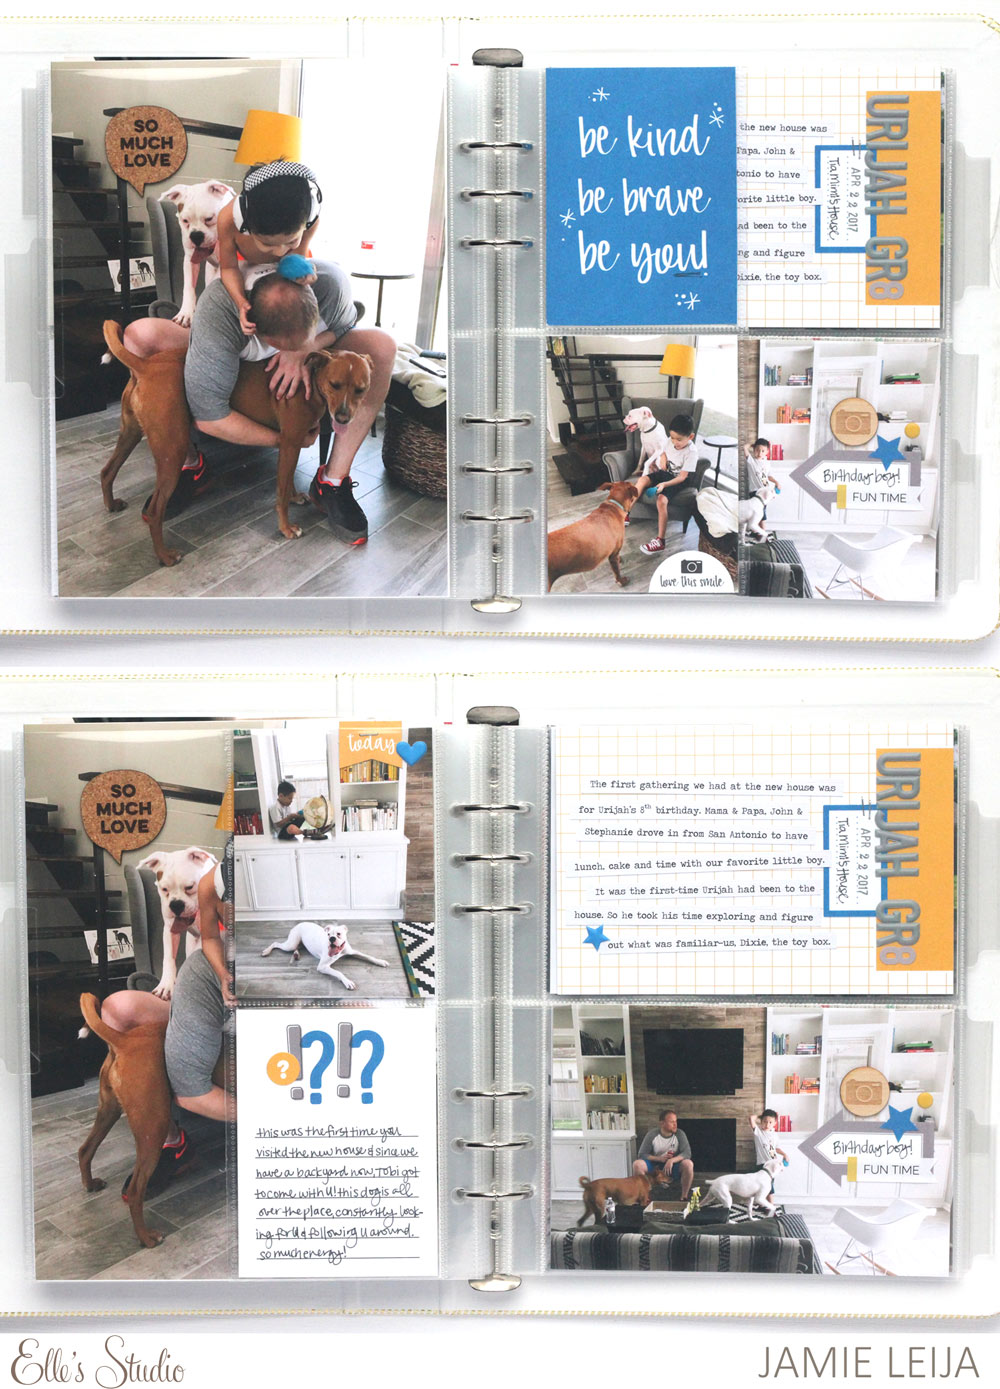
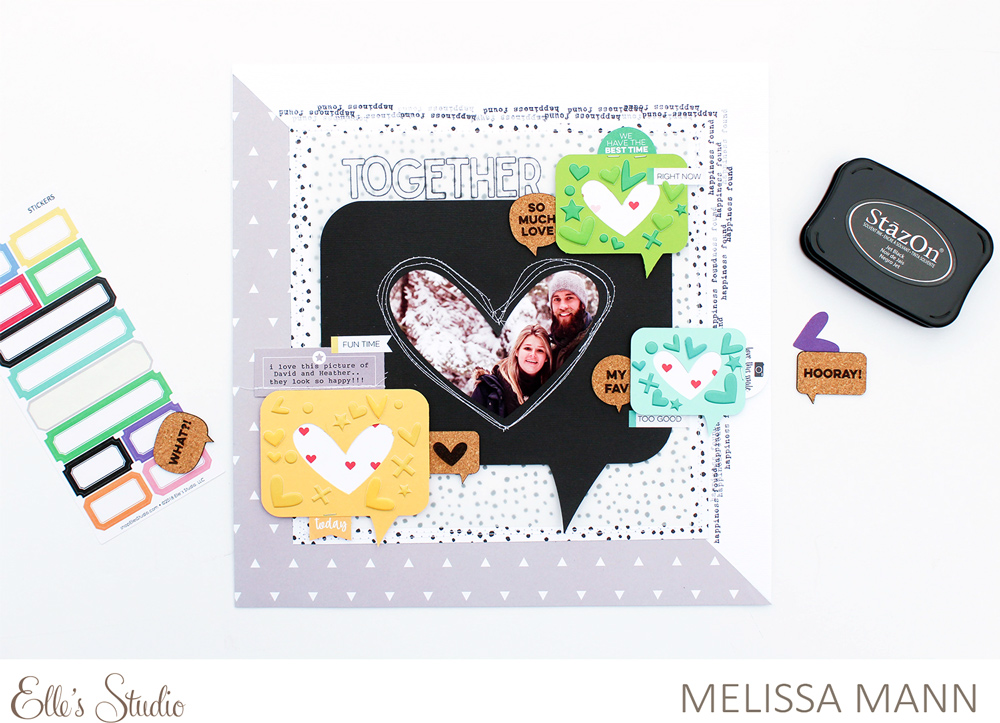
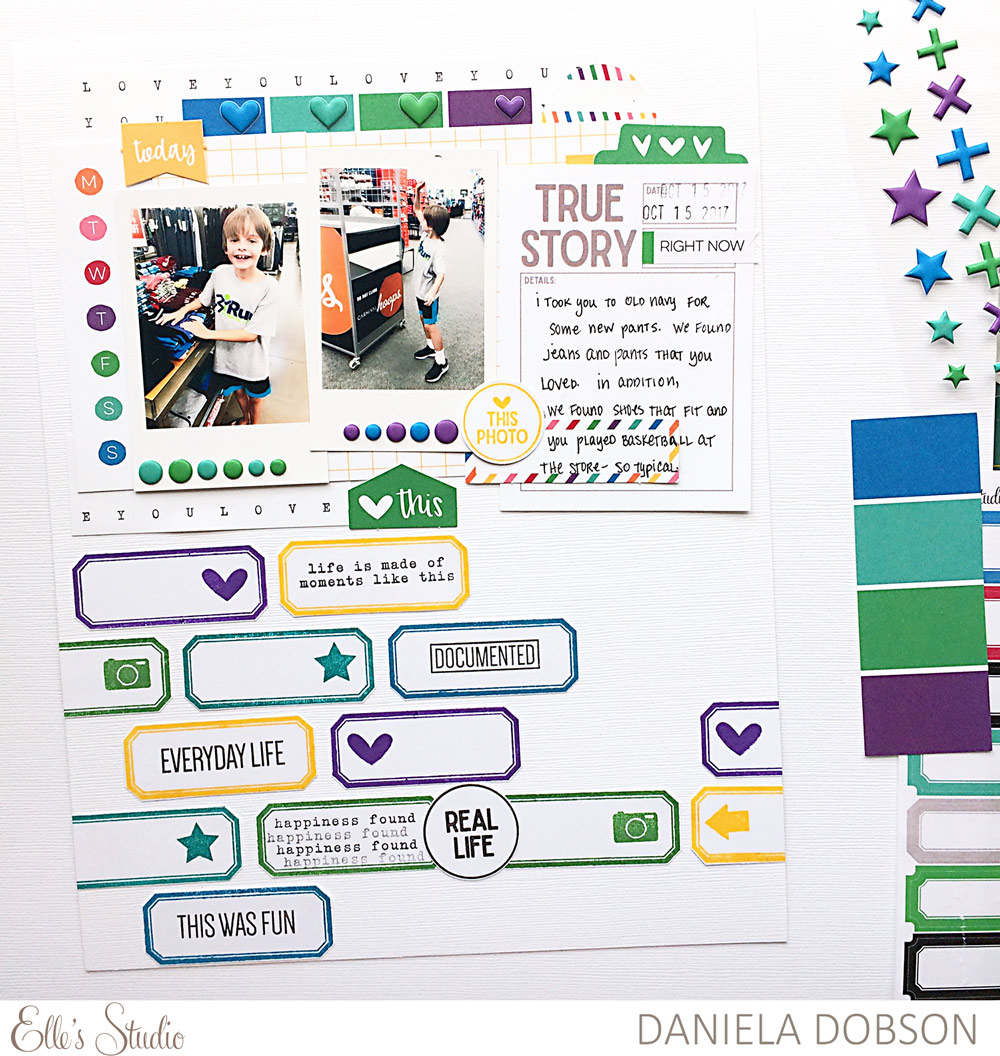
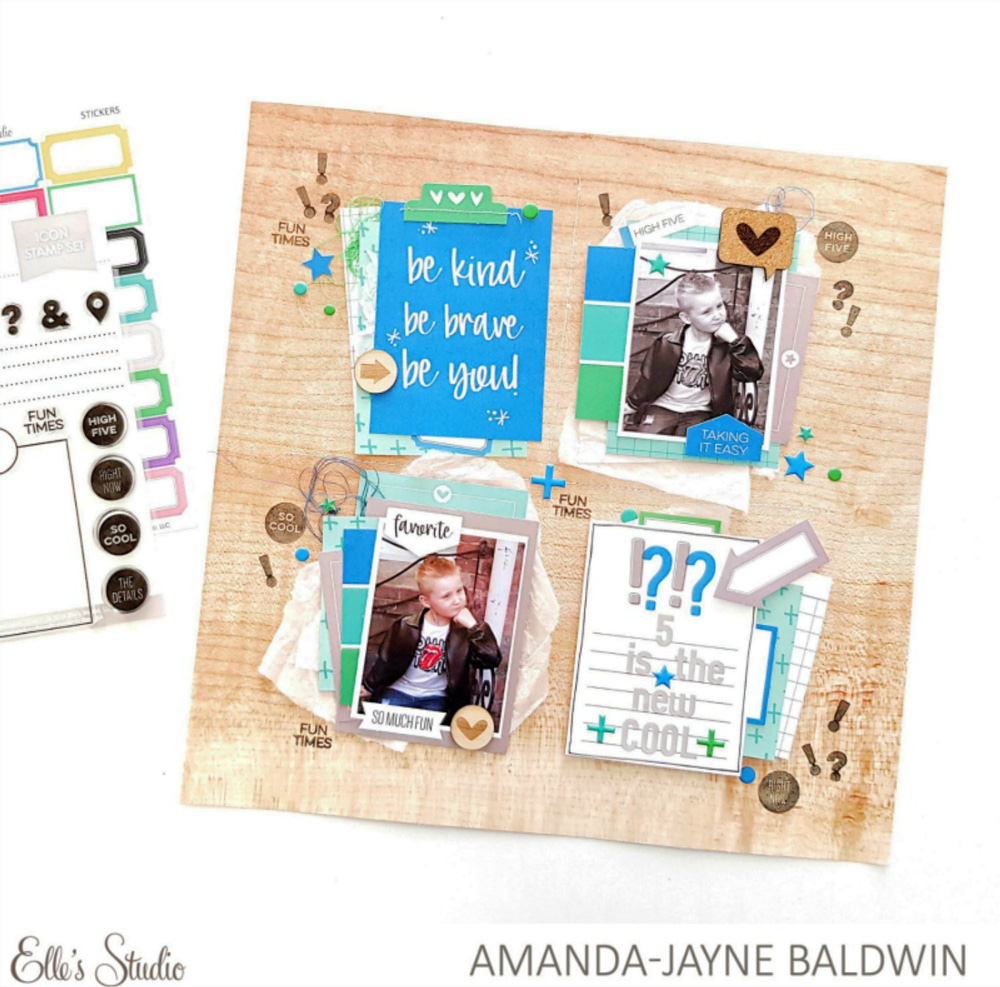
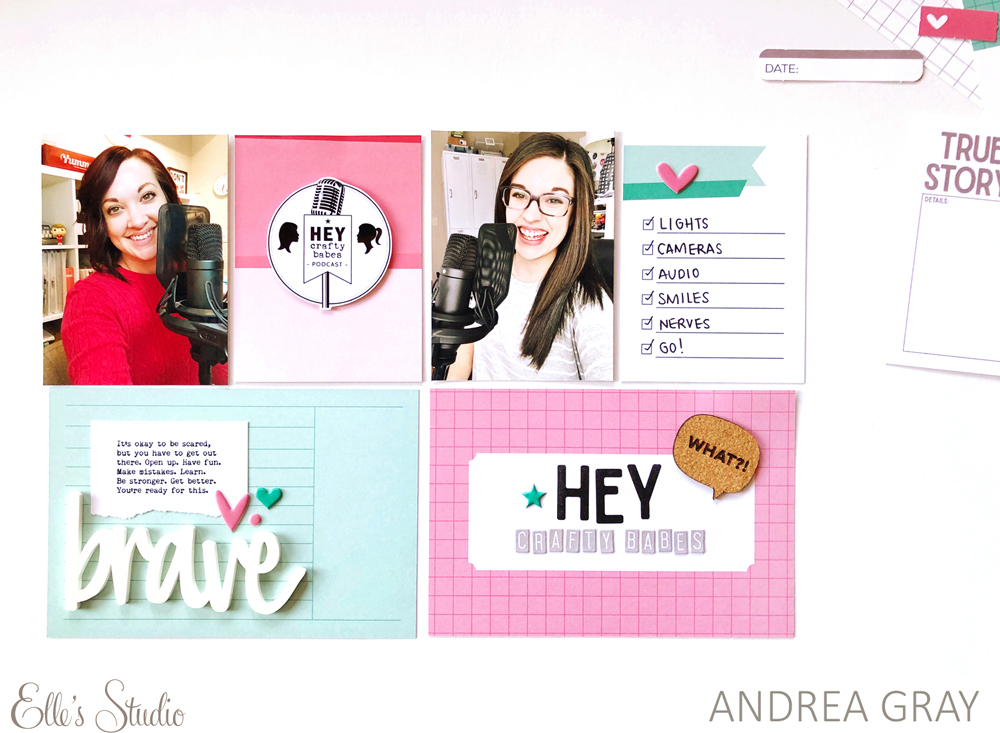
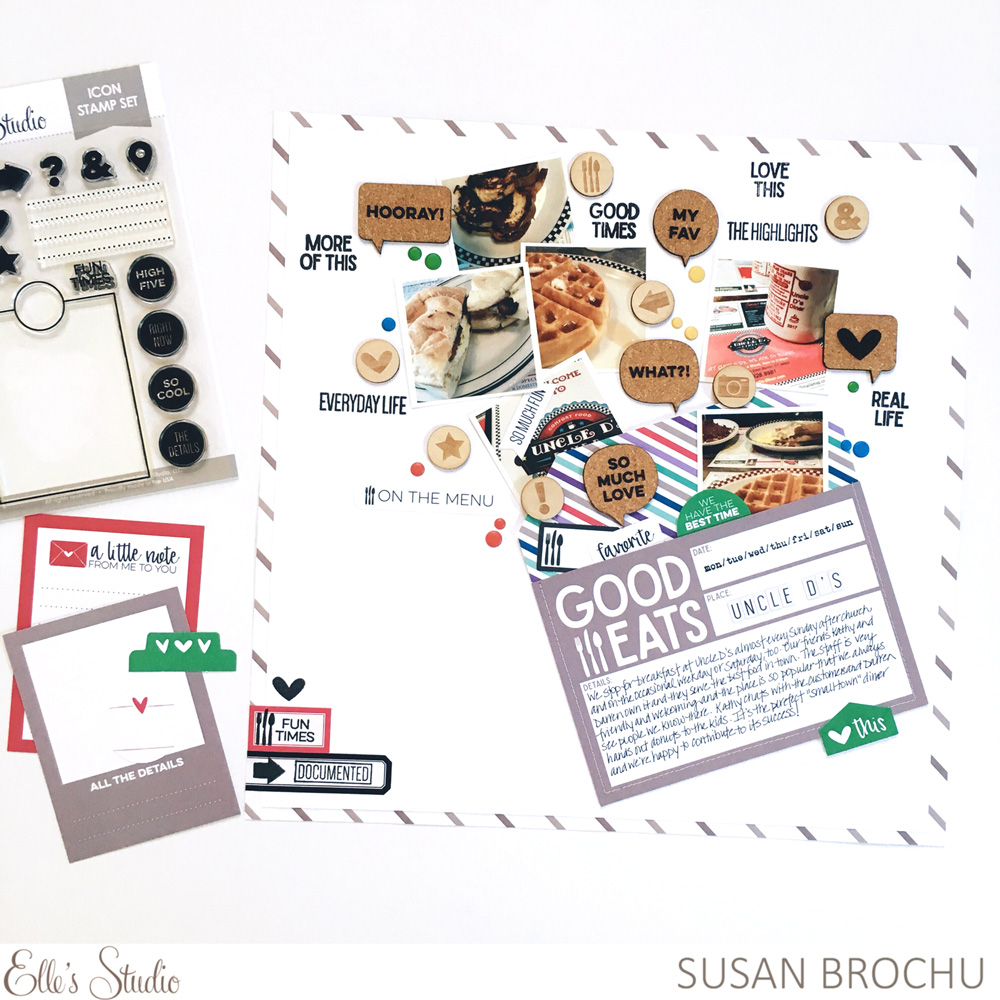
This month we have a lot of fun coordinating add-ons that can be purchased separately. Pick the products that work for you and that you know you’ll use – and if you need more than one, you can purchase multiples, too! This month we have a new stamp, puffy stickers, stickers (labels and banners), Icon labels, wood veneers (cameras, icons, ampersands), cork speech bubbles, acrylic (kind, and brave), and we also added some blank journaling tags (3 x 4 inch and 4 x 6 inch) for stamping and creating your own journaling tags!

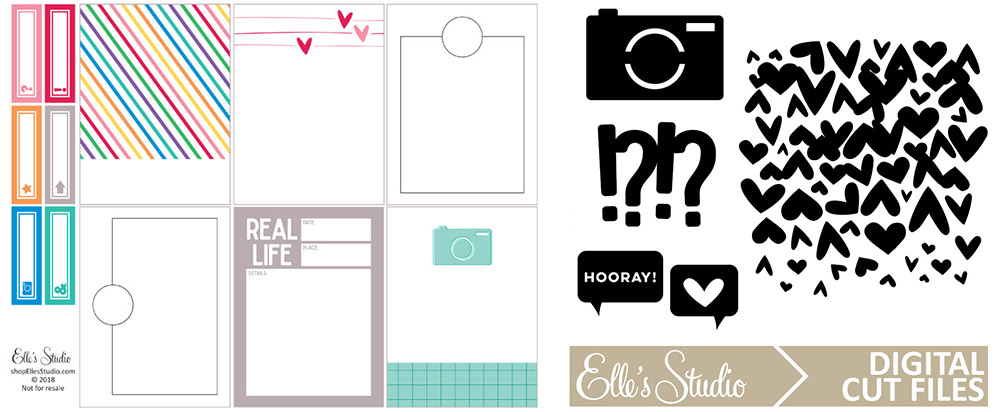
We also have coordinating printables and cut files that coordinate with our kit – once you download these files, you can use/print them over and over again!

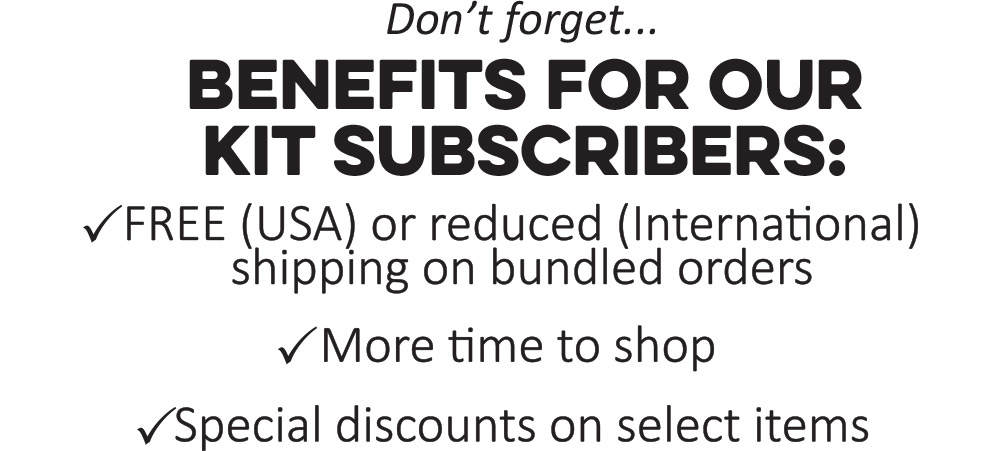
Subscribers, you can start bundling now! Not a subscriber? Don’t wait any longer to sign up! With a subscription, you will be guaranteed a kit each month, lock in our launch day special price of $9.99 + shipping, and receive FREE (USA) or reduced (International) shipping on anything added to your box each month during our 24 hour bundling period (starting on the 10th at 8:00 am PST and ending on the 11th at 8:00 am PST). Along with more time to shop, our subscribers will also have access to special discounts on select items during the 24 hour bundling period! These discounted items can be found in our SALE section during bundling, and you must be logged into your kit subscriber account to see them. Our subscriptions are risk free and can be cancelled at any time, too! Quick note: Our kits and add-ons are available without a subscription each month, too.

Please note: When starting a new subscription on the 10th, please allow up to 2 hours (during regular business hours) for us to switch your account to a subscriber account. You will receive an email with directions on how to access the discounted items and bundle products with your kit subscription.

Here’s a peek of the items on sale for our subscribers only this month:

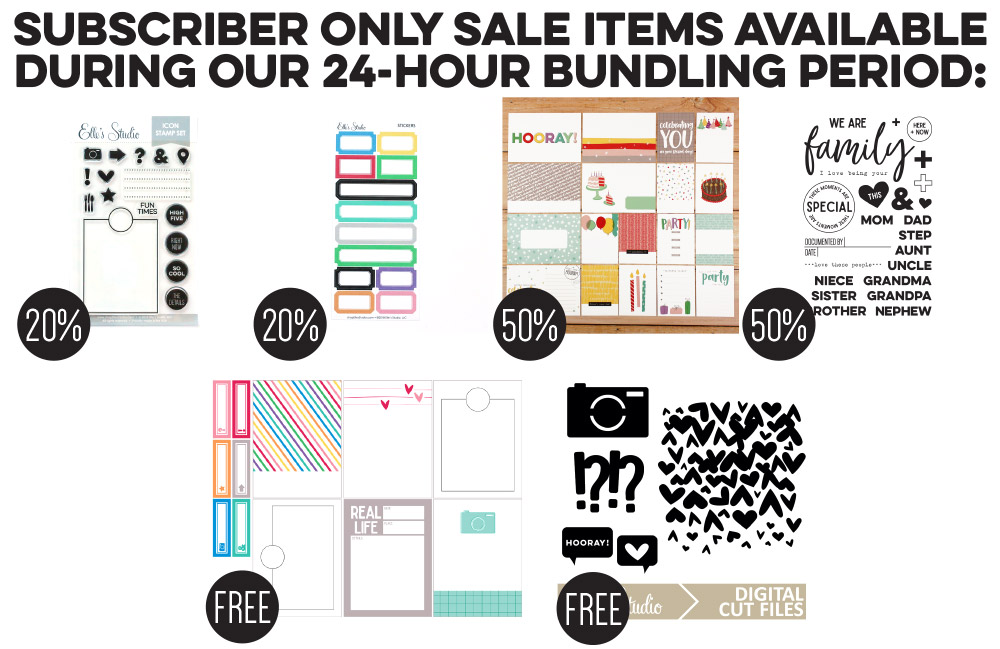
Subscribers: Pick up these six items for FREE – 50% off during our 24 hour bundling period going on now and ending on Sunday, February 11th at 8:00 am PST! Please make sure you are logged into your subscriber account, then click on the SALE section to see these items on sale! Once you are logged in, you’ll see your special discounted product listing that specifies Sub Discount.

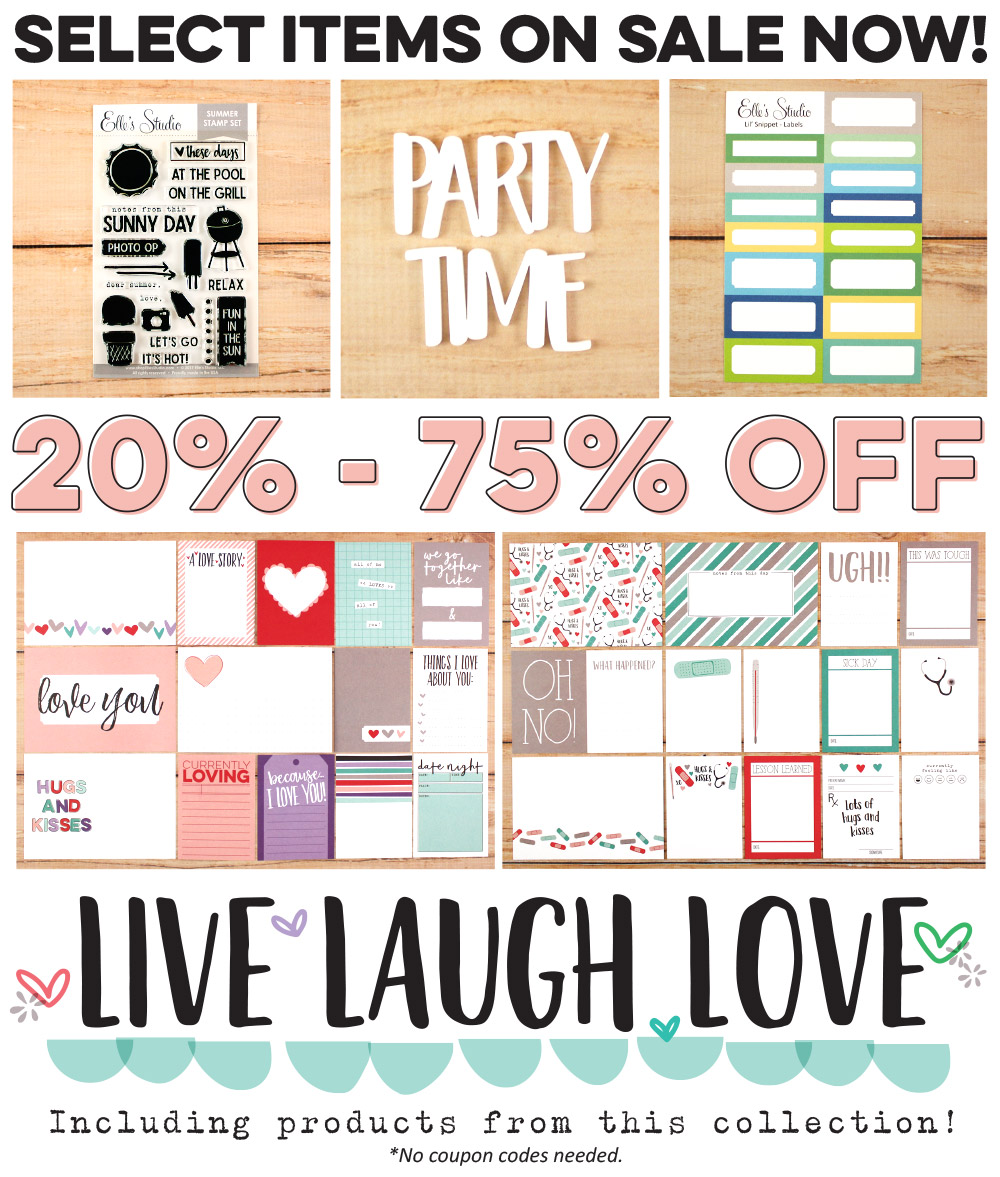
And, we also have some other items on sale for everyone! Make sure you check out our SALE section to see what we just added today!

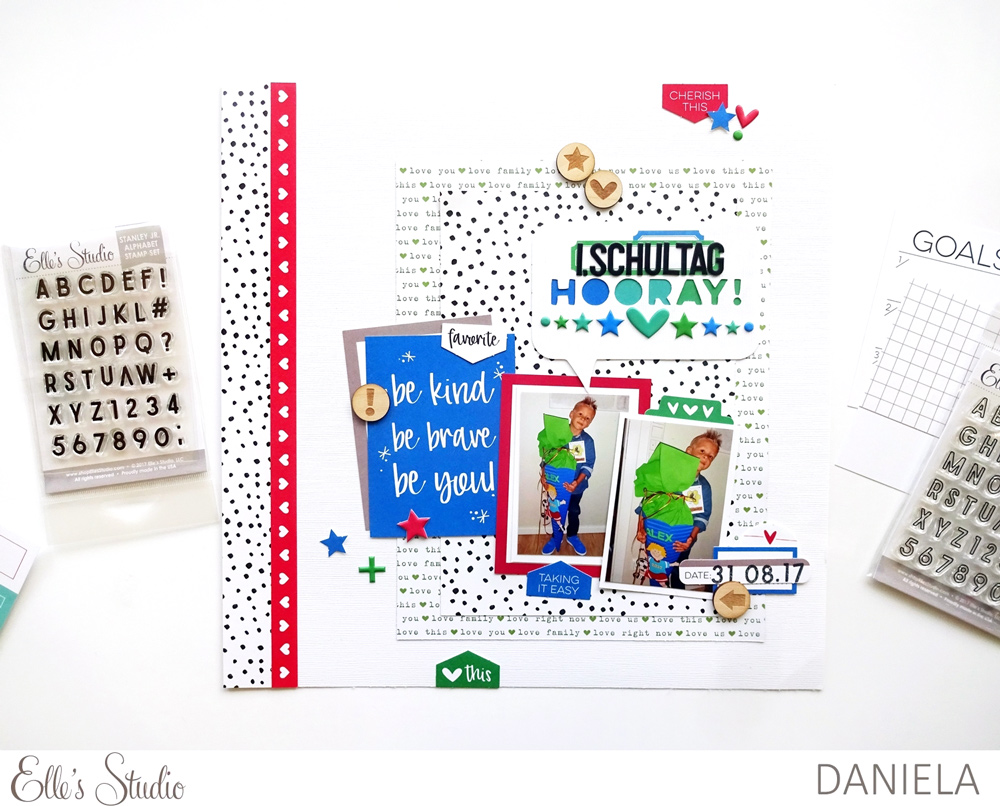
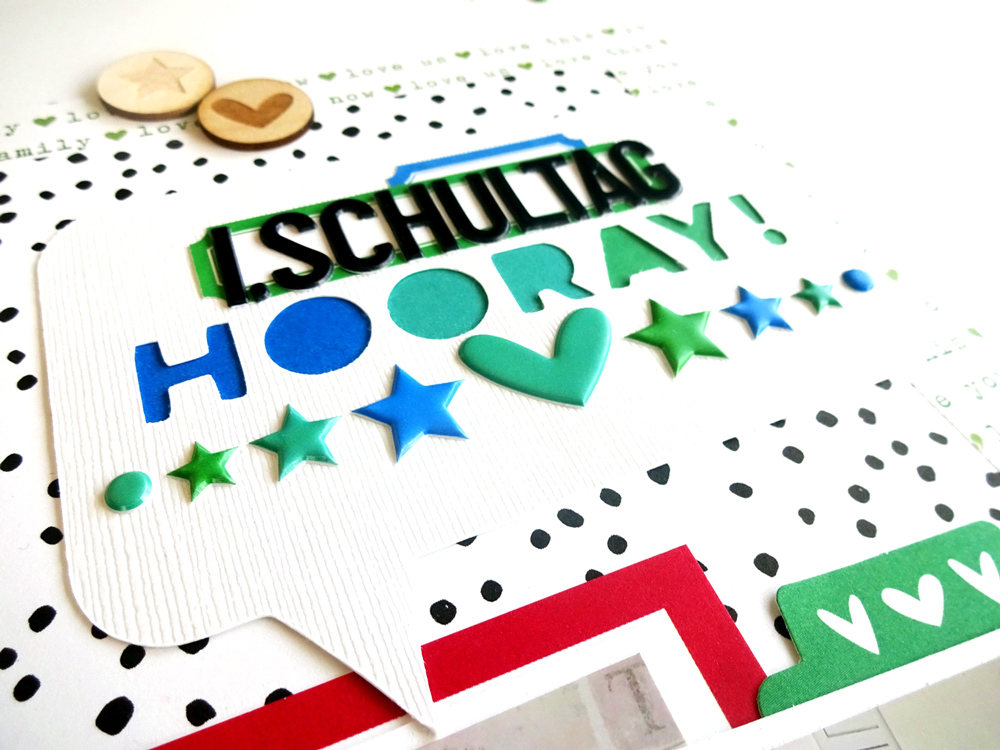
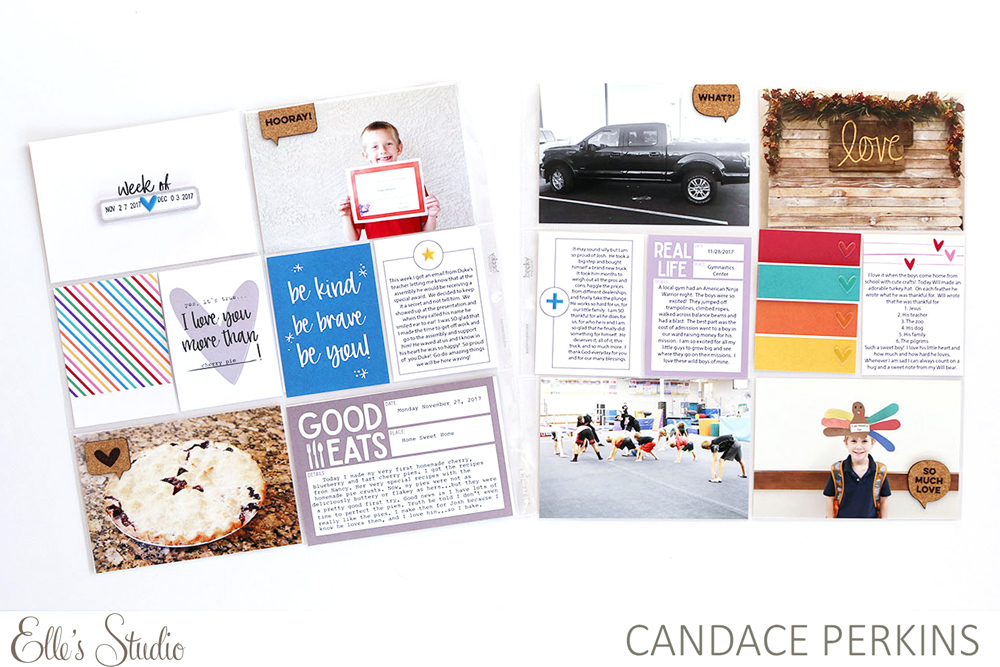
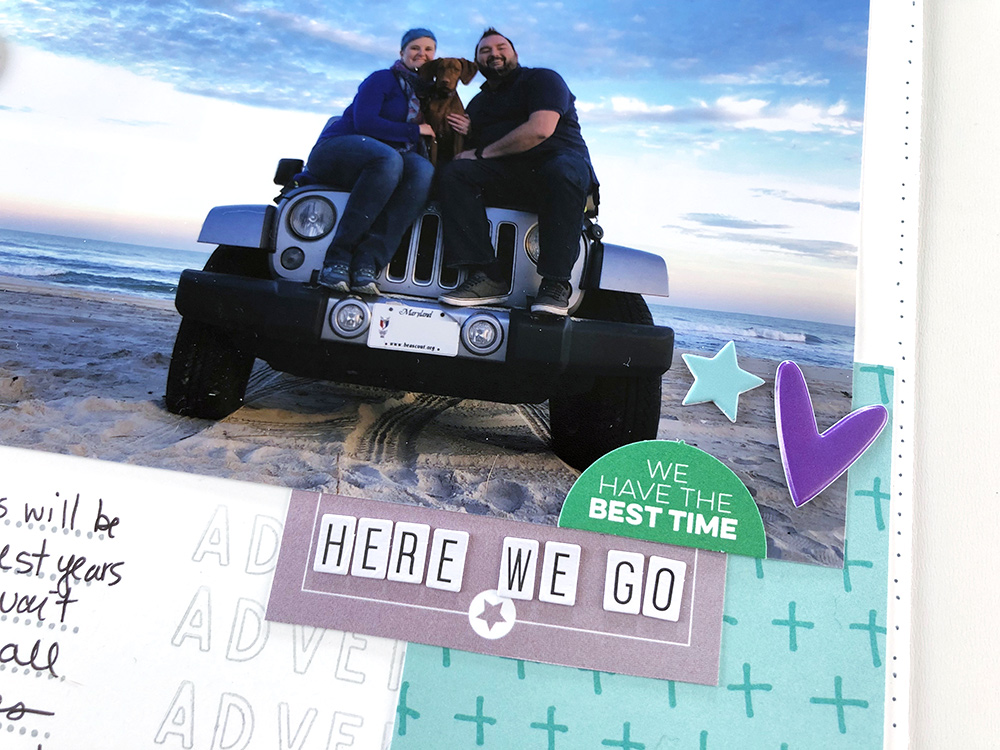
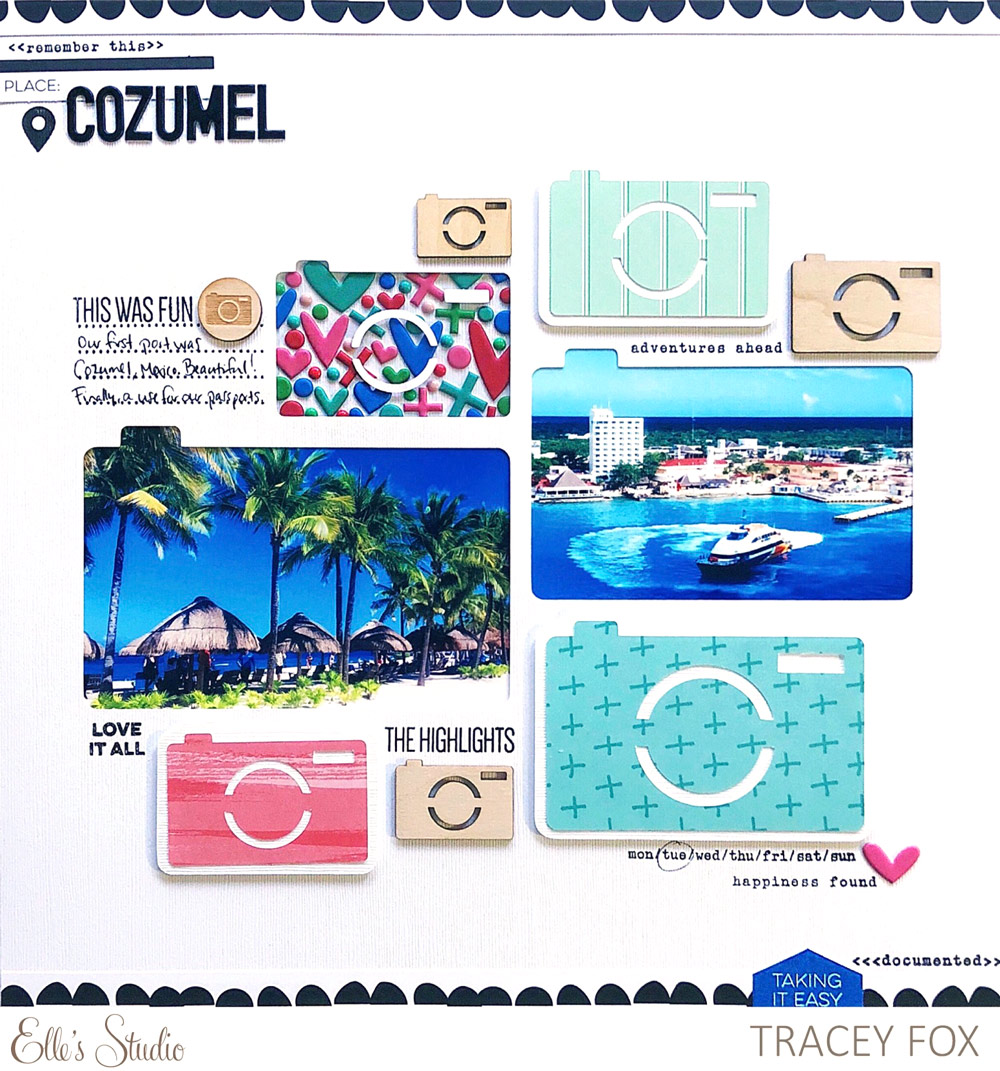
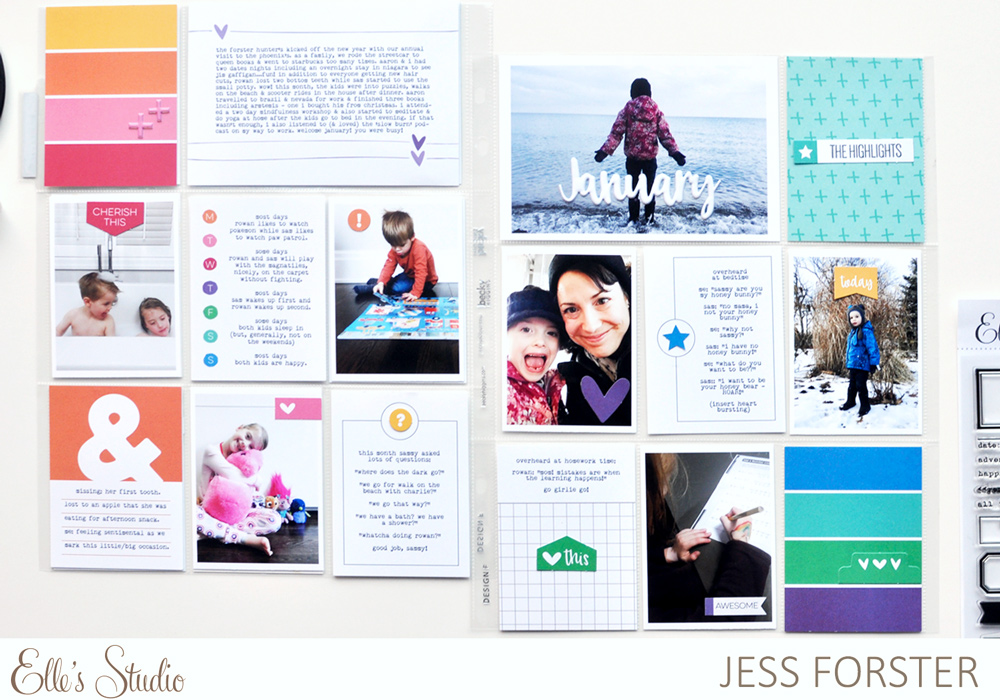
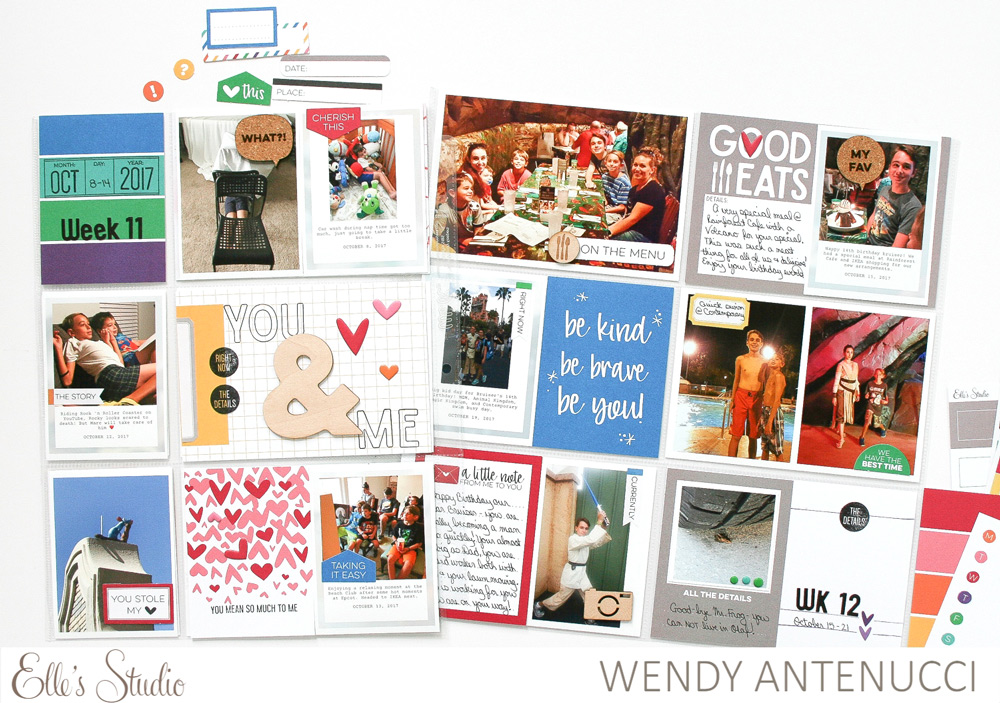
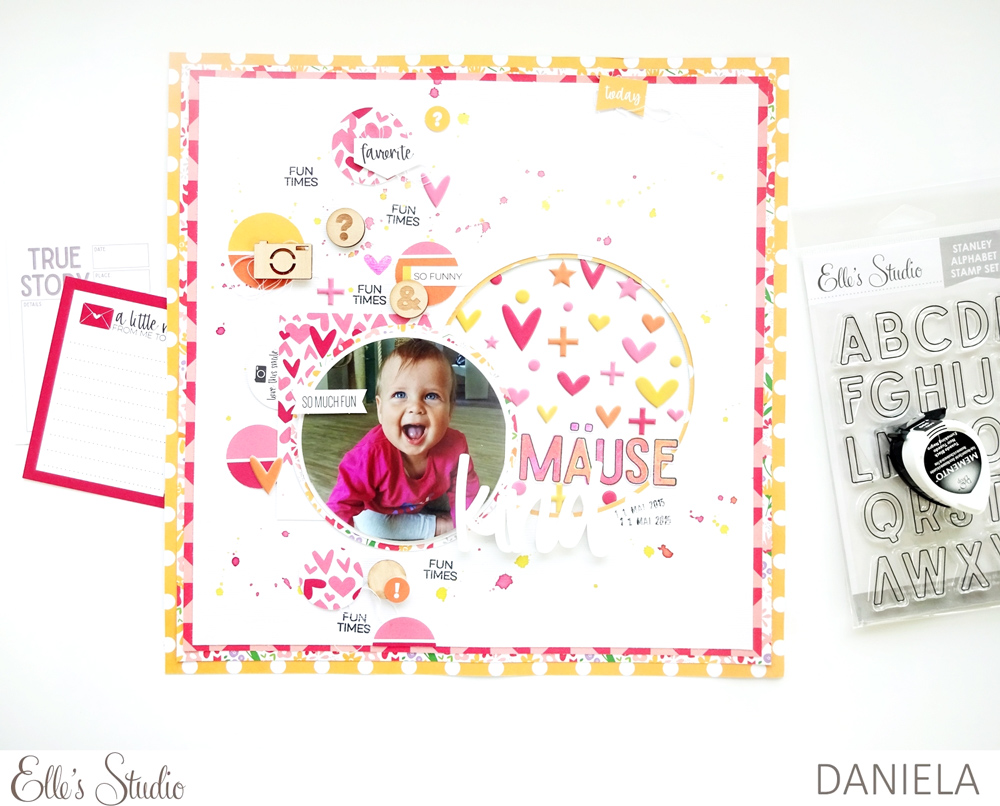
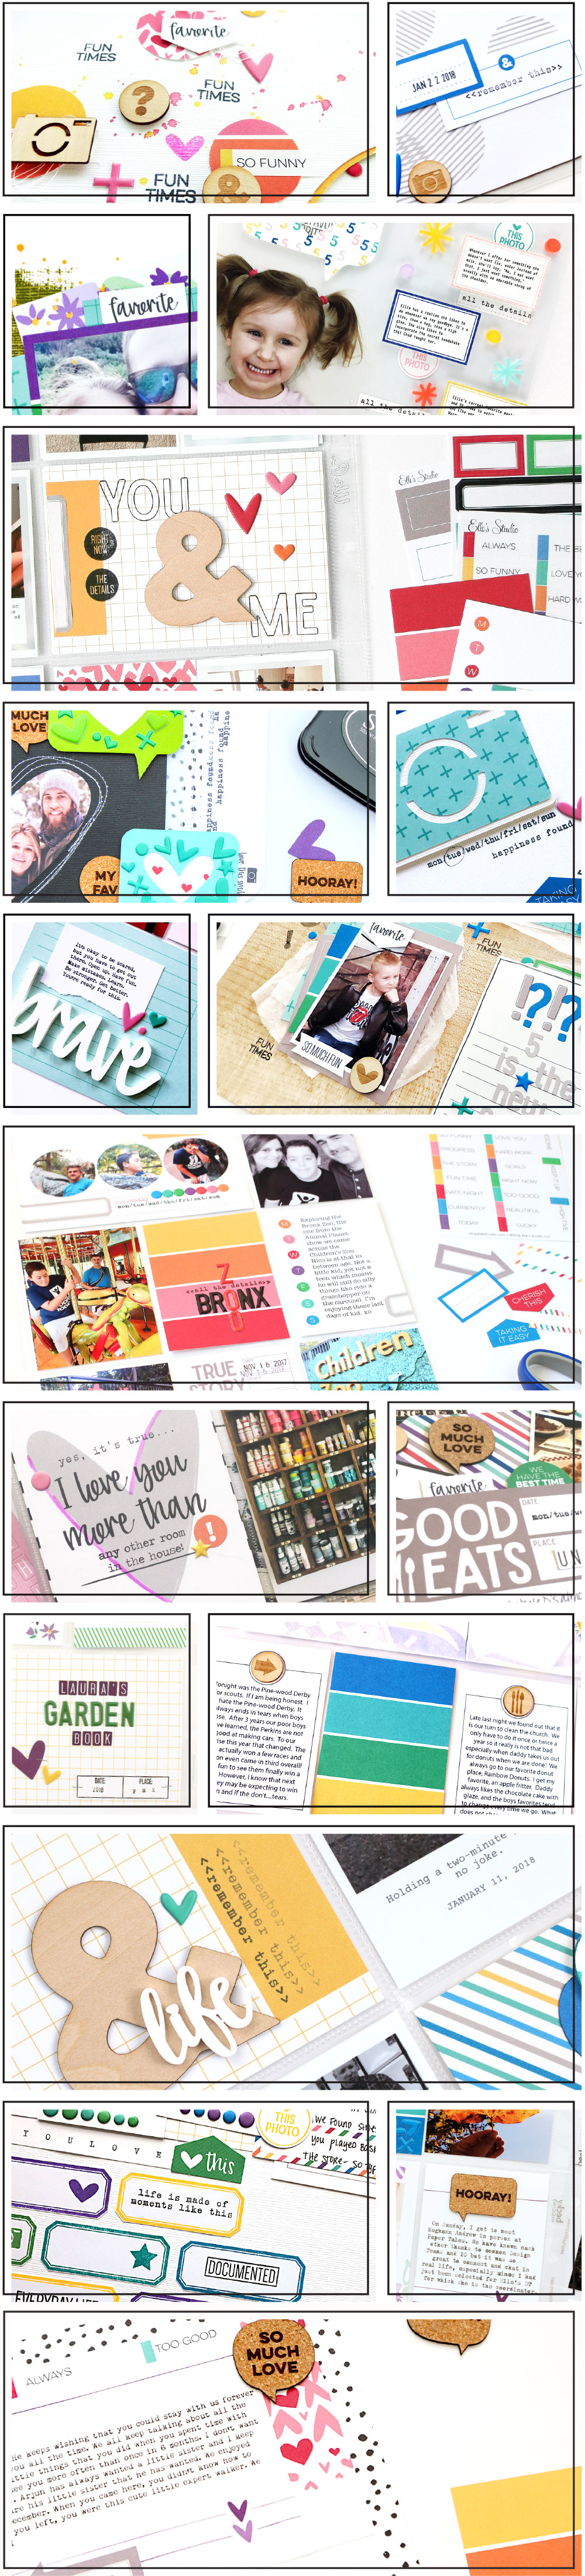
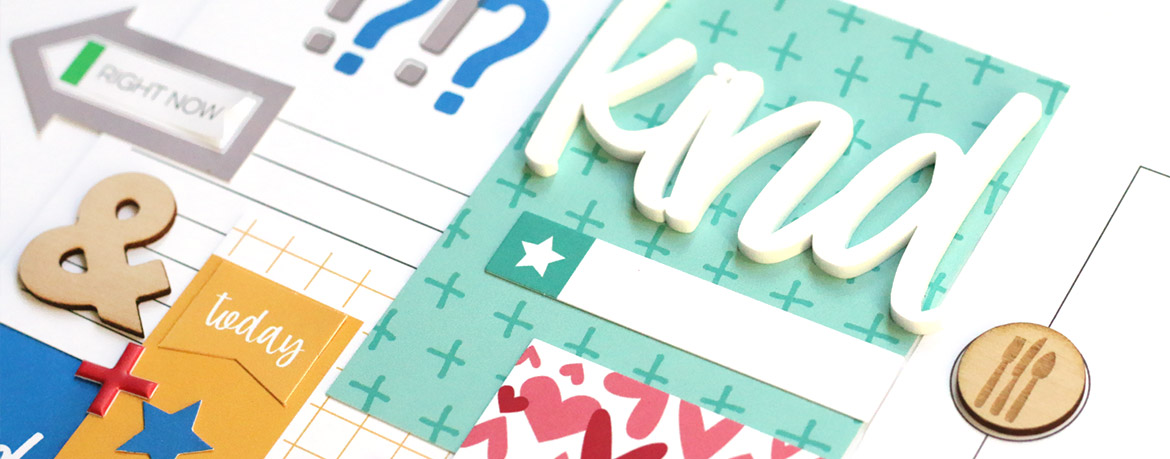
Looking for more inspiration? Our design team is ready to inspire you with brand new, fresh inspiration using the new products this month! You’ll be able to find our their amazing inspiration in our product listings so you can see the inspiration while you shop! You’ll want to click on the magnifying glass for a large view of the projects our team has created with all these new items. We will also be showcasing our teams projects on the blog later today, and throughout the entire month!

Thank you so much for joining us today and for all your support! We are excited to see what you create with all these new products – Make sure you use the #EllesStudio hashtag when posting on Instagram, for a chance to be featured on our feed and win a gift certificate to our shop!

Celebrating Love Week: A Mini Album with Melissa Mann


Today is the final day of our Celebrating Love Week before we introduce our new February 2018 Kit to you, and we’ve saved a pretty special project for last! Mini albums are a great gift to give to someone you love to show how much they mean to you, or they can be a great keepsake for yourself, to remember special memories. Today we have our talented design team member, Melissa Mann, to introduce the newest love in her life to us, with a beautiful mini album. Let’s see what she created! 


Good morning, friends! It’s Melissa with you and I’m excited to share a little mini album I created about my brand new niece! Since we are celebrating “LOVE” this week, I figured it was pretty appropriate to show off the new little love in our family that has us all wrapped around her little pinky finger!


Supplies | January 2018 Kit, Love You Die CutsStar Chipboard StickersHugs & Kisses Puffy Stickers, You Are Loved Wood Veneer, Wood Veneer Love Tags, XOXO 6″ x 6″ Paper Stack, January 2018 Digital Cut File, July 2017 Digital Cut File, June Digital Cut File, May Digital Cut File
 
The base of my mini album was made of small tag digital cut files, cut to different sizes from kraft paper to create variation in my album. I didn’t want them to all look exactly like each other.


I used a good bit of the XOXO 6″ x 6″ Paper Stack to back my tags or layer on top of them; the 3″ x 4″ journaling tags in the January 2018 Kit also came in super handy.


I pretty much used the ENTIRE pack of Love You Die Cuts as well! They worked perfectly in my album! I’m all about layers in my projects and I layered a TON of papers, die cuts and stickers throughout. This gave a bunch of depth and texture to my project without adding a lot of bulk.


Another technique I like to use with my mini albums is to include smaller tags throughout. The small Wood Veneer Love Tags worked great! I simply included them directly on the ring of my album.


Thanks for stopping by to take a peek at my project! I hope you’re inspired to create a mini album to celebrate someone you love in your life!
 

February Design Team Sneak Peeks

We are just a couple of days away from our February reveal and we are thrilled to be able to share these amazing sneak peeks of projects that our design team made using all the new products that will be available soon!

Get ready to pick up our February kit for our launch day special pricing of only $9.99 on Saturday, February 10th, at 8:00 am PST. After the 10th, our kits go back to their regular price of $11.99. Or, you can lock in the $9.99 price anytime by starting a subscription! And subscribers, don’t forget! You’ll be able to bundle anything from our shop (including the new add-ons) with your monthly kit for FREE (USA subscribers) or reduced (International) shipping!

Not a subscriber? We have just a few spots left were you can start with our January kit now! Or, wait until February 10th to sign up and start with our February kit! With a monthly subscription, you will be guaranteed a kit each month, lock in our launch day special price of $9.99 + shipping, and receive FREE (USA) or reduced (International) shipping on anything added to your box each month during our 24 hour bundling period (starting on the 10th at 8:00 am PST and ending on the 11th at 8:00 am PST). Along with more time to shop, our subscribers will also have access to special discounts on select items during the 24 hour bundling period! These discounted items can be found in our SALE section during bundling, and you must be logged into your kit subscriber account to see them. Quick note: Our kits and add-ons are available without a subscription each month, too.

Make sure you set your alarm and mark your calendar for Saturday, February 10th at 8:00 am PST! If you haven’t signed up for our newsletter, make sure you do to receive a reminder of when everything is available for sale!  We hope to see you there!