Sometimes as soon as your see a paper crafting product, you know what memory you have to document right away, making your task so much easier, and FUN! That’s what happened to designer Heather Leopard when she saw the Rainbow Acrylic in her March box. Let’s see what colorful creation she made:
Hi everyone! It’s Heather Leopard and I’m so excited to share a layout and process video using elements from the March 2018 Kit and add-ons, one of my favorite releases yet. It’s packed with so much goodness, but have you seen the Rainbow Acrylic?! Oh my heart, I almost passed out when I opened the box. I knew exactly what photos I wanted to scrap.
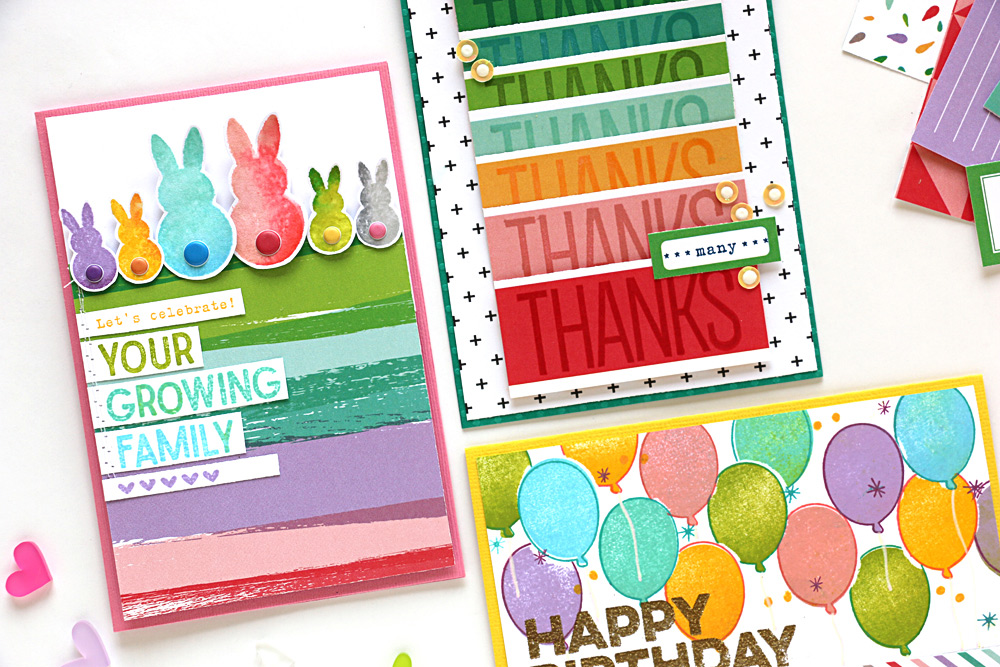
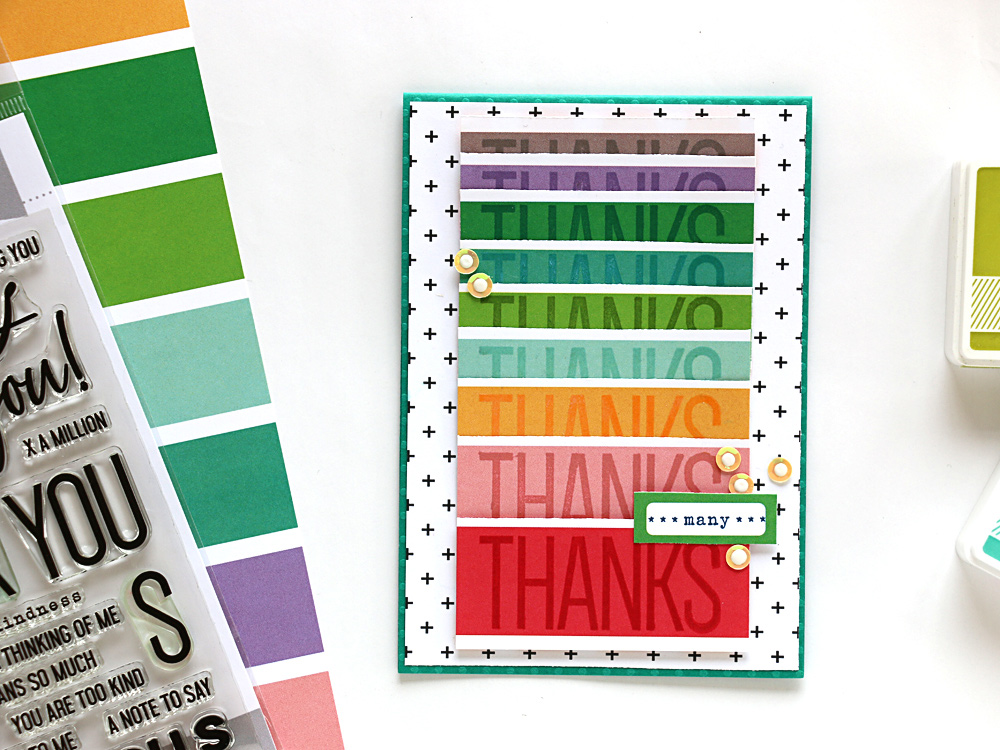
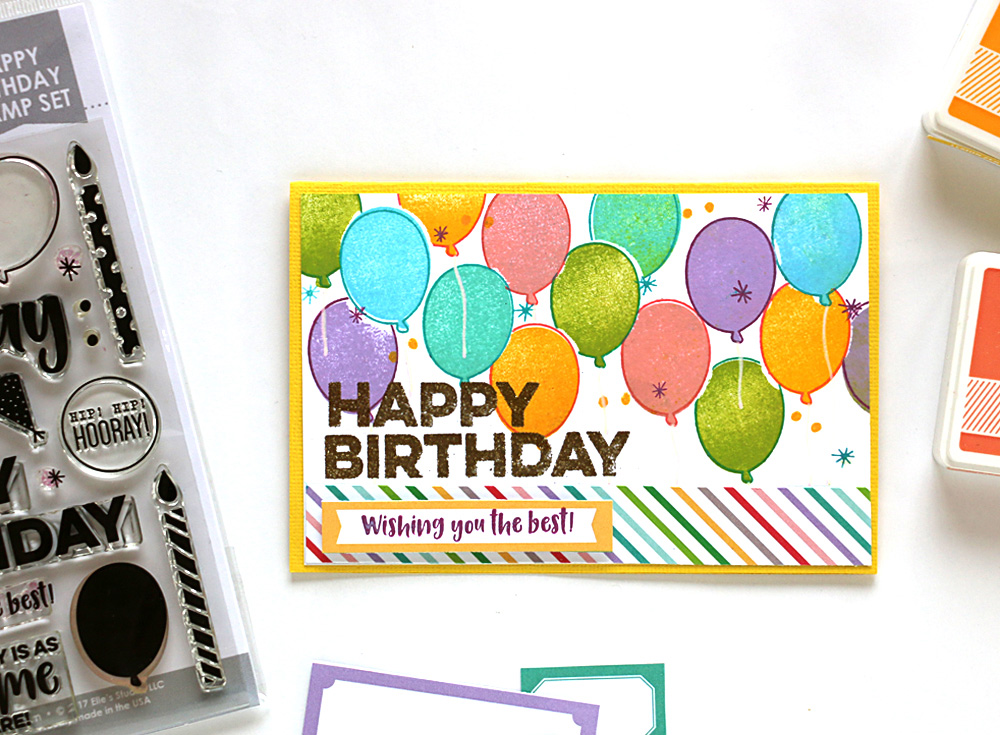
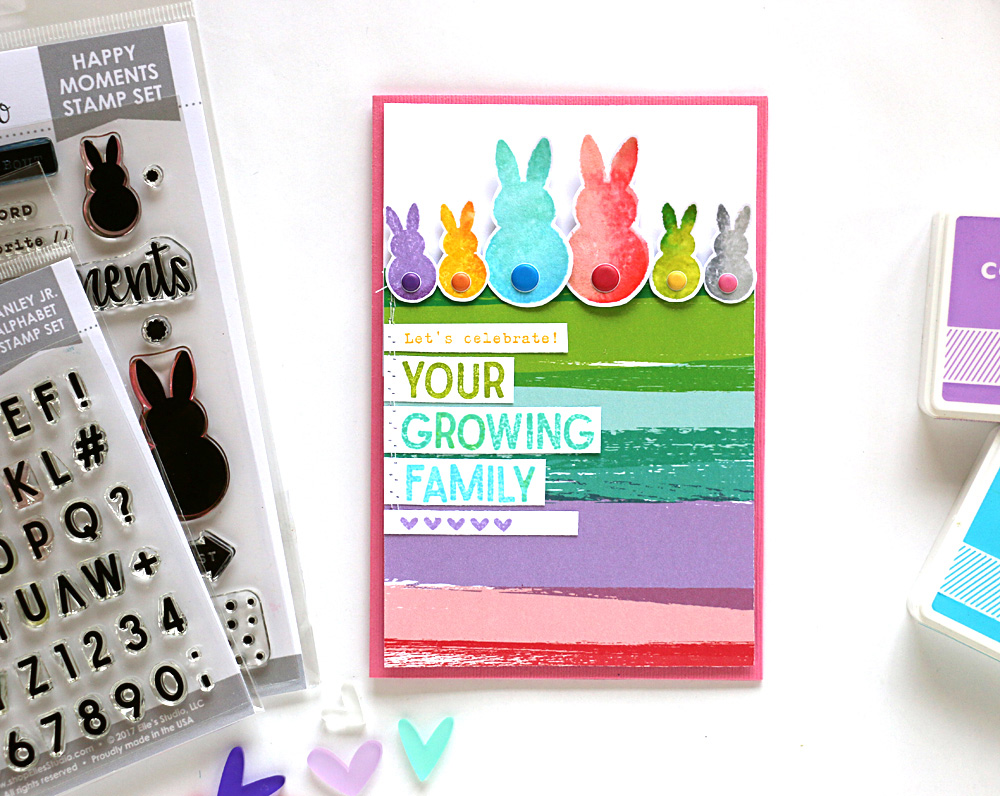
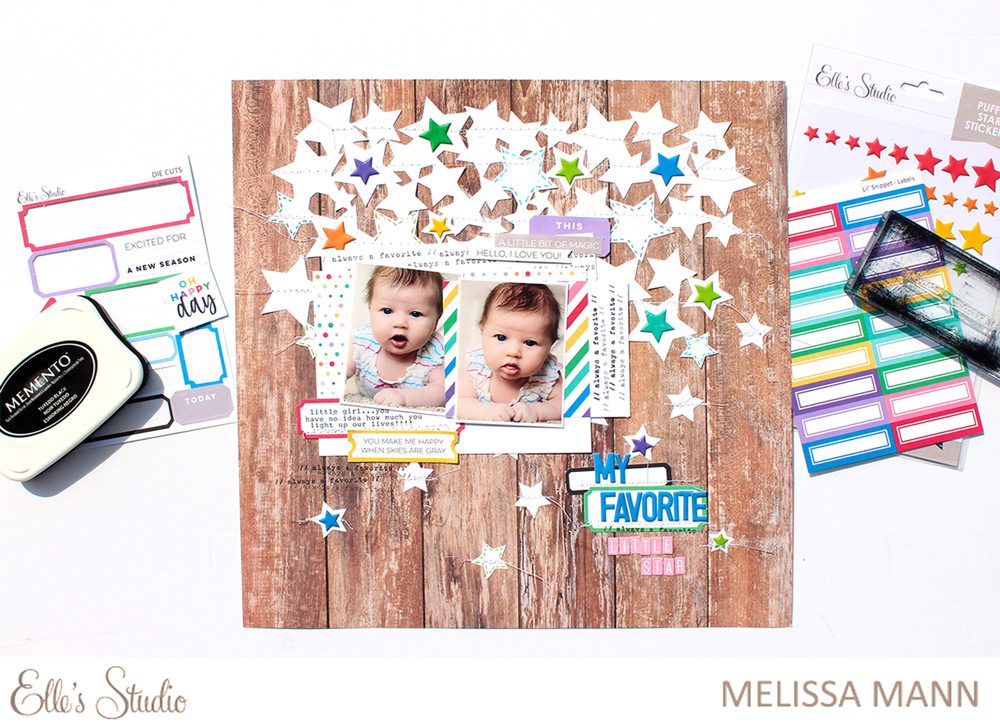
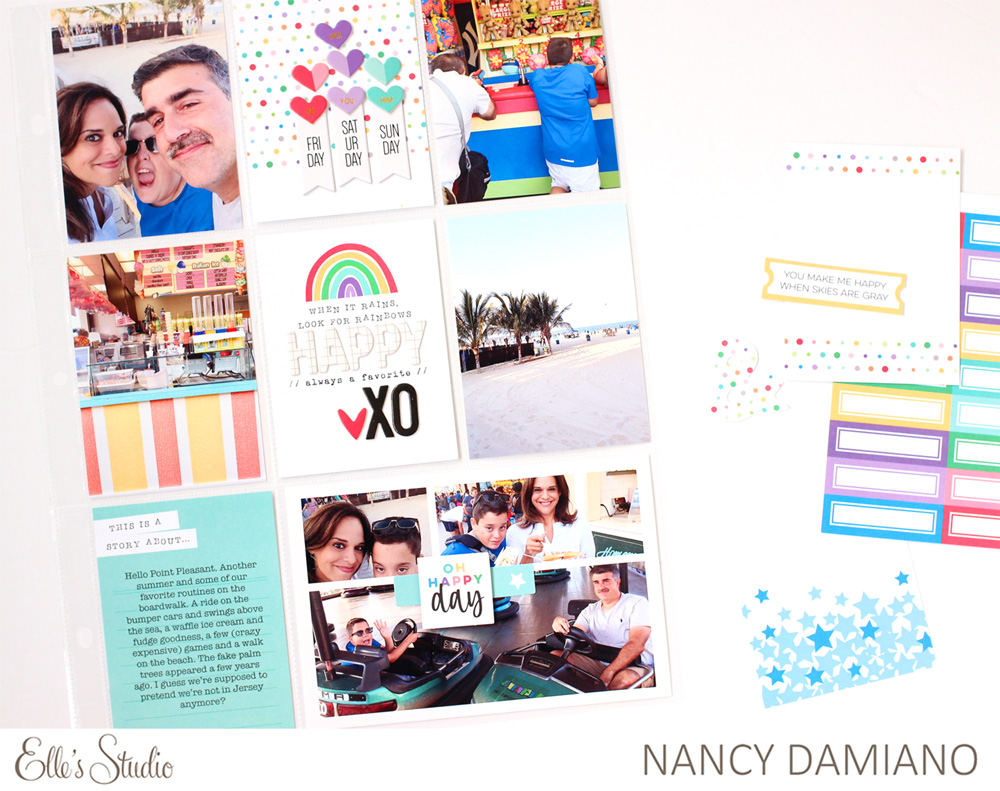
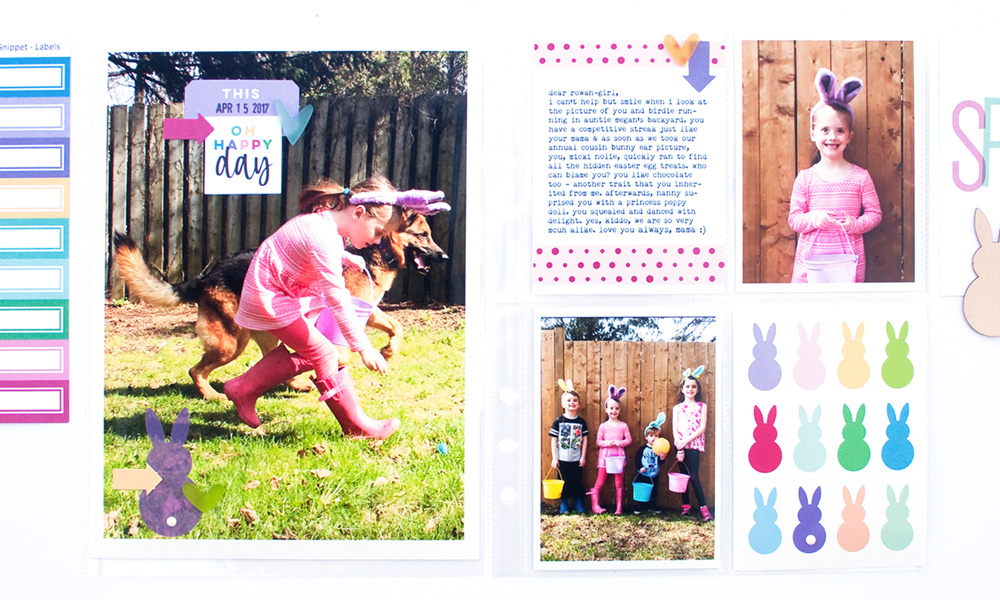
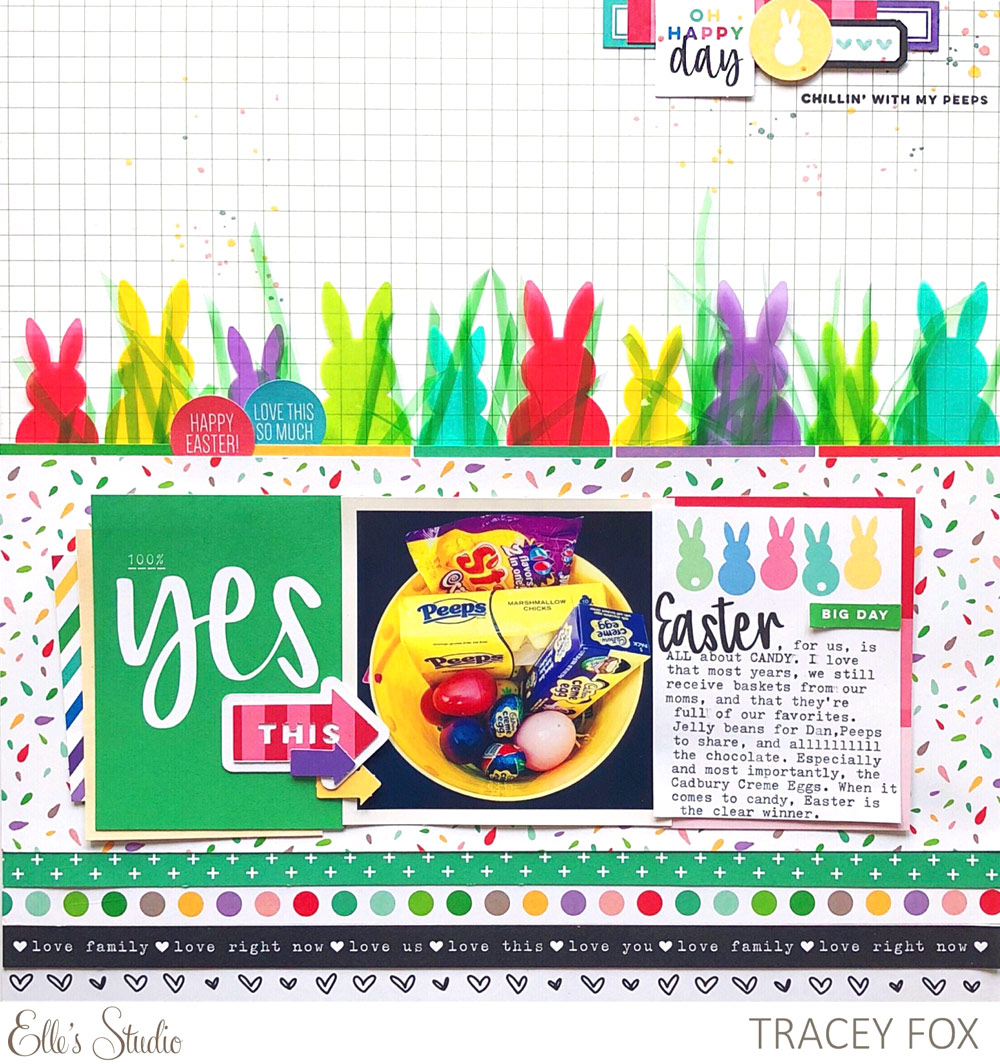
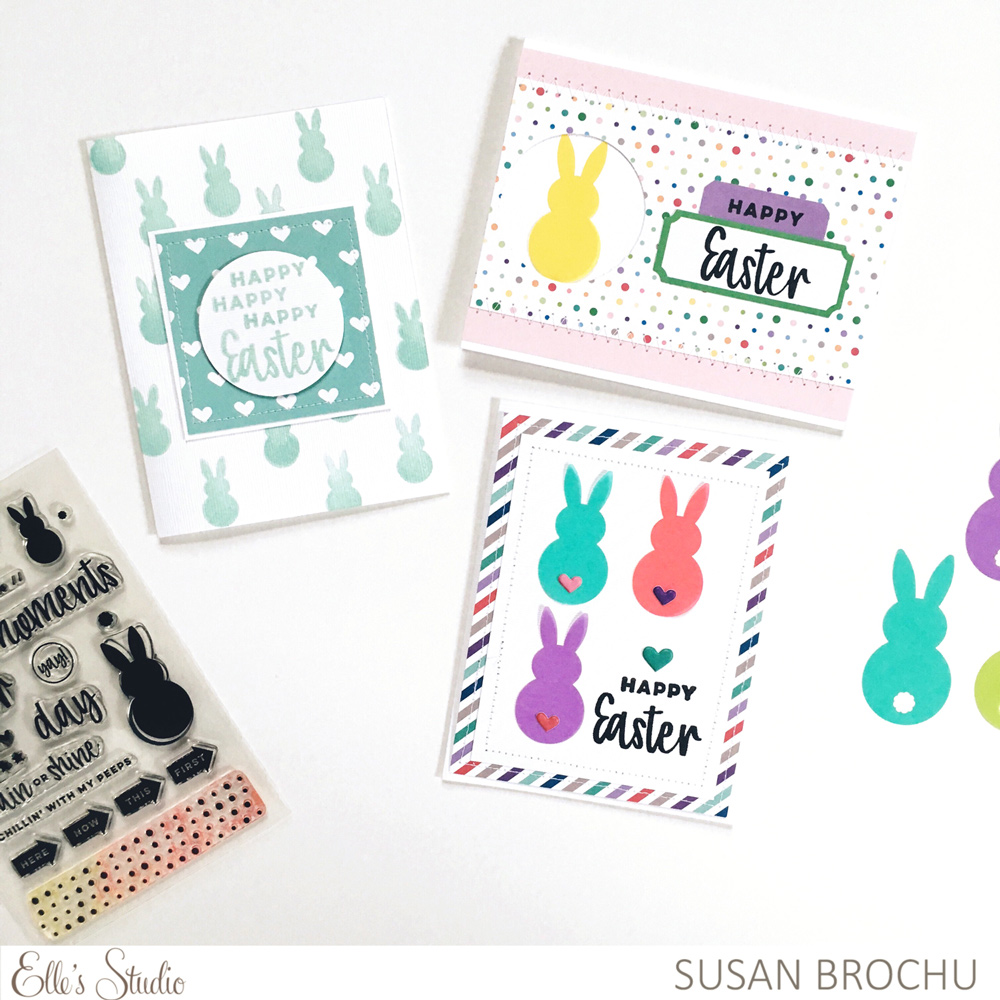
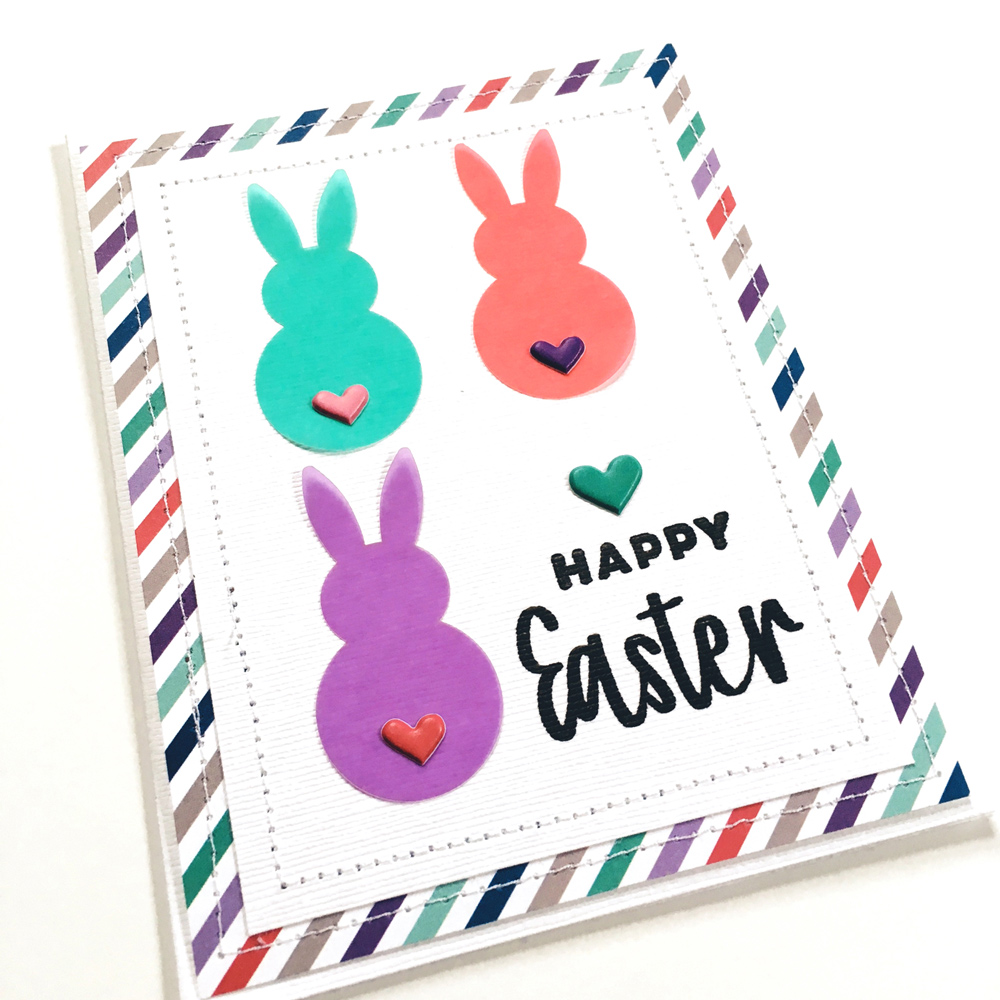
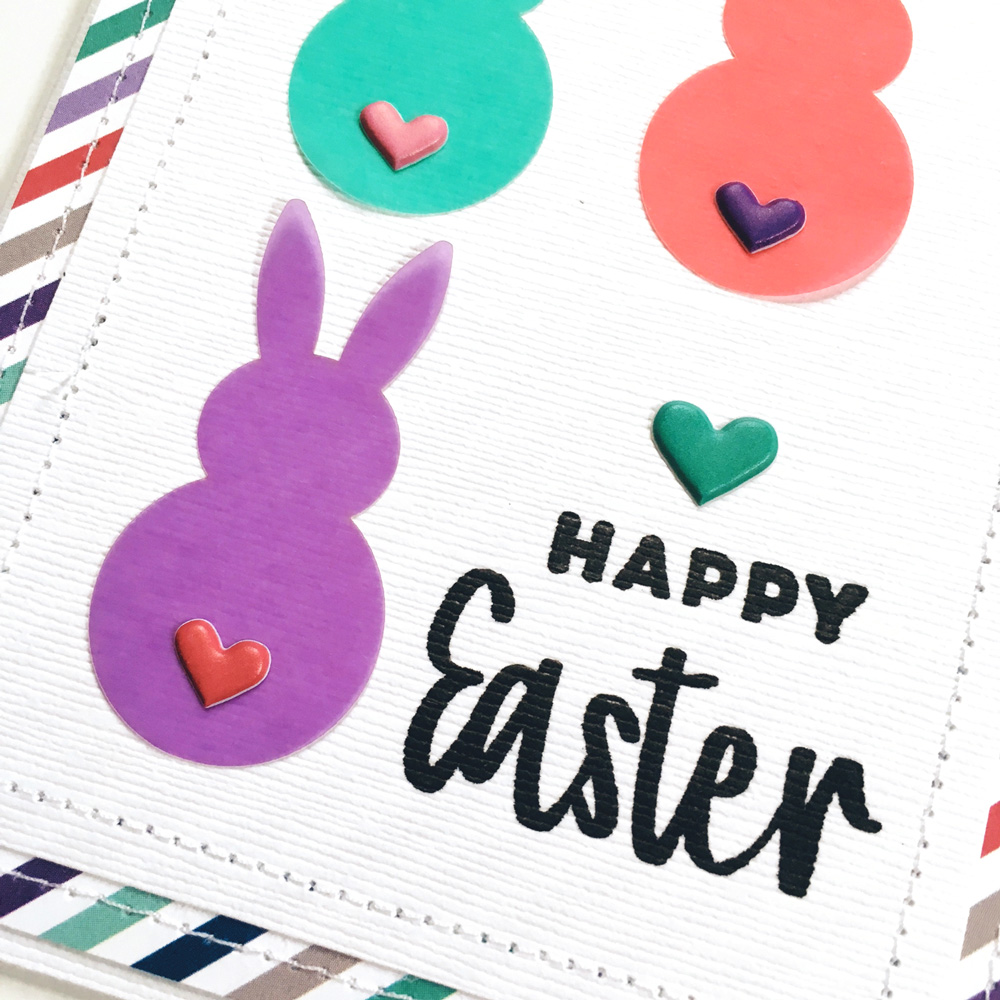
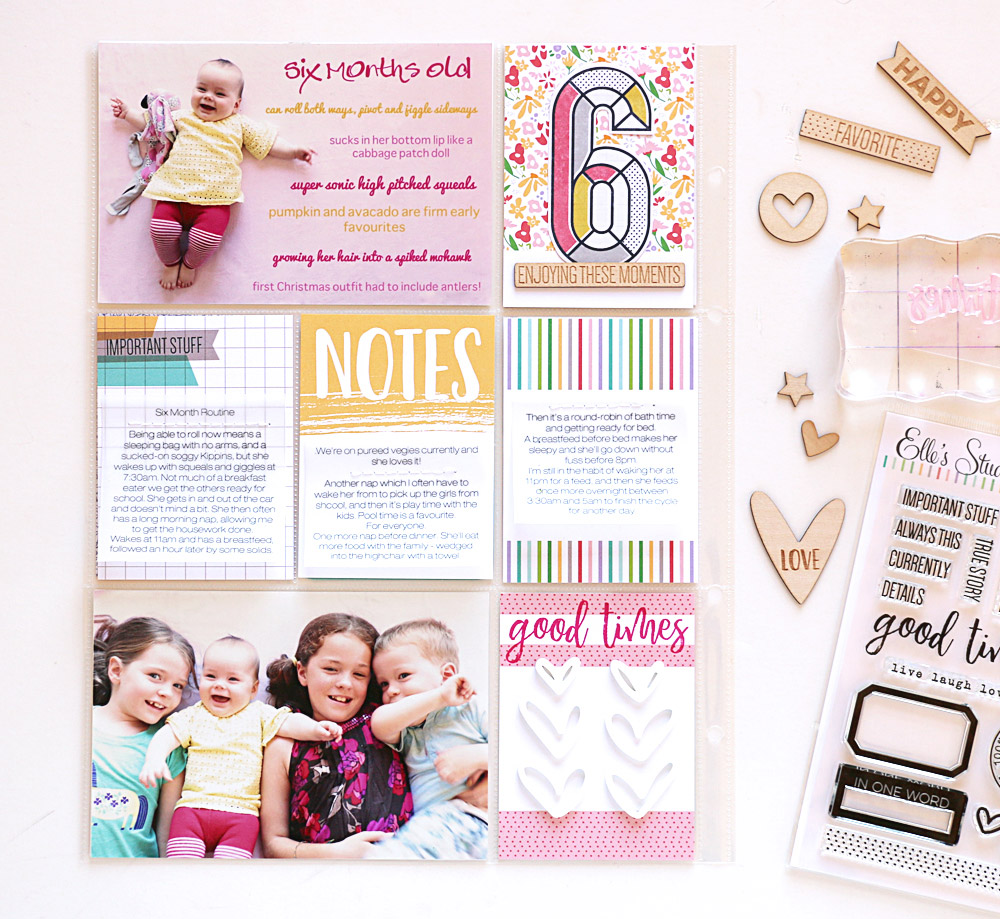
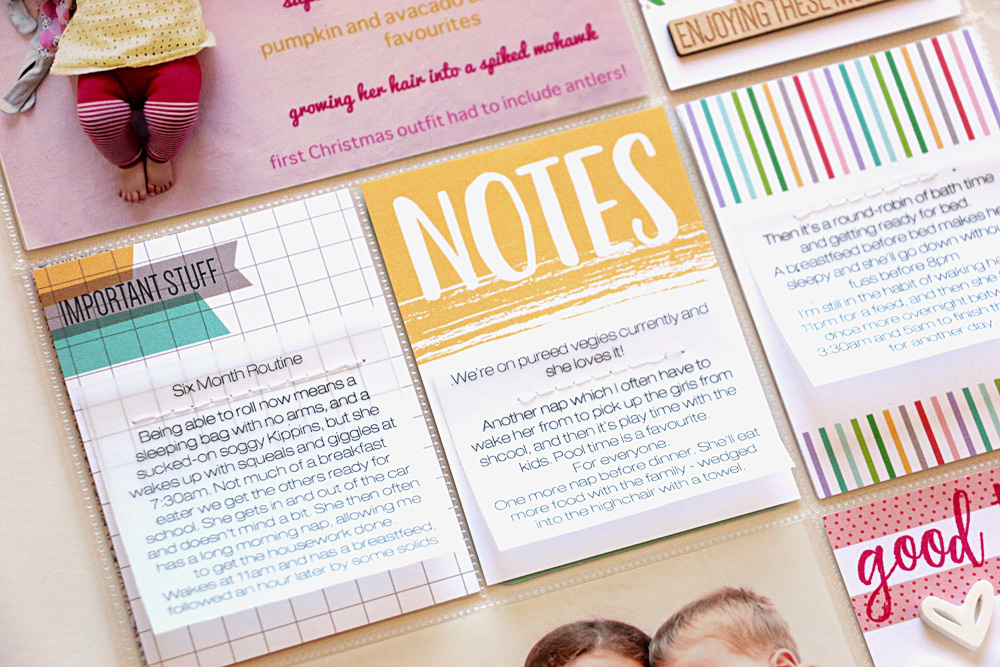
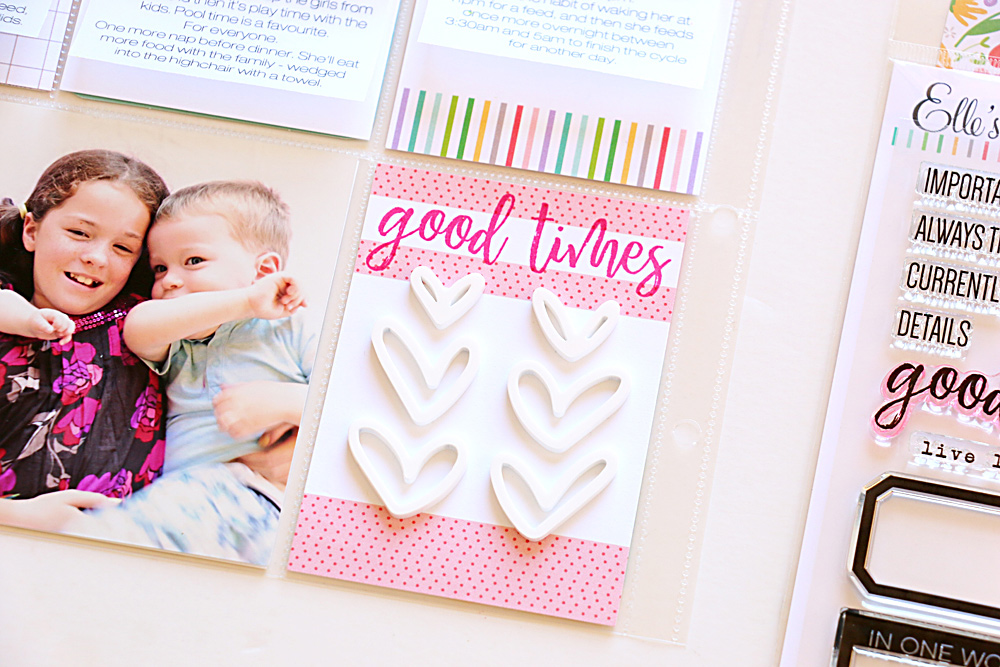
Supplies | March 2018 Kit, March Digital Cut File, March Labels, Big Moment Phrase Stickers, Black Cardstock Alphabet Stickers, Dark Teal Cardstock Alphabet Stickers, Dark Purple Cardstock Alphabet Stickers, White Puffy Alphabet Stickers, Puffy Star Stickers, Rainbow Acrylic, Little Acrylic Hearts, Live Laugh Love 6″ x 6″ Paper Stack, Live Laugh Love 12″ x 12″ Paper Collection
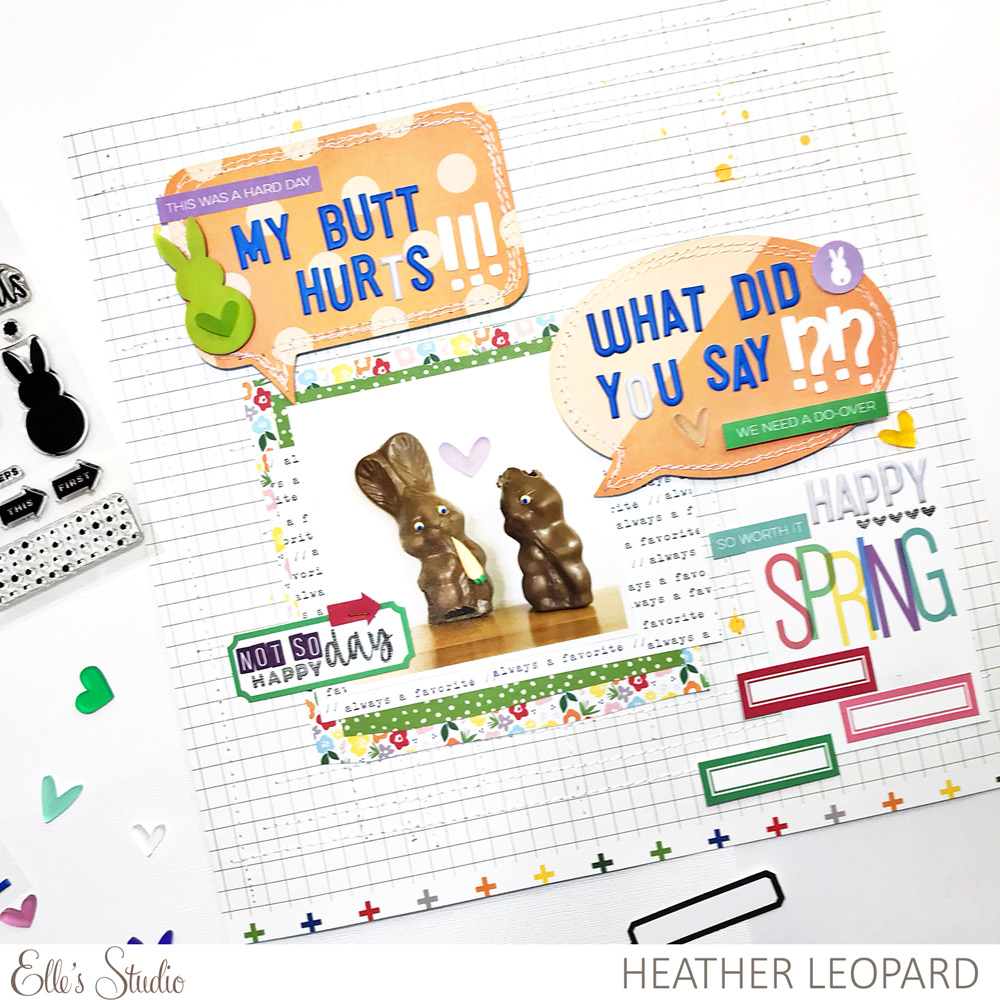
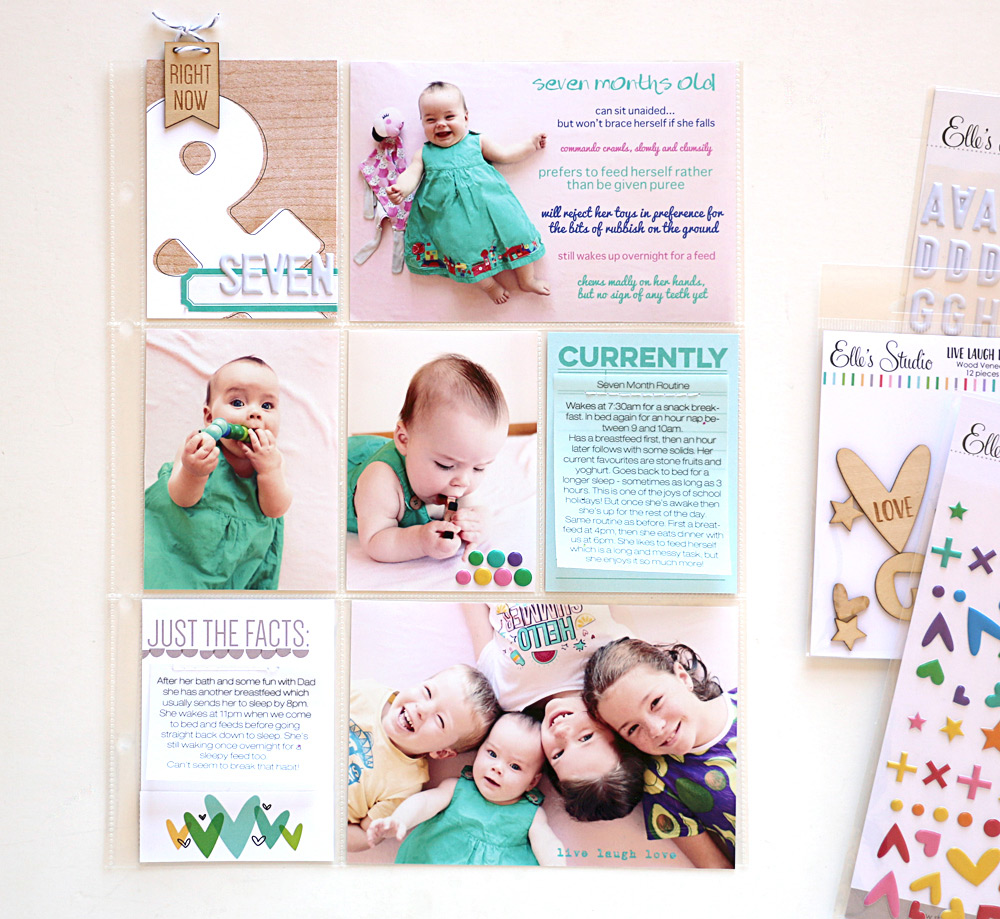
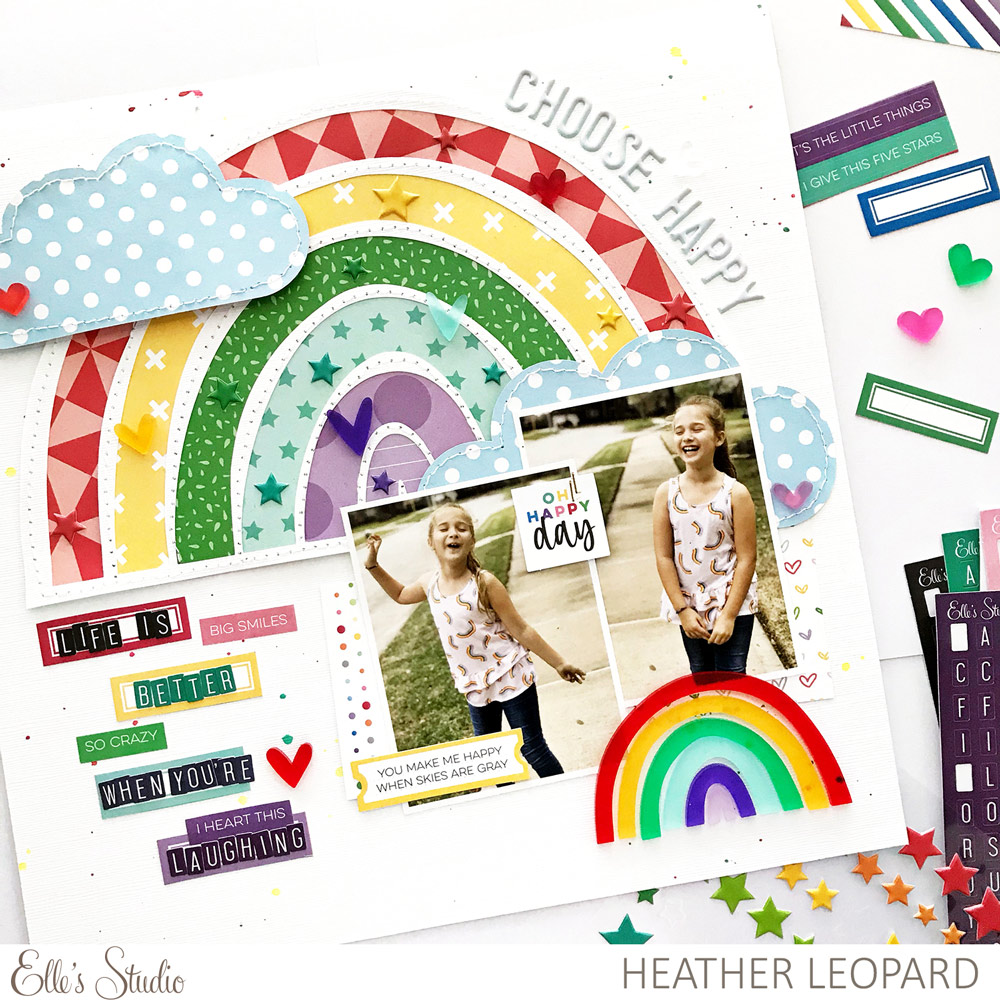
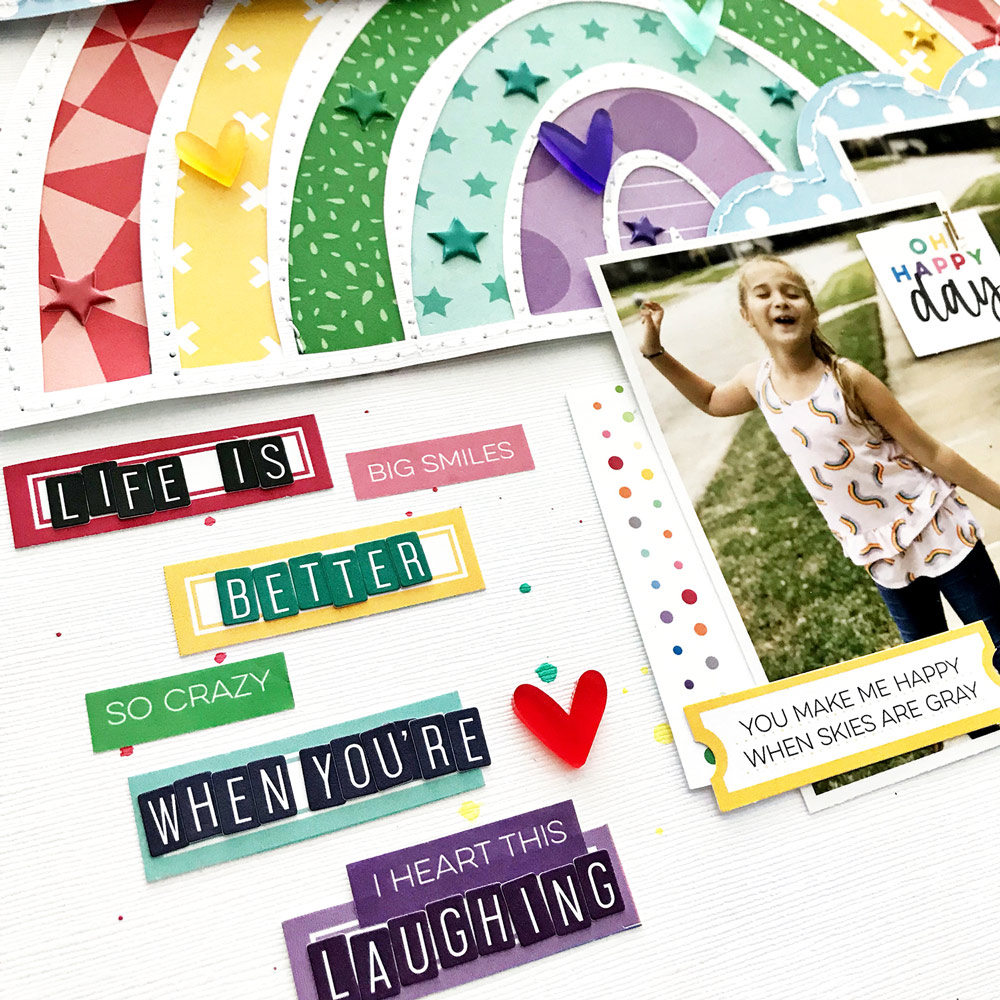
I had these goofy photos of my daughter, literally wearing a rainbow filled shirt!
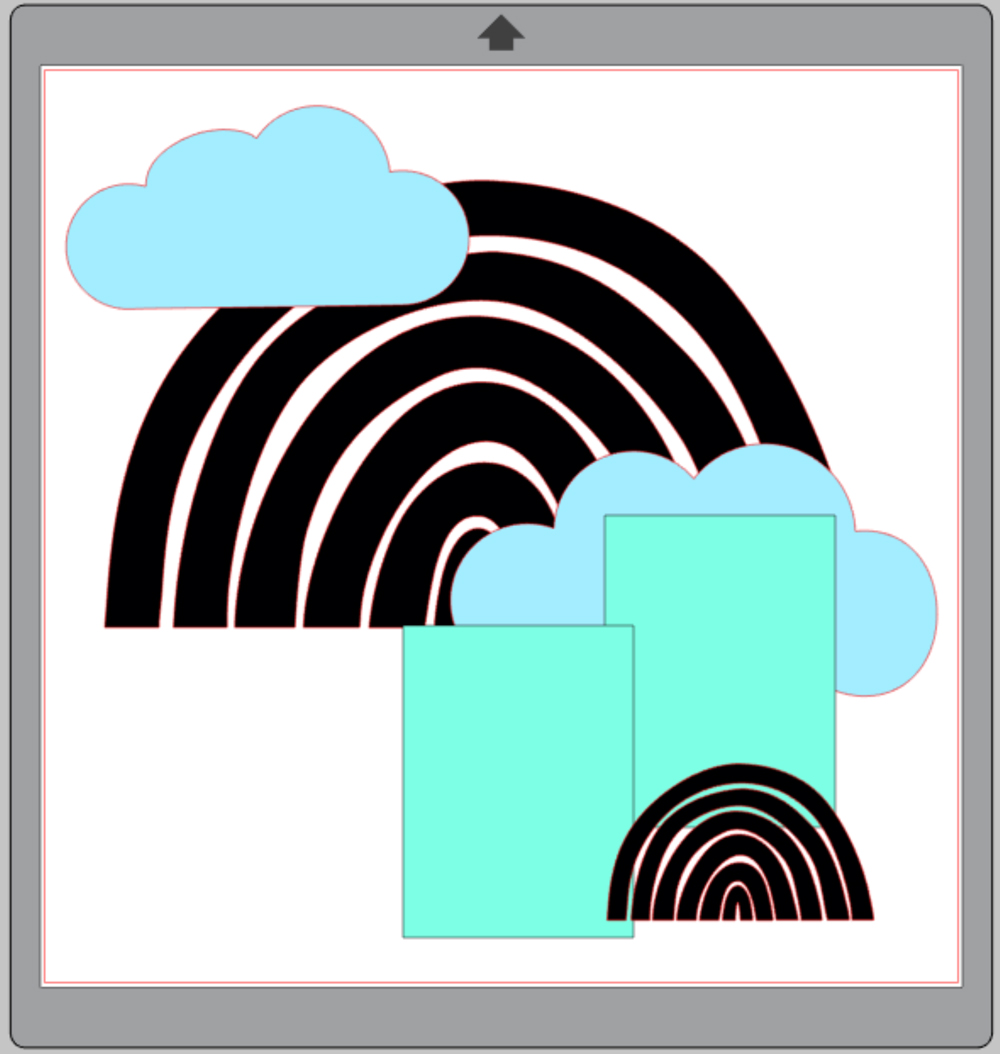
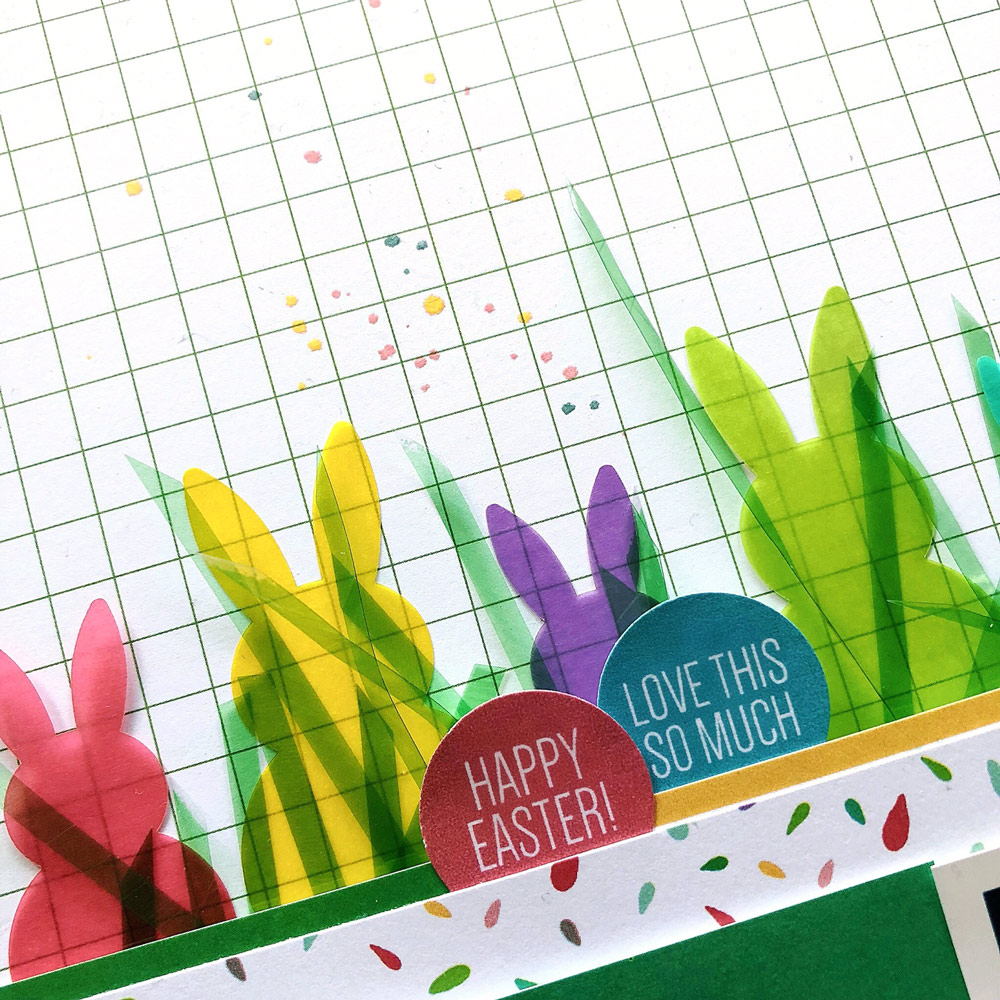
For this layout, I knew I needed to embrace the rainbow so I designed a project around the rainbow in the March Digital Cut File and the acrylic embellishments. Of course, I used many other bits from the March Kit as well as the Live Laugh Love collection.
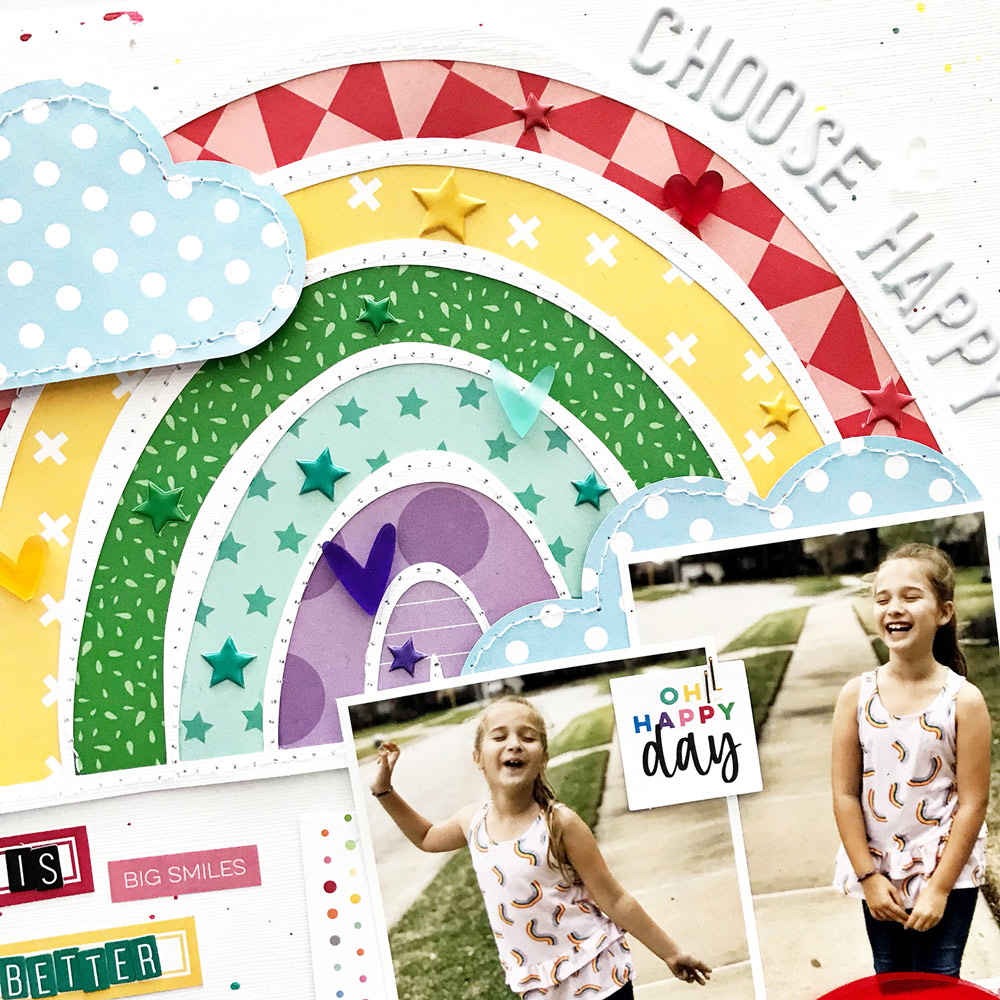
I chose to make a big statement with a supersized rainbow and a very colorful page, which is perfect for my daughter’s colorful personality.
You can take a look at how the layout came together in the scrapbooking process video I created:
What product in your March box inspired you to create this month? Post a shot of your finished or in-process project on Instagram using the hashtag #EllesStudio for a chance to win a gift certificate to our shop!
“Choose Happy” Layout + Process Video with Heather Leopard