Natalie Elphinstone, our guest designer for March, has completely WOWed us with a layout post, a pocket page post, and she’s coming full circle to bring us cards today! We know you will love her fresh take on some of our old and new favorites from the shop! Let’s see what she created:
It’s Natalie here again with one last post as a Guest Designer and today I’ve got some very happy and bright celebratory cards to share with you!
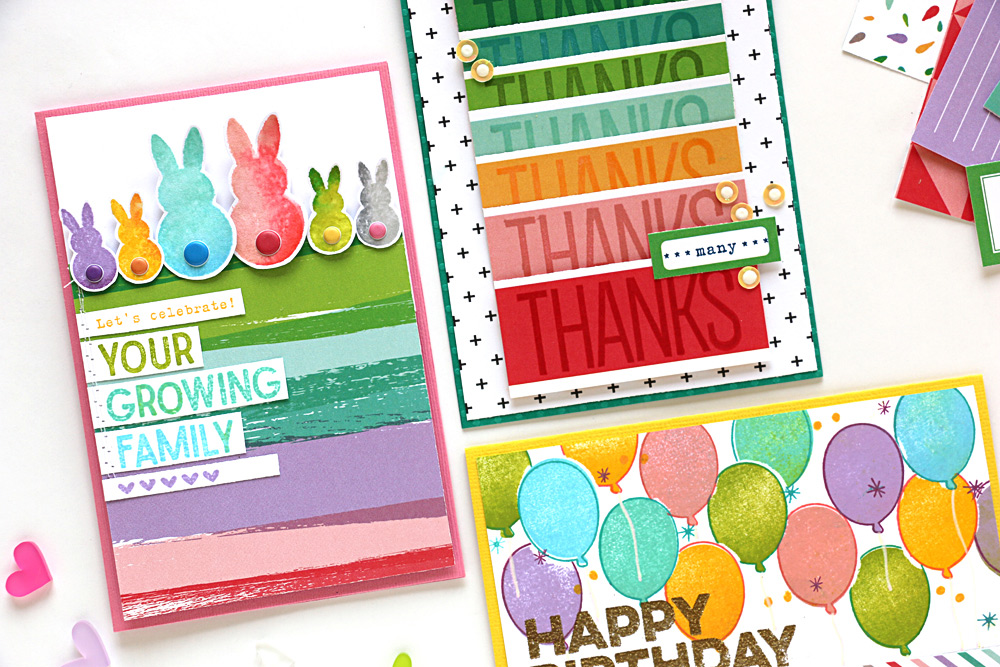
Each of these cards features repetitive stamping techniques in a rainbow of colours, which I think gives them such huge impact even though they’re relatively simple in design.
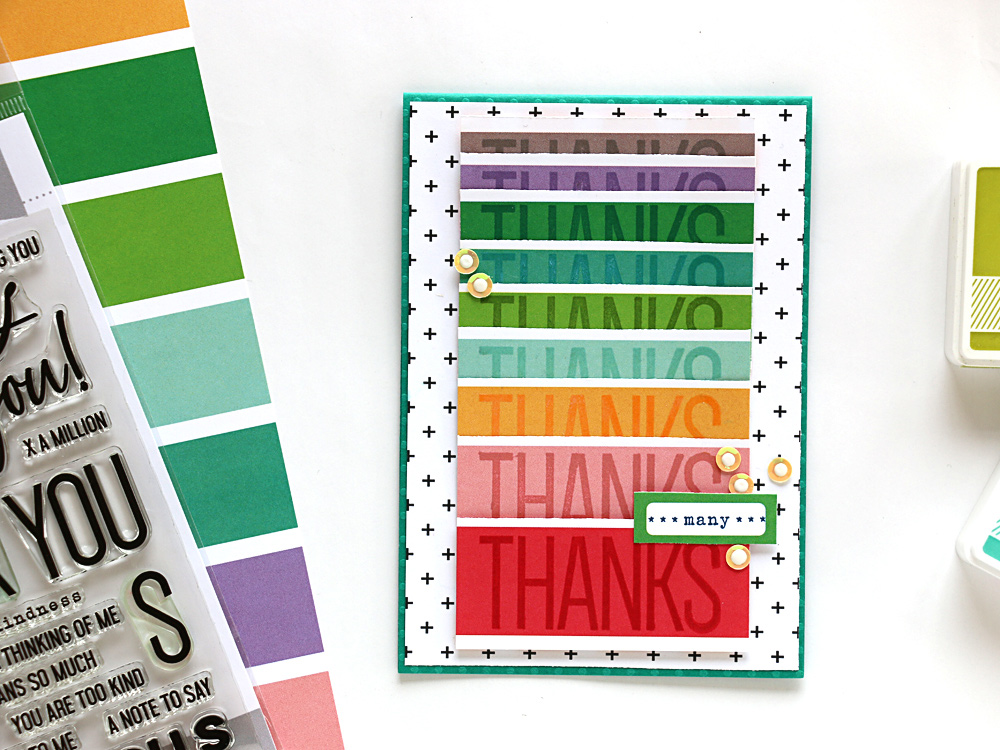
Supplies | Live Laugh Love 6″ x 6″ Paper Stack, Live Laugh Love 12″ x 12″ Paper Collection, Thank You Stamp
The first card I created was this “thanks” card, and the inspiration came about by accident! When I spread out all of my Elle’s Studio stamps to ponder what I should make next, the Thank You Stamp landed on top of the rainbow striped paper from the Live Laugh Love 12″ x 12″ Paper Collection (just like you see in the photo) and I noticed that the big bold ‘thanks’ fit perfectly into the stripes. I decided to stamp it on each row, matching up ink colours to each different coloured stripe, before cutting them out and simply lining them up! The biggest decision I had was choosing which little sentiment stamp finished off the card the best. It was a toss-up between ‘many’ (so it reads ‘many thanks’) or ‘x a million’ for a similar pun. Tough choice!
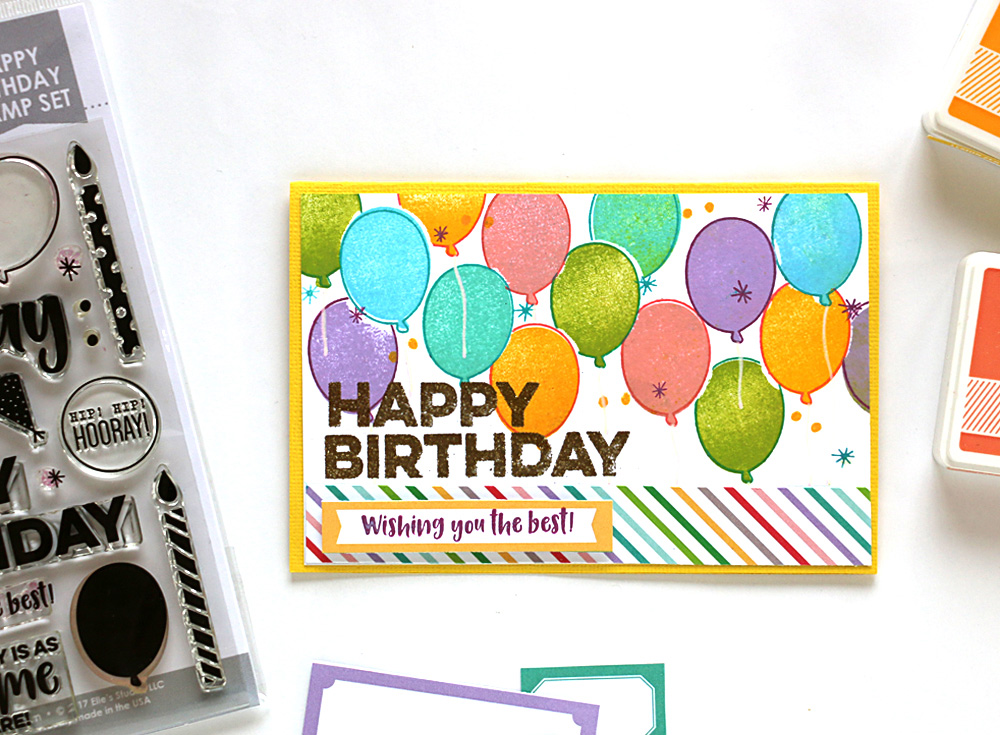
Supplies | Live Laugh Love Small Blank Labels, Live Laugh Love 6″ x 6″ Paper Stack, Happy Birthday Stamp
Once I had the first card made and all the pretty colours of ink sitting on my desk the inspiration came easily! Next I picked up the Happy Birthday Stamp and again just chose a single image from it to stamp repeatedly. I love the fact there’s a solid balloon and an outline for it that fits perfectly, so I used these to create a colourful background onto plain white cardstock. I tend to avoid masking where I can (I’m too lazy!!) but I wanted the balloons to be all full and crowded together so masking was the only way. At least I chose an easy shape to fussy-cut! I embossed ‘happy birthday’ in gold and stamped the tiny little confetti-like dots and stars in the gaps to finish it off.
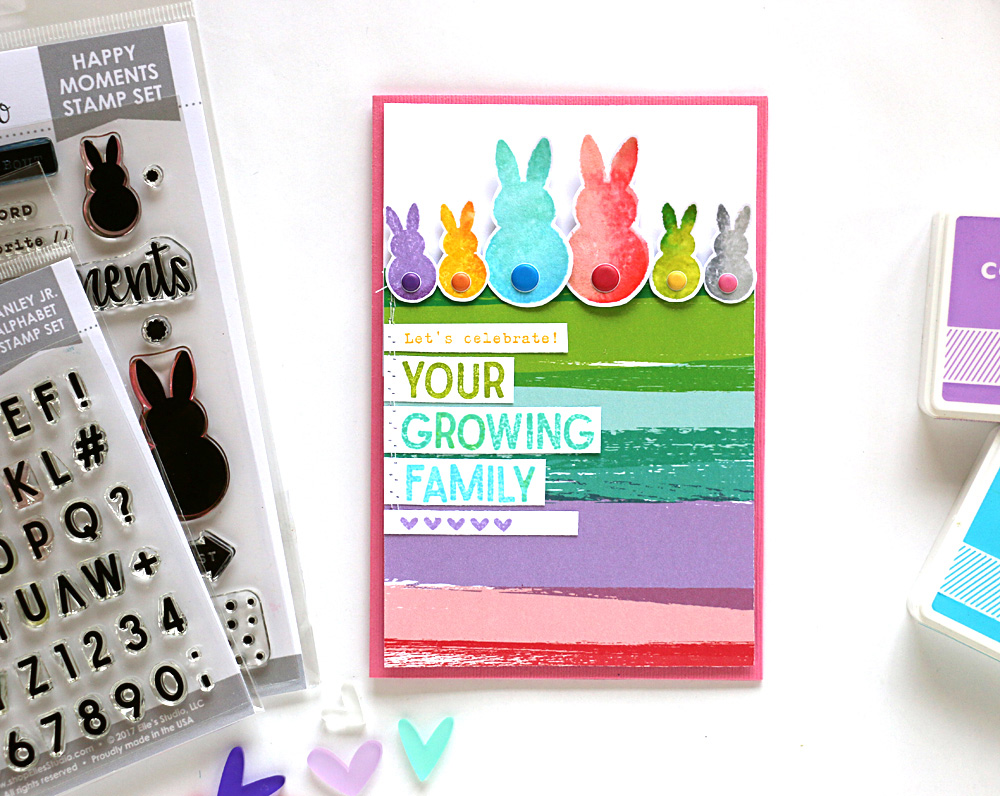
Supplies | Shapes and Dots Puffy Stickers, Happy Moments Stamp, Stanley Jr. Alphabet Stamp — Solid, Live Laugh Love 6″ x 6″ Paper Stack
For my third card I couldn’t go past this month’s new Happy Moments Stamp with it’s cute little bunny rabbits! But rather than making an Easter project, I thought I’d take it in a different direction. I’m forever handing out pregnancy announcement cards, baby shower cards, and new baby cards (hazard of the job!) which means I’m always looking for stamp sets that work with this theme. Is it wrong that my mind automatically associated rabbits with breeding?!
I stamped the rabbits with a faux-watercolour look by pressing them into two colours of dye ink and spritzing them with water before stamping them onto my paper. This technique works best for these types of solid images. And since the Happy Moments Stamp didn’t have quite the sentiment I was after, I just stamped my own with the Stanley Jr. Alphabet Stamp!

I can’t help but feel happy looking at these bright rainbow cards, and hopefully I’ve inspired you to look at your stamp sets a little bit differently so that you can try some of these techniques for yourself.
Thanks for letting me guest design this month Elle’s Studio, I’ve thoroughly enjoyed every minute working with these gorgeous products!
I’m Natalie and I’m waving hello to you from the bottom of Australia! I’ve been paper- crafting since the birth of my fist child which must make it over 11 years now! I’ve gone on to have 3 more children who are 8, 3 and 8 months so I’ve got plenty of photos to scrap and lots of stories to tell.
In my ‘other life’ I’m a doctor specialising in Obstetrics and Gynaecology and I feel very lucky to have delivered over 1000 babies. My heart and my days are full, and very very happy!
You can find me sharing my creative journey and family life on Instagram, Facebook, and YouTube.
Thank you SO much, Natalie, for sharing your amazing talent with us this month! Please follow Natalie at her links above for daily inspiration, and be sure to leave her some love if you’ve been inspired by what she’s created using Elle’s Studio products!
Fresh and Cheerful Cards with Guest Designer Natalie Elphinstone