“Inspired By” with Daniela

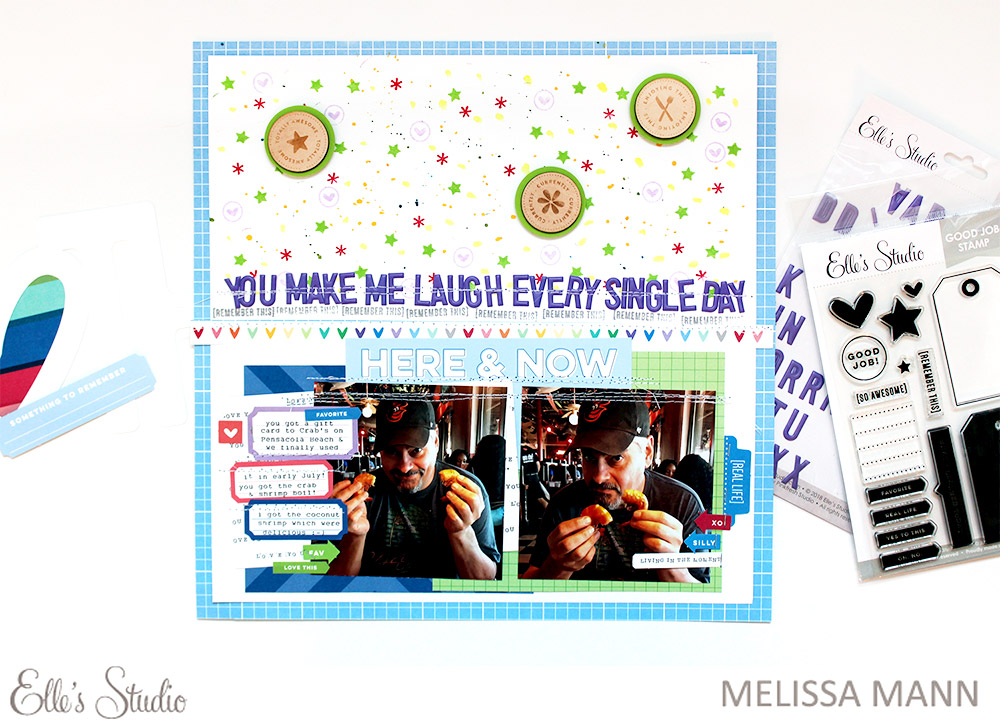
Our design team members create some fantastic projects, but sometimes even they look for inspiration from other sources! Today, Daniela is with us to share how she was inspired by another project that she found here on our blog. Let’s take a look:
 
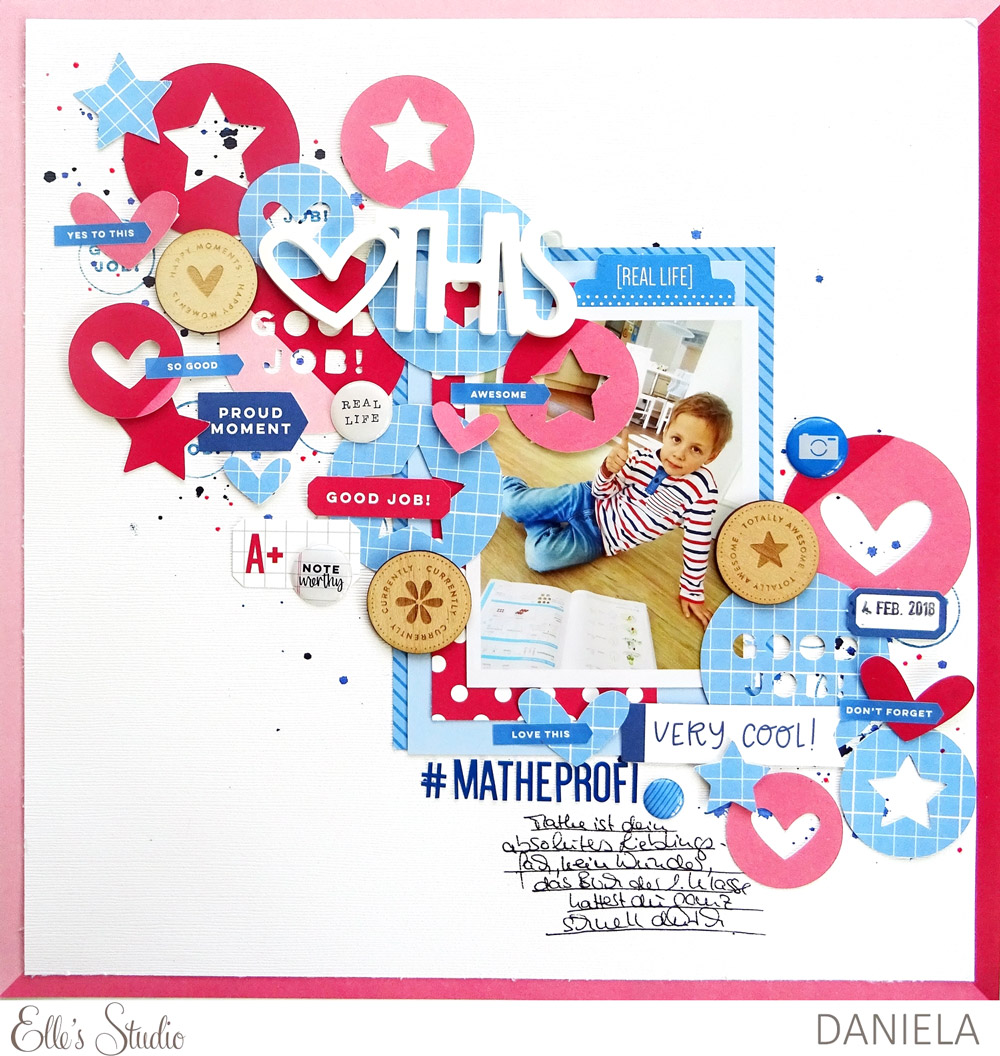
Hi there! It’s Daniela again and I’m so excited to share another layout today. It’s my turn to do a layout inspired by a project created by another design team member, and I picked “Jump” by Daniela Dobson:


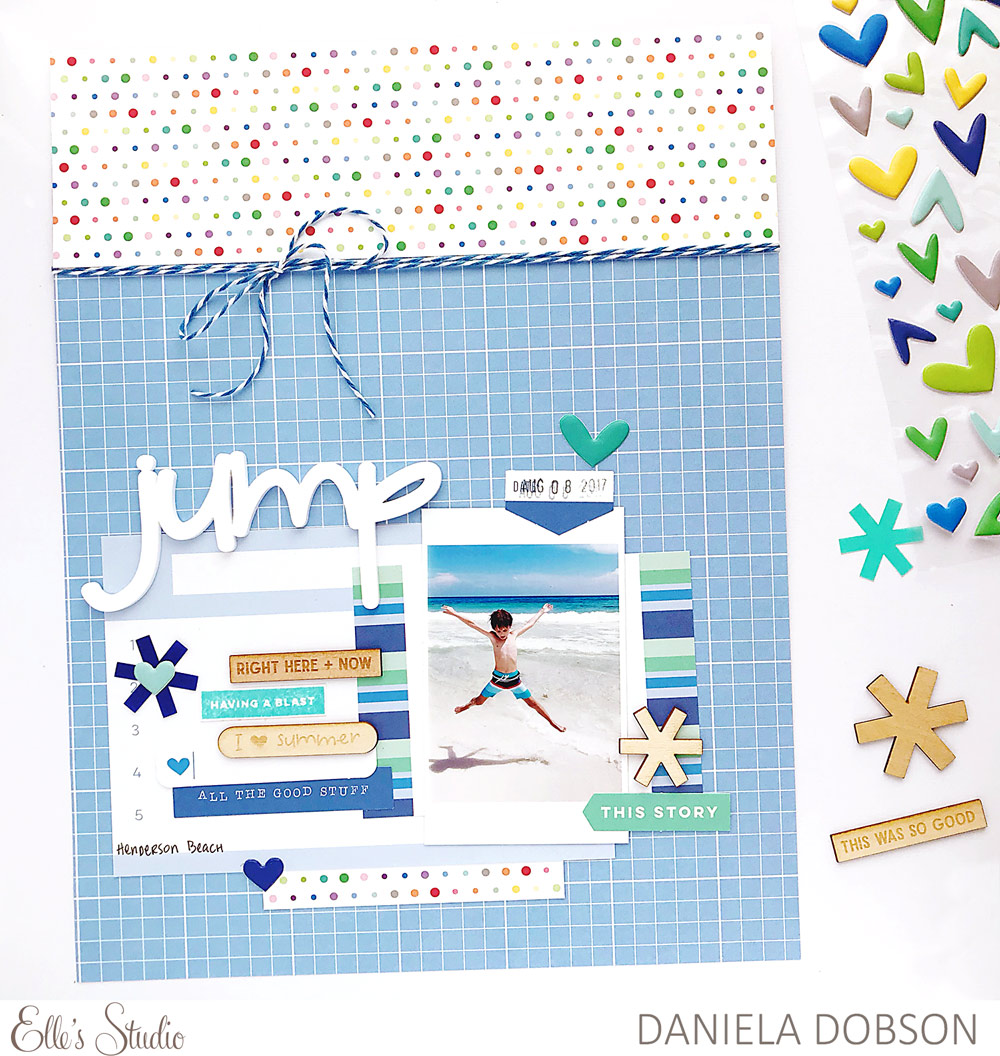
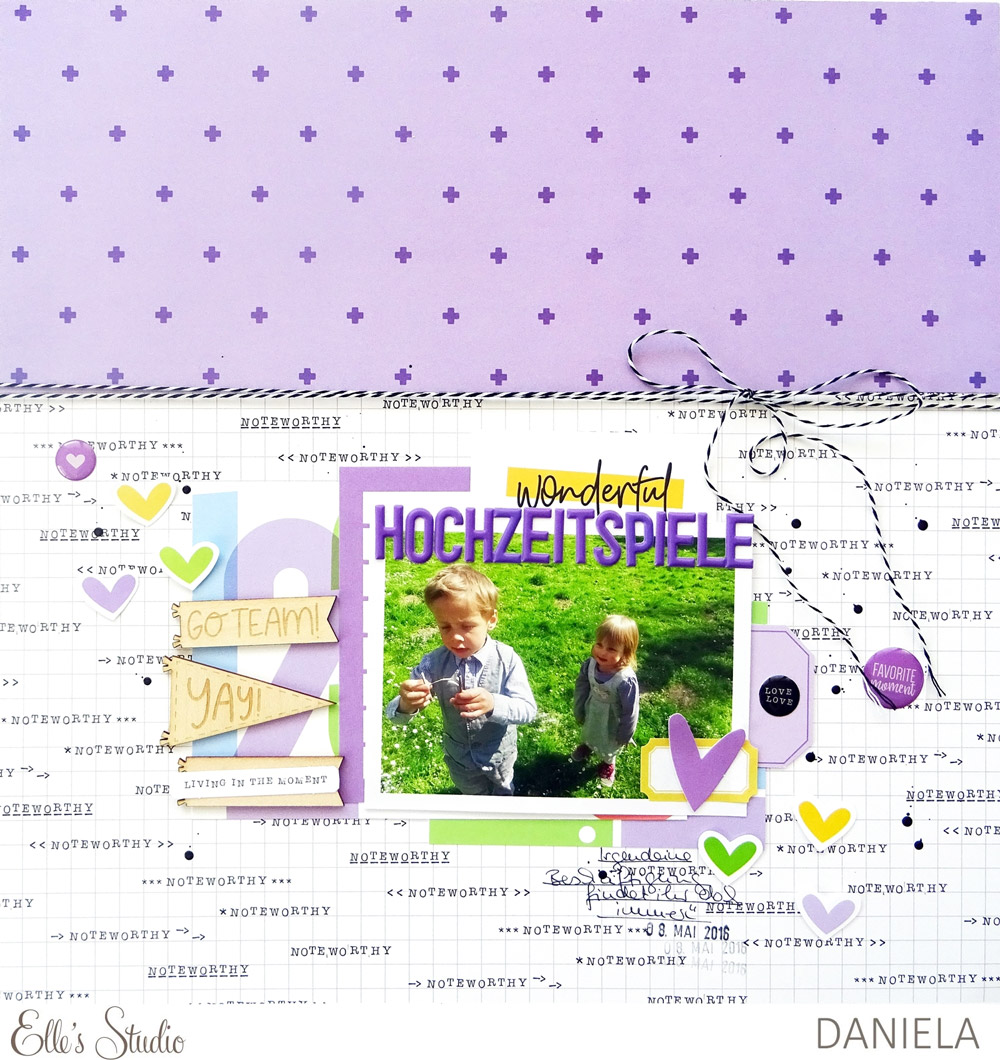
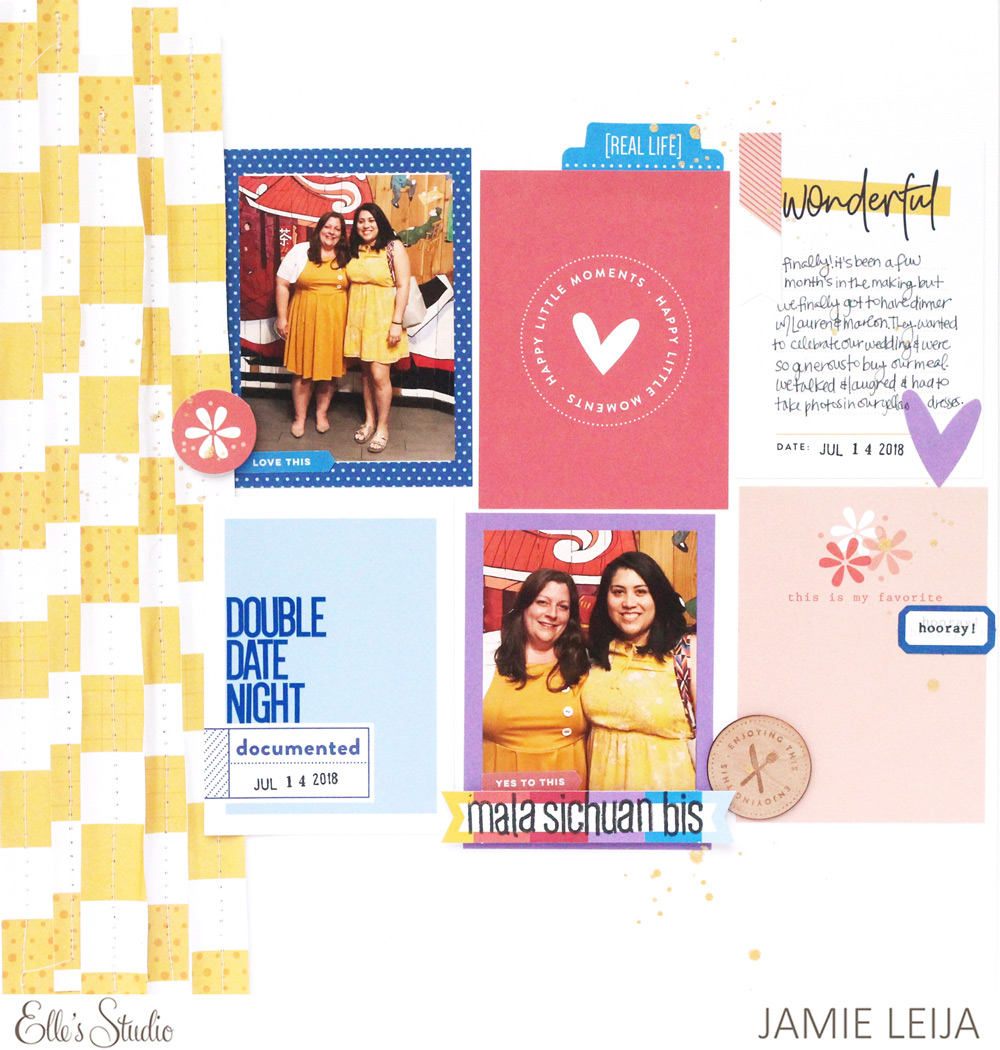
I love her layout, the combination of the patterned paper as a background divided with twine is such a great idea that I wanted to try this myself. I stuck to the overall design of Daniela’s layout, but since I usually do 12″ x 12″ pages, my version looks slightly different. Here is my layout:


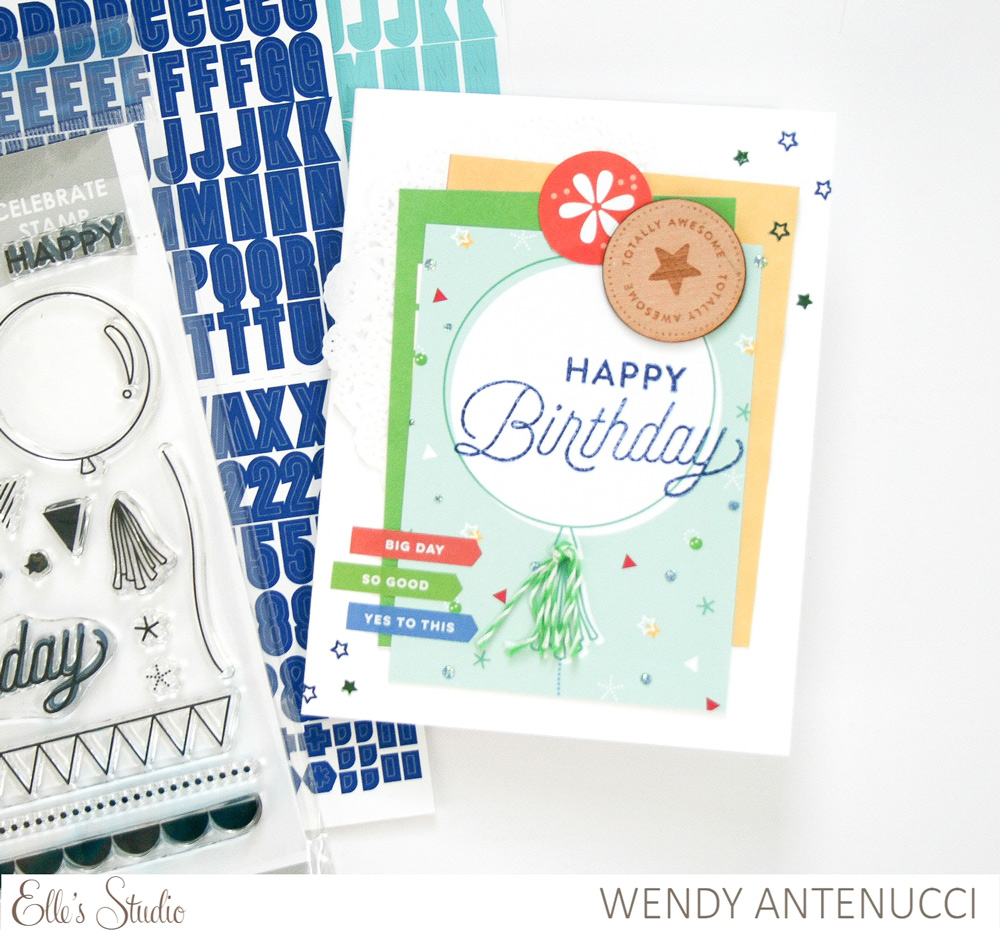
Supplies | August 2018 Kit, August Blank Label StickersGo Team Wood Veneer Flags, Purple Puffy Alphabet Stickers, Noteworthy Epoxy Stickers, Noteworthy 12″ x 12″ Paper Collection
 
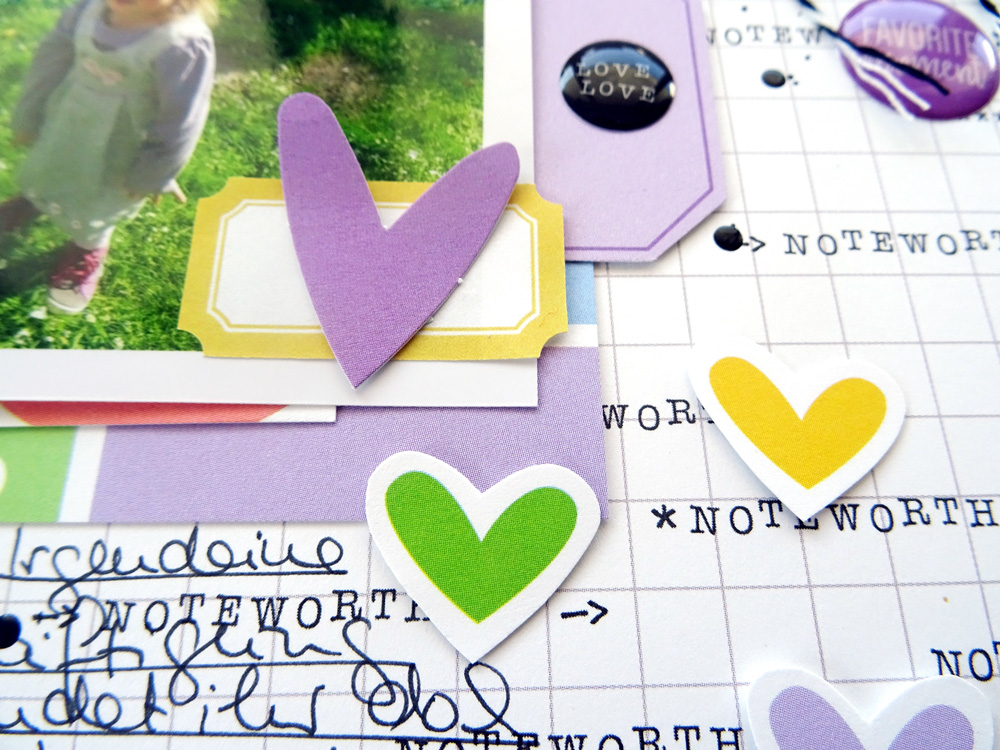
I added some embellishments around my picture. Hearts and Noteworthy Epoxy Stickers accompany this joyful memory of my kids playing on a meadow on our friends’ wedding. To add more hearts, I simply fussy-cut some from one of the tags in the August Kit. Of course, I also created some layers behind the picture by using various tags from the kit. Since purple should be the main color on this page, I used tags in different tones of purple here.


Right now, I’m really into the color combination of purple and yellow, so I used the purple plus sign pattern from the Noteworthy 12″ x 12″ Paper Collection and added yellow accents that really pop, like the “wonderful” tag from the August Kit. The Purple Puffy Alphabet Stickers have the same color as the plus signs in the patterned paper, so I used these to create my title, “Hochzeitsspiele,” which means “wedding games” in English. I also added some black and white twine because the background grid paper from the Noteworthy 12″ x 12″ Paper Collection is in black and white.


Different textures are always a good way to create unique projects, so I added some of the Go Team Wood Veneer Flags and placed them next to the picture. Some black ink splashes add even more detail to the page.


I hope you like my page! Maybe you got inspired as well and want to scrap-lift one of the layouts you can find on the blog. I’d be happy to see what you create!
Thanks for stopping by and have a great day!
 

Relaxing Summer Memories Documented with Daniela Dobson

Your summer may have been packed with days at the beach, family vacations and kids at home, but there were some relaxed moments where you were able to put your feet up too, right? Those deserve to be documented just as much as the hectic days! Let’s take a look at how Daniela Dobson recorded one of those summer memories:
 
Welcome to the Elle’s Studio blog today! It’s Daniela here with a layout using the August 2018 Kit and extras along with the original Title Builder Stamp!


Supplies | August 2018 KitLittle Photo Flag StickersJane Alphabet Stickers — TealHappy Moments Wood Veneer CirclesPuffy Heart Stickers — Summer MixMini Dated StampTitle Builder StampNoteworthy StampNoteworthy 6″ x 6″ Paper StackNoteworthy 12″ x 12″ Paper Collection
 
For my layout, I used one photo on the left side of white cardstock, which I layered onto the multi-colored dot from the Noteworthy 12″ x 12″ Paper Collection. I layered various tags from the August 2018 Kit and patterned paper from the Noteworthy 6″ x 6″ Paper Stack above and bellow the photo. I made sure everything lined up on the left side of the page, even with the photo edge. I used my sewing machine to add some stitching details on the left edge for some added texture.


For my title, I grabbed the Title Builder Stamp to stamp “I am,” “enjoying,” and “adventure” on the right side of the photo, adding the teal Jane Alphabet Sticker for “this.” Each word is tamped with different color ink, which matches the fun, colorful column on the left side of the page.


To finish off the page, I added puffy heart stickers, the word “remember” and the heart circle from the Noteworthy Stamp and the date, using the Mini Dated Stamp at the bottom of the page.
 
I love this colorful page that documents a relaxing summer memory! What summer photos do you still have to document? Thanks for stopping by!
 

Viva Las Vegas Traveler’s Notebook with Heather Leopard

With summer drawing to a close, don’t shut the door on your summer memories without getting them documented! The fastest way to do that is with our awesome Let’s Go Traveler’s Notebook Kit, and Heather Leopard is with us today to share more pages from her Las Vegas trip TN! Let’s take a look:
 
Hi everyone! It’s Heather Leopard here, with a continuation of my Las Vegas traveler’s notebook, created using the Let’s Go Traveler’s Notebook Kit, along with a flip-through video for how I created the pages I posted here on the blog last month, which can be found by clicking here, as well as the new pages you see below!


While the opening page of my TN features all the stops and a collage of the whole trip, which can be seen in my previous blog post, this is the first official stop for our Vegas trip. The “Welcome to Las Vegas” sign!


This single photo captures the essence of the entire trip so I thought I’d supersize it and print it the entire length of the traveler’s notebook, 4.25″ x 8.25″.


I’ve been going to Vegas, mostly for work, for probably 20 years now and do you know I’ve never seen an Elvis impersonator? When I spotted sweaty Elvis, I had to get a photo! I used papers from the 6″ x 6″ Noteworthy Paper Stack for the background and added elements from the Let’s Go and August Kit.


One of the highlights of the trip was dinner at Gordon Ramsey’s Hell’s Kitchen. The season 17 winner was there and oh my gosh, the food was amazing. I had to document this in the TN.


This part of the page was inspired by the “On the Menu” die cut and the grid paper from the Let’s Go Kit that resembles a order form. I then added what we ate to the page as well as sentiments from the kits that reflected EXACTLY what we thought about out meal.


This side of the spread features the photo we took with Gordon. No, he was not there, but his poster was! I used the Stanley Alphabet stamps in both the solid and outline as a title for this page.


I also used the green from the 2nd sheet of grid paper from the Let’s Go Kit to pull the order form vibe over to this page. I tucked the photo under the layers and left room at the bottom to journal about this wonderful meal.
 
Now, take a look at this flip-thru video to see how four double page spreads came together:


Thanks for stopping by the blog today! Be sure to check out the Let’s Go Traveler’s Notebook Kit to document your special summer adventures!
 
Supplies | Let’s Go Traveler’s Notebook KitAugust 2018 KitJane Alphabet Stickers — WhiteLetter & Number Stickers — BlackLetter & Number Stickers — RedFoodie Puffy StickersPurple Puffy Alphabet StickersWood Veneer IconsHappy Moments Wood Veneer CirclesStanley Alphabet Stamp — OutlineStanley Alphabet Stamp — Solid, Noteworthy 6″ x 6″ Paper Stack
 

Building on Tags with Andrea Gray

Hello friends! It’s Andrea here to share some fun ways to build on the journaling tags from the August 2018 Exclusive Kit with embellishments!
 
We recently celebrated my son’s 17th birthday and I started by only choosing one photo to remain in color and the rest in black and white so that I could use the color of his gift bag as the base for the color scheme.


Supplies | August 2018 Kit, Celebrate Journal TagsAugust LabelsJane Alphabet Stickers — White, Puffy Heart Stickers — Summer Mix, Celebrate Stamp, Title Builder Stamp, Shine 6″ x 6″ Paper Stack, Noteworthy Wood Veneer
 
I wanted the numbers 1 and 7 to be a focal point of the page so I looked through older Elle’s Studio wood veneers, and found a number 7. I had already used the 1 in another project, so I improvised and used the number 7 as a template for both numbers and cut out the numbers from a piece of patterned paper instead! The blue striped paper from the Shine 6″ x 6″ Paper Stack was perfect!
 
I then used the HELLO word from the Title Builder Stamp and stamped it on a piece of vellum that I layered over the numbers and stapled in place.


While I adore this Celebrate Journal Tag on it’s own, I wanted to add his name somewhere and this felt like a great place. I used the white Jane Alphabet Stickers on another piece of vellum so that it stood out, but didn’t over crowd the design of the tag.


Because I did my journaling on a separate 4″ x 6″ tag, I really got to just decorate with these 3″ x 4″ tags! I pulled in some red and yellow, found in the banner on the “17” tag and made this simple layered grouping. I trimmed one edge off of the red label from the August Kit die cuts so it rested on the box and then layered the yellow heart on top. I also used the Celebrate Stamp and added “this smile” to the box.


I love how the journaling tags are perfect for adding things to, even though they stand tall on their own. Having the freedom to add to them makes creating so much more fun! Here’s a close up of the tags that I altered to fit in with my layout!


Thanks so much for joining me today. I hope you are inspired to create something fantastic!


August Design Team Inspiration: Volume Two

We’re excited to share a whole new round of gorgeous projects created by our talented design team members, using our August 2018 Kit and add-ons! These amazing projects all have one thing in common: they’re sure to inspire to you break open your new Elle’s Studio products as soon as they arrive! Let’s take a look:


Birthday cards by Daniela Dobson – supplies used | August 2018 Kit, Celebrate Stamp,   Noteworthy 6″ x 6″ Paper Stack


First Birthday pocket page spread by Jess Forster – supplies used | Celebrate Journaling TagsGo Team Wood Veneer FlagsHappy Moments Wood Veneer Circles, Puffy Heart Stickers — Summer Mix


I Love You by Melissa Mann – supplies used | August 2018 Kit, August 2018 Digital Cut FileAugust Blank Label StickersLittle Photo Flag Stickers, Happy Moments Wood Veneer Circles, Jane Alphabet StampNoteworthy 12″ x 12″ Paper CollectionNoteworthy 6″ x 6″ Paper Stack


Happy Birthday pocket page by Nancy Damiano – supplies used | August 2018 Kit, Celebrate Journaling TagsHappy Moments Wood Veneer Circles, Adventure Puffy StickersPuffy Heart Stickers — Summer MixCelebrate Stamp, Noteworthy Puffy Stickers


Dubare by Neela Nalam – supplies used | August 2018 Kit, Jane Alphabet Stickers — TealLittle Photo Flag StickersHappy Moments Wood Veneer CirclesNoteworthy 12″ x 12″ Paper Collection


Remember This pocket page by Susan Brochu – supplies used | August 2018 Kit, August Blank Label Stickers, Little Photo Flag StickersGood Job StampCelebrate Stamp


Love This by Suzanna Stein – supplies used | August 2018 Kit, August Blank Label StickersLittle Photo Flag Stickers, Jane Alphabet Stickers — WhiteGo Team Wood Veneer FlagsPuffy Heart Stickers — Summer MixPuffy Heart Stickers — Spring MixLove This AcrylicCelebrate StampNoteworthy 12″ x 12″ Paper Collection


Tracey’s Top 100 mini album by Tracey Fox – supplies used | August 2018 KitJane Alphabet Stickers — Navy, Little Photo Flag StickersABC Wood Veneer, Yellow Acrylic AlbumShine 6 x 6 Paper Stack


Week 40 pocket page spread by Wendy Antenucci – supplies used | August 2018 KitCelebrate Journaling TagsLittle Photo Flag Stickers, Jane Alphabet Stickers — NavyHappy Moments Wood Veneer CirclesGo Team Wood Veneer FlagsCelebrate Stamp


Pre-K 3 by Meghann Andrew – supplies used | August 2018 KitAugust Print and Cut LabelsSchool Days PrintablesAugust Blank Label StickersLittle Photo Flag StickersPurple Puffy Alphabet Stickers, Puffy Heart Stickers — Summer MixMini Dated Stamp
 
Stay tuned for more design team projects here on the blog next week!

Documenting One-Photo Memories with Suzanna Stein

Do you have memories that you want to record, but don’t have many photographs from those events? Not a problem! Design team member Suzanna Stein is here to show us that you can certainly tell the story with one photo, along with our August kit and add-ons! Let’s take a look! 
 
Hey crafty pals, Suzanna here! I’m so excited to be back on the blog this month with a double pocket page layout using the August kit and add-ons!


Supplies | August 2018 Kit, Little Photo Flag Stickers, Puffy Heart Stickers — Summer MixPuffy Heart Stickers — Spring Mix
 
The journaling tags in the August Kit were perfect for documenting little everyday moments that make life special. I only used two photos in my layout, but balanced the two pages by adding title tags and lots of journaling.
 
Both of my photos are from different days, so I’m documenting two memories in one layout. This is something I’ll do when I only have one or two photos for a bunch of different little memories that I want to remember.


I kept one memory per page of the layout, and used the “Here & Now” tag from the August Kit as my title for the overall layout. On each photo I added a die cut from the kit that tells a little bit about my feelings toward the memory. Since my photos have dark areas in them, adding the die cuts also gives those spaces a pop of bright white or color!
 
Using a roller date stamp, I stamped the date from each memory on the accompanying journaling tag. I also embellished with puffy heart stickers—both the spring and summer mix work with this kit—die cuts, and Little Photo Flag Stickers.


The Little Photo Flag Stickers are some of my favorite because I love word strip stickers and what they can add to a layout. Sometimes the arrowed point of the sticker doesn’t flow with my project, or isn’t the look I’m going for, so I trim the end off and make it a simple rectangle. By doing this, they layer easily and can be placed anywhere!


My favorite part of this layout is that heart journaling tag. Using a fine tipped black pen, I created a messy outline around a few of the hearts. I love the dimension this adds and how it pulls the black of my photos and journaling up to the top of the page.


This layout is a perfect example of how you can keep things simple, but still have fun with them! And if you’re like me and have a bunch of one-photo memories, you can definitely record multiple in one layout! Get creative, try a different size layout, or separate your different memories with a decorative tag—similar to the heart tag I used at the top.
 
I can’t wait to see what y’all create with the August kit and add-ons!
 

A Back to School Celebration with Candace Perkins

What back to school traditions does your family keep—whether they are things that you did as a child, or something that you do with your family today? Candace Perkins celebrates the start of the school year with a fun family party, and she’s created the perfect accessories for that celebration using some of the newest products from our shop! Let’s take a look:
 
Hello Elle’s Studio friends! I am so happy to be here with you today sharing a fun project and a little family tradition. Every year on the day before school, we have a back to school party. The kids get to choose their favorite foods and we eat, sing, dance around and finish it all off with a family movie and popcorn. It is one of my favorite parts of back to school and it holds lots of special moments and memories. When I saw all the back to school goodies in the August 2018 Kit, I knew that I wanted to use all of these fun embellishments to make this night a little extra special!


Supplies | August 2018 Kit, Little Photo Flag Stickers, Jane Alphabet Stickers – NavyGo Team Wood Veneer Flags, Back to School AcrylicGood Job Stamp, Celebrate StampNoteworthy Wood Veneers, Noteworthy – 6 x 6 Paper StackNoteworthy 12″ x 12″ Paper Collection
 
I started off the project by printing out little tags that represented each of my 4 boys grades this year. I placed the printed tags on utensil holders then went to work on embellishing with goodies from the kit. I added the little Go Team Wood Veneer Flags, marketing strips from the Noteworthy 12″ x 12″ Paper Collection and die cuts from the August Kit. The boys loved that they had their own little place holders and loved all the fun colors.


I created a hanging sign above the table using more Noteworthy 12″ x 12″ Paper Collection paper that I cut into a banner. On top of the banner I added the Back to School Acrylic and a stamped piece of paper from the Noteworthy 6″ x 6″ Paper Stack with “party” from the Celebrate Stamp. PARTY!!! To match the plates, I attached the banner to a string of hanging gold, circle garland. It was the perfect touch across the top of the table!


Next, I wanted to add a little personal detail to each of their placemats. Using the Good Job Stamp, I stamped the tag out 4 times and quickly cut around the edges. On each tag I used the beautiful navy Jane Alphabet Stickers (my new favorite) to add my boys’ names. To add a bit more color and detail to the tags, I added the Little Photo Flag Stickers, wood veneer icons from the Noteworthy Wood Veneers and the Good Job Stamp circle.


The boys loved the personal touch on the straws and were so excited to use straws with their names on them!


Lastly, I used the Noteworthy 12″ x 12″ Paper Collection number paper as placemats under the plates. It went well with the theme of the evening and added the perfect neutral touch behind the gold plate and colorful accents.


Along with a few balloons, the banner and table decor created the perfect party! The boys had so much fun and kept calling it “their back to school EXTRAVAGANZA!” I was so happy to be able to use so many of my August Elle’s Studio goodies for a fun family night.


This is what memory keeping is all about—not only documenting the memories, but using the products to CREATE memories! Have a beautiful day! Thanks for stopping by!
 

One Product, Three Ways: Good Job Stamp

We love using stamps: they’re reusable, you can use any color to coordinate with your project, and they’re versatile! Today we’re sharing three different projects using the Good Job Stamp; on a layout, a card, and a fun gift tag, created by Neela Nalam, Nathalie Leonelli and Susan Brochu! Let’s take a look a what our designers created using this stamp:
 
NEELA | My favorite part of the Good Job stamp are the tags, and I decided to make them the highlight of the layout. I placed all of my photos and journaling on a grid. It was perfect to use the tags as part of the grid on this 8-1/2″ x 11″ layout:


Supplies | August 2018 KitAugust Label Stickers, Jane Alphabet Stickers — TealGood Job Stamp
 
I stamped the different the phrases in this stamp with different colored inks repeatedly on the tags. I also stamped the dotted lines for my journaling on the 3″ x 4″ colorful journaling tag from the August 2018 Kit. I also stamped hearts from this stamp set on my August Label Stickers.


The possibilities to create with this stamp are endless. I love that I got this little story about mangoes documented!


NATHALIE It’s my turn to show you how I was inspired to create a greeting card with the Good Job Stamp. I love the tag and the various sayings which can be used for many different occasions.


Supplies | Good Job Stamp, March LabelsPuffy Heart Stickers — Spring MixNoteworthy Epoxy StickersNoteworthy 6″ x 6″ Paper Stack
 
I decided early on that I would use the Noteworthy Collection and the tag stamp as a stitching template. I used three different ink colors with matching embroidery thread to stitch over the stamped tag outline.


I tucked the tags in my border (saving time by not stitching the hidden parts!) and then added a few coordinating embellishments to each tag, as well as the small star stamp from the set. I finished with the sentiment and heart on a small label.
 
As you can see now, the uses for this brand new Good Job stamp are multiple and fun!


SUSAN | The Good Job Stamp, with its versatile phrases and shapes, is perfect for adding a personal touch to a gift bag and tag.


Supplies | Good Job Stamp
 
I used the tag outline shape from the set to make a gift tag, and then stamped the “so awesome” sentiment in a vertical line using black and red ink, adding the small star from the set to complete the tag.  Then I just cut it out, punched the center hole and tied it on to the bag—very quick and easy!


Then, I stamped several of the good job circles, punched them out with a circle punch, and adhered them using dimensional adhesive to coordinate with the tag and to bring a little fun to the plain white gift bag.
 
I had so much fun using the stamp set that I made a few extra tags that came together in almost no time!  I mixed and matched the sentiments and shapes to make a few one-of-a-kind tags to have on hand to acknowledge a special achievement. The dotted lines stamp gave me a nice spot to add a congratulatory message to one tag. I also made some patterned tags from the different size hearts and stars included on the set. The all-purpose Good Job Stamp is one you will reach for often to decorate a gift bag, create a celebratory tag, or make a special note to slip into a lunch box. I know you’ll have fun using it!


We can’t wait to see how you’re using the Good Job Stamp on your projects! Tag #EllesStudio when sharing your project on Instagram, and you could win a gift certificate to the shop and be featured here and on our Instagram feed!

Birthday Card Fun with Amanda-jayne Baldwin

Birthday cards are always good to have on hand when giving a last-minute birthday gift, and Amanda-jayne Baldwin is with us today to inspire us to make them from our Elle’s Studio stash! She’s created the perfect set of cards using our new Celebrate Stamp and Journaling Tags, and we know you will want to replicate her beautiful designs. Let’s see what she created:
 
Hi, friends! Welcome back for more Elle’s Studio inspiration!
 
For today’s post I am sharing two super sweet card sets that highlight the new Celebrate Stamp and Journaling Tags!


Supplies | August 2018 KitCelebrate Journaling TagsCelebrate StampShine 6″ x 6″ Paper Stack
 
Aren’t these fun?!
 
You can see why I just fell in love with the Celebrate Stamp! With icons, sentiments, border trims & even a ‘build your own’ tassel balloon—this stamp has it all! I started with simple white cardstock 4″ x 6″ card bases, the Shine 6″ x 6″ Paper Stack and a Celebrate Journaling Tag (or two) for each card.
 
Here’s a look at the simple stamped his ‘n’ hers birthday card set:


Nothing says birthday celebrations more than cake and balloons!


For this card, I trimmed the rainbow stripe paper from the Shine 6″ x 6″ Paper Stack to 3-3/4″ x 5-3/4″ and adhered to the front of the card. I stamped the pink cake Celebrate Journaling Tag with tiny yellow stars, and layered it onto the pink tag, before foam-mounting these layered cards to the card front. Using a die cut tag from the August 2018 Kit, I stamped the “make a wish” sentiment and foam-mounted the tag beneath the cake image. Next, I stamped the balloon & tassels in permanent pink ink with the string in black ink, before fussy cutting each piece. I gave the balloon and tassel a light watercoloring before attaching to the string. Once dry, I glued the balloon to the card, and used sequins and dimensional paint to add some finishing touches. Super sweet!


I used similar techniques with my masculine card, opting for a different color scheme and a real tassel, made from embroidery floss over the stamped one for a little texture and interest. Instead of stamping a sentiment beneath the cake, I used the scallop trim stamp in teal ink to add a fun banner.
 
They’re simple stamped cards, but oh so effective!
 
For my next set of cards, you’ll need to use the glassine (cellophane) bags that the Elle’s Studio wood veneers come in! Never throw these bags in the bin again, they’re the perfect size for shaker cards and pockets!


Don’t these cards scream party fun!?
 
To create the ‘shaker’, I trimmed the top of the clear bags, so that the top is as short as it can be without being cut open. Next I stamped the “let’s party” sentiment and stars onto the Celebrate Journaling Tag balloon card, then inserted the tag into the bag and added sequins. After I trimmed any excess from the base of the bag, I sealed the bag (shaker pocket) at the back of the card with a small piece of tape. To hide the edges, I used super sticky, double-sided tape, and embellished with pom pom trim. Pom poms are perfect for parties, and they give your pockets a super fun element that also provides a very polished look!


Love it! Birthday Cards that are SO much fun! I hope I have inspired you to try simple stamping and sequin shakers for your card making!
 
Thanks so much for stopping by today,
 
Happy Arty Days!
 

August Reveal Design Team Inspiration

Three cheers for reveal day! We’re certainly in a celebratory mood here at Elle’s Studio! We have a new August 2018 Kit and extras, as well as the fun Celebrate mini collection, which includes journaling tags and a stamp! Let’s take a look at what amazing projects our design team has come up with this month:

First Day pocket page by Nancy Damiano – supplies used | August 2018 Kit, ABC Wood Veneer, Yellow Puffy Alphabet Stickers, Green Puffy Alphabet StickersRed Puffy Alphabet Stickers, Highlight Stamp

Double Date Night by Jamie Leija — supplies used | August 2018 Kit, Jane Alphabet Stickers — NavyHappy Moments Wood Veneer CirclesJane Alphabet Stamp, Celebrate Stamp, Noteworthy 12″ x 12″ Paper Collection

2018 Here and Now mini album by Amanda-jayne Baldwin – supplies used | August 2018 Kit, August Label StickersJane Alphabet Stickers — Navy, Go Team Wood Veneer Flags, Happy Moments Wood Veneer CirclesLove This Acrylic, Aqua Acrylic AlbumNoteworthy Epoxy Stickers, Noteworthy Wood VeneersNoteworthy 12″ x 12″ Paper Collection

Love This by Neela Nalam – supplies used | August 2018 Kit, August Label Stickers, Little Photo Flag Stickers, Puffy Heart Stickers — Summer Mix, Happy Moments Wood Veneer CirclesLove This AcrylicGood Job StampNoteworthy 6″ x 6″ Paper Stack

5 Reasons by Andrea Gray – supplies used | August 2018 KitJuly 2018 KitMay 2018 Kit, August LabelsAugust Label Stickers, Little Photo Flag StickersPuffy Heart Stickers — Summer Mix, Vellum and Wood Veneer Asterisks, Noteworthy Bits and PiecesNoteworthy 6″ x 6″ Paper Stack

Go Team by Candace Perkins – supplies used | August 2018 Kit, Celebrate Journaling Tags, Jane Alphabet Stickers — WhiteLittle Photo Flag Stickers, Go Team Wood Veneer FlagsCelebrate Stamp, Shine 6″ x 6″ Paper Stack

Happy Birthday card by Wendy Antenucci – supplies used | August 2018 KitCelebrate Journaling TagsLittle Photo Flag StickersHappy Moments Wood Veneer CirclesCelebrate Stamp

Love This by Daniela – supplies used | August 2018 Kit, August Digital Cut File, Jane Alphabet Stickers — NavyLittle Photo Flag StickersHappy Moments Wood Veneer Circles, Love This AcrylicJane Alphabet StampGood Job StampNoteworthy Epoxy StickersNoteworthy 6″ x 6″ Paper StackNoteworthy 12″ x 12″ Paper Collection

June to July pocket page spread by Laura Wonsik – supplies used | August 2018 KitAugust Label StickersJane Alphabet StampGood Job Stamp

Celebrate Four by Meghann Andrew – supplies used | August 2018 KitCelebrate Journaling Tags, June Print and Cut Labels, Go Team Wood Veneer FlagsPurple Puffy Alphabet Stickers, Gold Shapes and Dots Puffy StickersCelebrate StampNoteworthy 12″ x 12″ Paper Collection

Hello Summer pocket page spread by Nathalie Leonelli – supplies used | August 2018 Kit, Grid and Lined Journaling Tags — GrayAugust Print and Cut LabelsJane Alphabet Stickers — TealLittle Photo Flag Stickers, Happy Moments Wood Veneer Circles, Wood Veneer PhrasesPurple Puffy Alphabet StickersPuffy Heart Stickers — Summer MixJane Alphabet StampHello StampGood Job Stamp, Celebrate StampShine 6″ x 6″ Paper StackNoteworthy Bits and Pieces, Noteworthy Wood Veneers

Mirage mini album by Susan Brochu – supplies used | August 2018 KitAugust Label Stickers, Little Photo Flag StickersJane Alphabet Stickers — TealHappy Moments Wood Veneer CirclesGo Team Wood Veneer FlagsAqua Acrylic AlbumCelebrate Stamp

Wonderful Night by Tracey Fox – supplies used | August 2018 KitPurple Puffy Alphabet StickersHappy Moments Wood Veneer CirclesLove This Acrylic, Good Job StampMini Dated StampNoteworthy 12″ x 12″ Paper Collection

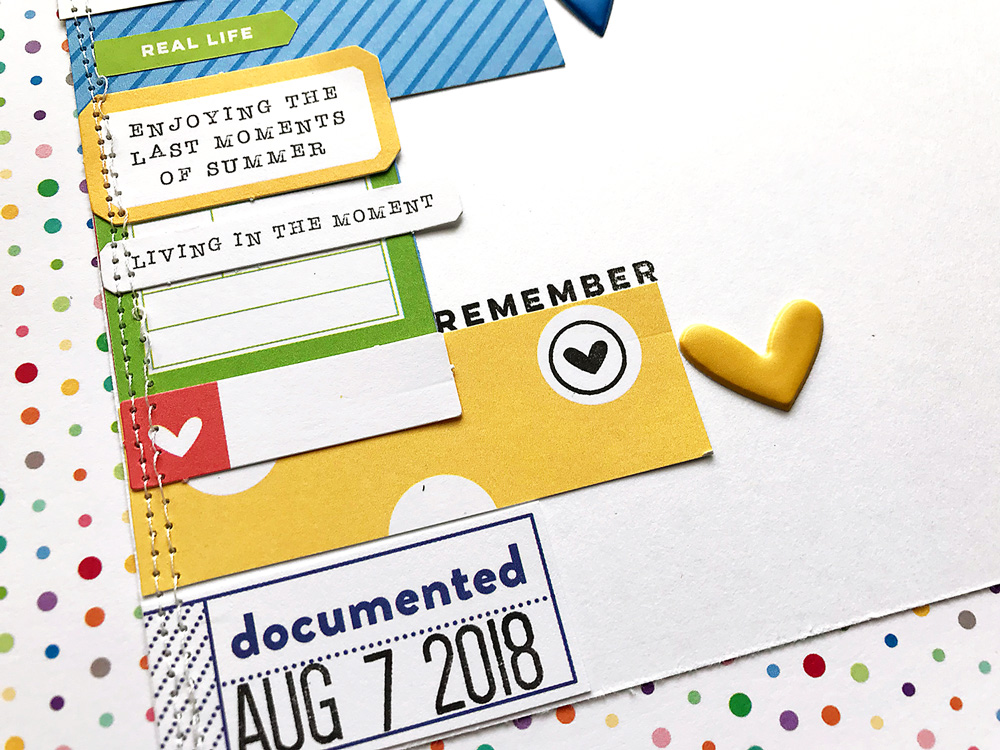
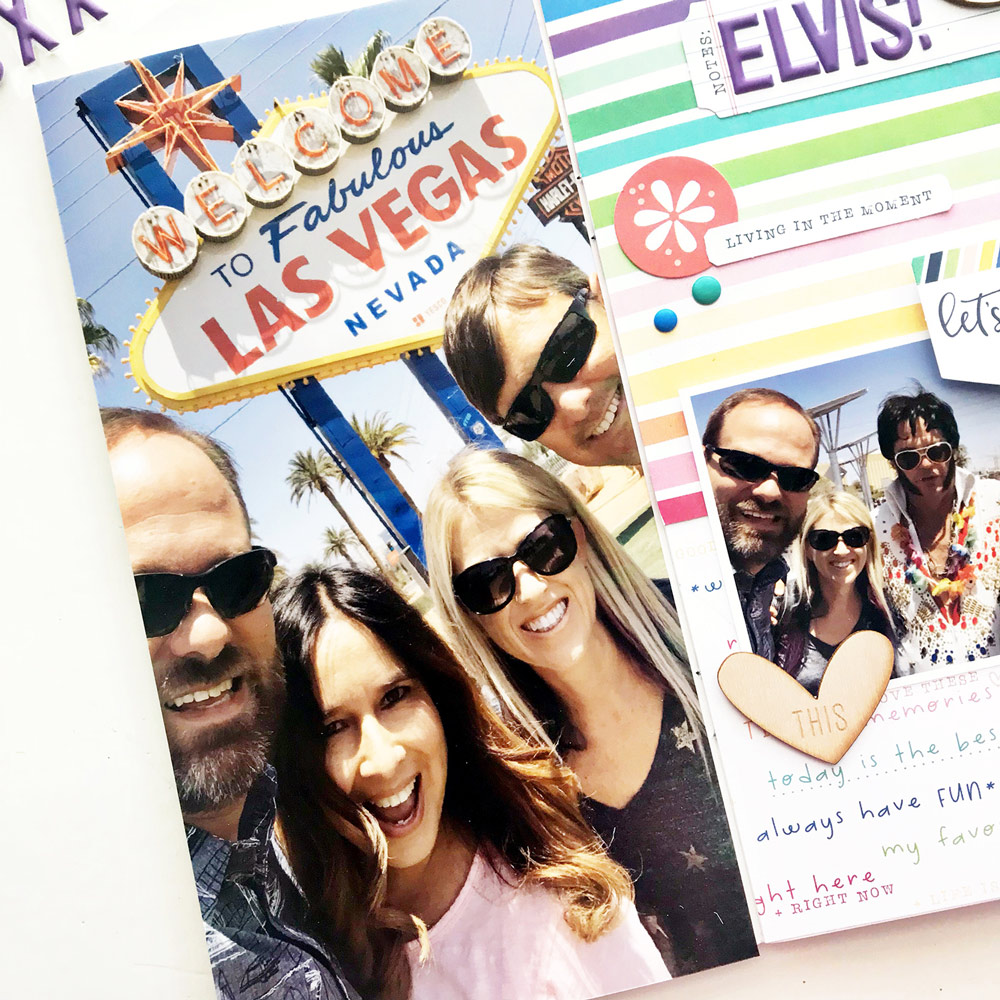
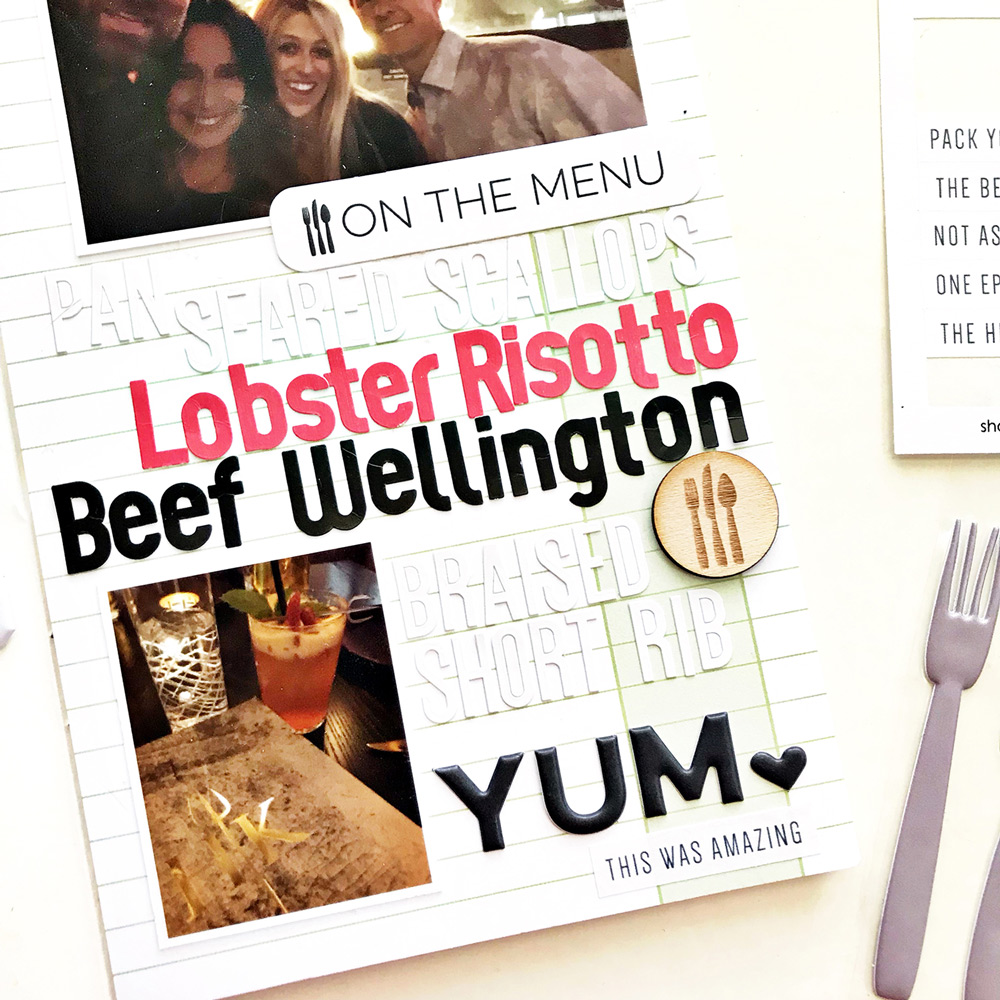
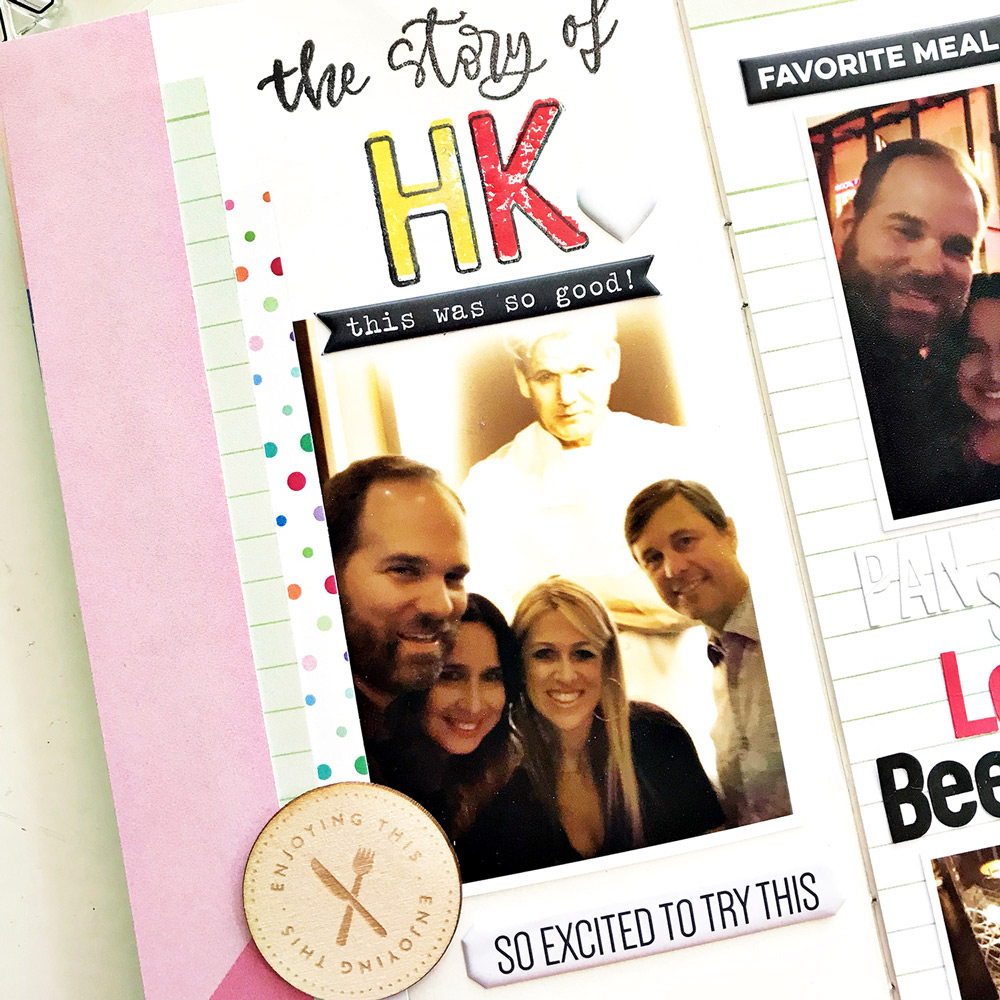
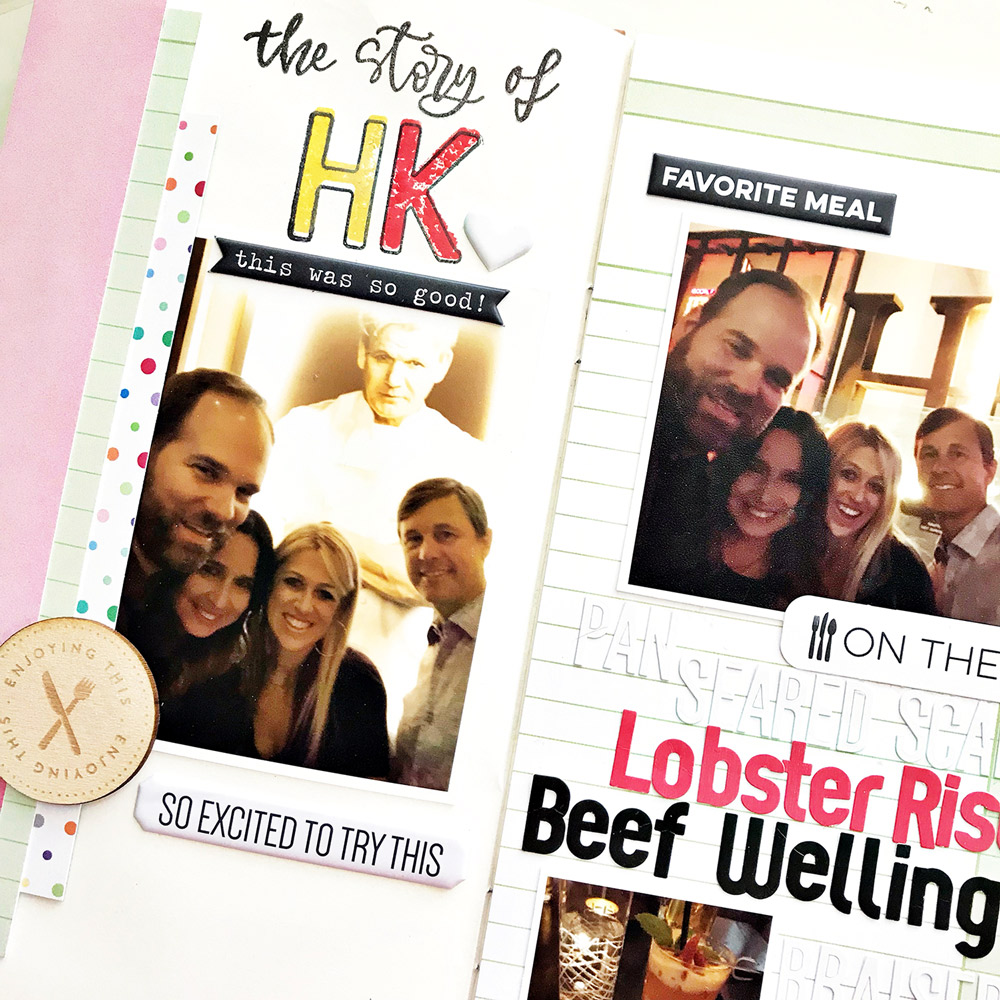
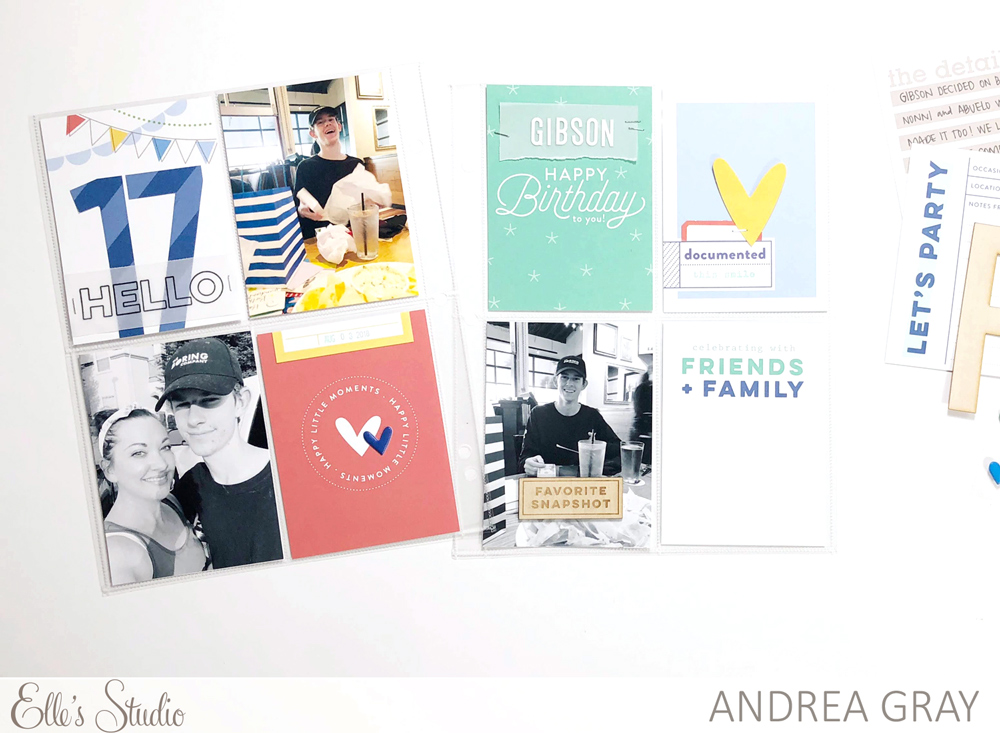
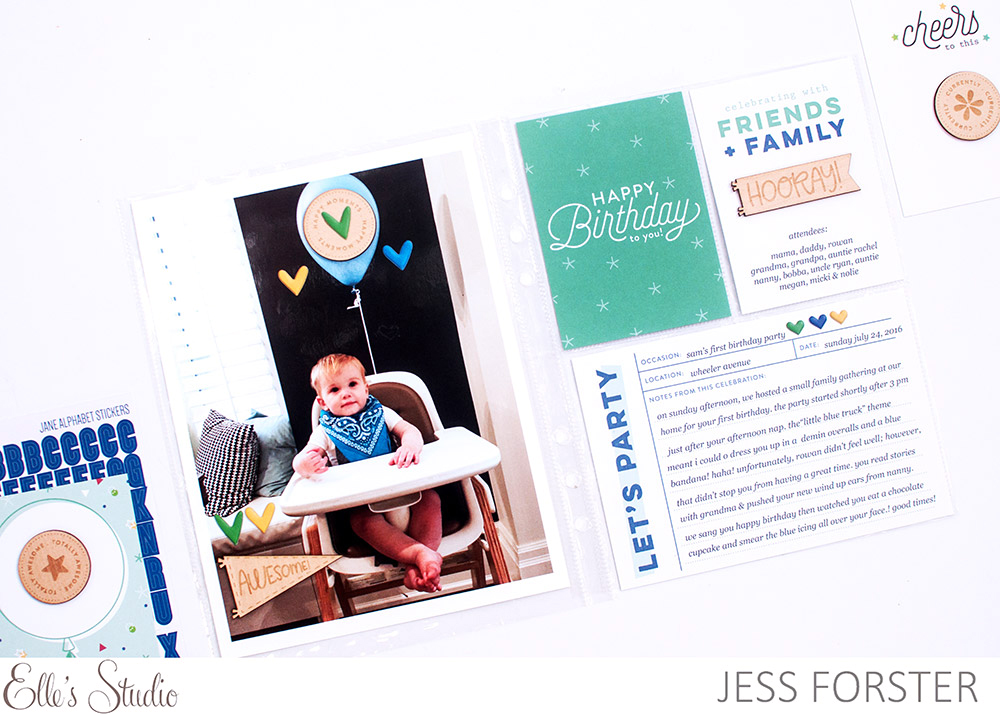
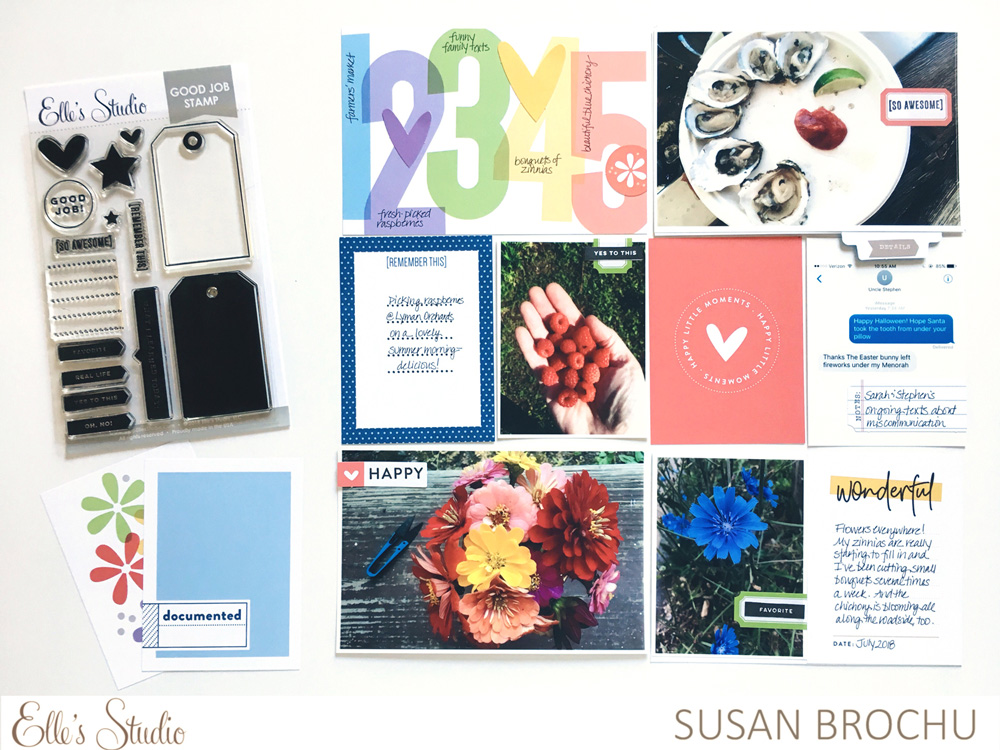
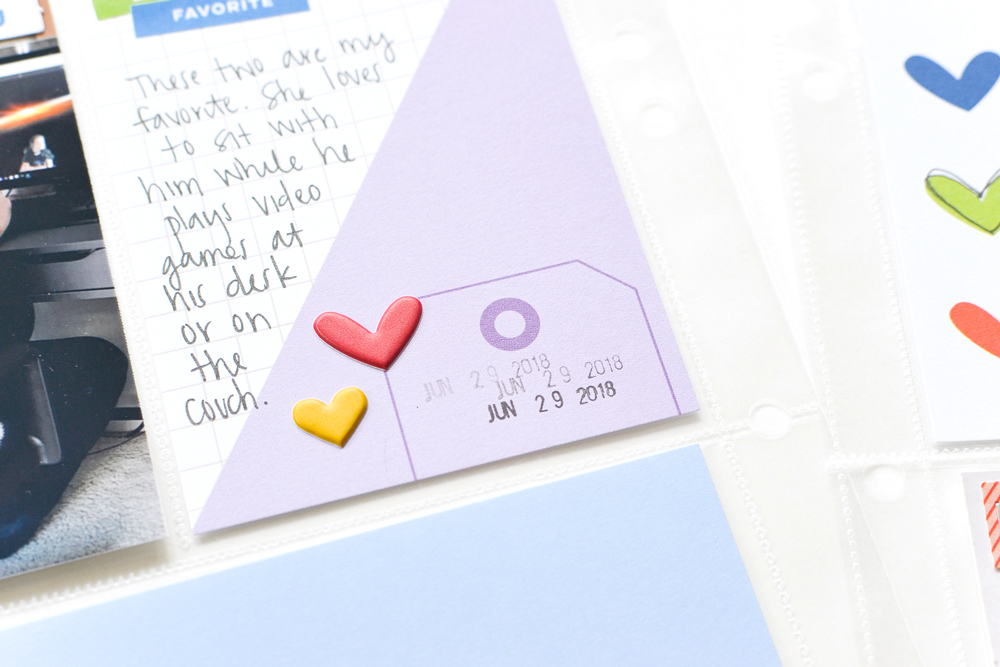
Love This pocket page spread by
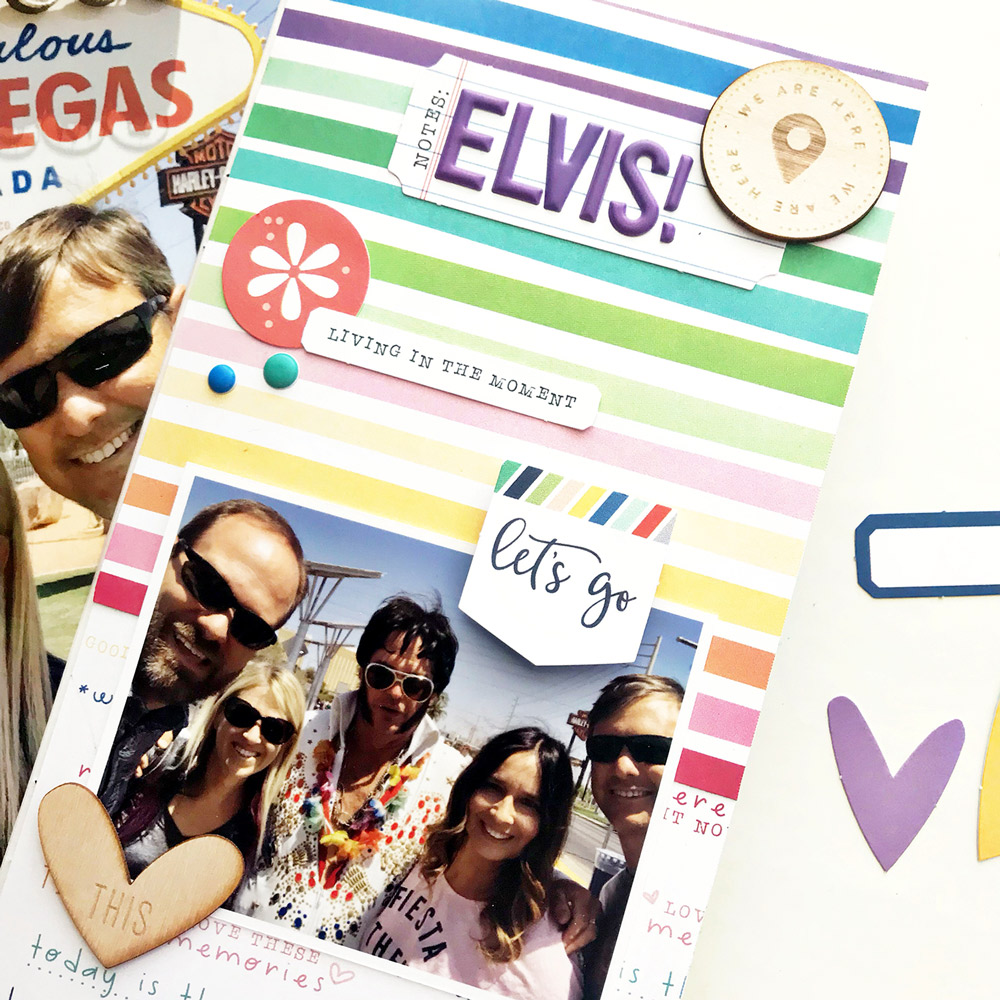
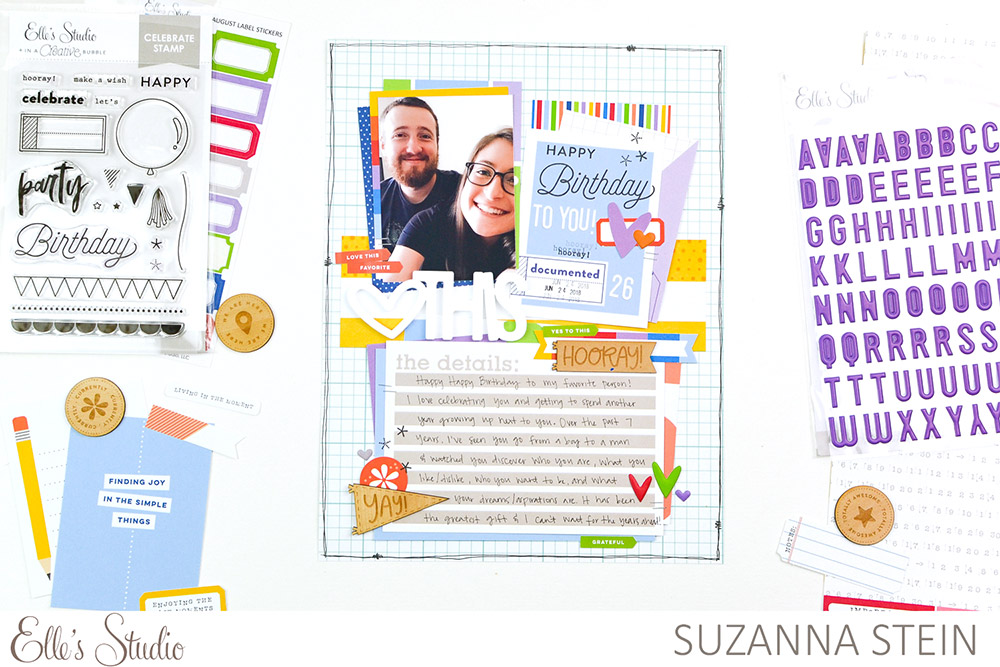
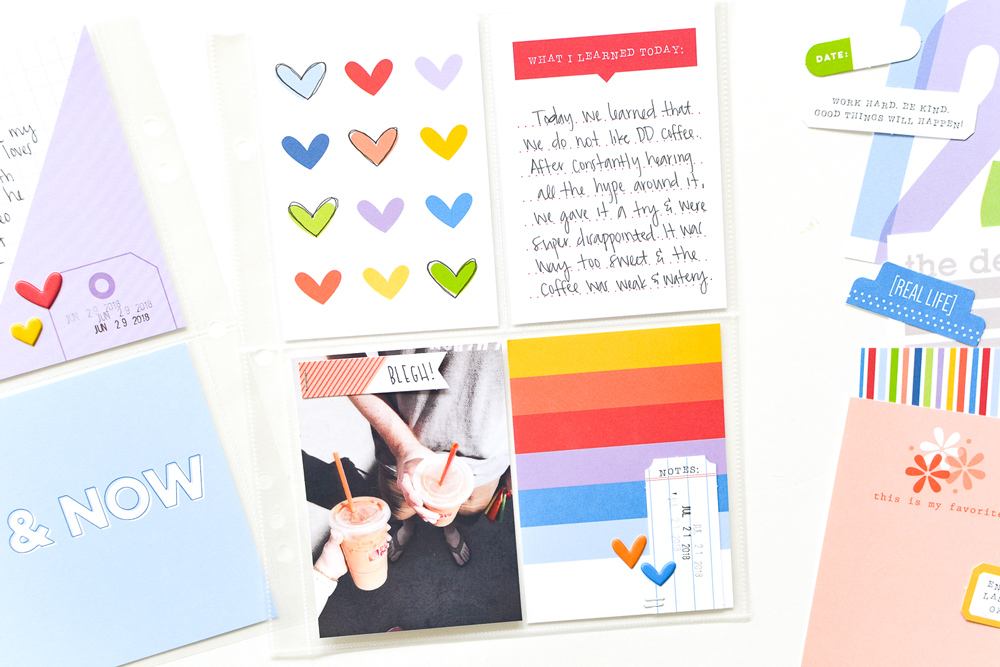
 Jess Forster – supplies used | August 2018 KitLittle Photo Flag Stickers, and  Jane Alphabet Stickers — Navy


You Make Me Laugh by Melissa Mann – supplies used |  August 2018 Kit, Little Photo Flag Stickers, Happy Moments Wood Veneer Circles, Purple Puffy Alphabet Stickers, Good Job Stamp, Shine 6″ x 6″ Paper Stack

Weekend pocket page spread by Suzanna Stein – supplies used | August 2018 Kit, Little Photo Flag Stickers, Happy Moments Wood Veneer Circles, Jane Alphabet Stamp

Back to School by Daniela Dobson – supplies used | August 2018 Kit, Little Photo Flag Stickers, Puffy Heart Stickers — Summer MixPuffy Heart Stickers — Spring Mix, Jane Alphabet Stamp, Good Job Stamp

Be sure to check out the second volume of the design team gallery here next week, and get those summer photos ready for these awesome August products