We are so thankful for you!

Happy Thanksgiving, everyone! This holiday is one of our favorites –  it’s a special day to gather with loved ones and be surrounded by family and friends, make and enjoy tons of delicious traditional recipes, share special memories, and reflect on what and who we are most thankful for.

During this special time of year, we wanted to let you know that we are so thankful for each and every one of you! All of your support, comments, emails, etc. – they mean so much to us! Your support is what makes it possible for us to continue designing and producing new products, and for that we are forever grateful!

Wishing you all a wonderful Thanksgiving!

“Inspired By” with Jess Forster

With 2018 drawing to a close, we reflect on how inspirational our design team has been this year. Not only do they inspire our customers and blog readers, but they inspire their fellow team mates, as the lovely Jess Forster talks about below. You’ll love how she was inspired by one of our other team members in her pocket page design, but also the stories that she decided to tell. Let’s take a look:


Hands up if you are excited to see Elle’s Studio reveal on the 10th of each month! Not only do I love the anticipation of seeing new products and add ons in the monthly kit, I am also excited to see my fellow creative team members work. For years, I have admired, Neela Nalam’s eye catching and stylish pages and last month, during the October reveal, I was super inspired by her “Pumpkin Patch 2017” pocket page:


Specifically, in Neela’s page, I love how she used a 6″ x 8″ pocket page, with twelve 2″ x 2″ pockets, placing photos and journaling cards in an A/B pattern. In my layout, I decided to create a 9″ x 12″ layout, mimicking the checkerboard pattern, however, in my page, I increased the scale of my photos and used 3″ x 4″ pictures and journaling tags.


Supplies | November 2018 Kit, Jane Alphabet Stickers – Red, This Season Phrase Stickers, Wood Veneer Snow Globes
 
In terms of of Neela’s journaling in her layout, she talks about family traditions and recounts some simple details of her day. In my layout, I also discuss tradition and summarize what Christmas means to me at this stage of my life. Like Neela, I have also typed up my journaling on the computer. We both use the typewriter font Remington Noiseless.


Lastly, in Neela’s layout, she uses photos from one trip to the pumpkin patch, where I decided to document Christmas day over a three-year time period. In Neela’s layout, she has similar light in all her photos. Although my photos were taken at different times of the year, I looked for the colour red in all my photos to bring in consistency to the page.


I loved both approaches and seeing how each artist can put a different spin on their work.
 
Thanks for looking, and thanks to Neela for the inspiration!
 

Snowy Adventures + Process Video with Heather Leopard

You may have already seen snow where you live, or you’re traveling to play in it, like design team member Heather Leopard does each year! Either way, you probably have snowy memories to document in your albums, and Heather is here to share a new layout and process video that will inspire you to have some fun while you create. Let’s take a look:
 
Hi everyone! It’s Heather Leopard here with a snow adventure layout and process video for you today!


Supplies | November 2018 Kit, This Season Phrase Stickers, Wood Veneer Snow GlobesLarge Wood Veneer Snow GlobesChristmas Hand Drawn Acrylic HeartsMerry and Bright 6″ x 6″ Paper Stack, Noteworthy 12″ x 12″ Paper Collection
 
I’m sharing a quick and easy layout featuring snowflakes to recreate a winter wonderland. We don’t get much snow in the south so we really live it up when we go snow skiing each year. From snow ball fights to snow men, and even snow boarding, we love playing in the snow!


This layout features white misting and layers of snowflakes to give it a powdery fresh feel.


I just love the snow globes—they come in large and regular sized, which also includes snow flake wood veneer circles!


The embellishments from the November kit and add-ons bring it all together with the perfect pops of colors and the This Season Phrase Stickers are the perfect addition to tell the story around the page.
 
See how it all came together in my process video, where I’ll walk you through the creative process step by step, and I even share a pretty cool tip for working with mists:


Thanks so much for watching!
 

Christmas Activity Advent Calendar with Guest Kira Ness!

We are so excited to welcome November guest designer Kira Ness back to the blog today, and we know that you will just love the simple and “hands-on” project that she’s created using some of our November add-ons!
 
Hello again! I’m back with another fun project that I have included in this year’s December Daily album.
 
For those of you that don’t know, my husband works for the USPS as a mail carrier and as you can imagine, December is the busiest month for him. We don’t get to do a lot of fun Christmas activities as a family because of his long hours, but we try to squeeze a few really fun events for our kids.
 
This year, I thought it might be extra fun for my littles if we tried to do a small holiday themed activity once a day—which is where I got the idea to create an activities advent calendar!


Supplies | Jane Alphabet Stickers – WhiteJane Alphabet Stickers – RedMerry and Bright 6″ x 6″ Paper Stack
 
I started by creating a cut and fold cut file in Cricut design space. I created 12 equal sized boxes that would fit on a 6″ x 8″ piece of white cardstock, and then I cut it out twice, so I would have a total of 24 boxes.
 
I cut patterned paper from the Merry and Bright 6″ x 6″ Paper Stack into squares, so some could be layered on top of the squares and some could be layered beneath.  I wanted it to appear random, so I laid them out so none of the same patterns would be directly next to each other, both on top of the squares and beneath.


After I adhered all the patterned paper down, I used the red and white Jane Alphabet Stickers to number all the boxes. I didn’t mind if the same color numbers were next to each other, I mostly wanted the numbers to stand out enough on the patterned paper.


Then I typed out all my activities! Since my kids are young, I searched “Toddler Christmas activities” on Pinterest for a lot of my ideas. Some of the activities are baking, some are crafts, some are just watching a Christmas movie or reading a Christmas book! They’re just simple, fun activities to keep us in the Christmas spirit all month long!
 
Does your family do any holiday activities during the month of December?  I’d love to hear about them!


Thanks for stopping by!


Hey there! My name is Kira and I am a thirty something wife to my best friends and mother to two energetic toddler boys. I am a Seattle native, but moved to San Antonio a little over a year ago. I started scrapbooking in October 2016 at the prompting of a friend and was immediately hooked. I started as a 12″ x 12″ scrapbooker, but switched to 8.5″ x 11″ a few months ago on a whim. I also love the ease of documenting in a travelers notebook. Along with scrapbooking, I also find joy in other crafts like embroidery, macramé and drawing. I asked for a loom for Christmas, and hope to start yet another hobby. Other than crafting, I love spending time with my family, binge watching shows on Netflix, and texting my friends. You can see more of my work, and get little glimpses of my life on Instagram, my blog and my YouTube feed!
 
Come back next week to see what fun project Kira has in store for us for her final post! Until then, be sure to follow her at the links above for daily inspiration!

Preview our Black Friday Weekend Sale!

Our biggest sale of the year is almost here! Our Black Friday sale will run all weekend long, starting on Friday morning, November 23rd at 8:00 am PST and will end on Monday, November 26th at 9:00 pm PST or while supplies last. There will be a ton of can’t miss deals and specials so we wanted to give you a preview of what you can expect!


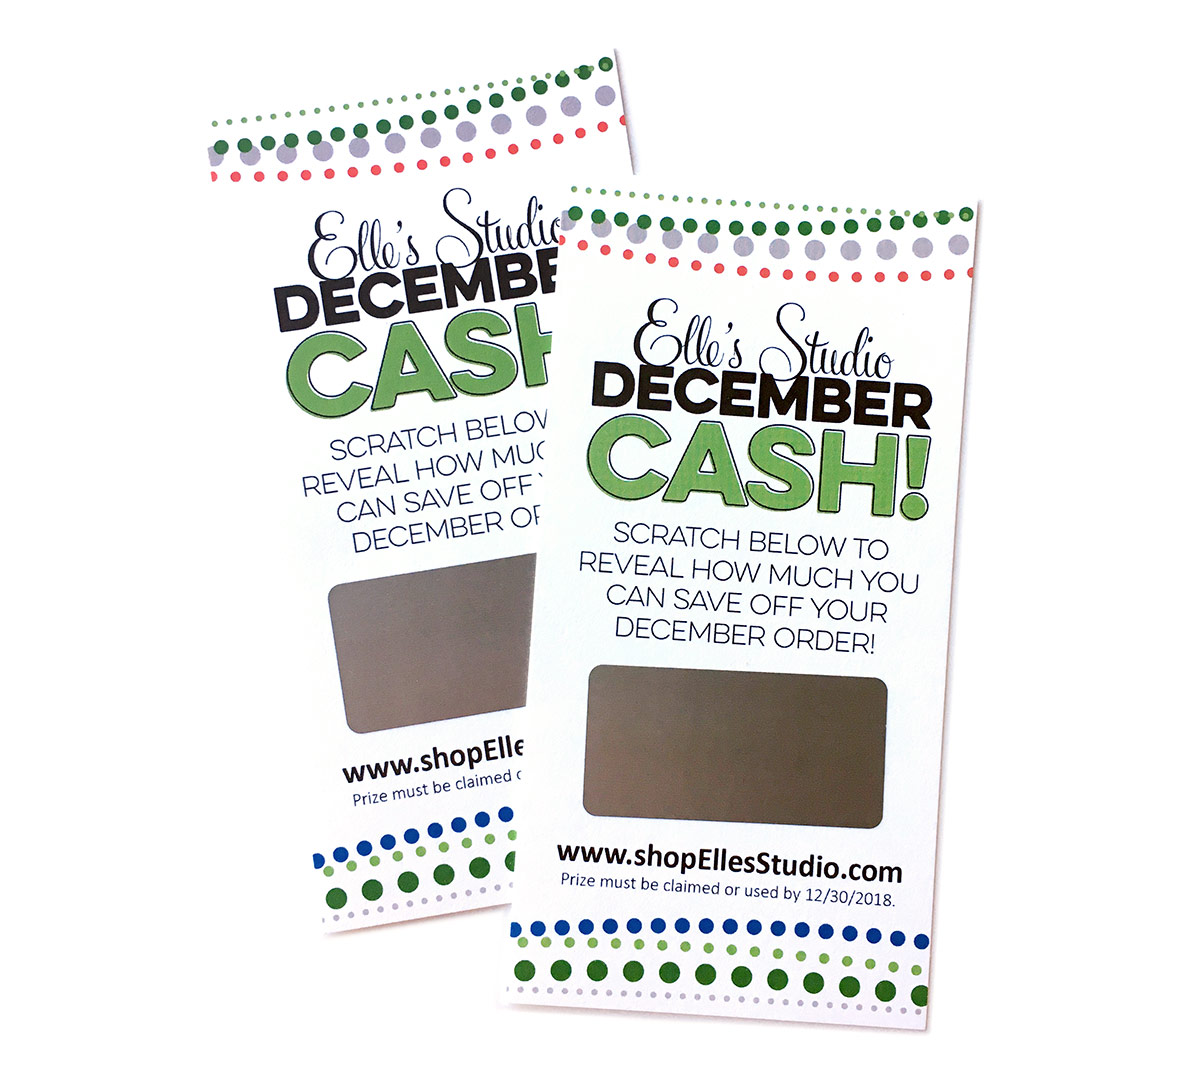
DECEMBER CASH BONUS: Our December Cash is back! This year every order placed (on physical product that ships) during our weekend sale will receive an Elle’s Studio December Cash scratch ticket! Every ticket is a WINNER with prizes ranging between $5 – $50 off your order in December!

ITEMS 30% to 90% off: There will be a ton of items on sale and prices will be already marked, so no coupon code will be needed! Some of these items are retiring, too, so once they are sold out, we will not be restocking!

GRAB BAGS: We will have FIVE different types of grab bags to choose from during this sale. Please note that some of these grab bags have a limited quantity, so you will want to shop early! Our grab bags this year will include:

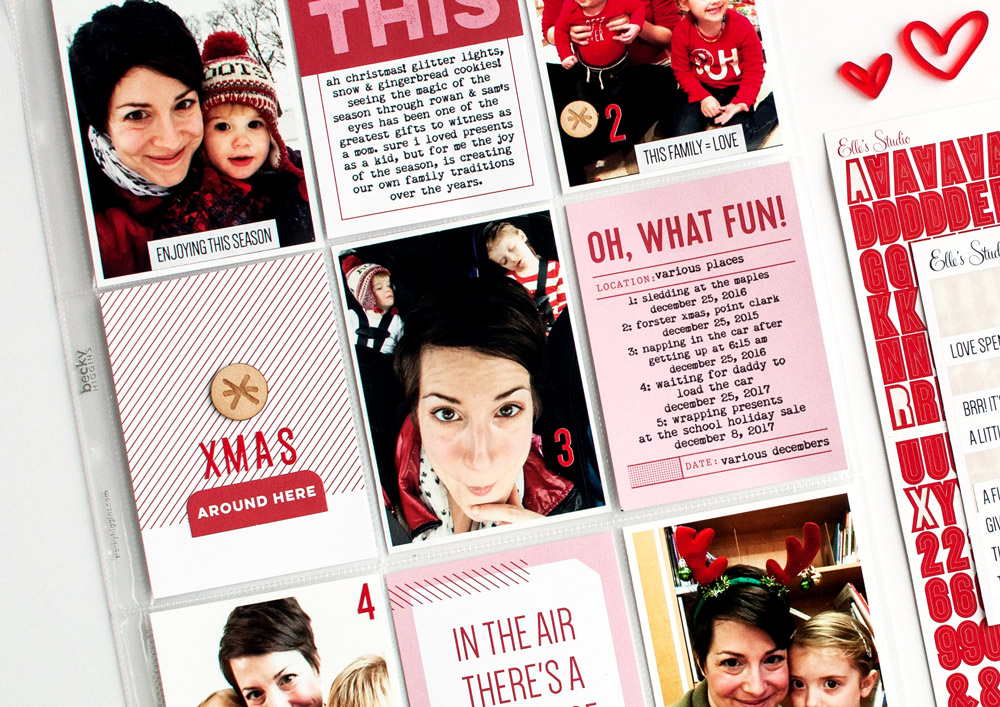
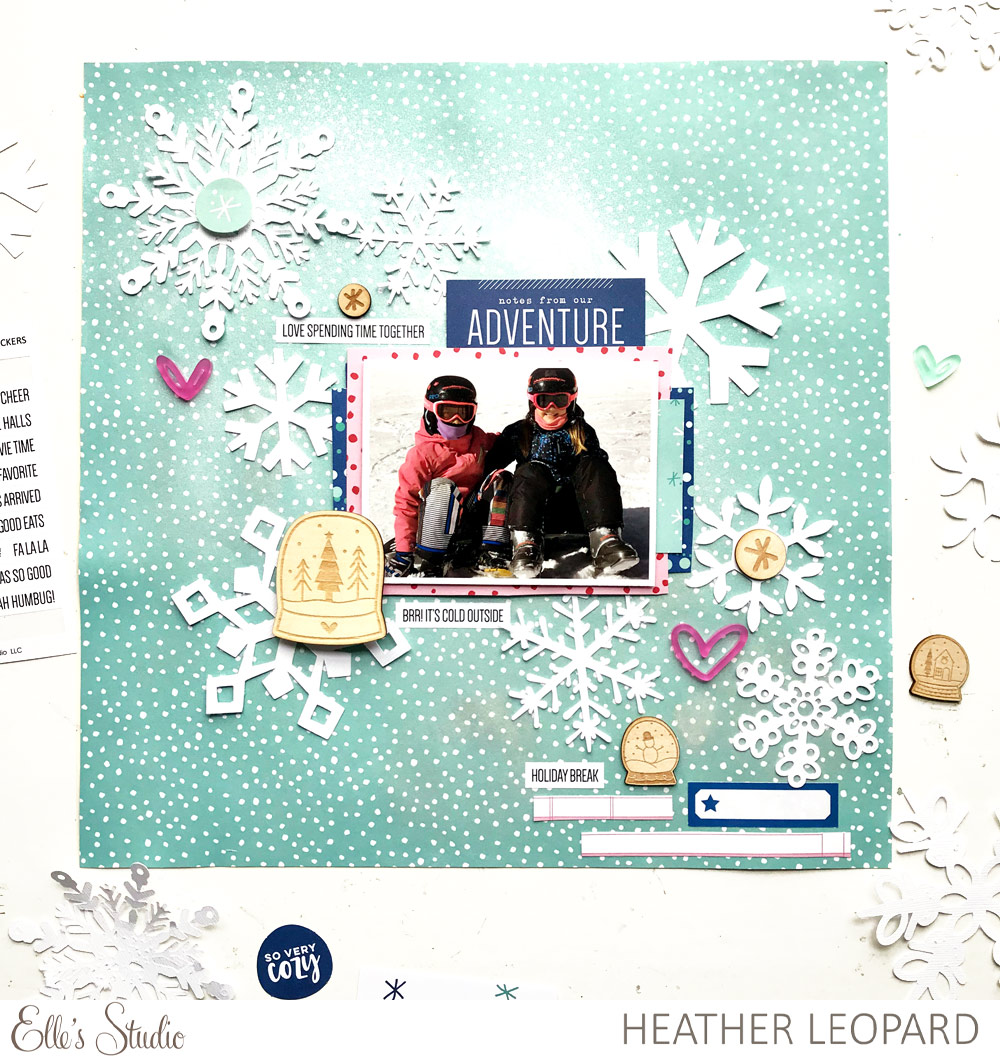
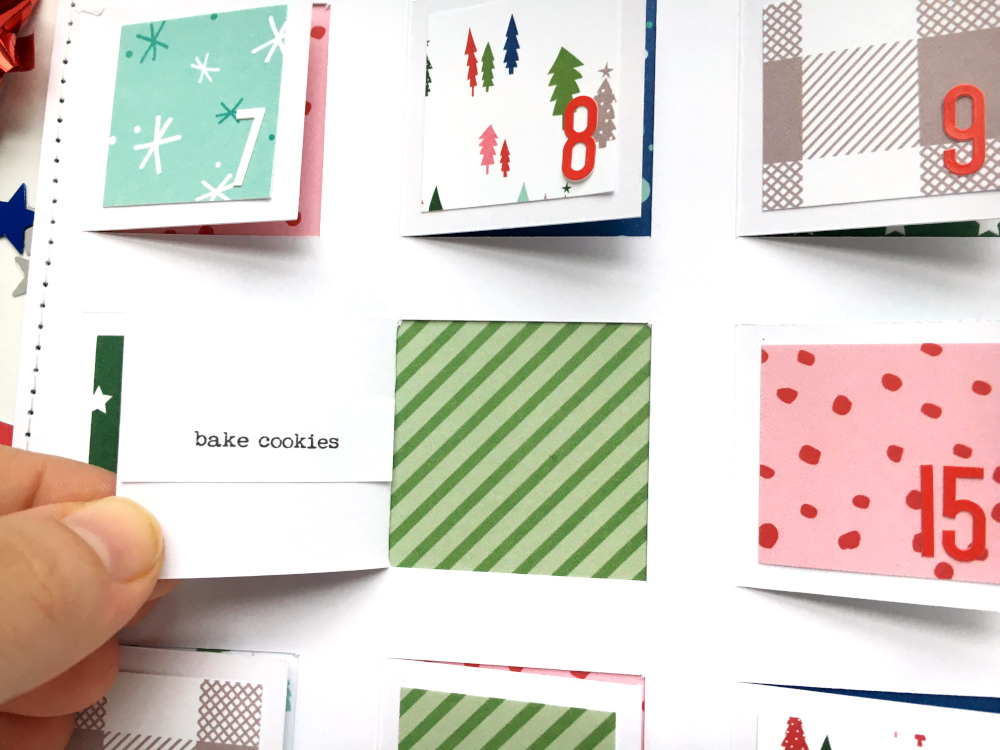
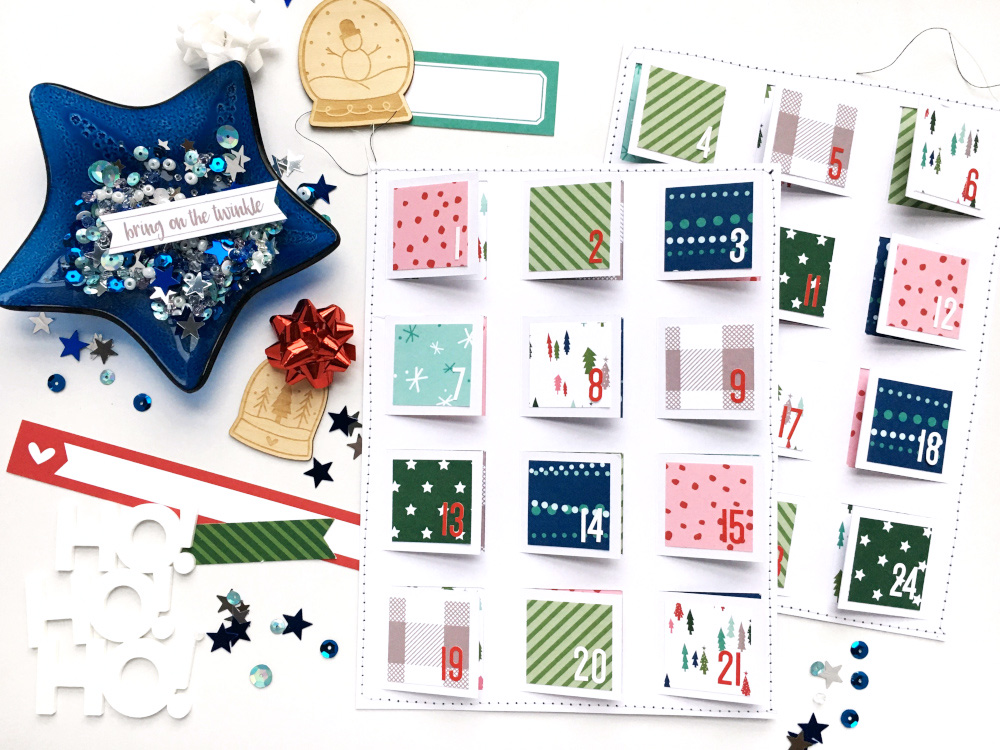
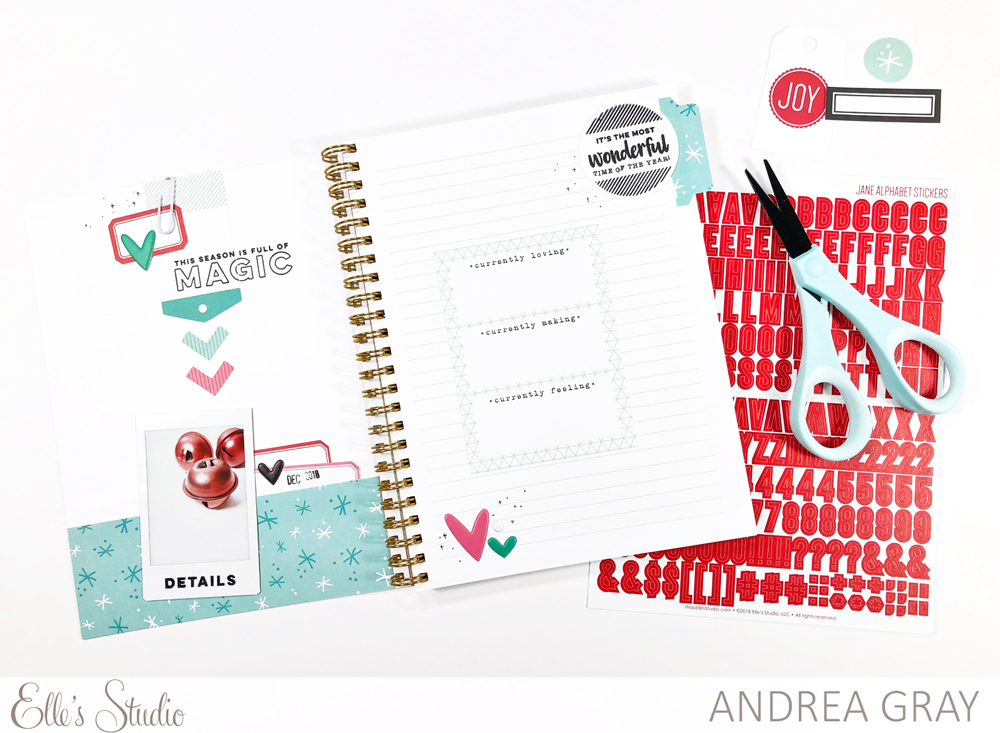
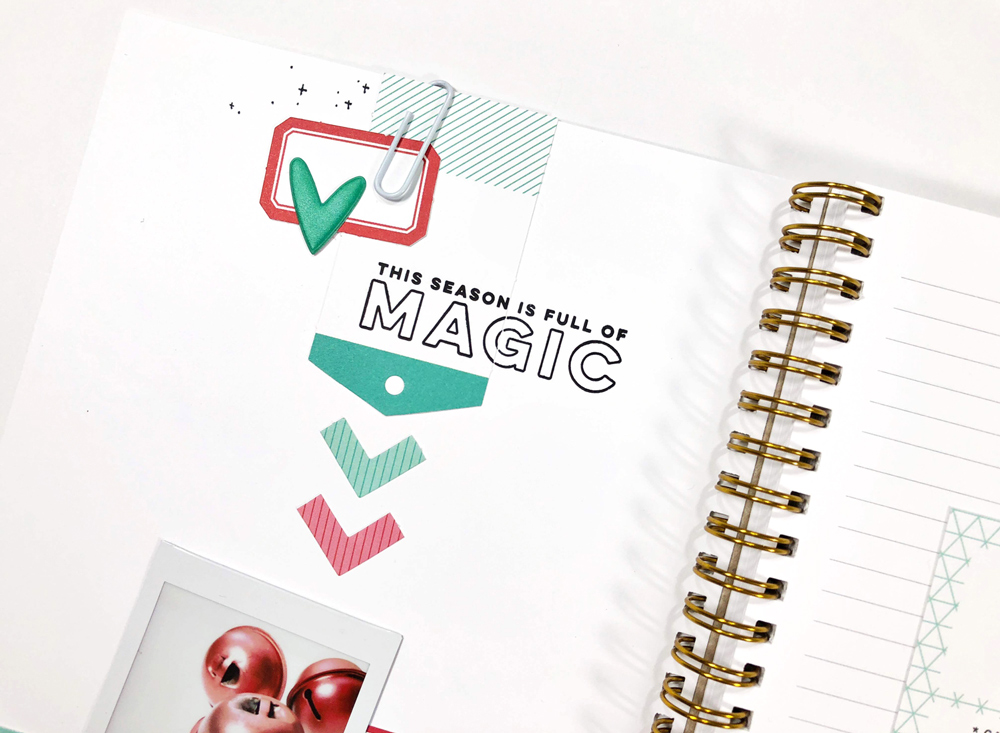
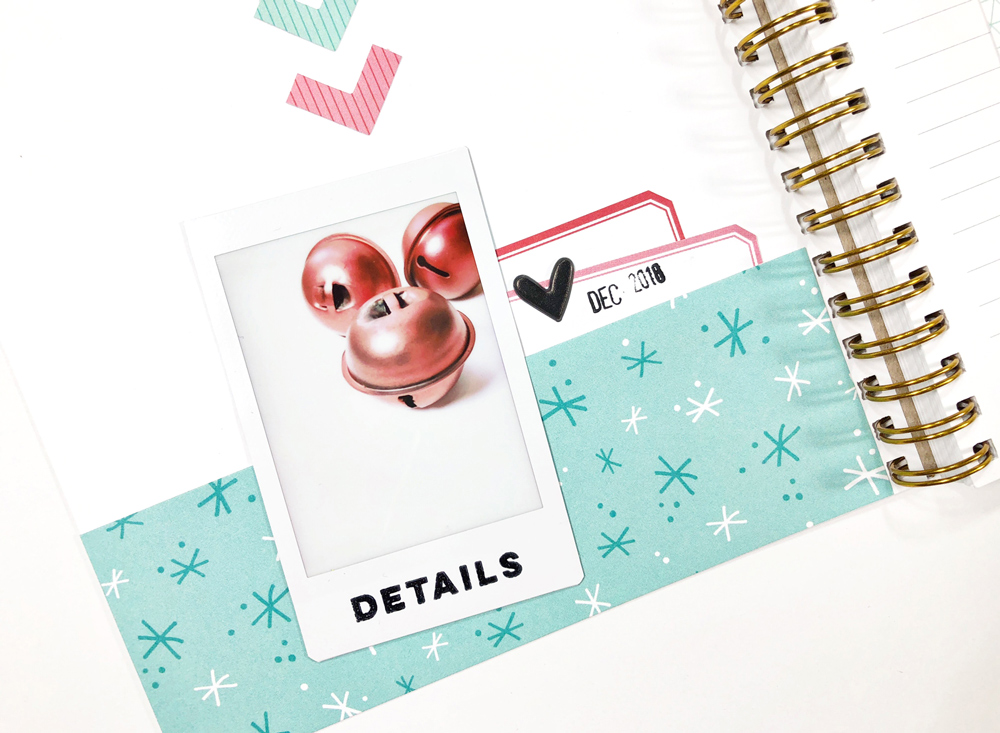
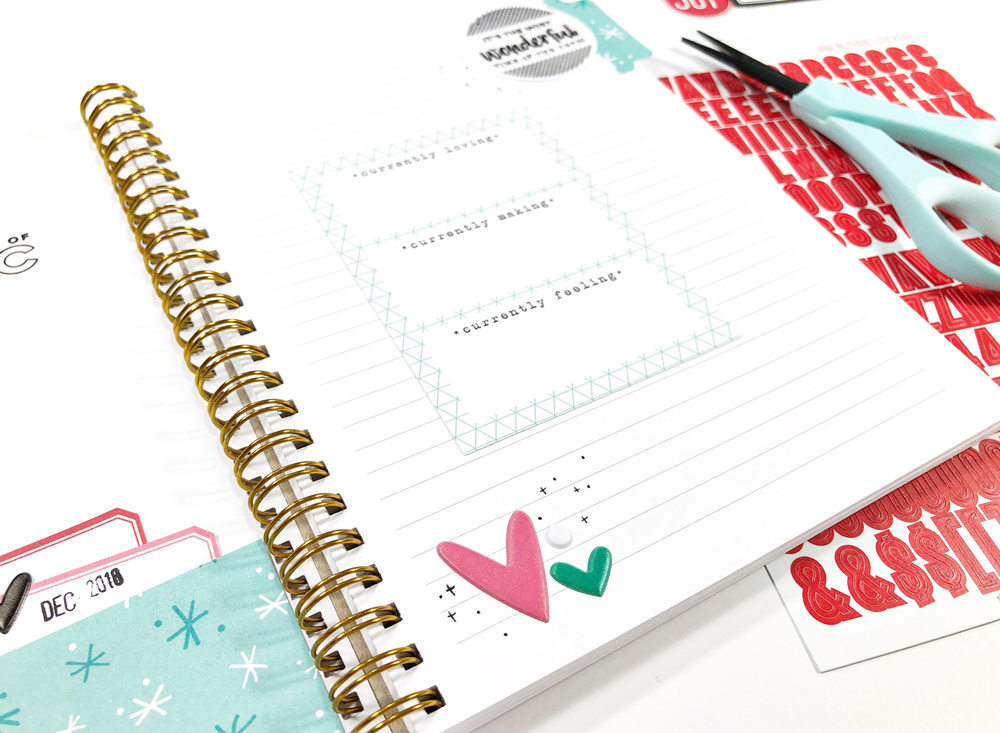
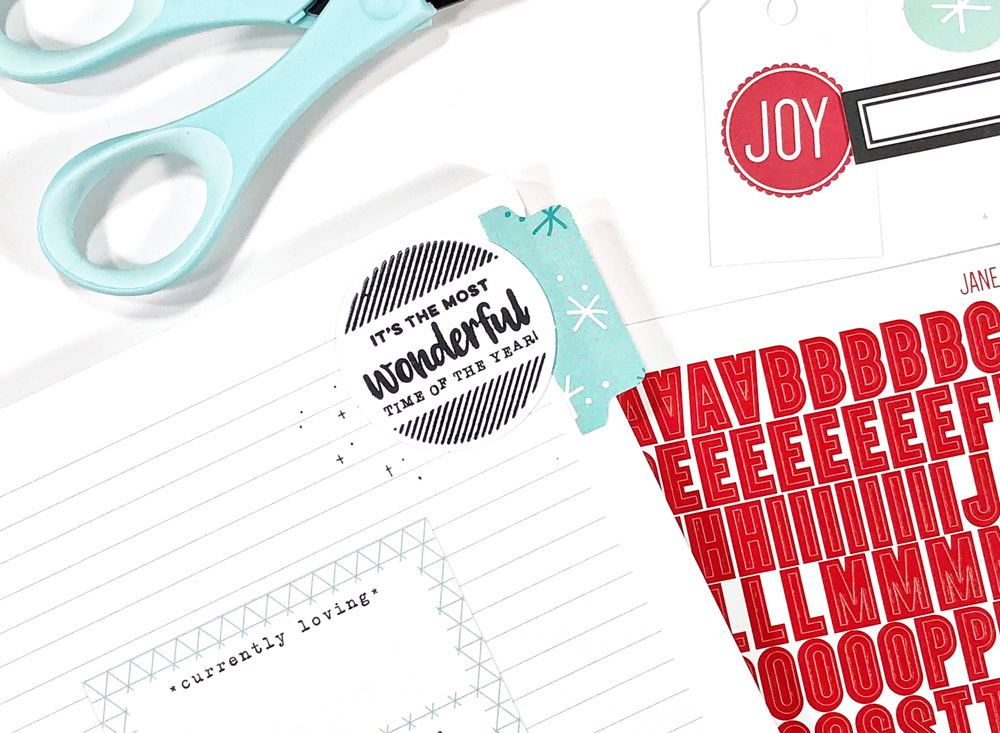
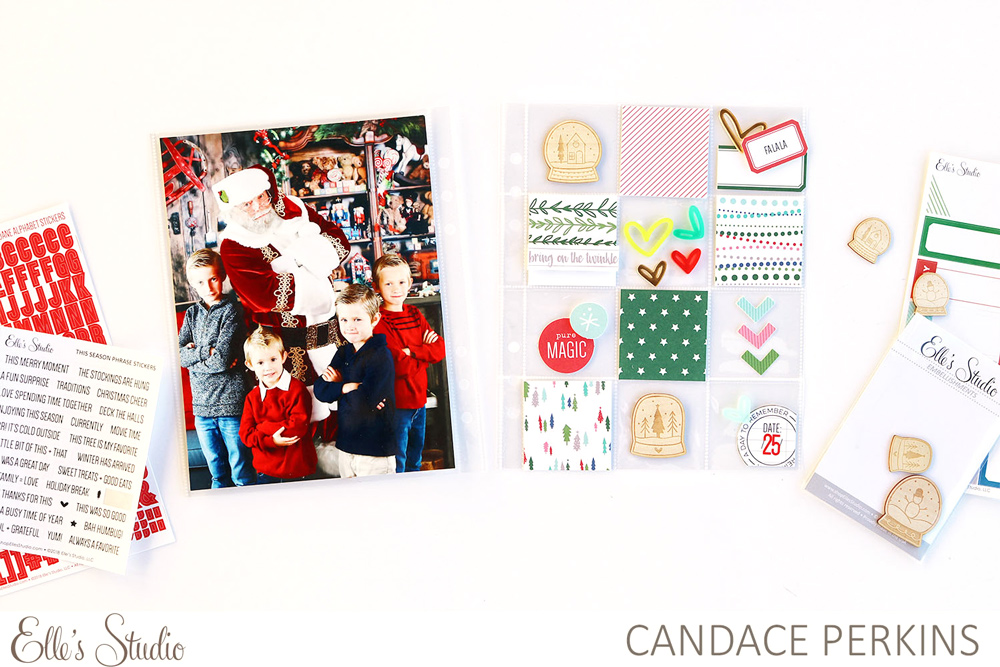
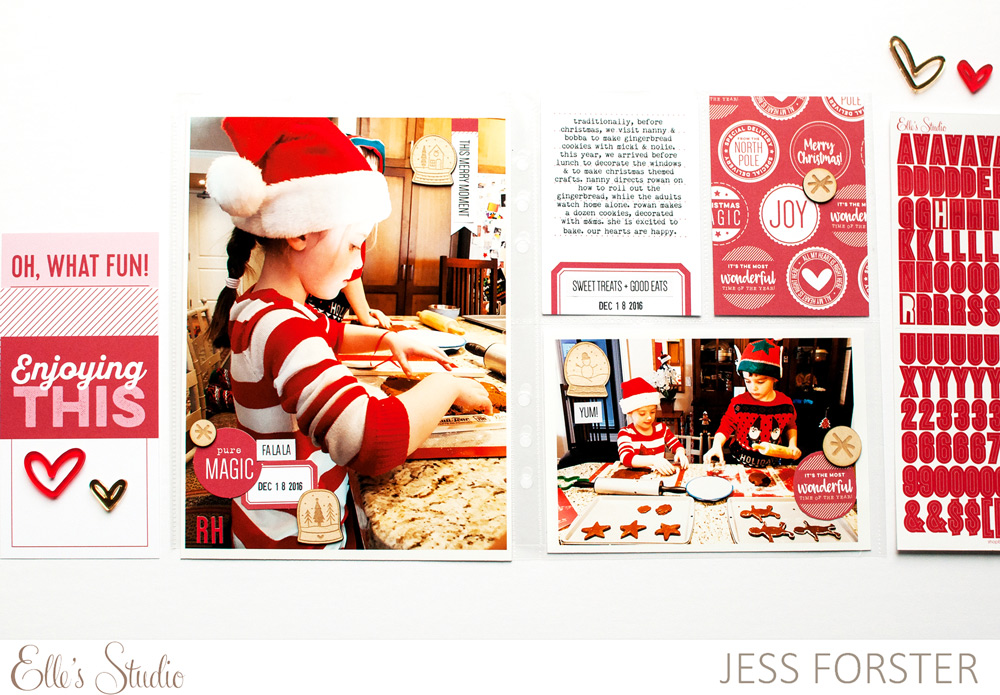
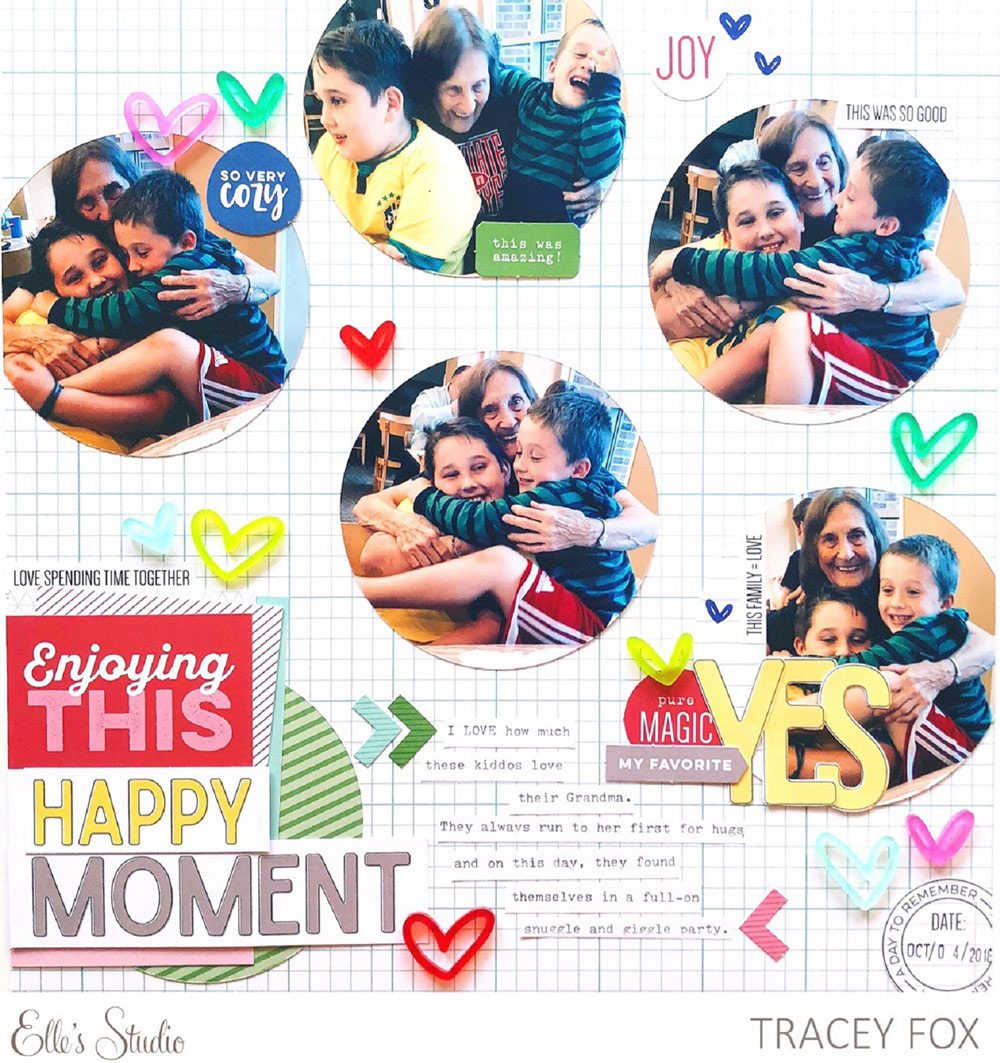
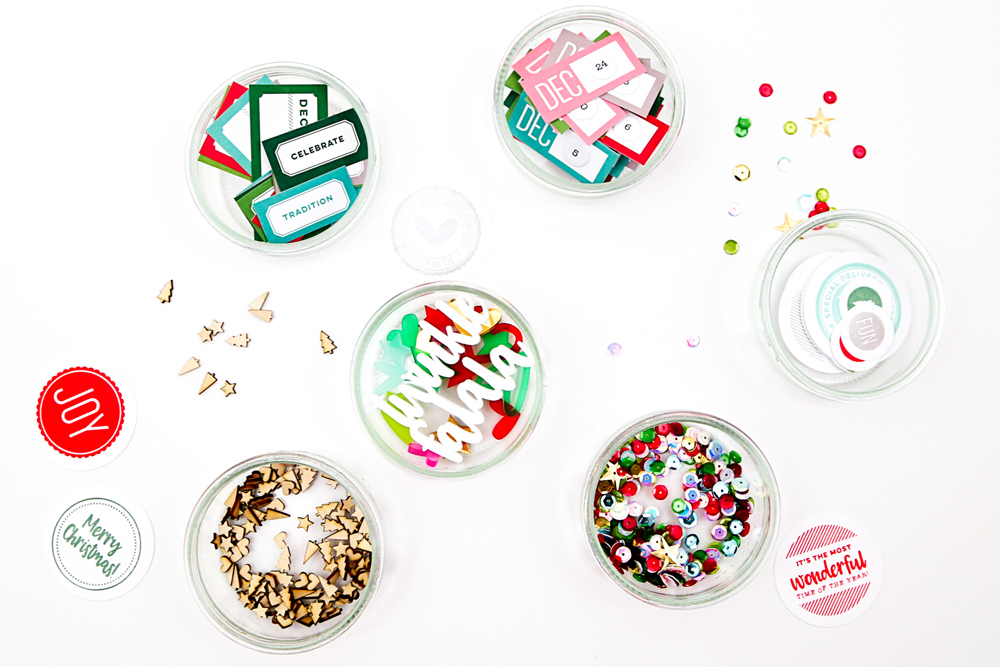
Scrapbooking Grab Bag – This bag may include some of the following items: cutouts, snippets, journaling tags, stickers, washi tape, wood veneer, puffy stickers, and acrylics. NO 12 x 12 papers or stamps are included in this bag. If you purchase more than one grab bag, you will receive duplicate items in the second bag.

Stamp Grab Bag – This bag will include a range of our stamps. You can purchase two without receiving duplicate stamps.

Sticker Grab Bag – This bag will include a range of our stickers–from flat to puffy! You can purchase one without receiving duplicate stickers.

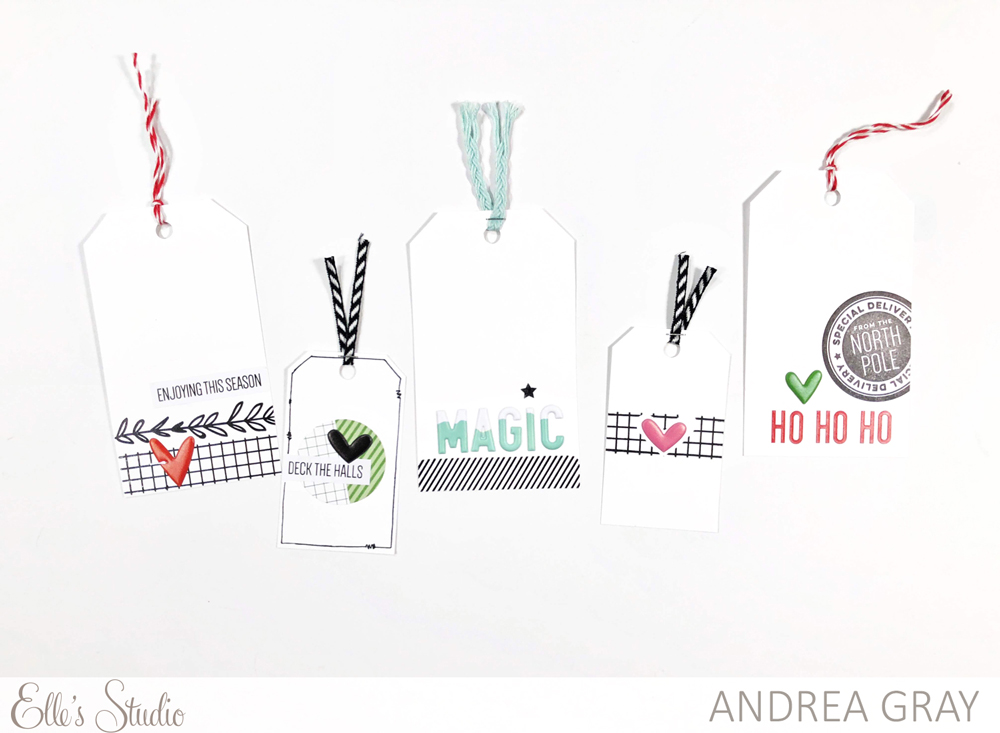
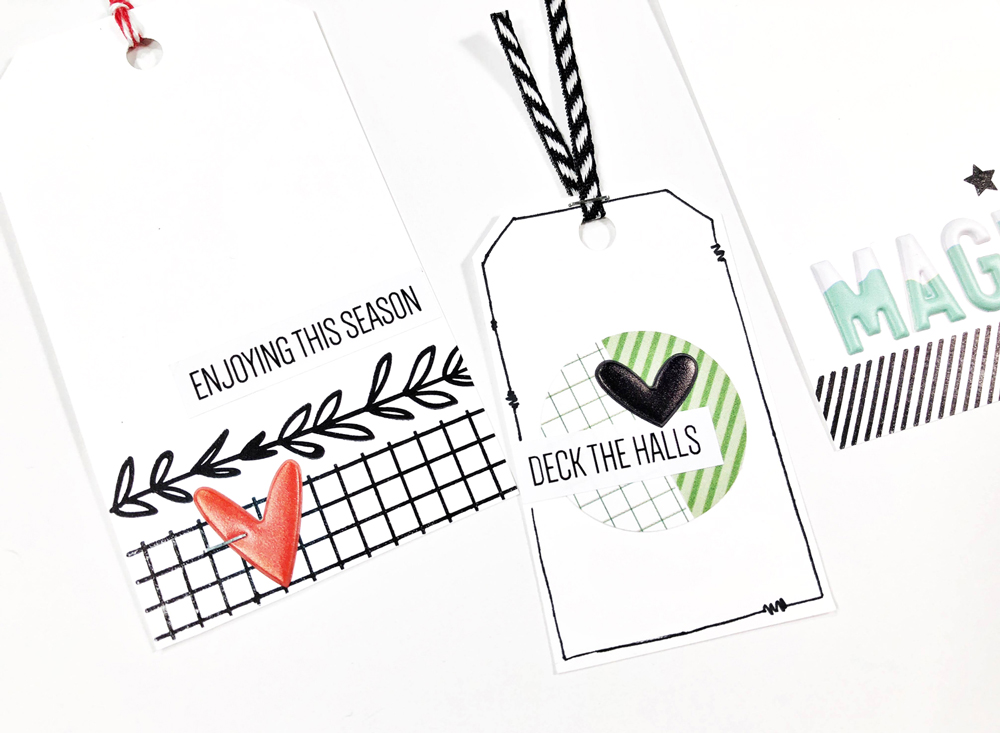
Journaling Tag Grab Bag – This bag will include twenty 3 x 4 tags and ten 4 x 6 inch tags from our collections and exclusive monthly kits, for a total of thirty tags. You can purchase three without receiving duplicate tags.

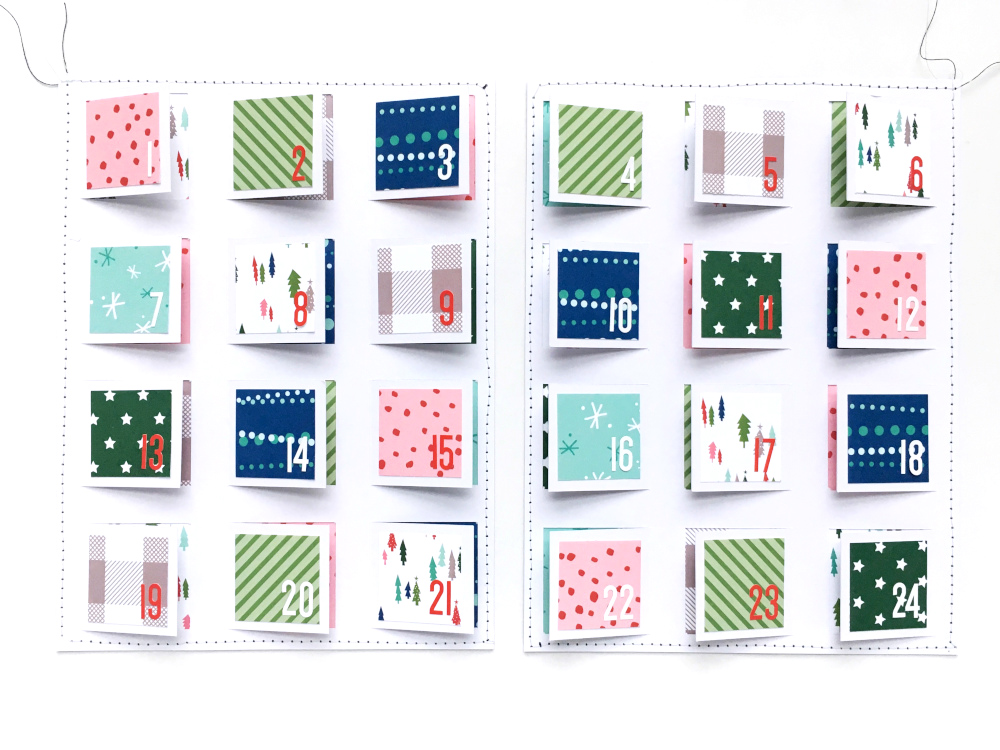
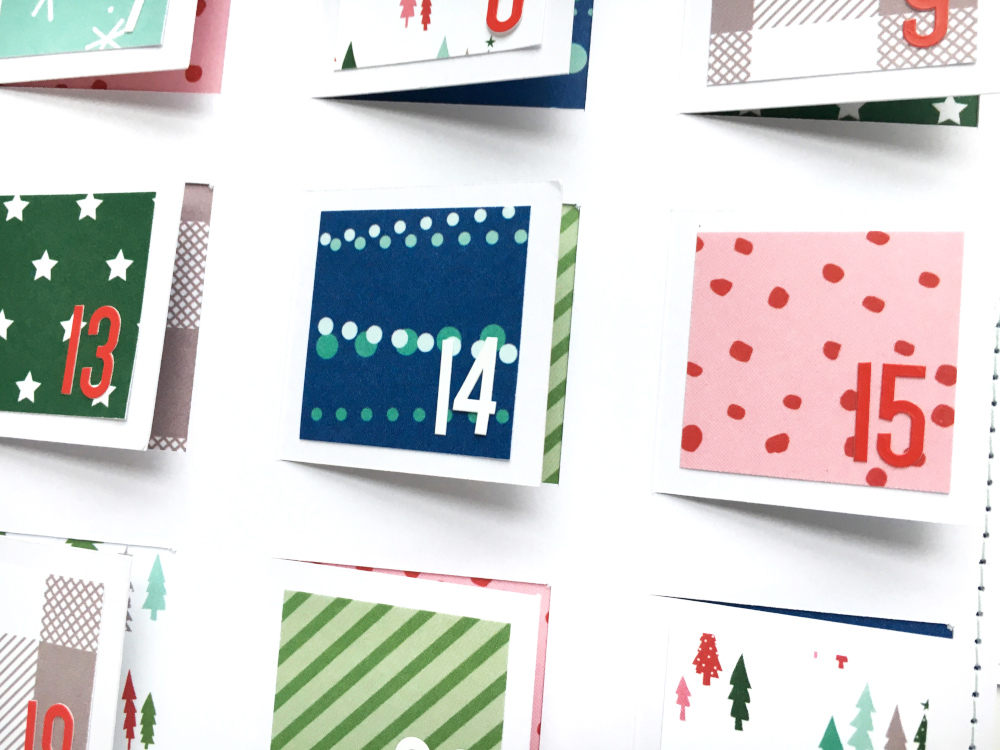
Die Cut Grab Bags – This bag will include a variety of die cuts on four 4 x 6 inch sheets from our exclusive monthly kits. You can purchase two without receiving duplicate die cuts.

MYSTERY KITS: Pick up one of our exclusive kits and it will be a mystery on which one you receive! You can purchase three kits without receiving duplicate kits.

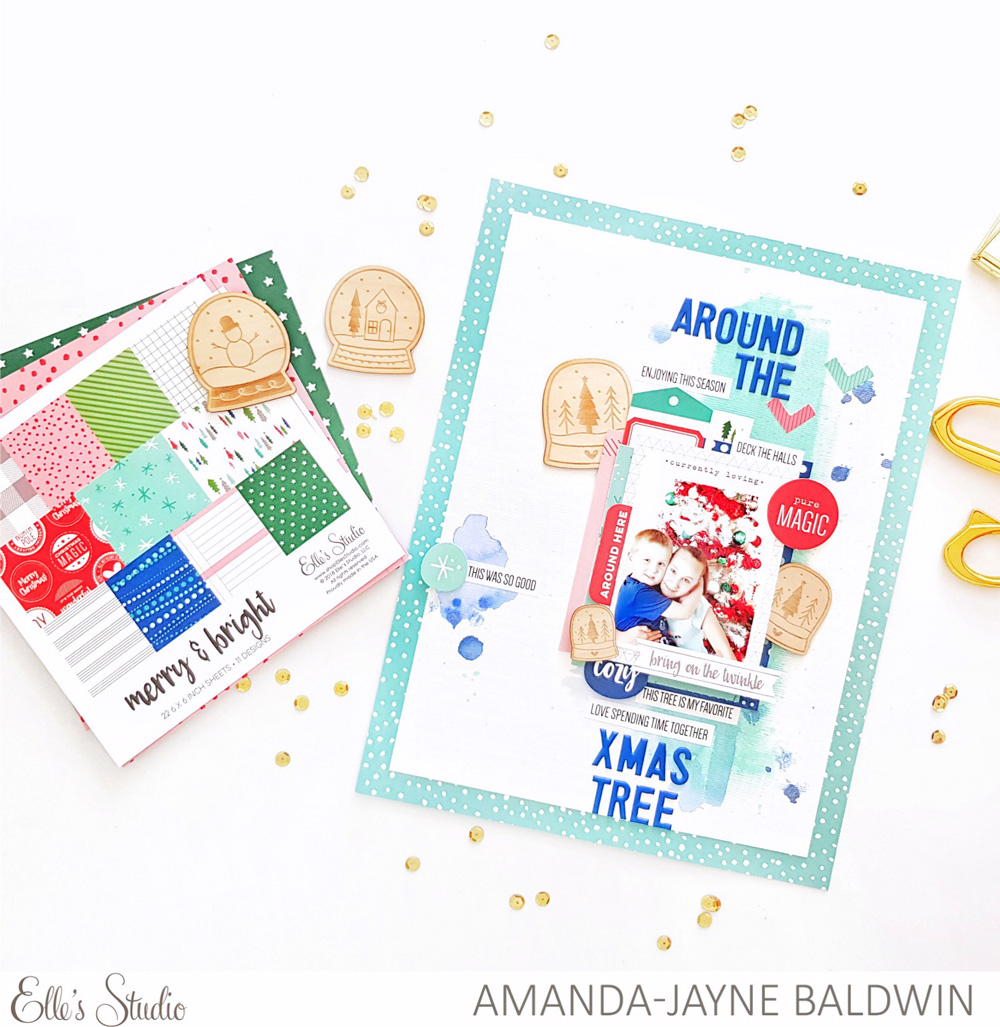
MYSTERY 6 x 6 PAPER STACKS: Pick up a 6 x 6 paper stack and it will be a mystery on which one you receive! You can purchase two stacks without receiving duplicates.

DIGITALS: All of our digital cut files and printables are 50%!

SUBSCRIBER DISCOUNT: Surprise! We have a special bonus for our kit subscribers! You’ll want to use the coupon code SAVEMORE at our weekend sale to save an extra 10% off your entire order! This coupon code is valid from 11/23/2018 – 11/26/18 only and you must be logged in to your subscriber account for it to work.

SHIPPING: Our shipping is based on the weight of your cart and we only charge what it costs us to ship your items. Our scrapbook grab bags are heavy and if your USA order is over 1 lb., your order will have to ship via Priority Mail due to the Post Office’s rules. Our site will quote you a shipping price before going through checkout.

PLEASE NOTE: Due to an increase in orders during this sale, please allow us extra processing time. We will be shipping orders in the order that they are received and we will have extra help on hand to get the orders out as quickly as possible.

It is going to be a BIG sale – Mark your calendar and set your alarm for this Friday, November 23rd at 8:00 am PST! We hope to see you there!

Prepping December Using the November Kit and Add-ons with Andrea Gray!

Our November 2018 Kit and add-ons are the perfect set of supplies to bridge November and December—with supplies perfect for Thanksgiving, all the way into Christmas! Today, design team member Andrea Gray is showing us how she combined the kit with pieces from our Document December collection to prepare her opening page for her December project notebook. Let’s take a look at what she created:
 
Hello friends! It’s mid-November and we likely all have December on the brain. I certainly do, and I can’t wait to begin documenting this special time of year. I am documenting December in a lined journal that’s slightly smaller than 6″ x 8″, so it’s perfect for the supplies in the Elle’s Studio monthly exclusive kits! This is my opening page which is already decorated so that when December comes, I can simply add in some journaling. Let me share some more details with you!


Supplies | November 2018 Kit, Document December 2018 KitChristmas Shapes and Dots Puffy StickersChristmas Seals Stamp, Oh What Fun Stamp, Noteworthy Stamp, Merry and Bright 6″ x 6″ Paper Stack
 
I’ve recently been using a similar formula for my pages and I don’t even know what to call it, but it’s sort of this start at the top and work down, keeping things in the center kind of thing. I started with the teal tag from the November 2018 Kit and flipped it upside down so the point was facing toward the bottom, like an arrow. Then I added the actual arrows from the November Kit die cuts to help draw the eye down to the photo.
 
To add interest, color and balance, I grouped a label, Christmas Shapes and Dots Puffy Sticker heart, and paperclip to the tag. Then I used the white space to stamp a title using the Oh What Fun Stamp!


All of this leads down to the photo which is layered on top of some labels and a strip of the adorable teal paper from the Merry and Bright 6″ x 6″ Paper Stack. I used the “details” phrase from the Noteworthy Stamp because it’s so perfect for the photo and overall theme of this year.


On the opposite page, I wanted to leave room for journaling. Since I’m not really ready to write about my intentions for December just yet, I added a placeholder “currently” card from the November 2018 Kit and made it removable in case I would rather do some more writing on the actual page.


That didn’t stop me from decorating the rest of the page. I punched a tab from that same patterned paper then layered a seal from the Christmas Seals Stamp and some little art marks. The bottom heart clusters are sweet and simple.


I hope you’re getting ready for December and doing what you can ahead of time, and using the November 2018 Kit and extras are a perfect way to get that done!
 
Thanks so much for joining me here today! I hope you have a super crafty day!
 

November Design Team Inspiration: Volume Two

Chances are, if you ordered a November Kit at reveal, your box is making its way to you, or is already at your doorstep! Do you have a few hours to create with it this weekend? If so, check out this fresh round of inspiration from our design team to get your creative juices flowing:


Around the Christmas Tree by Amanda-jayne Baldwin – supplies used | November 2018 Kit,  November LabelsThis Season Phrase Stickers, Wood Veneer Snow Globes, Large Wood Veneer Snow GlobesNavy Puffy Alphabet StickersMerry and Bright 6″ x 6″ Paper StackNoteworthy 12″ x 12″ Paper Collection


Pure Magic by Candace Perkins – supplies used | November 2018 Kit, This Season Phrase Stickers, Jane Alphabet Stickers — RedWood Veneer Snow GlobesChristmas Hand Drawn Acrylic HeartsMerry Moment Stamp


Pure Magic by Daniela Dobson – supplies used | November 2018 Kit, Wood Veneer Snow GlobesChristmas Shapes and Dots Puffy StickersChristmas Hand Drawn Acrylic HeartsMerry and Bright 6″ x 6″ Paper Stack, Merry Moment StampMini Dated StampNoteworthy 12″ x 12″ Paper Collection, Everyday Phrases StampTitle Builder Stamp


Deck the Halls by Jamie Leija — supplies used | November 2018 KitThis Season Phrase Stickers, Wood Veneer Snow GlobesChristmas Hand Drawn Acrylic HeartsMerry and Bright 6″ x 6″ Paper Stack


Oh What Fun pocket page spread by Jess Forster – supplies used | November 2018 Kit, Labeled Journaling TagsThis Season Phrase Stickers, Jane Alphabet Stickers — RedWood Veneer Snow Globes, Christmas Hand Drawn Acrylic HeartsMerry and Bright 6″ x 6″ Paper Stack


Hello November pocket page by Meghann Andrew – supplies used | November 2018 Kit, November LabelsNovember Label StickersThis Season Phrase Stickers, Navy Puffy Alphabet StickersChristmas Hand Drawn Acrylic HeartsMerry and Bright 6″ x 6″ Paper StackMerry Moment StampTitle Builder StampNoteworthy Wood Veneers


Merry Christmas pocket page by Nancy Damiano – supplies used | November 2018 Kit, Good Cheer Journaling TagsThis Season Phrase Stickers, Wood Veneer Snow GlobesMerry and Bright 6″ x 6″ Paper Stack


Moments of Wonder and Joy by Neela Nalam – supplies used | November 2018 Kit, November Label StickersThis Season Phrase StickersJane Alphabet Stickers — RedWood Veneer Snow GlobesChristmas Shapes and Dots Puffy StickersMerry Moment StampMerry and Bright 6″ x 6″ Paper Stack


Six Years by Suzanna Stein – supplies used | November 2018 KitNovember Print and Cut LabelsChristmas Shapes and Dots Puffy StickersNavy Puffy Alphabet StickersMerry and Bright 6″ x 6″ Paper Stack


Enjoying This Happy Moment by Tracey Fox – supplies used | November 2018 KitThis Season Phrase StickersChristmas Hand Drawn Acrylic HeartsMerry and Bright 6″ x 6″ Paper Stack, Merry Moment StampNoteworthy 12″ x 12″ Paper Collection
 
We can’t wait to see what these products have inspired YOU to make! Share in our Elle’s Studio Facebook Group, or on Instagram, using the hashtag #EllesStudio!

Prepping Your Document December Project: Week Three

It’s getting closer to December, and our team is here to inspire you to get organized and prepped for your big Document December project! By creating a bit now, you’ll make documenting during your busy December month simpler, and more FUN! Let’s take a look at what ideas Andrea Gray, Neela Nalam and Daniela Dobson have for you today:
 
Andrea | Hello sweet friends! December is right around the corner and it’s about time we begin prepping ideas, supplies, and maybe even parts of your album. All this prep will make it so much easier to add photos and stories as they happen.

Today I’m sharing how I created tags that can be added to any page and makes it super fun and already done. These small projects can really start up your creativity because they don’t take long to make!


I used stamps, puffy stickers, punched shapes from papers and alphabet stickers but you can use these and more to create your own!
 
Supplies | Jane Alphabet Stickers – RedChristmas Phrase StickersChristmas Shapes and Dots Puffy Stickers, Snowcapped Puffy Alphabet Stickers, Merry and Bright 6 x 6 Paper Stack, Christmas Seals Stamp, Oh What Fun Stamp, Noteworthy Stamp, Merry Moment Stamp


Neela | I don’t usually prep my whole album for this project so that I have enough freedom to design my page everyday, but I do like to do a little bit of prep work to make my process easier. I will be using a 6″ x 8″ album for this project.


Here are a few things that I did to start getting ready:

  • I located some containers to hold my embellishments.
  • I cut apart some of the label sheets. On the date labels, I also added the number puffy stickers to indicate the day.
  • I stamped and punched out sentiments from the Holiday Seals Stamp. Having these ready to add my photos and cards will save me a lot of time on a daily basis.
  •  
    I also created my intro page:


    I chose my favorite 6″ x 8″ paper from the Document December 2018 Kit and added white acrylic paint to the background. I then adhered the wood veneer and the sequins for embellishments. I used the Green Dipped Puffy Alphabet Stickers to spell “December” and the white Hazel Alphabet Stickers to add the year.
     
    I then created a fold out. I like to have one of these every year. This year I decided to have a fold out page with a Christmas tree.


    I cut out strips of paper from the Merry and Bright 6″ x 6″ Paper Stack and created my Christmas tree. I then embellished it with the sequins from the Document December Kit. I hope you’ve been inspired to do a little prep work on your December album!
     
    Supplies | Document December 2018 Kit, Hazel Alphabet Stickers—WhiteGreen Dipped Puffy Alphabet StickersMerry and Bright 6″ x 6″ Paper Stack, Christmas Seals Stamp


    Daniela | I am so excited to share my Document December album with you. I created an album that would fit our 4″ x 6″  and 3″ x 4″ journaling tags just by punching holes to create a quick and easy December album. The album is 4.25″ x 7.25″ with two binder rings. I decorated the outside with embellishments from Document December 2018 Kit focusing on the 25 Acrylic.


    I prepped a few pages by using some of my ideas I collected over time. One of them is this little envelope pocket I created to fit 4″ x 6″ tags. These will be scattered throughout the album.


    They can be filled with photos, journaling and bits and pieces collected in December. Envelope pockets are made from white cardstock, which leaves lot of room for stamping and adding embellishments from the kit. I want everything in this album to have my own personal touch.


    In addition to storing all of my Document December products in an Ikea plastic bin (Antonius), there is room for the album, as well. This will make it easy for me to transport all of the essentials to any room in my house for very easy documenting.  To keep the ideas in my album flowing, I also created a list of daily photo ideas and prompts.
     
    I hope I gave you some ideas to get started on your Document December project!
     
    Supplies | Document December 2018 Kit, 25 AcrylicHazel Alphabet Stickers—WhiteChristmas Shapes and Dots Puffy StickersCandy Cane Puffy Alphabet StickersChristmas Seals StampOh What Fun Stamp


    Show us how you’re prepping your Document December project! We’d love to see what you’re doing in our Elle’s Studio Facebook Group or on Instagram using the hashtag #EllesStudio! 

    Lovely Layered Cards with Melissa Mann

    Looking for an easy holiday greeting to send to a friend at the last minute, or want to put together something handmade for a gift swap? Melissa Mann has a simple, yet lovely card design to share with us today! The best part? It’s easy to re-create over and over again! Let’s take a look:
     
    Hello! This is Melissa with you today and I have put together a trio of simple and sweet holiday cards using the November Kit and add-ons!


    Supplies | November 2018 Kit, Large Wood Veneer Snow Globes, Merry Moment Stamp, Merry and Bright 6″ x 6″ Paper Stack
     
    I wanted to create a card that would be easy to create AND easy to replicate. These cards use mostly patterned paper from the Merry and Bright 6″ x 6″ Paper Stack, 3″ x 4″ journaling tags found in the November 2018 Kit and white cardstock! Easy peasy!
     
    First, I created my card base with white cardstock. I layered a piece of patterned paper from the Merry and Bright 6″ x 6″ Paper Stack on top, which I stitched on using my sewing machine for extra texture. I layered a smaller rectangle of coordinating patterned paper on top, popping it up with foam tape. I also distressed the edges of this block of paper. Next, I layered a 3″ x 4″ journaling tag, but before I adhered the tag, I distressed the edges and stamped my sentiment using the Merry Moment Stamp.


    Next, I placed the one and only embellishment on each card, the snow globe wood veneer! It added the perfect finishing touch!
     
    After I had constructed the first card, it was easy to quickly replicate that card two more times using various patterned paper and tags. Within just a few minutes, I had created three cards!
     
    While I was photographing my cards, the thought crossed my mind that this would be the perfect quick Christmas gift for someone! Simply add three blank envelopes and bundle the set together with some baker’s twine for an easy handmade Christmas gift!


    Thanks for stopping by and taking a peek at my cards today! Have you made cards using your November goodies? We’d love to see them! Share your projects with us in our new Elle’s Studio Facebook group, or post them on Instagram using the hashtag #EllesStudio!
     

    Documenting Good Cheer with Suzanna Stein

    Clean and bright pocket pages and bright pops of color—that’s what design team member Suzanna Stein is known for, and the November 2018 Kit and add-ons were perfect for her beautiful style. She’s showing us a brand new pocket page spread today, and inspiring us to start planning our holiday documentation! Let’s take a look:
     
    Hey friends, Suzanna here! I’m so excited to be back on the blog sharing a pocket page layout I created with the November kit and extras! November and December always feel so magical to me. The colors everywhere, people celebrating and spending time with family, and the overall feeling of cheer just makes me the happiest.
     
    I was so happy to document some of my favorite holiday memories from this past year using the festive pieces of the November Kit! Y’all know I am a lover of pocket pages, specifically in the 6″ x 8” size, so it should be no surprise that I stuck with that format for this project. I’ve also really been loving adding flip pockets on my projects so I can add more photos and/or journaling, while sticking to my small two-page layout.


    Supplies | November 2018 Kit, Labeled Journaling TagsGood Cheer Journaling TagsThis Season Phrase StickersChristmas Hand Drawn Acrylic HeartsMerry & Bright 6″ x 6″ Paper Stack, Merry Moment Stamp
     
    I kept the left side of the layout fairly simple, with a few bold pops of color. The “Good Cheer” journaling tag from the Good Cheer Journaling Tags was perfect for sharing my feelings about this overall theme of holiday traditions! I added one of the fun Christmas Hand Drawn Acrylic Hearts for a bit of dimension.


    Below that, I used one of my favorite 4″ x 6″ journaling tags from the November Kit as a bullet-point list of the things shown in the photos on my layout. I didn’t match the icon to the item on the list, but rather just tried to vary the items based on length to balance the large journaling across the card.


    Over on the right side of the layout, I added the majority of my photos, along with a longer bit of journaling. I try to keep the embellishments on my photos simple, but adding a die cut or two, or maybe a label with a sentiment about the photo. For me, less is more when embellishing the photos themselves.


    I had a 3″ x 4″ sized horizontal photo that I wanted to include, so I added it over top of a 4″ x 6″ piece of patterned paper paper from the Merry & Bright 6″ x 6″ Paper Stack, with layers and lots of embellishments. I like to think of it as a mini layout within my layout. Again, I added a Christmas Hand Drawn Acrylic Heart for dimension, and because I just couldn’t resist. I absolutely love them!!


    Under the sentiment tag on the upper right side, I added a flip up tag to include an additional photo and journaling. There are so many ways you can add a flip up to your pockets. I shared a fun way to use labels as flip hinges in this post, if you’re in need of some ideas. For this layout, I just added a stick-on pocket that I pulled from my stash.


    I hope this layout gave you a few ideas and a bit of inspiration on not only how you can document your holiday memories and traditions, but also ways to include different size photos and additional photos and journaling on your 6″ x 8” pocket page layouts! I can’t wait to see what you create with the November kit and extras!


    We want to see your November Kit pocket page spreads! Share your projects on Instagram using the hashtag #EllesStudio! You could win a gift certificate to the shop and be featured on our blog and Instagram feed just for sharing!