It’s getting closer to December, and our team is here to inspire you to get organized and prepped for your big Document December project! By creating a bit now, you’ll make documenting during your busy December month simpler, and more FUN! Let’s take a look at what ideas Andrea Gray, Neela Nalam and Daniela Dobson have for you today:
Andrea | Hello sweet friends! December is right around the corner and it’s about time we begin prepping ideas, supplies, and maybe even parts of your album. All this prep will make it so much easier to add photos and stories as they happen.
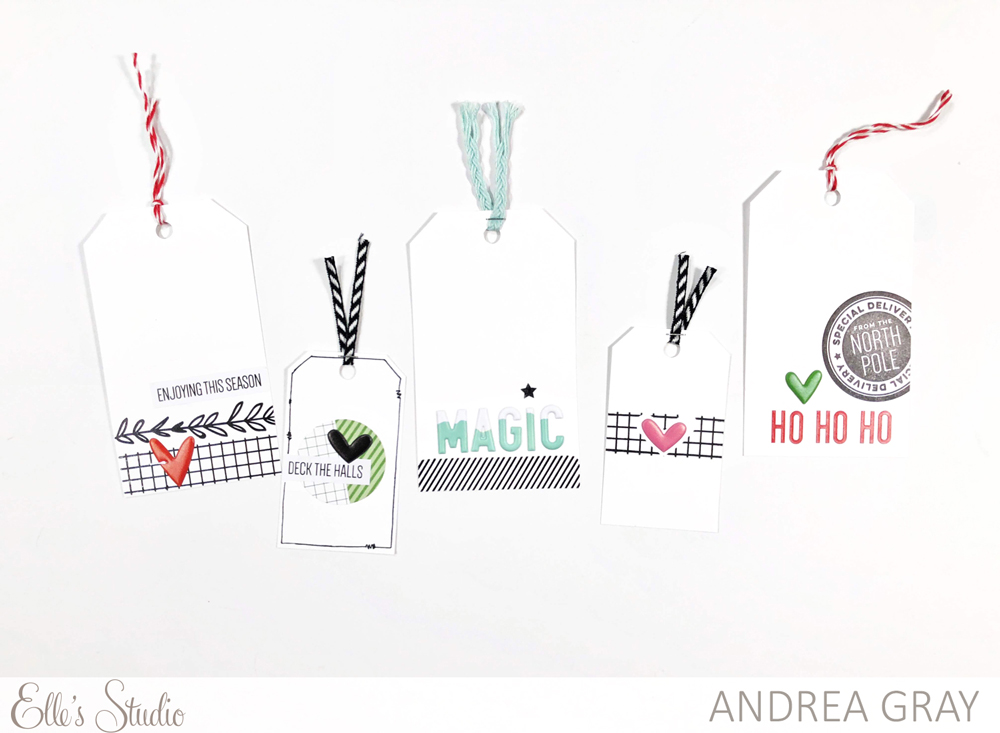
Today I’m sharing how I created tags that can be added to any page and makes it super fun and already done. These small projects can really start up your creativity because they don’t take long to make!
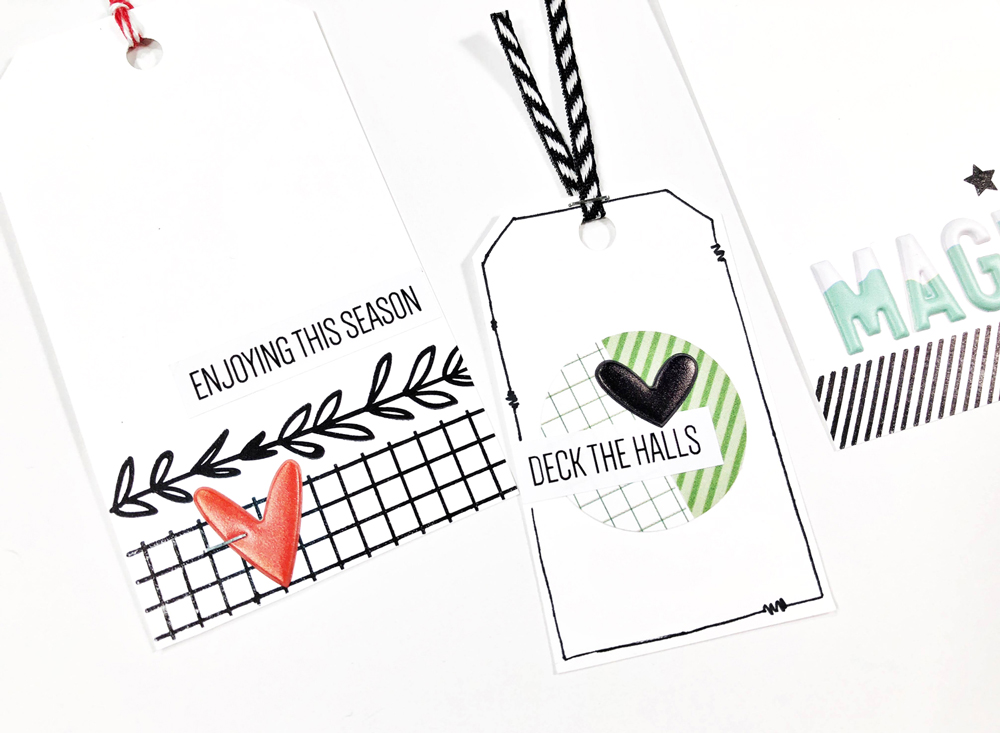
I used stamps, puffy stickers, punched shapes from papers and alphabet stickers but you can use these and more to create your own!
Supplies | Jane Alphabet Stickers – Red, Christmas Phrase Stickers, Christmas Shapes and Dots Puffy Stickers, Snowcapped Puffy Alphabet Stickers, Merry and Bright 6 x 6 Paper Stack, Christmas Seals Stamp, Oh What Fun Stamp, Noteworthy Stamp, Merry Moment Stamp

Neela | I don’t usually prep my whole album for this project so that I have enough freedom to design my page everyday, but I do like to do a little bit of prep work to make my process easier. I will be using a 6″ x 8″ album for this project.
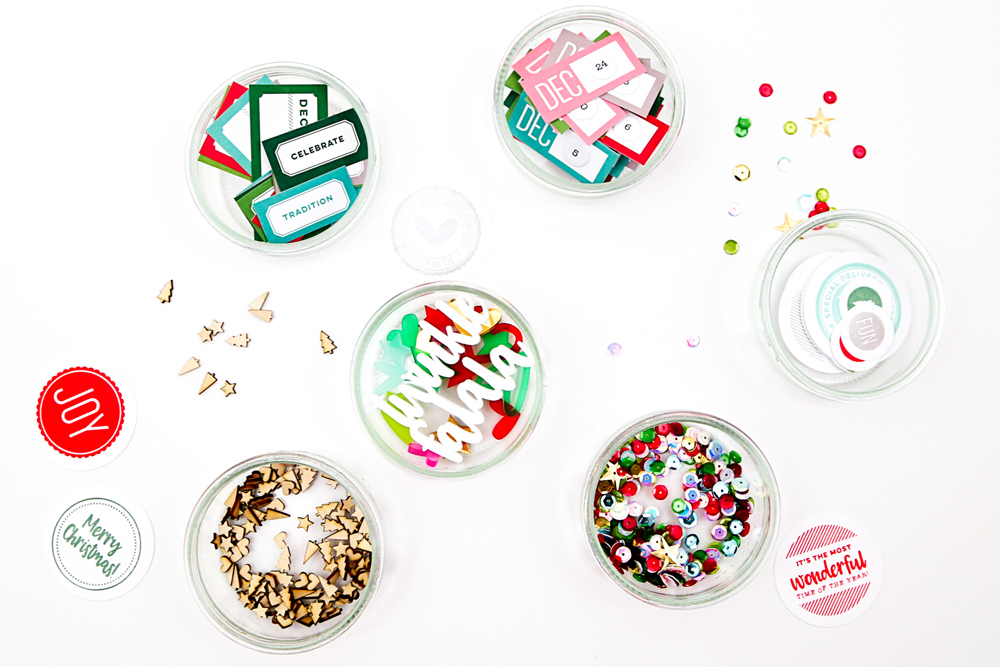
Here are a few things that I did to start getting ready:
I also created my intro page:
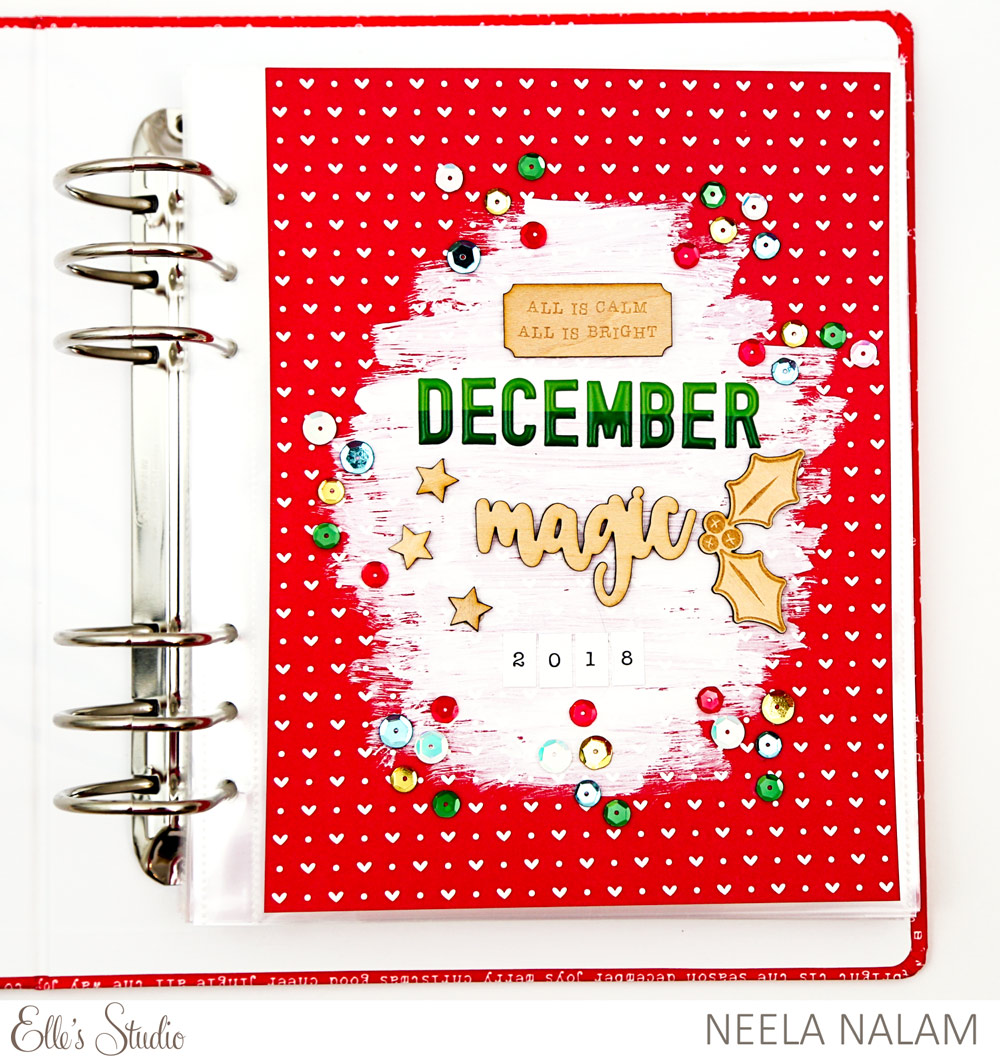
I chose my favorite 6″ x 8″ paper from the Document December 2018 Kit and added white acrylic paint to the background. I then adhered the wood veneer and the sequins for embellishments. I used the Green Dipped Puffy Alphabet Stickers to spell “December” and the white Hazel Alphabet Stickers to add the year.
I then created a fold out. I like to have one of these every year. This year I decided to have a fold out page with a Christmas tree.
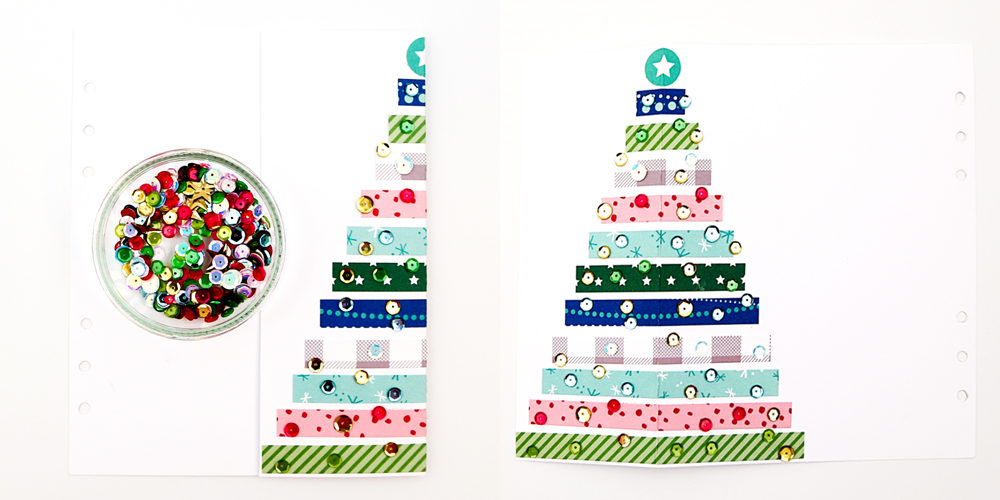
I cut out strips of paper from the Merry and Bright 6″ x 6″ Paper Stack and created my Christmas tree. I then embellished it with the sequins from the Document December Kit. I hope you’ve been inspired to do a little prep work on your December album!
Supplies | Document December 2018 Kit, Hazel Alphabet Stickers—White, Green Dipped Puffy Alphabet Stickers, Merry and Bright 6″ x 6″ Paper Stack, Christmas Seals Stamp

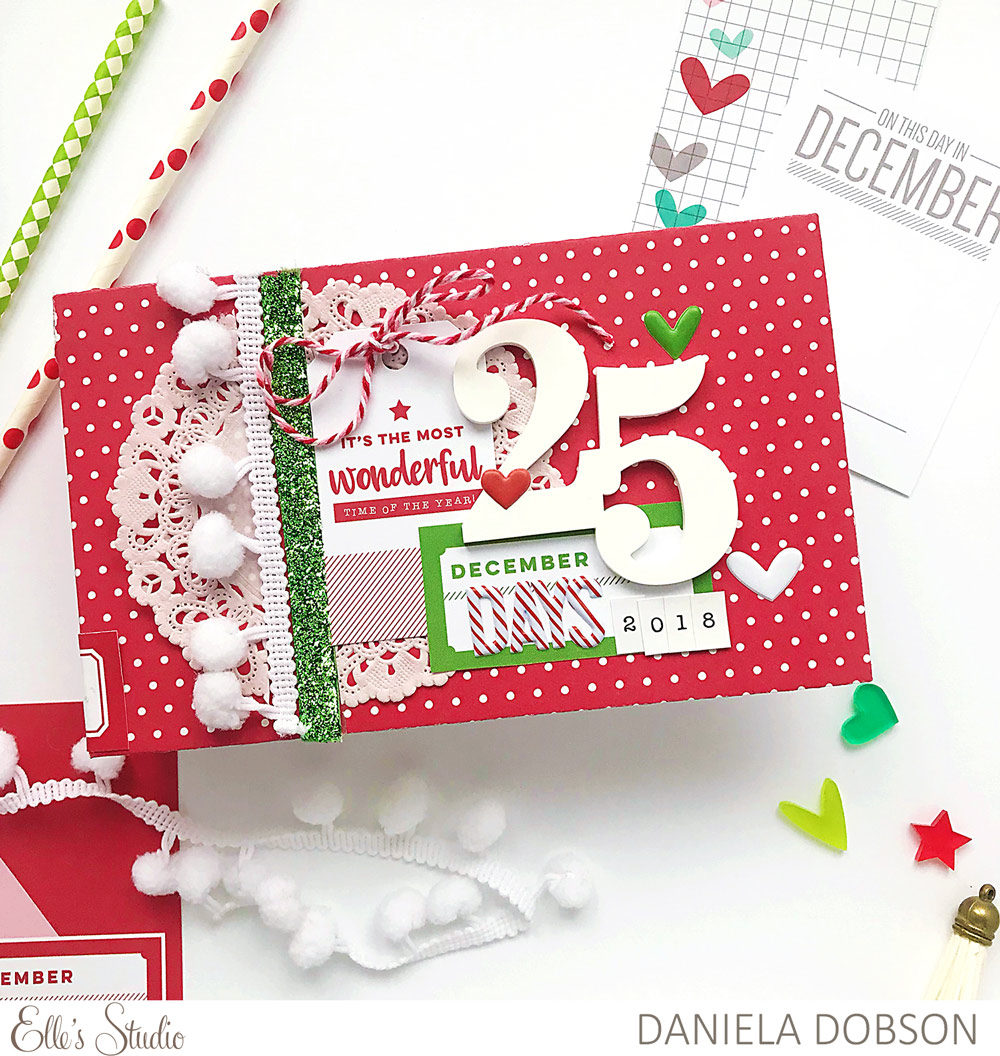
Daniela | I am so excited to share my Document December album with you. I created an album that would fit our 4″ x 6″ and 3″ x 4″ journaling tags just by punching holes to create a quick and easy December album. The album is 4.25″ x 7.25″ with two binder rings. I decorated the outside with embellishments from Document December 2018 Kit focusing on the 25 Acrylic.
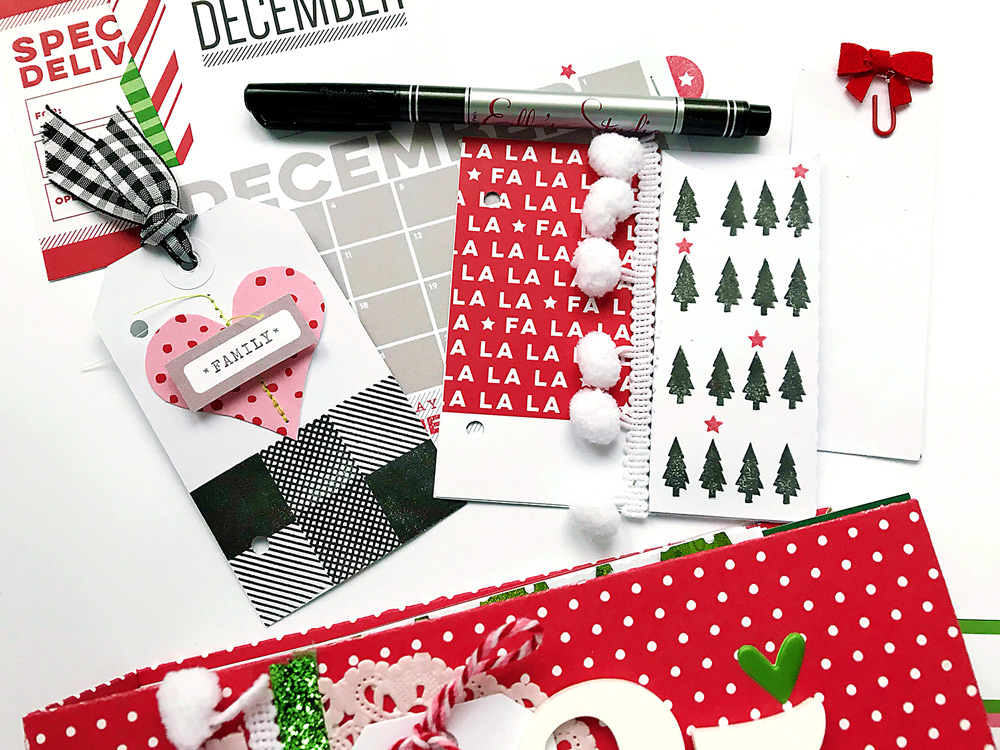
I prepped a few pages by using some of my ideas I collected over time. One of them is this little envelope pocket I created to fit 4″ x 6″ tags. These will be scattered throughout the album.
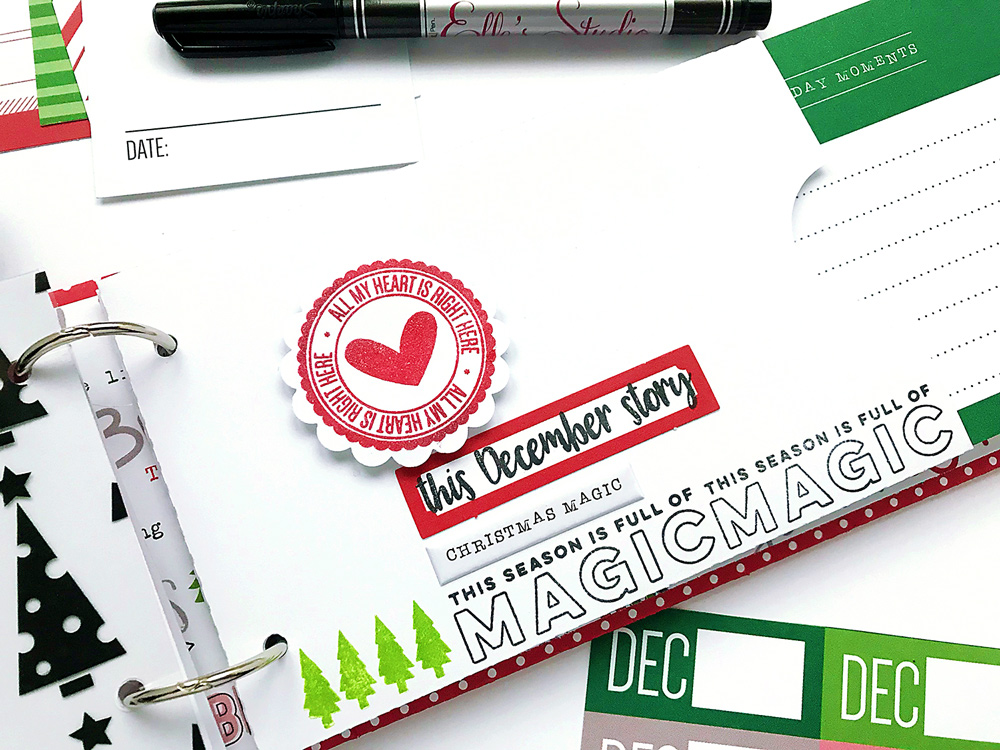
They can be filled with photos, journaling and bits and pieces collected in December. Envelope pockets are made from white cardstock, which leaves lot of room for stamping and adding embellishments from the kit. I want everything in this album to have my own personal touch.
In addition to storing all of my Document December products in an Ikea plastic bin (Antonius), there is room for the album, as well. This will make it easy for me to transport all of the essentials to any room in my house for very easy documenting. To keep the ideas in my album flowing, I also created a list of daily photo ideas and prompts.
I hope I gave you some ideas to get started on your Document December project!
Supplies | Document December 2018 Kit, 25 Acrylic, Hazel Alphabet Stickers—White, Christmas Shapes and Dots Puffy Stickers, Candy Cane Puffy Alphabet Stickers, Christmas Seals Stamp, Oh What Fun Stamp

Show us how you’re prepping your Document December project! We’d love to see what you’re doing in our Elle’s Studio Facebook Group or on Instagram using the hashtag #EllesStudio!

Comments