We love when our design team members inspire each other, and today Nathalie Leonelli was inspired to change up a design by Daniela to fit in a smaller format. She’s here to show us just how do-able it is! Let’s take a look!
I love the 10th of each month when we get to discover the new monthly kit and add-on products, but also see some of the amazing work done by the design team members. Those blog posts are an awesome source of ideas and I, Nathalie, am here today to share how one of them inspired me for a new project I created with the June Kit and extras.
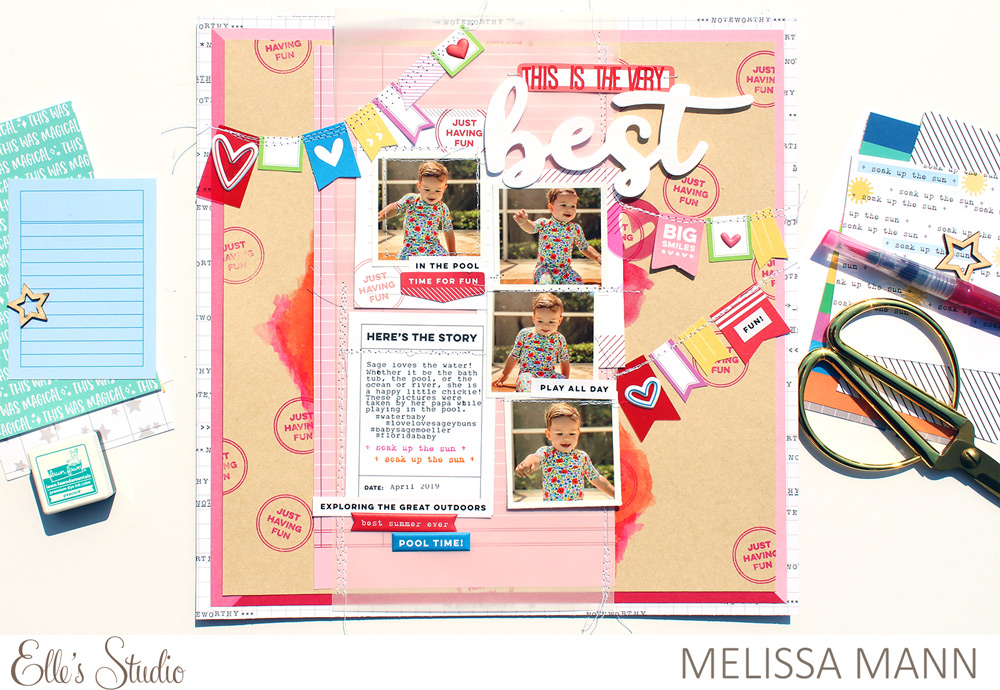
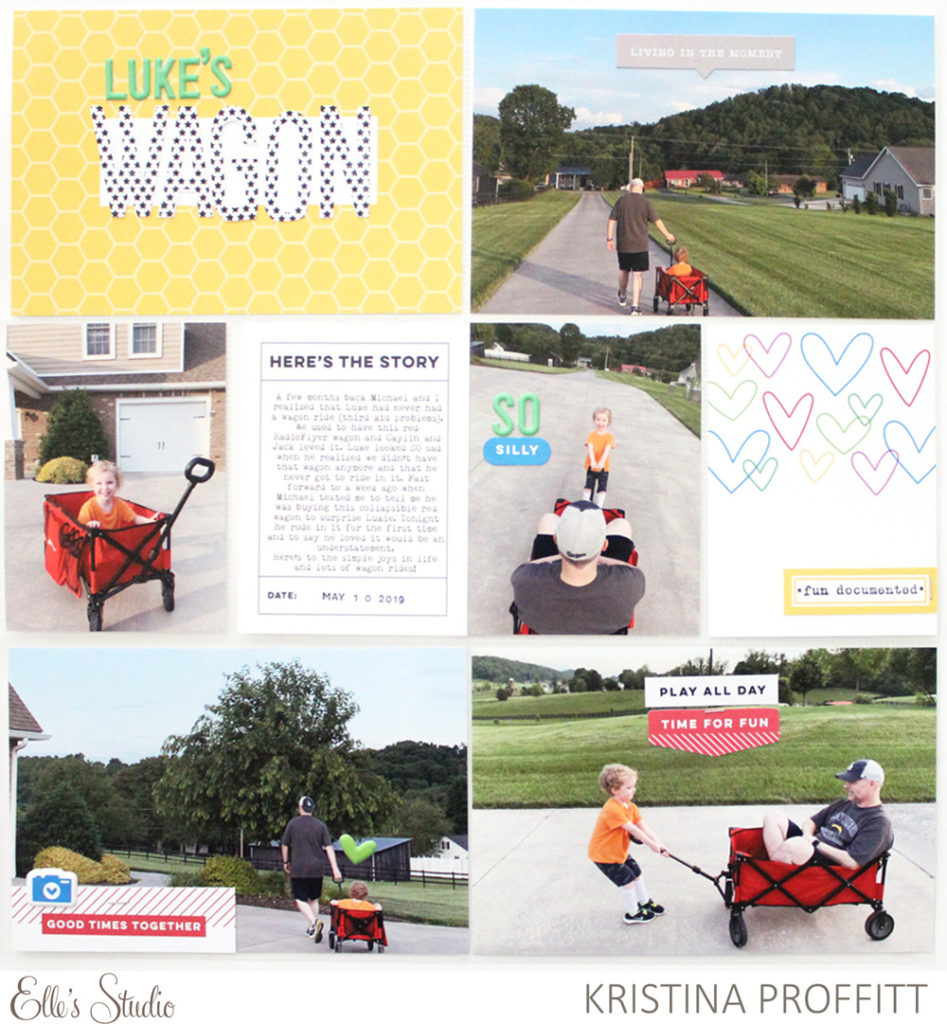
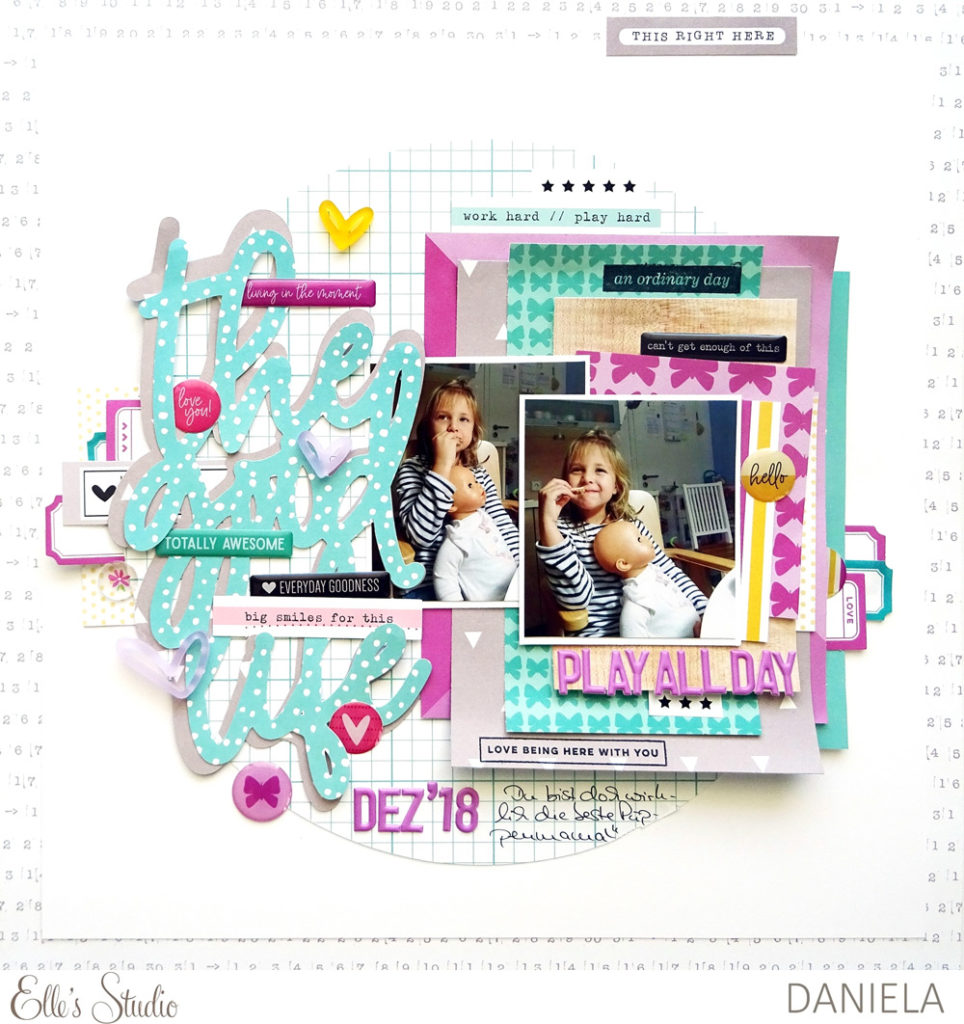
The design, the layering and the details in Daniela’s Play All Day layout from May really appealed to me:
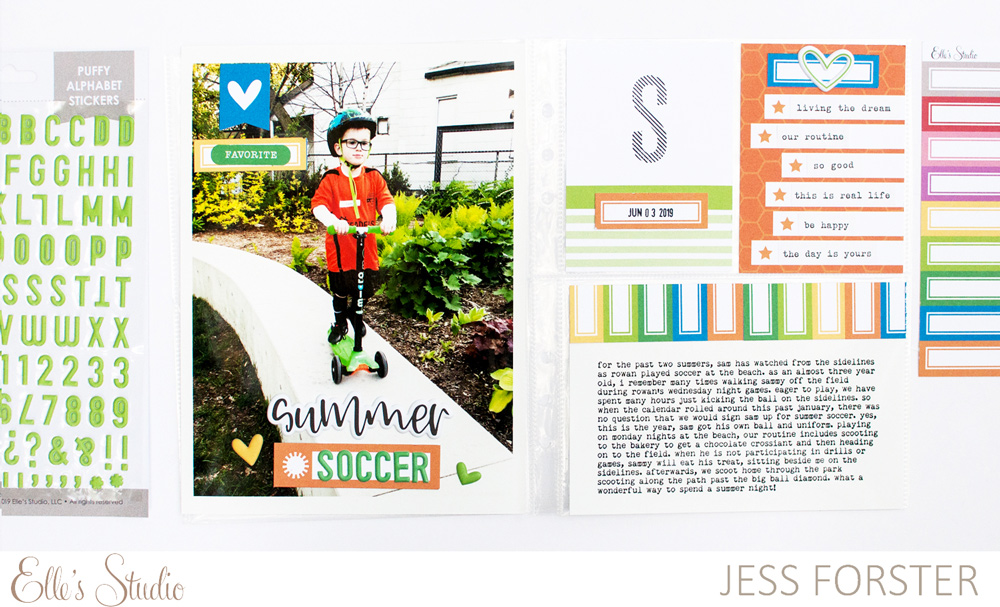
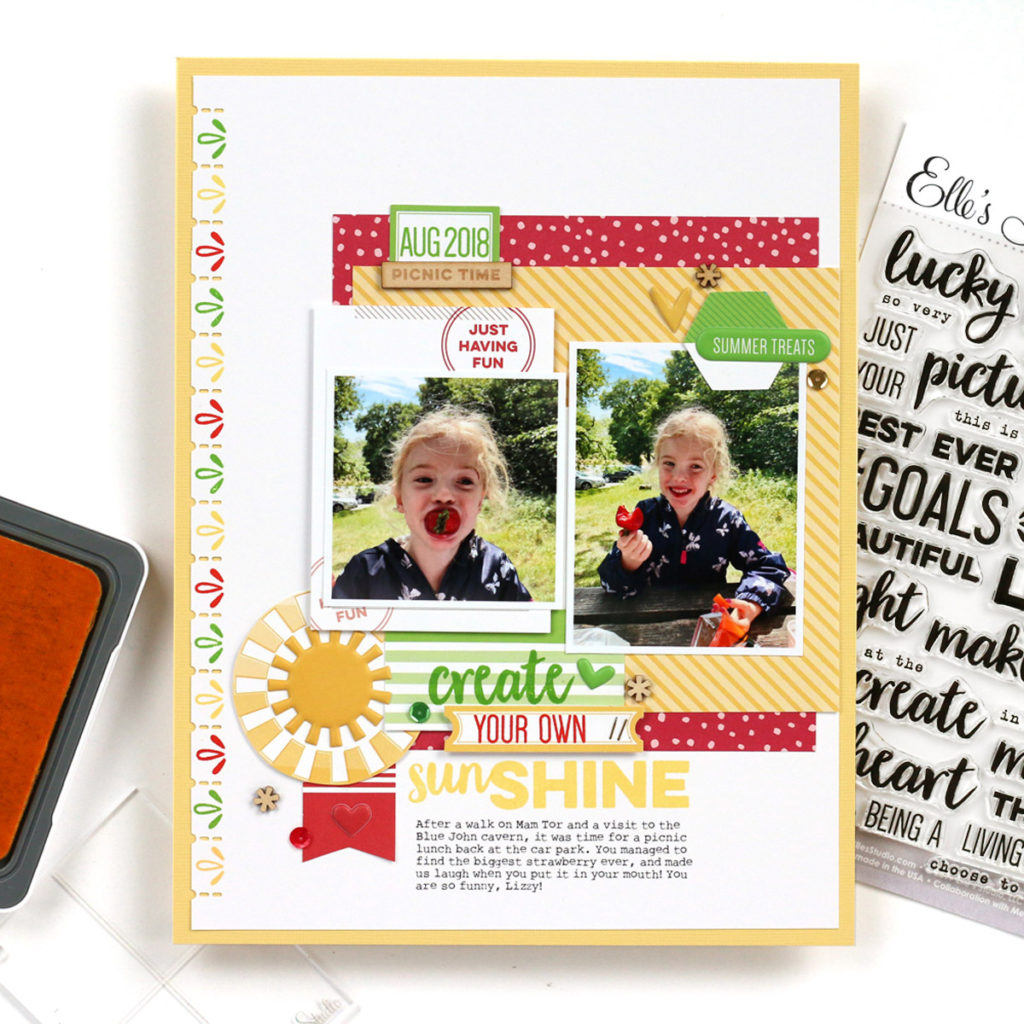
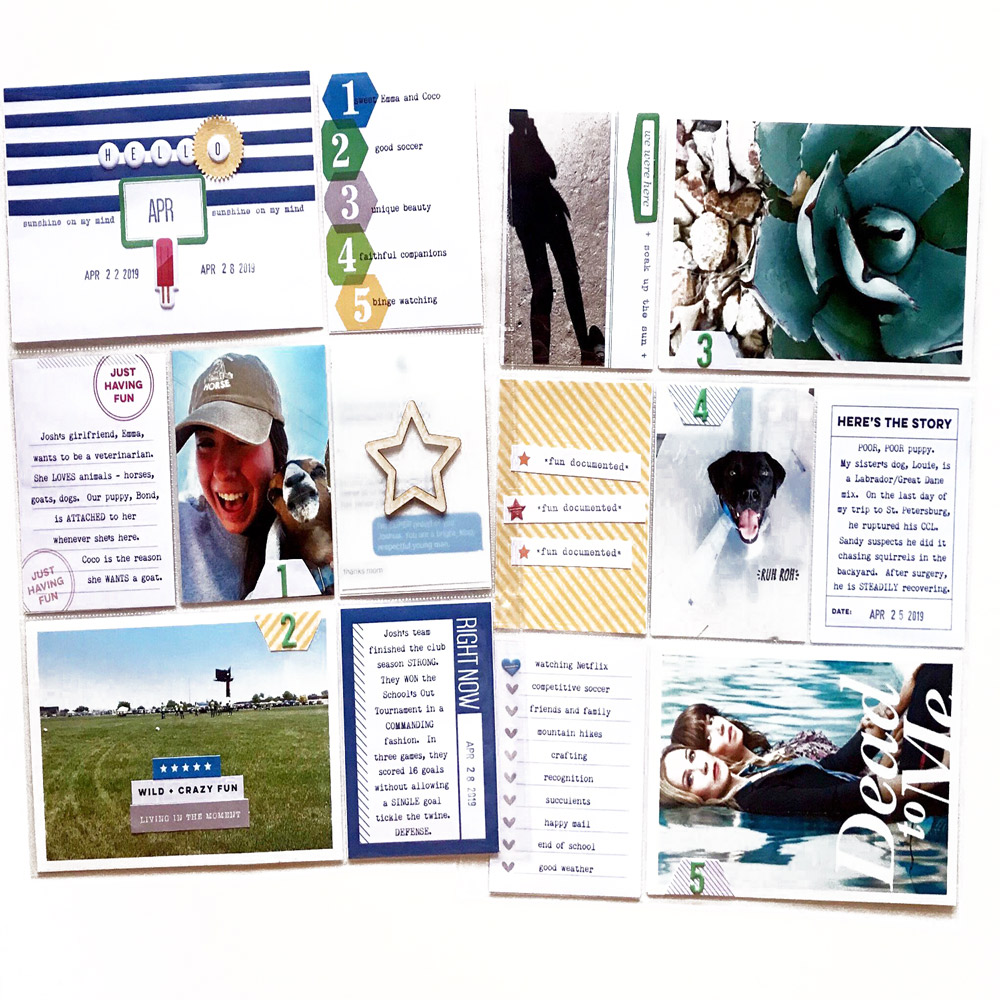
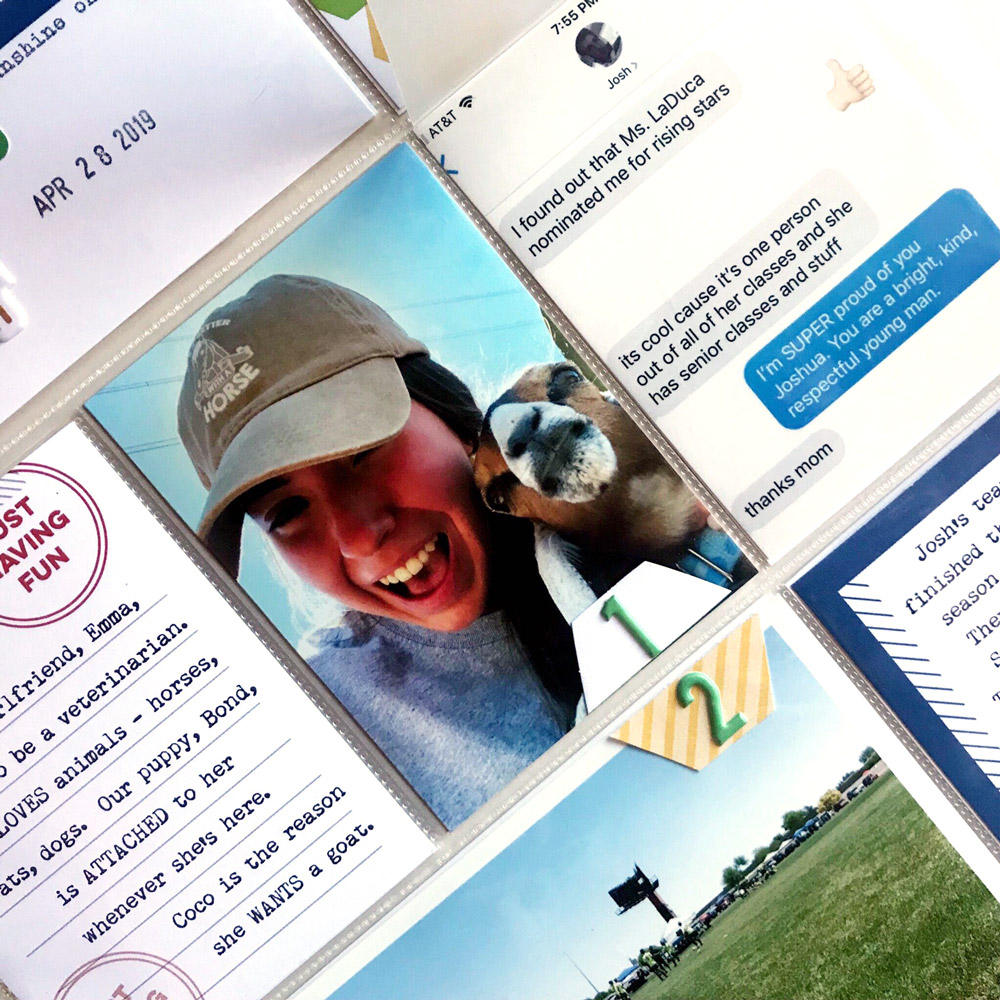
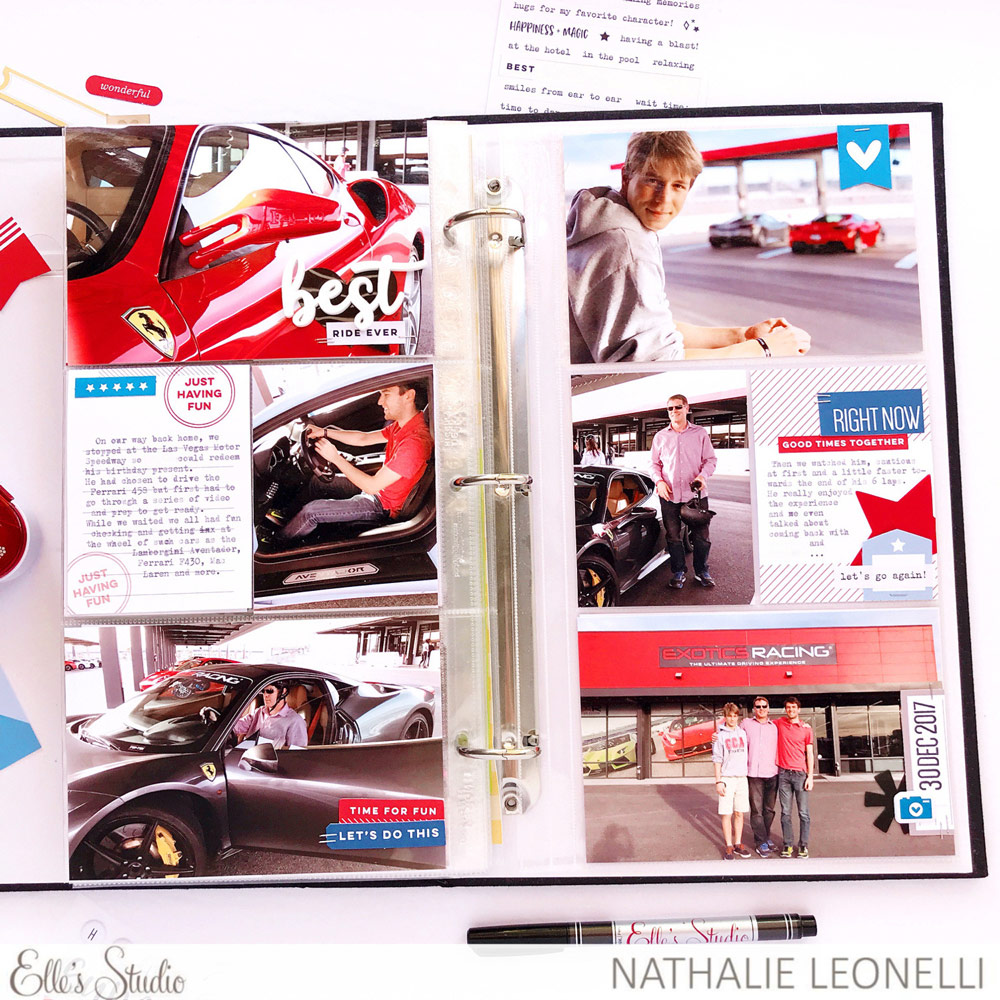
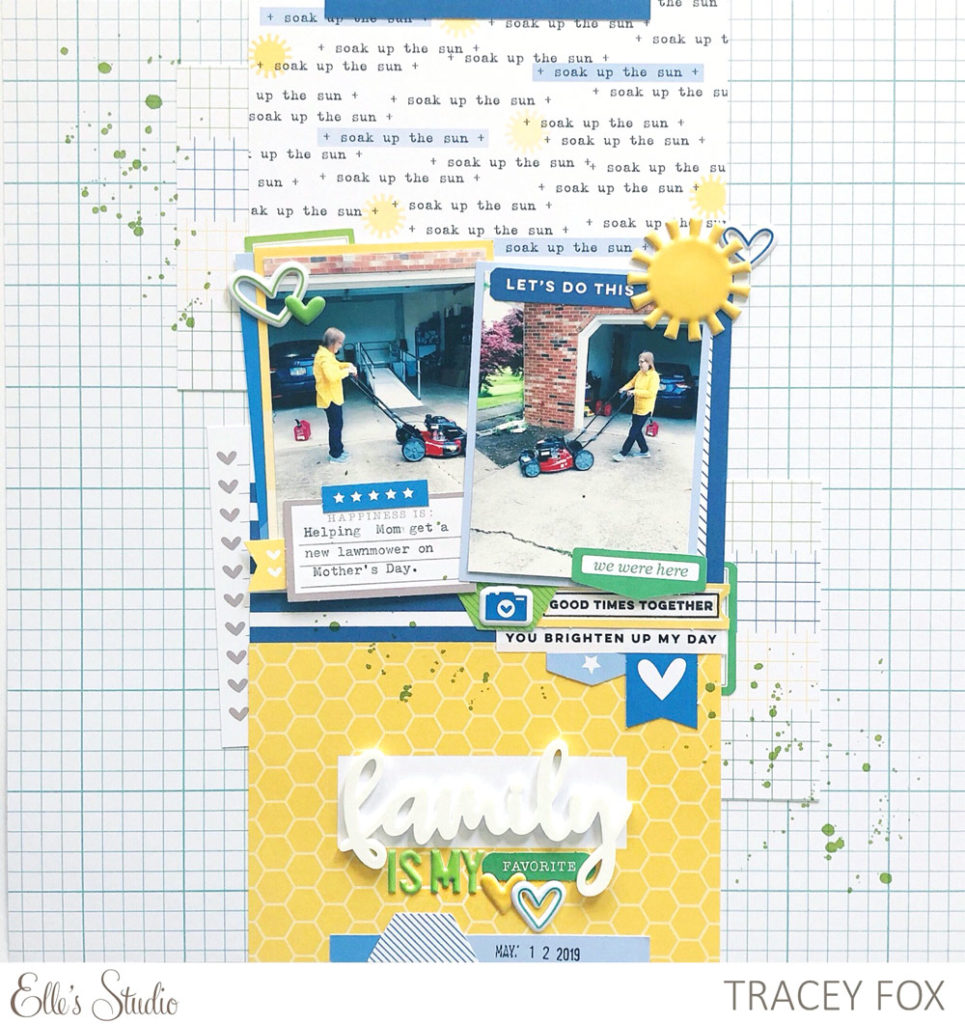
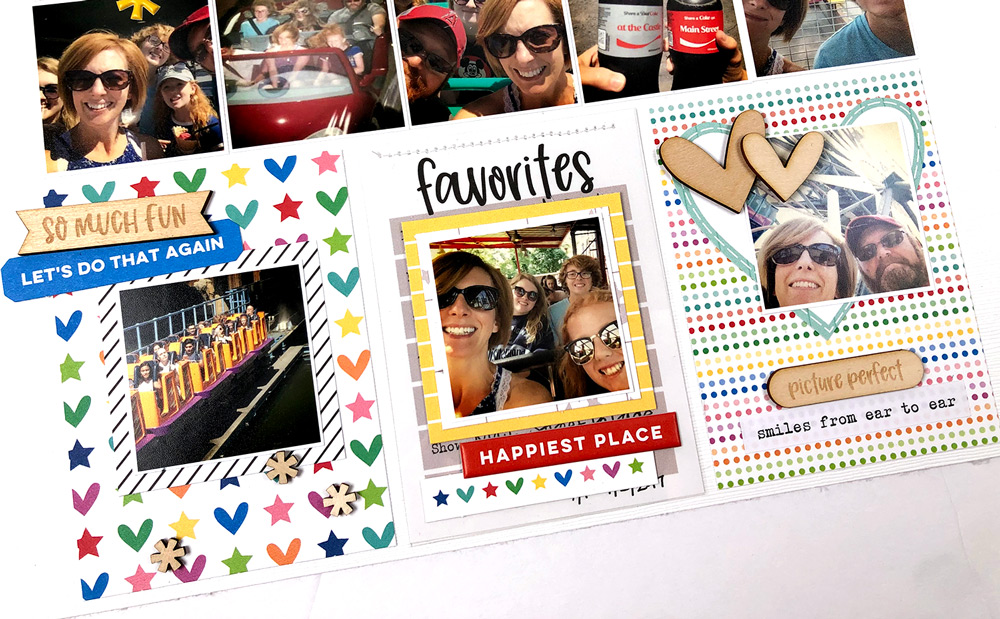
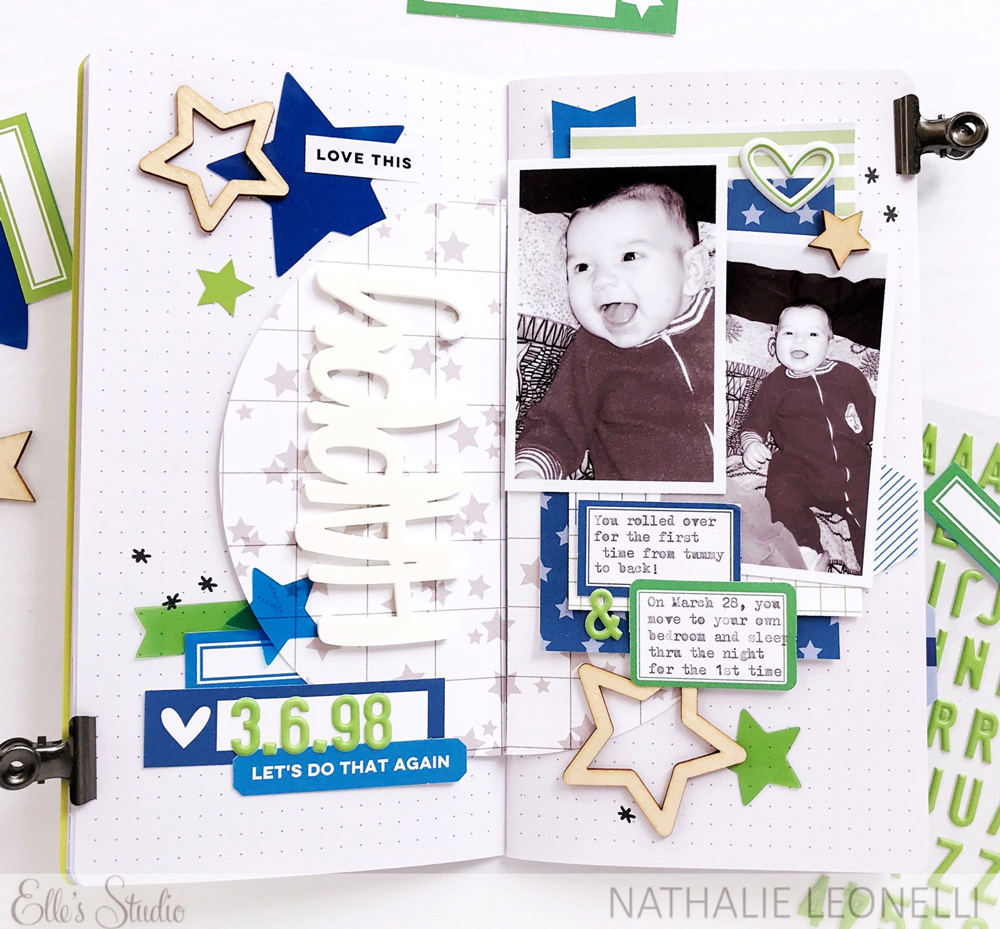
Another thing that grabbed me was that I could imagine it in a traveler’s notebook insert, which is what I ultimately wanted to work on. Here is the result:
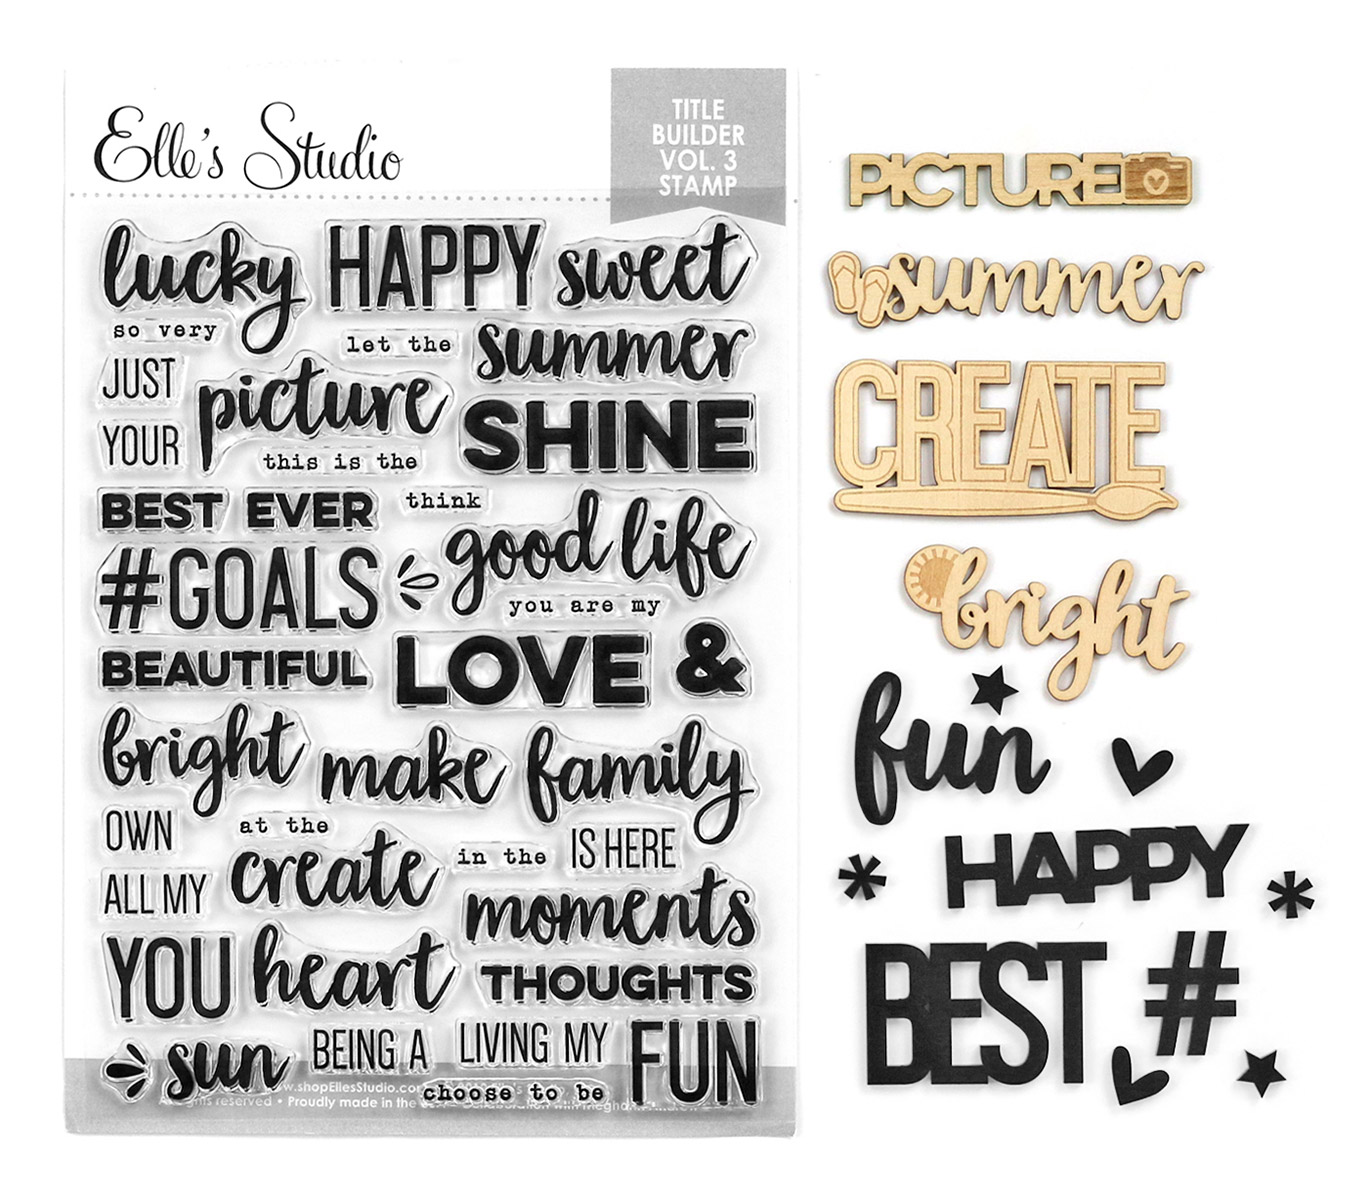
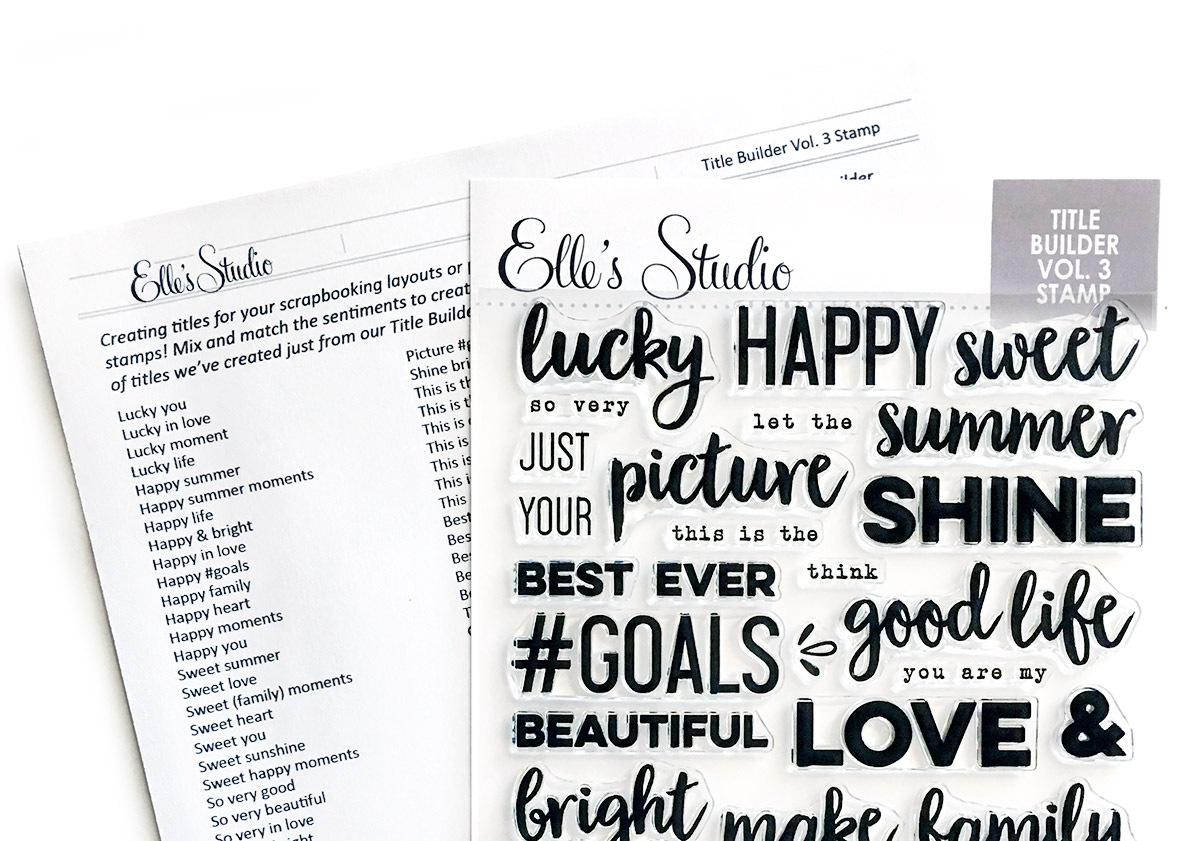
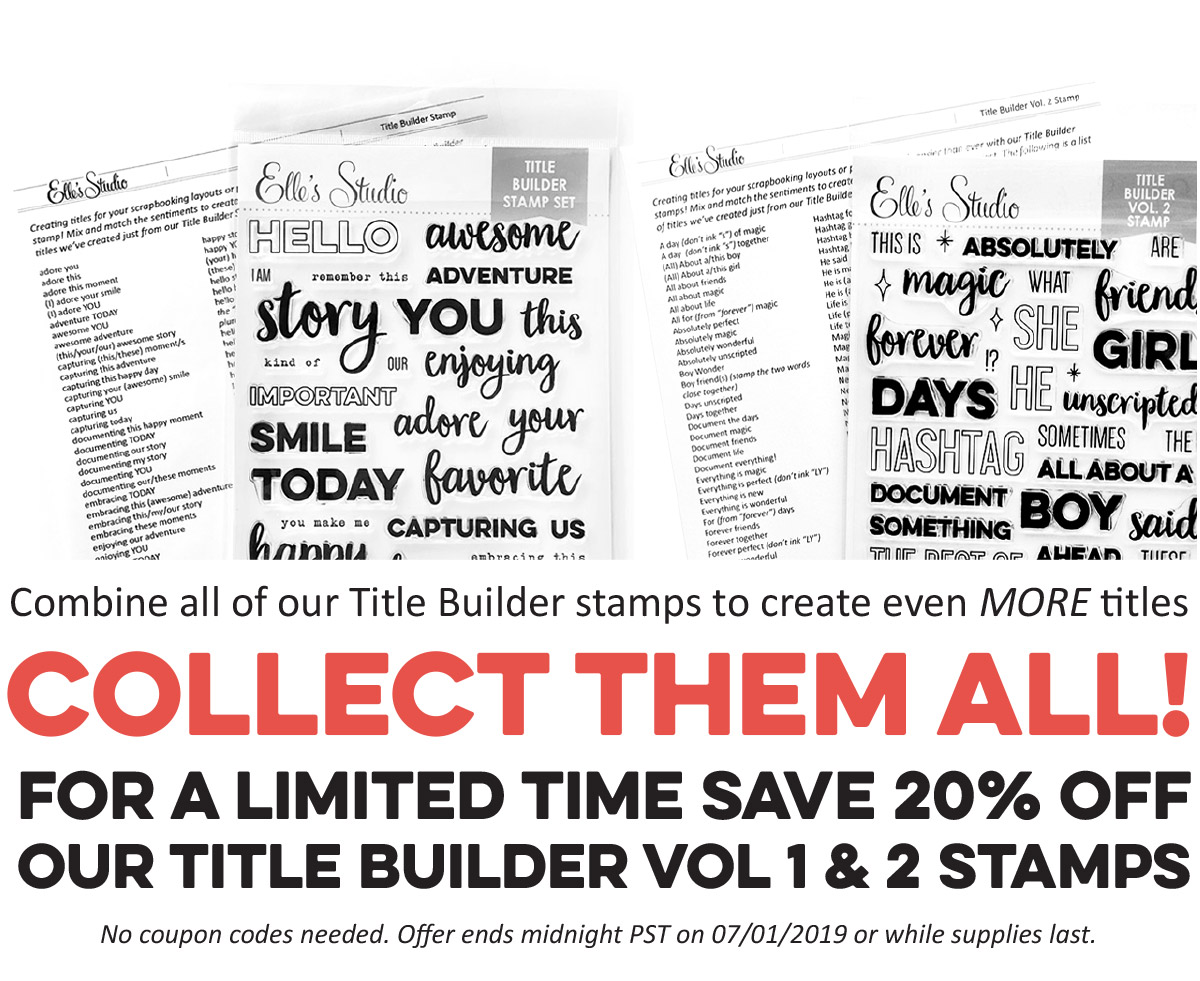
Supplies | June 2019 Kit, June Labels, Summer Phrase Stickers, Summer Puffy Stickers, Lime Green Puffy Alphabet Stickers, Wood Veneer Stars, Magical Memories Acetate Die Cuts, Magical Memories Happy Acrylic, Magical Memories Stamp, Magical Memories 6 x 6 Paper Stack
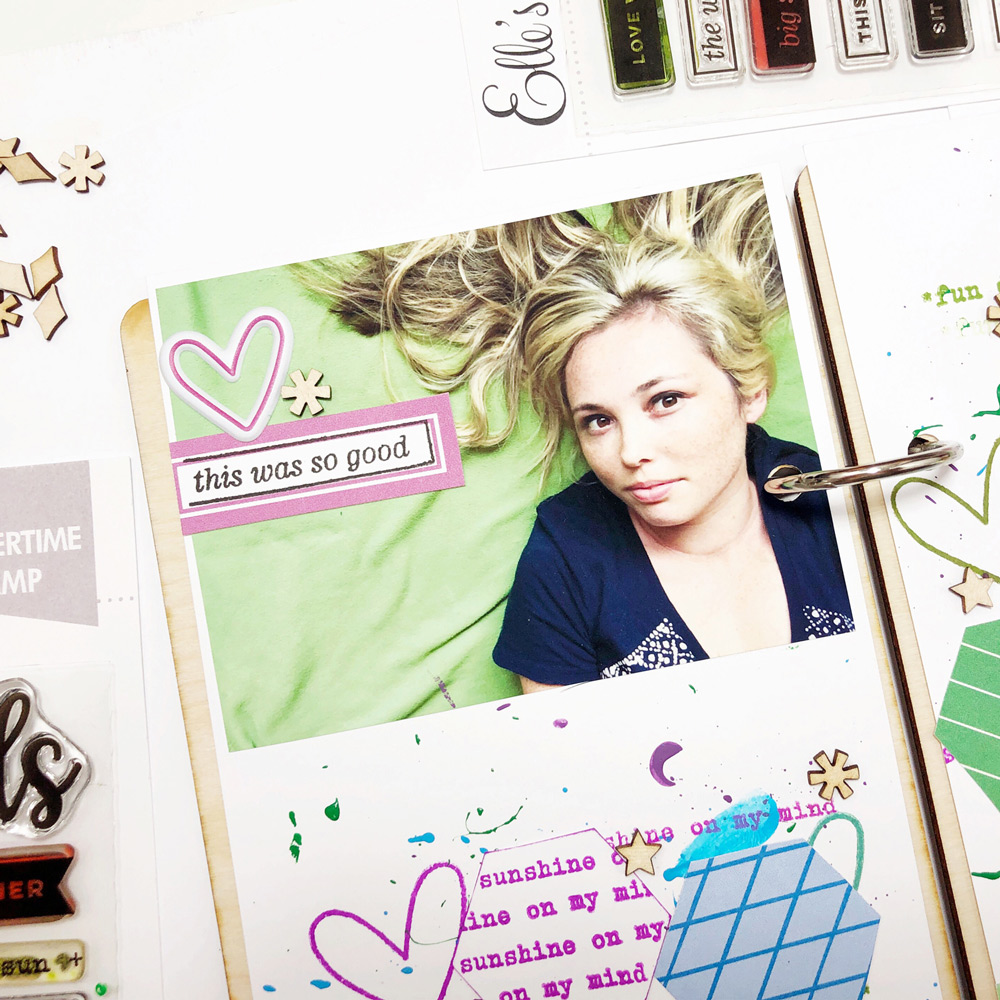
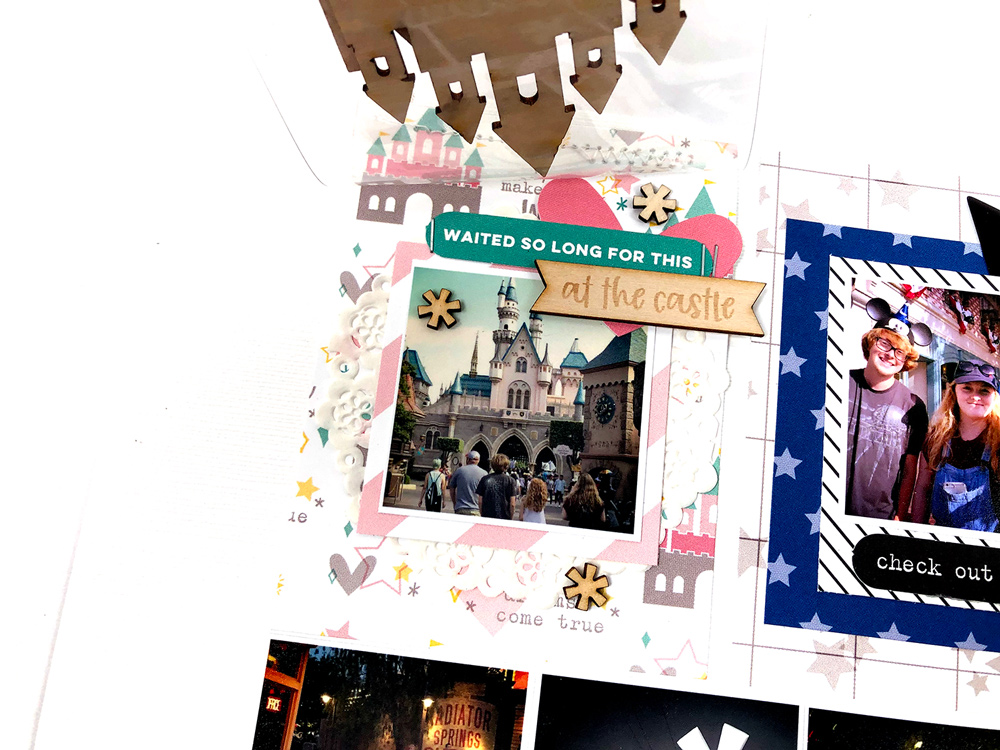
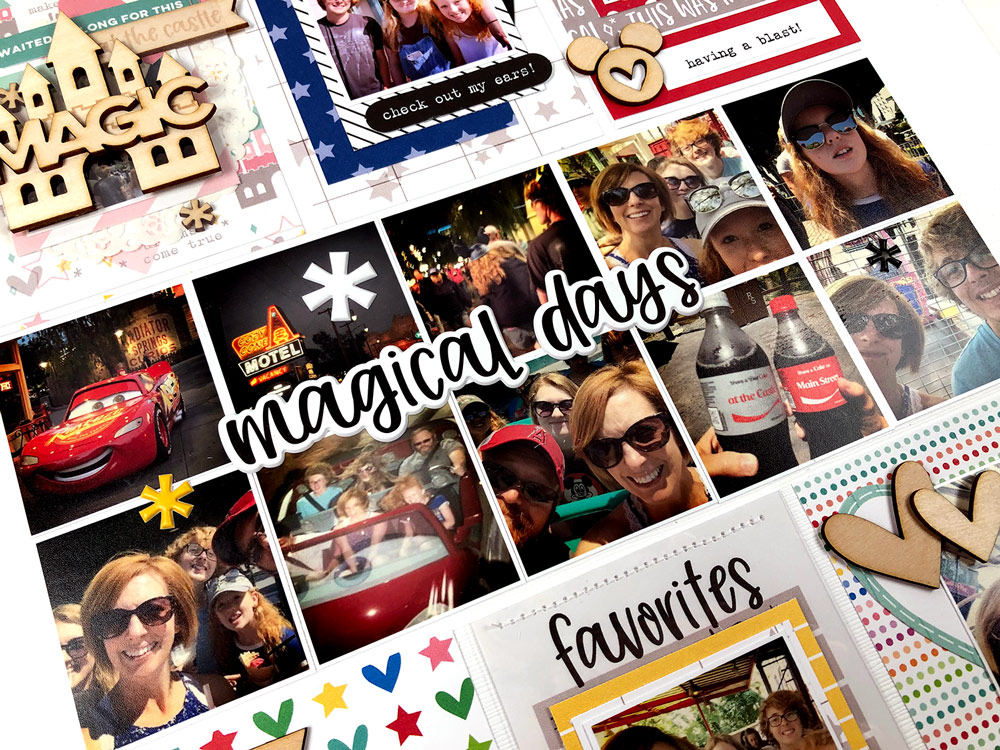
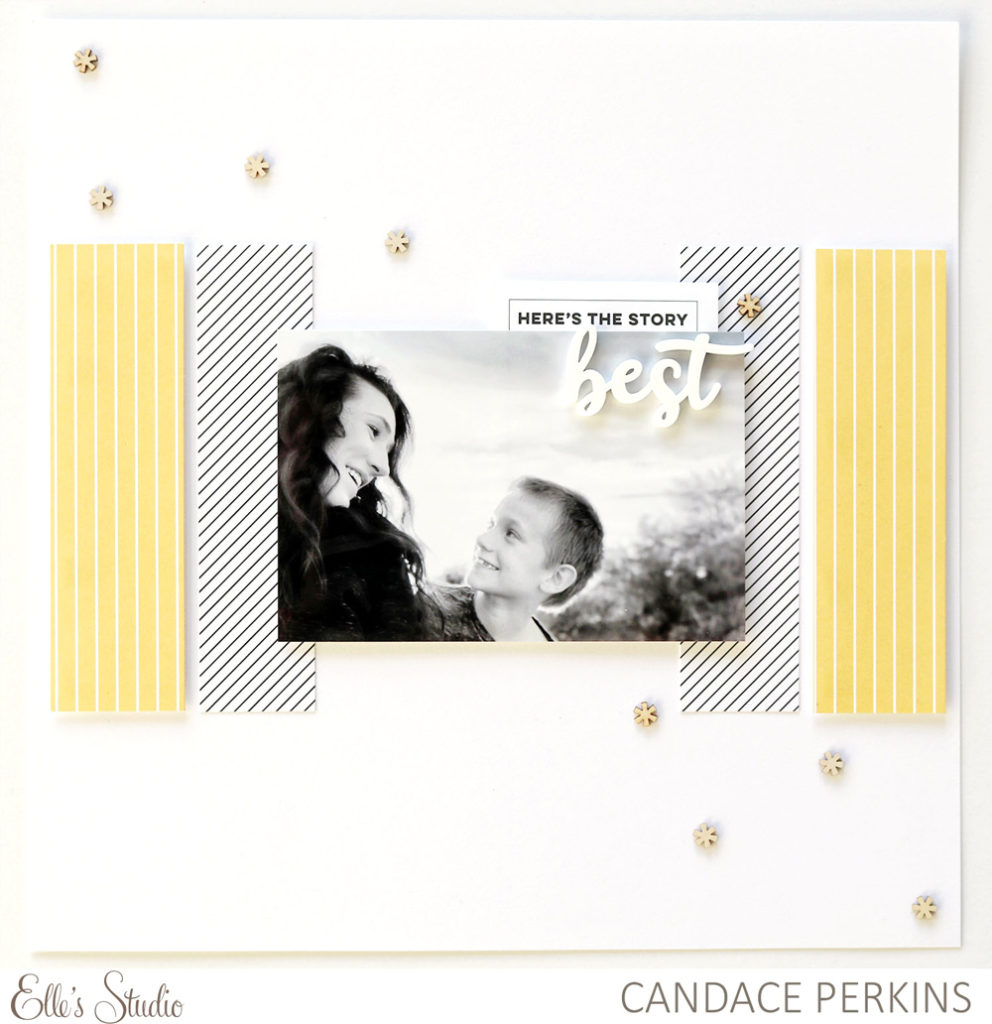
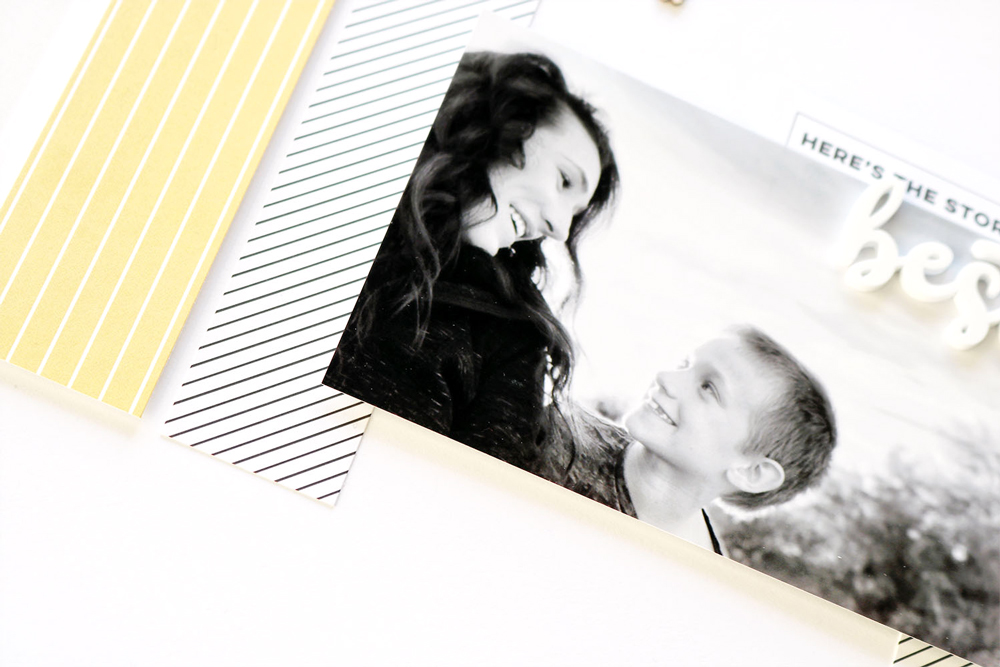
As you might see I have kept the major lines of her designs including the big circle base, which I loved, the two photos, the layering and the position of the large title. I pulled a more masculine color combination of blues and greens from my June supplies.
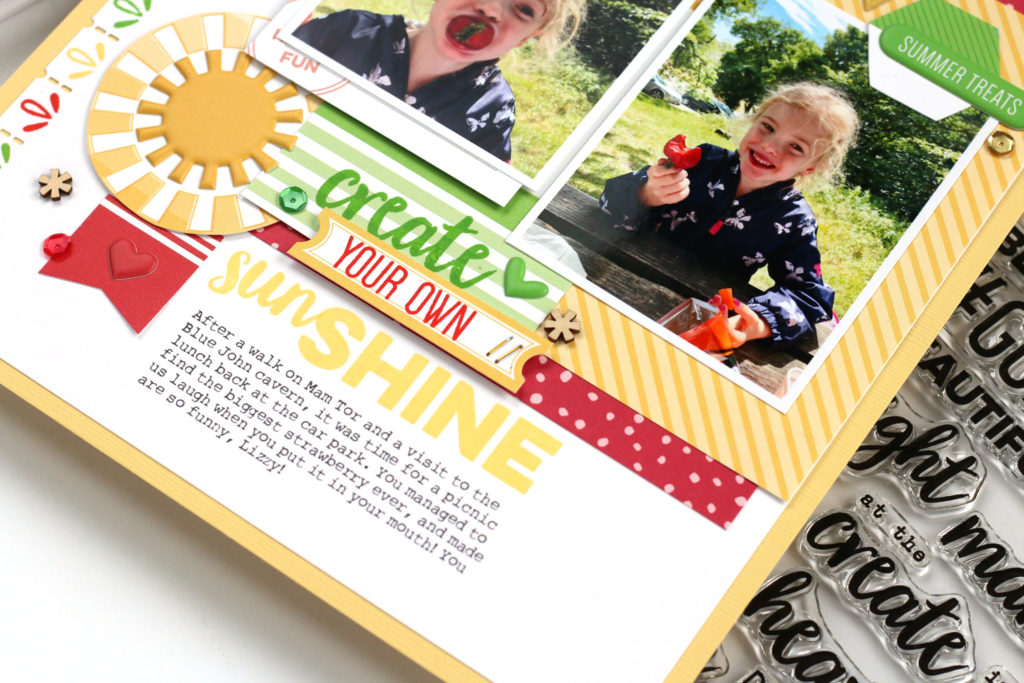
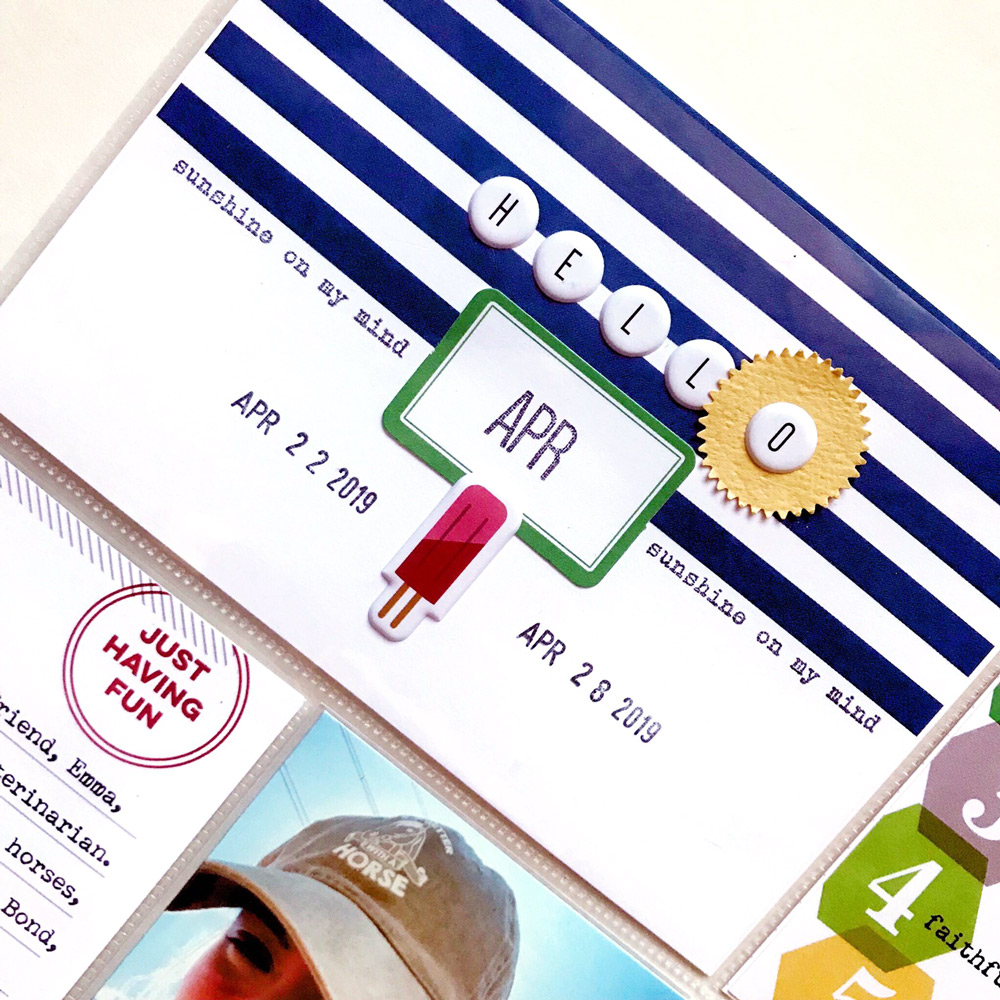
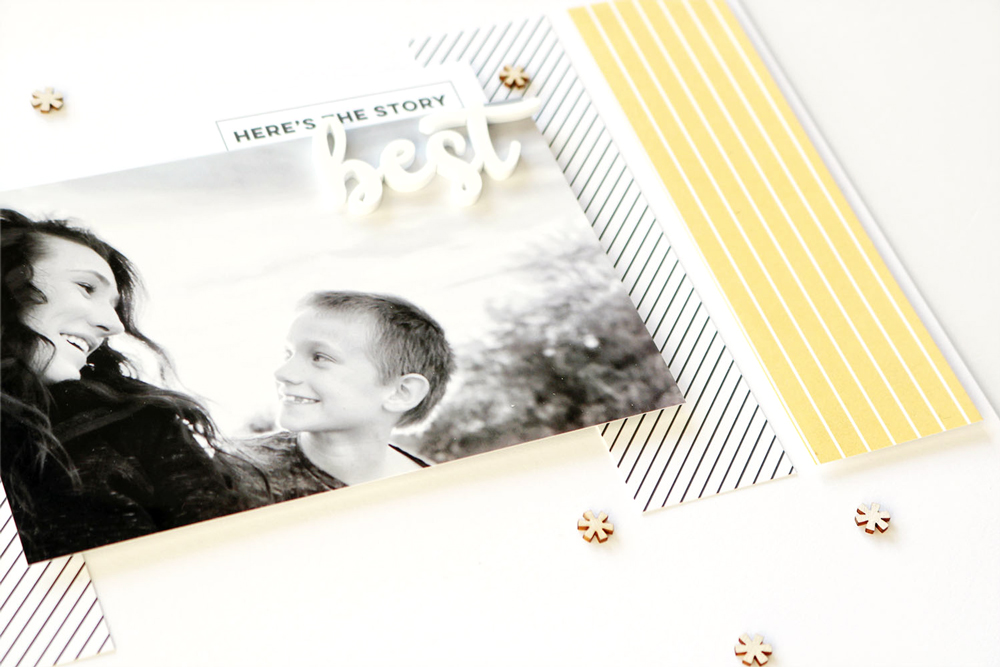
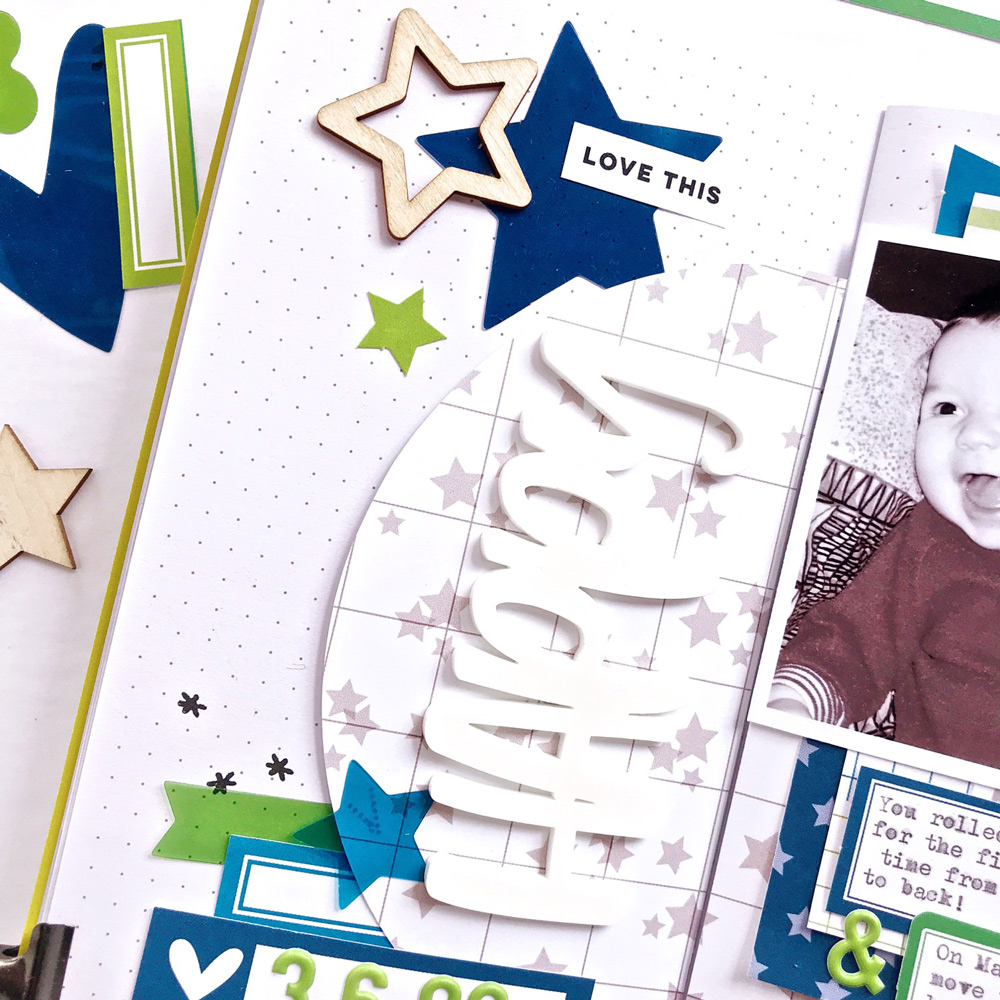
Where Daniela used a cut-file for her title, I used the Magical Memories Happy Acrylic layered on top of a 6″ circle of patterned paper from the Magical Memories 6 x 6 Paper Stack.
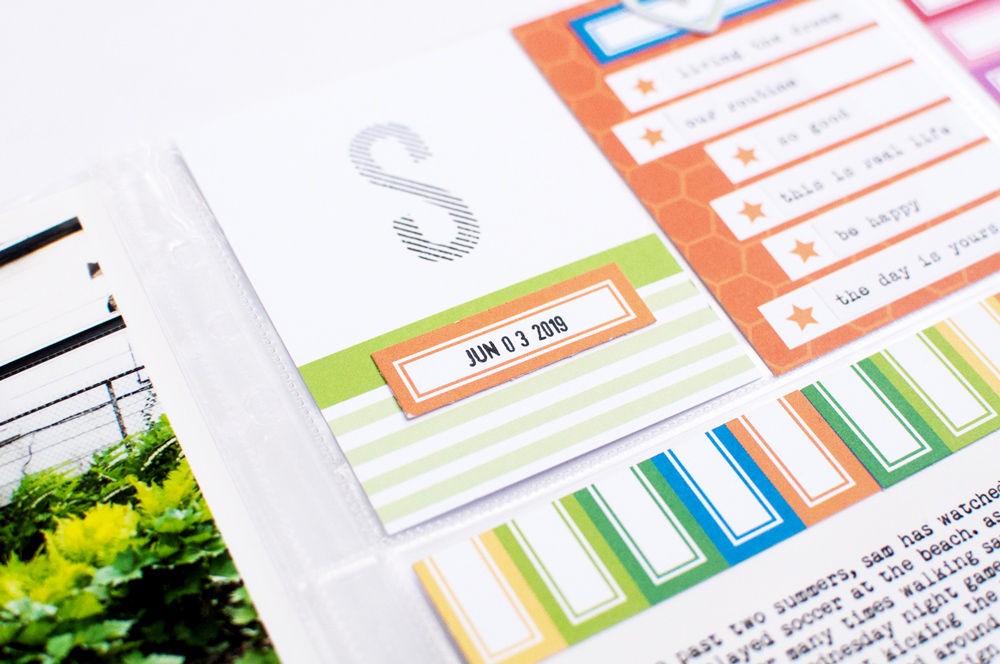
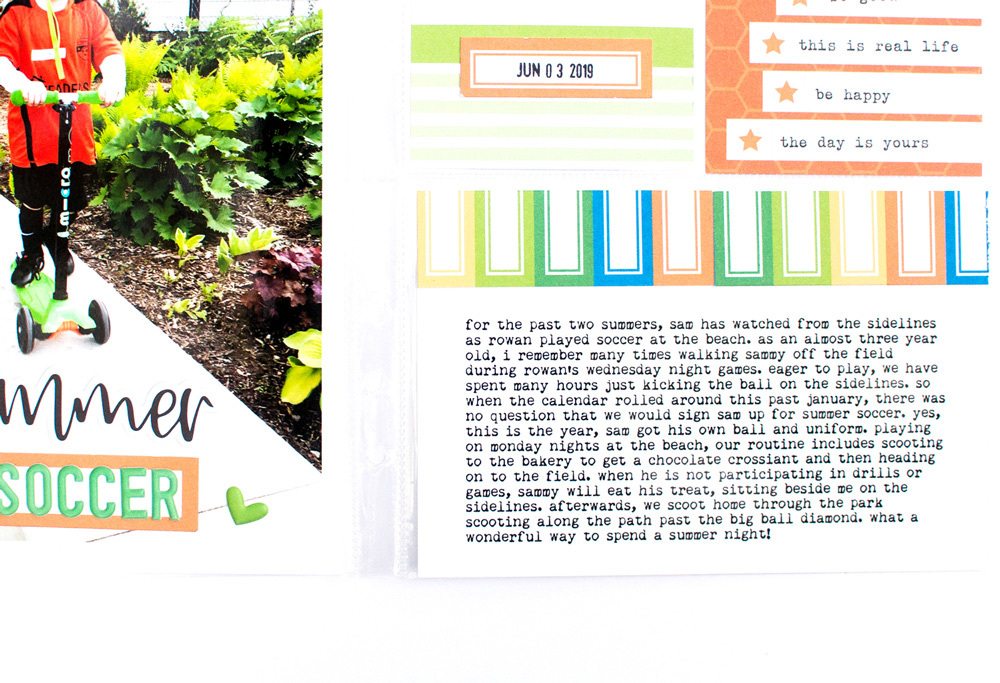
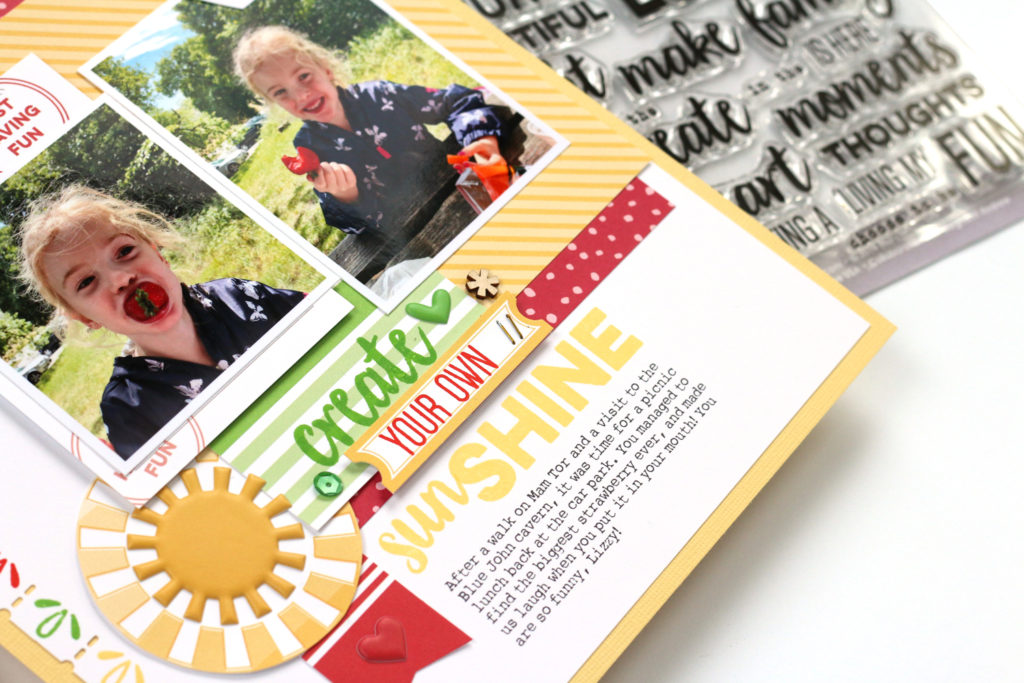
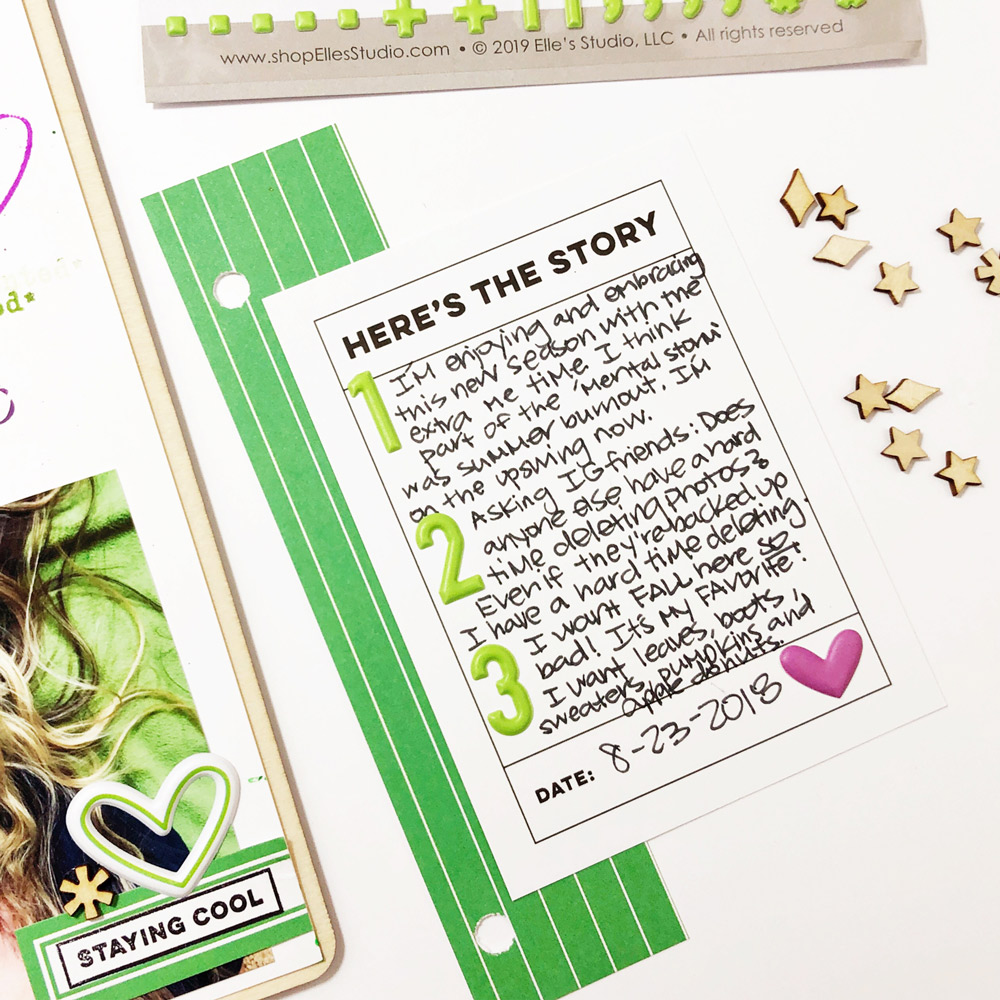
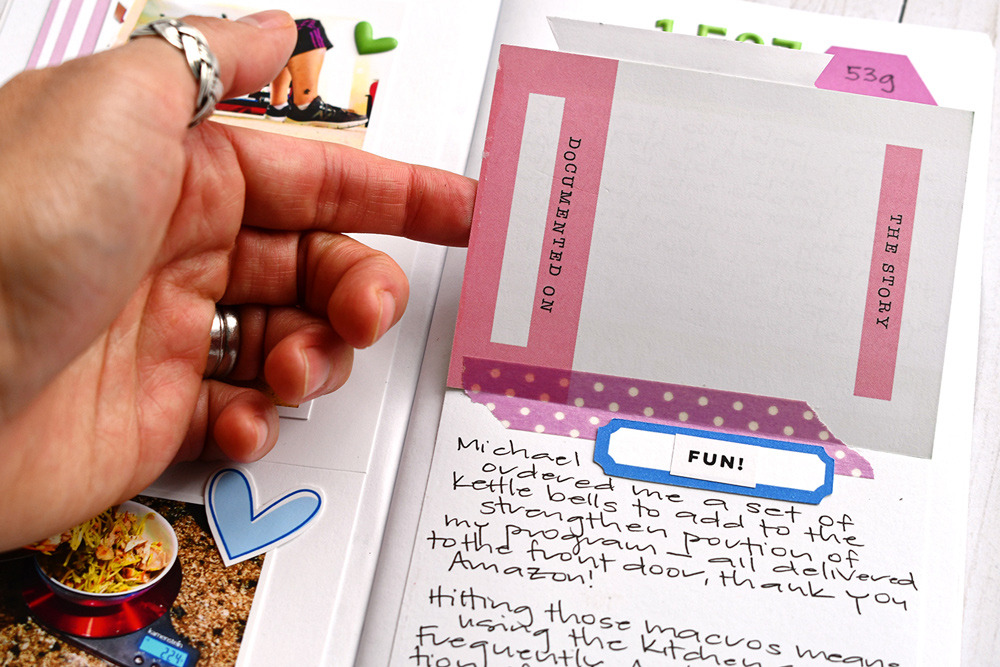
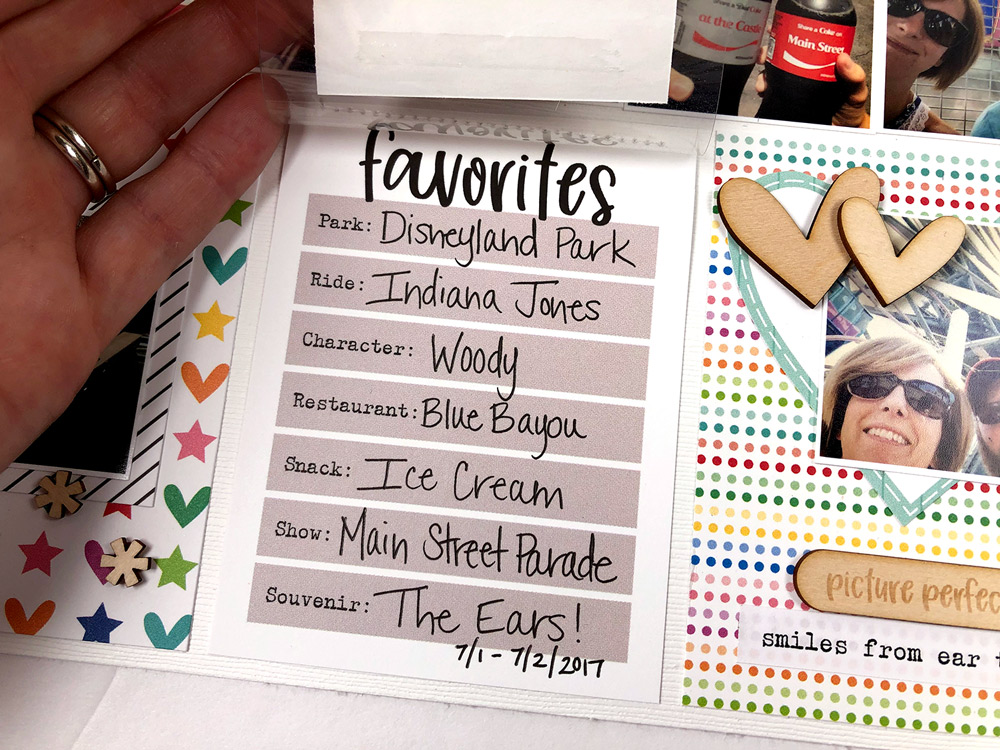
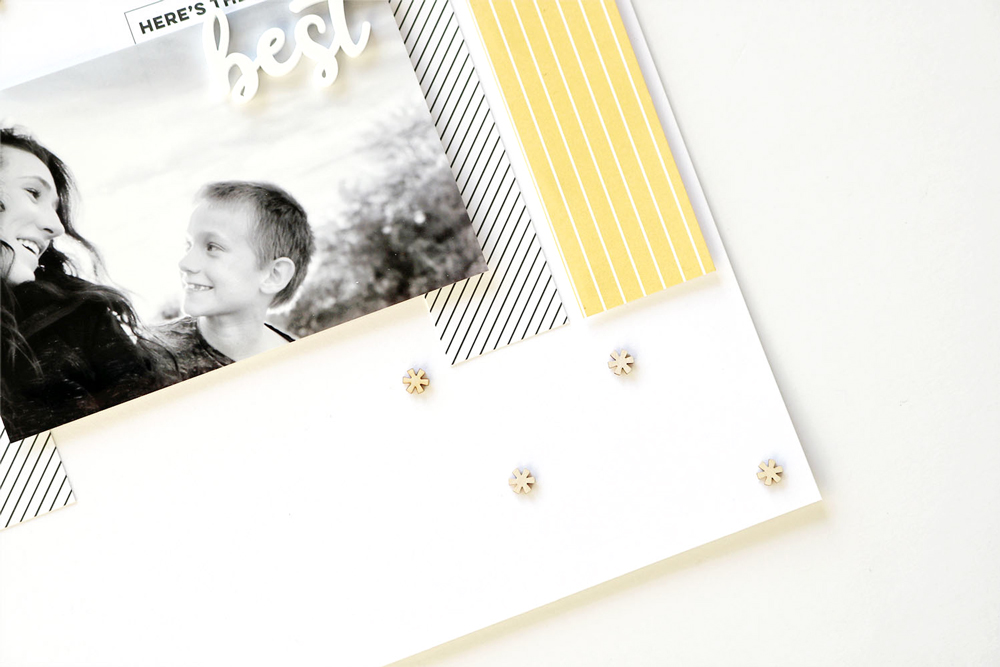
On the left page, I used another paper from the same stack but also a couple of tags and die-cuts from the June 2019 Kit to create layers under my photos. I typed my journaling on two June Labels that fill the gaps caused by the positioning of my photos and add to the layered look.
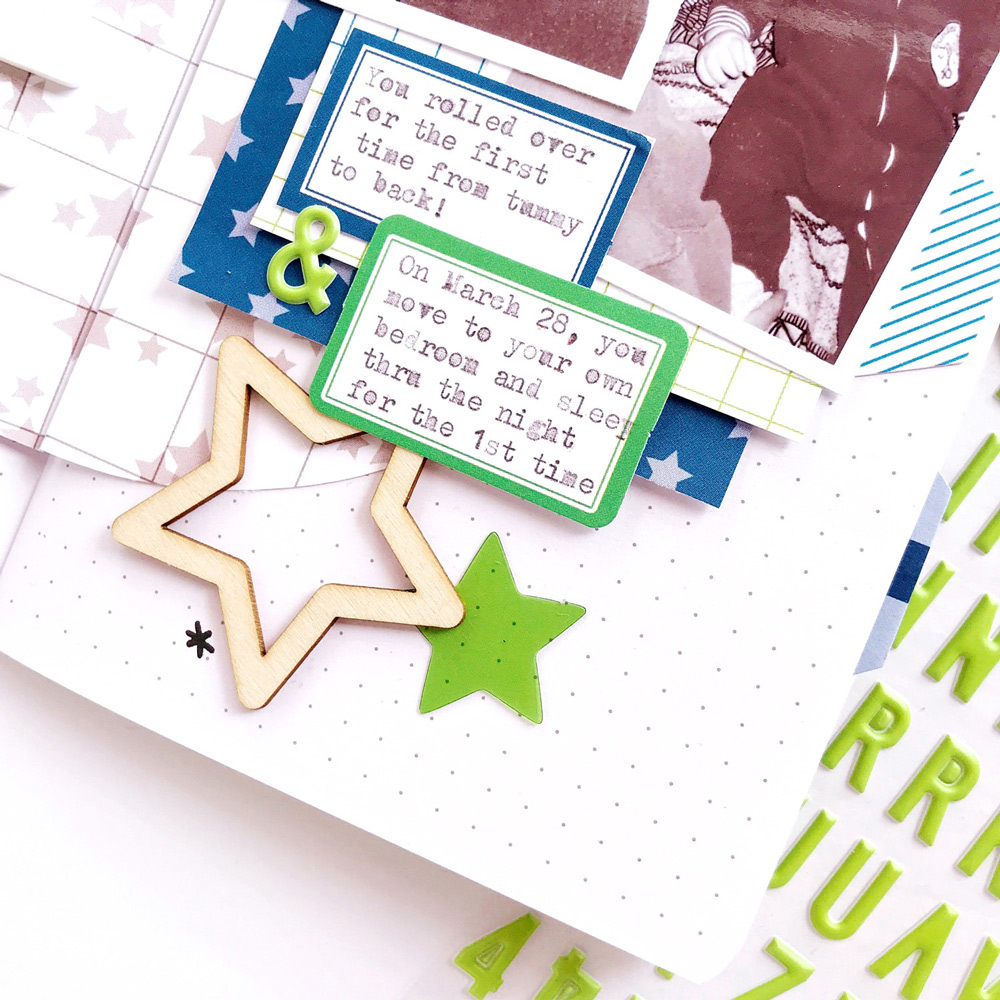
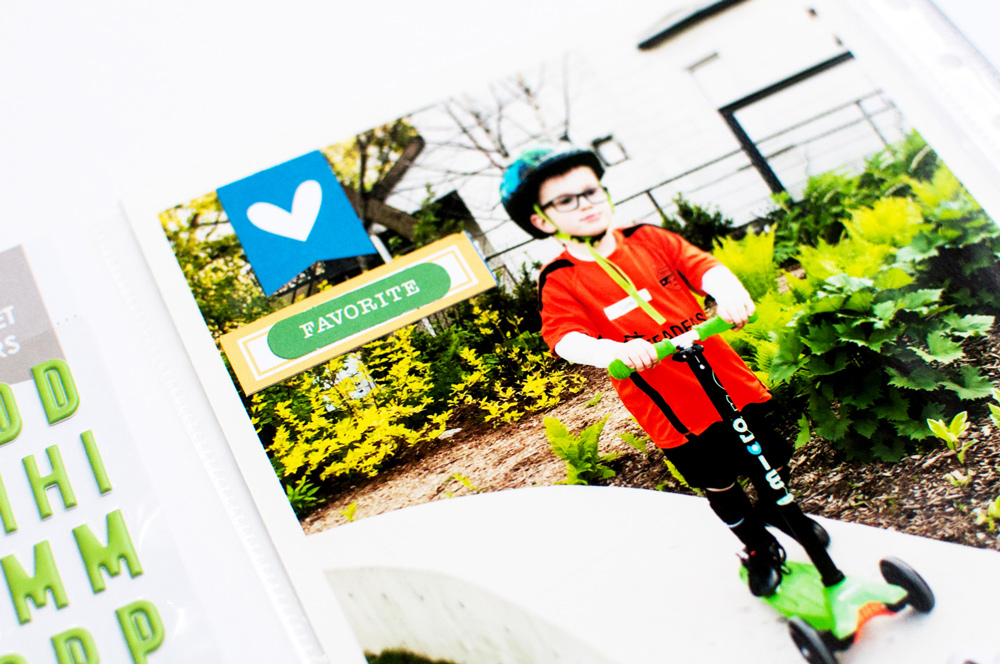
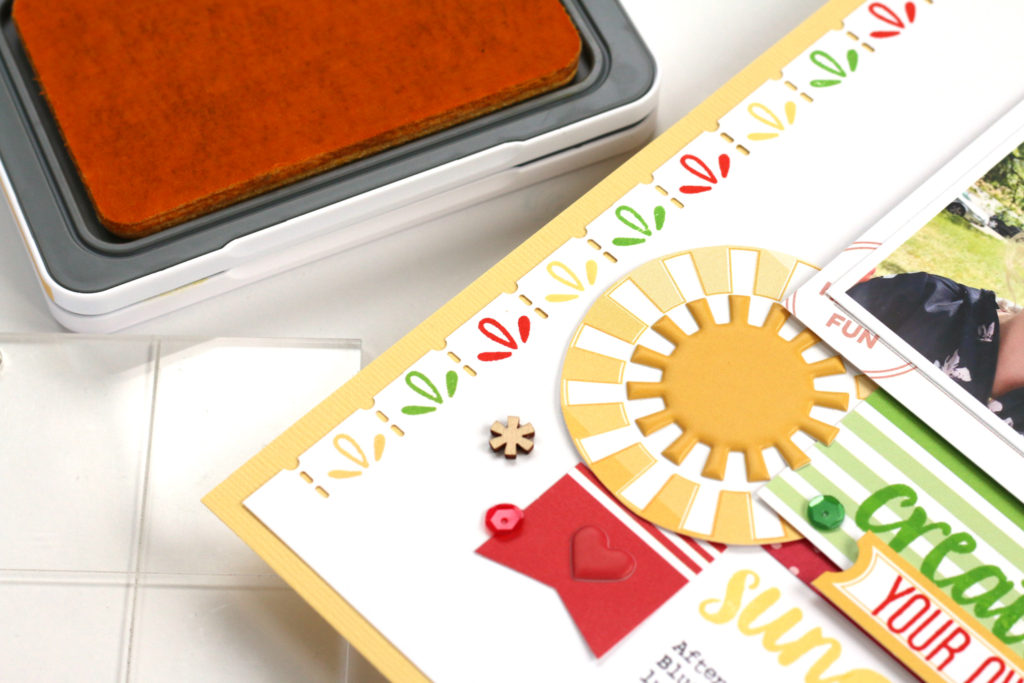
I added the date with the new Lime Green Puffy Alphabet Stickers and then embellished with an assortment of Wood Veneer Stars, a puffy heart outline sticker from the Summer Puffy Stickers and some Magical Memories Acetate Die Cuts (all new favorites of mine!). This fabulous variety of textures makes me happy!
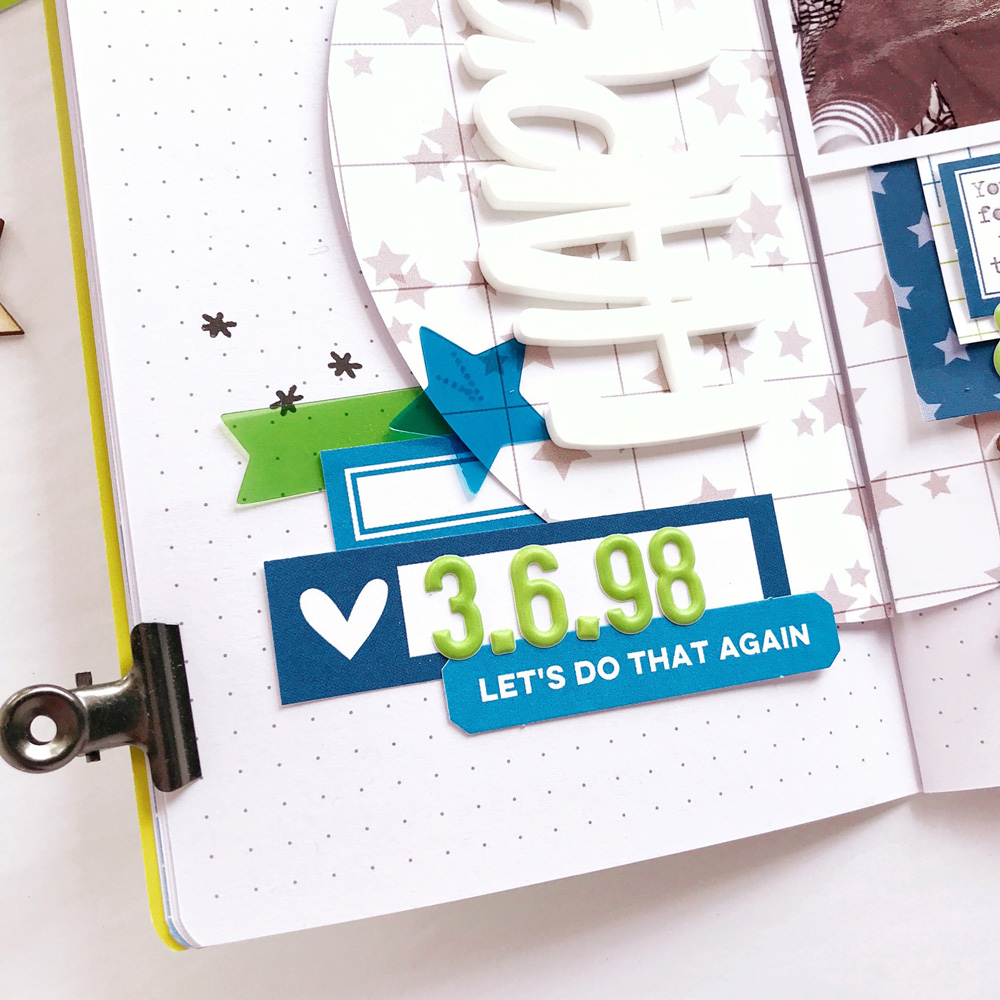
The final touch was to stamp a few sparkles using the Magical Memories Stamp. I love this particular stamp! It is tiny, but perfect to add a bit of contrast and is a great alternative to enamel dots or ink drops because of its interesting shape. Give it a try!
Take a long look at the design team inspiration posts and find ways to adapt what you like to what you want to create! Happy crafting!