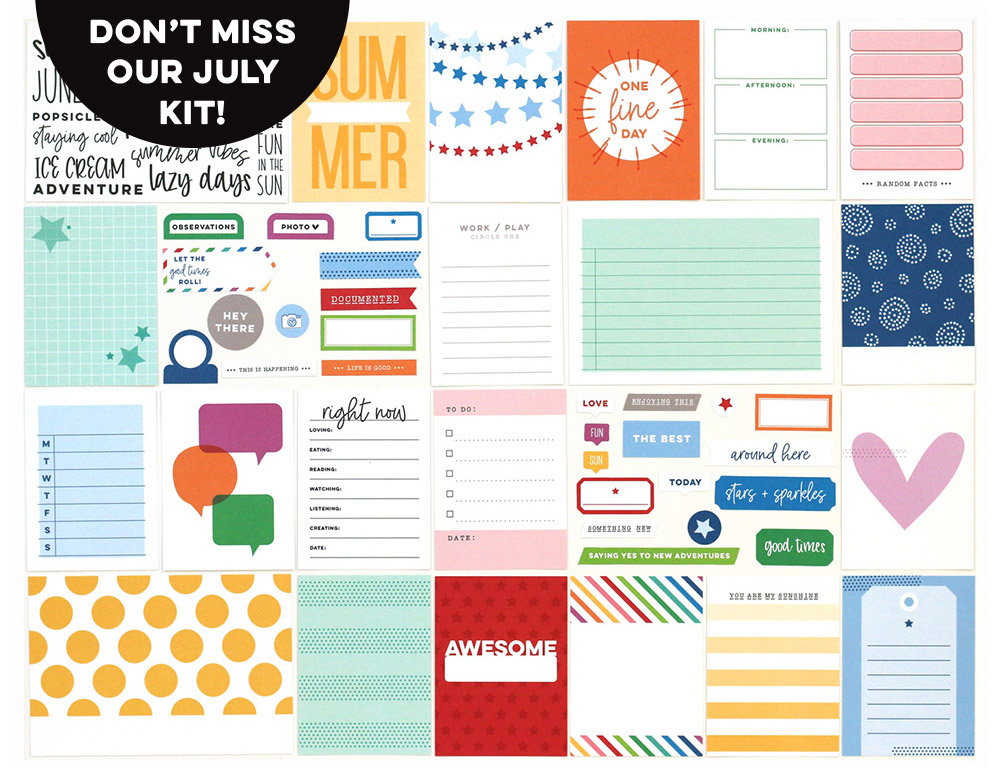
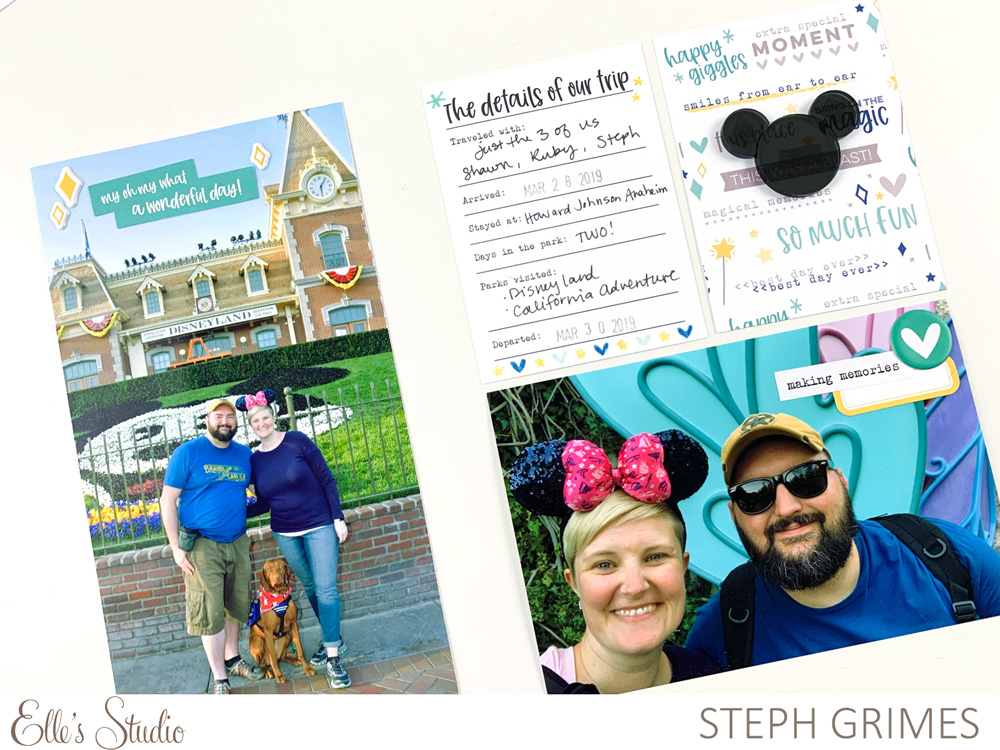
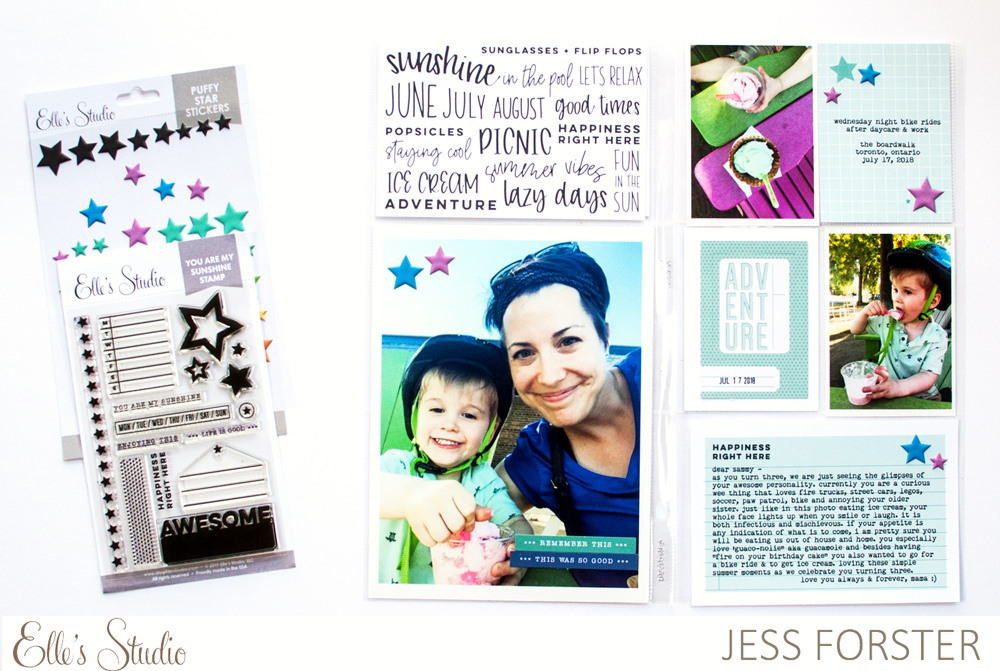
Hello friends! It’s Meghann Andrew, and I’m excited to be here with you today—the day before our exciting August release! I feel such a sense of accomplishment when I use up a monthly kit before the next reveal. One of my biggest goals this year is to fill in the gaps in my 2016 and 2017 monthly pocket page albums—mostly single 12″ x 12″ pages that I never seemed to get around to creating. I decided to see what spaces I could fill in my 2016 album using the July 2019 Kit and add-ons, and I was so excited to find that this kit contents coordinated perfectly with an older pocket page that I created! Here is the full spread:
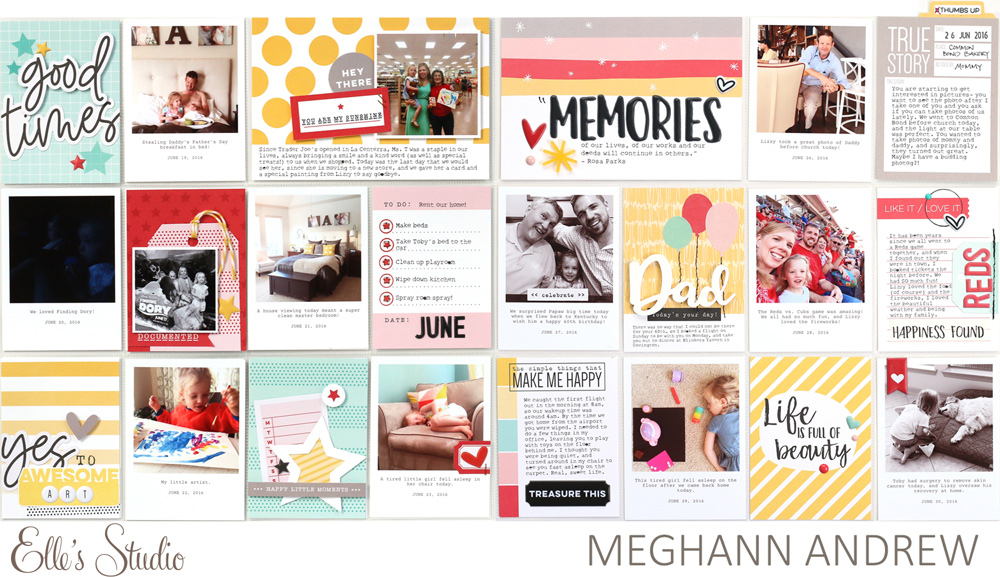
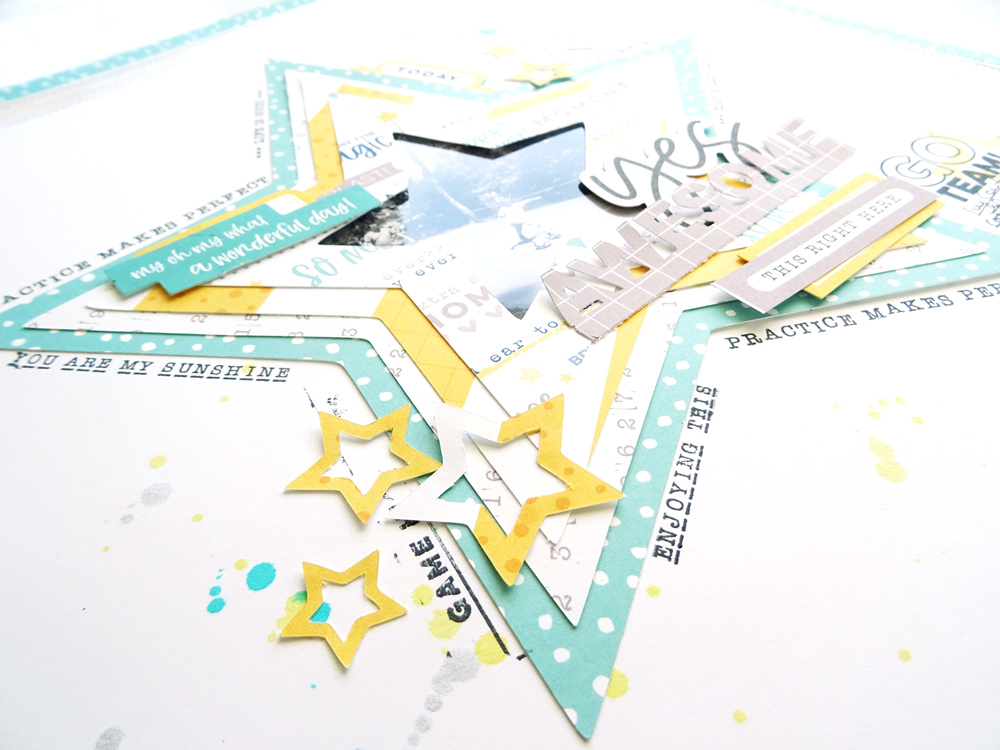
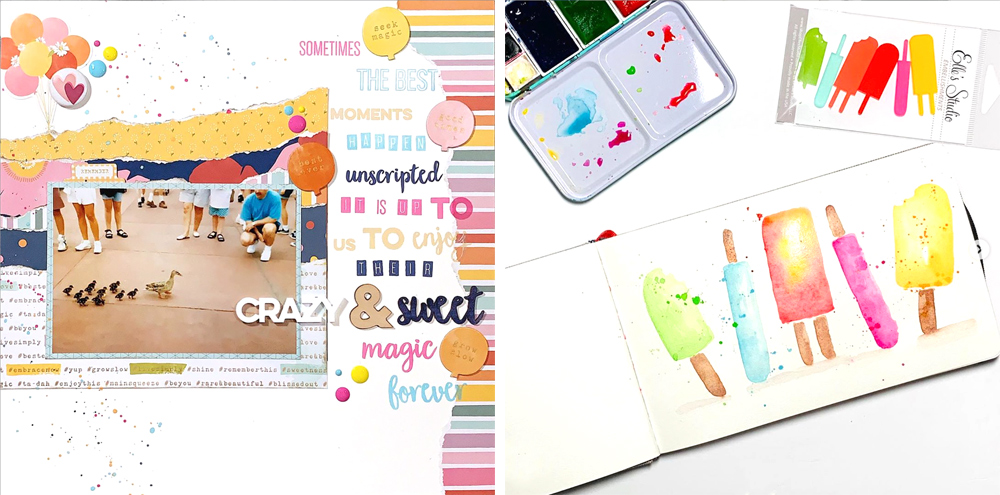
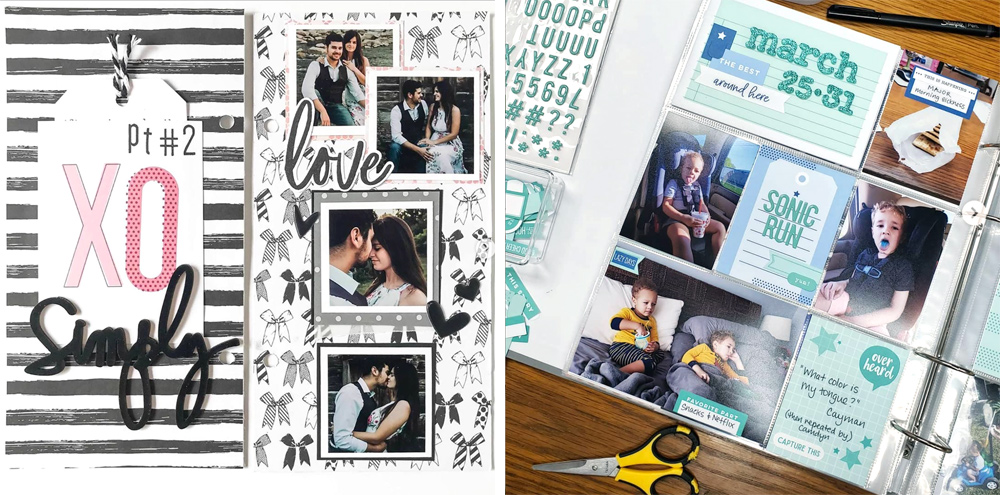
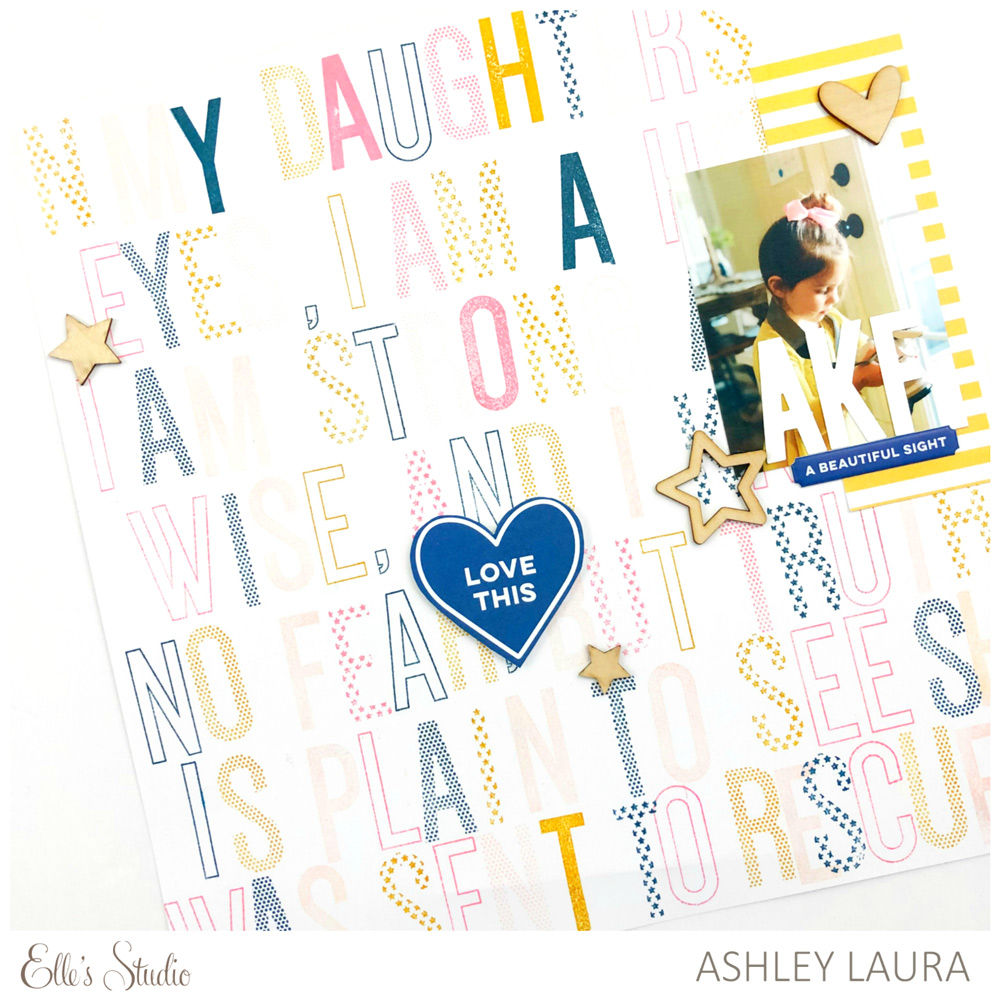
It’s difficult to figure out which side of this double-page spread uses new product and which uses old, right? The left shows July 2019 product, and on the right, our retired Live Laugh Love collection. This is what I love the most about Elle’s Studio product: the monthly kit color schemes change over time and new colors are introduced, but the main colors remain consistent, allowing you to mix and match between months of product to create beautiful projects! Let’s take a look at the new half of the spread:
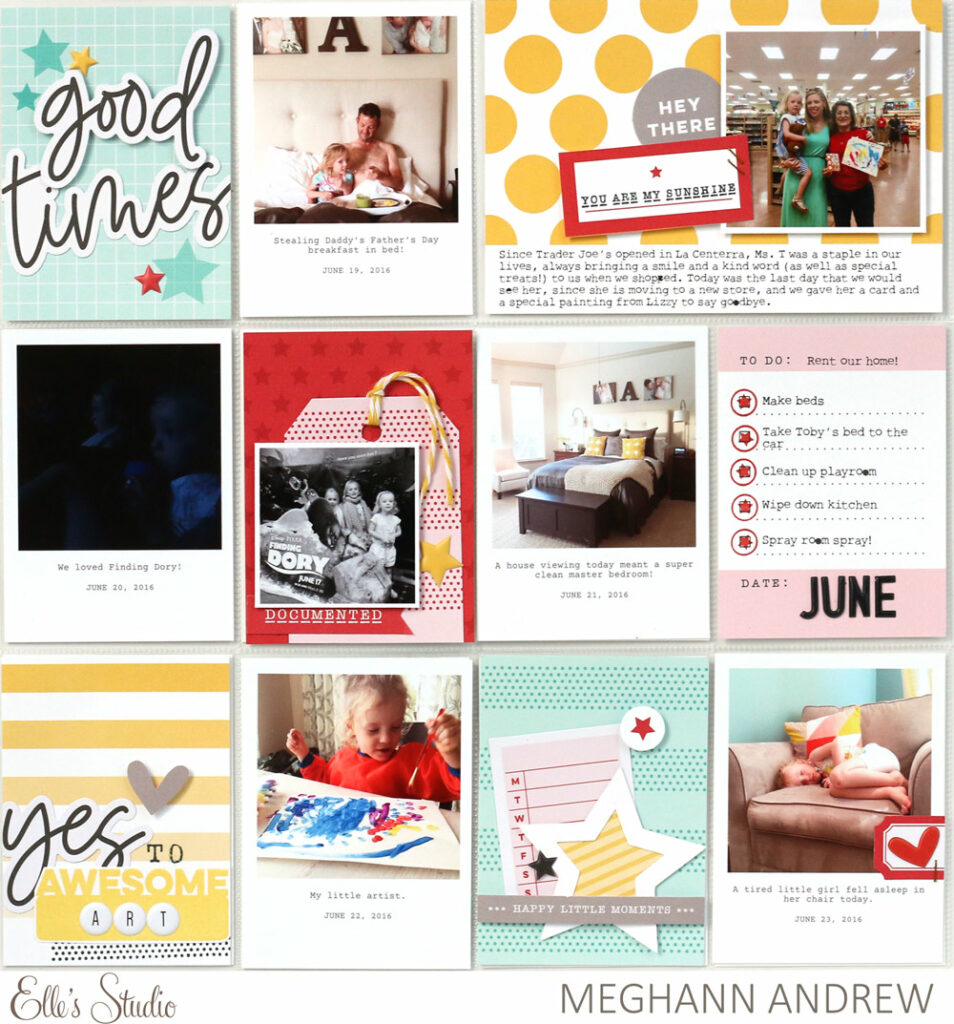
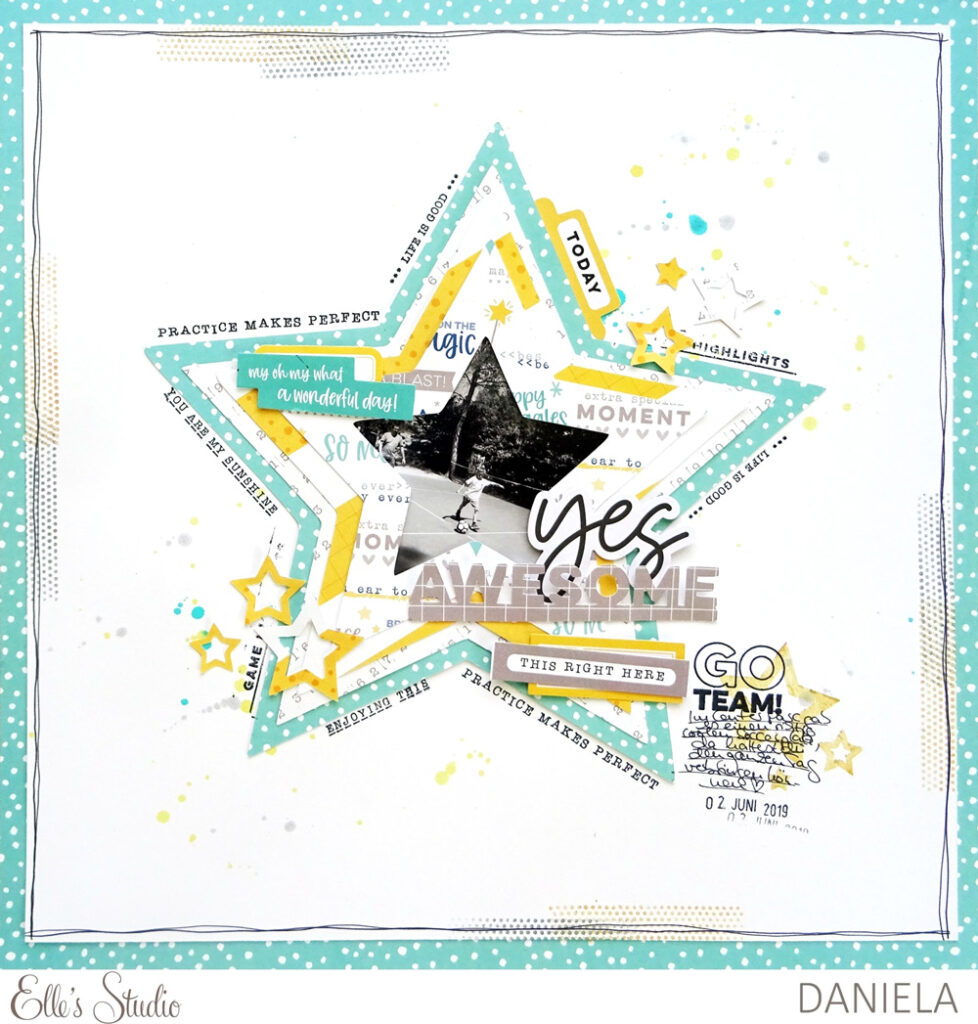
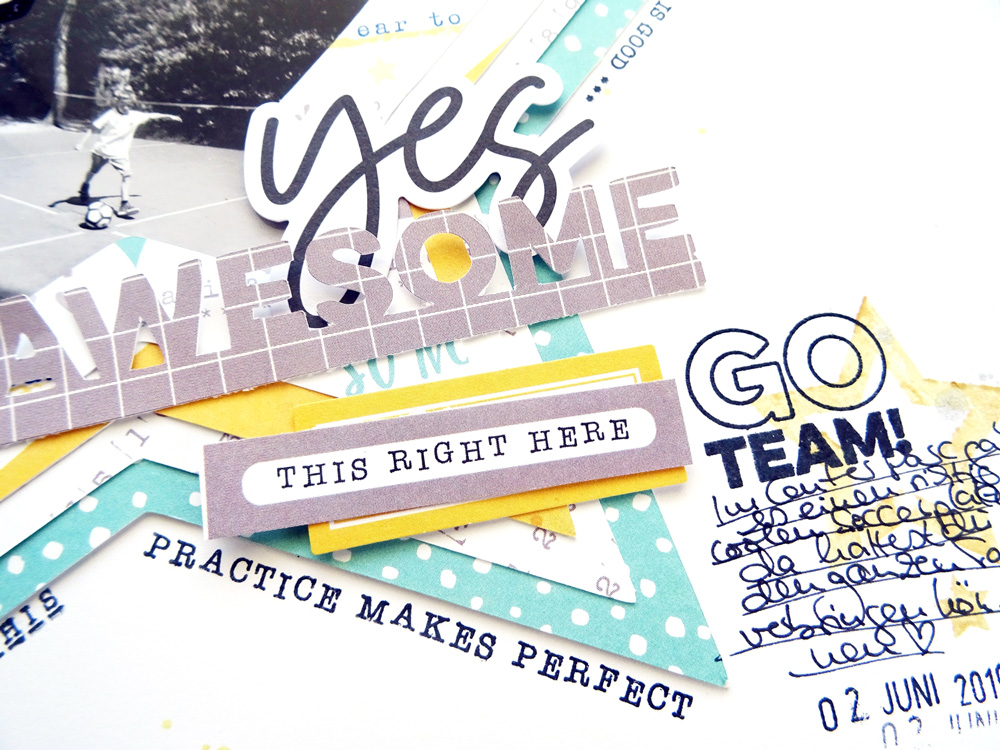
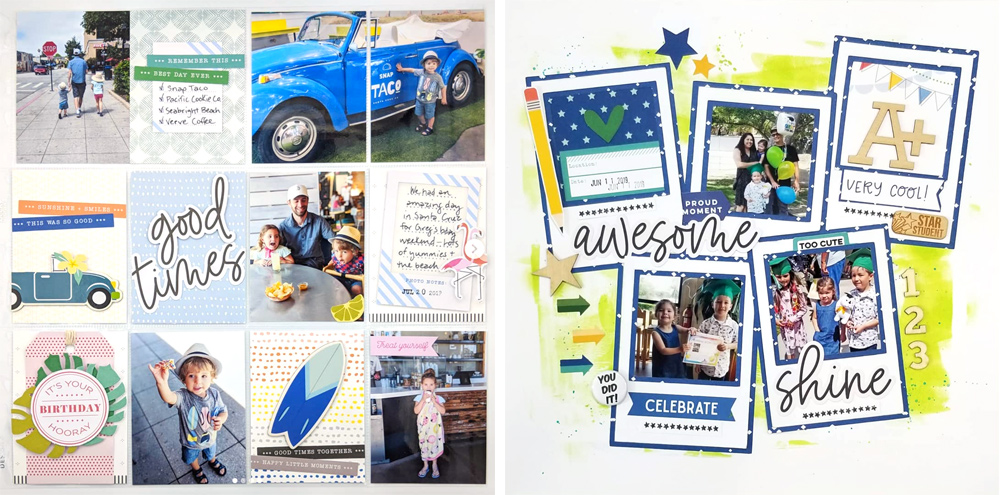
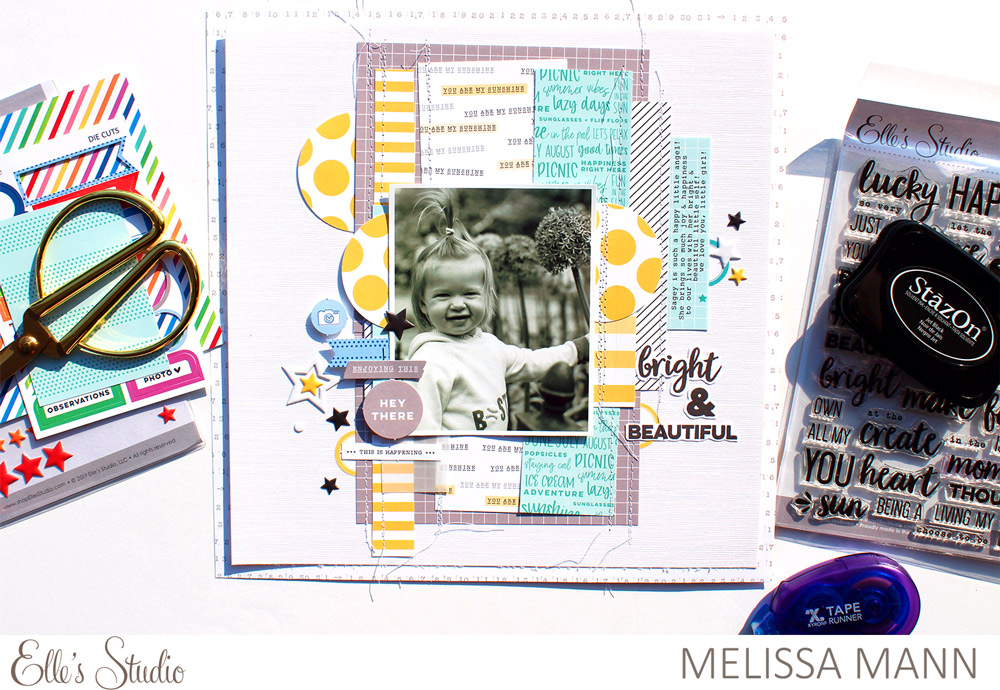
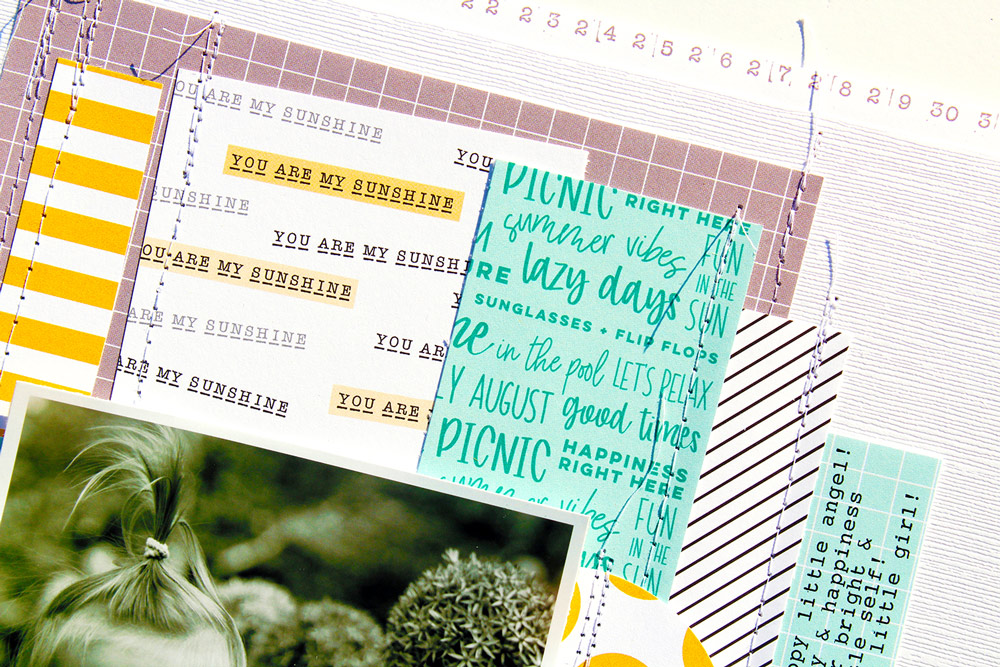
Supplies | July 2019 Kit, July 2019 Digital Cut File, Shine Die Cuts, Puffy Star Stickers, Black Puffy Alphabet Stickers, 4th of July Puffy Stickers, Typewriter Keys Puffy Alphabet Stickers, Sunshine 6 x 6 Paper Stack, You Are My Sunshine Stamp
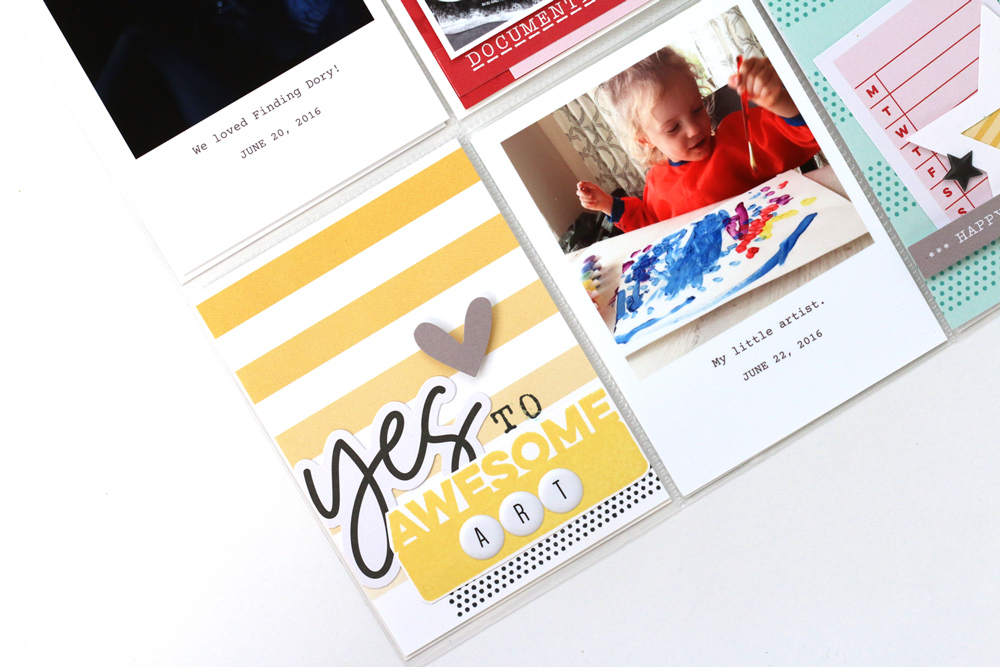
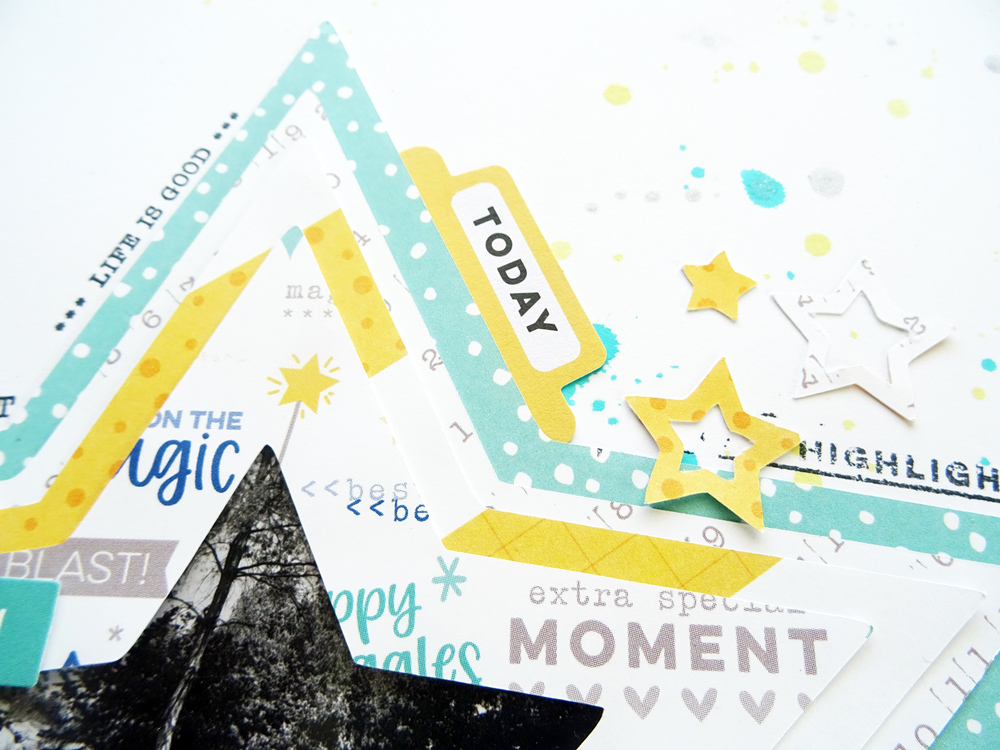
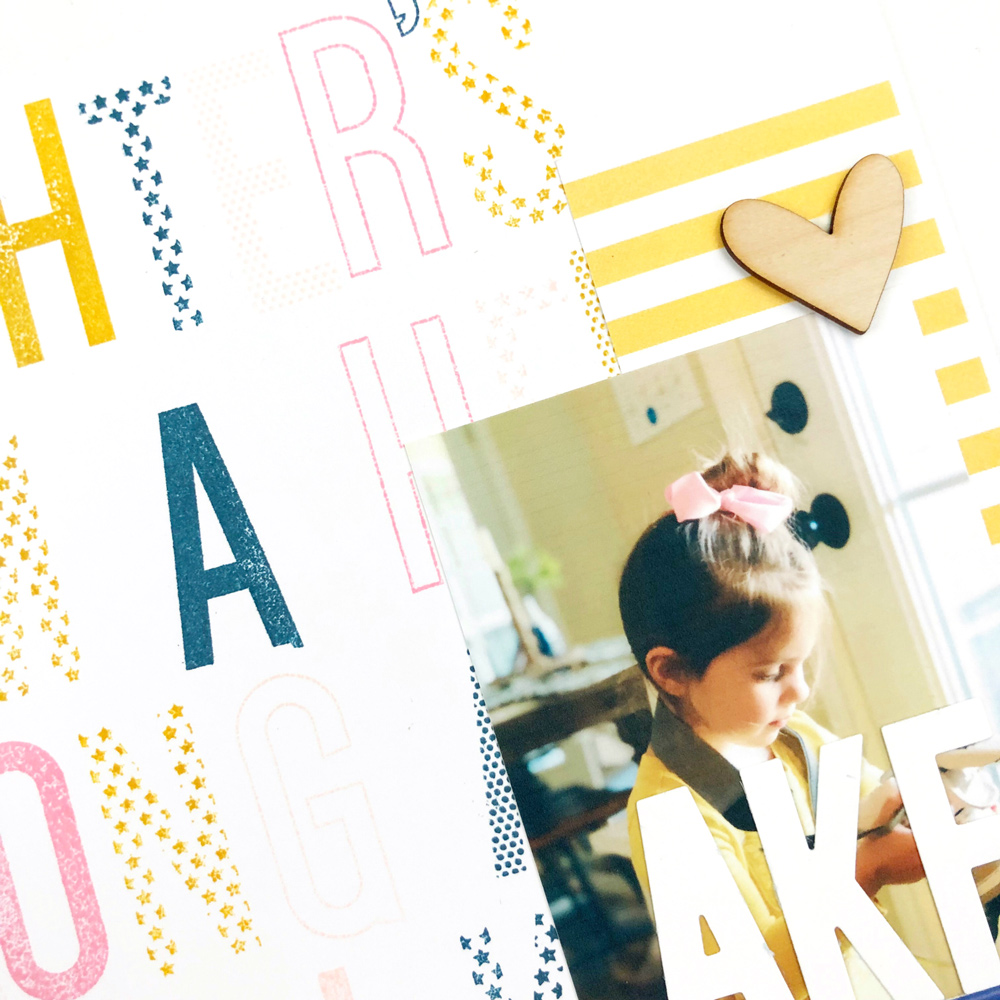
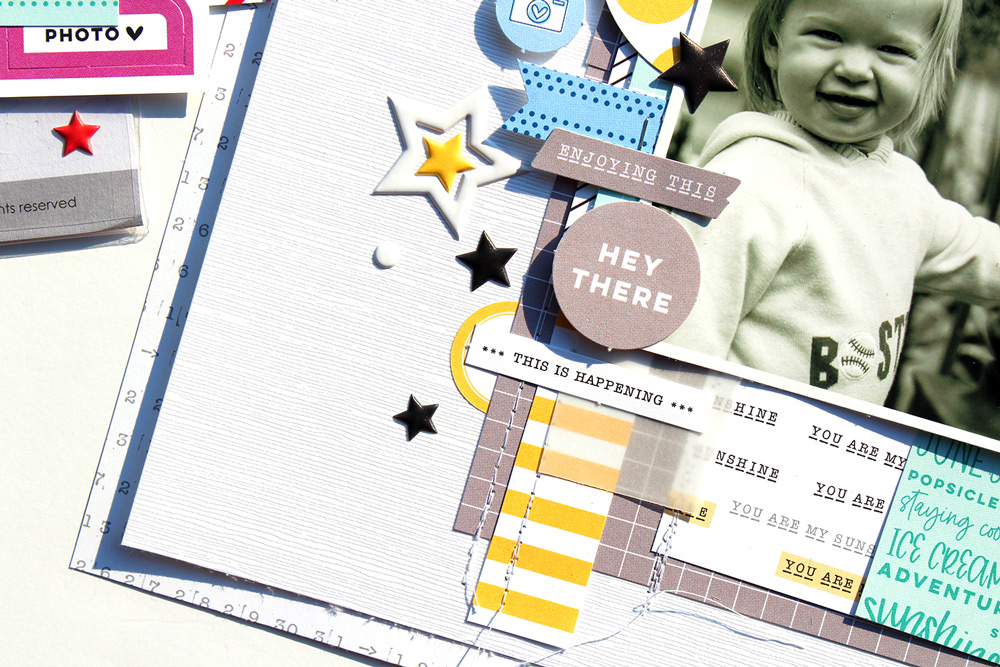
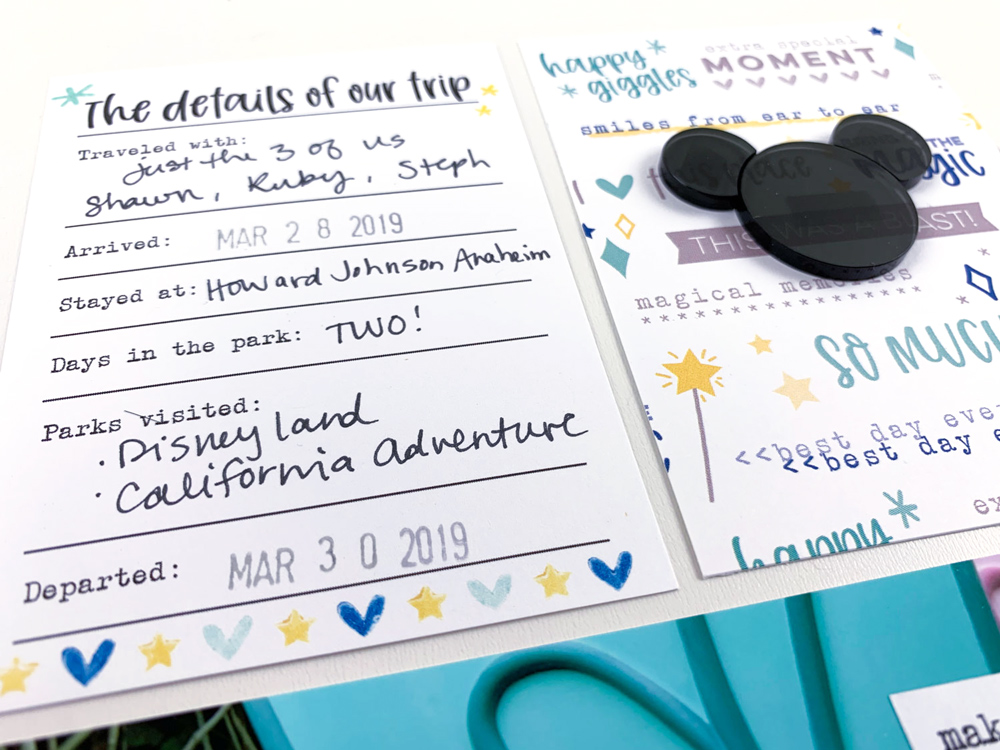
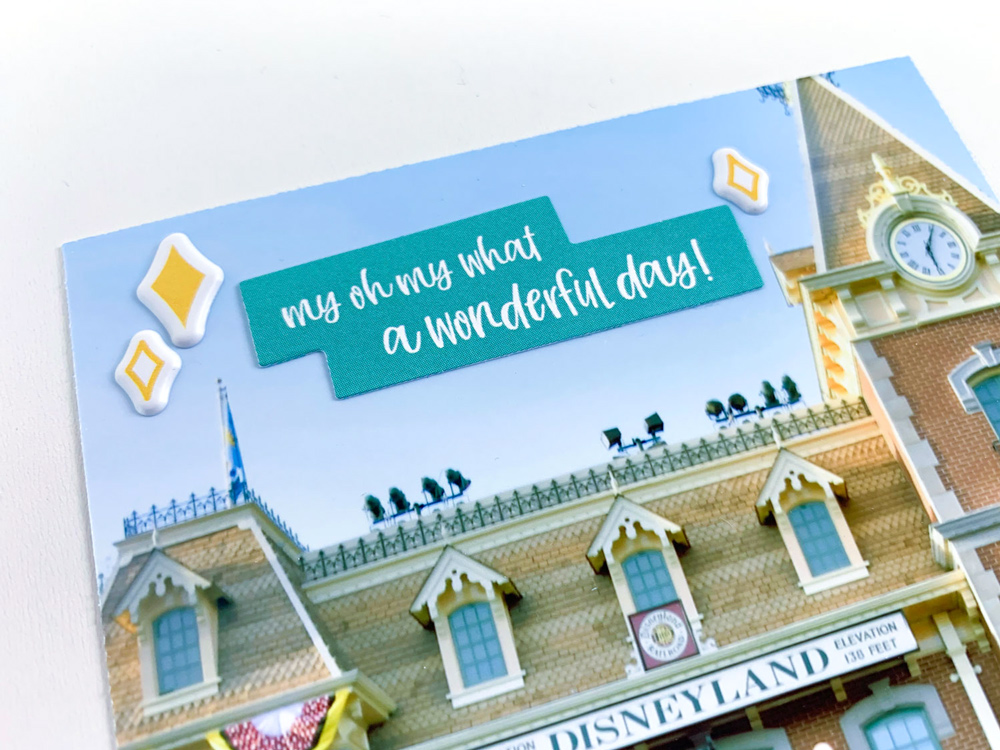
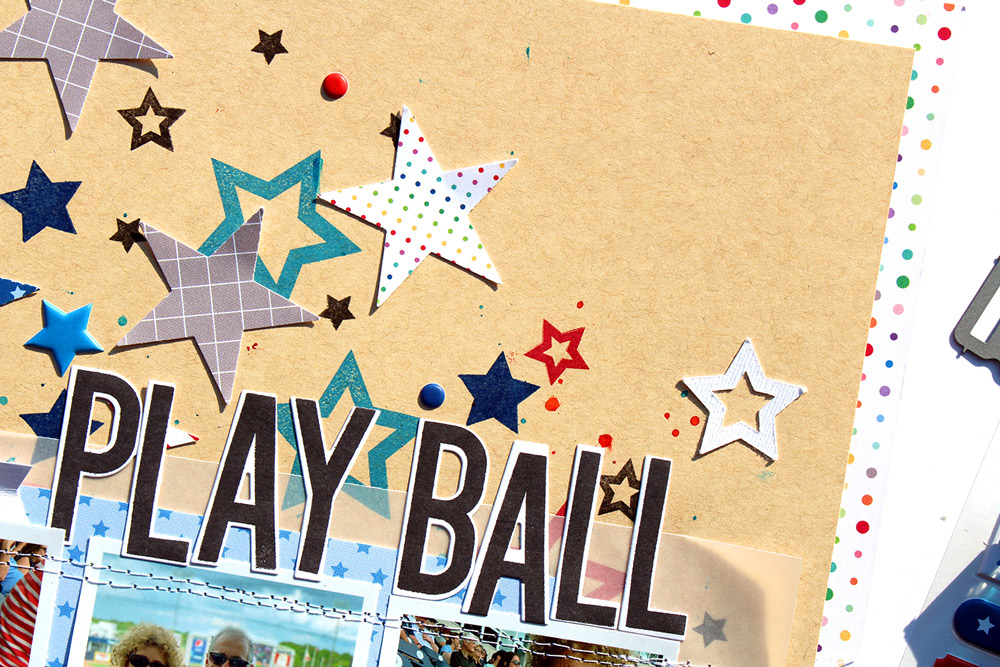
I started by pulling all of the yellow out of the kit contents to arrange on my layout, which included the striped yellow 3″ x 4″ tag, and the polka dot 4″ x 6″ tag. I combined these with a July 2019 Digital Cut File star that I filled in using the yellow pattern from the Sunshine 6 x 6 Paper Stack. These three large yellow sections made up a perfect visual triangle. The other color that was predominant on my older page was red, and I grabbed the “awesome” starred 3″ x 4″ tag to provide that pop of red on this page. I quickly realized that I could not fit the photo below the “awesome” word, so I covered the card with a tag from the Shine Die Cuts before adding my black and white photo.
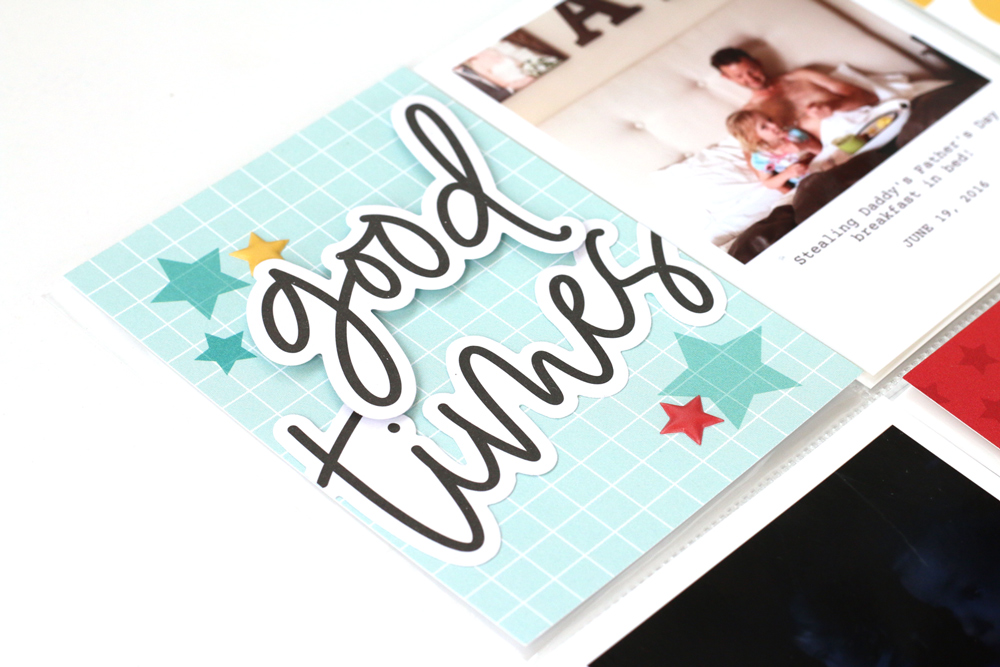
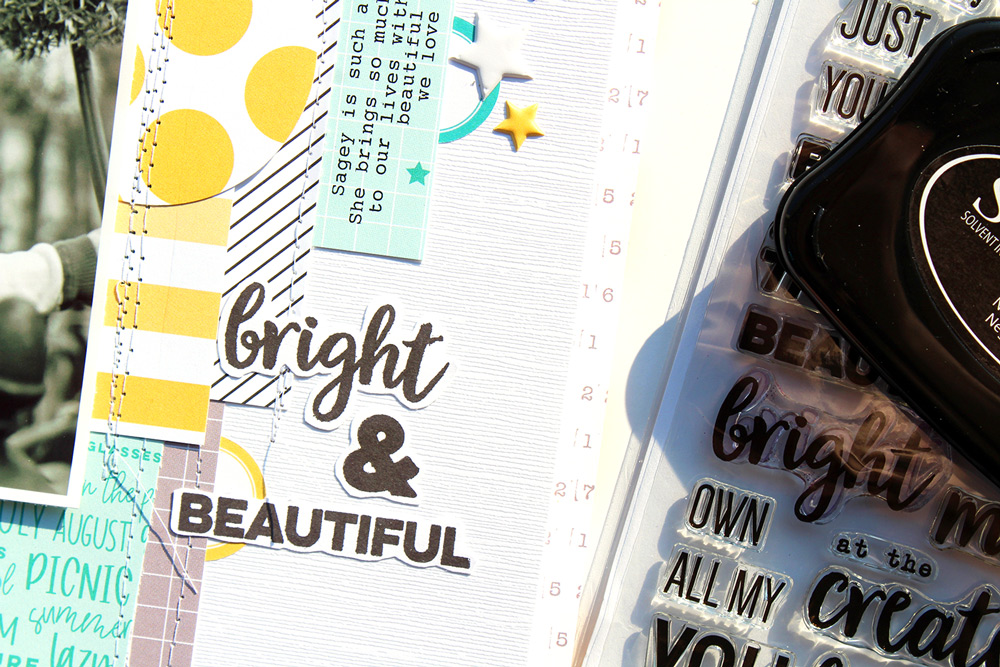
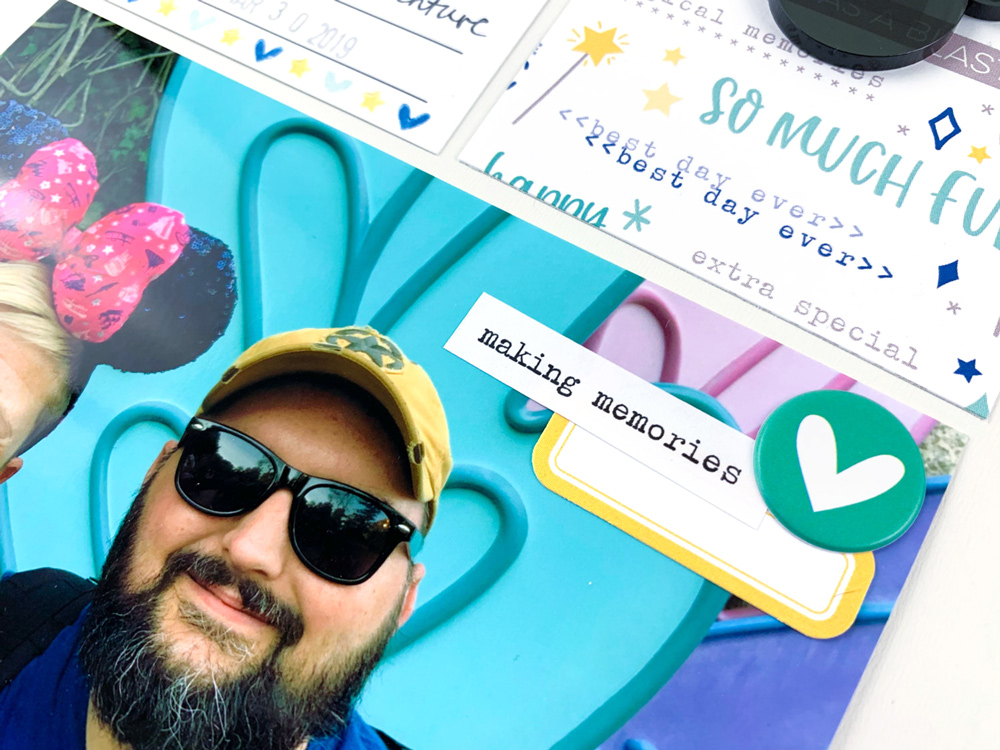
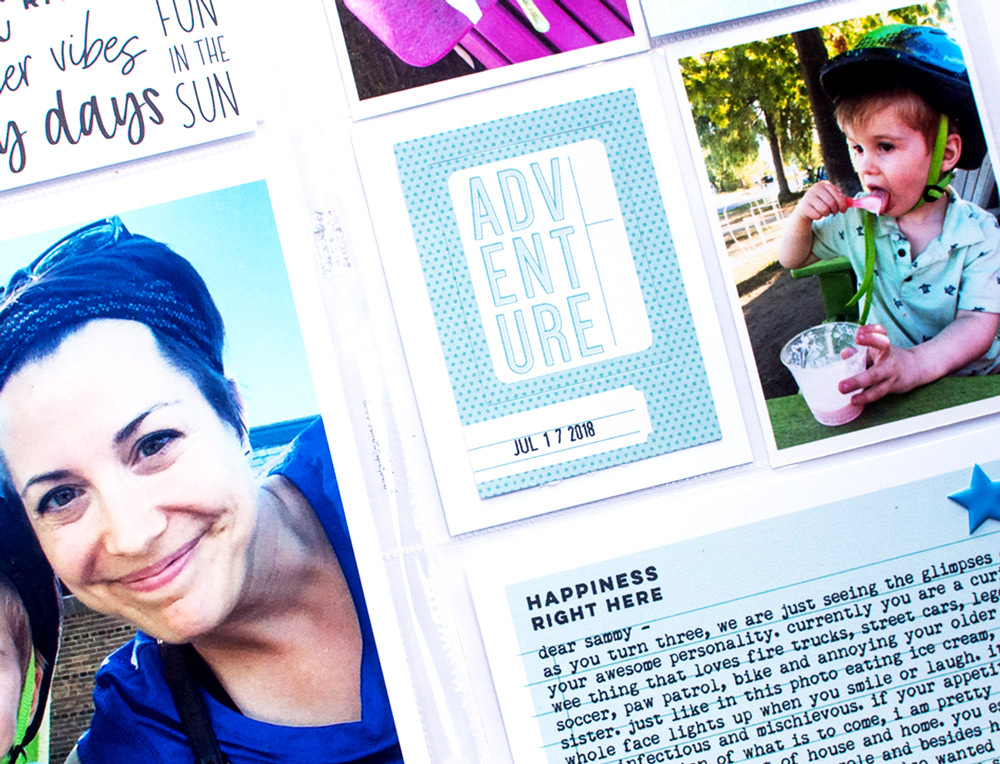
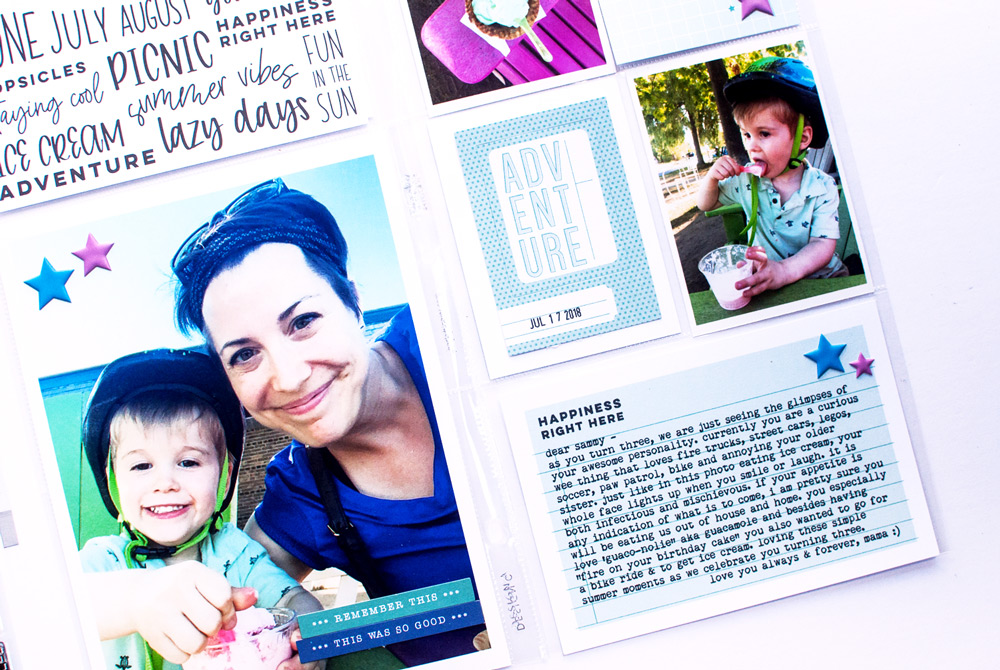
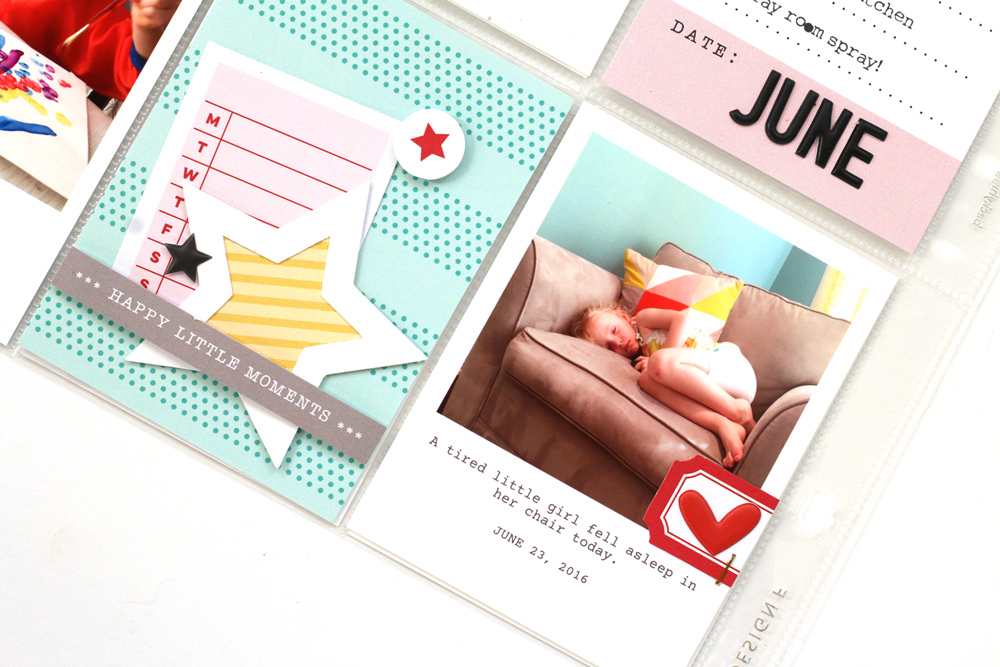
Other elements stood out from my older page that I wanted to match on the left side, including the use of bold fonts found in the “memories” puffy stickers, “dad” acrylic and the “life is full of beauty” 3″ x 4″ tag. I decided that the “good times” and “yes” script Shine Die Cuts would be perfect to add to filler pockets on the opposite side. I also used the Black Puffy Alphabet Stickers to add the month to my “to-do” tag.

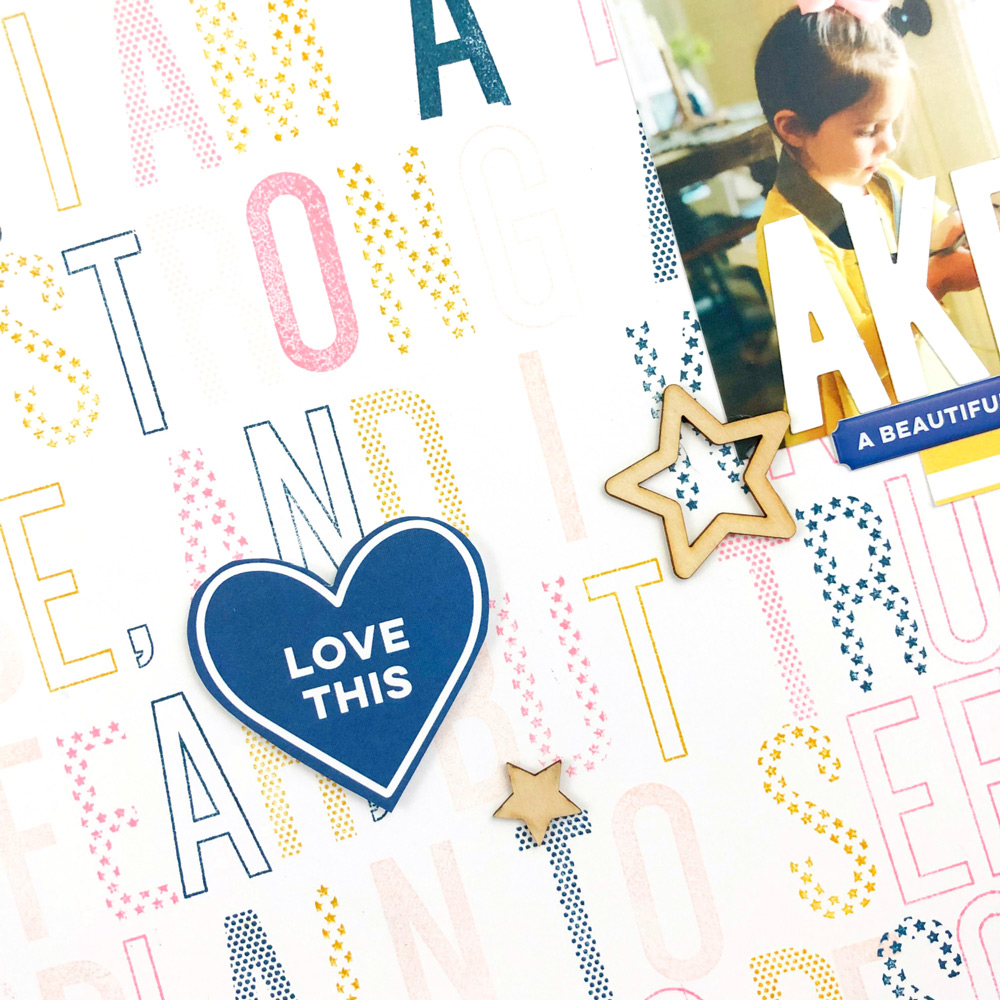
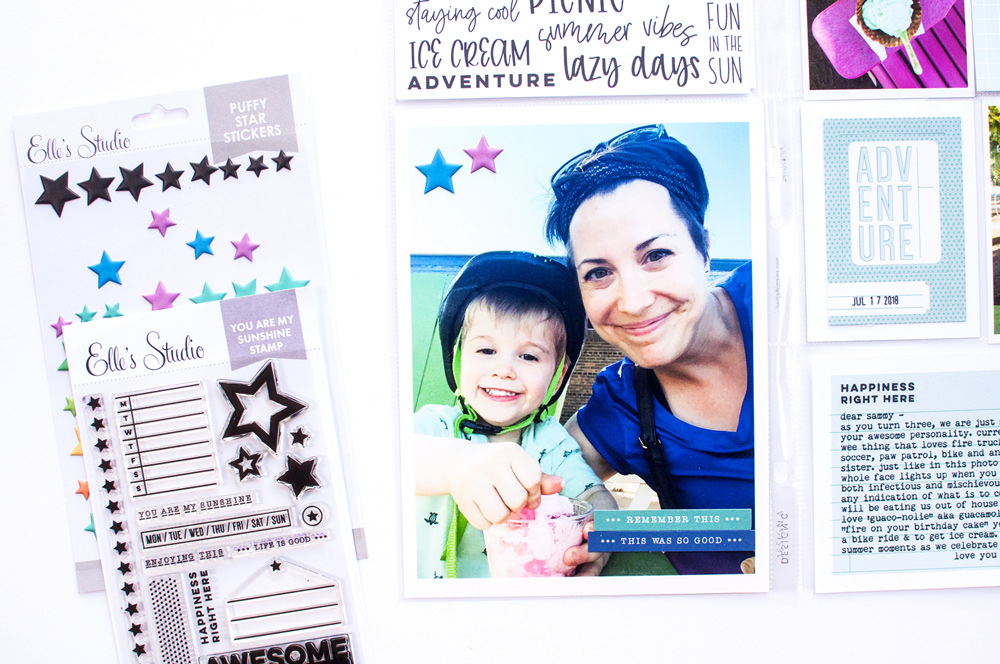
To embellish my page to coordinate with the right side of the spread, I pulled out both puffy hearts from the 4th of July Puffy Stickers , as well as Shine Die Cut hearts, and Puffy Star Stickers.
I am just thrilled at how this spread turned out: so perfectly coordinated, appearing as though both sides were made at the same time. That’s one missing page completed in my album, and I know I’ll be pulling out the leftover pieces from my monthly kits to see where I can fill the rest! I encourage you to do the same, and get the satisfaction of not only finishing an album, but finishing an Elle’s Studio kit! Happy creating!