Pattern Play with Candace Perkins

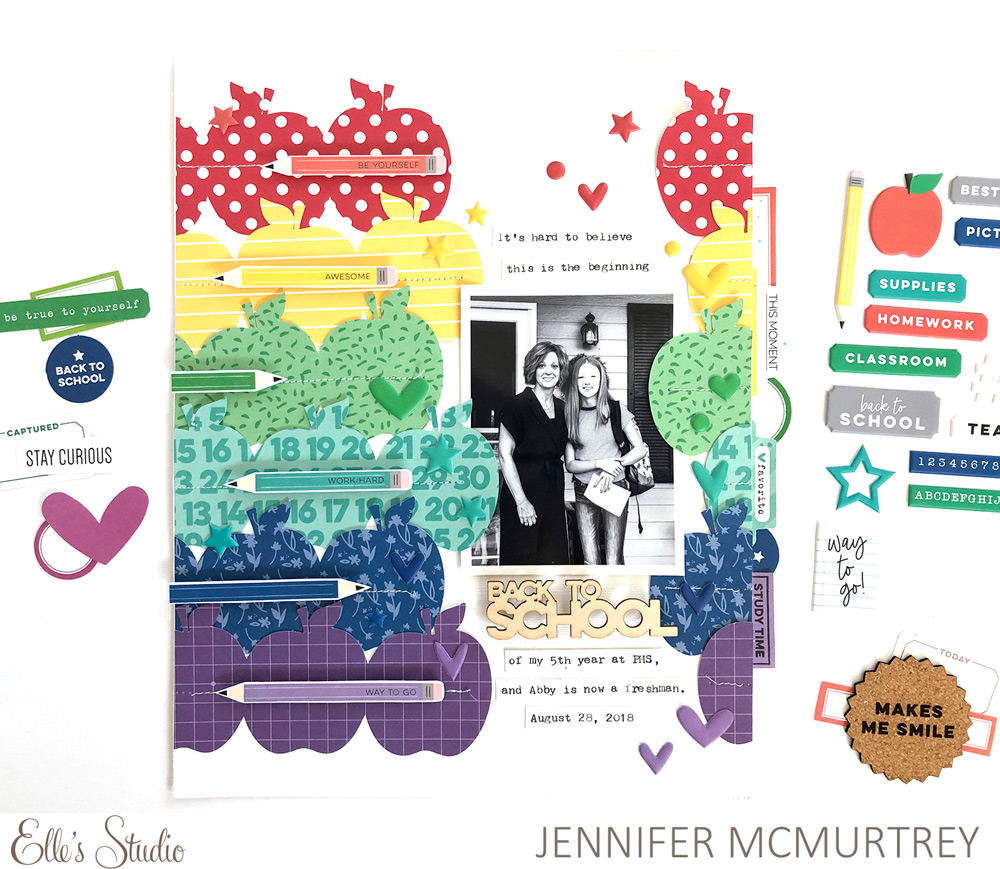
Hello friends! It’s Candace here with you to share a little patterned paper play today! One of my very favorite products available in the shop are the 6 x 6 paper stacks. Today for my layout I chose to combine a bunch of patterns from different paper stacks to create a fun background pattern for my page. I really enjoyed taking the time to create and play with paper; no rules, just fun, and I love the final layout! Who says we can’t tell our stories and have a little fun too?!  

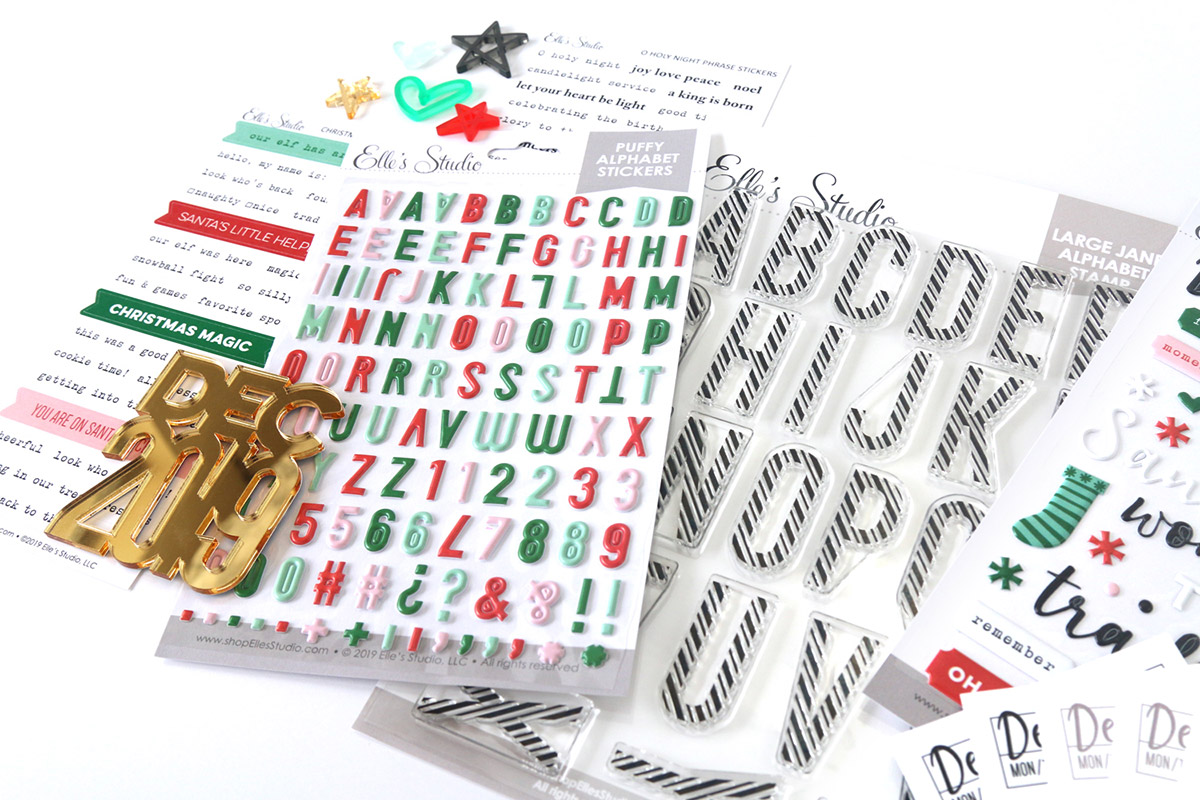
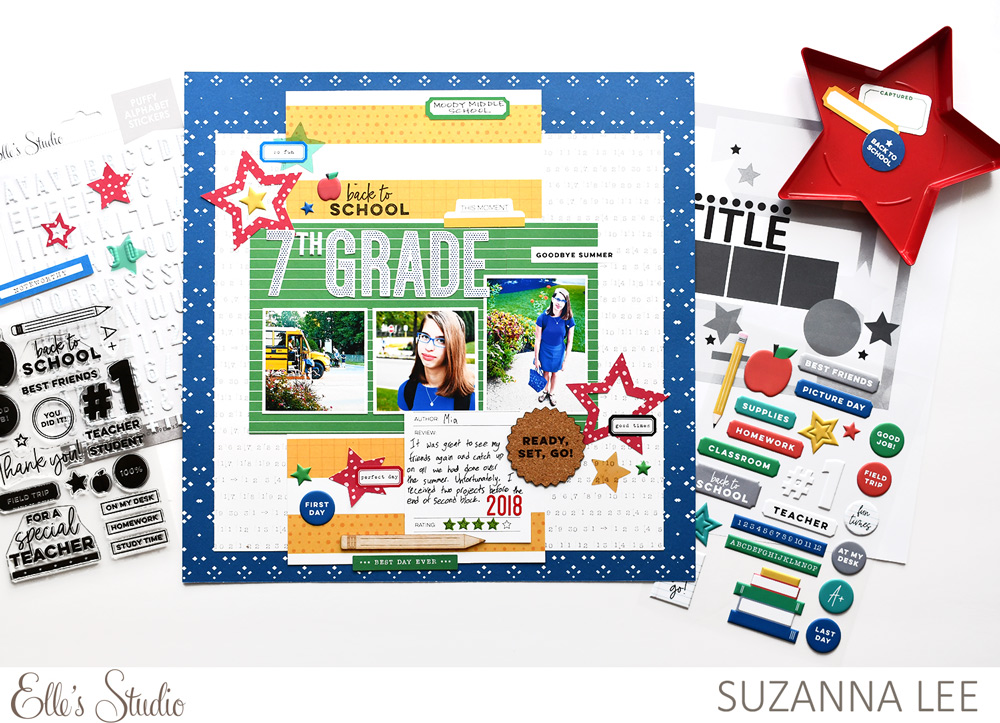
Supplies | Jane Alphabet Stickers — Navy, Back to School Puffy Stickers, TGIF Wood Veneers, Beautiful Day 6 x 6 Paper Stack, Sunshine 6 x 6 Paper Stack, Magical Memories 6 x 6 Paper Stack, All My Heart 6 x 6 Paper Stack

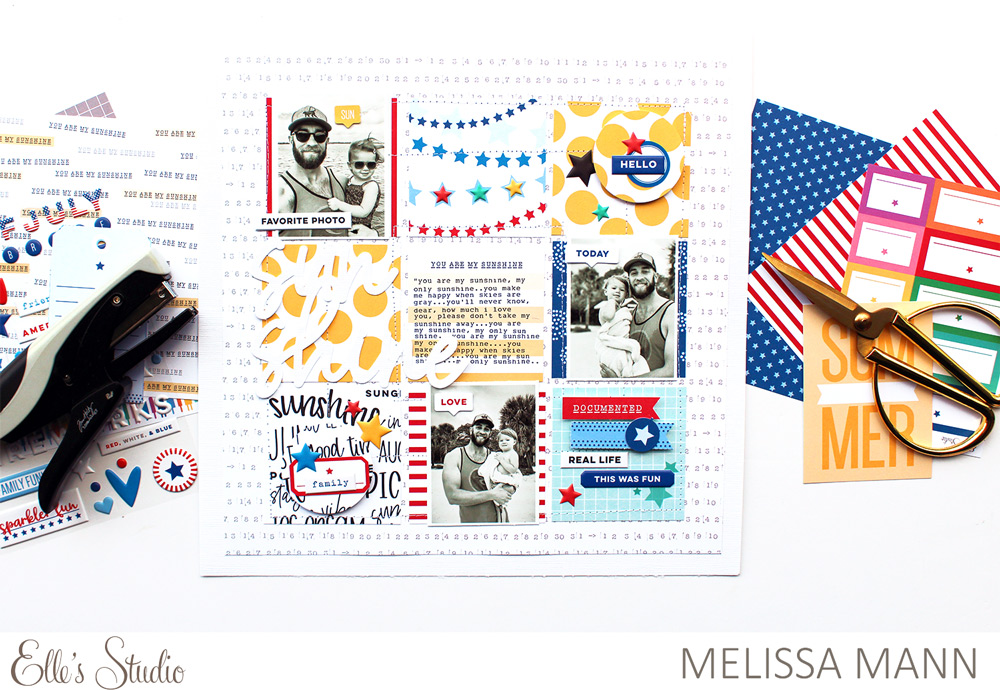
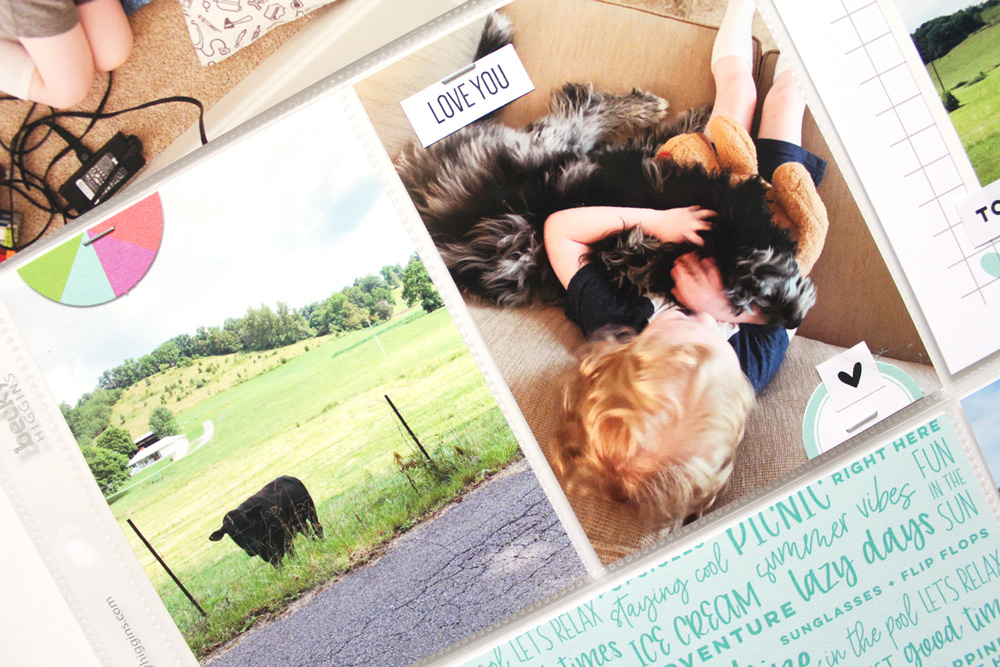
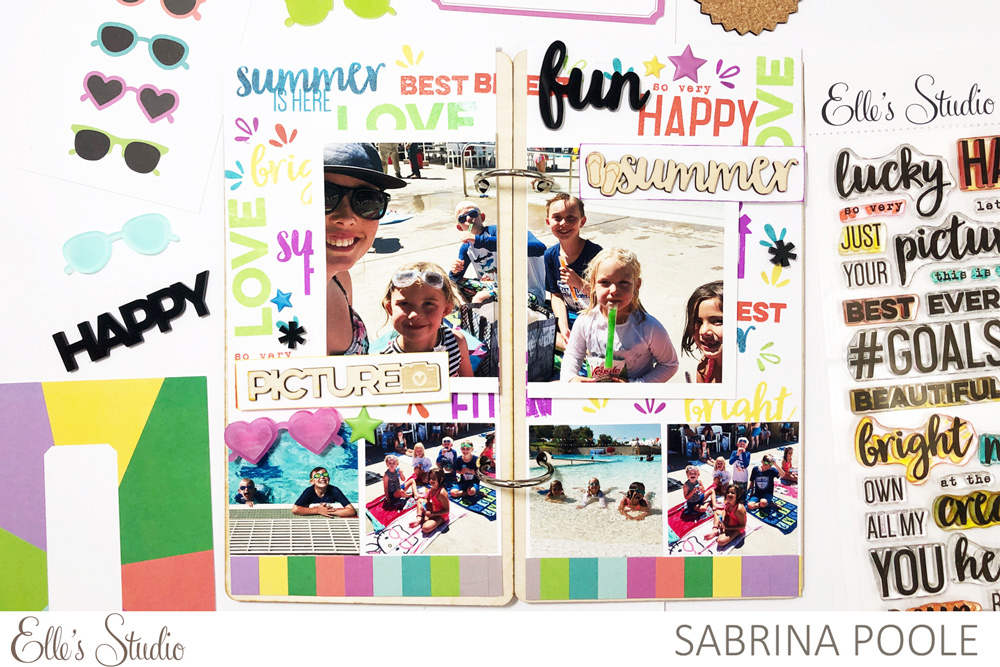
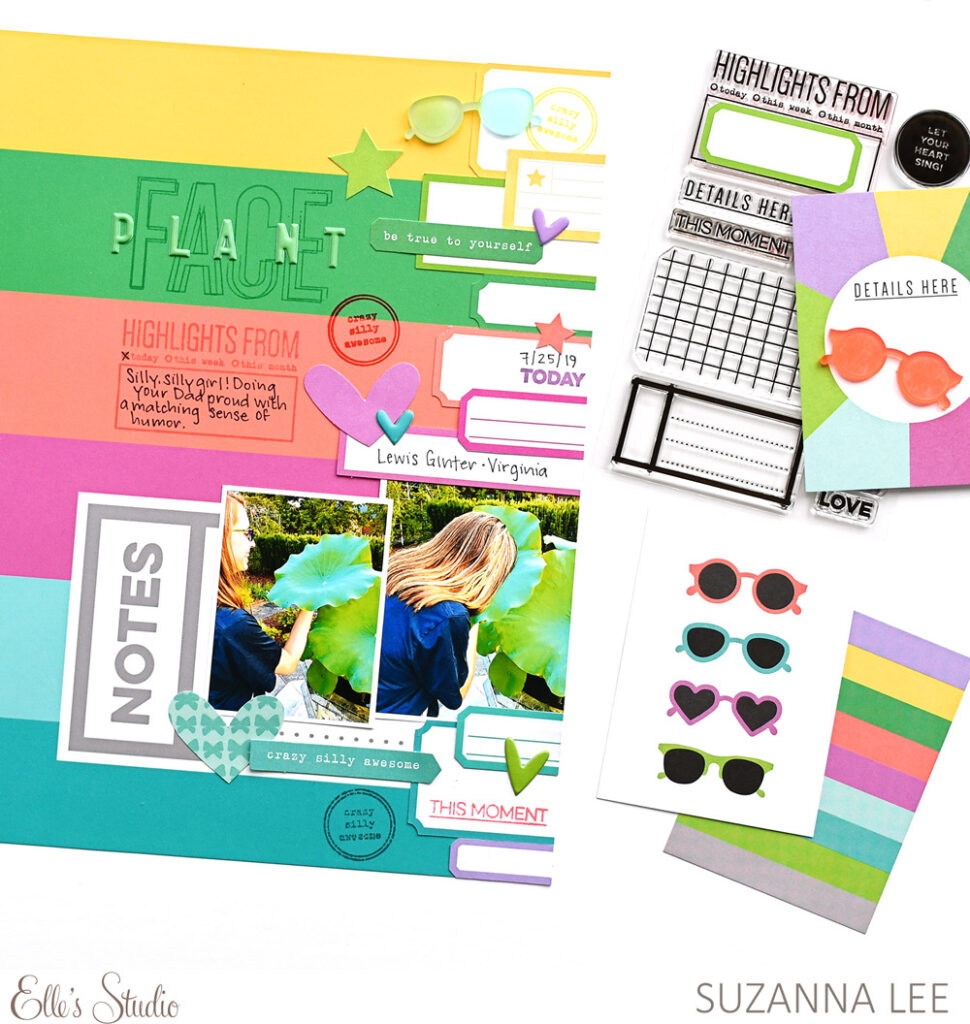
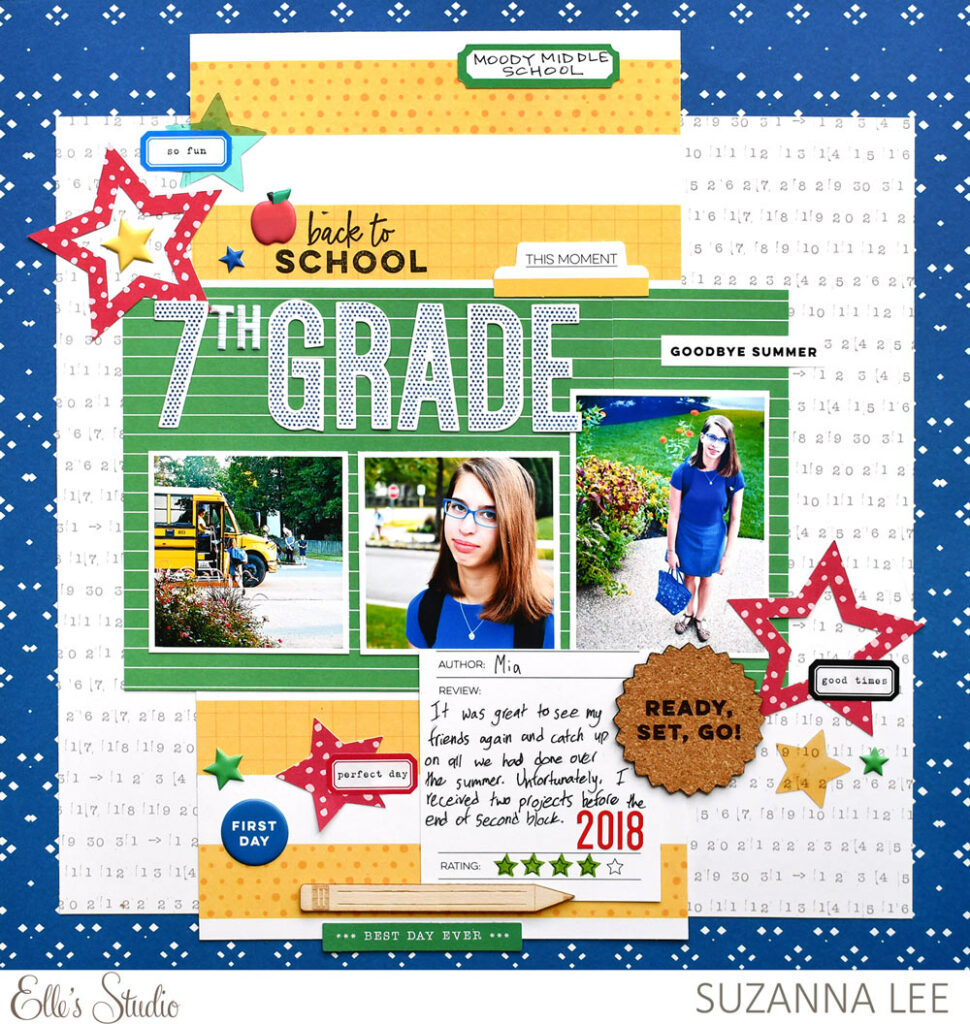
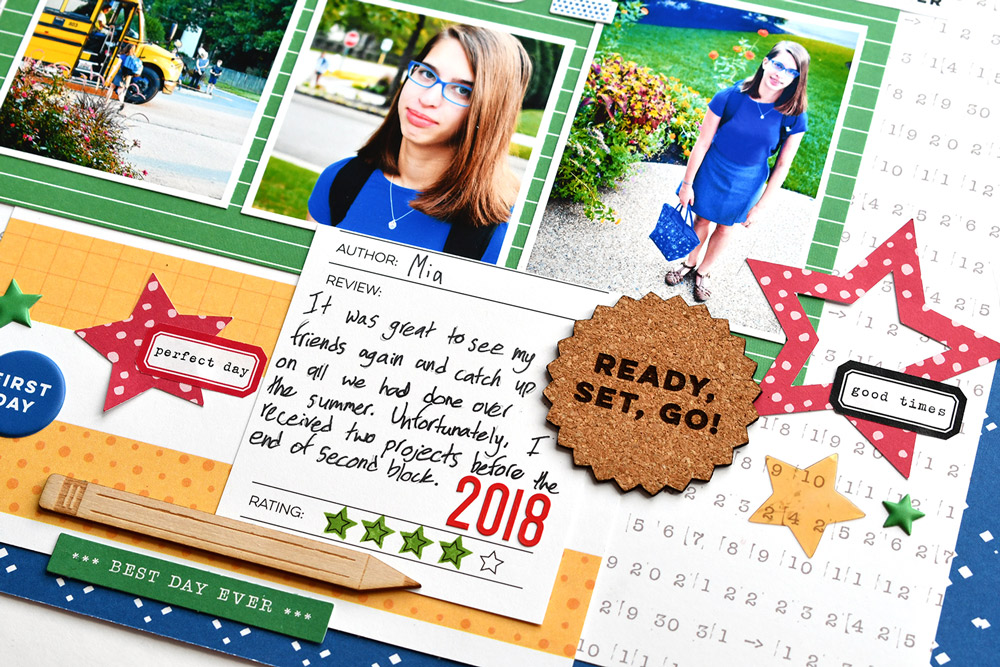
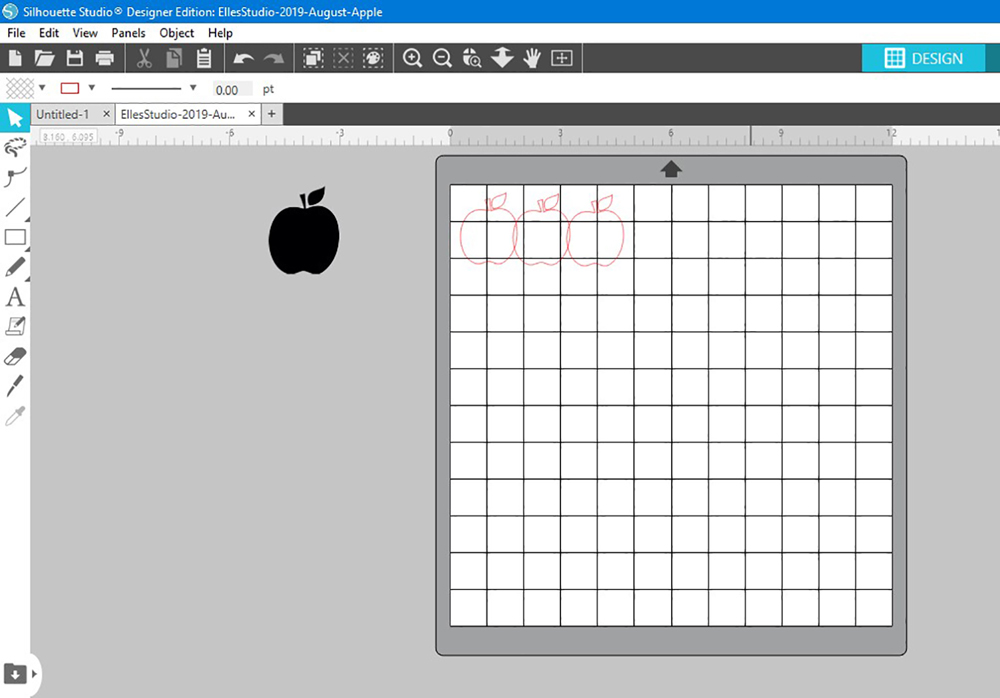
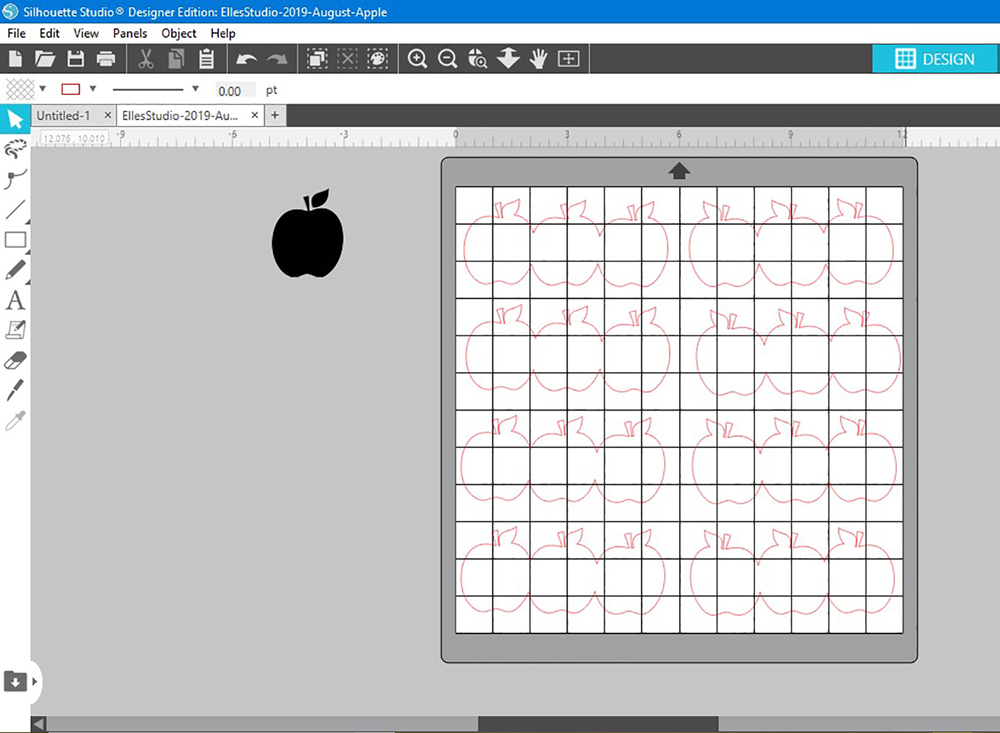
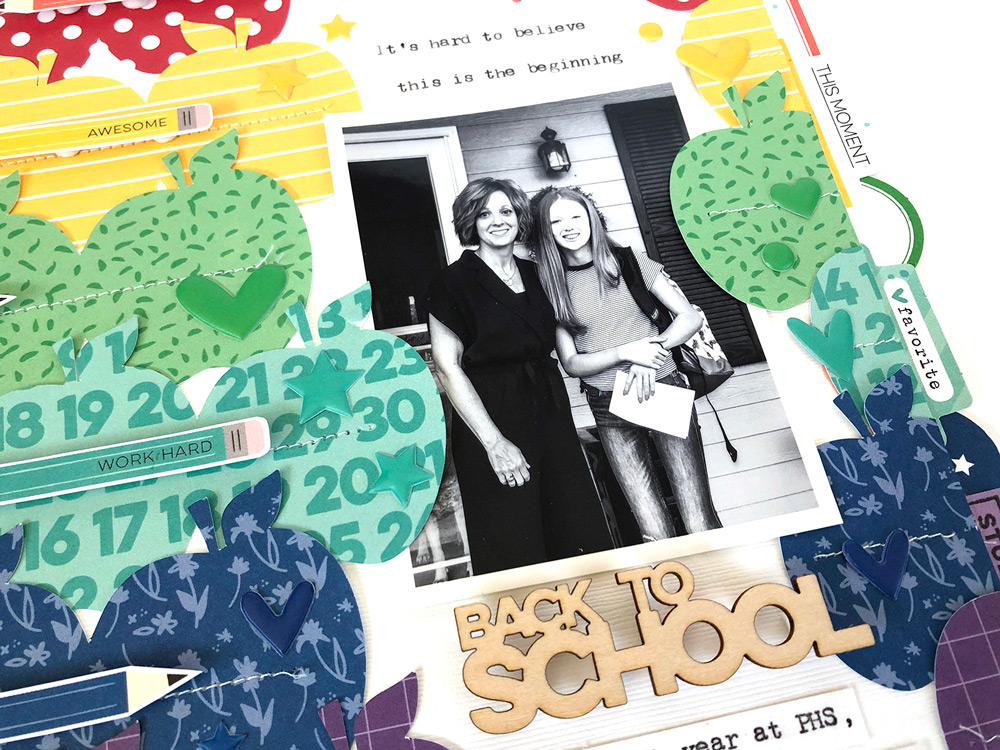
To start my layout, I cut various pieces of patterned paper into 4″ x 4″ squares, then cut them again right down the middle, creating lots of triangles for me to play with! Next, I laid out a 12″ x 12″ white cardstock base and moved around paper until I landed on a geometric design that I liked. 

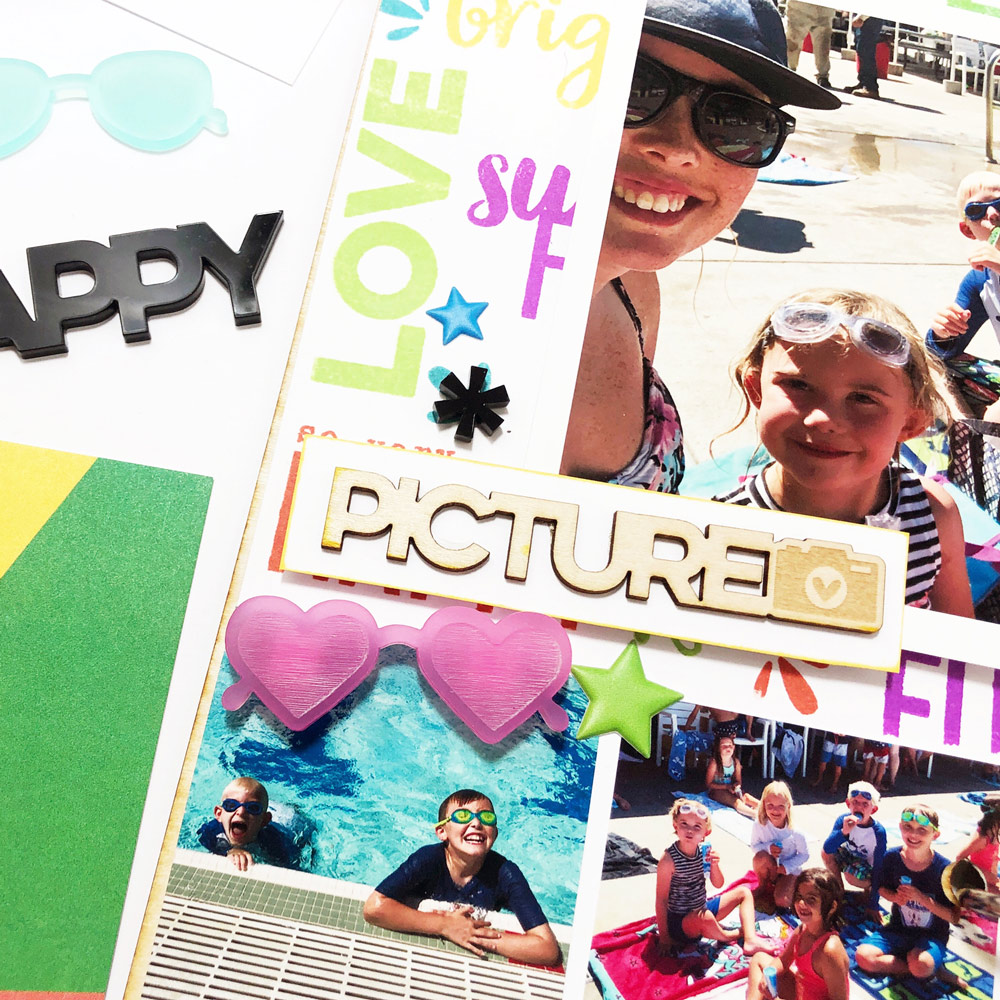
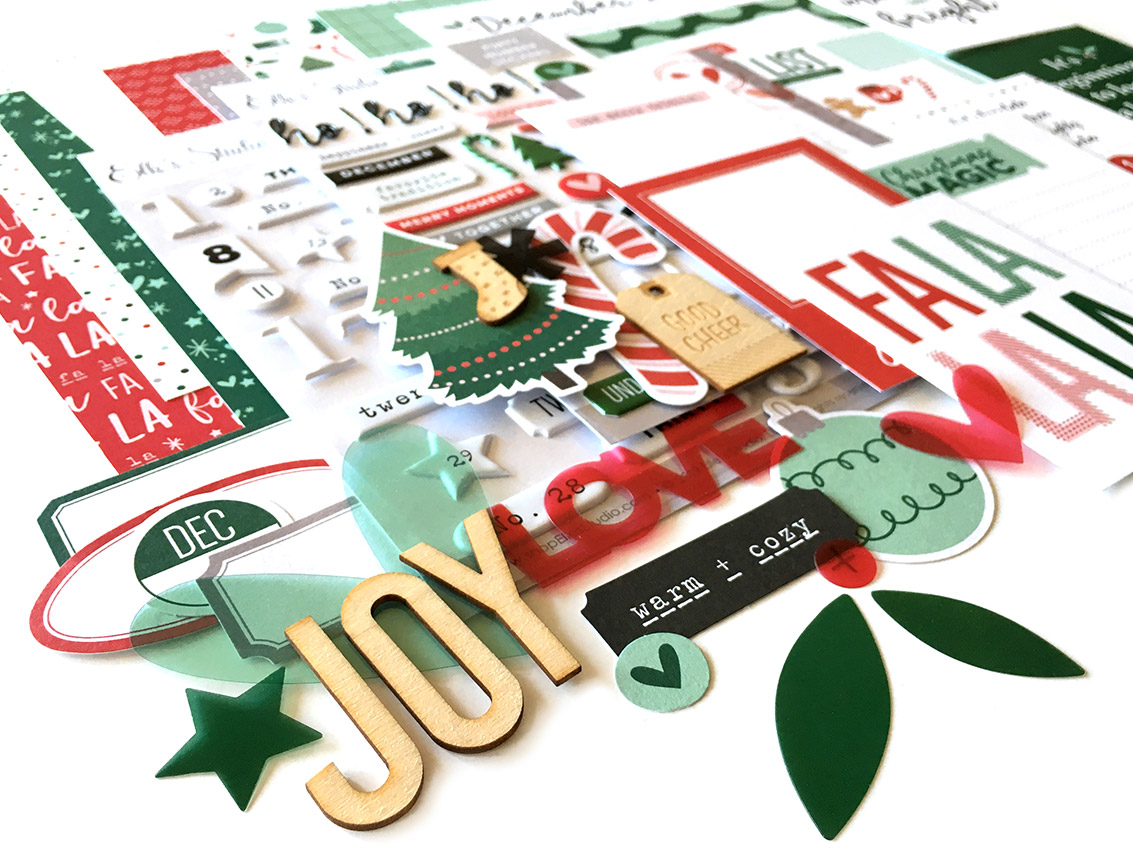
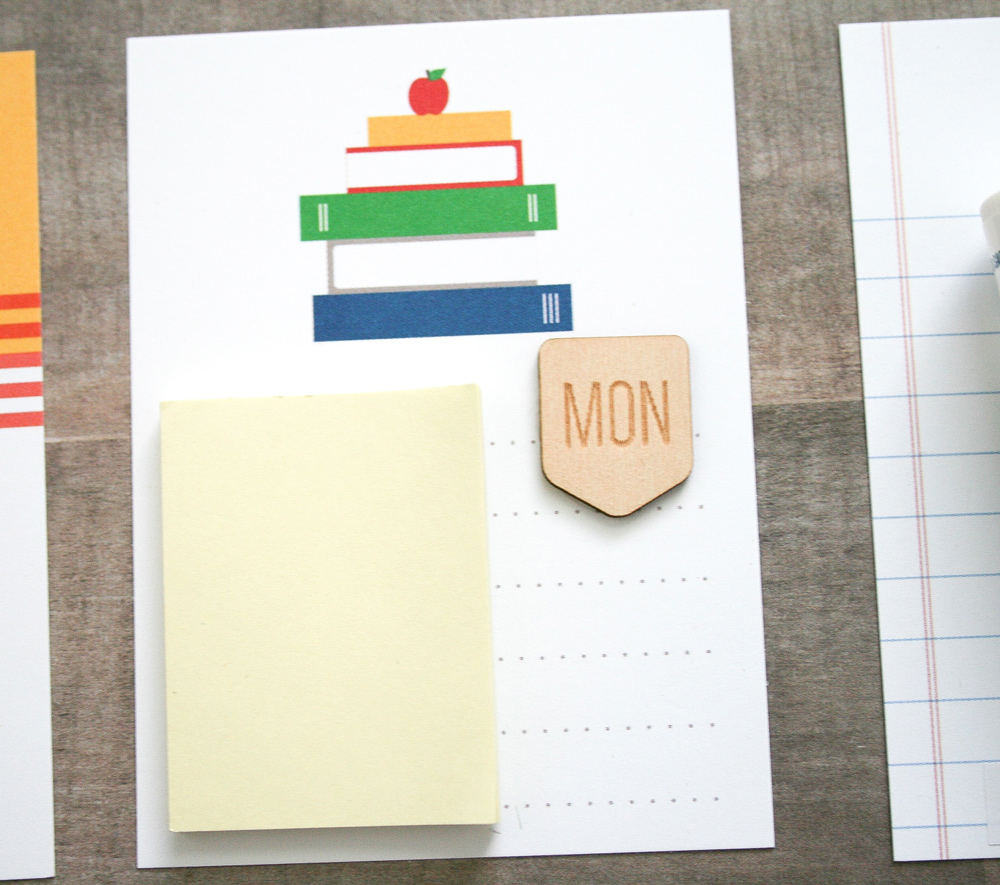
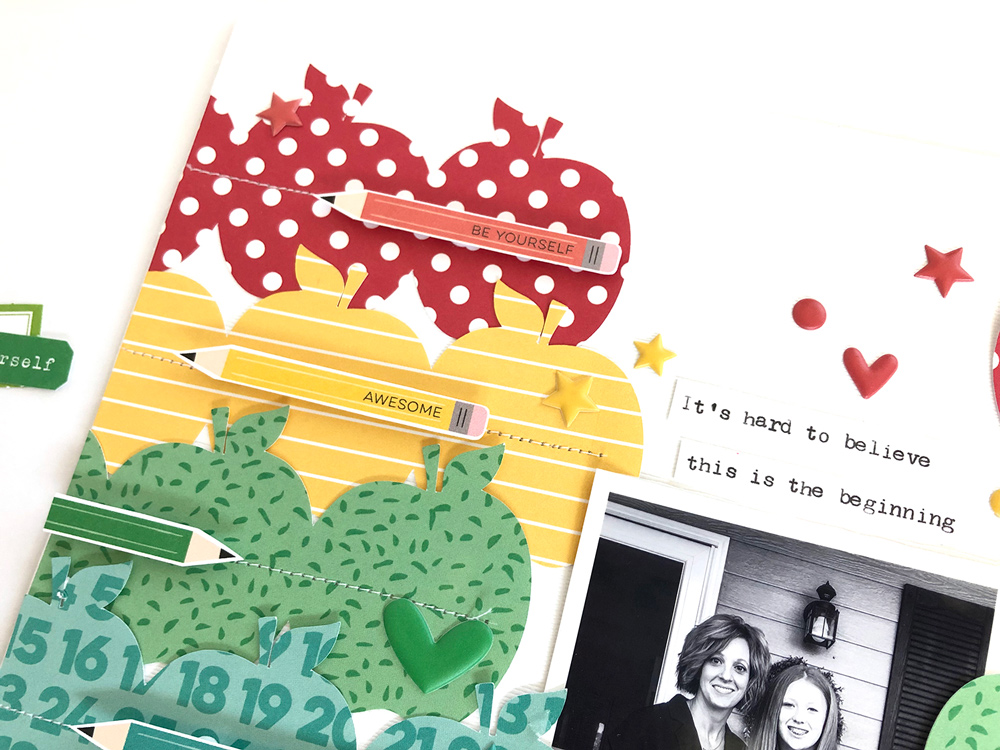
Once I had my background designed, I chose a few papers to pop up and a few to glue directly to the cardstock base. I like to do this to create a bit more interest on my spreads. I love this look of dimension and the ability to create a completely different look on a page by elevating certain pieces.  

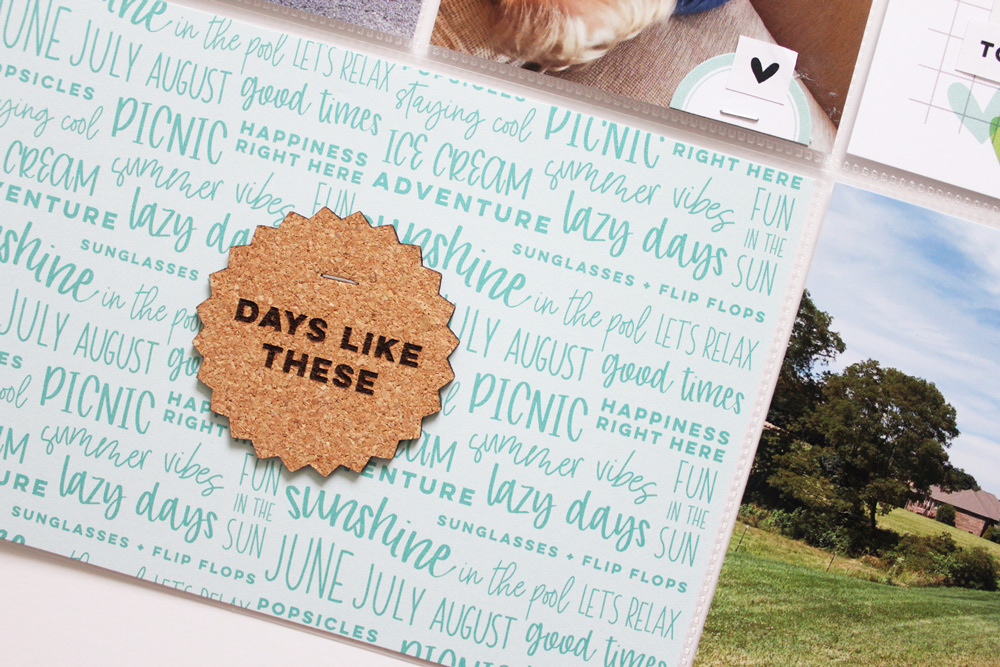
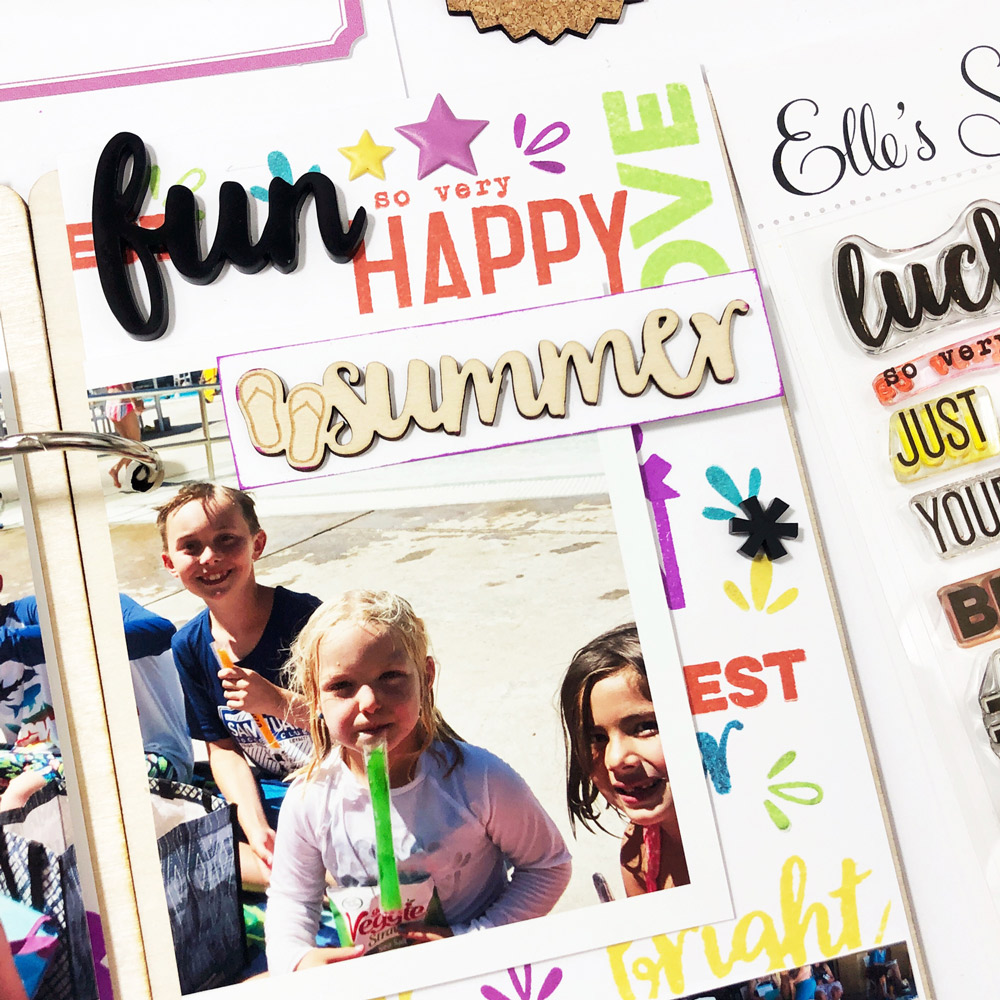
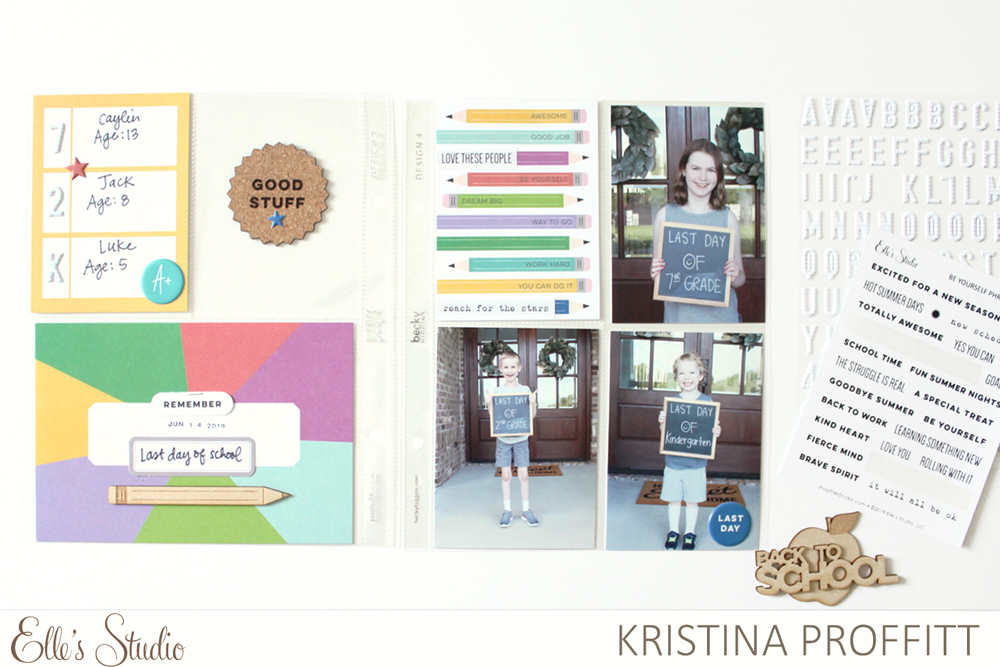
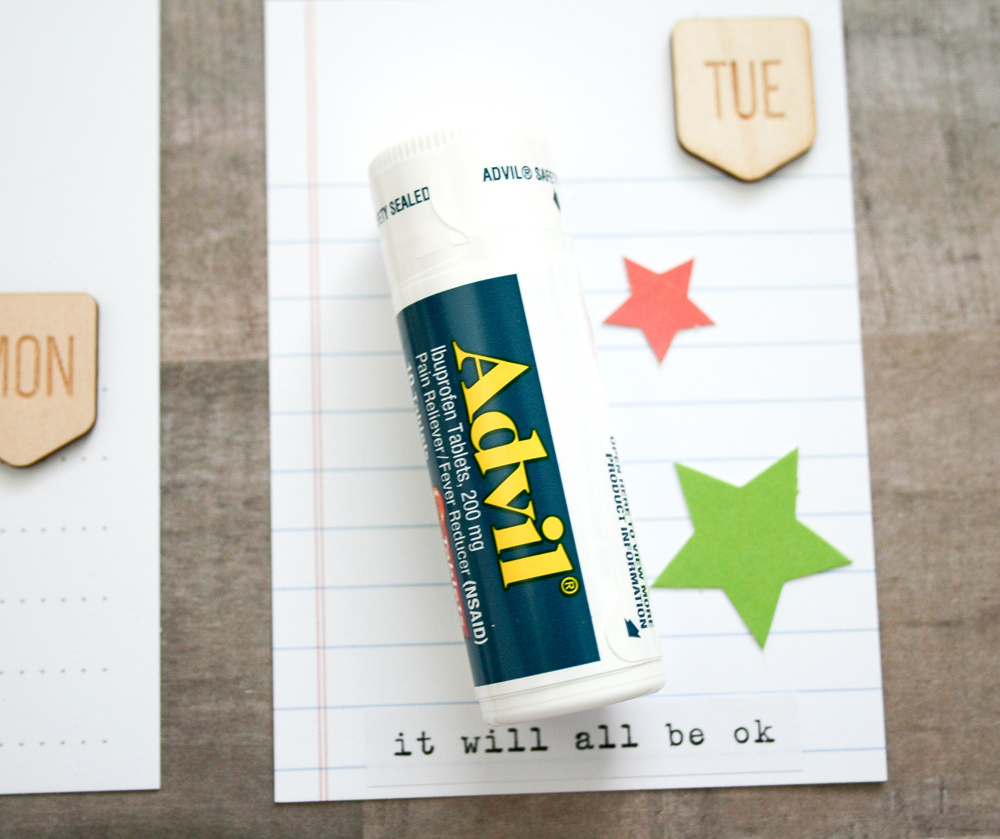
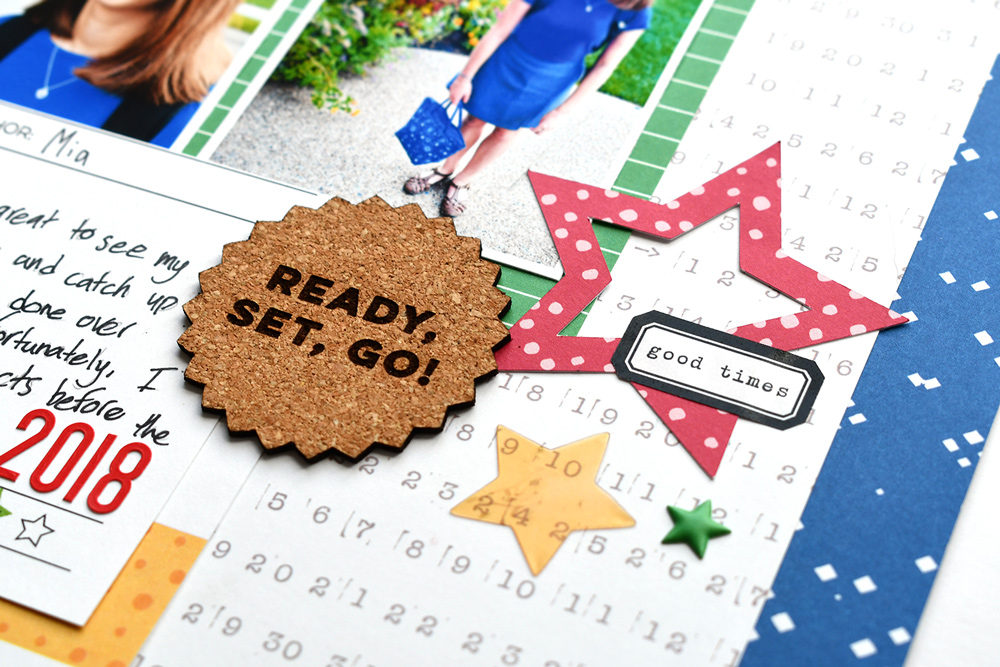
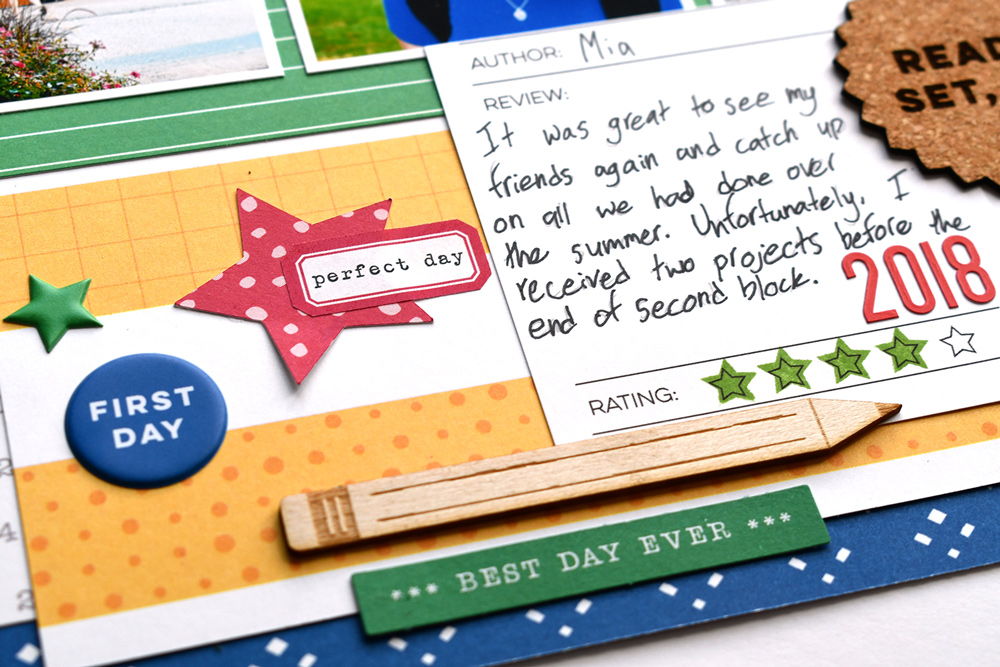
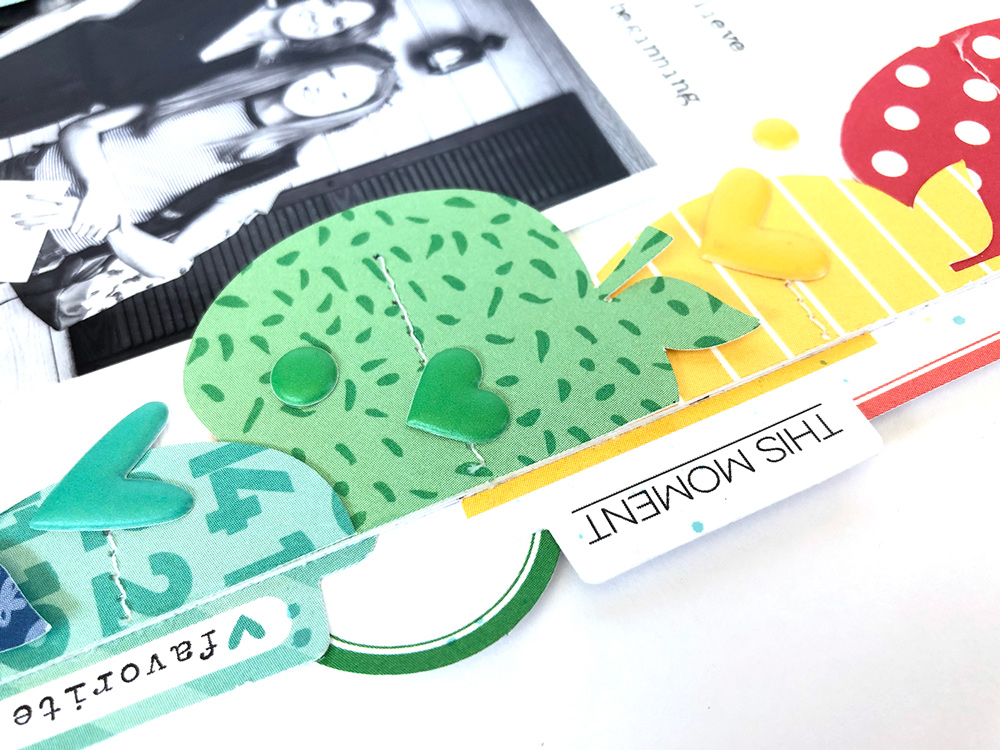
By creating dimension with the papers and layers I was then able to form little pockets in between papers where I could add and tuck my embellishments perfectly.  I loved placing the cute wood veneer pencil from the TGIF Wood Veneers between a few papers on the lower right hand corner.

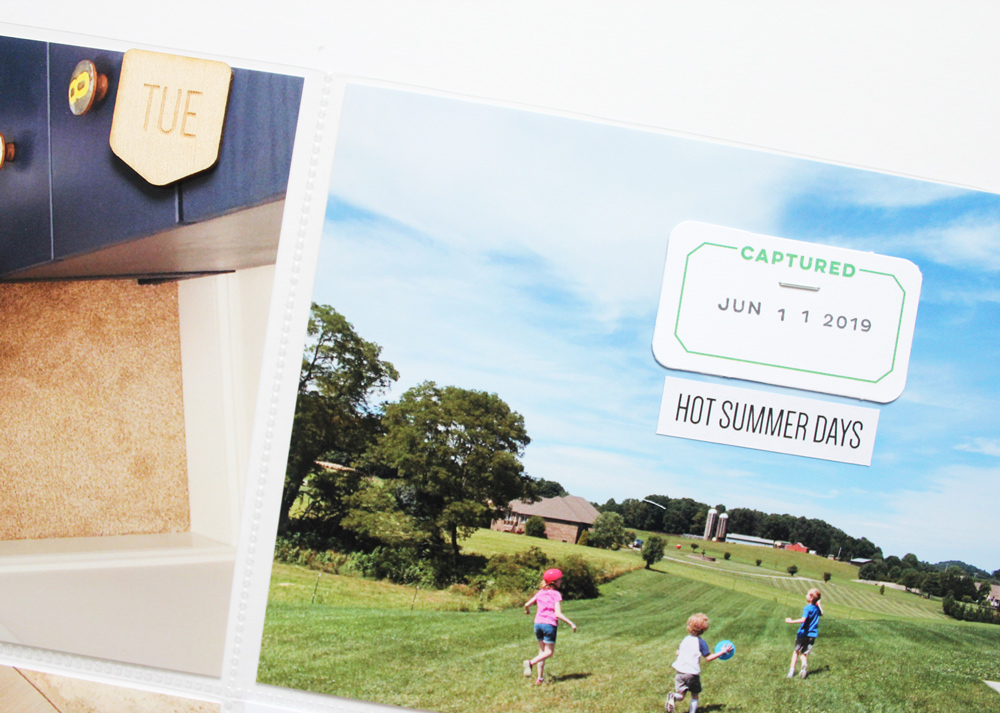
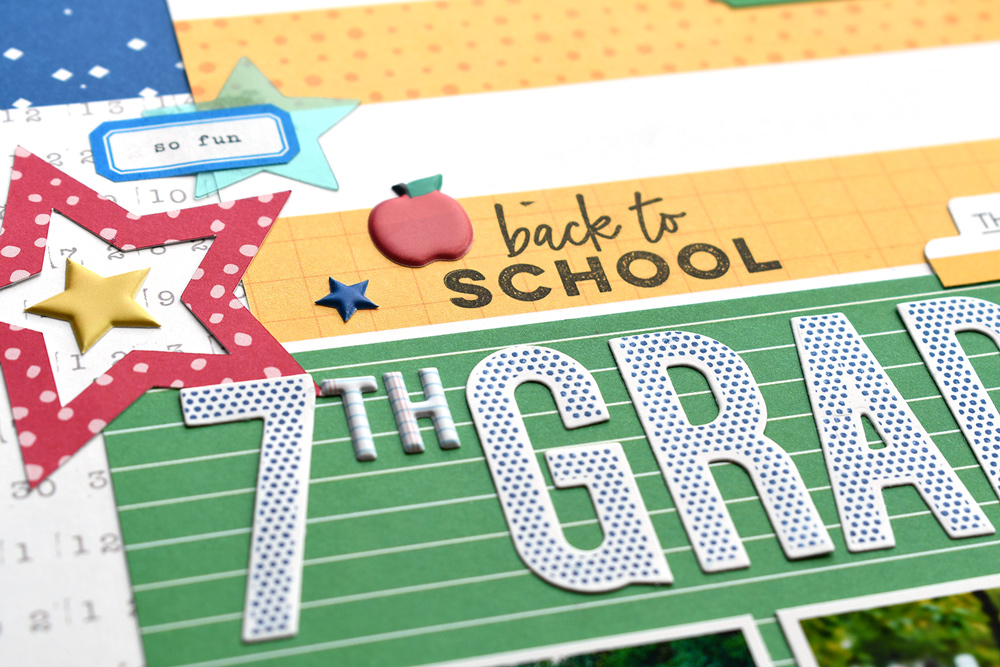
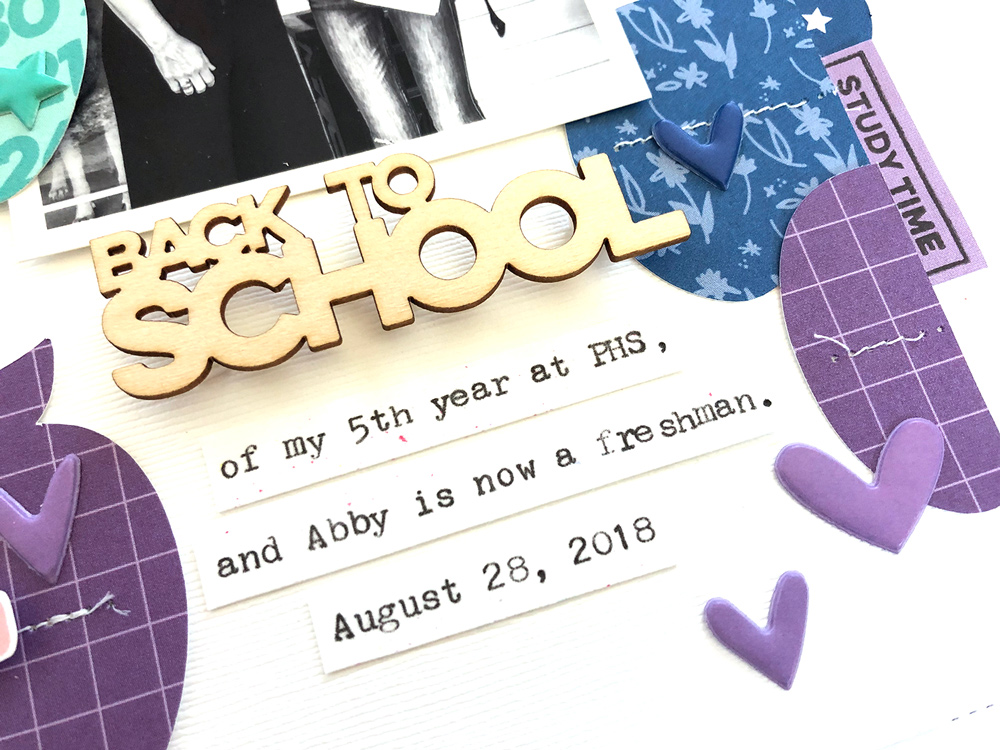
Before I was done with the spread I cut a few more triangles out of the same white base card stock and added them in a few spots across the page to add to the balance and the overall design. Lastly, I added my title with the “Back to School” TGIF Wood Veneer piece, along with the year using the Jane Alphabet Stickers.

Such a fun layout! Check out all of the fun 6 x 6 paper stacks available in the shop and get to creating! I can’t wait to see how you play with the patterns and paper! Please tag #EllesStudio in your creations on Instagram or share in our Elle’s Studio Facebook group, so that we can swoon over them! Have a beautiful day and see you again soon!

“Inspired By” with Tracey Fox

A busy time of year means that you may have less creative time, so why not check out our Design Team Inspiration category here on the blog to help you create a beautifully-designed project in no time by gaining inspiration from one of our DT members? That’s what Tracey Fox did with the newest layout she’s sharing, and using different products made it all her own! Let’s take a look!

Scrap lifting an inspiring project is one of my favorite things to do—especially when I find a layout I LOVE like Melissa Mann’s, You Are My Sunshine layout, created with the July kit and add-ons. The nine-square grid is such a versatile design that you can use over and over again with a combination of patterned papers and tags to tell all sorts of different stories in your scrapbooks!

For my take on Melissa’s awesome grid layout, I chose four photos from a day when I went to watch my 10-year old nephew Simon play hockey. I loved how Melissa created a grid of squares on her page, yet she still kept her photos in a vertical orientation. Since I primarily use my iPhone to take photos, I often have portrait-style photos that I don’t always want to crop down when I scrap, so I am always on the lookout for page designs that feature vertical photos. 

Supplies | August 2019 Kit, Be Yourself Phrase Stickers, Back to School Puffy Stickers, Notebook Puffy Alphabet Stickers, TGIF Wood Veneers, Makes Me Smile Cork Circles, Back to School Stamp, Large Jane Alphabet Stamp – Outline, Large Jane Alphabet Stamp — Stars, Sunshine 6″ x 6″ Paper Stack, Noteworthy 12″ x 12″ Paper Collection

I couldn’t resist using the exact same background patterned paper from the Noteworthy 12″ x 12″ Paper Collection that Melissa used for her layout, because I felt like the number pattern worked well for a hockey page about my nephew scoring points. Like Melissa, I also decided to back my entire layout on a sheet of cardstock. I chose a dark royal blue background to bring out the blues in some of the embellishments. 

Since I used the August kit and extras for the rest of my page, this is where I departed from Melissa’s original and started to play.     

One of the most fun things about using different products to scraplift a layout is working with the supplies you have and letting them guide you into making different decisions with your title, journaling, and embellishments. For example, I used a tag from the August Kit with a printed label on it to house my title, “#1 Hockey Star,” which I built using the Back to School Puffy Stickers and the new Notebook Puffy Alphabet Stickers. I also clustered and tiled various embellishments onto my photos and the patterned squares I had cut from tags in the August Kit and papers from the Sunshine 6″ x 6″ Paper Stack. Die cuts from the August kit, along with elements from the Back to School Puffy Stickers, Makes Me Smile Cork Circles, TGIF Wood Veneers, Be Yourself Phrase Stickers and the Back to School Stamp were great for scattering around the page, adding interest, and supporting my story.

Elle’s Studio products are always full of words, phrases, and imagery that you can make work in so many different ways. The combination of learning and encouragement themes in the “back to school” themed products in the August kit and add-ons were actually perfect to help me illustrate the memories I was documenting here: I wanted to capture Simon’s love for and dedication to playing hockey, and because I’m the one learning by being exposed to a sport I know very little about. I chose the tag with the “my favorite part of,” prompt for my journaling to shortly and sweetly capture how awesome he is at hockey and how he’s teaching me about the game.

Thanks for checking out my layout and reading about my process today! Do you ever take direct inspiration from other designers’ layouts when you scrapbook? It’s such a great way to get those creative juices flowing and to get straight to the business of telling your stories on your pages! I hope you’ll accept the challenge, and I hope you’ll come hang out in the Elle’s Studio Facebook group and show us what you’re making!

Wrapping Up Summer with Kristina Proffitt

With summer winding to an end, these last few weeks are a great time to reflect, look over our summer photos and figure out how we’re going to document those long, hot days! Why not try a pocket page? Today Kristina Proffitt is here to inspire us to document the summer fun that we’ve had using our August kit and add-ons in pockets, allowing the maximum amount of memories per page. Let’s take a look!

Capturing summertime moments is one of my favorite things to do. There’s always something different going on every day and usually my pocket pages reflect that. On this 12″ x 12″ pocket page, you can see that I decided to document some fun my kids had in the yard (going down the right side of the page) and then on the other side, there’s a scattering of other things that happened around that time. 

Supplies | August 2019 Kit, Be Yourself Phrase Stickers, Makes Me Smile Cork Circles, Days of the Week Wood Veneers

One of the things I love about scrapbooking this way is that you can record so many different memories on just one page and all of the awesome August goodies help to bring it all together in such an easy and cute way.

One of the things that I love to do with the monthly kit die-cuts is cut them (usually in half) to use multiple ways and you can see that’s exactly what I did here on this photo. 

I used the other half on another photo, and then cut this colorful round die cut in half on this photo to repeat it elsewhere on this spread. 

I love using tags as another spot to add photos in my pages! On this grid tag from the August 2019 Kit, I printed out a photo from that same day that was a bit smaller and used my tiny attacher to attach it to the tag. I love how it breaks it all up on that side. I also love that the “totally awesome” Be Yourself Phrase Sticker looks perfect along the bottom of the photo. 

I love the Makes Me Smile Cork Circles and decided to attach one to the 4″ x 6″ teal tag from the August Kit to serve as the foundation of the page. “Days like these,” was the prefect sentiment for sure! 

I hope that no matter when you get your summertime memories recorded, that you pull out the August kit and add-ons and put them to use. They will help pull all of your photos and stories together in the most simple way AND you’ll be actually using your products! So print out those photos that you’ve taken this summer and get them in your albums, friends. “Days like these” don’t last long!

Document December with our new kit and add-ons!

Get ready to capture all of your special holiday moments with our Document December kit that is in stock, shipping now, and 10% off (until September 4th) to celebrate! We’ve designed this kit to work with whatever projects you plan on making this year – it has everything you need for documenting in pocket pages, layouts, mini albums, Traveler’s Notebooks, and more!

Our kit is packed full and comes with everything you see above: Ten 4×6 inch journaling tags, thirty 3×4 inch journaling tags, nine 6×8 inch papers, cardstock and acetate die cuts, puffy stickers, wood veneers, stickers, and an acrylic star!

Make sure you stop by our site to see the full product listing and click on the extra photos to see each product close up! To celebrate the reveal of our Document December kit, you can also SAVE 10% when you purchase this kit today through Wednesday, September 4th (or while supplies last)! No coupon code needed.

We also have over 25+ awesome coordinating extras that we’ve designed to go with our Document December kit! There are puffy stickers, extra journaling tags, wood veneers, stickers, stamps, and acrylics!

Monthly kit subscribers—we have a special offer for you! You have the option to bundle your Document December purchase(s) with your September subscription:

USA KIT SUBSCRIBERS: Use the coupon code SHIPWITHKIT and your purchase(s) will ship for FREE with your September kit subscription and add-ons!

INTERNATIONAL KIT SUBSCRIBERS: Check out as normal and your purchase(s) will ship for a reduced shipping rate with your monthly kit subscription! You will receive a refund for the shipping overage charged once all your orders have shipped with your September kit and add-ons. If you are an International kit subscriber, we will assume you want your purchase(s) shipped with your September kit. If you would like your Document December purchase(s) to ship right away, type the message, “ship immediately” in our customer note section upon checkout.

PLEASE NOTE: You must have a current monthly kit subscription with us to bundle your purchase. If we cannot bill your card for your September kit subscription on September 10th we will contact you via email. Once bundling has closed on September 11th at 8:00 am PST, your orders will all ship together.

Look for inspiration from our Design Team and guest designers in November & December on our blog, Instagram, and Facebook group! They will be documenting their December with our kit and add-ons and will have a ton of inspiration to keep you inspired all season long!

Thank you so much for joining us today for the big reveal of our Document December products and for all of your incredible support! We are so excited to see the special moments you document with our kit! Make sure you join our Facebook group, and use the #EllesStudio hashtag when posting on Instagram, for a chance to be featured on our feed and win a gift certificate to our shop!

Summer Selfie with Title Builder Vol. 3 and Sabrina Poole

Our newest Title Builder Vol. 3 products are designed to create perfect and easy titles for any project, but they offer so many other creative possibilities! Today design team member Sabrina Poole is here to show us one of them—and it’s fun and colorful! Let’s take a look!

Hi this is Sabrina from the creative team and today I wanted to show you how to create a page using just the Title Builder Vol. 3 products and one journaling tag from the August 2019 Kit. I had an awesome selfie from when I was babysitting my friends’ kids (for a grand total of five kids!) I knew I could use that selfie and create a really colorful layout using the Title Builder Vol. 3 collection!

Supplies | August 2019 Kit, Puffy Star Stickers, Shapes and Dots Puffy Stickers, Acrylic Sunglasses, Title Builder Vol. 3 AcrylicTitle Builder Vol. 3 Stamp, Title Builder Vol. 3 Wood Veneer

I started with a 4″ x 6″ photo that I was going to split down the middle and I traced around the photo, keeping me from stamping the entire travelers notebook background. It was a little cheat on my part! I then decided on some phrases that I would use from the Title Builder Vol. 3 Stamp. I decided to use the “summer is here,” “sunny & fun,” and “so very happy” phrases.

I then repeat stamped these phrases and other phrases around the spread to create my own custom background for this travelers notebook spread, in the color scheme from the August 2019 Kit. To bring the whole spread together, I used the single striped journaling tag from the August 2019 Kit, cut into pieces to fit along the bottom. Having this strip gave me more visual movement at the bottom, continuity between the two sides, and just more color!

My next step was to add the photo and the final touches. Since I had made a custom background I also wanted to create two custom labels. I inked two pieces of cardstock to fit the veneer phrases “summer” and “picture” from the Title Builder Vol. 3 Wood Veneer. I then adhered them using dimensional adhesive on opposite corners of my spread. I also included the black Title Builder Vol. 3 Acrylic “fun” piece and two black asterisks. 

Using the Title Builder Vol. 3 collection made this spread come together super quick and I absolutely love it! All of the stamped phrases and different colored inks really add to the fun, summery theme. I hope my project inspires you to try out these products— maybe in a new way with your own customized background! Thank you for reading! 

Here’s a sneak peek at our Document December Kit and Add-ons!

We are excited to announce that our Document December kit will be available in our shop this Wednesday, August 28th at 8:00 am Pacific! Our Document December kit will include 6 x 8 inch papers, journaling tags, puffy stickers, die cuts, wood veneers, and MORE! To celebrate our BIG reveal our Document December kit will be available at a special introductory price where you’ll be able to save 10% off our kit! *Our special introductory pricing ends at midnight on September 4th, 2019.

Along with our kit, this year we will have 25+ fun add-ons that coordinate with our kit! They include wood veneers, acrylics, stamps, puffy stickers, and more! Here’s a sneak peek of some of the items that will be available in on our shop on Wednesday:

All of our Document December products are ready to ship and will start shipping immediately!

If you are a kit subscriber, we have a special bonus for you—you will have the option to bundle your Document December purchase(s) with your September subscription:

USA KIT SUBSCRIBERS: Use the coupon code SHIPWITHKIT starting on August 28th and your purchase(s) will ship for FREE with your September kit subscription and add-ons!

INTERNATIONAL KIT SUBSCRIBERS: Check out as normal starting on August 28th and your purchase(s) will ship for a reduced shipping rate with your monthly kit subscription! You will receive a refund for the shipping overage charged once all your orders have shipped with your September kit and add-ons. If you are an International kit subscriber, we will assume you want your purchase(s) shipped with your September kit. If you would like your Document December purchase(s) to ship right away, type the message, “ship immediately” in our customer note section upon checkout.

PLEASE NOTE: You must have a current monthly kit subscription with us to bundle your purchase. If we cannot bill your card for your September kit subscription on September 10th we will contact you via email. Once bundling has closed on September 11th at 8:00 am PST, your orders will all ship together.

If you haven’t signed up for our kit subscription, now is the perfect time if you want to bundle and SAVE on shipping—We only have a few spots left!

We are so excited for this BIG reveal! Make sure you set your alarm and mark your calendar for this Wednesday, August 28th at 8:00 am PST! Watch our Instagram account for more sneak peeks and if you are on Facebook we would love for you to join our group!

August Design Team Inspiration: Volume Three

What a month of colorful and fresh inspiration we’ve shared here on the blog! From back-to-school inspiration, to magical moments in layouts, pocket pages and traveler’s notebooks, there has been something for everyone to love! Today’s post is no exception, with eight more projects created with the August 2019 Kit and add-ons that we know will inspire you to create!

Face Plant by Suzanna Lee – supplies used | August 2019 Kit, Crazy Silly Awesome Printables, August Print and Cut LabelsGreen Puffy Alphabet Stickers, Puffy Heart Stickers — Spring Mix, Puffy Heart Stickers — Summer Mix, Acrylic Sunglasses, Beautiful Day 6 x 6 Paper StackLarge Jane Alphabet Stamp – OutlineHighlights From Today Stamp

Last Day of School pocket page spread by Kristina Proffitt – supplies used | August 2019 KitBe Yourself Phrase StickersBack to School Puffy Stickers, Notebook Puffy Alphabet StickersMake Me Smile Cork Circles, TGIF Wood Veneers

Duke & Elle by Candace Perkins – supplies used | August 2019 KitNotebook Puffy Alphabet StickersMake Me Smile Cork Circles, Title Builder Vol. 3 Acrylic, Title Builder Vol. 3 Stamp

This Moment traveler’s notebook spread by Patricia Roebuck – supplies used | August 2019 KitBe Yourself Phrase Stickers, Acrylic SunglassesHighlights From Today Stamp, Back to School Stamp

Shine by Daniela – supplies used | August 2019 KitBack to School Puffy StickersHighlights From Today Stamp, Back to School Stamp, TGIF Wood Veneers, Mini Dated StampNoteworthy 12″ x 12″ Paper Collection

Back to School pocket page spread by Sabrina Poole – supplies used | August 2019 Kit, Back to School Puffy Stickers, TGIF Wood VeneersHighlights From Today StampBack to School Stamp

Sweet Summer Moments by Melissa Mann – supplies used | August 2019 KitShine Die Cuts, Be Yourself Phrase StickersNotebook Puffy Alphabet StickersBeautiful Day 6 x 6 Paper StackMagical Memories 6 x 6 Paper StackAll My Heart 6 x 6 Paper Stack, Title Builder Vol. 3 StampHighlights From Today StampNoteworthy 12″ x 12″ Paper Collection

Body Posi Pool Party by Tracey Fox – supplies used | August 2019 KitBe Yourself Phrase StickersBack to School Puffy Stickers, Lime Green Puffy Alphabet Stickers, Teal Puffy Alphabet Stickers, Fuchsia Puffy Alphabet Stickers, Black Puffy Alphabet StickersMake Me Smile Cork Circles, Small Months of the Year Wood Veneers, Acrylic Sunglasses, Title Builder Vol. 3 Acrylic, Title Builder Vol. 3 Stamp, Highlights From Today StampNoteworthy 12″ x 12″ Paper Collection

We want to see what you’re creating with your August goodies! Share on Instagram using the hashtag #EllesStudio, or in our Elle’s Studio Facebook group, where we can all inspire each other!

Gifting a Special Teacher with Wendy Antenucci

Teachers are truly special people, and for our final day of Back to School Week here on the blog, design team member Wendy Antenucci, a teacher herself, has created a special gift for her child’s teacher for each day of the week using the August 2019 Kit and add-ons. We know you will love her simple, yet personalized and thoughtful gift tags that are easy to replicate for the A+ teacher in your life!

Hello everyone, it’s Wendy here today with a gift idea to warm your child’s teacher’s heart. As a parent of a student that is struggling in the transition this year, one teacher has stood out beyond the rest in helping my child cope. As a teacher myself, I also approve! 

Supplies | August 2019 KitBe Yourself Phrase StickersBack to School Stamp, Back to School Puffy Stickers, Days of the Week Wood Veneers

To make my teacher gift, I began with six 3″ x 4″ tags that looked school-ish and I adhered the Days of the Week Wood Veneers on each one.  Originally my plan was to attach gift cards to each tag making a book, but my gifts grew a little too large…

I decorated the tags with the stamps from the Back to School Stamp and stickers from the Back to School Puffy Stickers.

This tag is my personal favorite; some stamping, a puffy sticker, and some watercolors created this little spread!

A few die cuts from the August 2019 Kit and a Be Yourself Phrase Sticker was the perfect touch for those days that make your head swim!

I started Monday off with a pack of small sticky notes because as a teacher I know I leave notes everywhere!

I have attached some glassine bags behind some of the tags to include gift cards; a pack of hand wipes and some treats are added in for a bigger bang.  I hope this little gift goes a long way in expressing our thanks to this teacher for all of his help with our child.  And I hope this has given you a quick and easy teacher’s gift to send in for a special teacher!

Show us how you’ve been inspired by Back to School week! Share your projects on Instagram using the hashtag #EllesStudio, and in our Elle’s Studio Facebook group, where ES fans just like you inspire each other!

Sketch Ready with Suzanna Lee

A great sketch can be used over and over again in different ways to create beautiful, well-balanced layouts, and today we have just the sketch for you! Design team member Suzanna Lee is working her sketch magic with it, and sharing an amazing back to school layout, plus a process video! Take a look!

Hiya scrappy peeps! It’s Suzanna here today! We are celebrating Back to School this week and today I’m checking out if you are sketch ready?! This is the perfect sketch for documenting those back to school memories, and I’m here today to “teach” you the right sketch moves!  

Here is the sketch:

And here is the layout that I created based on that sketch:

Supplies | August 2019 Kit, July 2019 Digital Cut File, Shine Die Cuts, Tiny Everyday Label Stickers, Back to School Puffy Stickers, Notebook Puffy Alphabet Stickers, Heart and Star Acetate Die Cuts, Makes Me Smile Cork Circles, TGIF Wood Veneers, Beautiful Day 6 x 6 Paper Stack, Back to School Stamp, Large Jane Alphabet Stamp — Polka Dot, Large Jane Alphabet Metal Die

I pulled a lot of goodies from my Elle’s Studio stash: current stash and goodies from month’s past, as well as some classics. I went for primary colors and bits and pieces that spoke or lectured “back to school!”

Looking at the sketch then at the completed layout, you will see that I really didn’t deviate much from the sketch. Just as the sketch suggests, there is a large title, three photos, a larger round element, multiple layers and a trio of stars.

The most obvious change that I made was that instead of three square photos, I have two square and one 3″ x 4″. Try as I might, I couldn’t make that 3″ x 4″ photo work as a square. To do so would have meant either a head amputation or a leg amputation, neither of which would do! I love the green lined paper from the Beautiful Day 6 x 6 Paper Stack at the background to pop these photos! Perfect for a back to school themed layout, wouldn’t you agree?

The large title called for in the sketch had what could have been round letter stickers above it. I opted to use the Back to School Stamp and add just that, “back to school,” instead. I used the Large Jane Alphabet Polka Dot Stamps for the title itself, the grade my daughter was beginning. Note that this documents back to school last year as we have yet to head back in our neck of the woods! This Mom gets two more weeks with her children!

In this process video, you can watch how the sketch inspired me and how everything came together. I just love the versatility of sketches and you will find MANY sketch inspired layouts!

Thanks for stopping in today!

Show us what YOU created using our Back to School sketch! Post your finished project on Instagram using the hashtag #EllesStudio, or in our Elle’s Studio Facebook group! We can’t wait to see!

Back to School Week: Digital Tricks with Jennifer McMurtrey

Digital printables and cut files are perfect for adding to your projects again and again, but what if you could alter them to make them truly unique—helping your projects to stand apart from the others? That’s what design team member Jen McMurtrey is teaching us today for day three of Back to School week, and we know that you’ll love her simple, yet so effective digital trick!

Hello Elle’s Studio friends! It’s Jennifer today with a layout about my favorite time of year—back to school! The smell of freshly sharpened pencils and college-ruled paper is in the air, along with the excitement of new classes and fun memories to be made. Perhaps spending my days with high school students has made me slightly dramatic, but I love the fall and the beginning of school. I can’t wait for football games, Homecoming and pep assemblies—it must be why I chose to be a teacher!

One of my go-to favorites when creating layouts is cut files. I love the August 2019 Digital Cut Files and want to share with you how I altered the apple cut file to fit my project. First, let’s take a look at what I created:

Supplies | August 2019 Kit, August 2019 Digital Cut Files, Back to School Puffy Stickers, Puffy Heart Stickers — Summer Mix, TGIF Wood Veneers, Shapes and Dots Puffy Stickers, Springtime 6 x 6 Paper Stack, All My Heart 6 x 6 Paper Stack, Magical Memories 6 x 6 Paper Stack, Back to School Stamp

This 8 ½” x 11″ layout uses several papers from my Elle’s Studio stash along with elements from the August Kit and add-ons. However, the main points of interest are the apples down either side of the page, and these were created using a simple welding technique with my Silhouette CAMEO. To get this effect, the first step is to open the cut file and adjust the size of the object to fit your design as I did below.

Once I had the apple just right, I duplicated it twice, and moved each piece so they overlapped one another in a straight row. With the apples overlapping, I simply selected all three and used the “Weld” function on the Silhouette to create a border. I was able to cut all six of them at the same time by duplicating the apple border object six times. Next, I moved them within the 12” x 12” design space, which allowed me to cut six 3” x 6” pieces of patterned paper simultaneously. Having the ability to cut each of the borders at one time is a definite time saver!

If you ever find yourself struggling with digital files or are overwhelmed with the functions on your die cut machine, YouTube is a great resource. I have had my Silhouette for several years, but still need a tutorial from time to time. I always find what I need online.

Now that I’ve shown you how to alter the cut file, let me walk you through the project. Originally, I planned on having the rows of apples cascading down the center of the page. However, I began experimenting with the placement and found I loved the idea of having the apples on either side of my photo. So, after machine stitching down the center of each of the apple borders, I adhered them along the left edge of the cardstock and cut off the excess. 

On the right side of the cardstock, I placed the selvage from each of the previous cuts. I really loved adding unexpected elements to projects and decided to insert die cuts from the August Kit behind the apples in coordinating colors. Doing this did make the layout bigger, but I’ll just pop it into a larger page protector.

My photo was tucked in behind the edges of the apples, which I think looks super cute. I used the “Back to School” TGIF Wood Veneer as the title and popped off the page with foam adhesive.

I completed the project with journaling strips typed on my manual typewriter, which I placed above and below the photo. You’ll also notice the pencils popped off the page with foam dots, which I fussy cut from a 4″ x 6″ journaling tag in the August Kitt. Last, I added Back to School, Puffy Heart, and Shapes and Dots Puffy Stickers on the apples to give them a bit more texture. 

This layout has me all kinds of excited for school to start next week. I’m looking forward to being back in the classroom doing what I love . . . besides scrapbooking that is!

Thanks for stopping by today! Please be sure to use #EllesStudio on social media so we can see what you’re creating with the August Kit and add-ons, and what you’ve been inspired to create during Back to School week!