Hi, friends! It’s Katarina again with a little bit of inspiration created from the gorgeous May 2021 kit and add-ons. This time I focused on the oh-so-fun Treasure This Vellum Stickers. I created a traveler’s notebook spread—let’s have a look!
Supplies | May 2021 Kit, May 2021 Labels, Jane Tile Alphabet Cardstock Stickers – Yellow, Treasure This Vellum Stickers, Yellow Parker Acetate Alphabet Stickers, Puffy Banners and Border Stickers, Good Times Paper Stack, Fun with Borders Stamp, From Sketch To Finish Vol. 6 Stamp
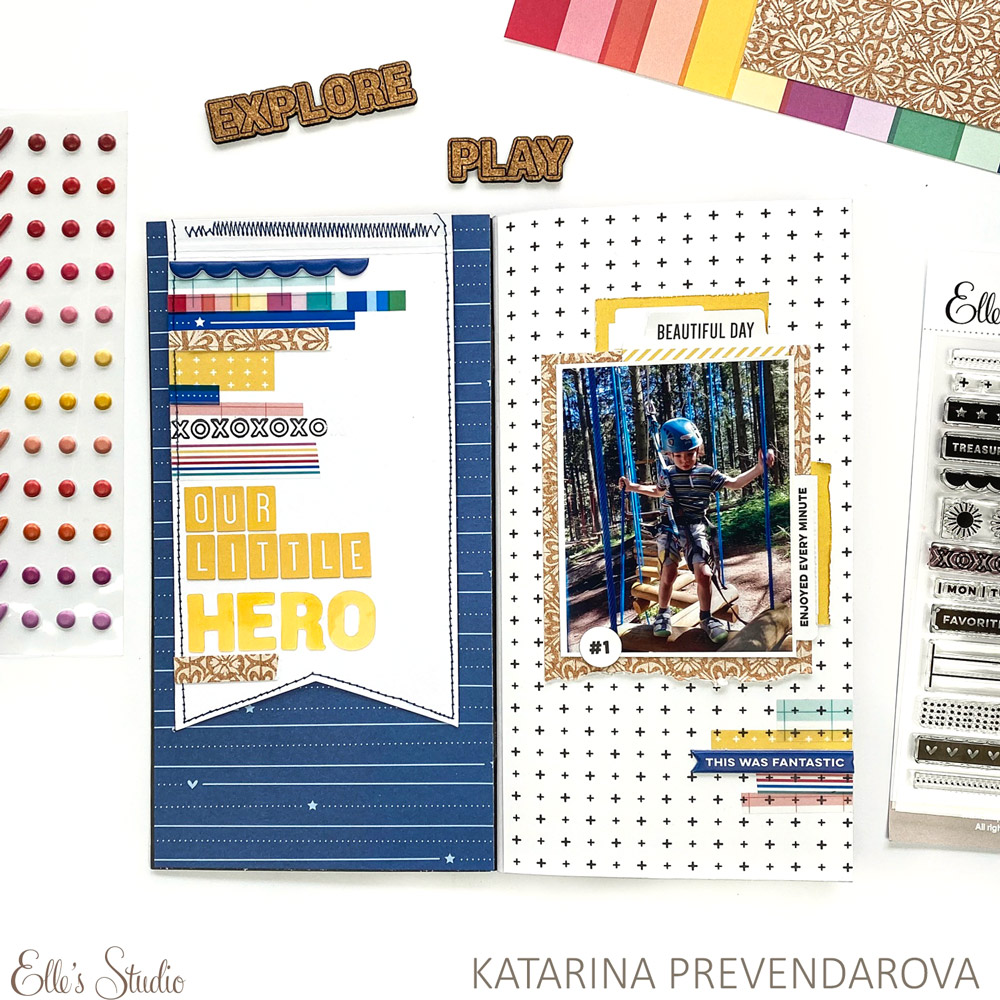
I started off by selecting two patterned papers from the new Good Times Paper Stack for my background. Next, I cut a big banner using a piece of white cardstock and machine stitched around it with a navy thread, plus I zig-zag stitched it to the blue background paper to create a flap.
I chose a perfect journaling tag from the May Kit, distressed its edges and placed it behind my banner flap. I added some more detail to it using the amazing From Sketch To Finish Vol. 6 Stamp.

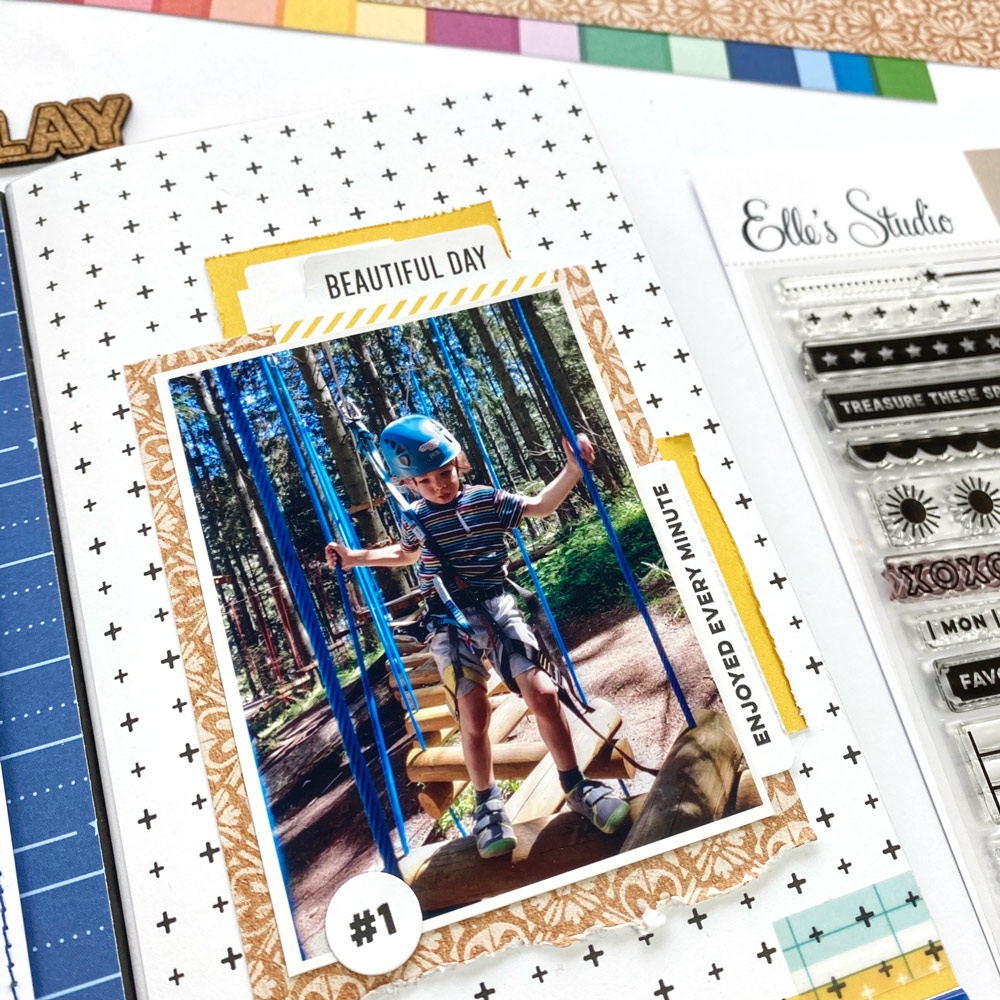
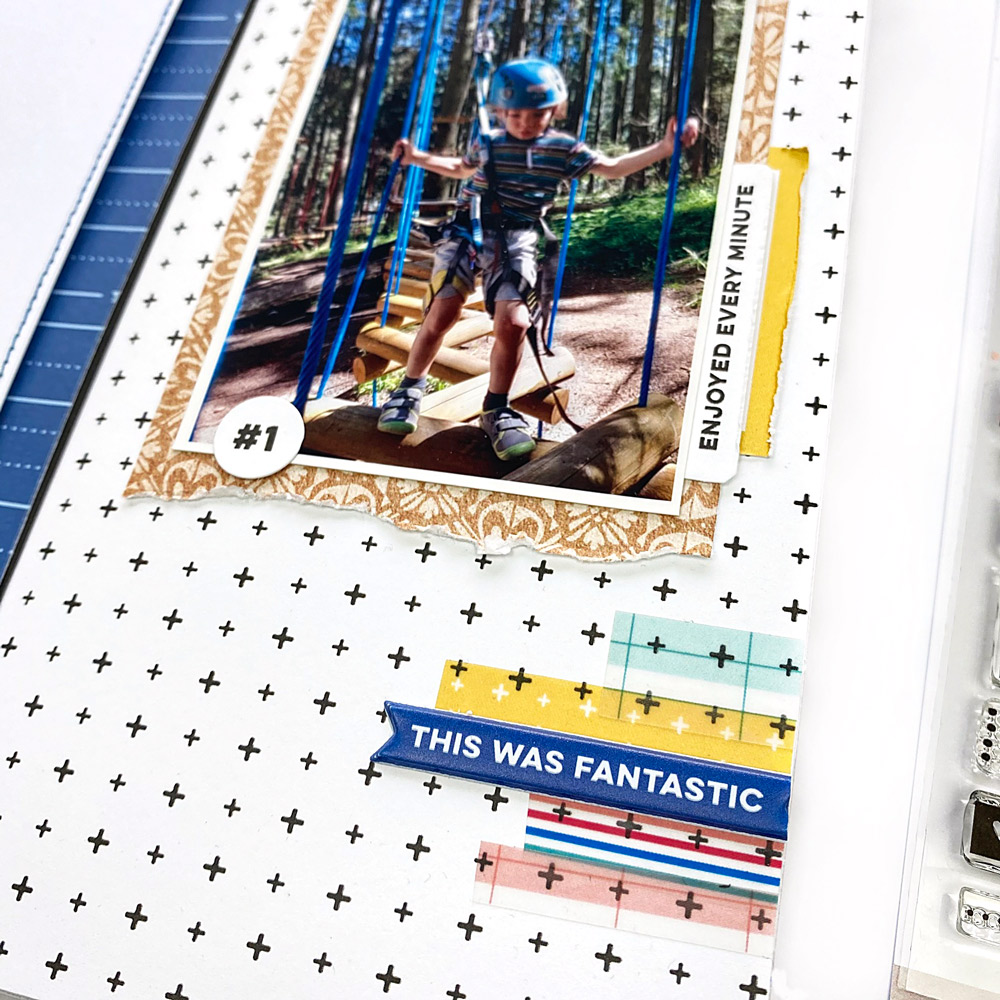
I backed the photo of our little climber with the beautiful floral patterned paper from the Good Times Paper Stack and added a couple of die cuts from the May Kit.
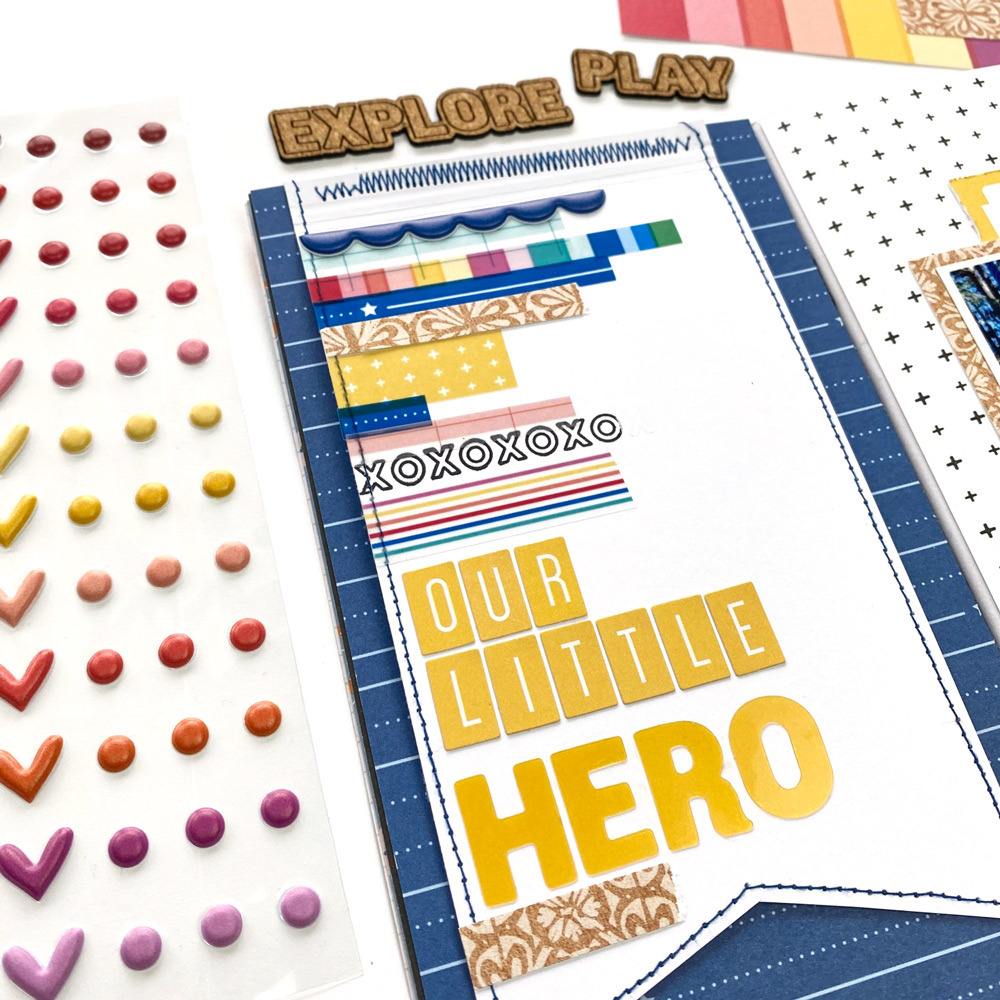
The most fun part was playing with the Treasure This Vellum Stickers. I created a cascade of these stickers on the left edge of my banner and also on the other side of my spread to balance everything out. To me, these stickers look the best when more of them are used together! They can be layered, combined with other textures such as stamping, puffy stickers or patterned papers as in my case. I added the “xoxo” banner stamp from the Fun with Borders Stamp, blue scalloped border and banner from the Puffy Banners and Border Stickers. I also added two stripes of the patterned paper that I used behind my photo, again, to allign the two sides of my spread.
Next I used a combination of the yellow alphabet stickers: the Jane Tile Alphabet Cardstock Stickers and Parker Acetate Alphabet Stickers to create my title.
I cut a yellow May Label in half and used it behind the two die cuts near my photo. It helped balance out the yellow heavy left side and also it made the die cuts stand out better. My final step was to add a circle banner behind my journaling tag and stamp “in one word” with the From Sketch To Finish Vol. 6 Stamp, just because the adventure I was documenting was “in one word: awesome”!
I really loved playing with the May products, especially with the Treasure This Vellum Stickers. Check out this process video on my YouTube channel if you’d like to watch me creating this fun interactive spread:
Thank you for stopping by today and wish you a wonderful and crafty day!