Hi Elle’s Studio friends! It’s Amanda here, and I am so excited to be shining the product spotlight on the amazing My Star Stamp and Metal Die! It’s no secret that I love to get inky, but this stamp and die set really has my heart! For today’s post, I wanted to share a few different ways you can use this awesome set in your story telling & memory keeping—all in the one layout!
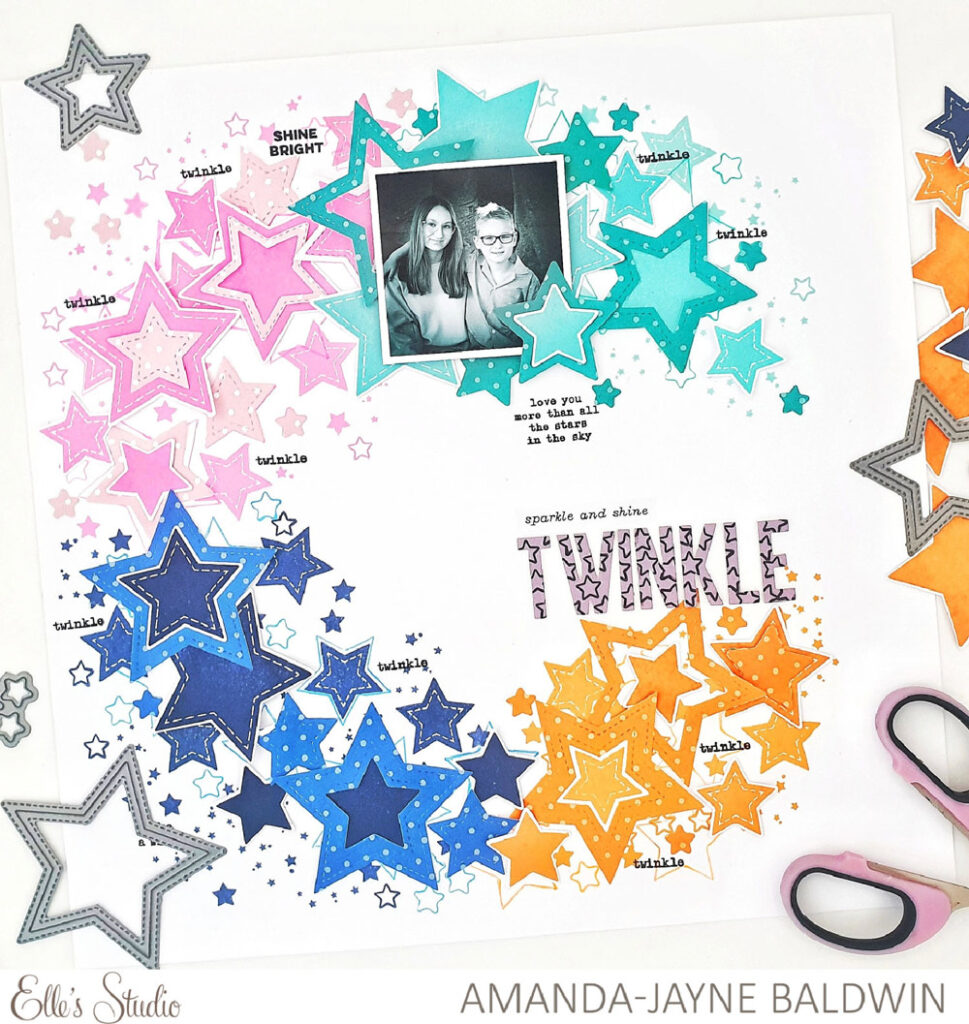
Supplies | Comfort and Joy Stickers, Joyful Chipboard Stickers, Jewel Polka Dot 6 x 8.5 Inch Paper Stack, Christmas Basics 6 x 8.5 Inch Paper Stack, My Star Stamp, My Star Metal Die, Acrylic Stamp Block – 3 x 4 Inches
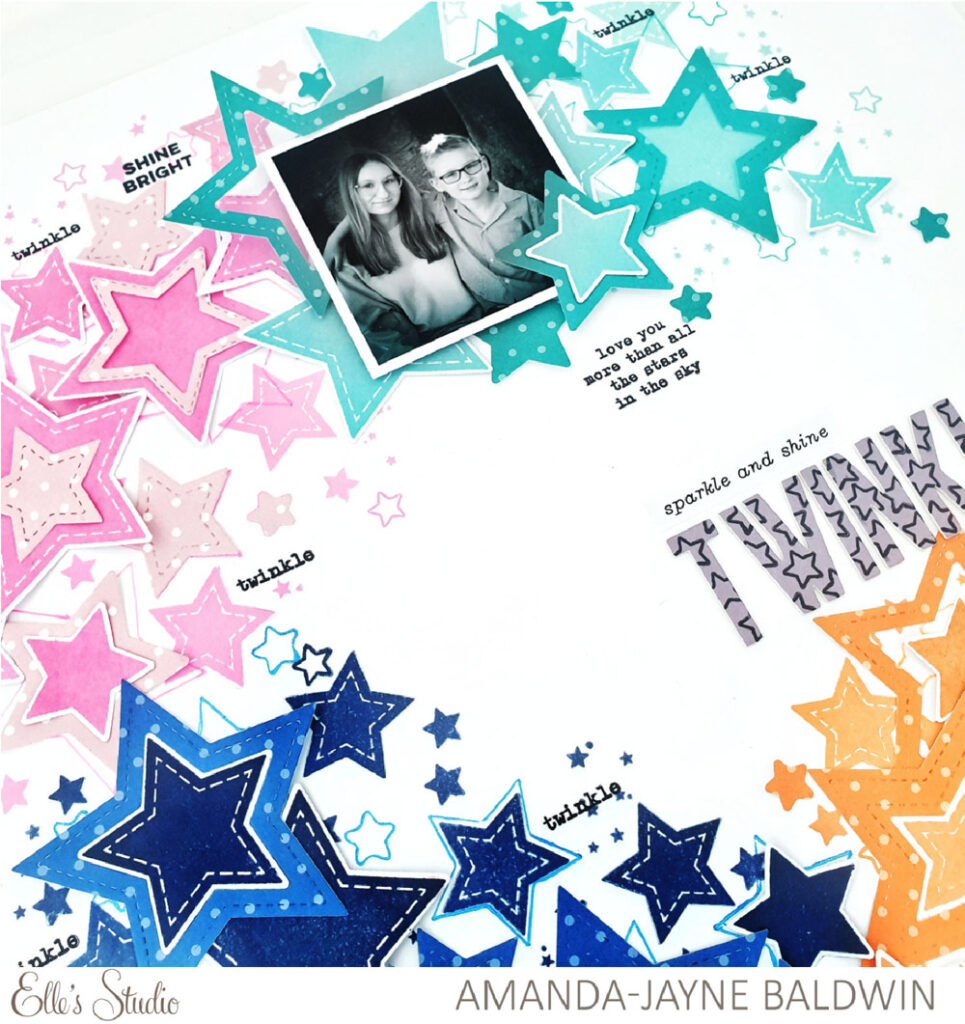
This really is a happy and joyful page! Let’s take a better look at it:
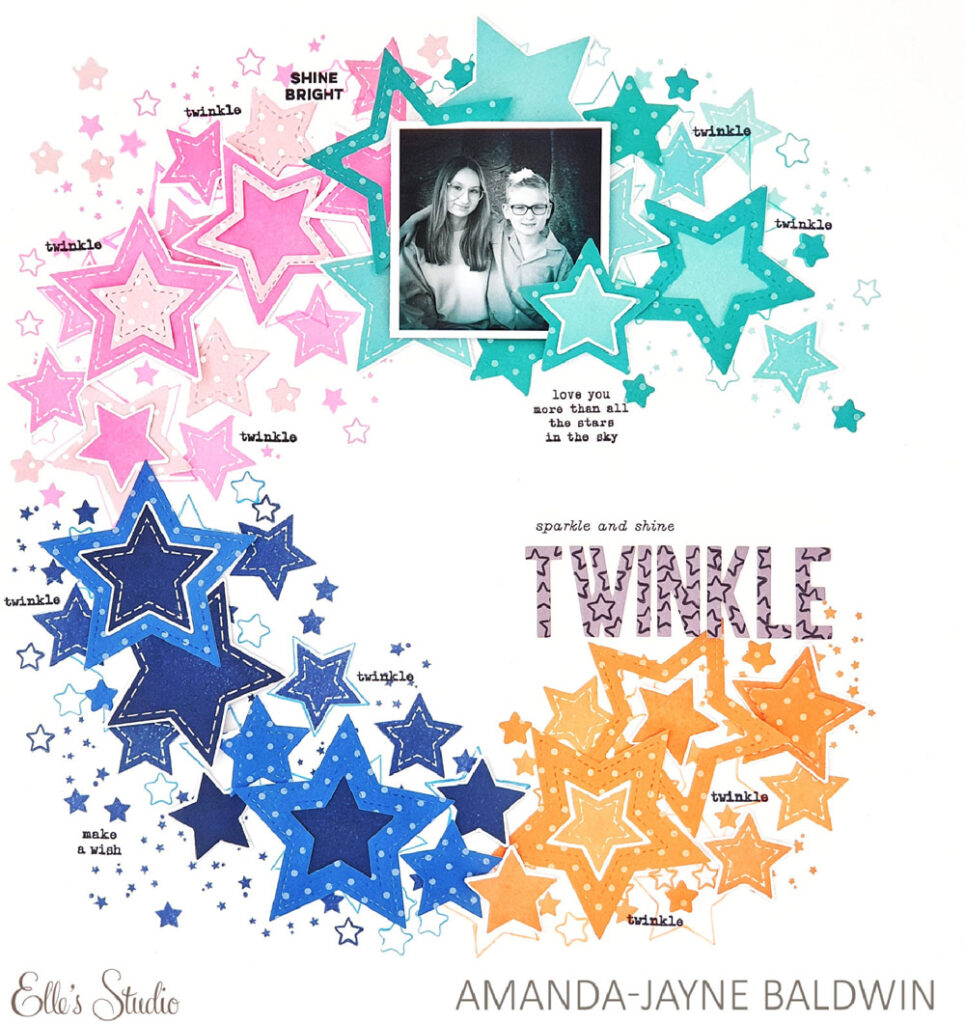
So many beautiful details and layers created with the one stamp and die! Here’s a few simple ideas on how I incorporated the My Star Stamp and Metal Die on this page:
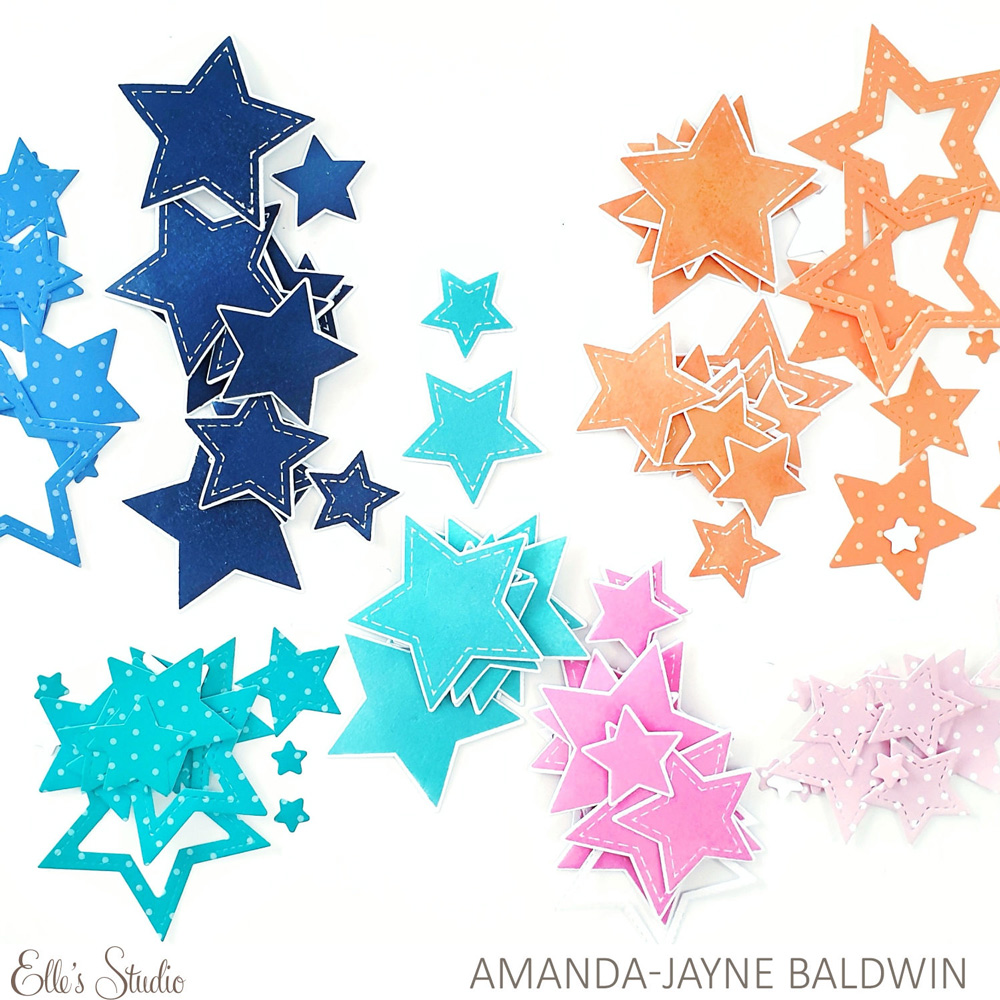
1. Use them as intended! Stamp and die cut until you heart’s content! Tip: Choose a color scheme that flatters your photo(s) and emanates ‘the feel’ of your story.
2. Use the My Star Metal Die with your paper scraps. Even the smallest pieces can be cut into tiny stars! Tip: Color match inked and pattern paper die cuts to create a tone on tone effect, for a more layered and detailed look.
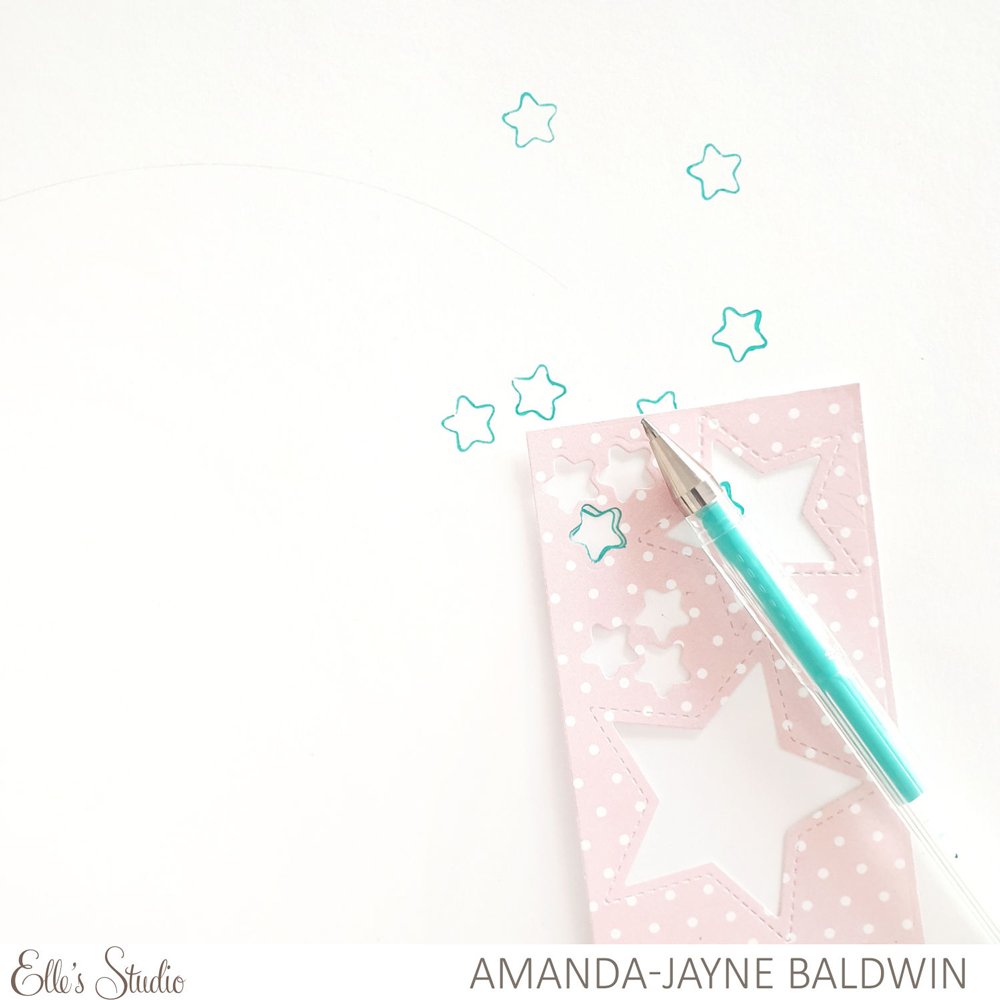
3. Use the negative die cut space as a stencil, template or mask! I used gel pens for my example, but this would also work well with an ink blending tool or texture paste too! Tip: Paper stencils don’t last long, so replace them regularly or, if using wet media, die cut with a sturdier material like acetate or cardstock.
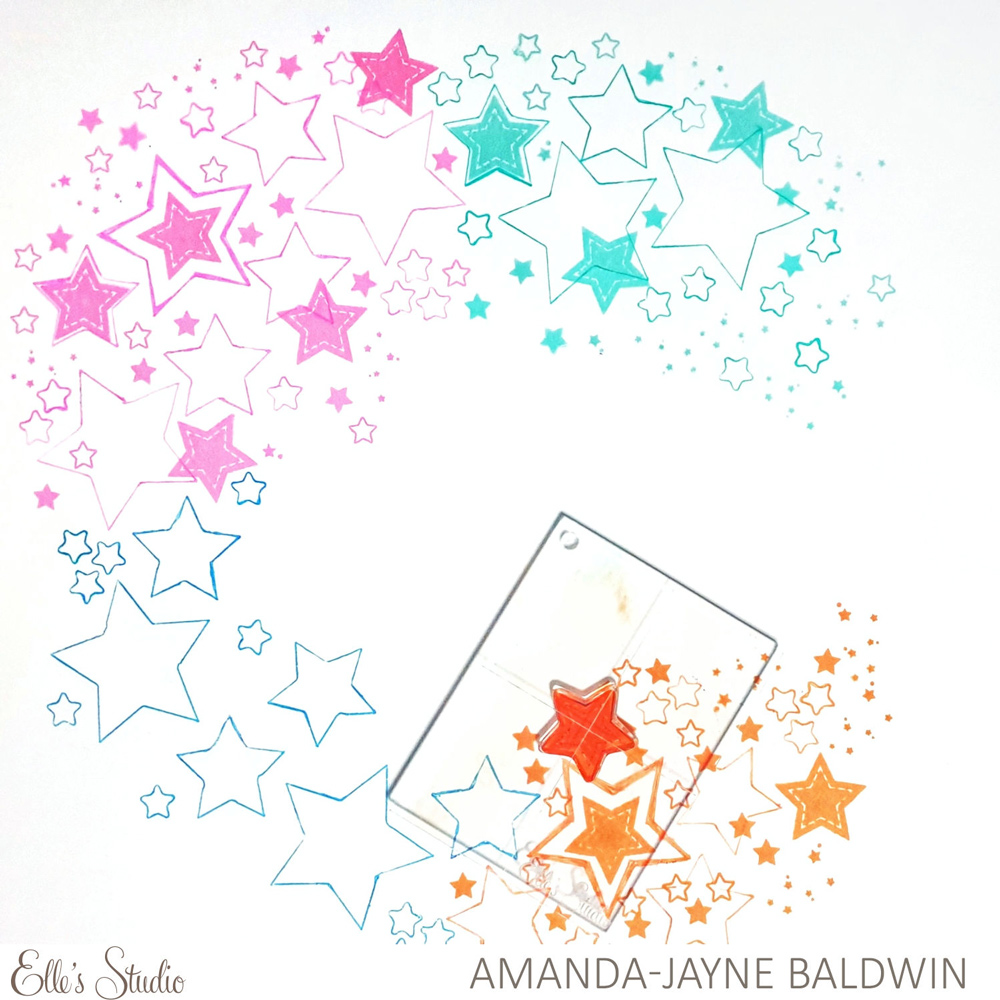
4. Create more interest by stamping the My Star Stamp as a base to layer onto! Tip: Use the Elle’s Studio Acrylic Stamp Blocks for greater control and precision. I used the 3 x 4 Inch Acrylic Stamp Block for my layout.
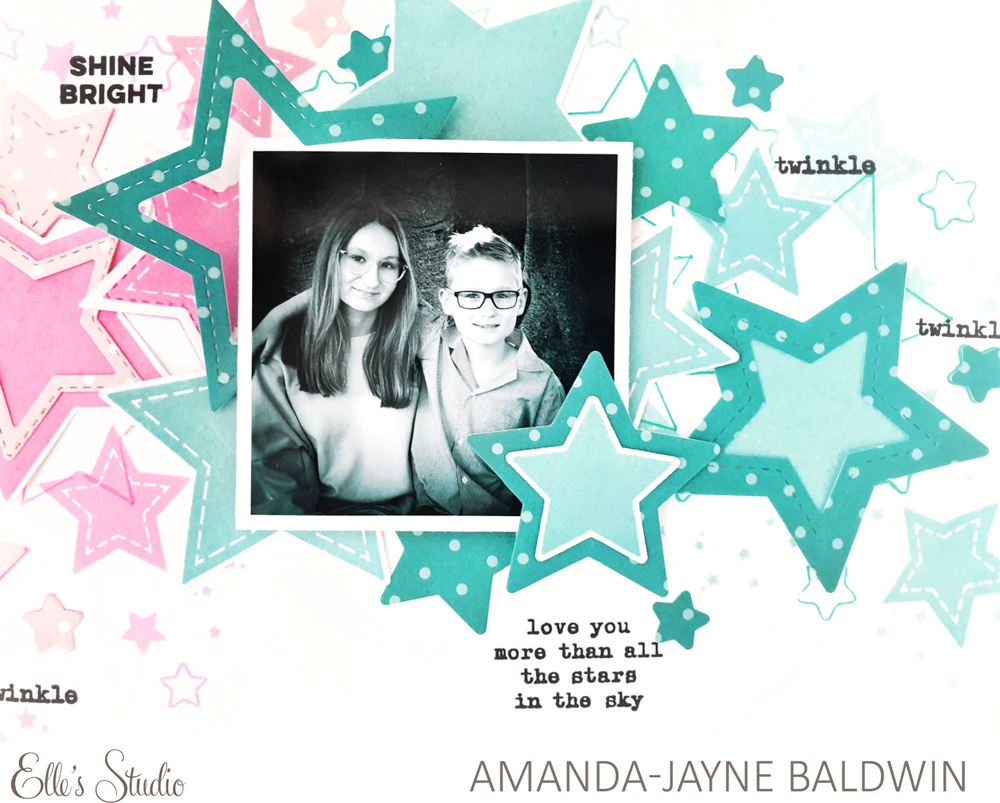
5. Mix and match different-sized stars and layer them onto one another for greater effect! Tip: Mixing colors or patterns will also make the stars ‘pop’!
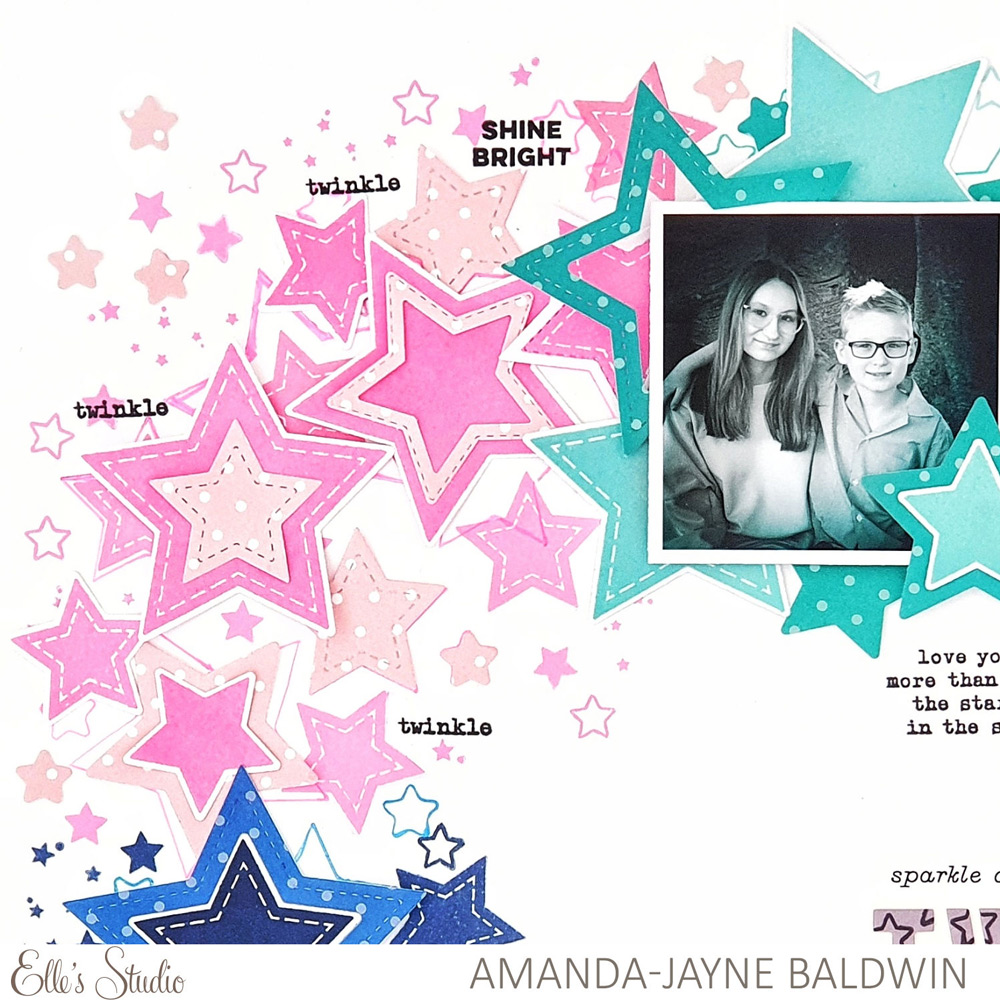
6. Use repeat stamped sentiments to add emphasis to both photo and embellishment clusters! Tip: Black stamping ink is easier to see and read, and it can also create balance by cutting through a colorful page!
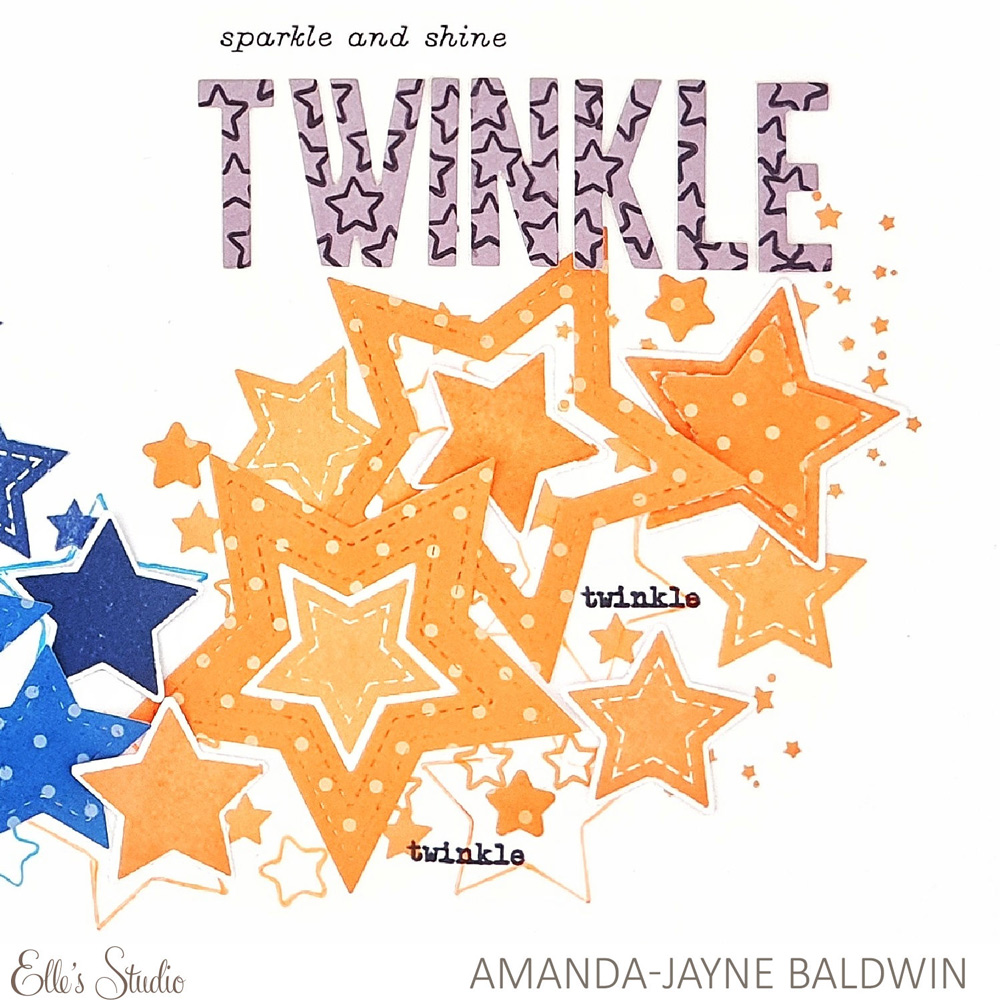
7. Use the My Star Stamp to decorate other embellishments! I used the tiny open star over the Joyful Chipboard Sticker title, ‘Twinkle’ to really make it shine! Tip: Always test the quality of stamping inks on the surface they are intended for first, before applying to embellishments. Lesser quality inks bleed when applied to veneers & chipboards.
So bright, so beautiful and tons of fun to create! The My Star Stamp and Metal Die are definitely in my craft essentials kit! I hope you feel inspired by my project and are able to get creating today! Please be sure to share your top tips and crafty creations with us in the Elle’s Studio Facebook Group. We love seeing what everyone makes! Thanks so much for stopping by!

