Our newest products just released last week include the perfect assortment of supplies to record your best summer moments, but be sure not to hoard your pretty, new supplies! Today, we have Jen McMurtrey sharing how she’s using up every last piece of her kit, and getting creative and pulling out tools to help in the process! Let’s take a look!
Hello friends! It’s Jen today with a new project using the amazing, new July kit and add-ons! I don’t know about you, but I make it my goal each month to use as much, if not all, of the kit as possible. Sometimes accomplishing this means I have to be a bit more creative in how I’m using the product, as well as utilizing tools and supplies I have on hand.
Let’s take a look at what I created.
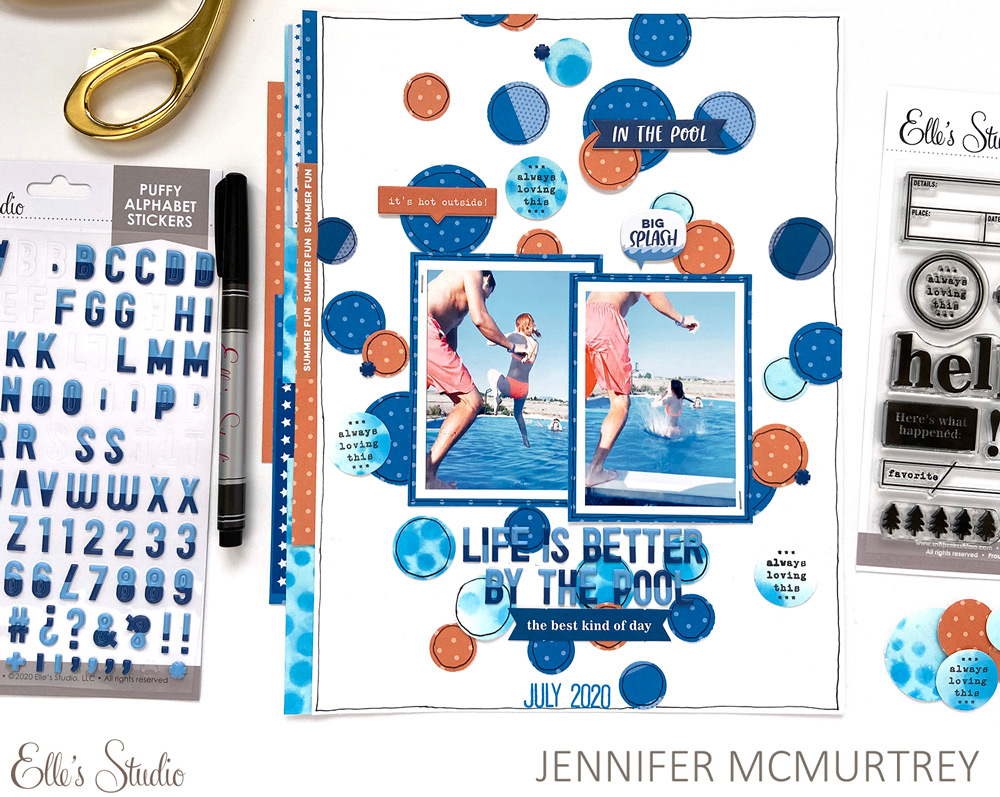
Supplies | July 2020 Kit, Summer Tape Stickers, Summer Chipboard Stickers, Navy Dipped Puffy Alphabet Stickers, Navy Puffy Alphabet Stickers, Bright Polka Dot 6.5 x 8 Inch Paper Stack, Wild at Heart Stamp, Mini Dated Stamp, Mini Dated Extras Stamp
I absolutely love, love, love the new Bright Polka Dot Paper Stack and have kept every single scrap. In order to use those bits of paper, I pulled out a couple of circle punches to create a bubble effect on the background.
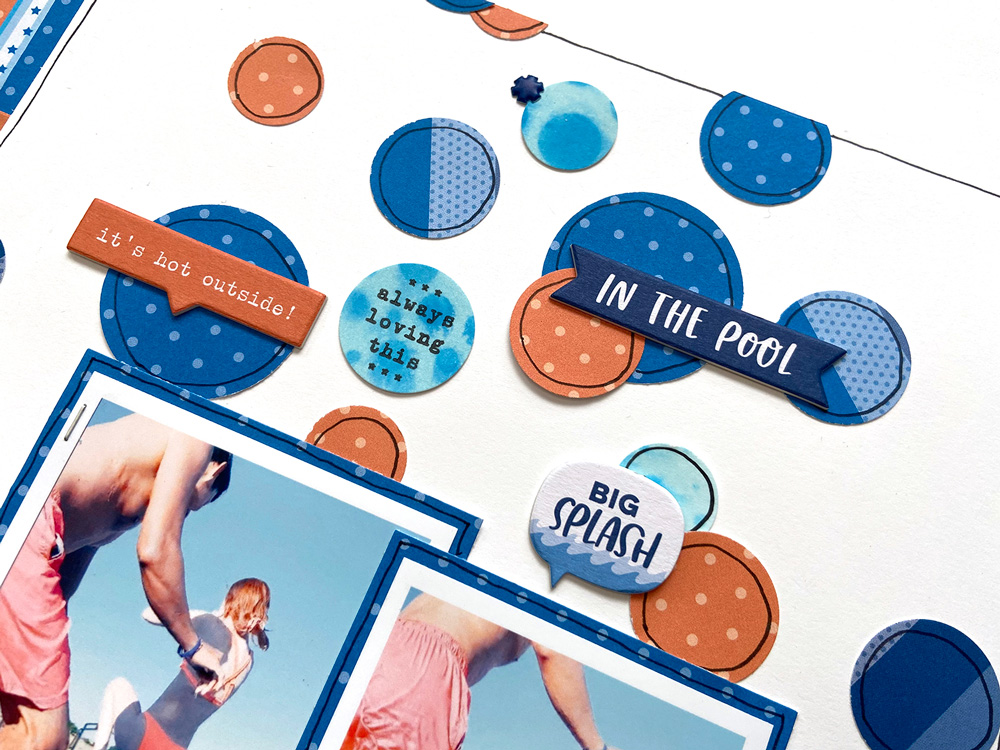
To create custom “bubbles”, I used Distress Oxide Inks on white cardstock then spritzed the paper with water to get a light blue and teal splotchy effect. After punching out some of my custom paper with circle punches again, I used the “always loving this” sentiment from Wild at Heart Stamp. I love the effect of the inks and the black contrast from the stamp!
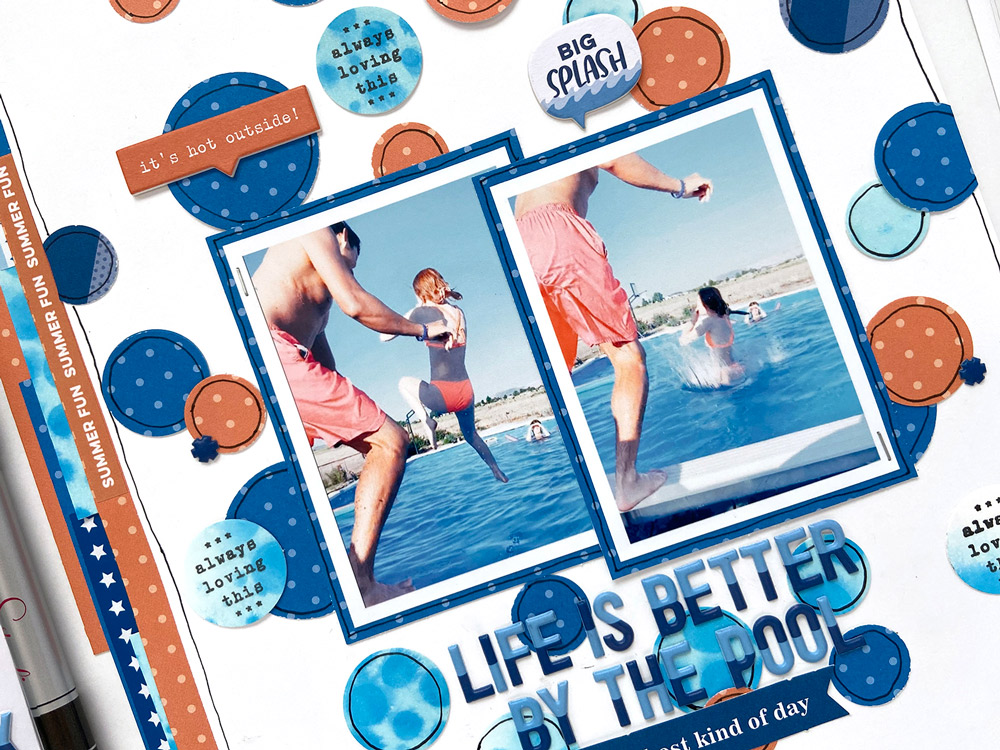
Along the left edge of the layout, I used more scraps of paper to create contrast and added some of the Summer Tape Stickers in coordinating colors. Even though this side of the project is not a straight edge, it still fits in a page protector perfectly.

Using the same blue polka dot paper, I backed both photos and adhered them to the page. Next, I added a few of the Summer Chipboard Stickers—they go with the photos so well!
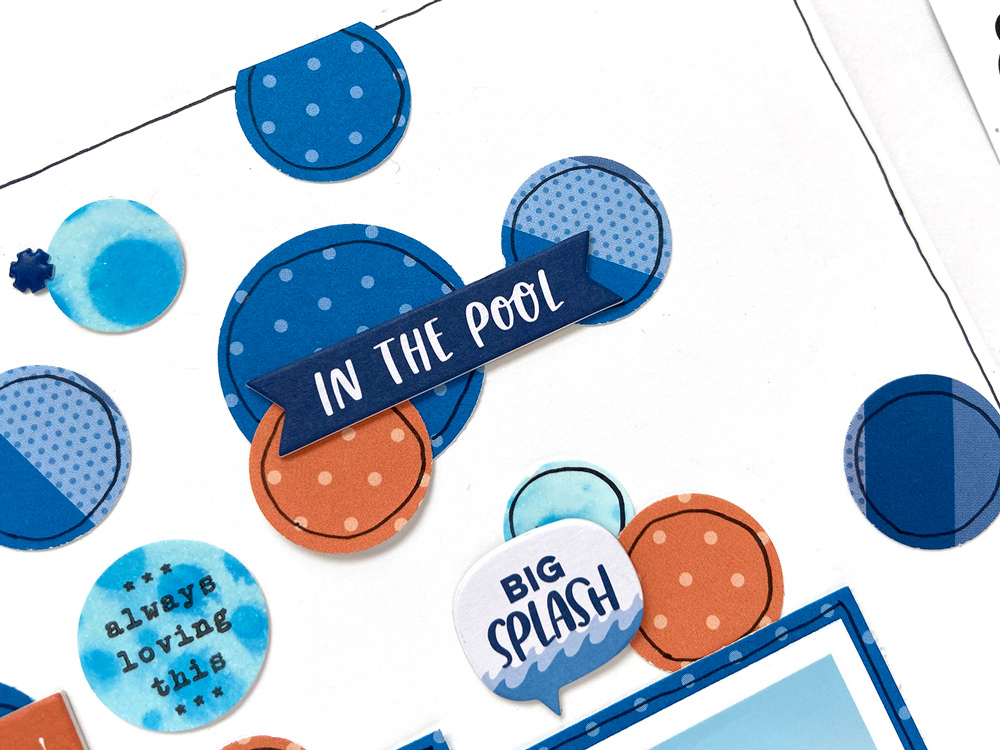
When I am creating a layout, I generally have a plan in mind but inevitably decide to add to it after the fact. After placing the title and die cut below the photos, I decided to add doodled borders to the circles, around the photos, and around the edge of the white cardstock background. This gave everything more weight and added some much-needed contrast.
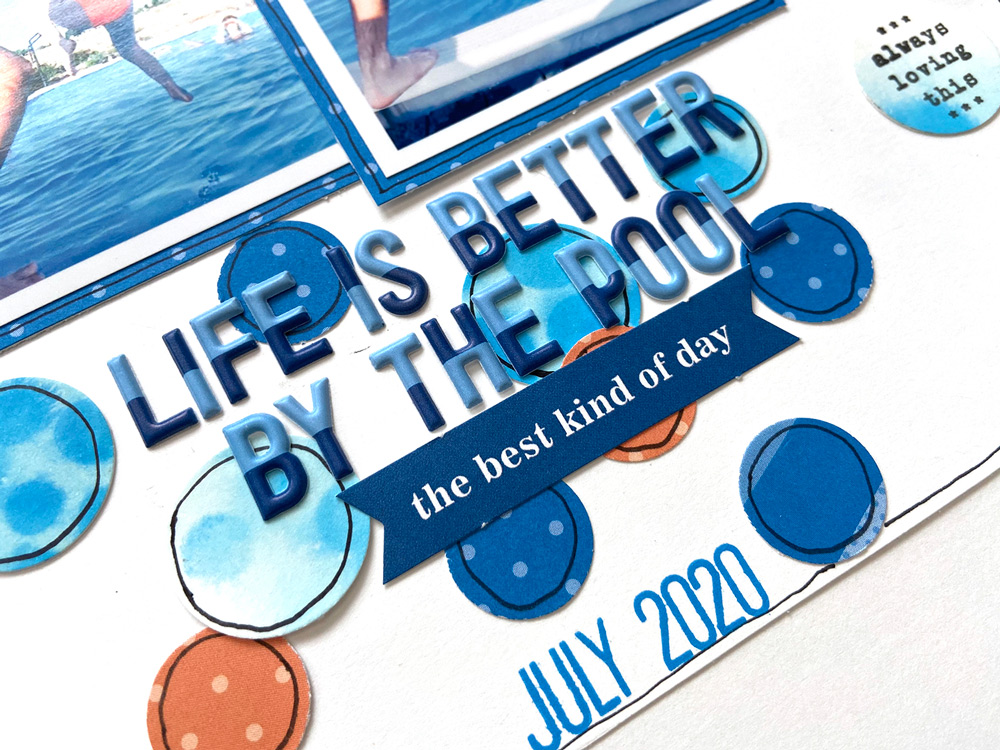
Lastly, I used the Mini Dated Extras and Mini Dated Stamp using the same Distress Oxide Ink. The overall effect on this layout is so fun and really captures the energy of the photos.
Thank you so much for stopping by! Remember to use the #EllesStudio hashtag when posting your projects to social media so we are sure to see what you create. You never know… you just might be featured on the Elle’s Studio blog!
Have a great day!

Jen’s right! You could be featured here on the Elle’s Studio blog and win a gift certificate to the shop just for sharing on Instagram using the #EllesStudio hashtag! Or, you could join our Facebook Group, where scrappy Elle’s Studio fans share their creations! Either way, we’d love to see what you create with our July products!