Our new Title Builder Vol. 4 Stamp and Puffy Stickers are the perfect products to use to add titles or standout background designs on any project: scrapbook layouts, pocket pages or traveler’s notebooks! Today, design team member Patricia Roebuck has combined two of these formats to use her Title Builder Vol. 4 Stamp in two different ways, and we know you’ll love her colorful project! Let’s take a look!
Hello everyone! I hope you have enjoyed the March Kit + extras reveal! The products always inspire me to not only take the time to put stories together, but to be creative! The brand new Title Builder Vol. 4 Stamp gave me so many ideas and possibilities. Today’s post showcases this new set, using it in two ways: combining it with the Title Builder Vol. 4 Puffy Stickers along with my journaling, and by creating a colorful background on the opposite side. I have a video at the end showing the process of this project as well, but let’s get started on more details of how this traveler’s notebook page came together.
Supplies | March 2020 Kit, Go See Do Acetate Die Cuts, March Label Stickers, Black Typewriter Cardstock Alphabet Stickers, Tiny Shapes and Dots Puffy Stickers, Coral Puffy Alphabet Stickers, Acrylic Clovers, Flourish 6 x 8.5 Paper Stack, Word Circle Stamp, Title Builder Vol. 4 Bundle (includes: Title Builder Vol. 4 Stamp & Title Builder Vol. 4 Puffy Stickers)
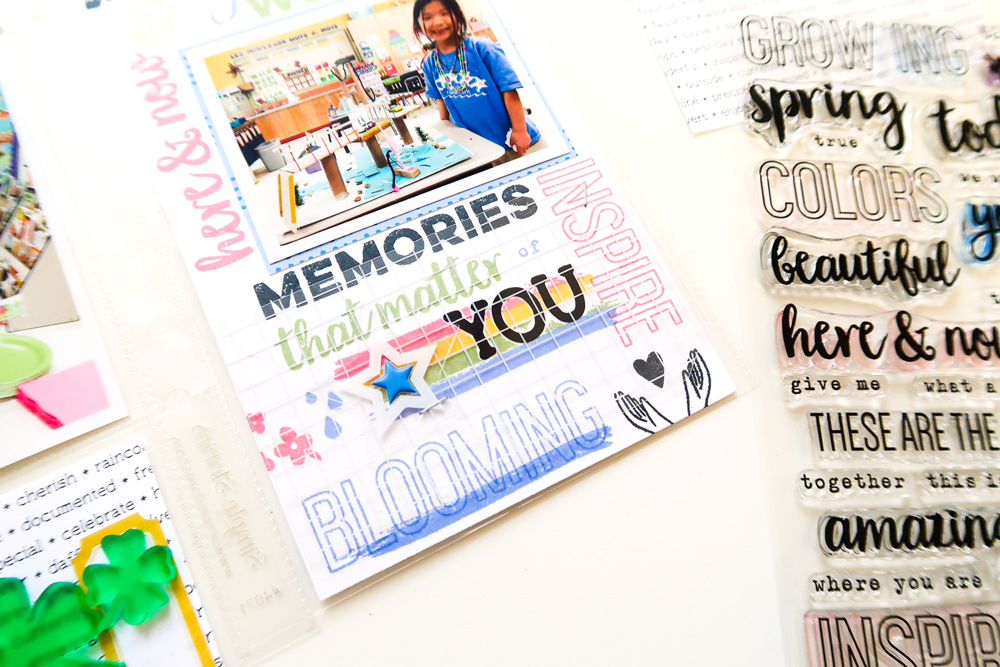
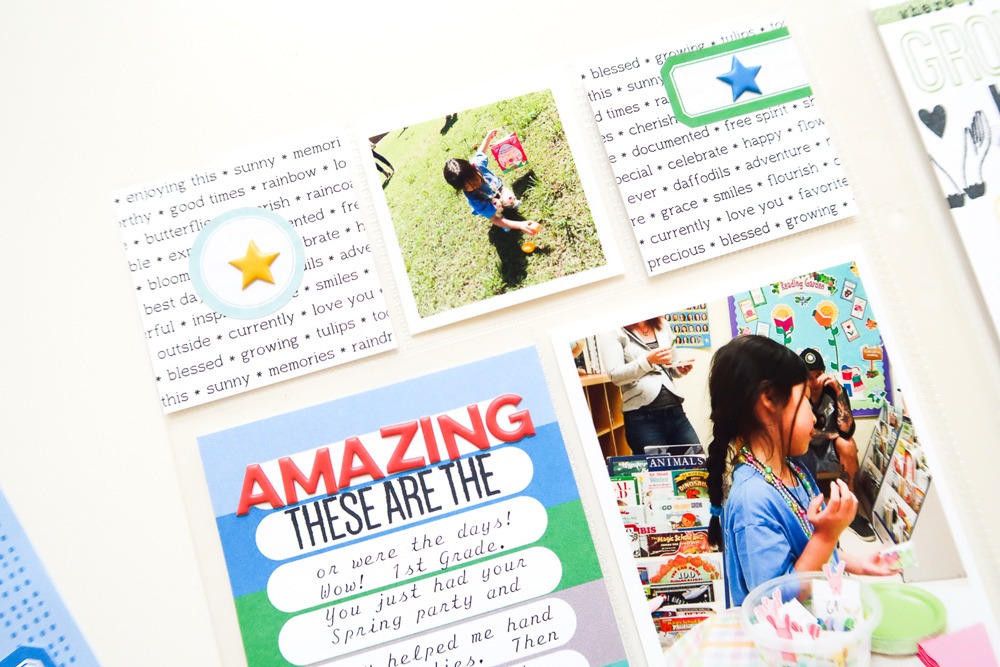
Based on my photos, I selected my inks. Starting with a smooth white cardstock background and my photo placed where I wanted it, I started stamping and framing words and phrases around my photo using the Title Builder Vol. 4 Stamp.
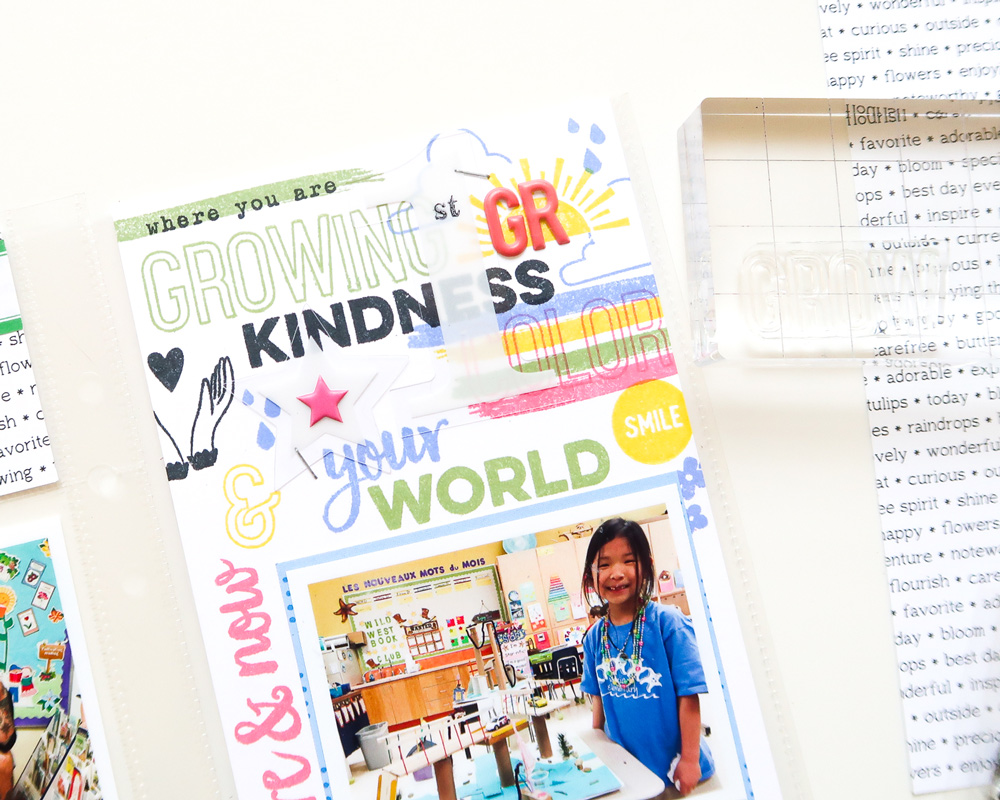
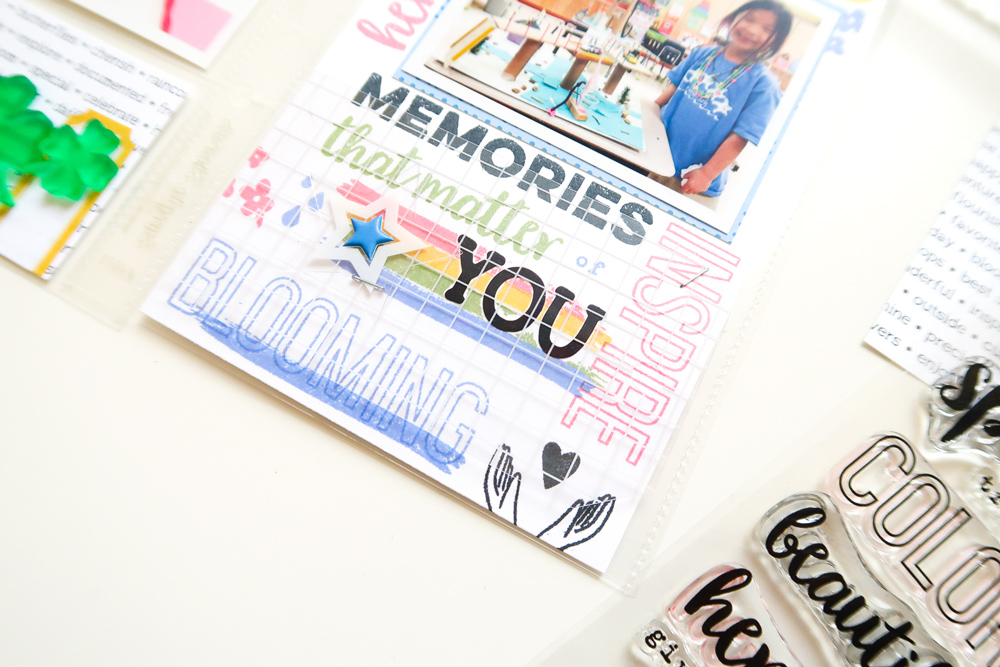
The phrases and titles that I selected went with the photos of my daughter at her school spring party, presenting her project. She was in first grade at the time, so this was a big transitioning year from a small Montessori school to a large public school. ‘Growing,’ Blooming,’ ‘Inspire,’ ‘Color Your World’, as well as the others I’ve selected go with the photos and story.
After I filled in my background with the stamps, I added the new Go See Do Acetate Die Cuts to add another layer and texture.
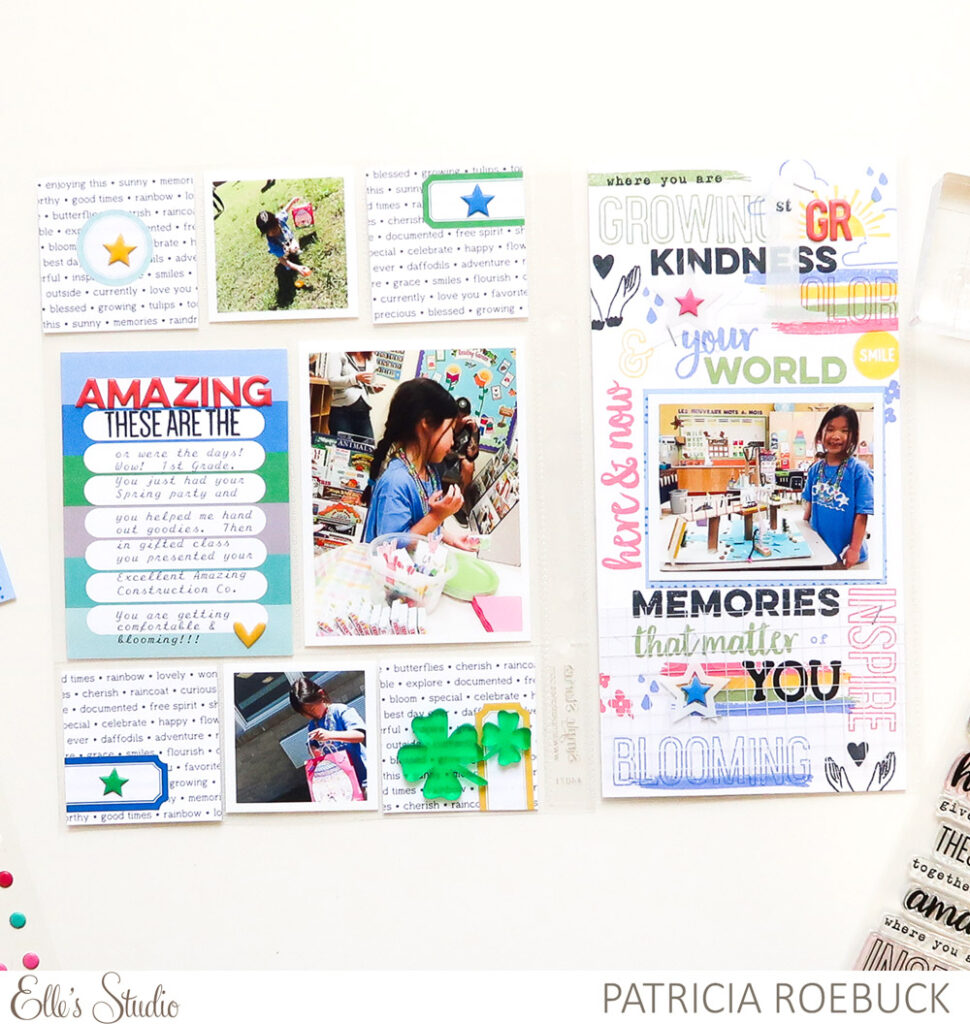
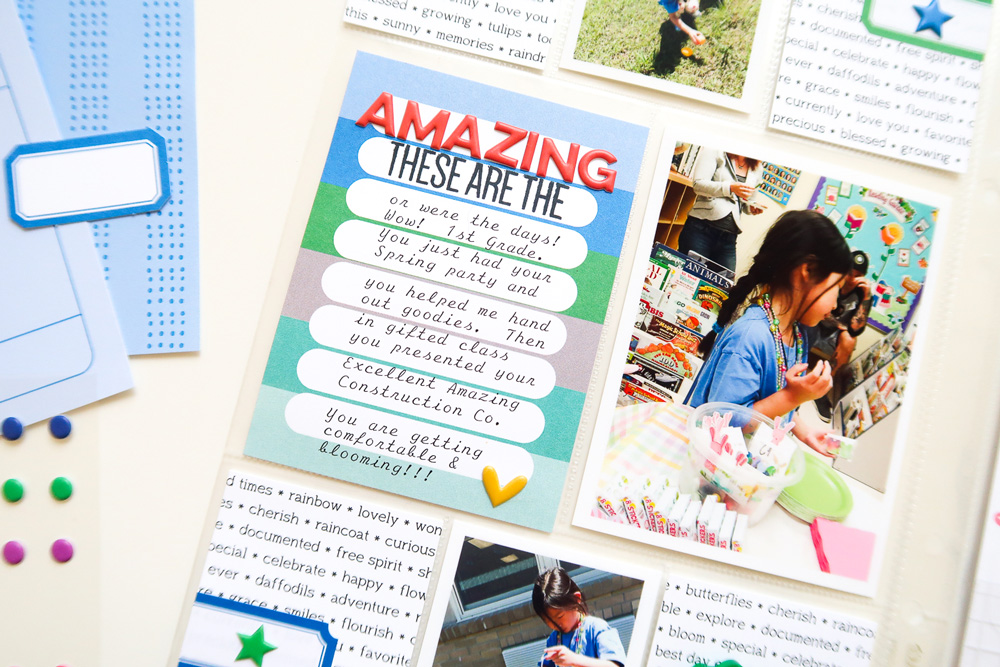
For the left side, the 6″ x 8″ pocket page, I filled two of the 2″ x 2″ pockets with a photo, and the other four with patterns trimmed to fit from the Flourish 6 x 8.5 Paper Stack. Since my photos and my background on the right are full and busy, I kept this side relatively simple, just adding the March Label Stickers with stickers from the Title Builder Vol. 4 Puffy Stickers and the Tiny Shapes and Dots Puffy Stickers.
These photos are at school and don’t look like spring photos, so I added a couple of the new Acrylic Clovers in green to the last 2″ x 2″ pocket.
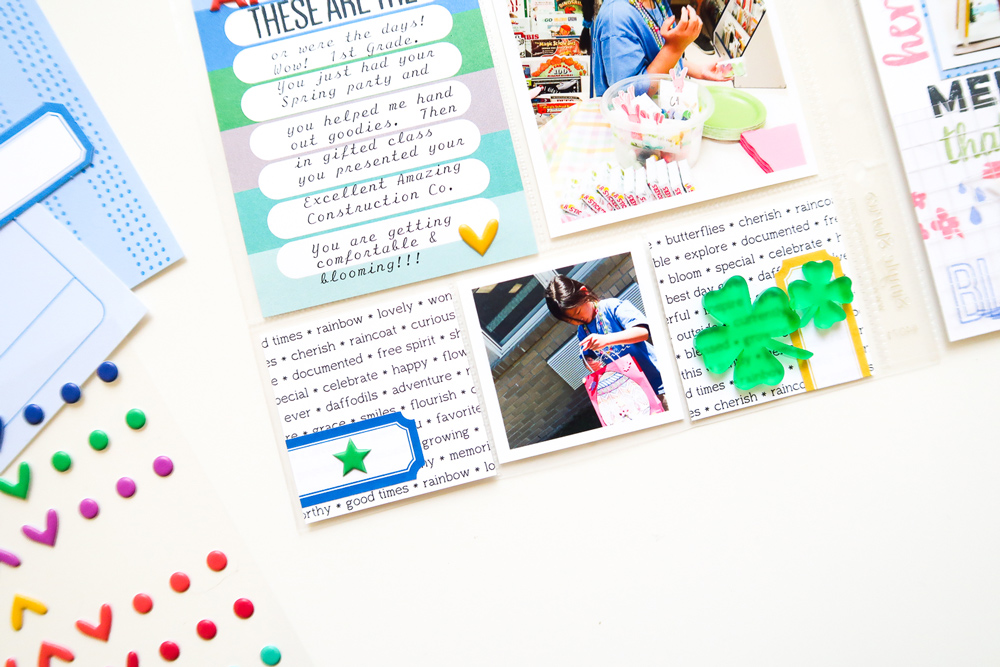
The striped tag from the March Kit is probably my most favorite and simple way to use the Title Builder Vol. 4 Stamp with the Puffy Stickers. By combing them, I have the coral color of the ‘Amazing’ puffy sticker to stand out, and then the ‘these are the’ sentiment from the stamp helps to start my journaling.
Watch my process video to see how it all came together:
Whether you want to get creative with a background as I did, or use the Title Builder Vol. 4 Stamp to help start your journaling on a tag, this stamp is such a great product to add to your documenting possibilities!
Don’t be afraid to use those photos with distractions from school, a public place, etc. When you look back, those will be the most priceless ones, and using the Title Builder Vol. 4 Stamp will be a great way to remember them. Enjoy creating!
