With every Title Builder release, your title possibilities just continue to grow, and today, design team member Tracey Fox is showing us how perfect the Title Builder Vol. 4 products can be when combined with our original Title Builder Stamp! Let’s take a look!
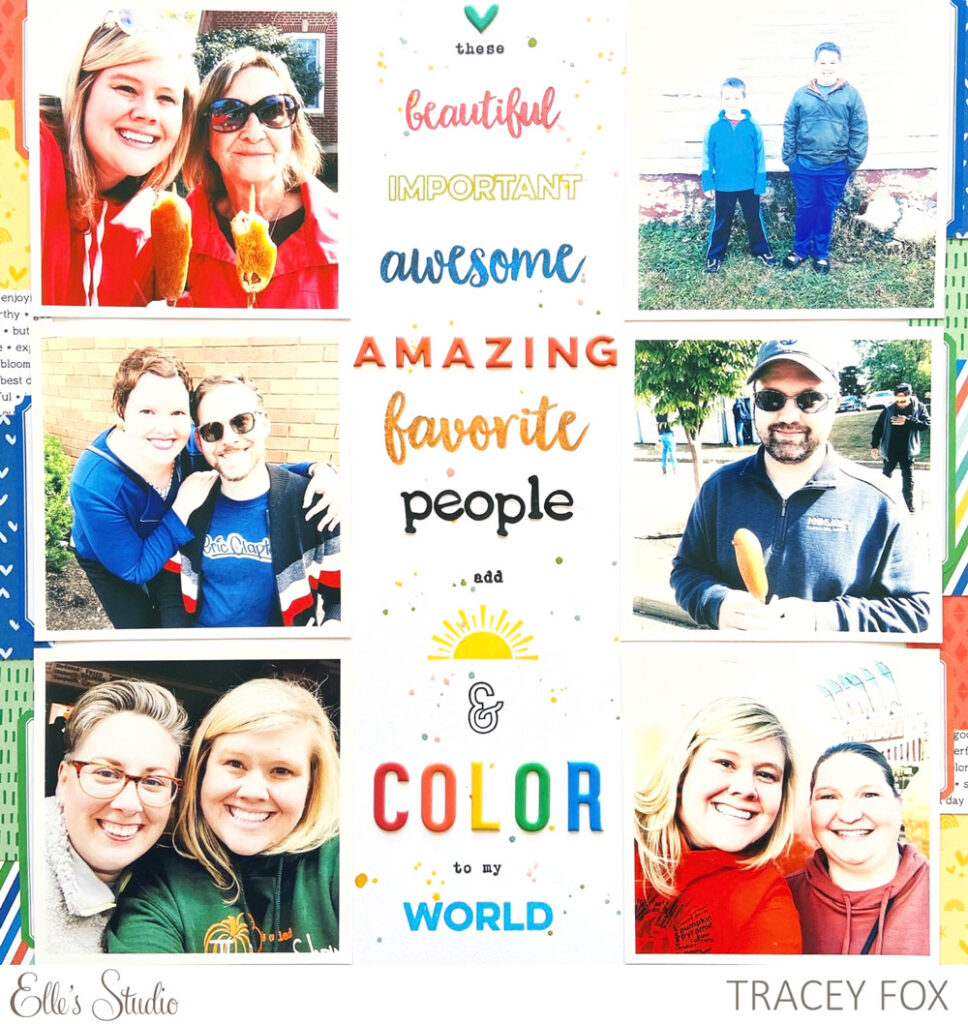
Who else is excited about Title Builder Vol. 4 release?! The Title Builder Stamps are absolute must-haves for my memory-keeping because they provide endless options for adding words and phrases that illustrate my stories. And with every Title Builder release, those options grow and grow— especially when you combine the sets with each other to create new combinations! For this layout, I used the new Title Builder Vol. 4 Stamp and Puffy Stickers along with the Title Builder Stamp.
Supplies | March 2020 Kit, March Label Stickers, Black Typewriter Cardstock Alphabet Stickers, Flourish 6 x 8.5 Paper Stack, Title Builder Vol. 4 Bundle (includes: Title Builder Vol. 4 Stamp & Title Builder Vol. 4 Puffy Stickers), Title Builder Stamp
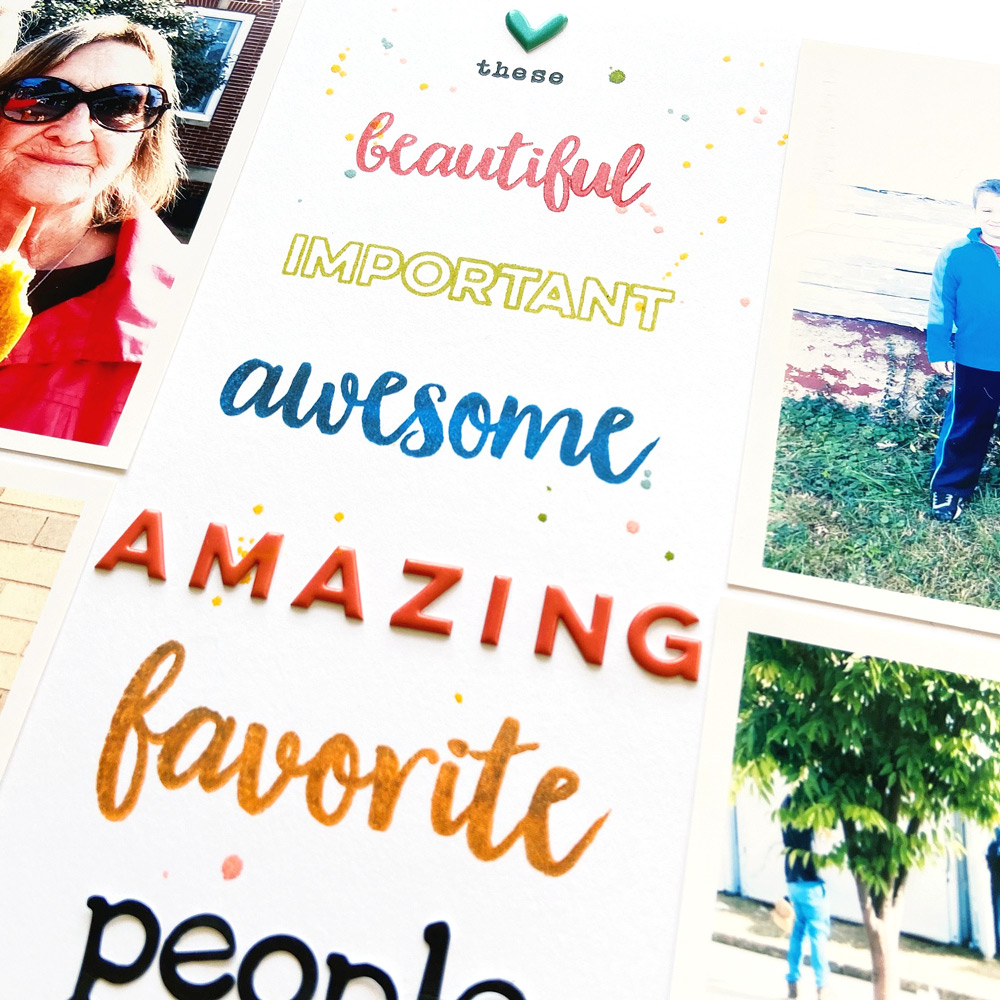
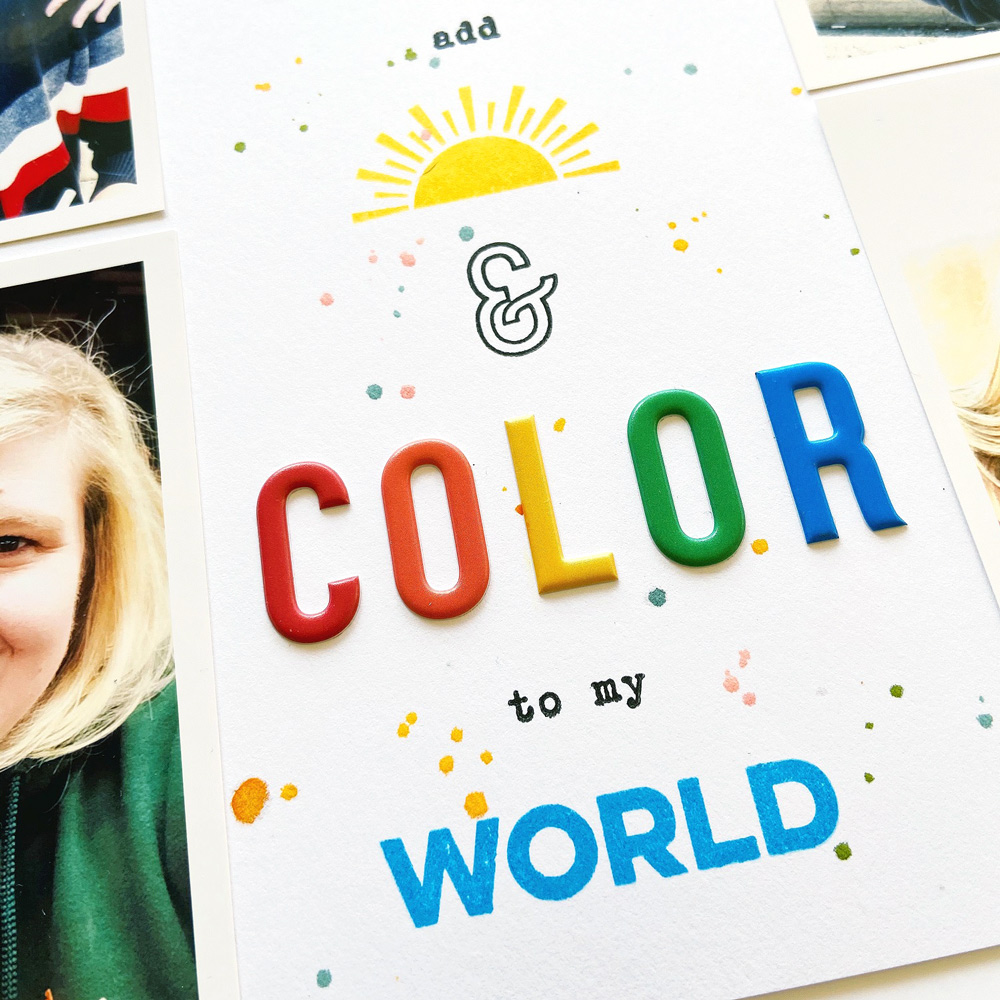
I usually reach for black ink when I stamp—a bold and classic look, but the title I chose and the words on the Title Builder Vol. 4 Stamp inspired me to reach for some colorful inks! I had six 4″ x 4″ photos of some of my favorite people in the world, taken at one of my favorite events (our annual fall pumpkin festival), and I had the idea to place the photos in two vertical rows along either side of the layout with a long title centered down the middle. I used black ink for the smaller stamped words and pulled a bright rainbow of colors from the March 2020 Kit for the ink colors I used for the other words. I used words “amazing” and “color” from the Title Builder Vol. 4 Puffy Stickers, and I grabbed the new Black Typewriter Cardstock Alphabet Stickers to spell out the word “people,” in my title. I LOVE the addition of some of the pictures and icons in the Title Builder Vol. 4 Stamp— I used the sun stamp here to stand in for the word “sunshine” so I could say that these “people add sunshine and color to my world.”
Here’s a helpful tip I always follow when I use the puffy sticker words with individual letters: The stickers’ plastic packaging has a subtle outline of each letter on the plastic once you peel off the sticker, so once I stick the first letter down on my layout, I hold the clear packaging over the letter and use it as a guide to show me exactly where to place each of the other letters. This technique never fails me in getting the letters down with the right spacing— exactly as they appear in the package!
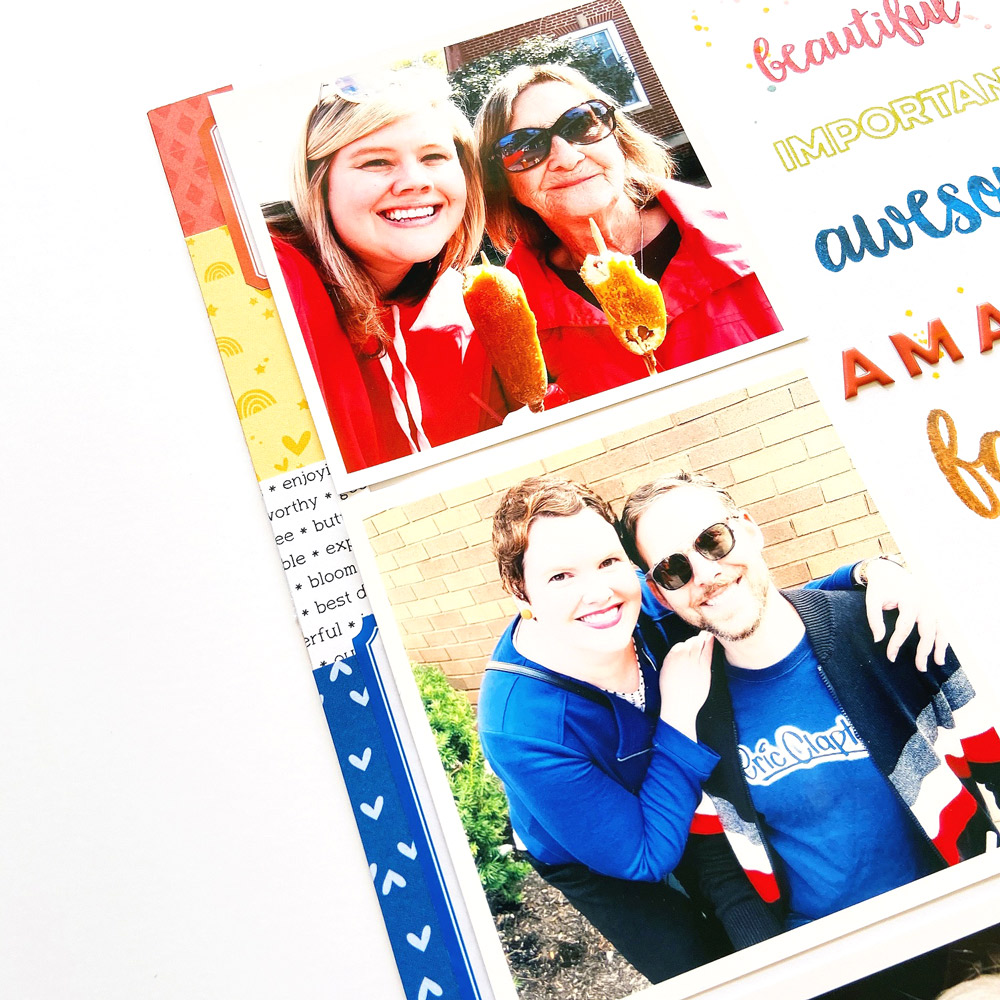
The title is definitely the star of this page, but I finished the layout by adding just a few extras to bring it all together. I splattered ink in a few bright colors over the title, and along the sides of the page, I chose a series of patterns from the tags in the March Kit and the papers in the Flourish 6 x 8.5 Paper Stack to create some colorful borders. I tucked a few of the March Label Stickers in behind the photos to add an extra touch of interest to the edges of the layout.
Thanks for checking out my Title Builder project today! I can’t wait to play more with the amazing and versatile Title Builder Vol. 4 Stamp by mixing and matching its words and icons with all of the other previous Title Builder volumes. What title combinations will you create? I hope you will share your projects in the Elle’s Studio Facebook Group and use the hashtag #ellesstudio when you share what you have made on social media!