We are so excited to welcome our March guest designer to the blog today: Shannon Dombkowski! Shannon creates gorgeous traveler’s notebook, memory planner spreads, and pocket pages with lots of clean white space, pops of color and a clever use of good design! We know you’ll love the new notebook spread that she is sharing with us today, using our March kit and add-ons, with our new Title Builder Vol. 4 Stamp! Let’s take a look:
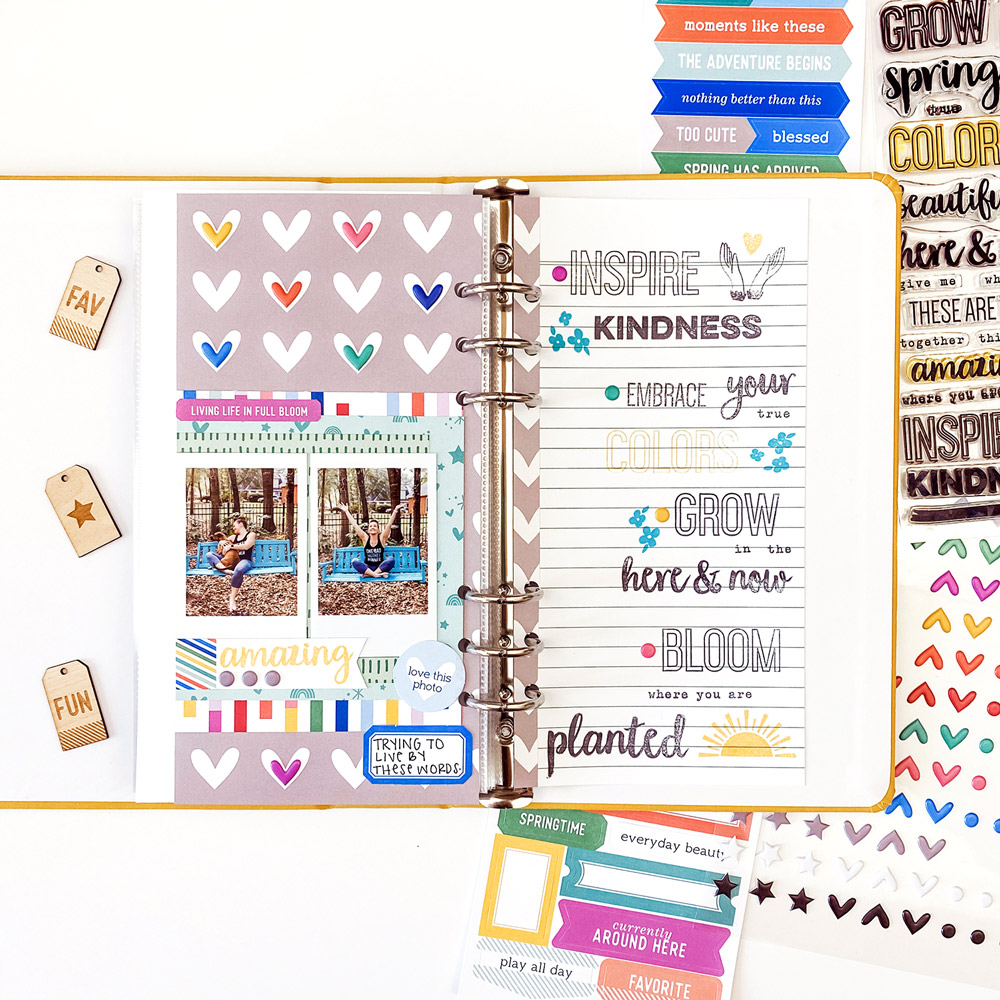
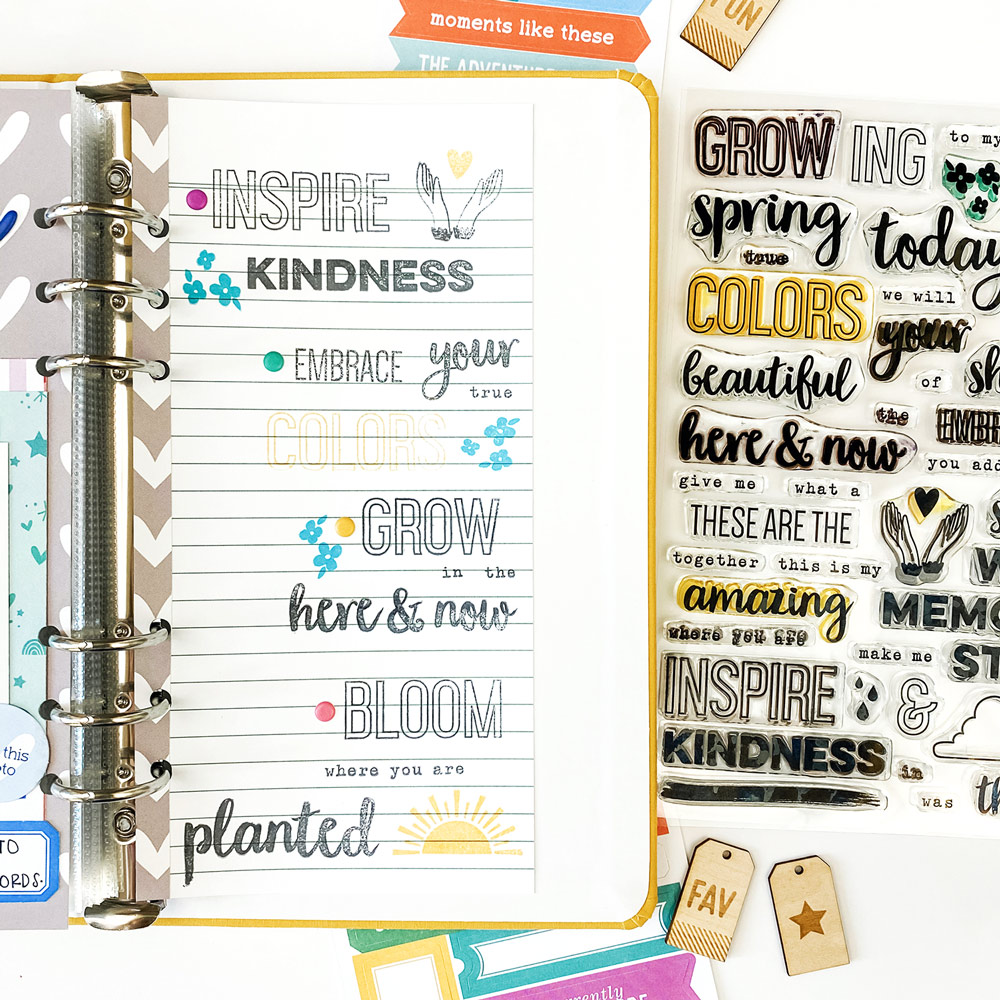
Hi crafty friends! It’s Shannon here with my first guest post for Elle’s Studio. When my box of goodies arrived, I was immediately drawn to the Title Builder Vol. 4 Stamp. I love stamping and this stamp set is full of endless possibilities! I decided that a motivational page in my “All About Me” travelers notebook would be the perfect project for these stamps.

Supplies | March 2020 Kit, March Label Stickers, Tiny Shapes and Dots Puffy Stickers, Flourish 6 x 8.5 Paper Stack, Title Builder Vol. 4 Stamp
The problem is, I couldn’t decide on just one phrase! I mixed and matched some words to create a few phrases going down the right side of my spread. The best part? These are phrases that I try to use to guide my life all the time. It was like Meghann was in my mind as she was creating the stamp phrases! I played with a little bit of color in my stamping to compliment the opposite side of the spread. Sometimes stamping can be intimidating because it’s so permanent! Let me share a few tips and tricks: First, I put the stamp on my paper stamp side down and then use an acrylic block to pick it up. This helps prevent the image from becoming distorted. Next, I use a white eraser to “prime” my stamp and brush off excess with my finger. This helps the ink stick a little better. Then, I always do a practice stamp on scrap paper. Repeat after me: I will never let my first stamp be directly on my project! Finally, I make sure my paper is on top of something slightly squishy. I like to use a paper piercing mat but a mouse pad would work well too. This helps the entire stamp touch the paper to create a clean image.

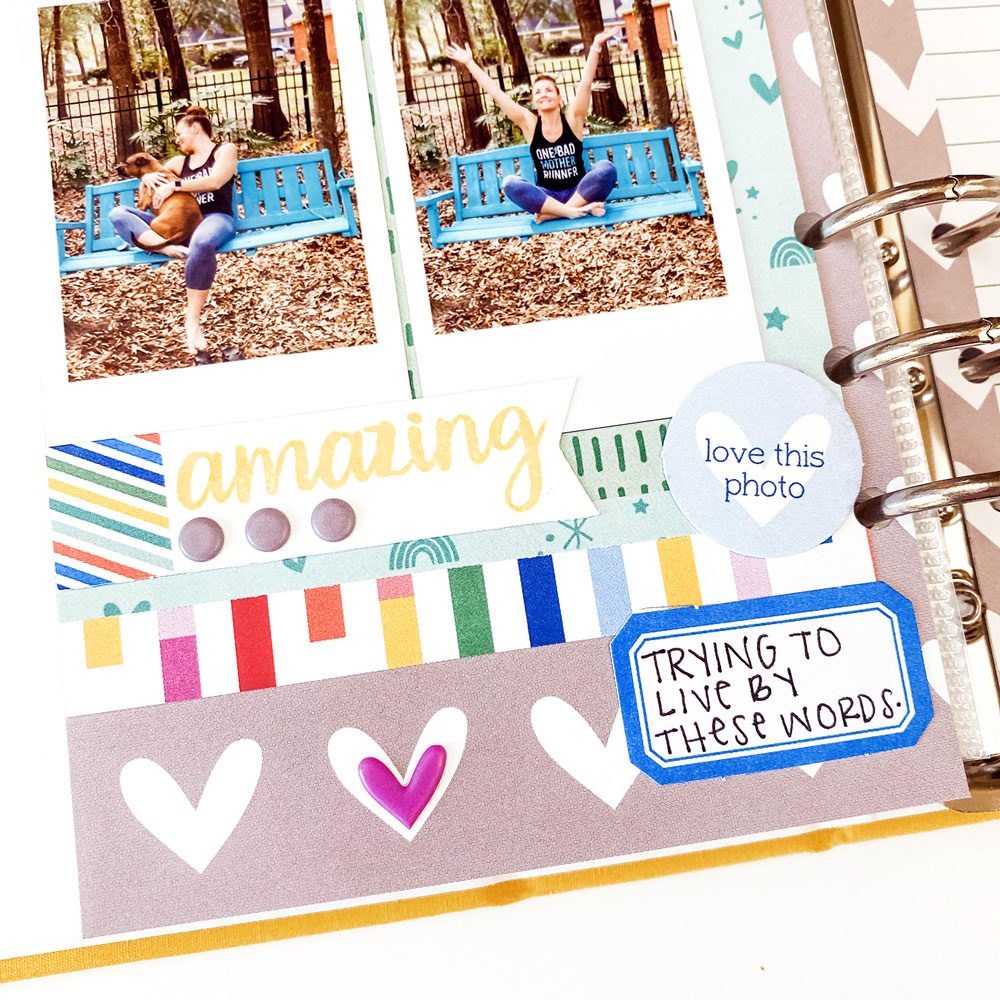
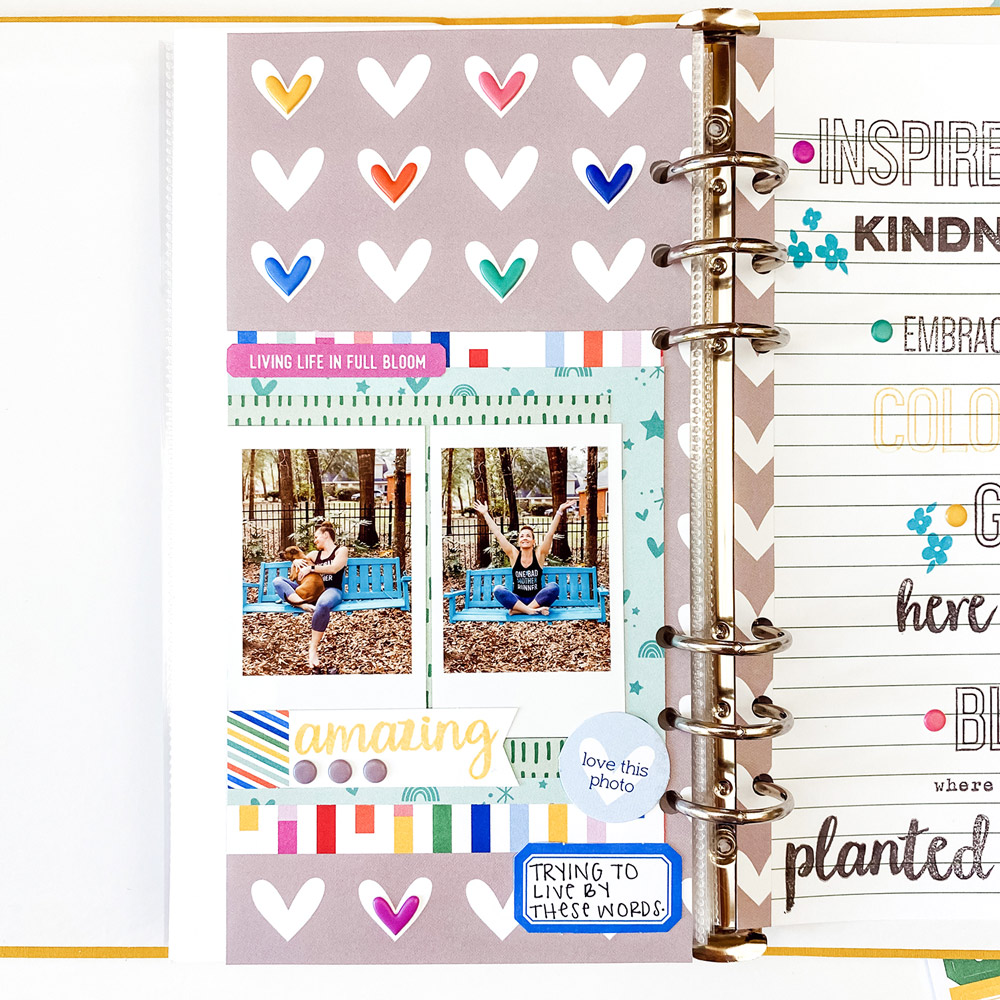
Since I had so many words on the right side of my spread, I tried to keep the background of the left side pretty neutral so it wouldn’t compete. I used the grey and white heart paper from the Flourish 6 x 8.5 Paper Stack. These papers are the perfect size for travelers notebooks! Then I used some of the colorful patterns to build a mat for my photos.

I still needed just a little bit more color, so I grabbed my pack of Tiny Shapes and Dots Puffy Stickers, “filling in” some of the hearts with various colors. I had to use just one last stamped word, “amazing,” to pull in a little bit more of my favorite color, yellow, on a banner tag.

I hope you’ve enjoyed this look into how I put together a traveler’s notebook spread and have more confidence to try stampingI can’t wait to see what you create with the amazing March 2020 kit and extras!

Hello there! I’m Shannon. I was born and raised in New England but now live in coastal Georgia with my husband, our 3 daughters, and our rescue dog. I’ve been crafty for as long as I can remember – always creating journals, collages, and photo books. I created a scrapbook of our wedding in 2007 and then jumped right into scrapbooking again when our first daughter was born in 2008. Between 2008-2015 I dabbled in both digital and paper scrapbooking and was published in several scrapbooking magazines. Then I stopped – abruptly and completely. It wasn’t until 4 years later, in August 2019, that I decided it was time to start scrapbooking again. My creativity was dormant for 4 whole years and it feels great to be back! Now, I’m a happy hybrid scrapbooker and I work in pocket pages of all sizes, travelers notebooks, and memory planners. When I’m not scrapbooking, I can often be found running, reading, or sipping coffee. I love being outdoors and discovering new adventures with my family.
Check out more of Shannon’s gorgeous notebook spreads on her Instagram feed, until she’s back with us next week to share more inspiration!
