
You’re never too old to learn a new trick, and today to continue our Back to School week of learning and inspiration here on the blog, Patricia Roebuck has some amazing stamp techniques to share with using the new Back to School Stamp! Don’t miss out on her exclusive video tutorial at the end of the post, and we can’t wait to see how her amazing stamped ideas inspire YOU!
Hello, Elle’s Studio fans, and especially Elle’s Studio stamp fans! Today, I am sharing fun stamping techniques using the new Back to School Stamp. You will learn how to create and use masks to build stamp layers, how to stamp in more than one color to create shading, how to combine ink colors, and how and where I found my inspiration for my project today. Let’s get started!
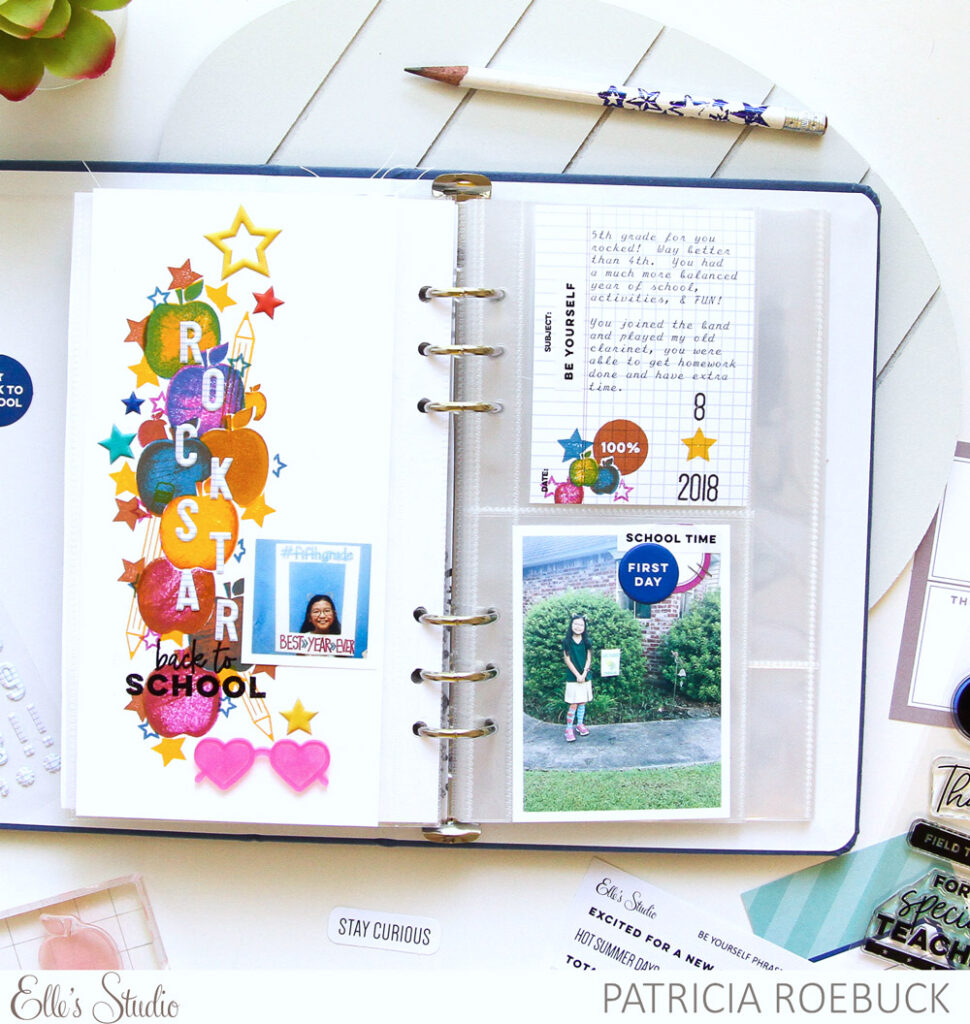
Supplies | August 2019 Kit, Be Yourself Phrase Stickers, Notebook Puffy Alphabet Stickers, Back to School Puffy Stickers, Acrylic Sunglasses, Back to School Stamp, Mini Dated Stamp
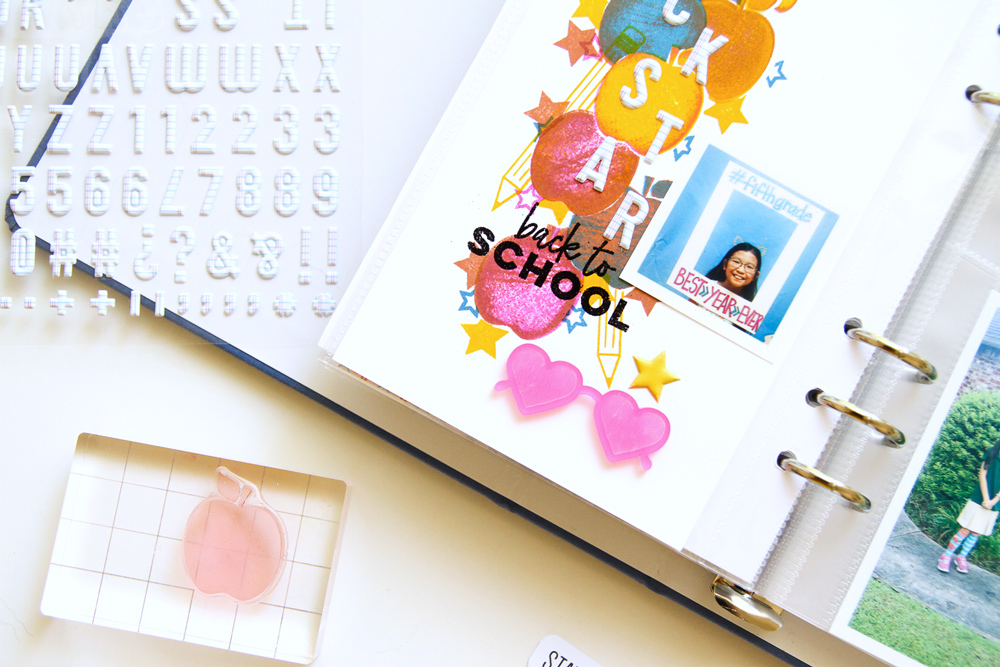
I created a traveler’s notebook spread with one full page on the left and two 3″ x 4″ pockets on the right. I had the idea of using a tag from the August 2019 Kit at the top right and one large photo at the bottom, but I want to focus first on creating a dynamic design on the full left side using the Back to School Stamp. I first began stamping several of the large and small apples onto post-it notes, concentrating my stamping on the reverse side of the sticky end of the post-it note, so when I trim it, it will lightly adhere to my project, creating masks.
When using a masking technique, usually one of the images will be in the forefront and everything else behind. I started with a bright yellow apple towards the middle of my page. I then cleaned the image off, then tapped just the edges of the apple into an orange ink and stamped again. The shadow creates dimension to the stamped apple. This first apple will be in the forefront.
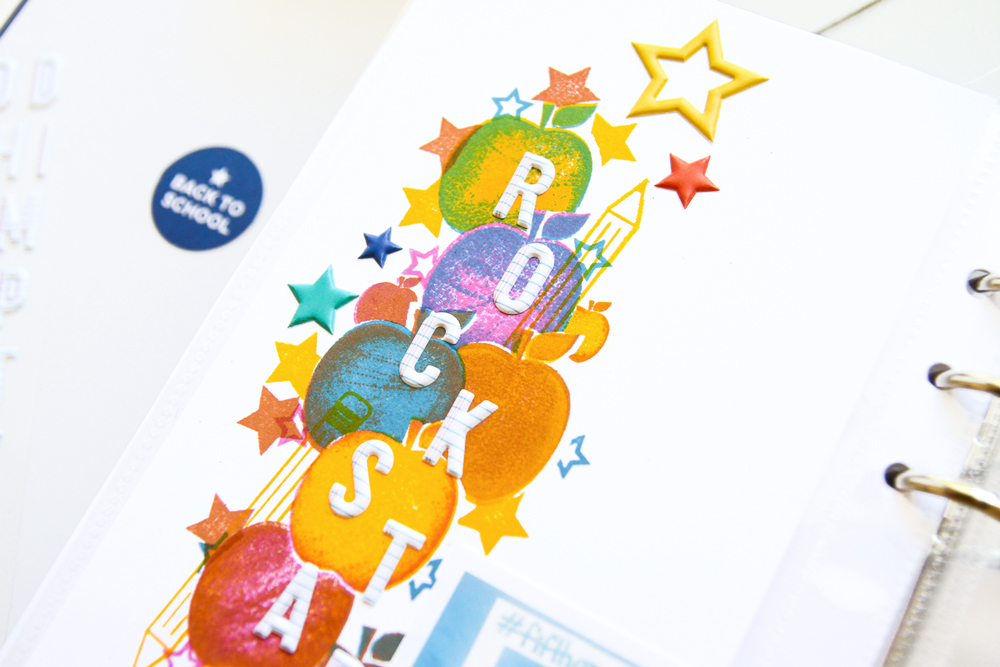
I continued this technique to create a vertical design of the apples on top of each other, creating a vertical design to be the base for my title and sub-title. I had so much fun and loved how the design came out so much that I began using other images from the stamp set along with the masks so they would appear behind and partially in front of some of my apples. My inspiration for the colors and the clean graphic look came from an Old Navy flier I received in the mail, but I did add a touch of green to balance the photo I used on the right. However, I did not use green ink. Instead, I first stamped in yellow, then in blue—yellow and blue make green! Color-layering is a great technique if you are short on ink colors or need to stretch your supplies.
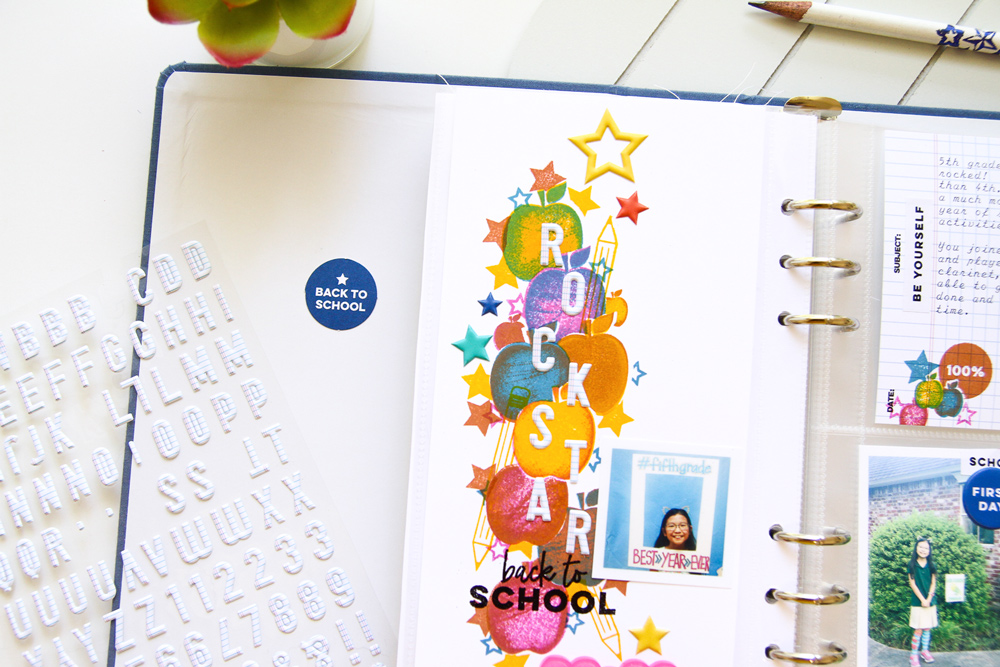
Once I had all of the stamping completed, I added my title and sub-title using the new Notebook Puffy Alphabet Stickers and heat embossed “Back To School” in black from the Back to School Stamp so it would stand out against my colorful apples. Next, I worked on the right side to balance the complete spread before finishing this left side. Like my left side with lots of white space, my right side uses the 3″ x 4″ grid tag from the August Kit. Using the same techniques as I used on the left side, I created a cluster of stamping in the corner of my tag, adding the date to the right with the Mini Dated Stamp before adding my journaling.
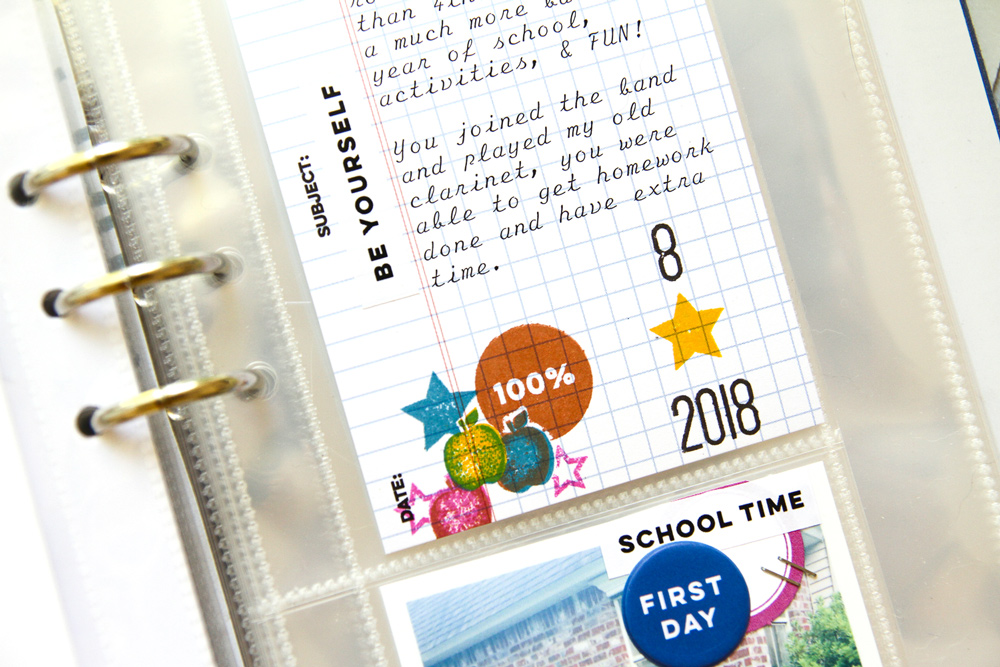
Once that was done, I started filling in my spread with die cuts from the August Kit, Be Yourself Phrase Stickers, and Back to School Puffy Stickers. Lastly, I decided on the pink Acrylic Sunglasses to finish the complete spread.
My video is a little longer than what I normally do, but I wanted to show the steps to create these layered apples, as well as how the complete spread came together. I hope you enjoy, and get inspired to try this on your next project! Happy stamping and please share what you create on Instagram using our hashtag #EllesStudio, or in our Elle’s Studio Facebook group!

