Hello everyone! This is Steph Grimes and I am so excited to be a part of the Elle’s Studio design team for 2019! This is my first time on a design team and I hope to share projects that are inspiring and fun. For my first project, I have created a 12×12” double page pocket page spread using the January Kit and add-ons that documents a recent trip to our local amusement park for their Christmas event.
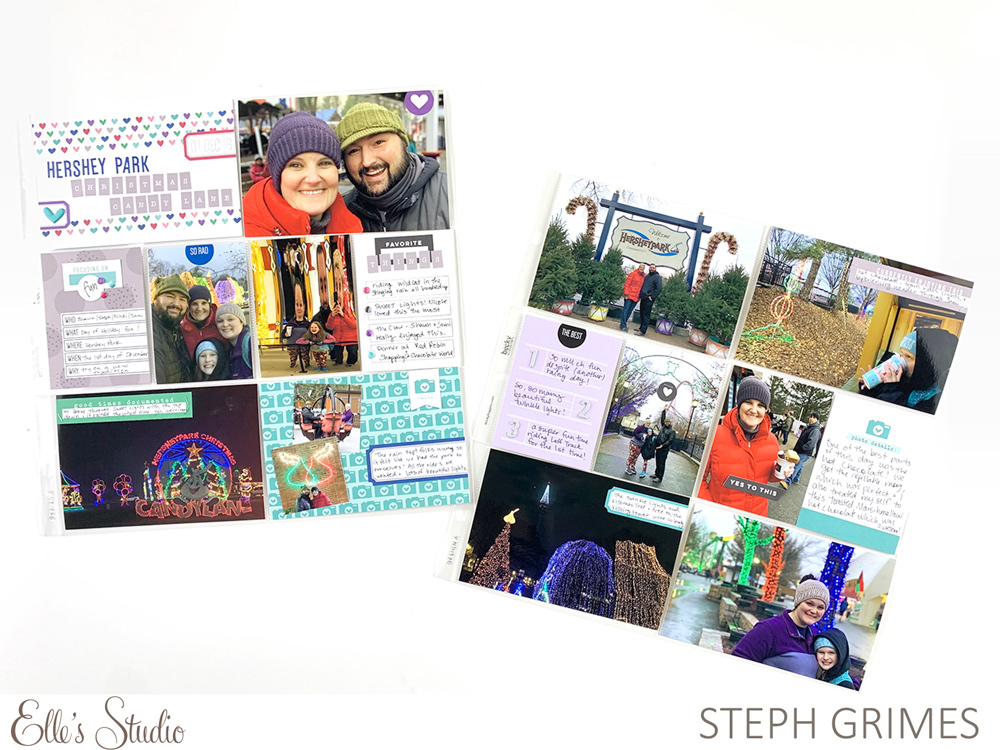
Supplies | January 2019 Kit, January Labels, January Blank Label Stickers, Sweetheart Puffy Stickers, Happy Heart Stamp, Black and White Polka Dot Puffy Alphabet Stickers, Happiness Found Stickers, Jane Alphabet Stickers – Navy, Hazel Alphabet Stickers – Gray, Mini Dated Stamp
Pocket pages are currently my favorite approach to memory keeping and I like them primarily because they are a quick way for me to get my stories documented. This means that I can work fast to get enough details of my stories told to be meaningful, but not so many details that I’m writing a ton. Besides, by working in pockets you only have so much space to work with and I *try* to keep my albums from being too full each year. I’ve been using Elle’s Studio products in my pocket pages for a little over a year now and they are perfect for capturing the details of my stories in a concise way. So for today’s project, I’d like to share with you a few of my favorite (and fast!) ways to get journaling into your pockets.
Focus on the Highlights
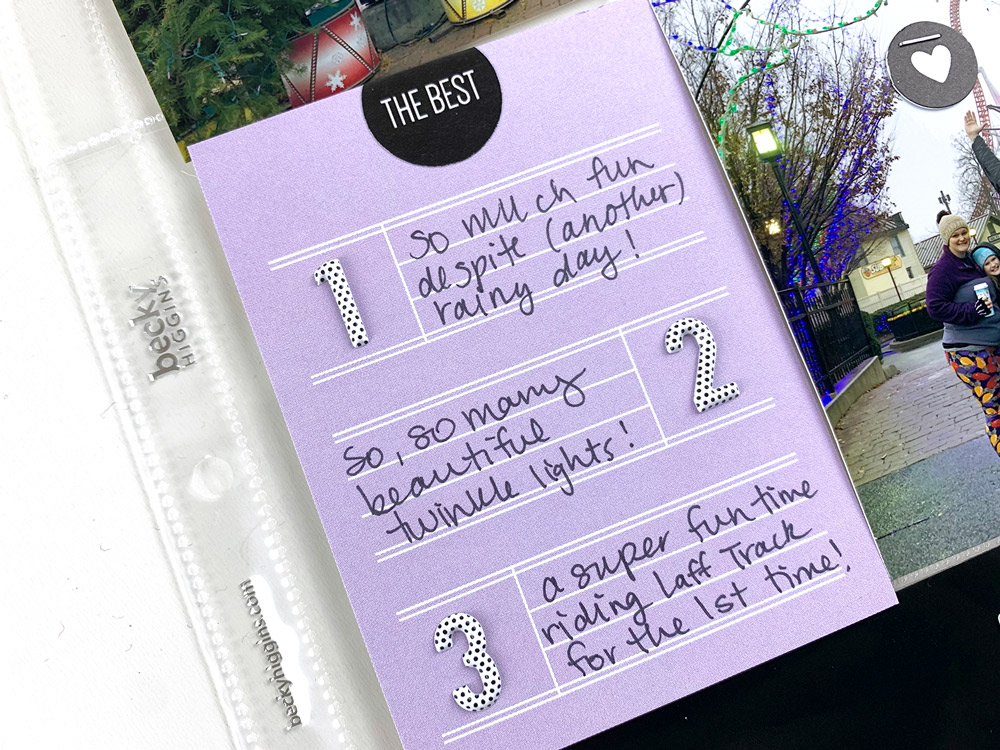
One of the fastest ways to get down some journaling about your week or a specific experience is to just capture the highlights. For this spread, I used this purple tag from the January 2019 Kit that was perfect for just a few notes. I added “the best” sticker from the Happiness Found Stickers and number stickers from the Black and White Polka Dot Puffy Alphabet Stickers to create a way to include the best things about our trip; in this case, the top three best things about the day. The sticker provided a great prompt so I didn’t have to provide any additional context about what I was writing here.
Snippets for More Context
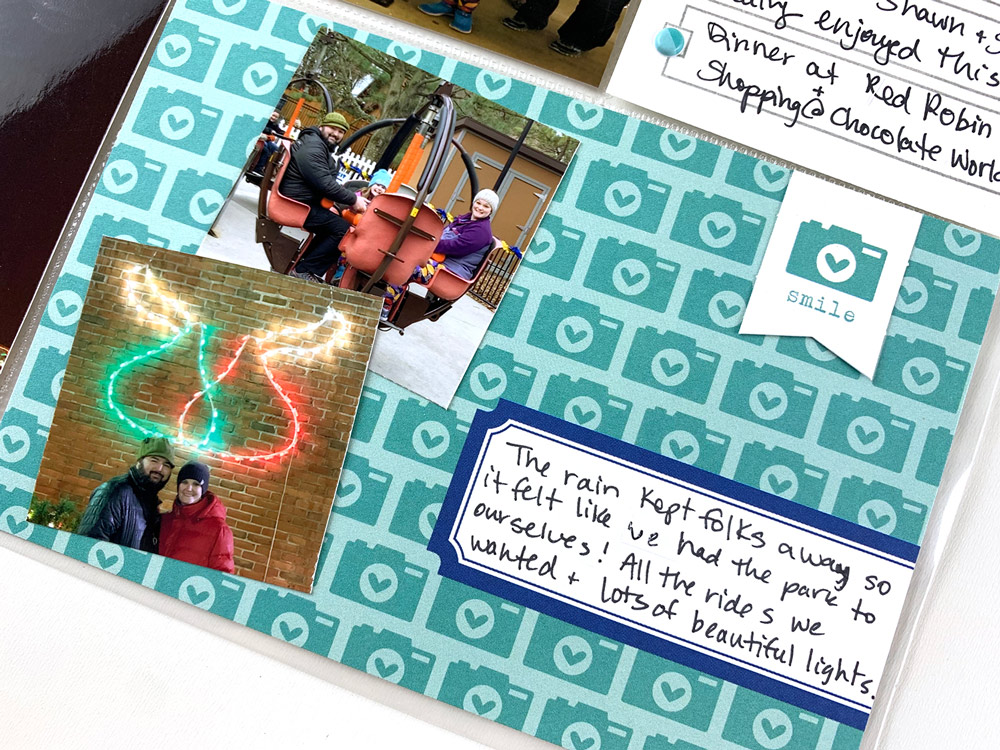
One of my favorite approaches to journaling in my pocket pages is using the labels and label stickers that come with the kits. These provide just a little bit of space, so I have to really think about what I want to say and how few words I can say it in to add additional context to a photo or story. Here I used one of the 4″ x 6” tags from the January Kit and added two small photos, a banner from the kit and a little more context to the overall story in the space provided on the tag. In the photo below, I took the same approach but used one of the January Labels to add a sentence to give a little more context to the photo in that pocket.
Follow a Prompt
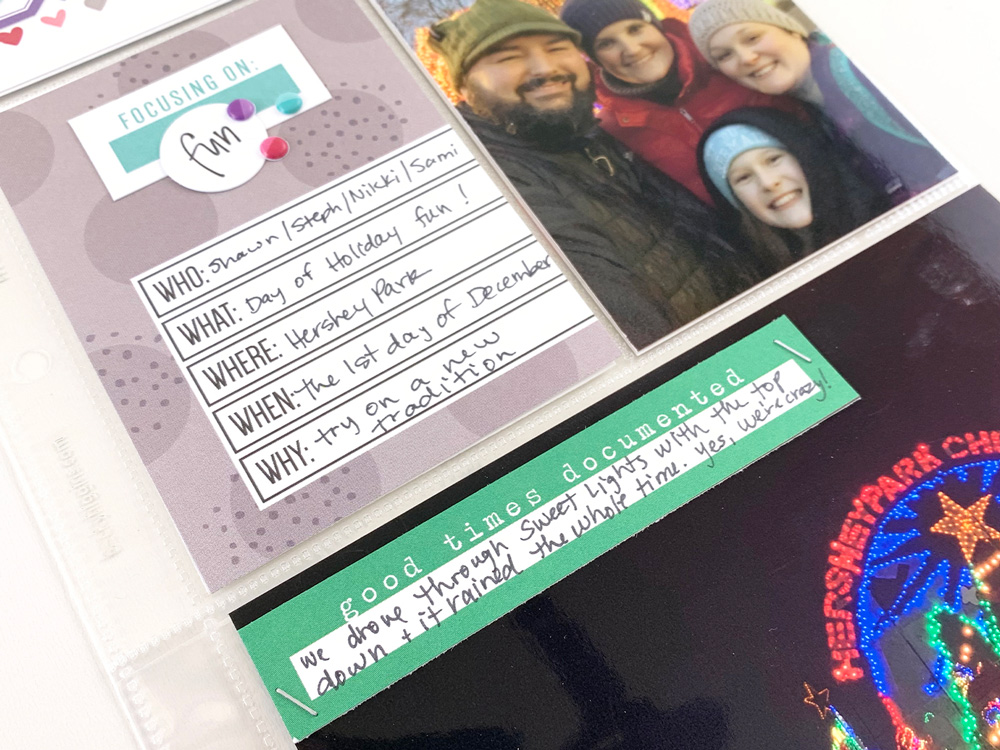
The Elle’s Studio journaling tags that come in the kits are great for journaling, but sometimes, they even come with a prompt specifically meant to help guide your story. This is always appreciated! Sometimes I get stuck for how to do my journaling or what to write and these can often provide just the spark I need to get started. So for this project, I started with the tag from the January Kit that includes the 5 W’s—Who, What, Where, When, Why—and that gave me the perfect jumping-off point for telling this story, as well as the approach I wanted to take of including little bits of journaling here and there throughout the spread. To fill in some of the space at the top of the card, I used two die cuts from the January Kit and a few dot puffy stickers from the Sweetheart Puffy Stickers to add a little embellishment to the card.
Make a List
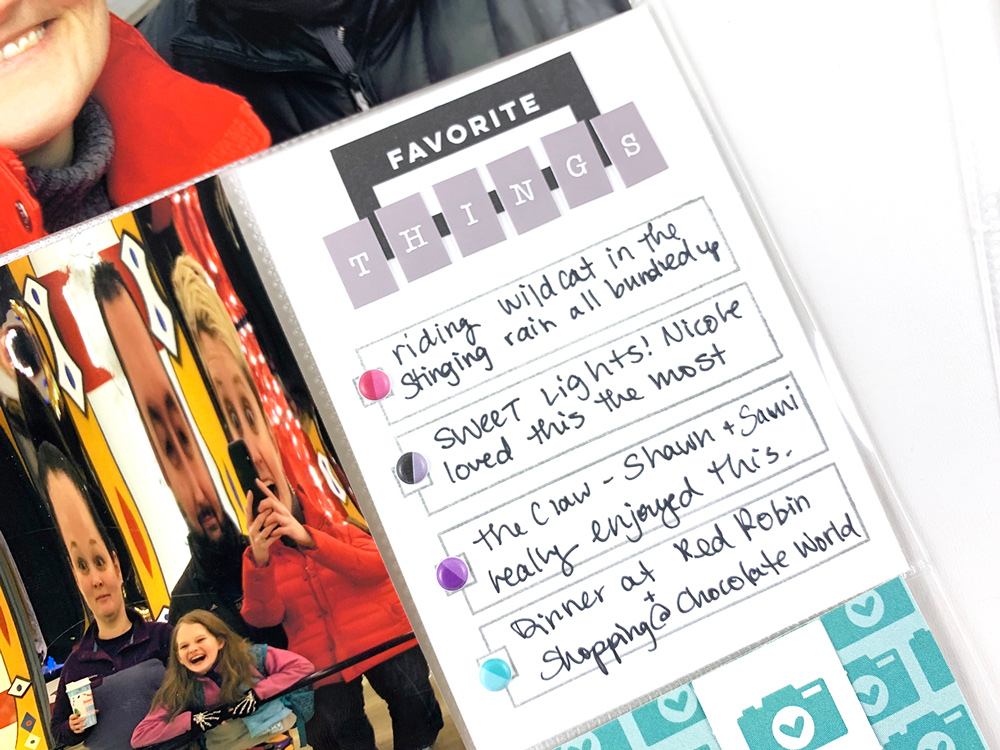
I love lists! Do you love lists? They are a simple way to include details and information and they are just perfect for pockets with limited space. Many of the journaling tags included in the monthly kit provide a perfect space for a list, like the purple tag above, but once I had used that, I couldn’t find another that would work well for this specific project, so I made my own! I cut-down a piece of white cardstock to 3″ x 4” to fit the pocket and stamped out four list spaces using the Happy Heart Stamp. This stamp set is awesome because it not only has a bunch of cute decorative sayings and embellishments, but also includes some really functional journaling stamps, like this one. I had some notes in my phone of each of our favorite things from throughout the day, so I picked four of them to include on this card and just wrote them in using a pen. I created my own prompt or title for this tag called “Favorite Things” by adding one of the kit die cut pieces and then spelling out the word “things” using the Hazel Alphabet Stickers. To finish this tag, I added some of the two-tone dot puffy stickers from the Sweetheart Puffy Stickers—I just love those!

To finish off this spread, I used another 4″ x 6” tag from the January Kit to create a title card. I wanted some variety in my title so I used both the Jane Alphabet Stickers and the Hazel Alphabet Stickers in two different colors. Then I added two labels from the January Blank Label Stickers and cut them down a bit because I love elements that interact with the edges. I stamped the date using the Mini Dated Stamp, which fits so well inside the labels, and a teal puffy heart from theSweetheart Puffy Stickers to finish it off.
I hope this has provided some ideas for quick and easy journaling that helps you to get more stories told on your projects! The products in the January Kit and add-ons work really well to support this approach to journaling and documenting your life’s happenings!

Show us how you are journaling with your January Kit and add-ons, and how you’ve used Steph’s tips above to document your stories! Share your projects on Instagram using the hashtag #EllesStudio to be entered to win a gift card to our shop, and be featured here on our blog and Instagram account!