When was the last time you did something really creative with digital cut files? Not just cut them out and adhered them to a page, but really made them a BIG part of your page design and allowed them to add color and texture? Nancy Damiano is with us today to show us how to do that, using the tag die cut from our July Digital Cut File. Let’s see what she made:
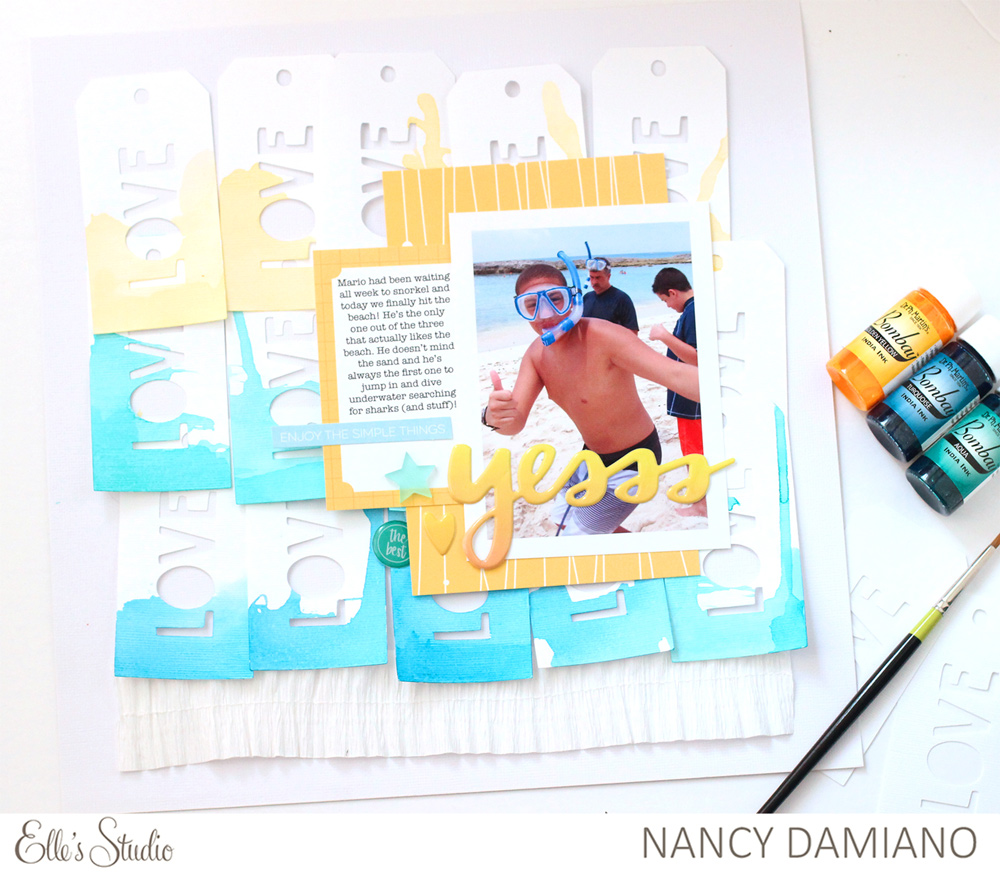
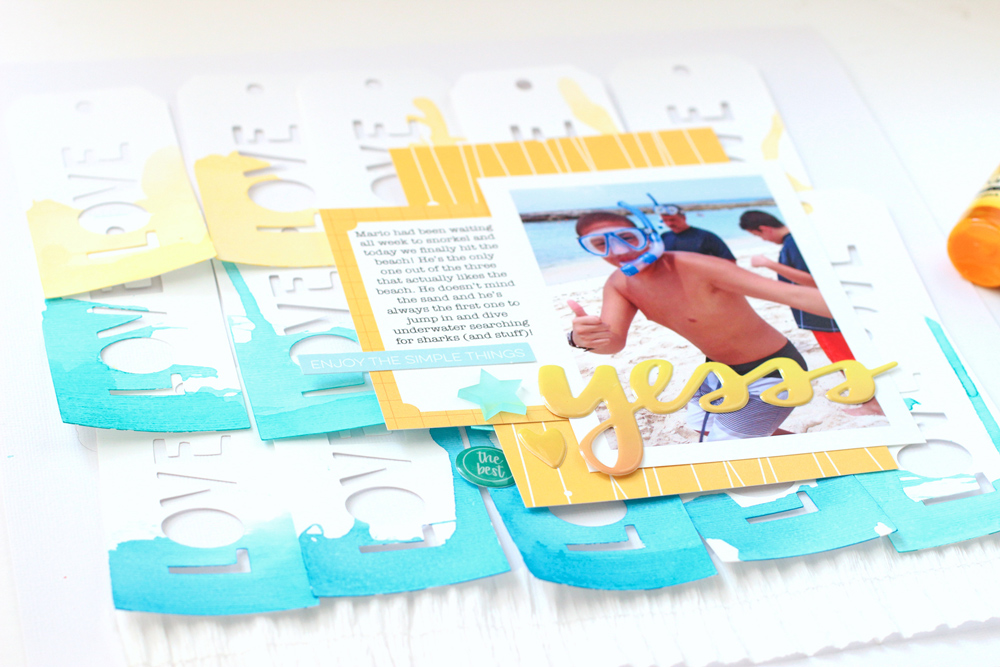
Hey there Elle fans! It’s Nancy here today, with a look at the July Digital Cut File featuring a collection of die cut tags. Let’s take a look at how to create an interesting background full of texture and pops of color. It’s the perfect way to showcase a favorite summer photo!

Supplies | July Digital Cut File, Let’s Go Traveler’s Notebook Kit, June 2018 Kit, Noteworthy Epoxy Stickers
Let’s create something fun! Start by cutting out the July Digital Cut File tag 13 times to a 2-1/4″ x 4″ size out of white cardstock. While I used only the “love” tag, feel free to use the other titles for your project. You could also use cardstock in ombre shades to create the same look without the messy ink.

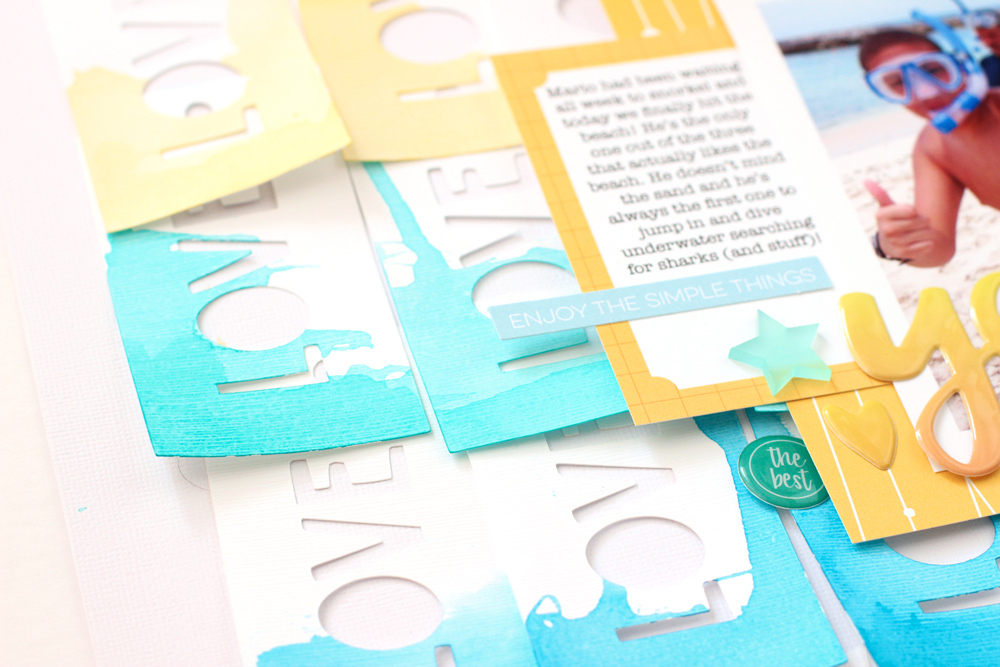
Use india ink (watercolor works too) in yellow and shades of blue to dye the ends of the tags. You can brush on some water at the bottom of the tag, then add a few drops of ink and let it “run” around the tag. Use a heat gun to carefully dry the tags and lay flat.

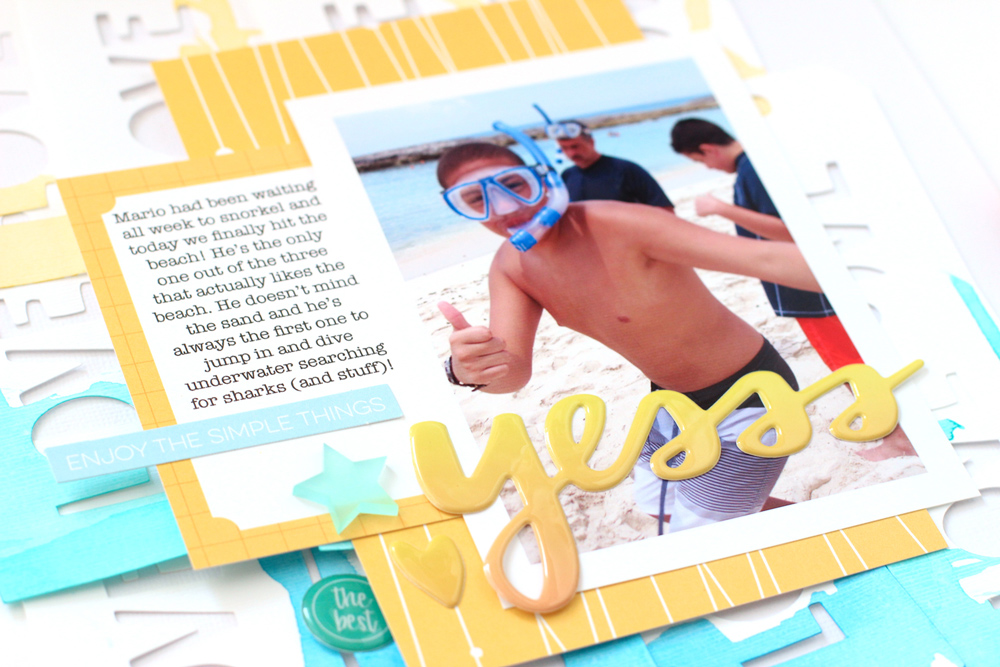
After adhering the tags to the center of the layout, create a bed of layers by using patterned paper from the fun Let’s Go Traveler’s Notebook Kit and a journaling tag in yellow from the June 2018 Kit. Add an epoxy title, some Elle’s Studio acrylic accents and a strip of stitched crepe paper to finish off the design.

Painting and layering these digital die-cut tags creates so much color and texture on this happy page! Thanks for stopping by!

Layers of Dip Dye Tags with Nancy Damiano
