Have you ever tried to change up your scrapbooking format? Why not try out a traveler’s notebook! They’re small, portable, and thin: great for documenting on the go, or just saving space in your craft room! Meghann Andrew is sharing an ongoing project documenting a fun city break using our Let’s Go Traveler’s Notebook Kit, and we think it will inspire you to try out this fun format!
Hey there! It’s Meghann Andrew with you today, and I am LOVING documenting in my Seattle traveler’s notebook using the Let’s Go Traveler’s Notebook Kit! This format is completely new to me, but I have found creating in this smaller format so much fun! I’m halfway through documenting the days of our trip, and I’d love for you to see the three spreads that I created recently:
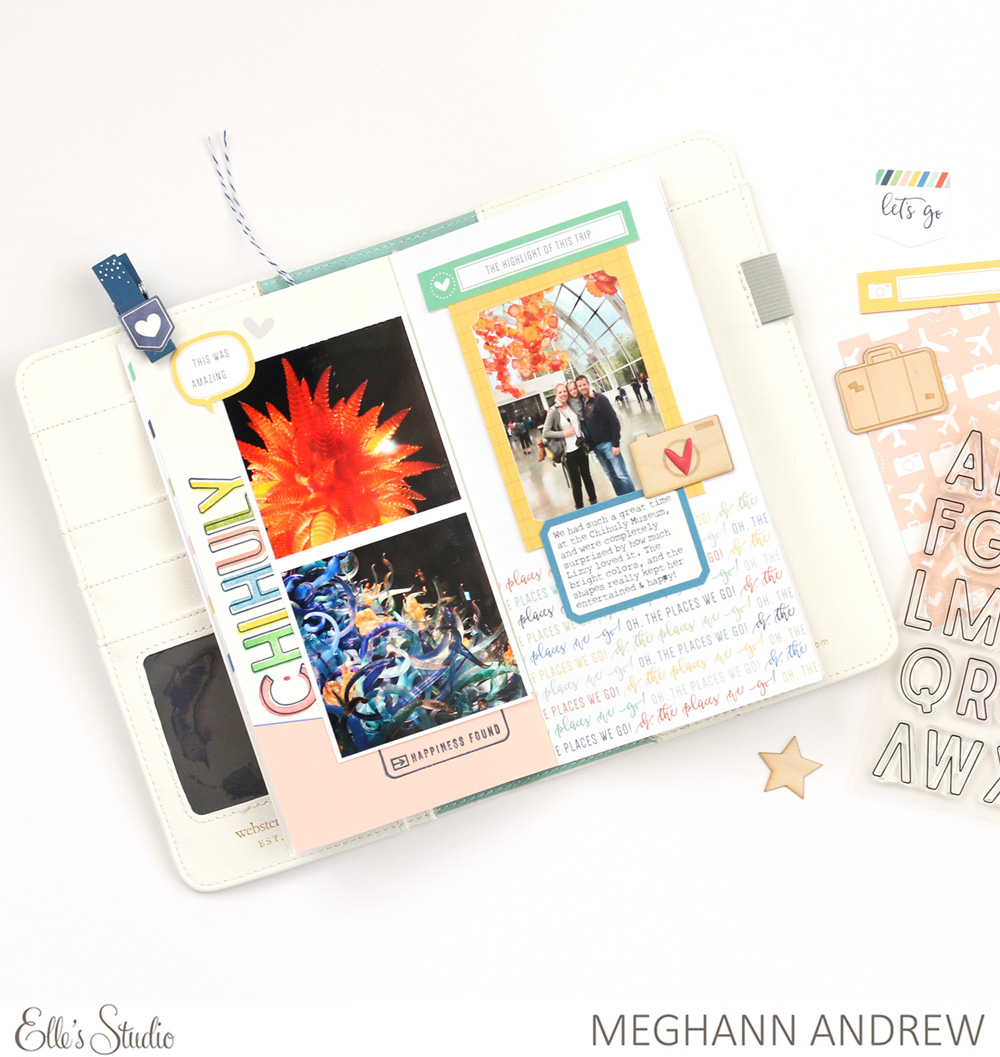
The colorful glass photos from the Chihuly Museum deserved an equally colorful spread! I balanced out all of the color on the left side with the colorful “oh the places we go” paper on the right. I also wanted to add the name of the artist in large letters on the left page, so I grabbed the Stanley Alphabet in the outline, stamping it in navy, then adding the solid colors inside, slightly offset.

On the right side, I framed a family photo with a 3″ x 4″ yellow tag from the June 2018 Kit, by cutting out the white center and adhering over my photo. We really loved this museum, so the “the highlight of this trip” sticker added to the journaling tag topped the photo, then I added more typed journaling using a June Print and Cut Label, and adhered it below my photo.
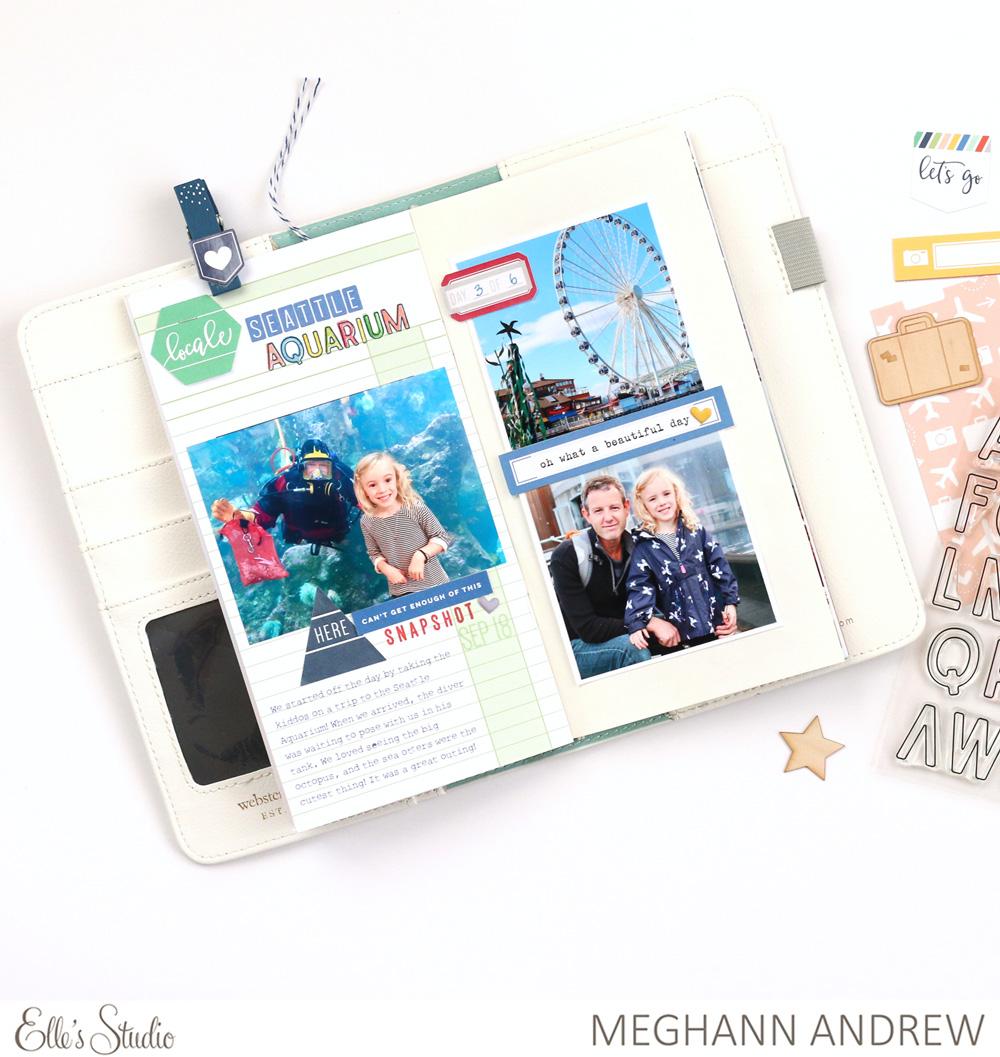
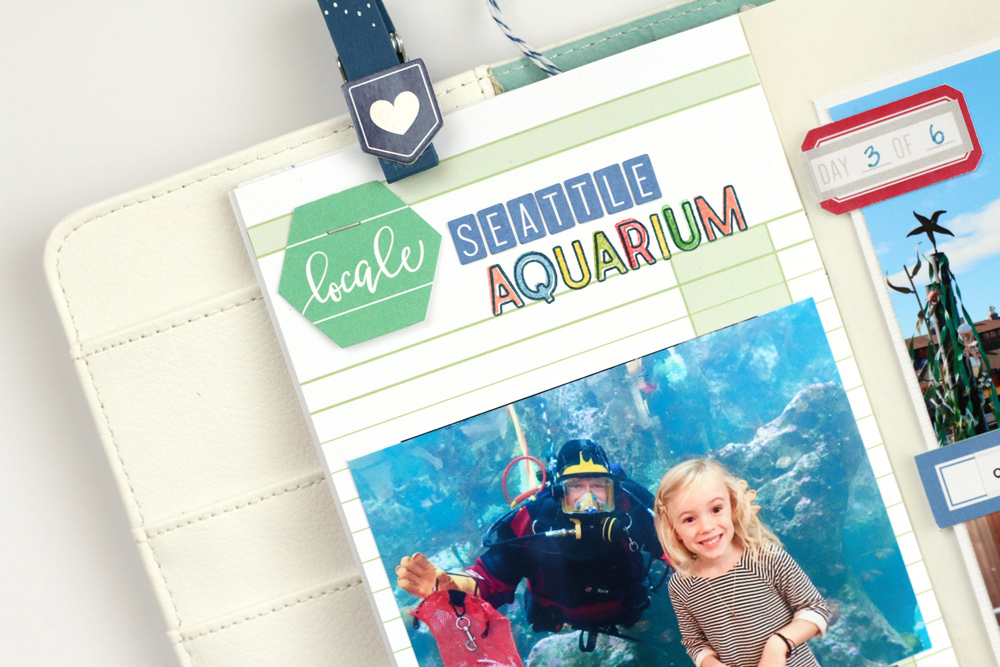
The following spread started day three of our trip, and was all about a visit to the Seattle Aquarium. The green grid paper was perfect for backing the left side, and the space at the top was the perfect place to add the title, using the cardstock alphabet stickers from the Let’s Go Kit, along with the Stanley Jr. Alphabet Stamps in both solid and outline—similar to the page before, just in a smaller format! A grouping of the “can’t get enough of this” die-cut from the June 2018 Kit, “here” sticker and “snapshot” stamp from the Let’s Go Kit, puffy heart sticker, and the date, using the Mini Dated Stamp, all connected the photo to my typed journaling below.
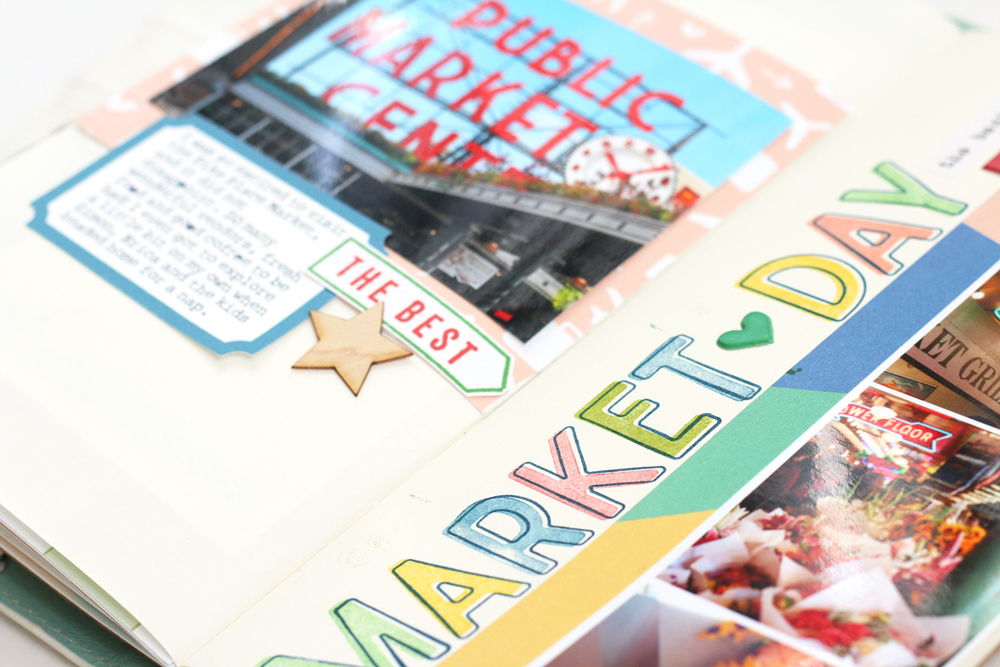
On my third spread, I documented my favorite place in Seattle, the Public Market! I had to place the iconic market photo on the left page, and again added a label from the June Print and Cut Labels to include my journaling below. The “the best” stamped arrow sentiment was placed next to the label to draw your eye to the really fun page on the right.

The right side includes a 2″ x 8-1/4″ long strip of photos that I created in Photoshop Elements. To really show off my photo strip, I added a 1/2″ piece of the colorful paper from the Let’s Go Kit to the left, which gave me the perfect place to add my “market day” title, using both the Stanley Outline and Solid Alphabet Stamps. To separate the words, I added a puffy heart sticker, “the best place” sticker, then the red “here we go” Adventure Puffy Sticker below.
Thanks so much for stopping by and checking out my Seattle traveler’s notebook progress! I can’t wait to fill this notebook with our memories, documented with the Let’s Go Traveler’s Notebook Kit! Thanks for stopping by today!
Supplies | Let’s Go Traveler’s Notebook Kit, June 2018 Kit, Adventure Puffy Stickers, Puffy Heart Stickers — Spring Mix, Stanley Alphabet Stamp — Outline, Stanley Alphabet Stamp — Solid, Stanley Jr. Alphabet Stamp — Outline, Stanley Jr. Alphabet Stamp — Solid, Mini Dated Stamp

Traveler’s Notebook Progress with Meghann Andrew