We’ve been highlighting some amazing projects using the Let’s Go Traveler’s Notebook Kit, and today we have Jamie Leija and Suzanna Stein with us to share how they’re documenting their trip memories in their traveler’s notebooks—even for trips that haven’t happened yet!
Jamie | I’m such a fan of traveler’s notebooks! Therefore, I was so unbelievably excited to get to play with this oh so fun Let’s Go Traveler’s Notebook Kit! I’m heading to London in a few weeks, so I’m prepping this mini to come with me and serve as my everyday documentation of the trip.
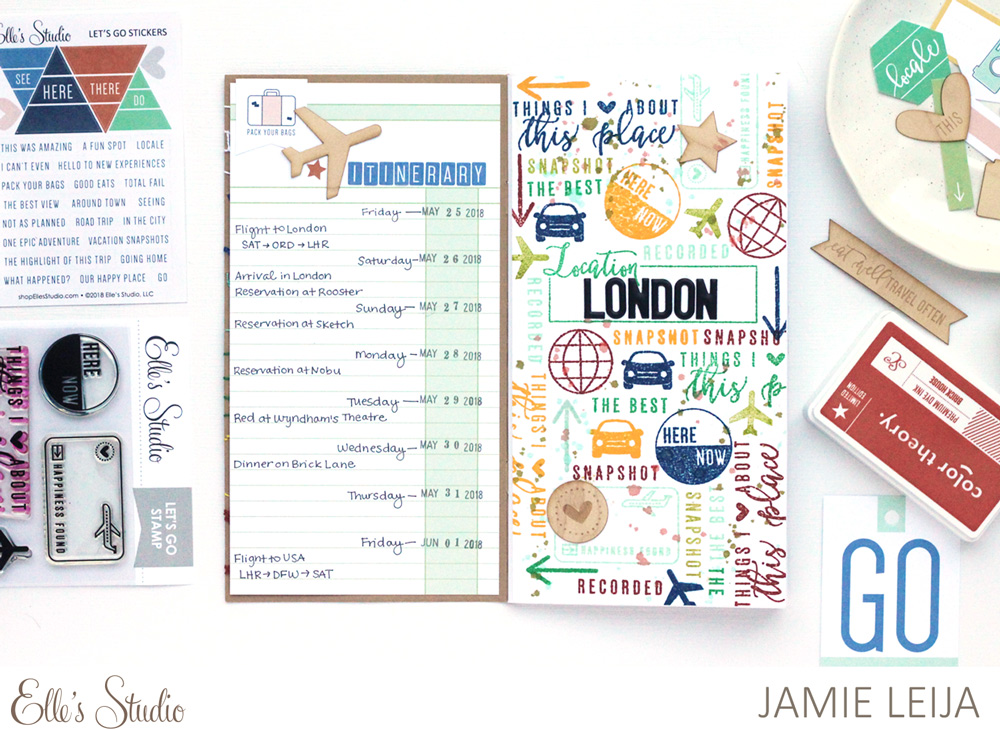
I decorated the title page using the awesomely fantastic Let’s Go Stamp, only available in the kit, with several colors of ink. I love creating my own custom patterned paper with stamps!
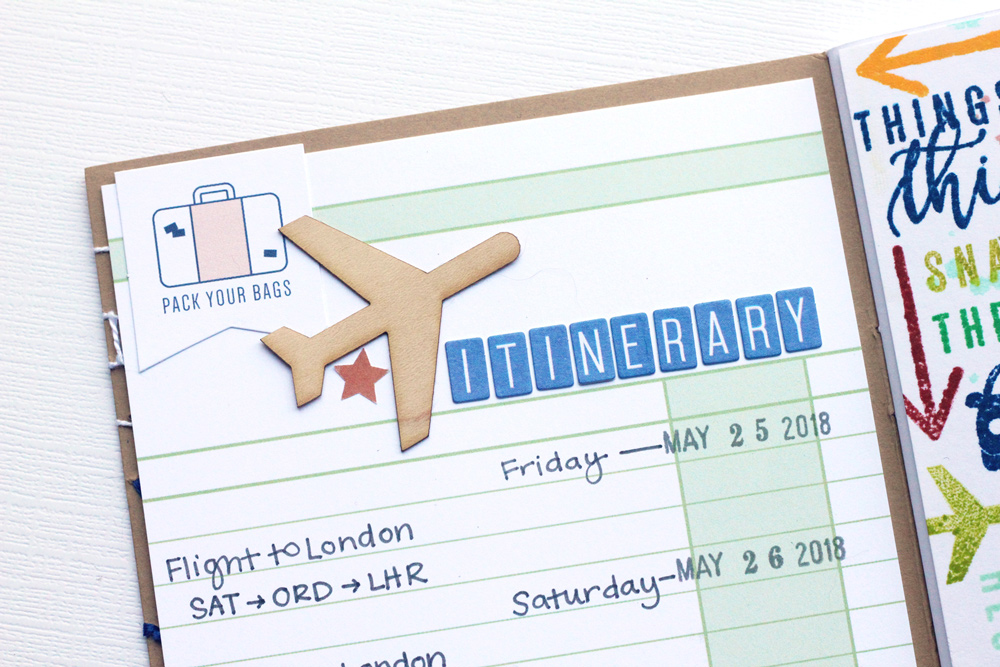
I added an itinerary to the inside cover for quick reference, using the green lined patterned paper.
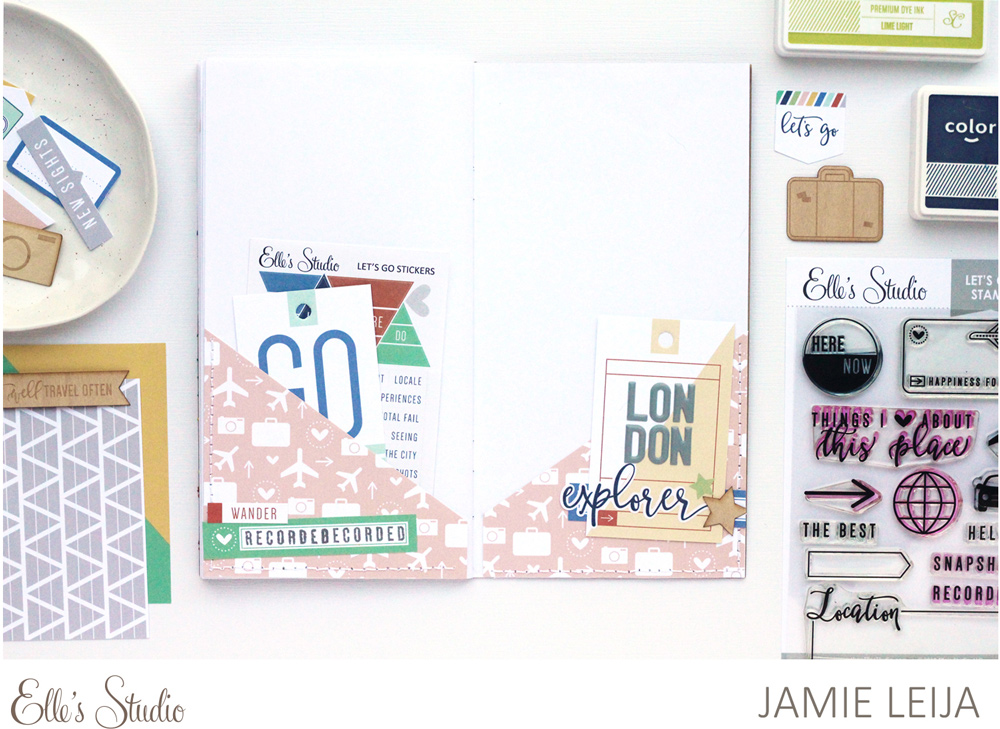
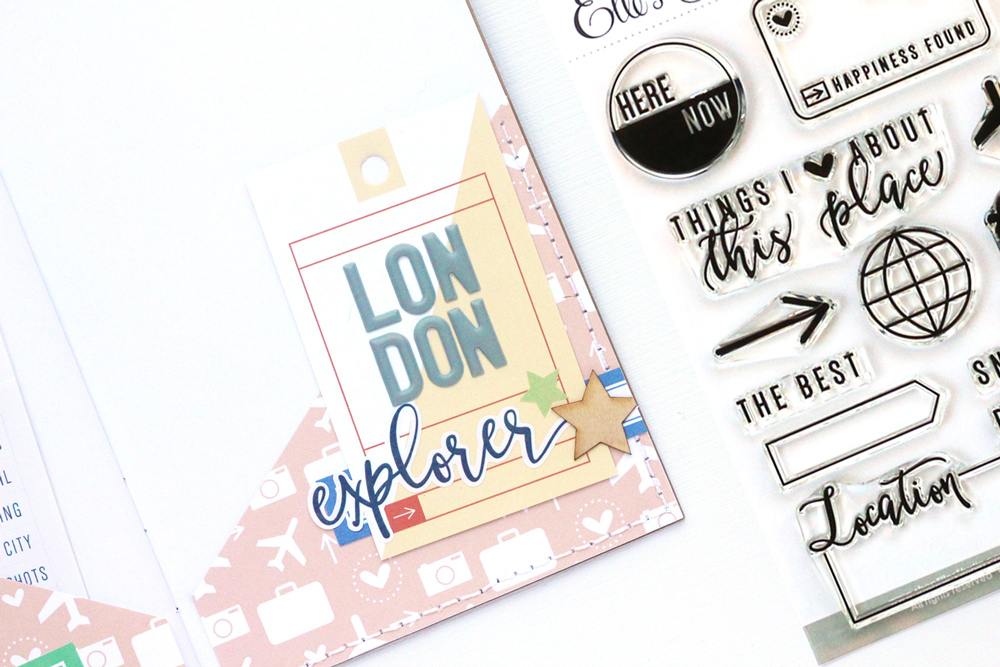
Since I know we’ll be picking up bits and pieces of ephemera along the way, I wanted to make a home for those too! I hand stitched these two pockets in and decorated them with a tag, labels and stickers.
Tip: I glued two of the white notebook pages together to make each of these a little sturdier.
Thanks for looking! I can’t wait to fill this notebook with more Let’s Go Traveler’s Notebook Kit products, as well as memories from my trip!
Supplies | Let’s Go Traveler’s Notebook Kit, Black Puffy Alphabet Stickers, Gray Puffy Alphabet Stickers

Suzanna | I loved using the Let’s Go Traveler’s Notebook Kit to document a recent trip that I took, in such a fun and colorful way!
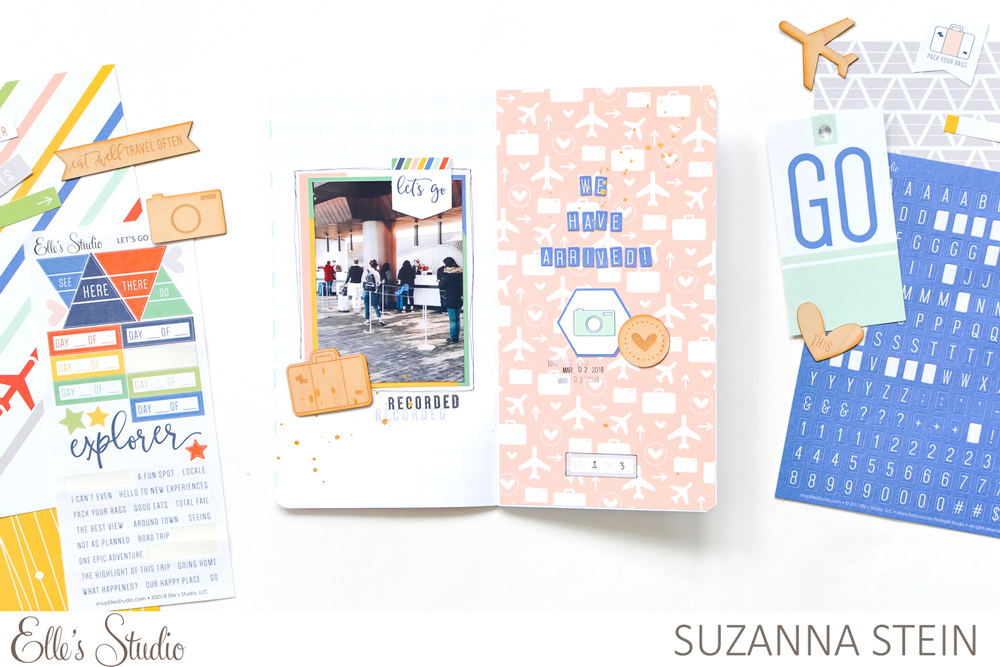
I was so excited to use the pink patterned paper from the kit. It was perfect to use on the first layout of my notebook. I went with a layout that I’m comfortable with: a photo on the left side, patterned paper and title on the right side. This gave me a starting point, and from there I added embellishments.
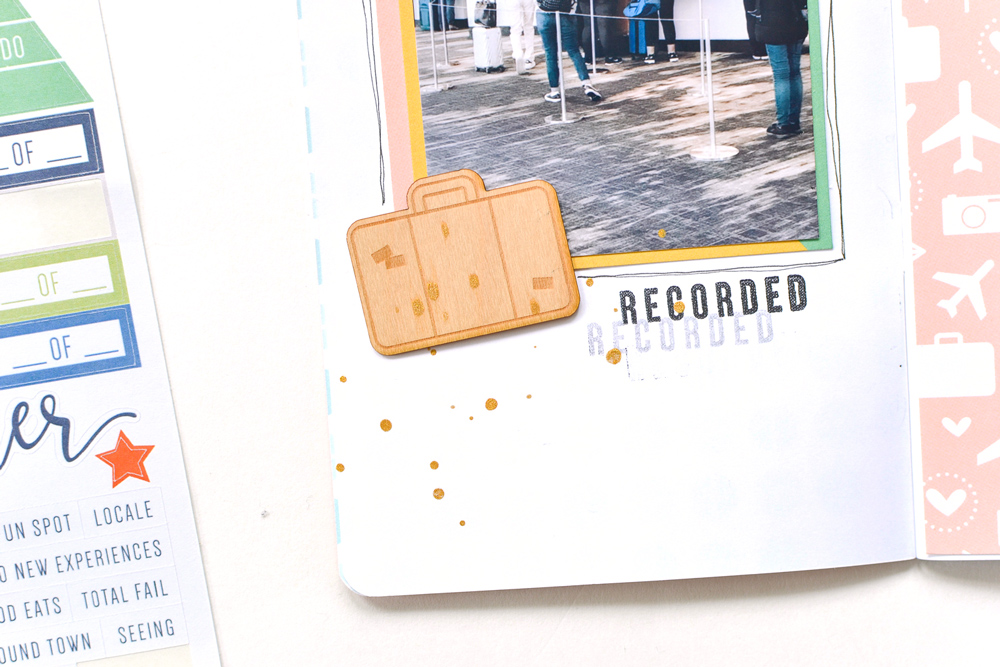
Adding a little doodled border around the photo tied in the black elements from both sides, and the clusters are my go-to for all layouts. I finished this up with splatters of gold craft mist!
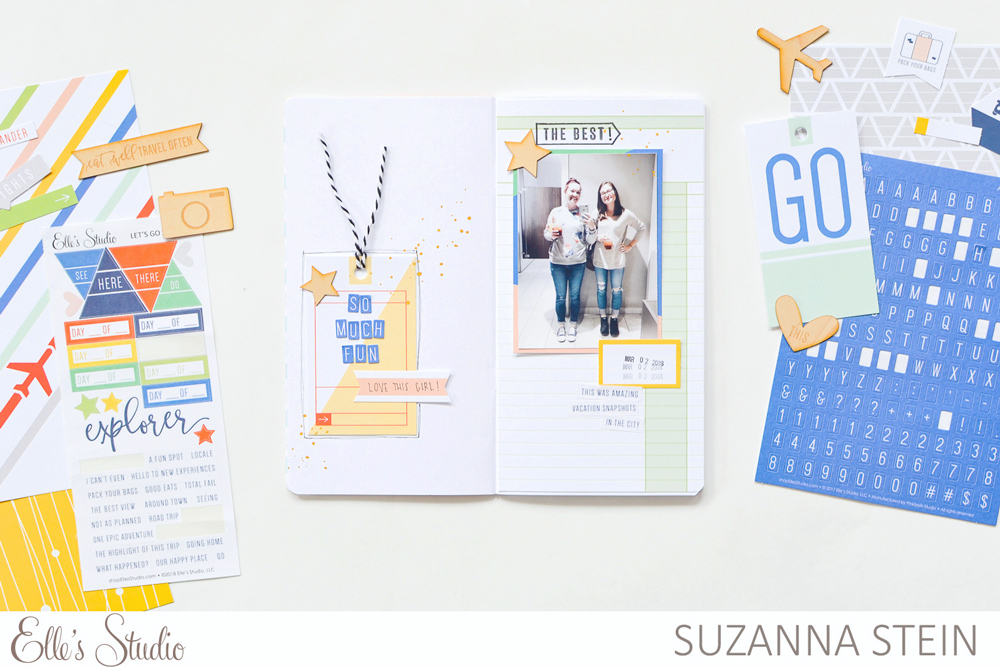
I cannot get enough of those travel tags! I used one on this layout as the main focal point on the left side. To tie in the black Let’s Go Stamp elements and phrase stickers from the right side, I outlined the tag in a thin black line and used a black/white twine.
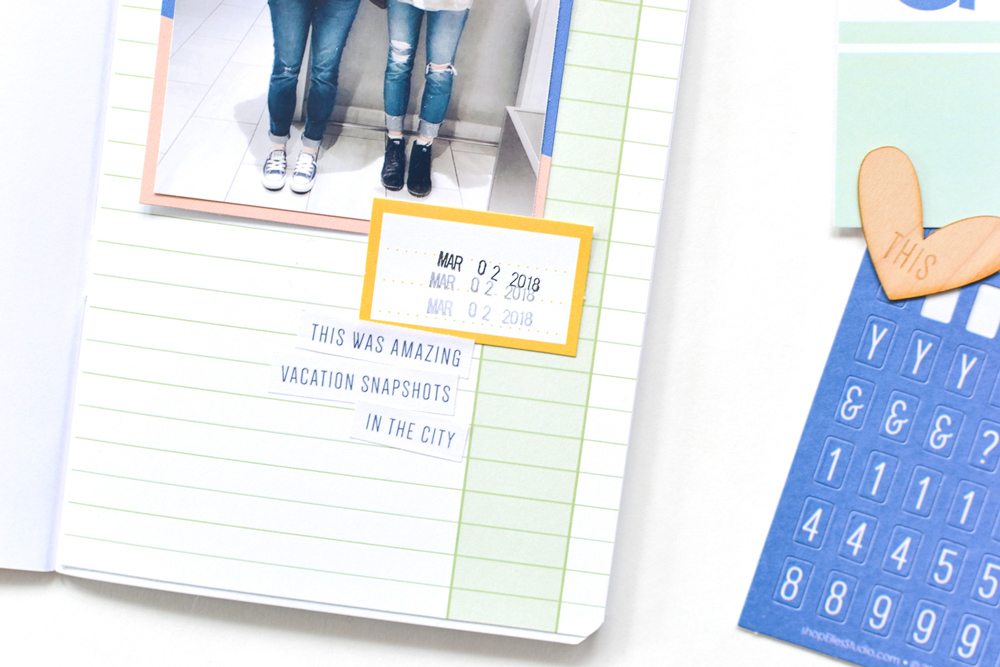
I played with spacing and alignment on this layout by putting my photo in the upper left of the right side, and the tag in the lower left of the right page. As always, I finished with a few clusters and gold splatters. I really love the way it turned out!
Supplies | Let’s Go Traveler’s Notebook Kit

We’d love to see what you’re creating with the Let’s Go Traveler’s Notebook Kit! Share your notebook spreads on Instagram using the hashtag #EllesStudio!
Let’s Go Traveler’s Notebooks with Jamie Leija and Suzanna Stein
Pingback: Let's Go Traveler's Notebook Spreads with Suzanna Stein | Elle's Studio Blog