How many adventures will you have to document once summer is over? They can all be recorded quickly and easily in a traveler’s notebook using our Let’s Go Traveler’s Notebook Kit, and today Suzanna Stein is with us to share two new spreads from one of her latest trips! Let’s take a look:
Hey friends, it’s Suzanna here! I’m so excited to be back on the blog with another project using the Let’s Go Traveler’s Notebook Kit! I previously shared two layouts that I created with the kit documenting a trip I made earlier this year. After realizing how many photos I wanted to fit in the notebook, I decided to transition it to a ring bound notebook instead of the traditional format. I love that the Let’s Go Kit was able to make that transition super easily—it’s perfect for all different formats of documenting!
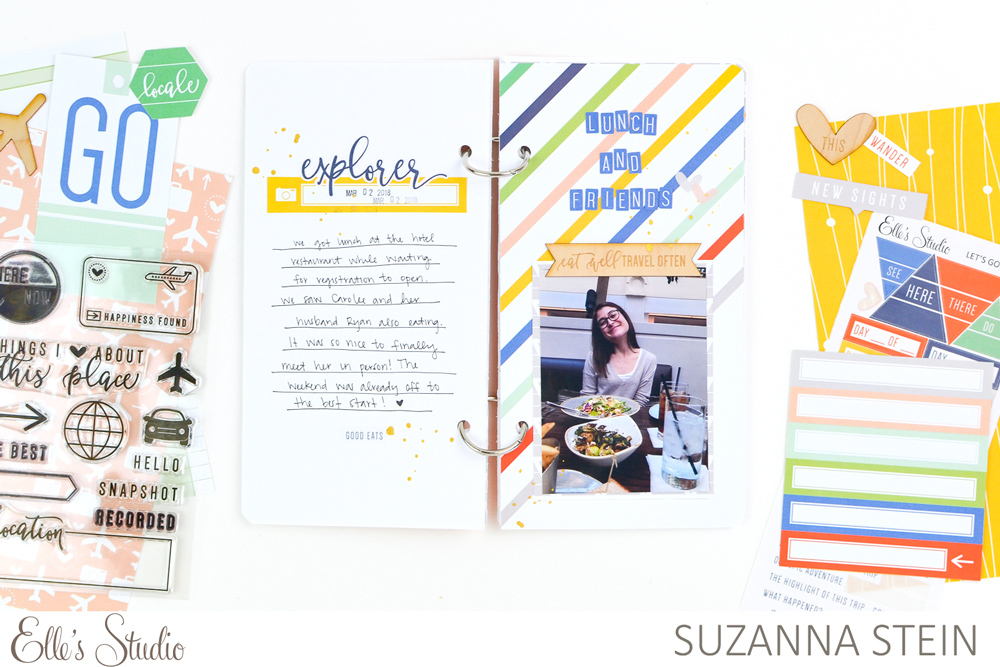
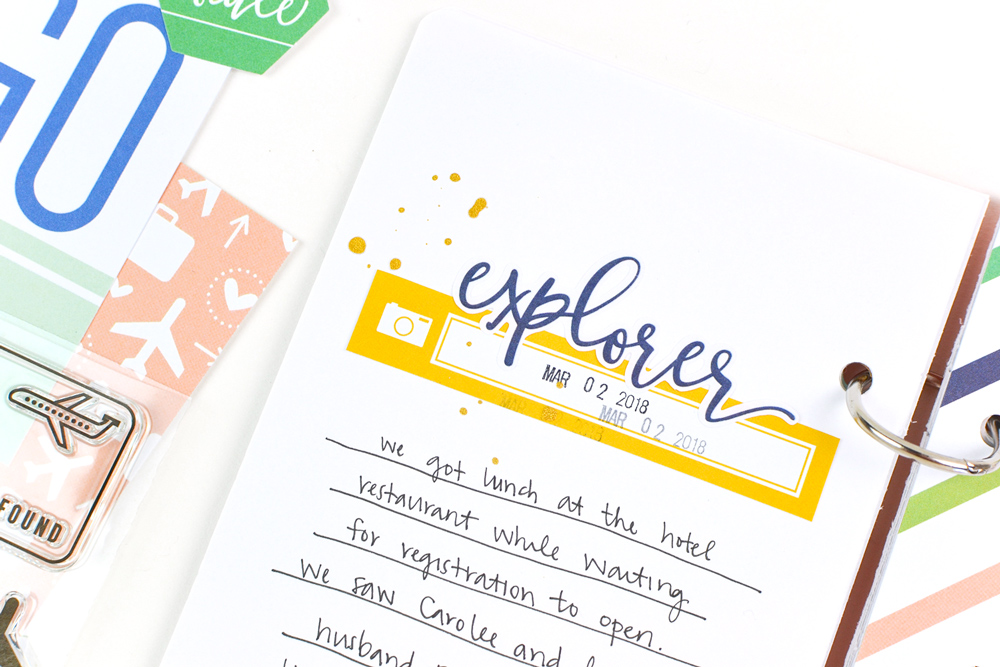
For the first page, I kept it simple with journaling on one side and my photo on the other. I used a label layered partially under a sticker to add a pop of color and a place for my date above my journaling.
On the right side of the page, I kept my title simple and descriptive using the alpha stickers from the kit. I of course had to add that wood veneer piece above this photo because this story is documenting lunch and that embellishment was too perfect!

I created another page with the kit, and stuck with the photo on one side/journaling on the other layout. This time I added a bit more detail and mixed it up a bit. I used lots of layers on both sides of the page. I also used one of the stamps to create my own embellishment by stamping it on a white piece of card stock and cutting it out.
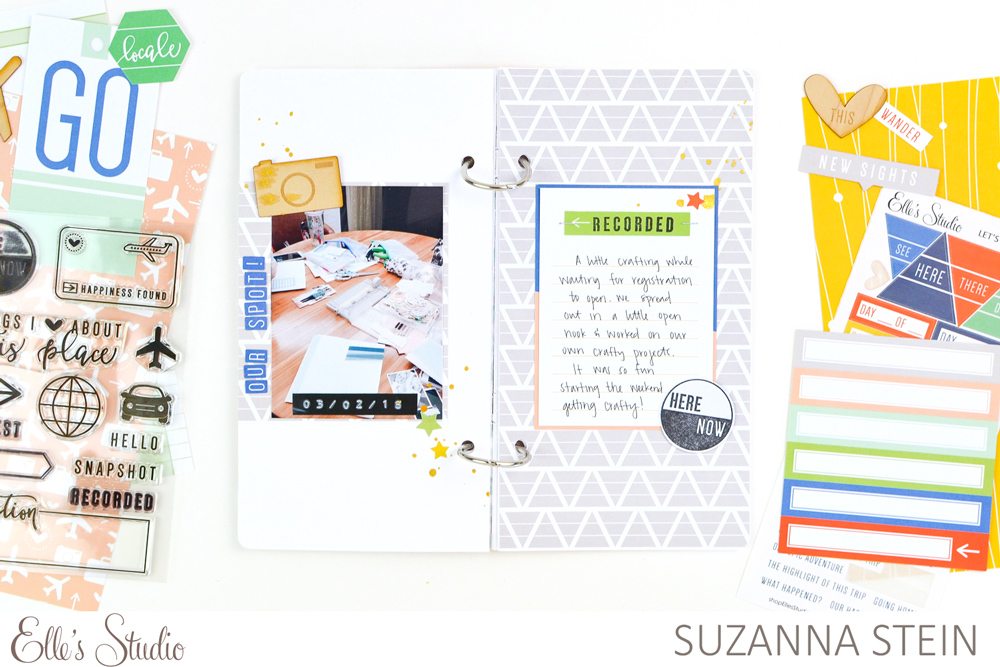
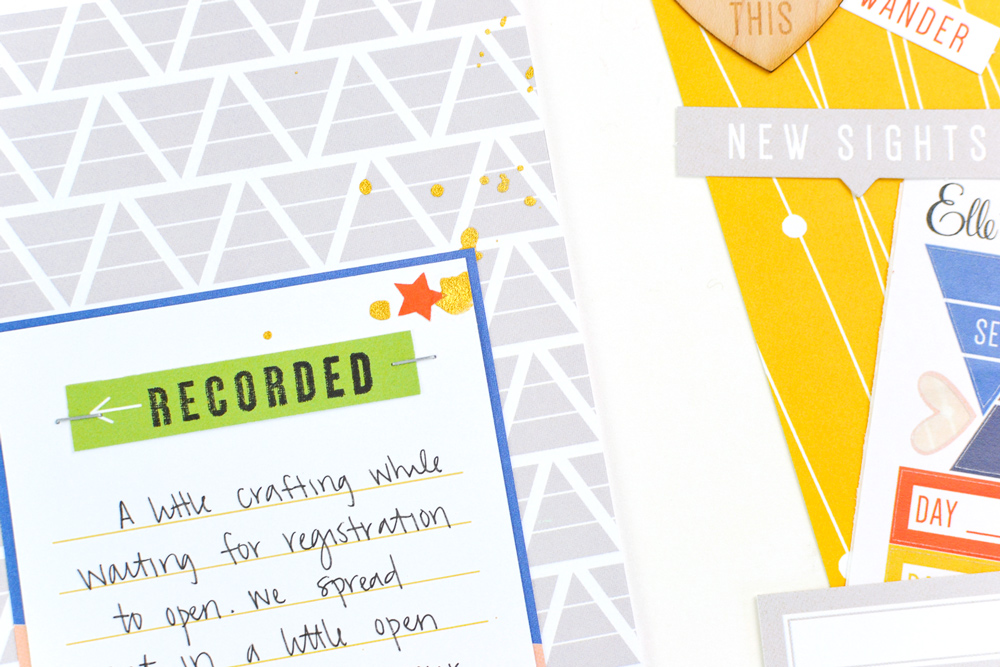
I titled my journaling with a layered tag and a stamp. To add texture to the page, I stapled the label to the journaling card and love the little extra detail it gives!
On the left side of the page, along with my photo, I used the alpha stickers to add a title vertically along the side of the image. This is something different than I usually do, but I really love the interest it adds to that side.
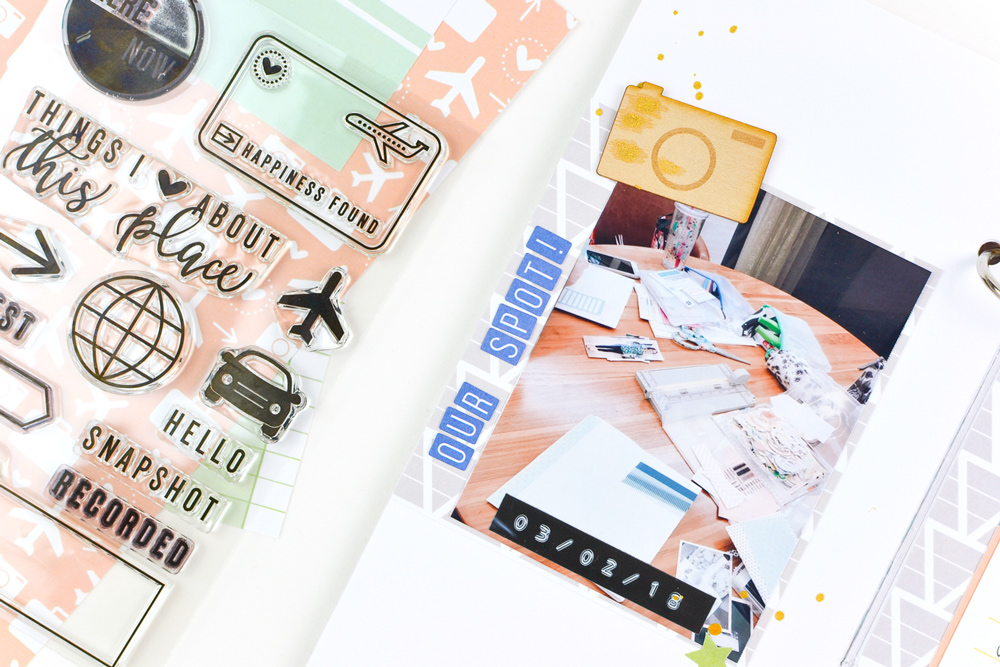
Like most of my layouts, I finished both pages off with a few embellishment clusters and splatters of gold craft mist. I hope this gives you a little inspiration on ways to use the Let’s Go Traveler’s Notebook Kit! Remember, you don’t have to be working in a traditional traveler’s notebook format to make gorgeous layouts using it.
I can’t wait to see what y’all are creating with this month’s goodies, and will be back next month with more crafty inspiration!

Let’s Go Traveler’s Notebook Spreads with Suzanna Stein