Today is the final day that our February guest, Jordan Carroll is with us! We loved the happy and colorful pocket page project that she shared with us on week one, and an insanely FUN traveler’s notebook spread that she shared on week two! Today, she’s sharing a beautiful page with less colorful emotions behind it, and she is reminding us that even the hard stories need to be told in our albums. Let’s take a look at what she created:
Hello! It’s Jordan, and I’m back today with my final installment using all of the February 2020 kit and add-on goodness! It sure has been a fast month, and I have loved every minute of being a guest here at Elles’s Studio.
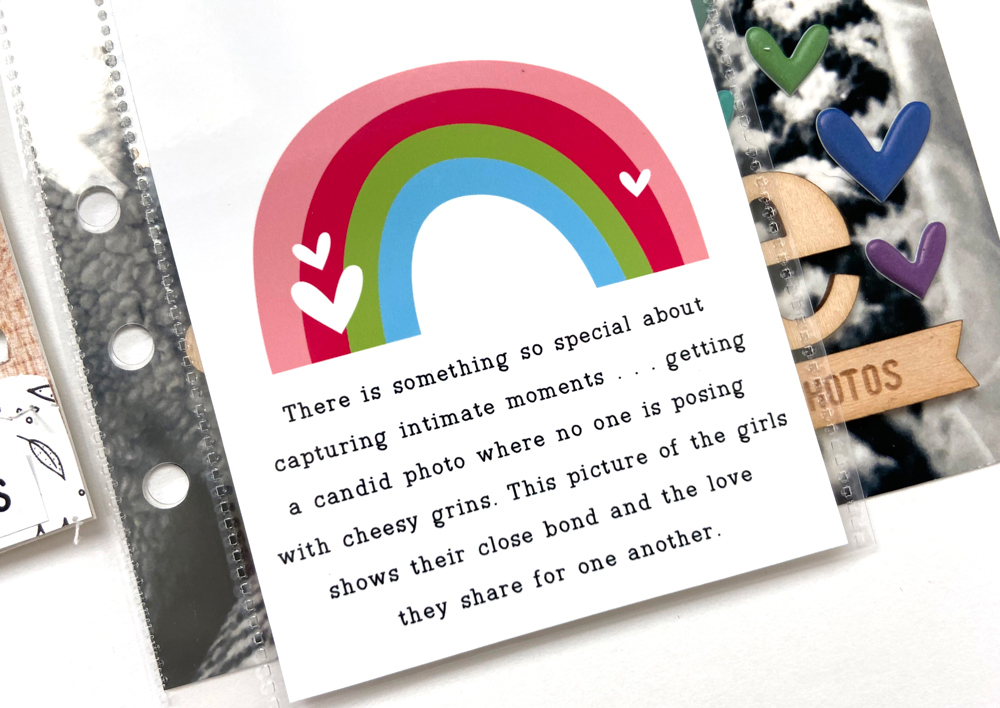
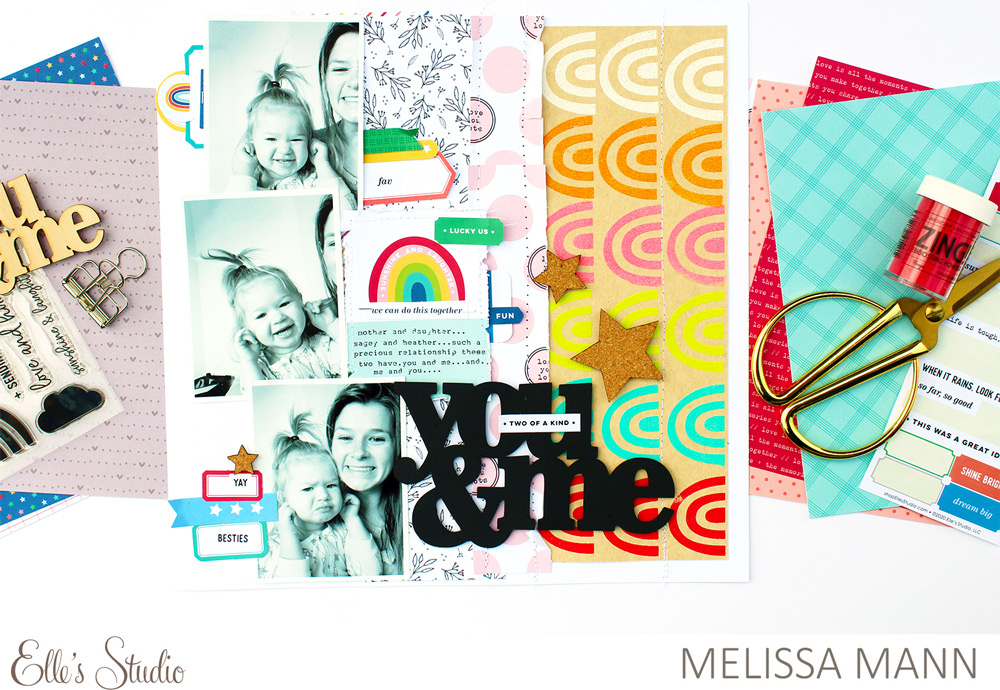
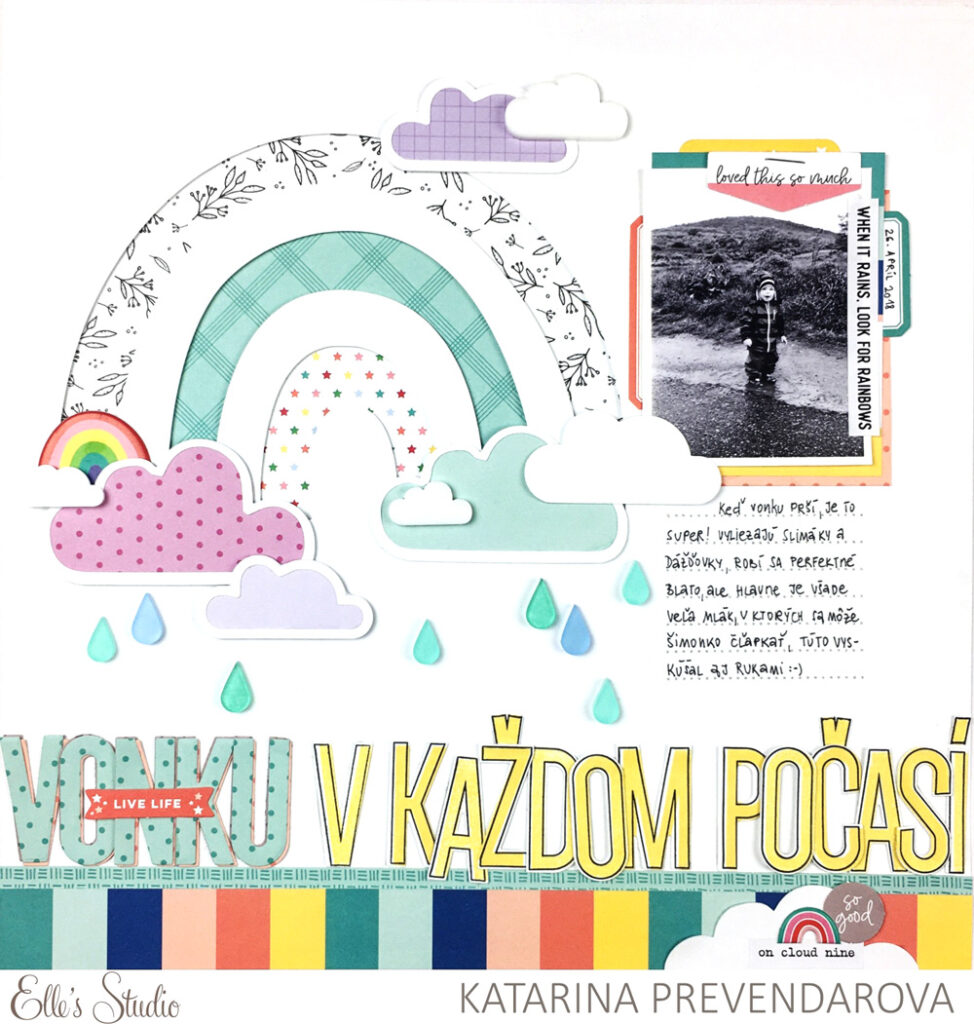
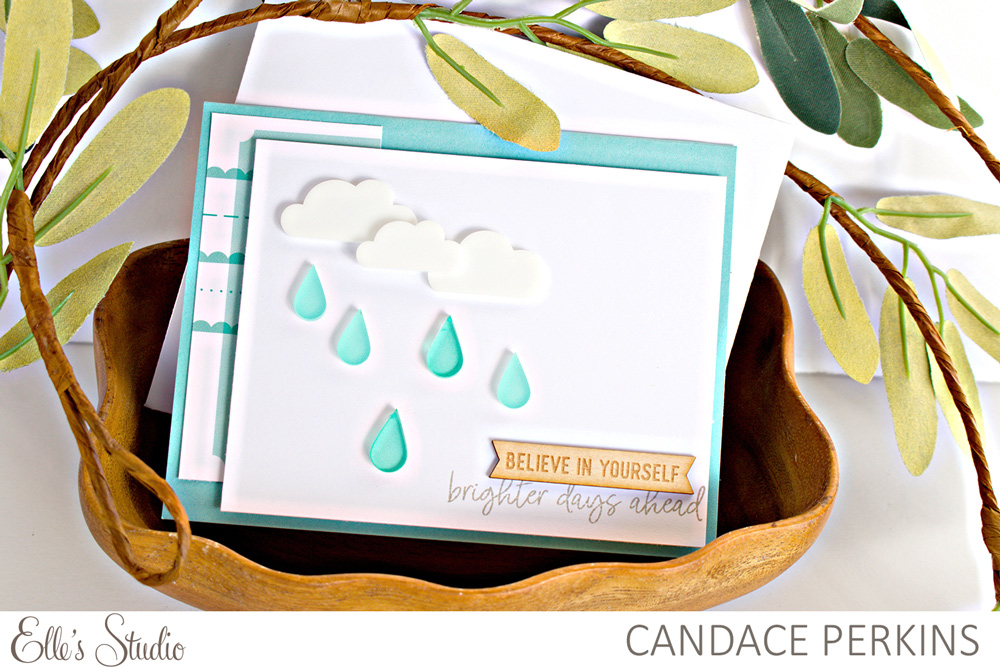
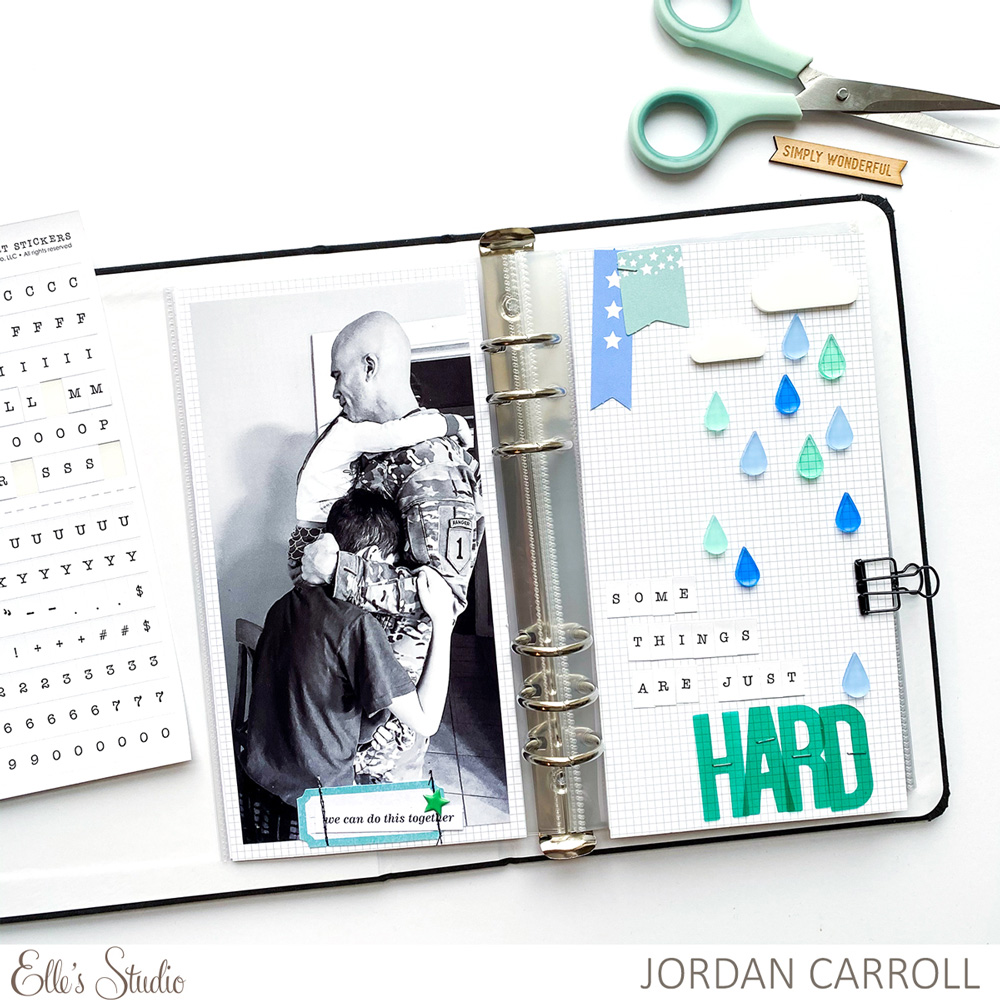
For my last project, I chose to document a difficult moment for our family. Life is not always rainbows and happiness; there’s a lot of rain clouds and tears, too. It’s not easy to tell the hard, emotional stories, but they are as much a part of life as the wonderful ones, so it’s important to me to document them. One day when we look back, I want us to see the whole of our lives, not just the bits and pieces I chose.
I debated whether to document this in a documenter spread as part of my 2020 pocket pages, or with a travelers notebook spread. I ultimately chose a travelers notebook spread for a few reasons: One, I wanted to give this story a space of it’s own. It’s such a huge part of our lives, and who we are as a family, so I didn’t want it to get lost amongst all the other weeks. I use my pocket page album for a broad overview of our weeks, whereas my travelers notebooks are used for more specific stories I want to highlight.
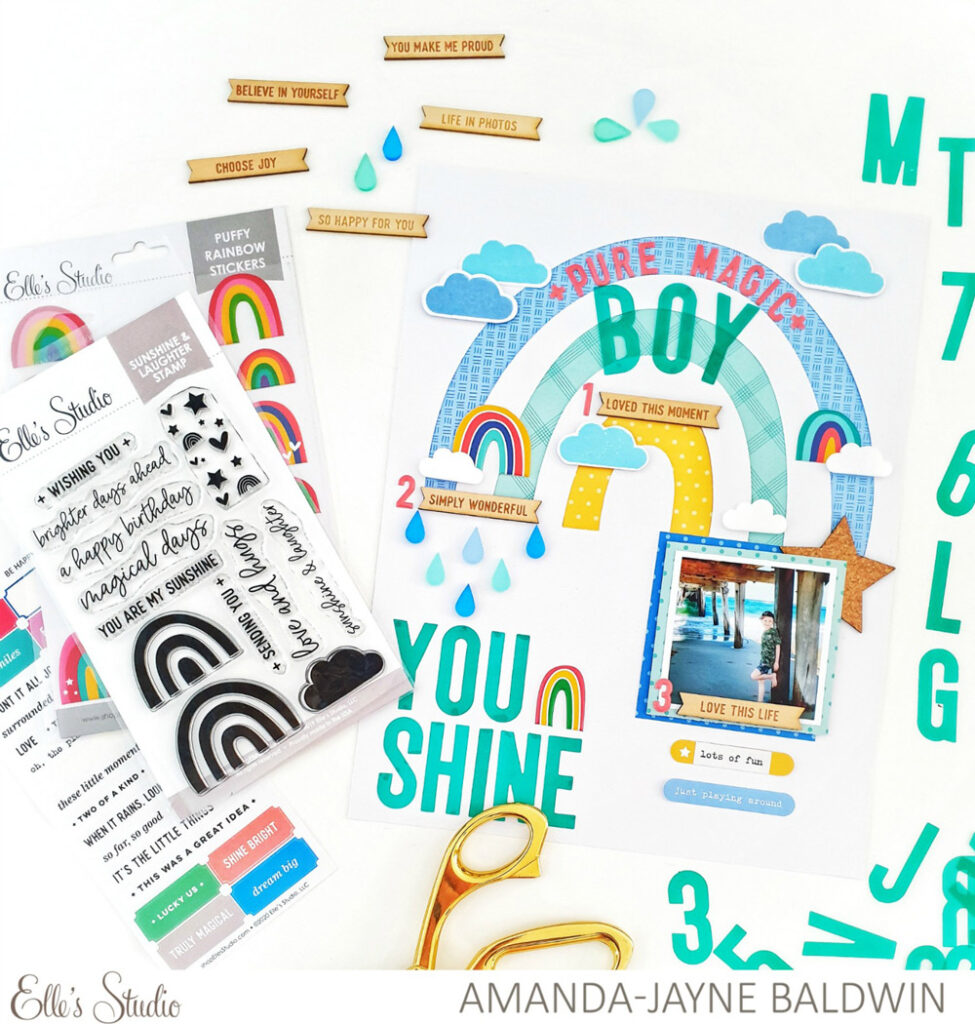
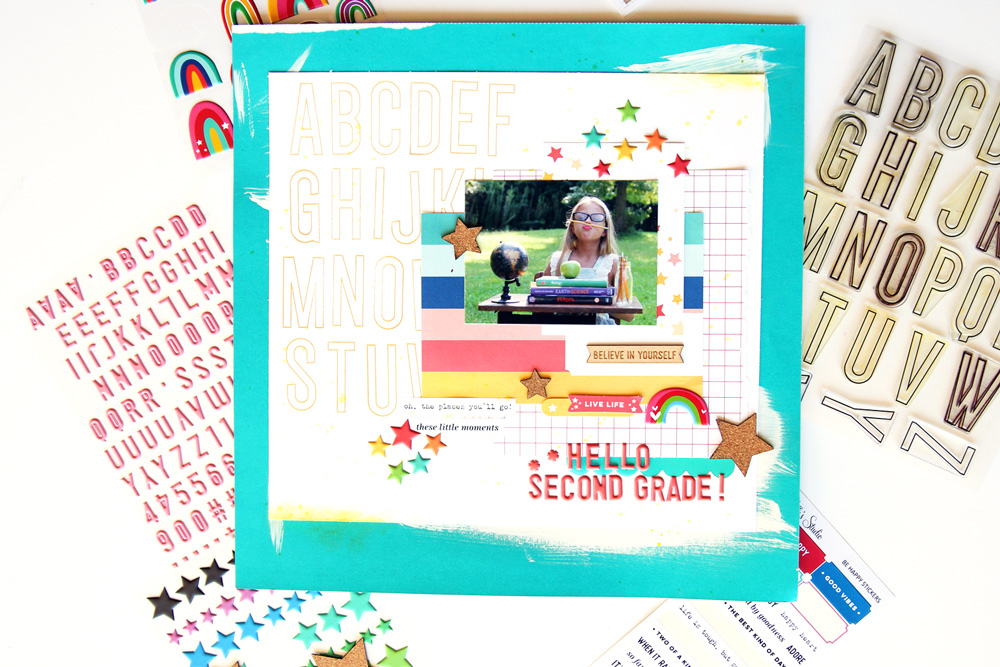
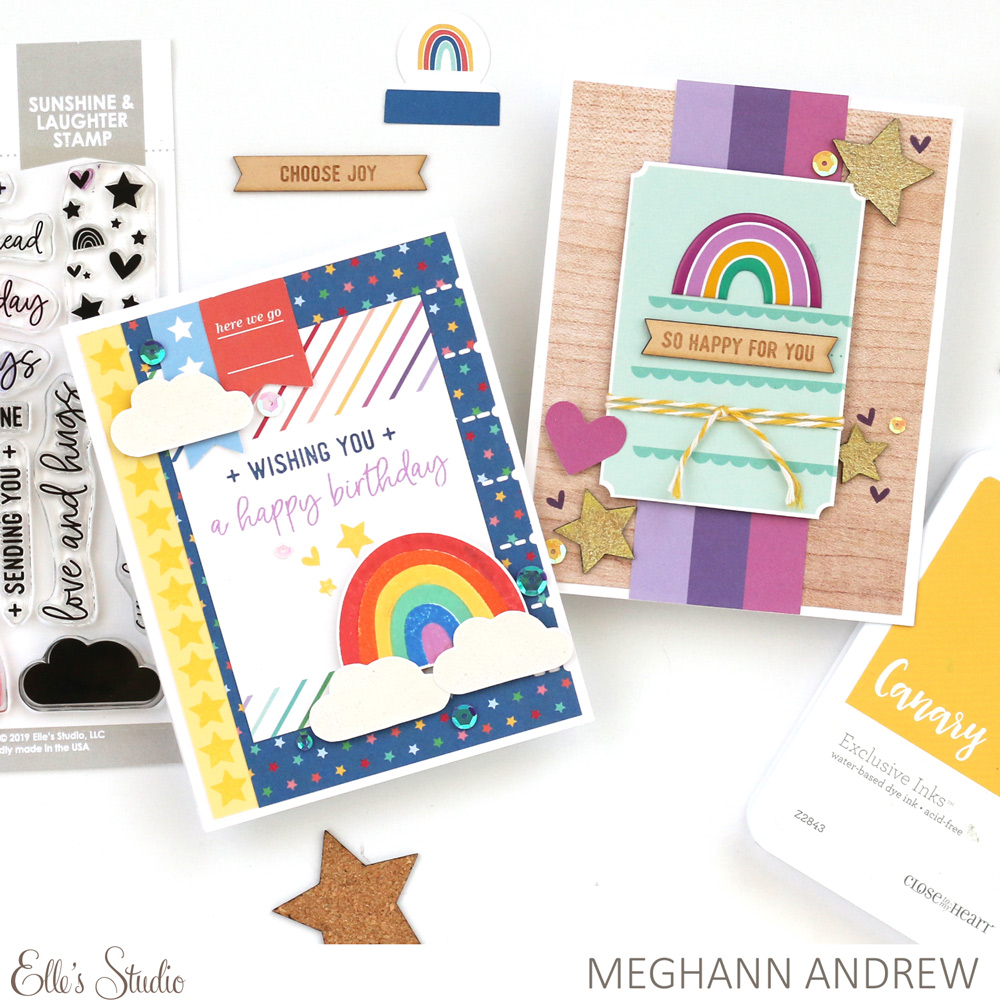
Supplies | February 2020 Kit, February 2020 Print and Cut Labels, True Love Printables, Teal Acetate Alphabet, Be Happy Stickers, Hazel Alphabet Stickers — White, Puffy Star Stickers, Simply Wonderful Wood Veneer Banners, Acrylic Raindrop Confetti, Acrylic Clouds, Sunshine & Laughter Stamp
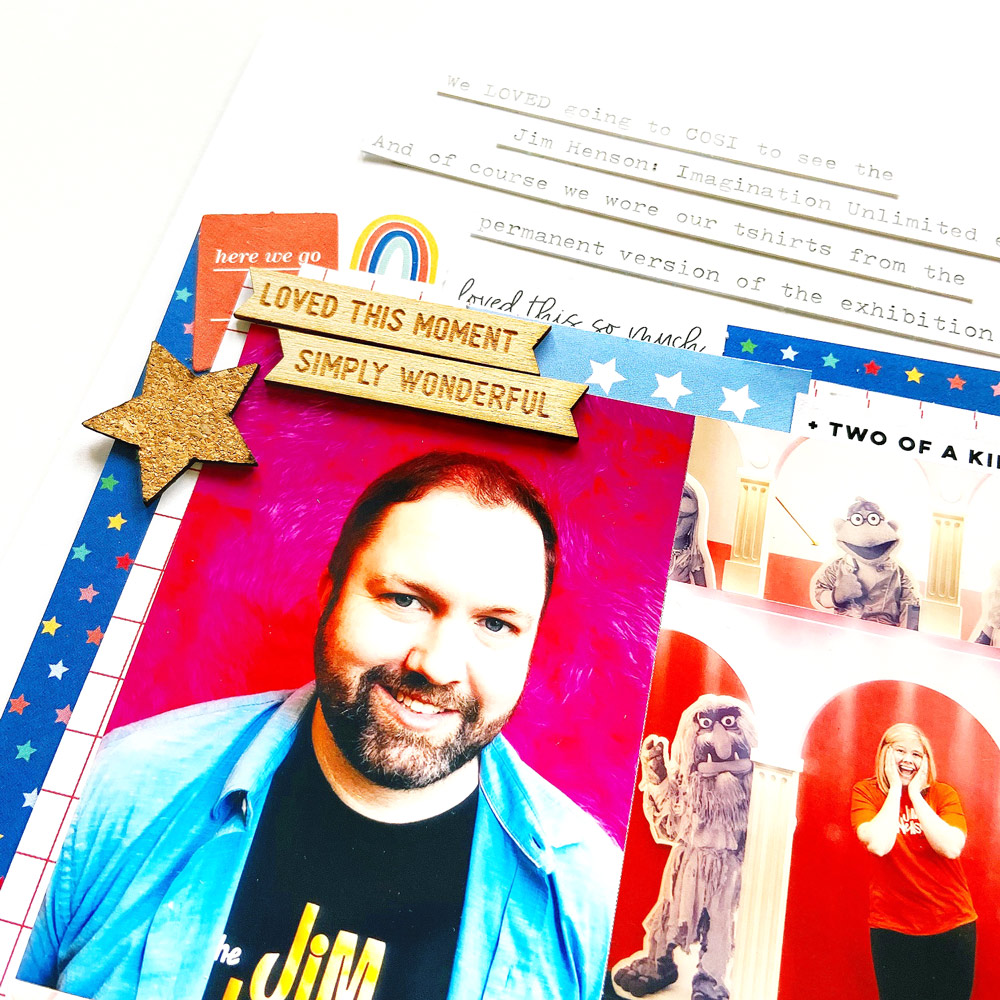
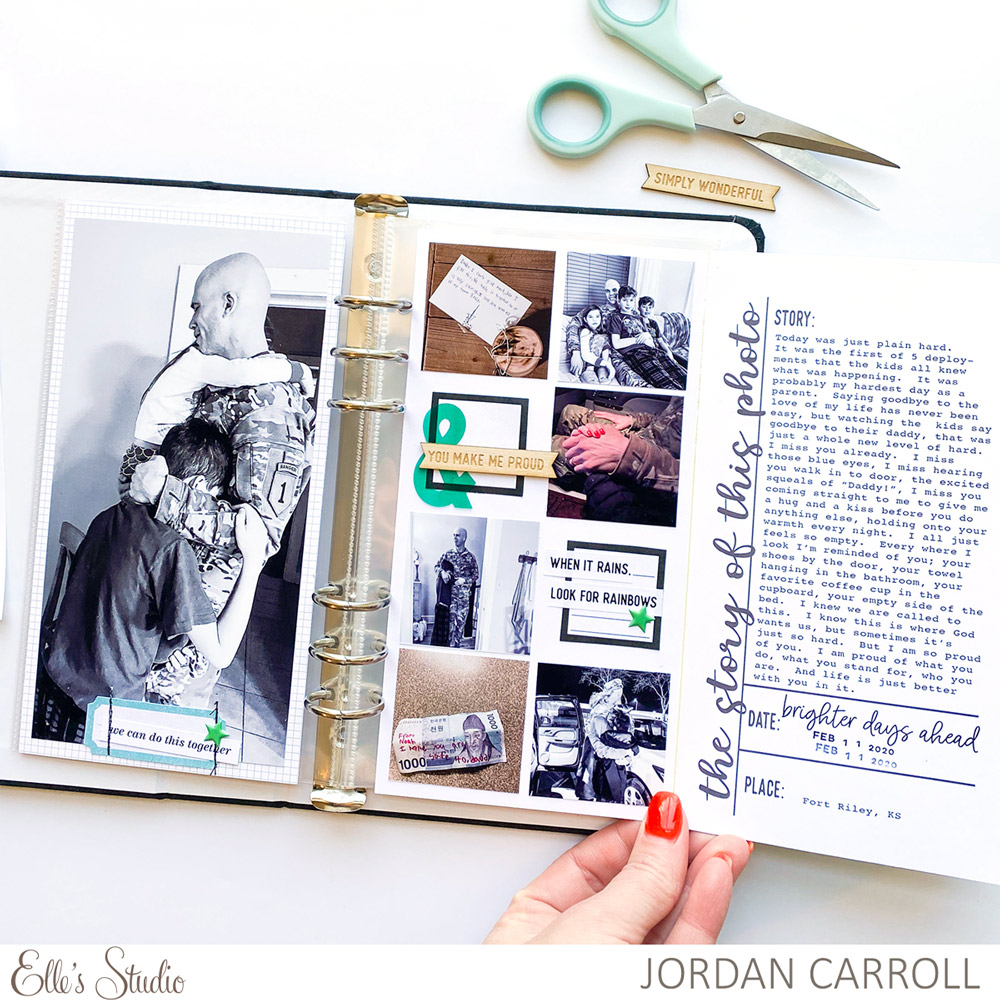
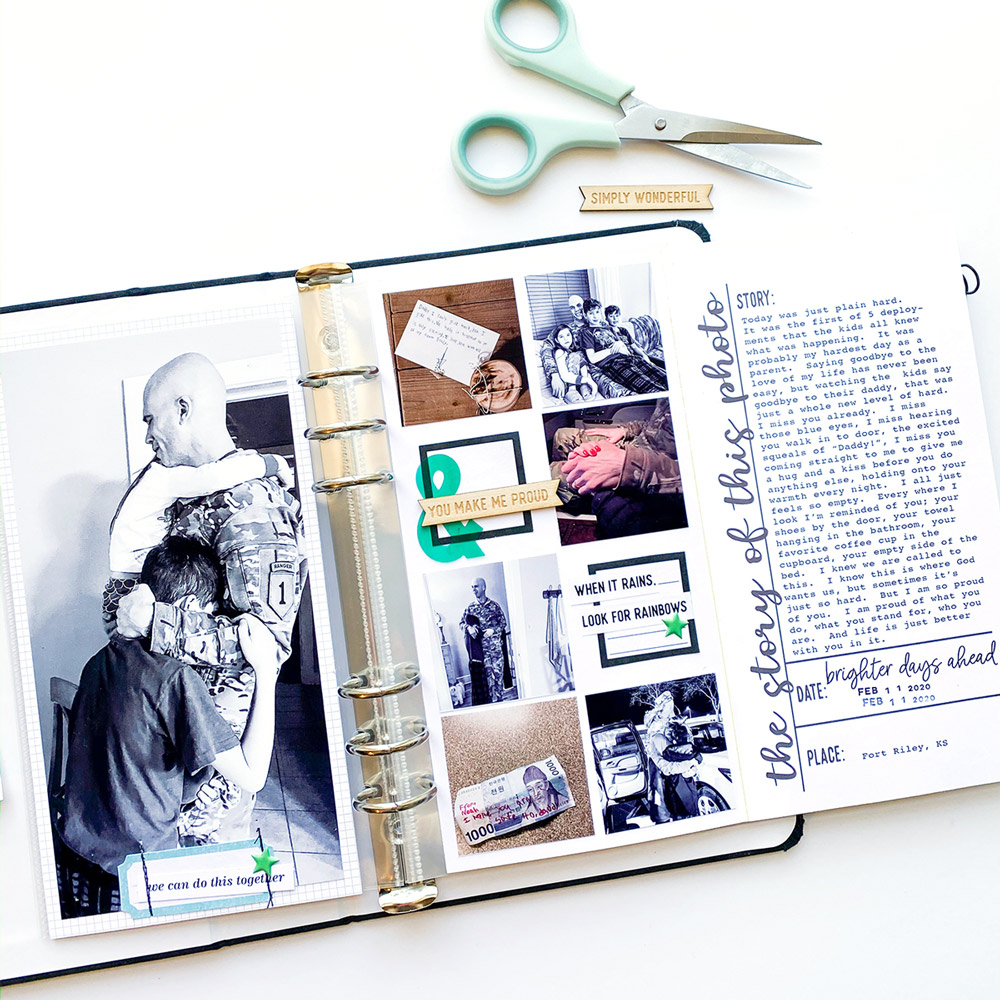
I also had several images that I wanted to document here and I wanted to be able to include more journaling than what I could fit onto a journaling card. I wanted to tell the whole story and get my thoughts and feelings down too.
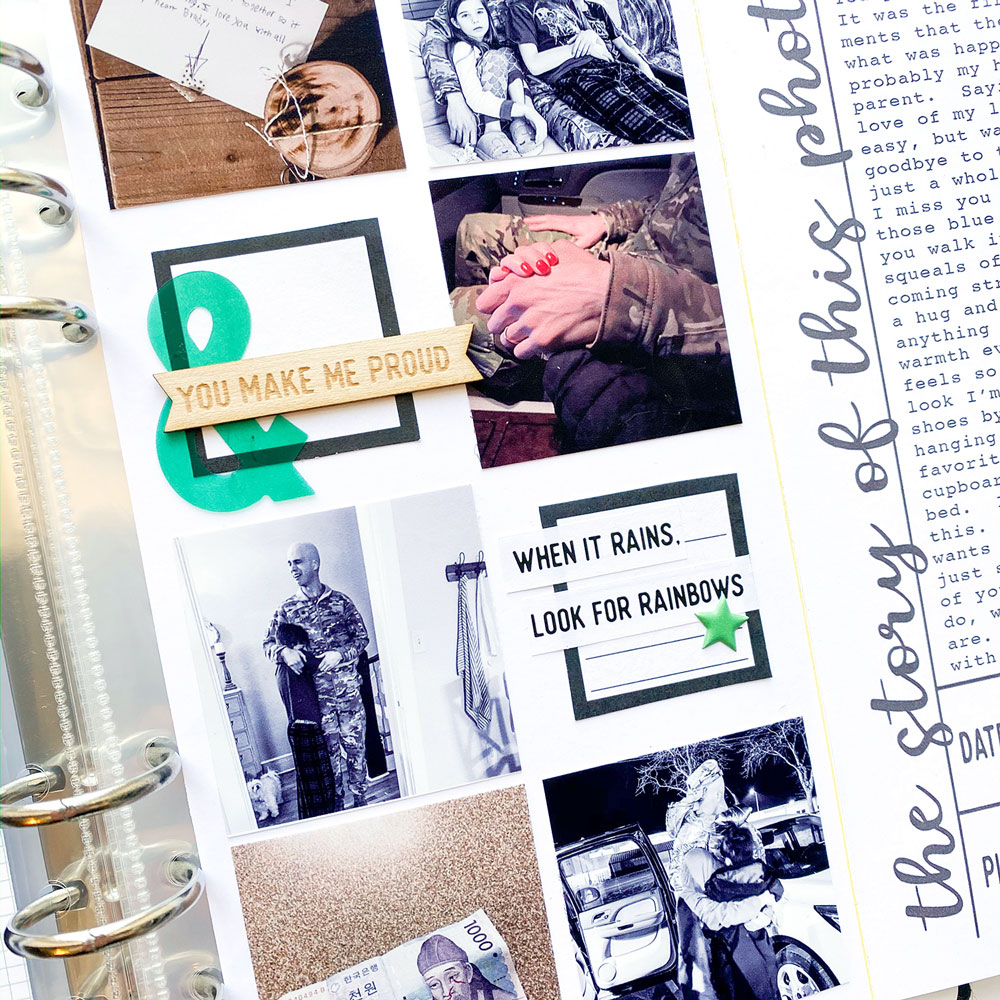
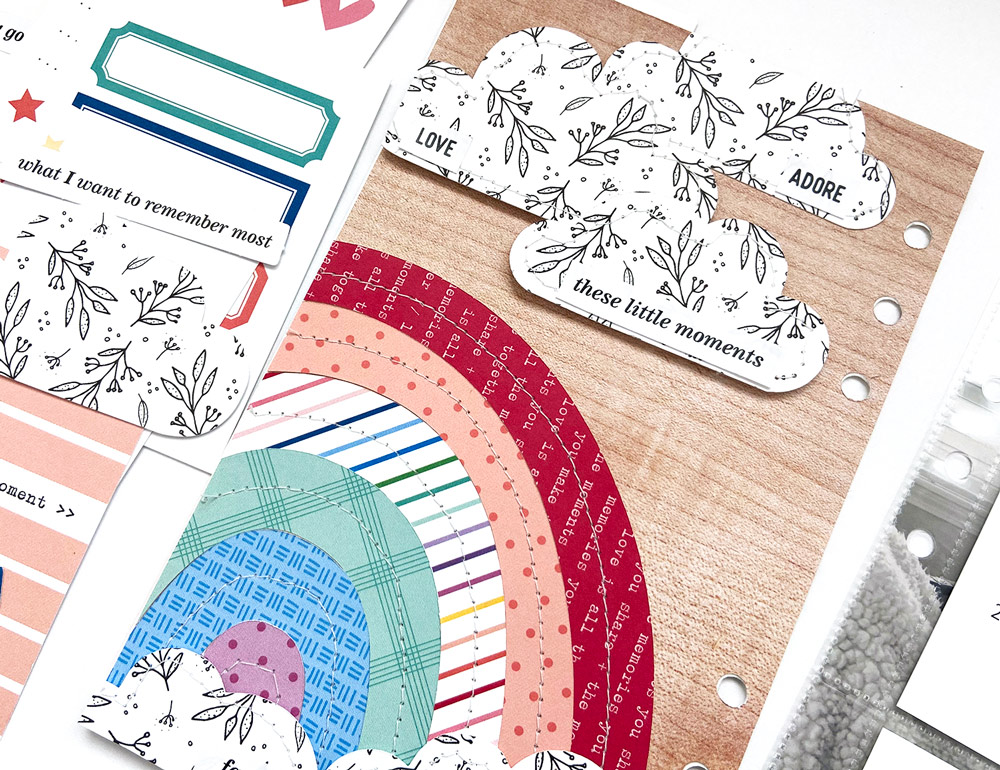
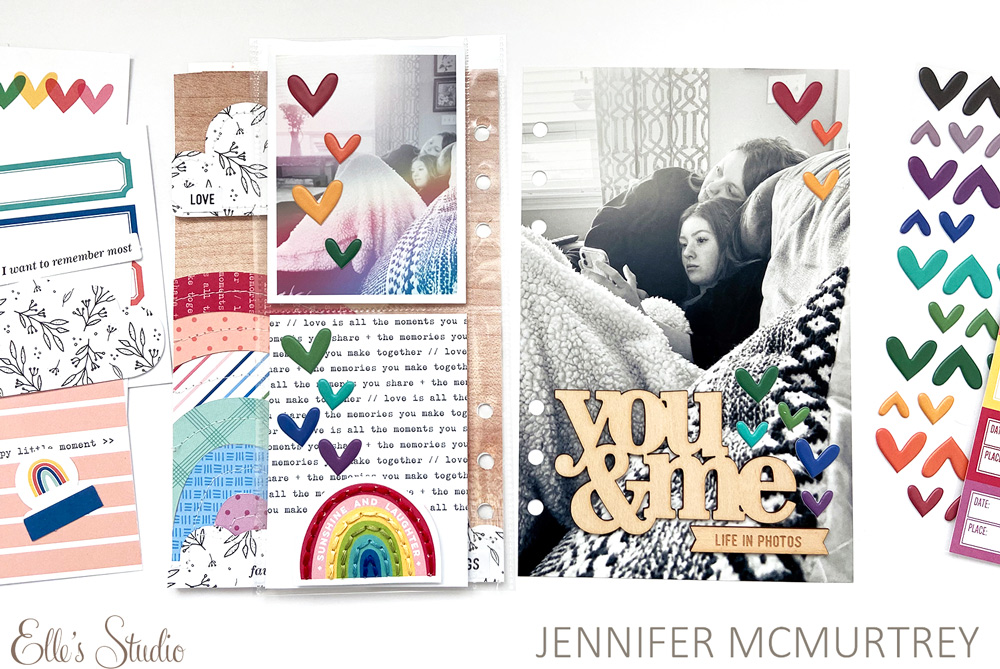
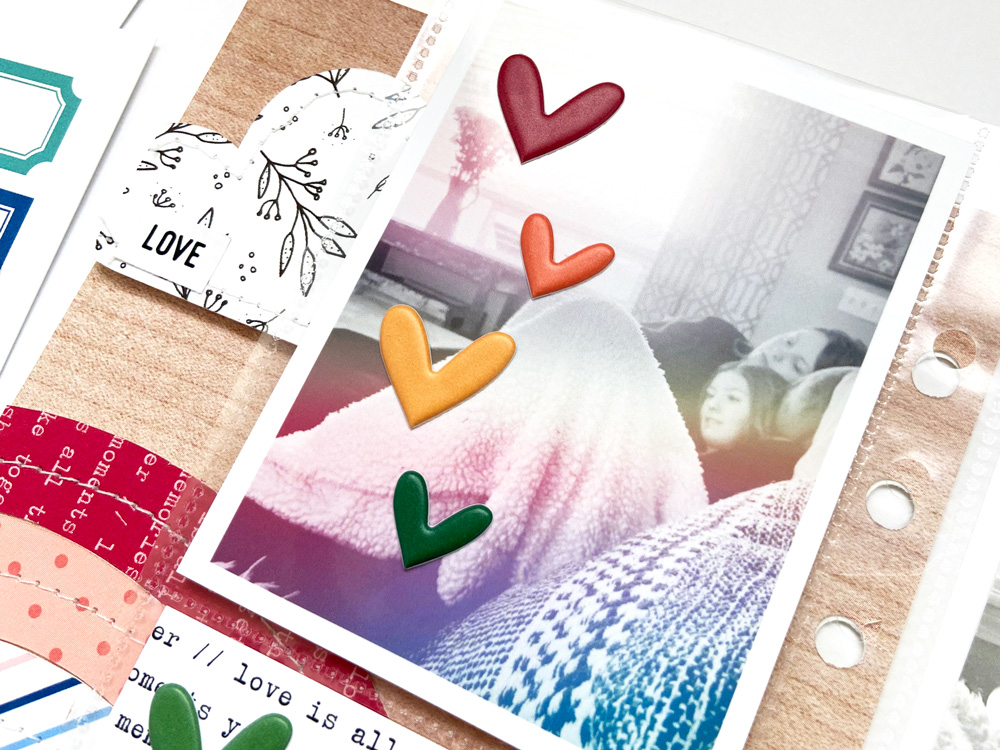
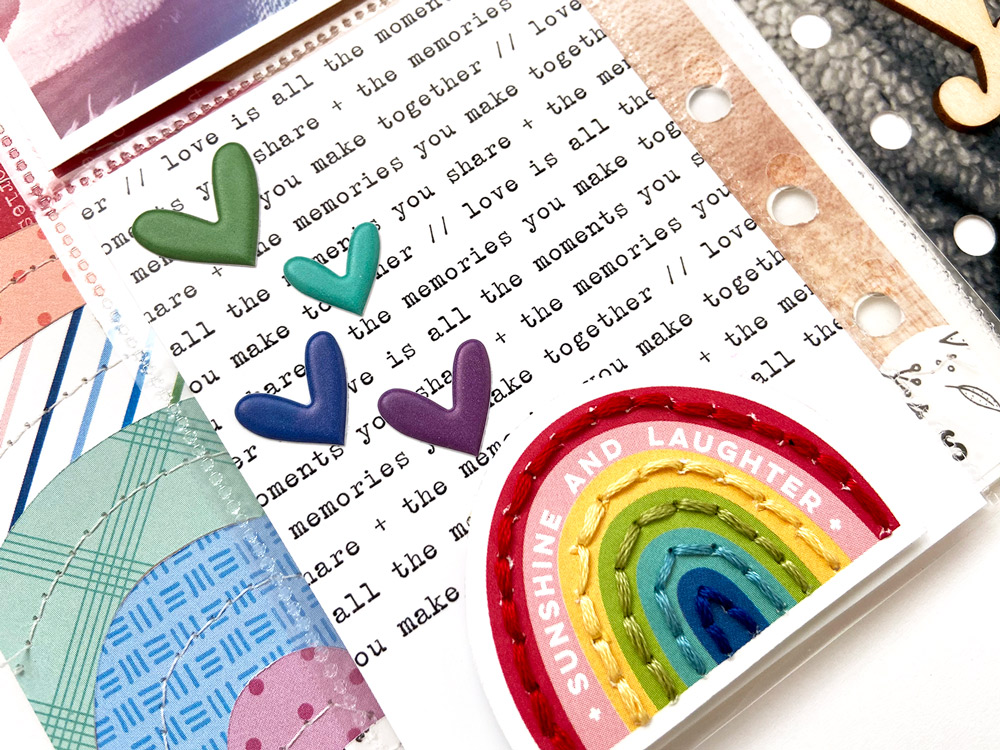
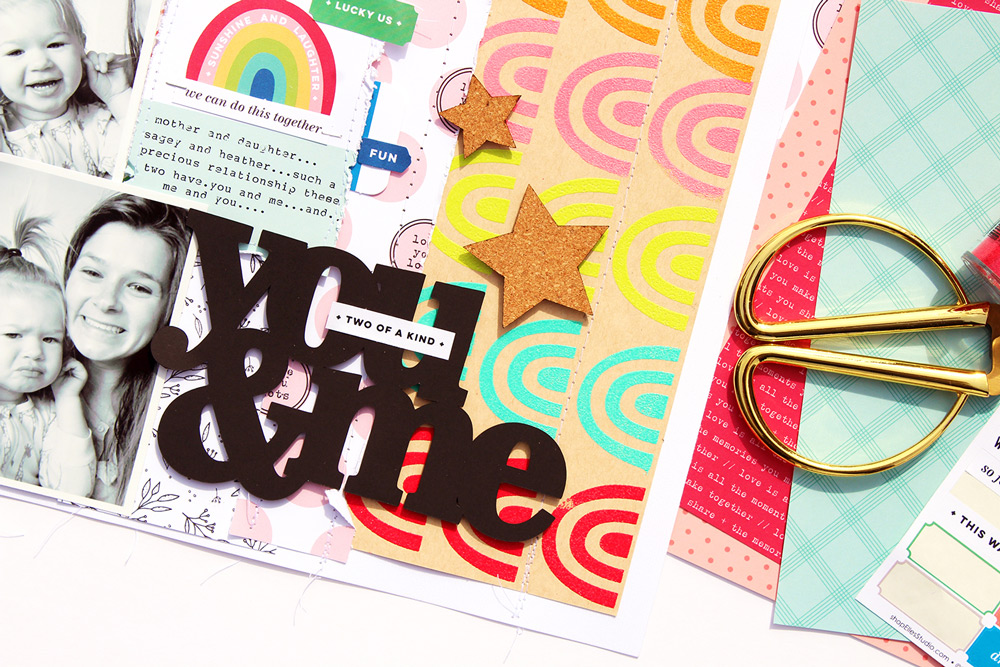
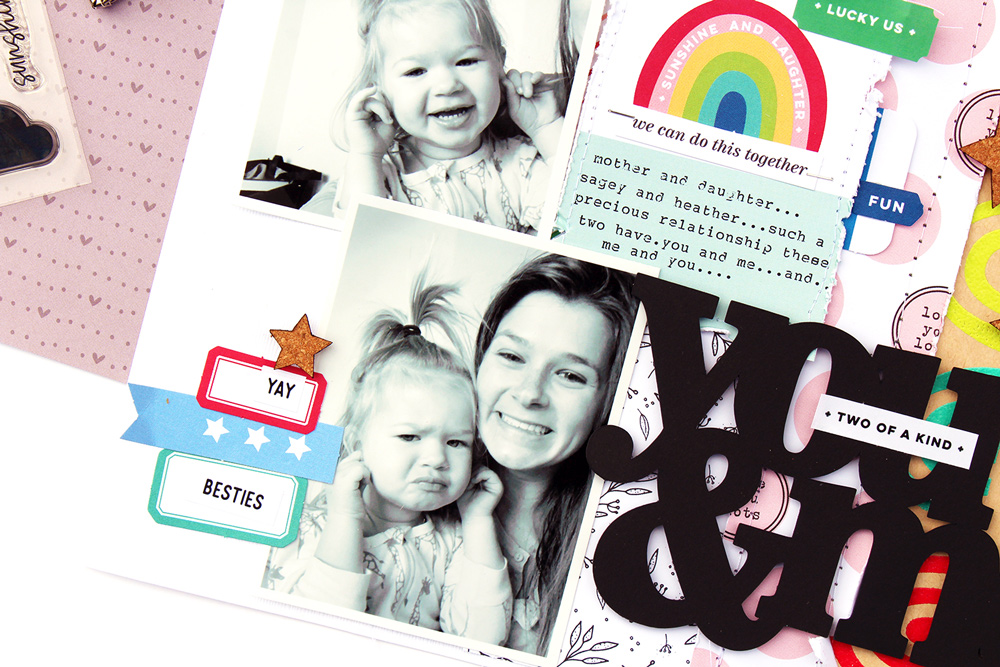
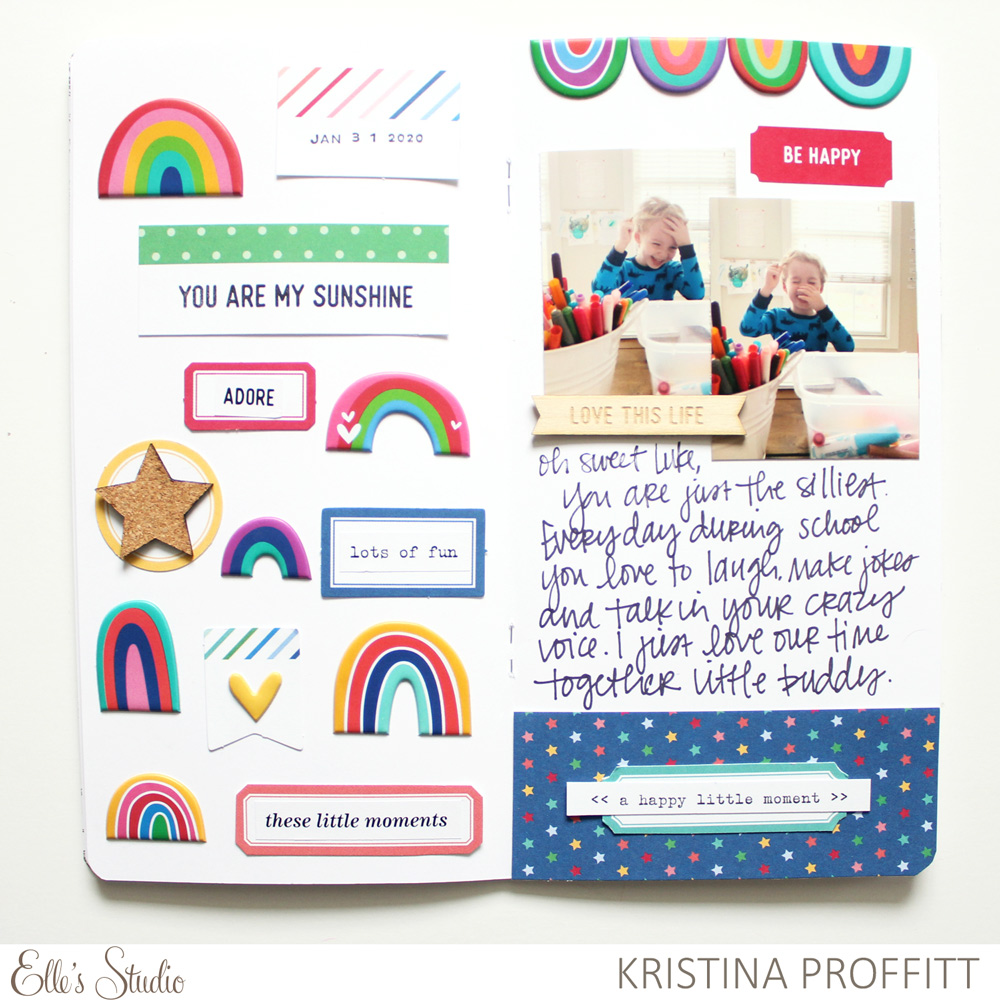
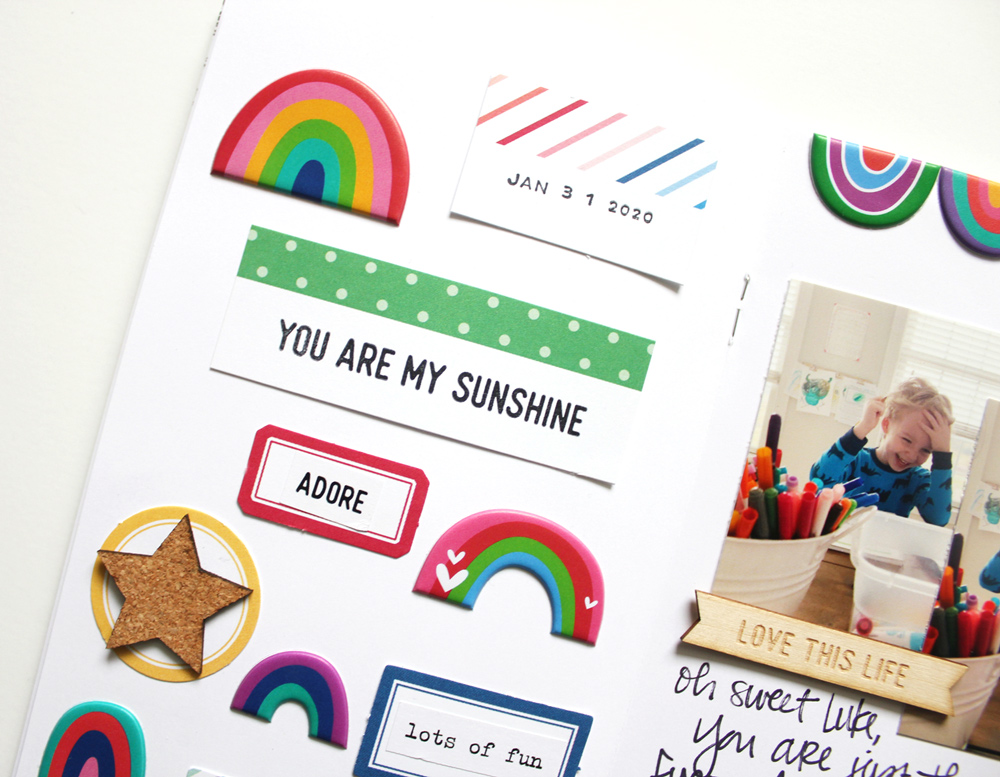
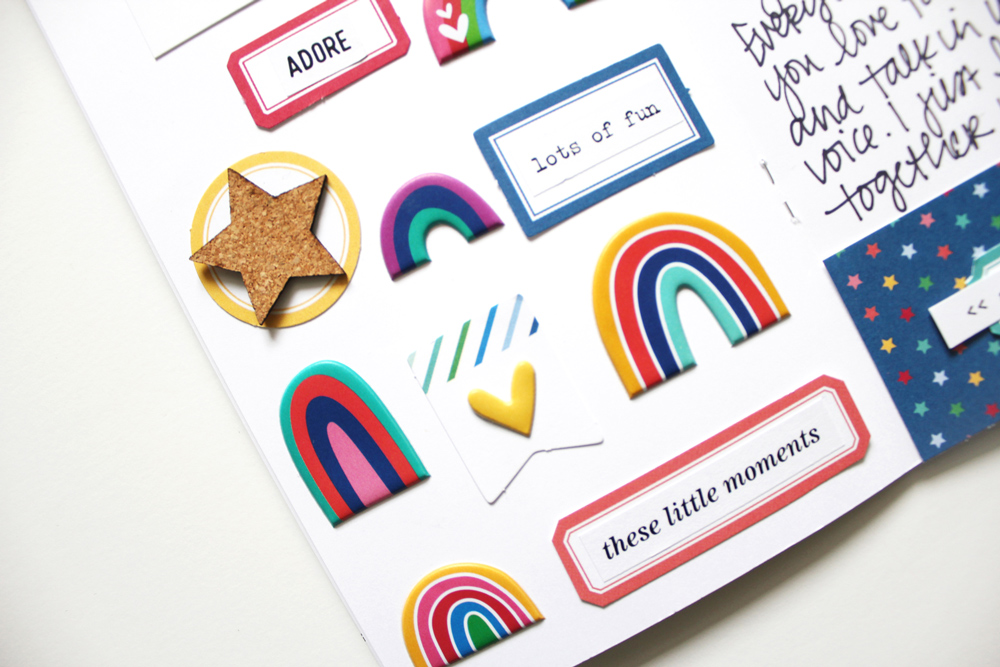
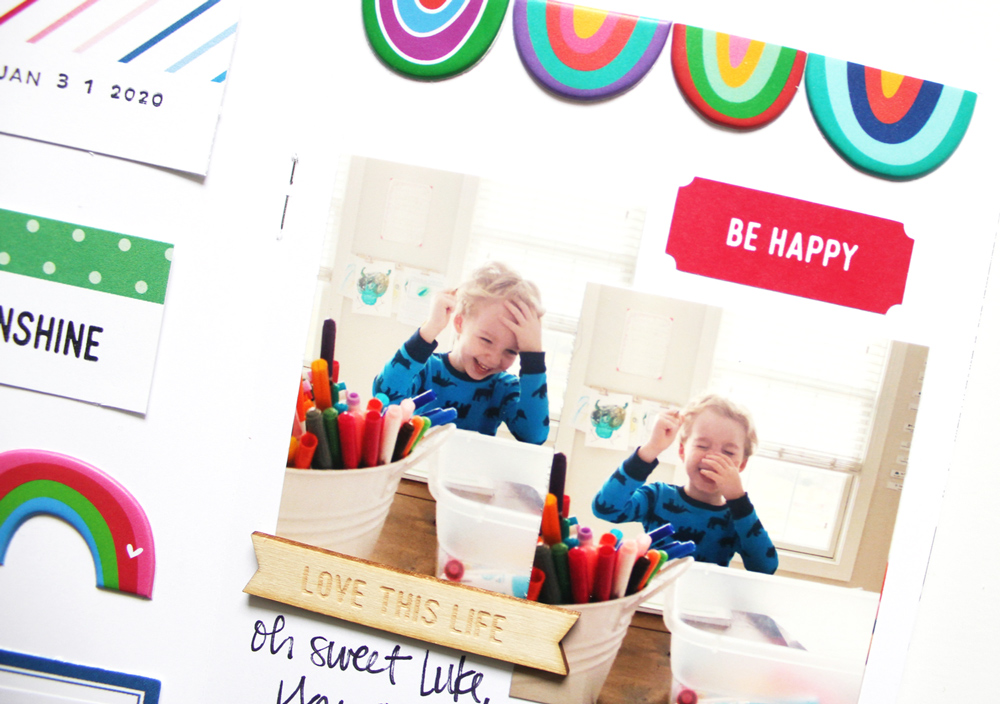
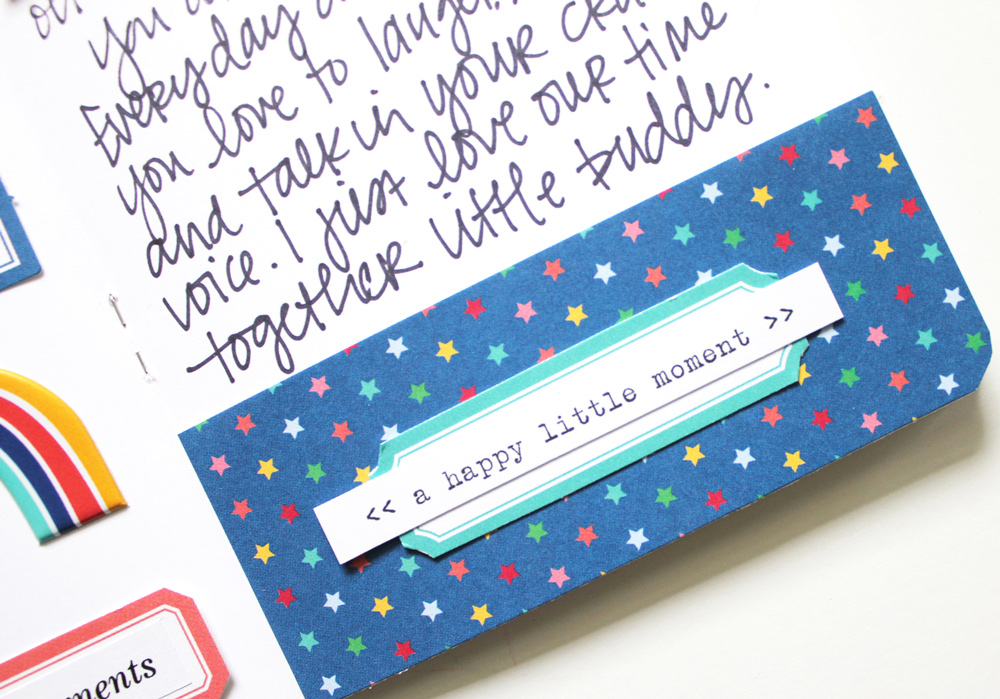
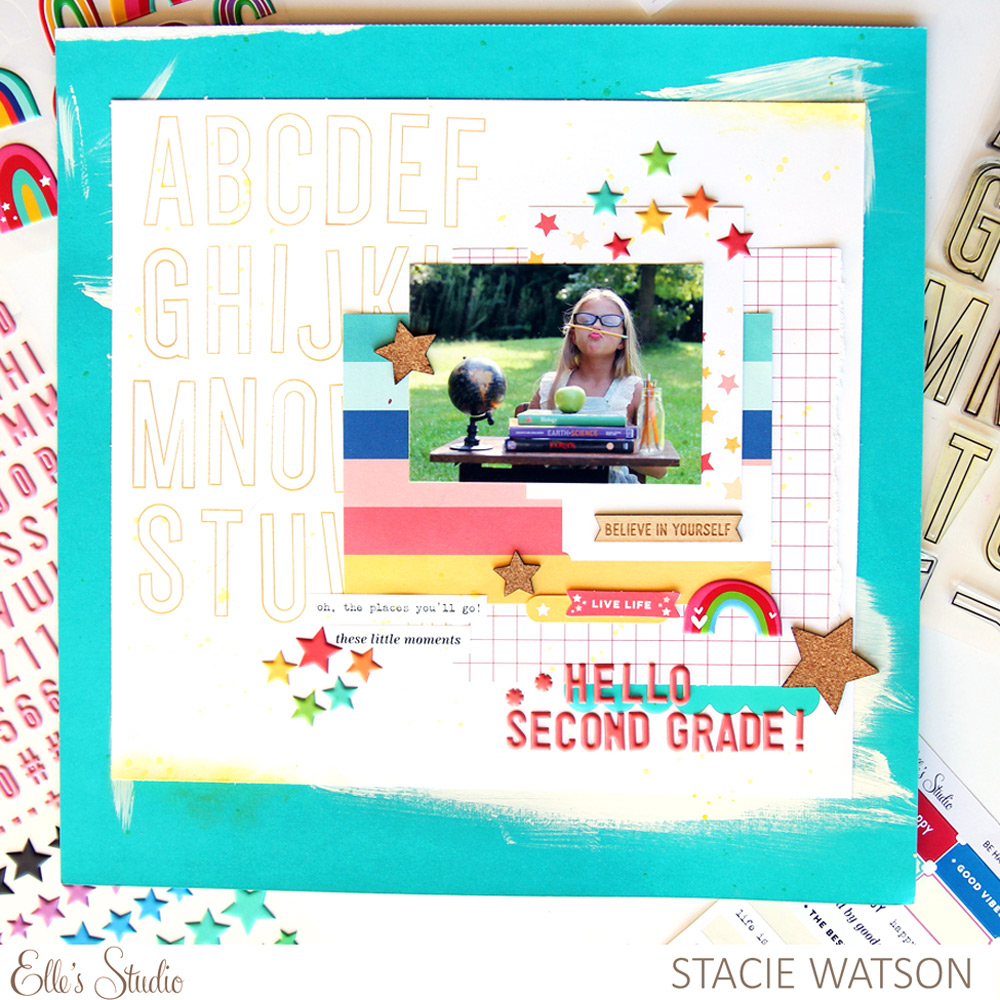
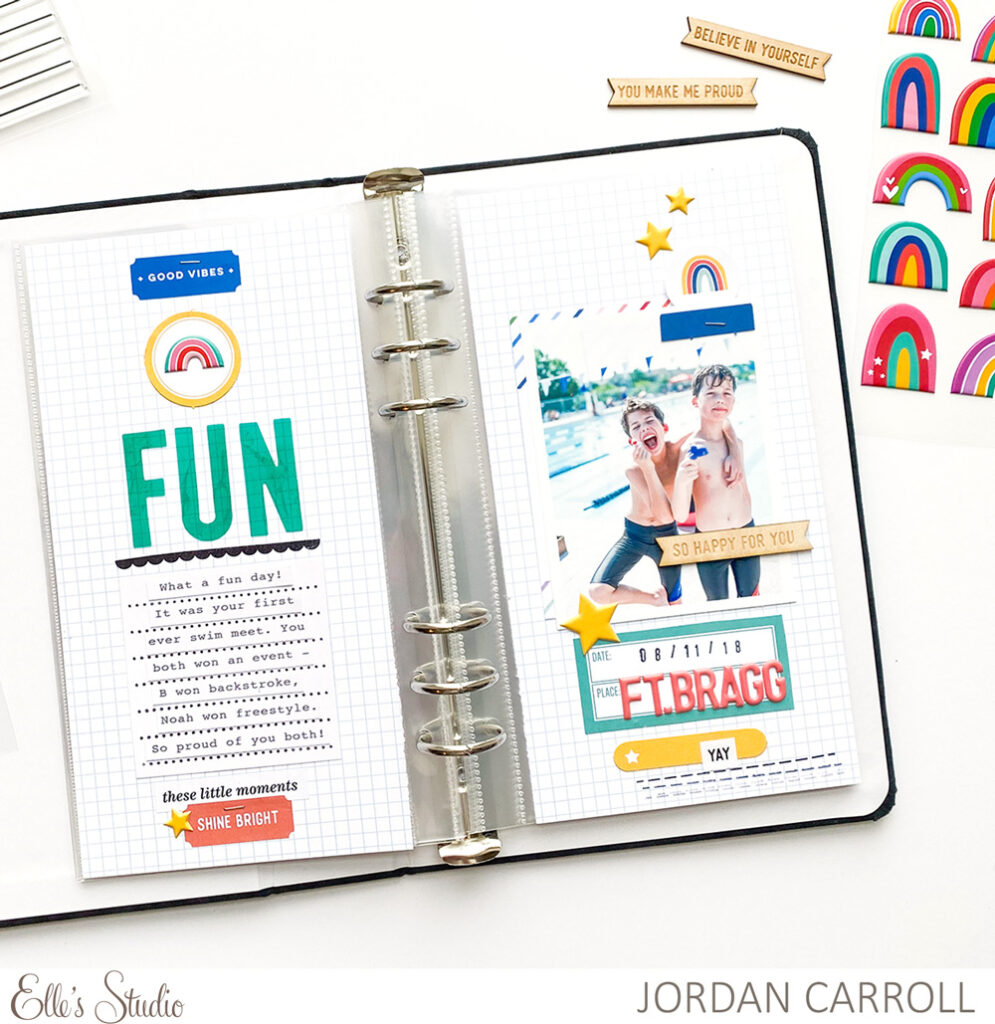
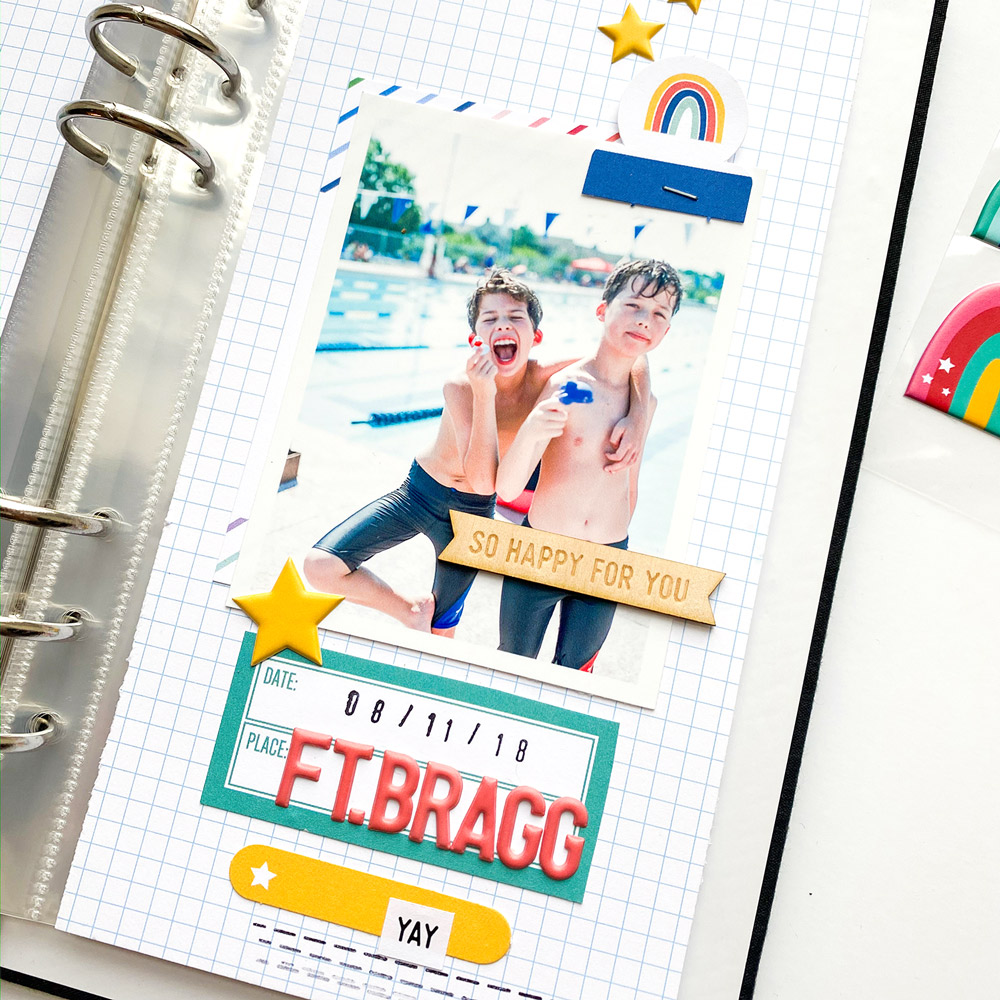
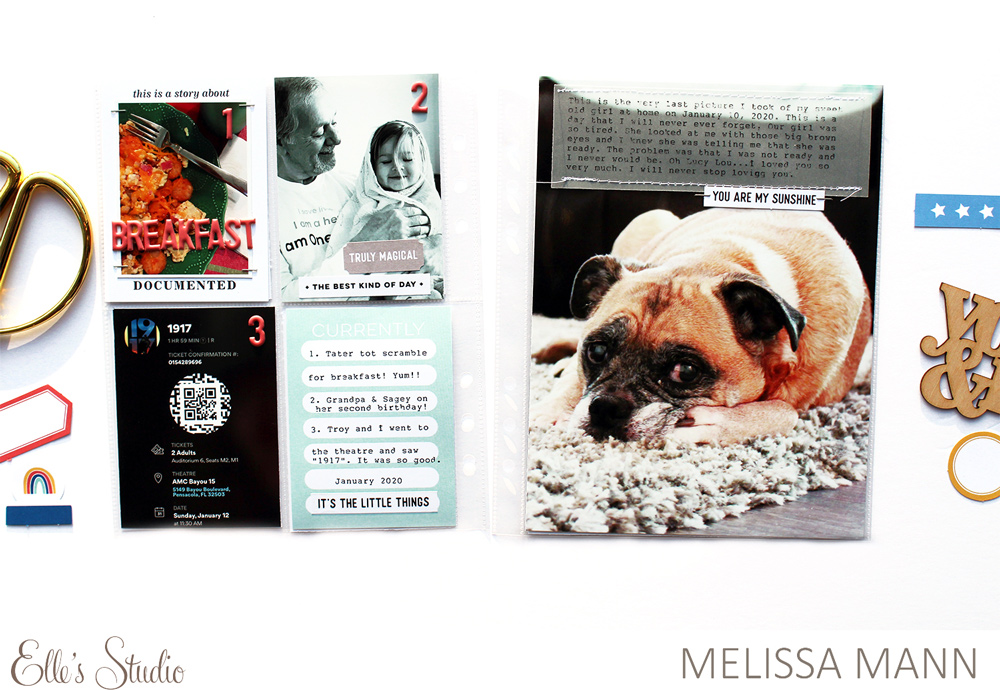
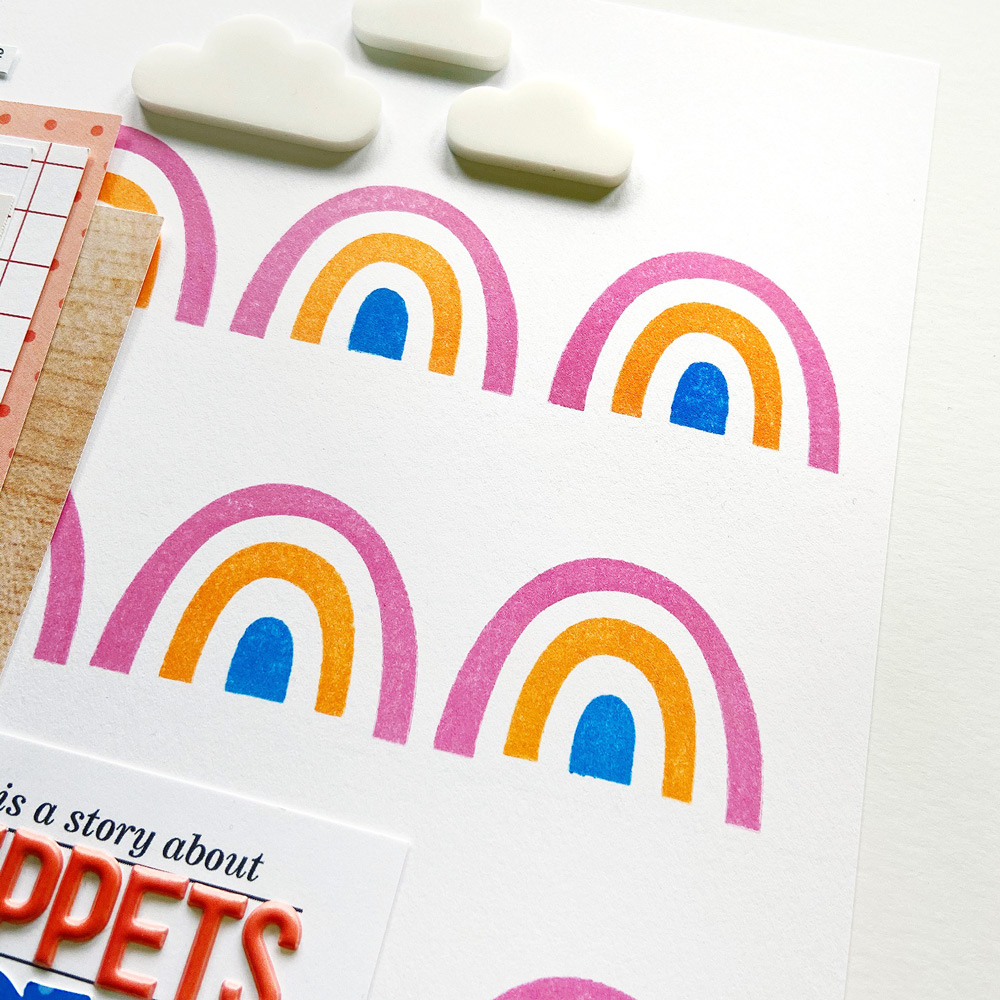
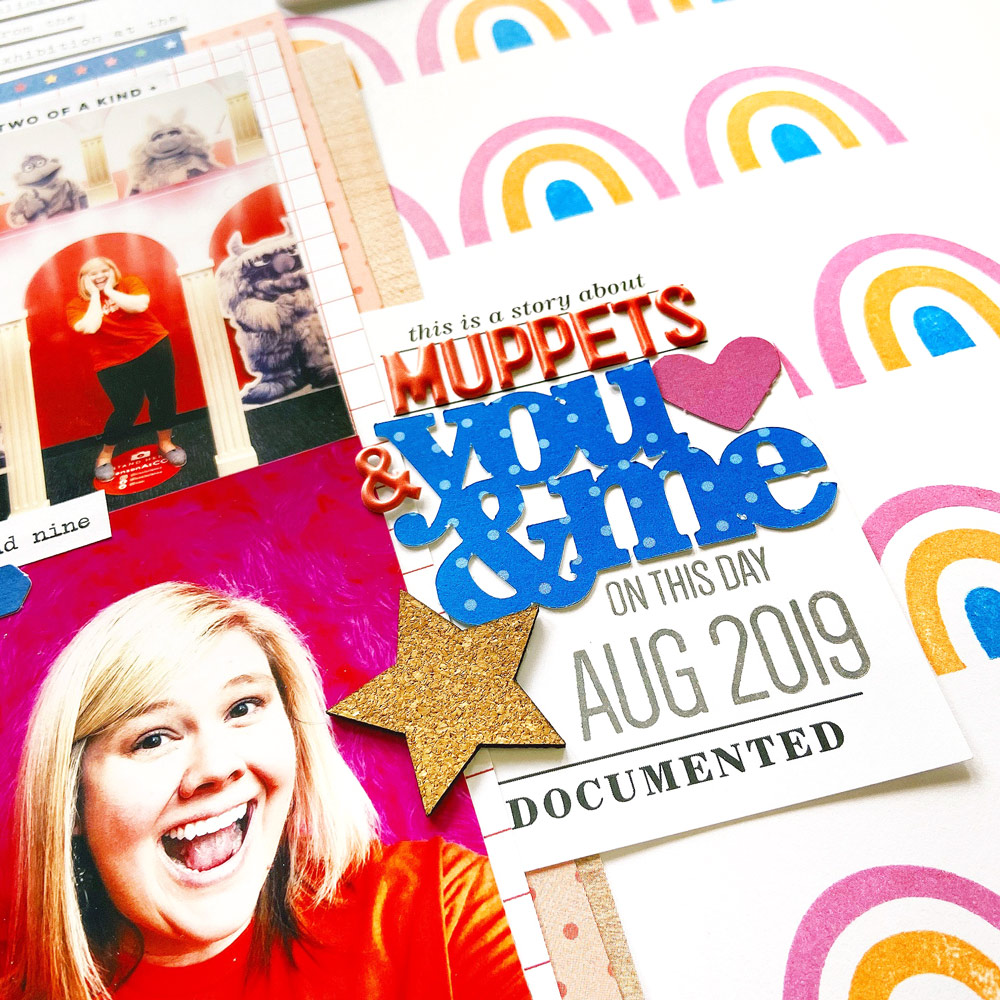
When my kit first arrived, I immediately wanted to incorporate these gorgeous Acrylic Clouds and Acrylic Raindrop Confetti, and life handed me the perfect occasion to do so. I added those onto the title page opposite my large photo. To fit all of my images and journaling, I created a foldout. I printed my photos to just under 2″ x 2″ and added them in a grid format. I only had 6 photos, which left me a little space for creative embellishments. I cut out two of the February 2020 Print and Cut Labels and added some embellishments on top of those. To the right, I resized a journaling tag from the True Love Printables and added my journaling there. I stamped a sentiment from the Sunshine & Laughter Stamp and that was that. My large photo needed a little something to tie it all together, so I added a printable tag, a sticker from the Be Happy Stickers, a Puffy Star Sticker, and stitched it all down.
I hope this inspires you to document a story that you’ve been putting off because maybe it just doesn’t bring you happy memories, or because you don’t feel it quite fits with the rest of life’s colorful moments. Our lives are woven with threads of all colors and kinds, each one making up the fabric of our individual stories.
I hope to see you around on Instagram from time to time. Stop by and say hello! Until then, be well, my crafty friends!

Hello crafty friends! I’m Jordan, wife to a soldier and mama to 3 awesome littles. I made my first scrapbook 15 years ago when my husband was deployed to Iraq. I used all of the photos he sent back to me and gave it to him as gift when he returned. He still has it. It was 5 years later that I began scrapbooking again when our oldest was 2, and a friend introduced me to digital scrapbooking. I’ve since gone back to paper and glue, but have been making time to document our life ever since. If I’m not making a mess documenting, you can probably find me with a cup of coffee in hand, nose buried in a book. As a family we love to travel, go for long walks, and hike. In the last 15 years we’ve lived in 3 countries and 8 states! It’s been a blessing to show our kids the world and fulfill my need for adventure, and of course, to have plenty of memories to document!
Thank you so much for inspiring us with your beautiful projects and stories, Jordan! Be sure to follow Jordan’s Instagram feed for more traveler’s notebook and pocket page inspiration!