Our Large Jane Alphabet Stamps can be used for so many different things—creating a large sentiment on a card, a bold title on a layout, and as Stacie Watson is showing us today, a fun, custom background on a layout to fit your story’s theme! Let’s take a look at what she created to share with us today!
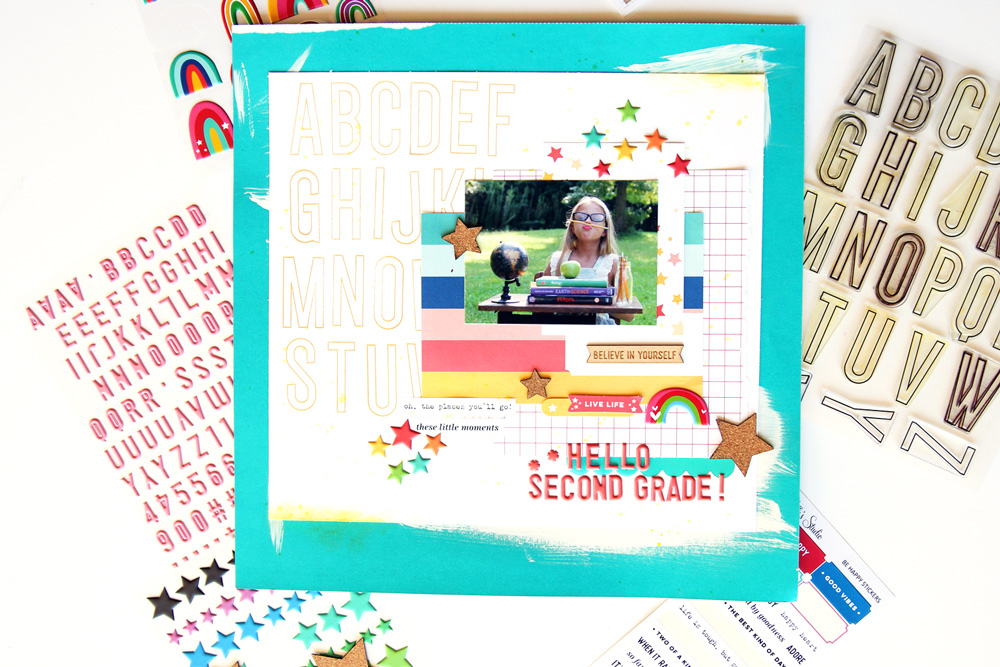
Hello awesome crafters! It’s Stacie and I’m excited to be back sharing my next project. The February kit and add-ons are full of color and rainbows—it screams happiness and is just what we need to brighten up these gloomy winter days. What goes great with color? A great alphabet stamp of course. I’ve never met a stamp set that I didn’t like and the Large Jane Alphabet Stamps are no exception!
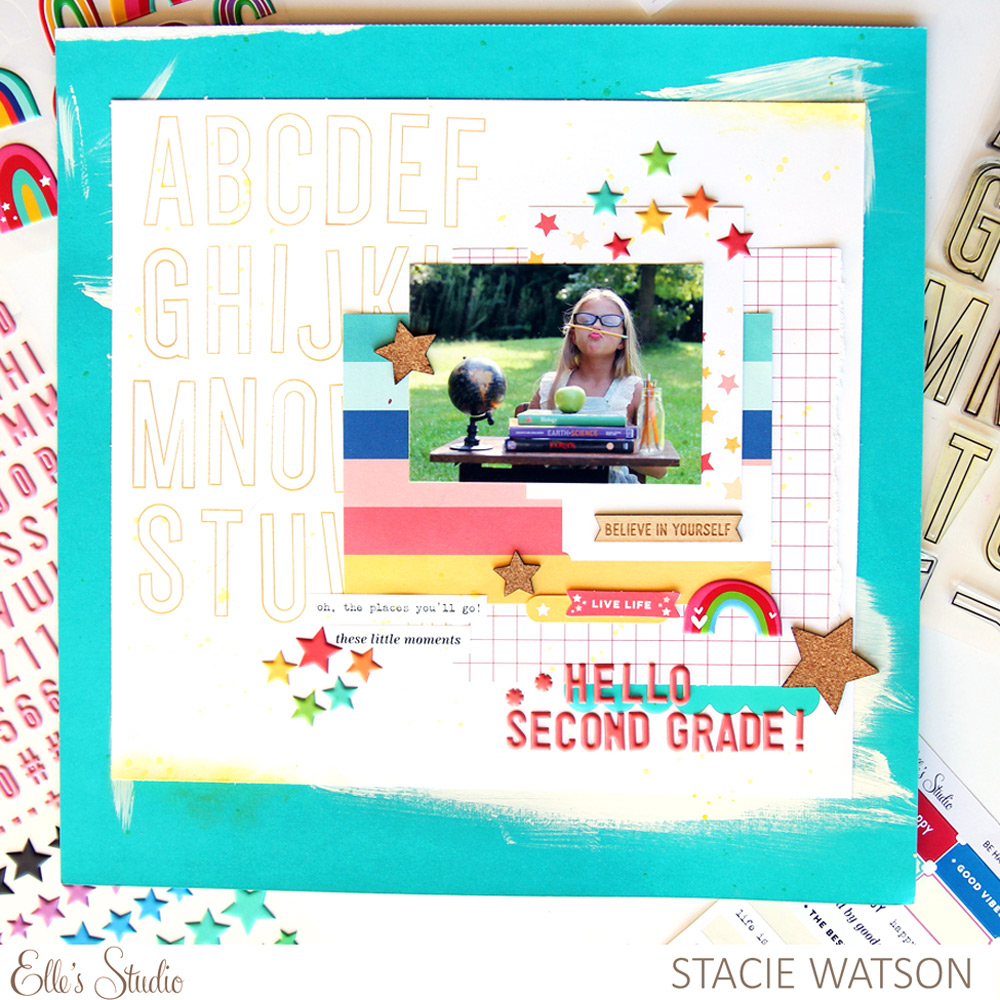
Supplies | February 2020 Kit, Be Happy Stickers, Puffy Rainbow Stickers, Coral Puffy Alphabet Stickers, Puffy Star Stickers, Cork Stars, Simply Wonderful Wood Veneer Banners, Love Is 6 x 8.5 Paper Stack, Large Jane Alphabet Stamp — Outline
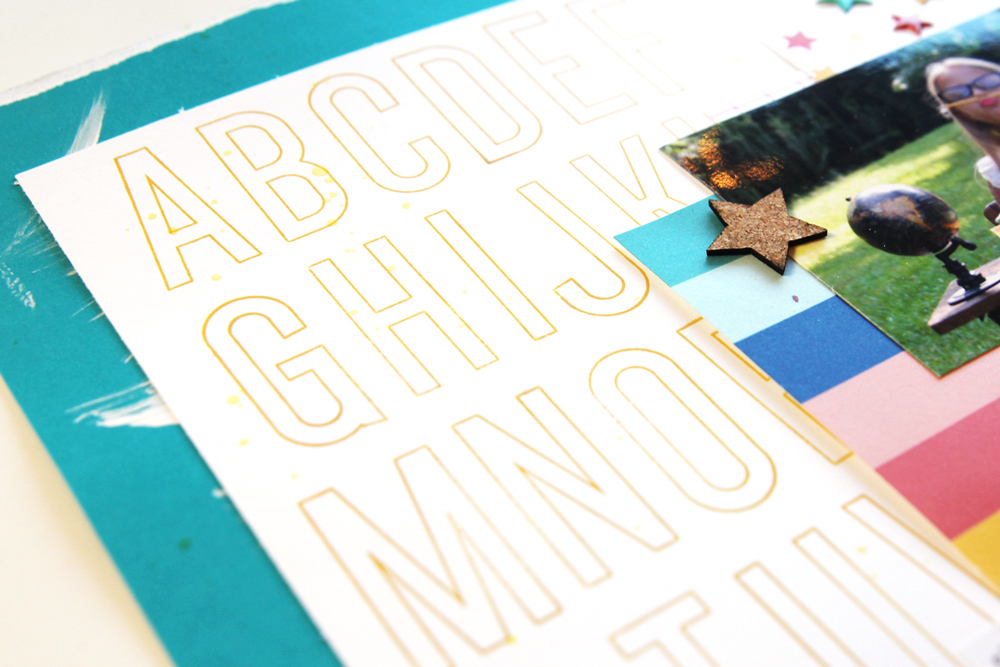
For me, when starting a project, I’ve either got a photo in mind that I want to use, or a certain product that I want to work with. In this case I knew that I wanted to work with the outline Large Jane Alphabet Stamp. I also knew that I wanted the stamp set to stand out. Using white cardstock and a gold ink, I created the background for my layout. To do this I simply placed each of the letters on my Tim Holtz Stamp Platform, the way I wanted them to look on the page and inked away.
After the background was stamped, the rest of the layout came together quickly. Starting with the red striped paper from the Love Is Paper Stack, I trimmed it to size, tearing one side of it. I then chose a 4″ x 6″ and 3″ x 4″ tag from the February Kit, layering the three together along with my photo on top. On the bottom right corner, I created a little cluster of embellishments using a Simply Wonderful Wood Veneer Banner, die cut pieces from the February Kit, a Puffy Rainbow Sticker, some Cork Stars and my title below, using the Coral Puffy Alphabet Stickers. I couldn’t just stop there—I had to add some of the colorful Puffy Star Stickers around the page along with a few of the Be Happy Stickers.

Stepping back and looking at the layout, it just didn’t seem finished. I finally decided that the white cardstock was too white of a background. Picking out a bright turquoise paper, I added some white acrylic paint swipes to it. Before adding my original layout on top, I cut it down so it would fit on the 12″ x 12″ turquoise frame. I loved how the Large Jane Alphabet Stamp seemed to really pop even more against the turquoise paper frame!
I hope my page and process has inspired you to pull out your Large Jane Alphabet Stamps on your next project! Thank you so much for stopping by today. I can’t wait to see what you create!

Pull our your Large Jane Stamps and show us what you’re creating with them! Post your project on Instagram using the hashtag #EllesStudio, or stare with friendly, supportive friends in our Elle’s Studio Facebook Group!