October Design Team Gallery: Volume Two

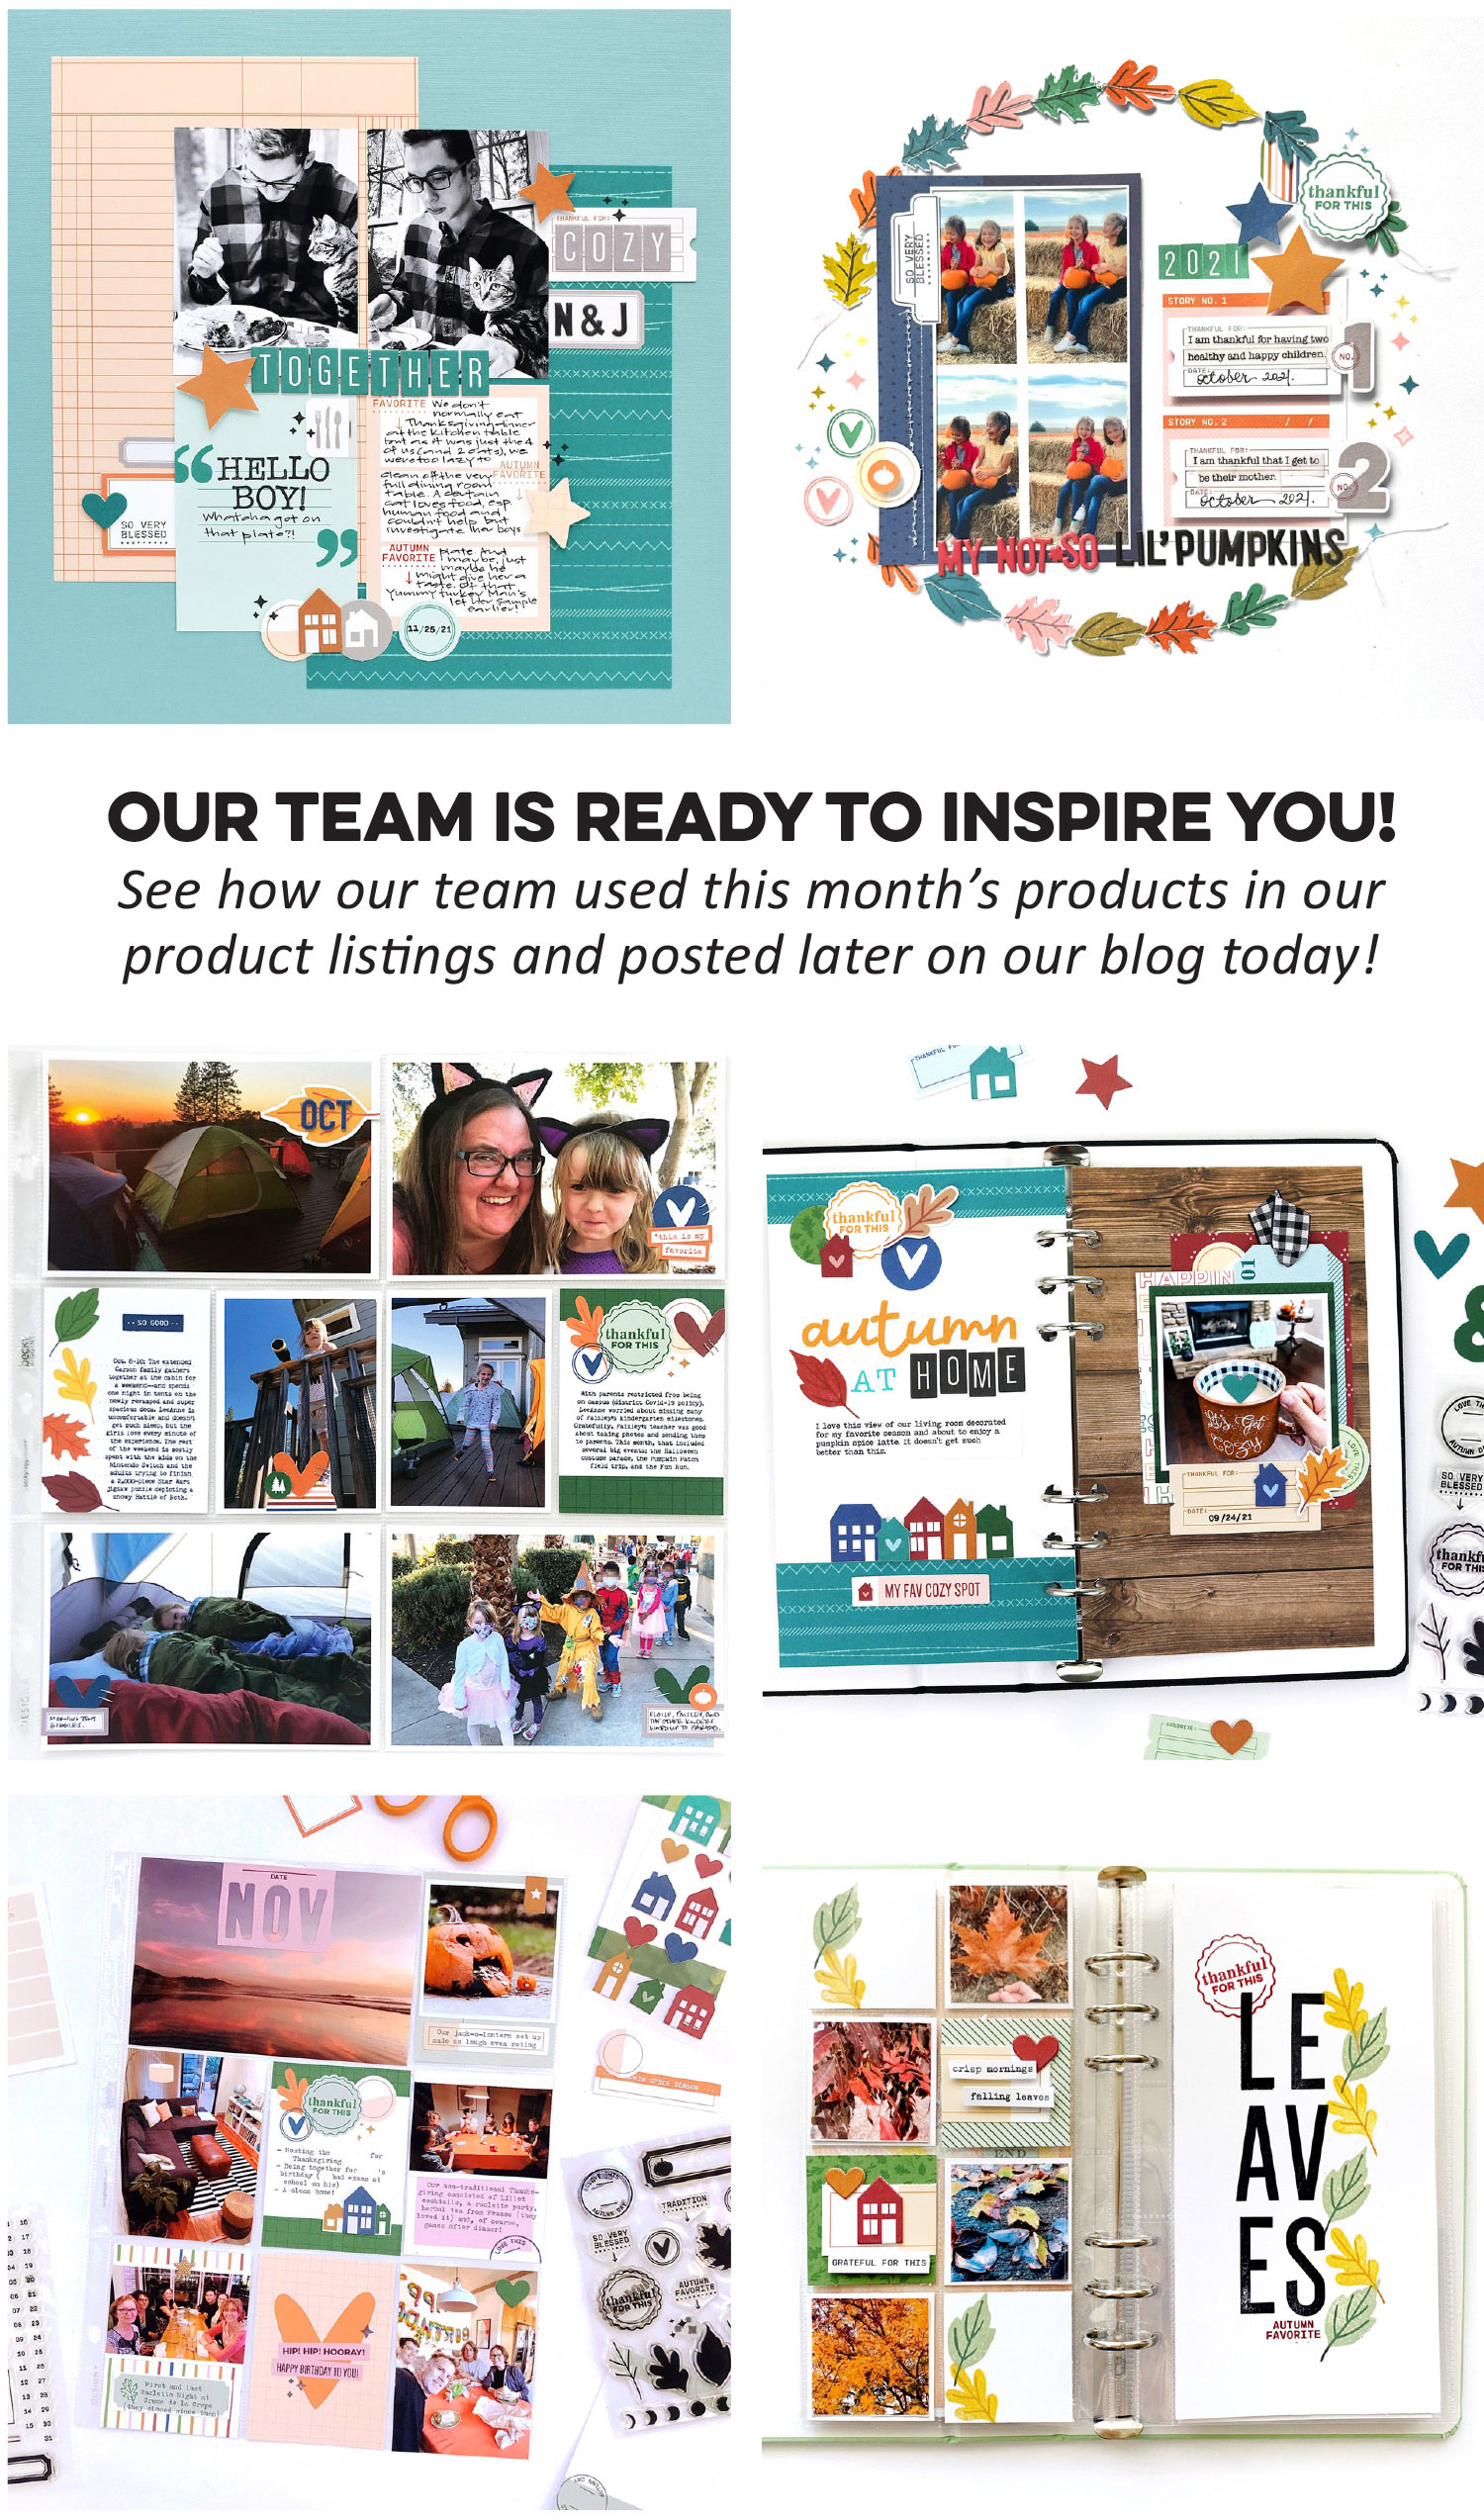
Welcome to the blog today, friends! We’re over halfway through October, so we hope you’ve had a chance to break into your October kit and add-ons! If not, these seven new designs from our team will get you ready to create! Let’s take a look!
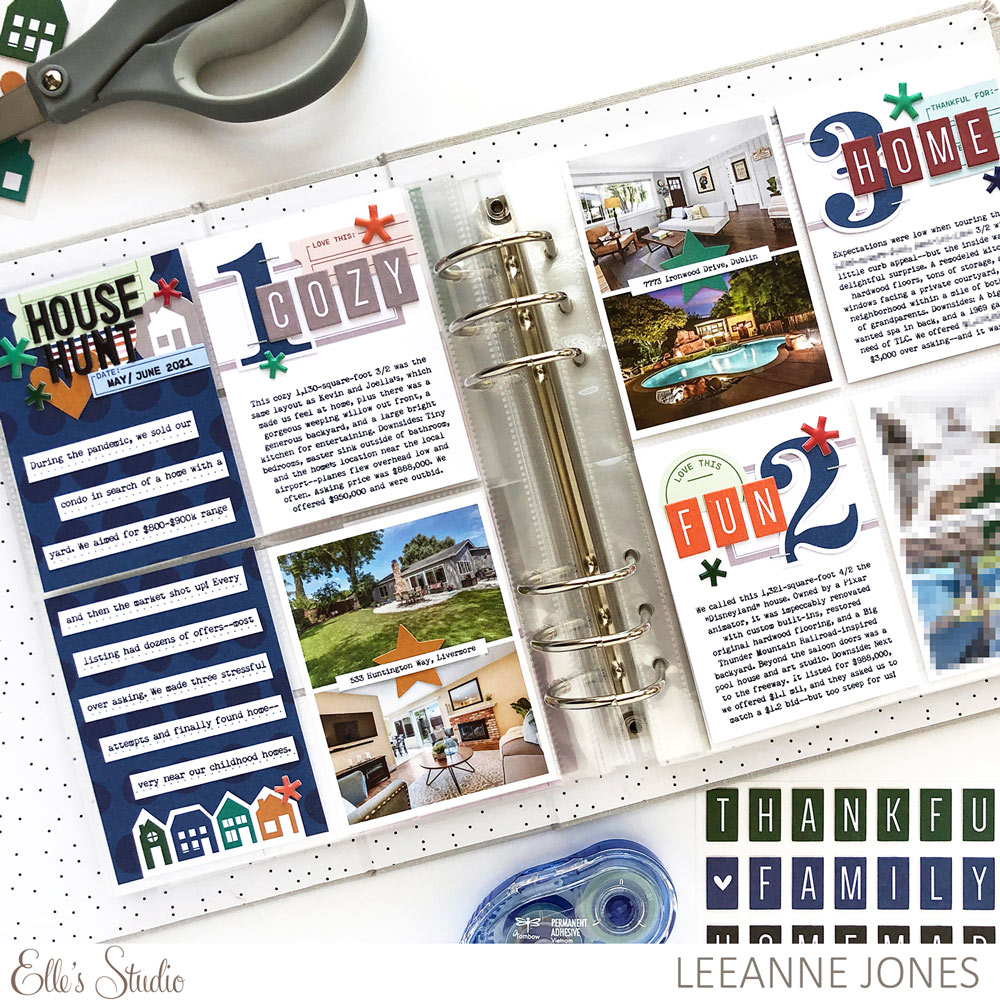
House Hunt pocket page by LeeAnne Jones – supplies used | October 2022 Kit, Thankful Die Cuts, Gray Cardstock Label Stickers, Cozy Tile Chipboard Stickers, Black Puffy Alphabet Stickers, Bright Puffy Asterisk Stickers, Thankful Paper Stack, The Tiniest Date Stamp
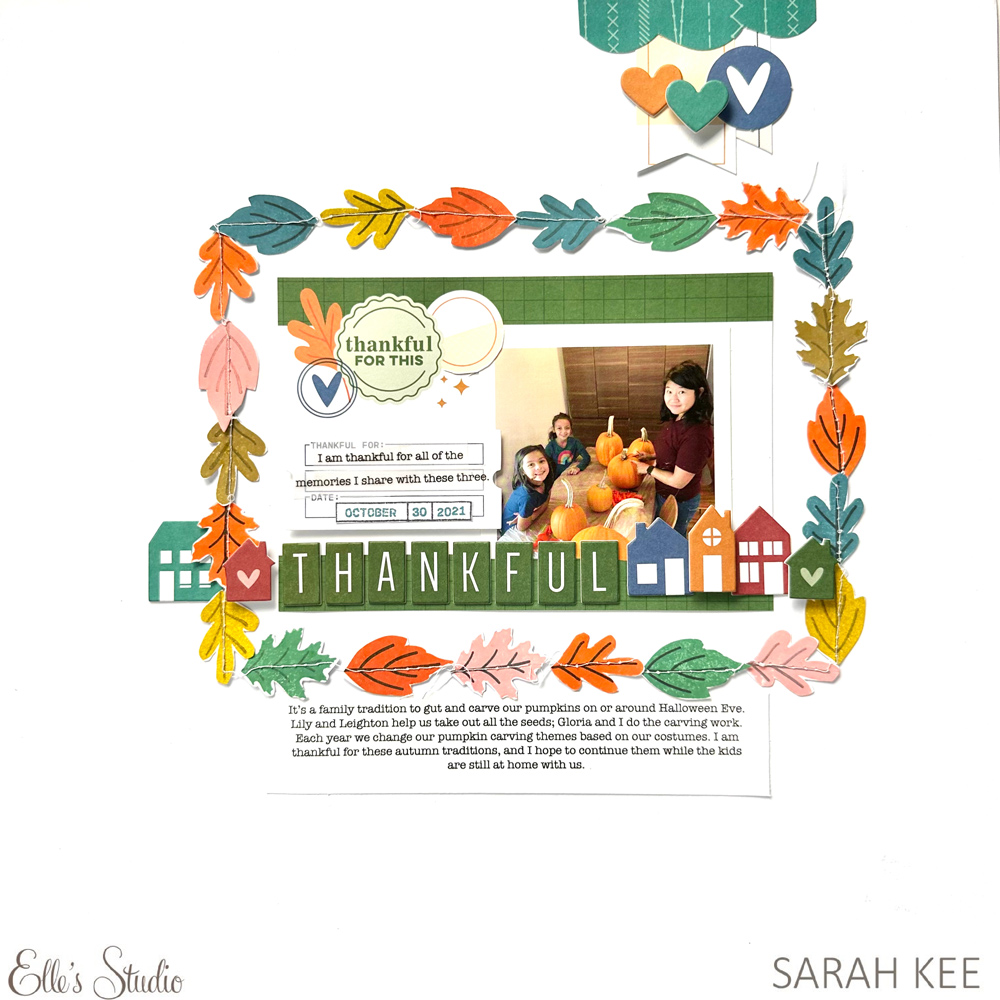
Thankful by Sarah Kee – supplies used | October 2022 Kit, Thankful Die Cuts, Chipboard House Stickers, Cozy Tile Chipboard Stickers, Thankful Paper Stack, Autumn Days Stamp, The Tiniest Date Stamp
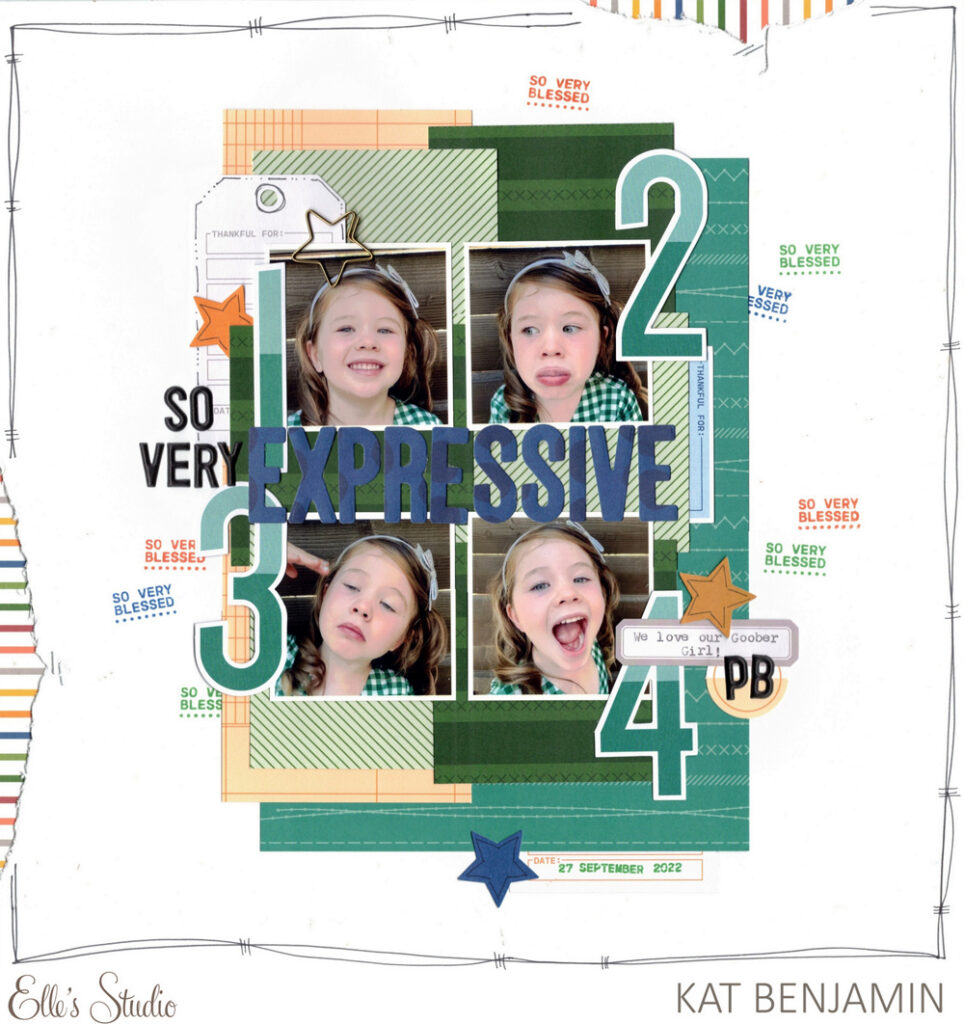
Expressive by Kat Benjamin – supplies used | October 2022 Kit, Thankful Die Cuts, Gray Cardstock Label Stickers, Black Puffy Alphabet Stickers, Gold Star Paper Clips, Thankful Paper Stack, Autumn Days Stamp, The Tiniest Date Stamp, Medium Jane Alphabet Metal Die
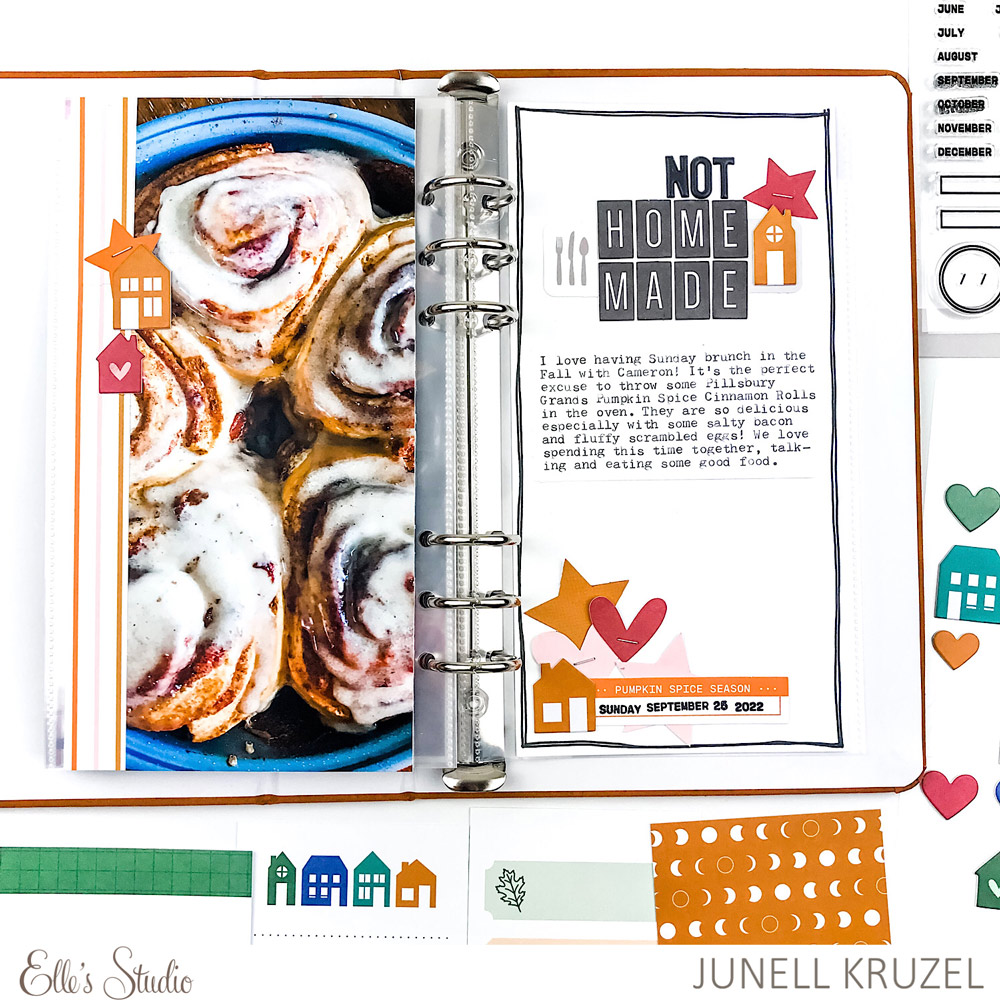
Not Homemade by Junell Kruzel – supplies used | October 2022 Kit, Thankful Die Cuts, Chipboard House Stickers, Cozy Tile Chipboard Stickers, Black Puffy Alphabet Stickers, The Tiniest Date Stamp
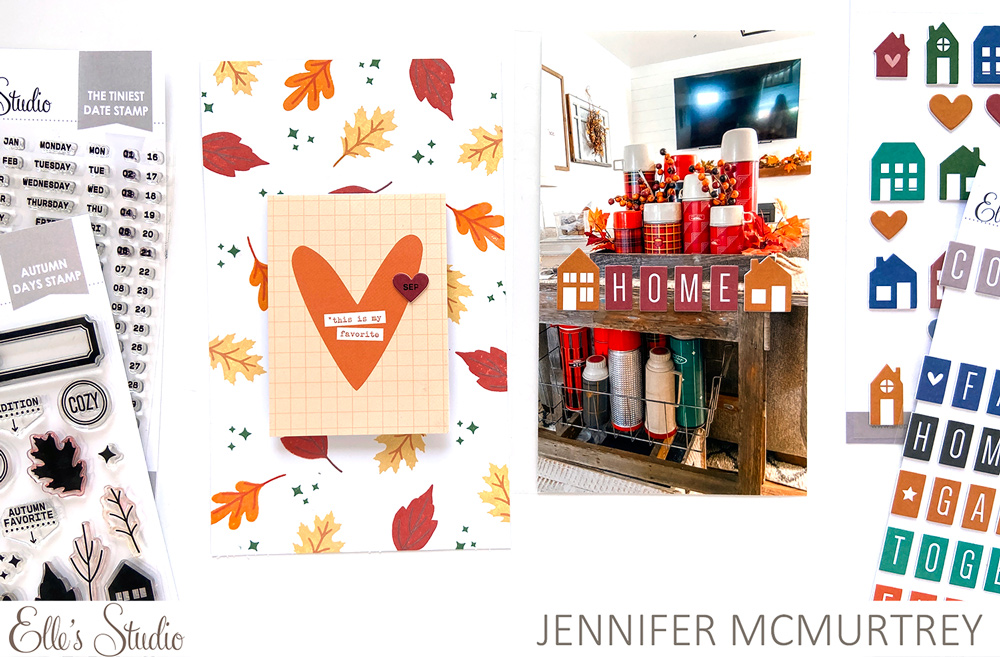
Home by Jennifer McMurtrey – supplies used | October 2022 Kit, October 2022 Printables, Chipboard House Stickers, Cozy Tile Chipboard Stickers, Autumn Days Stamp, The Tiniest Date Stamp, Pocket, Frame, and Flip-Up Metal Die
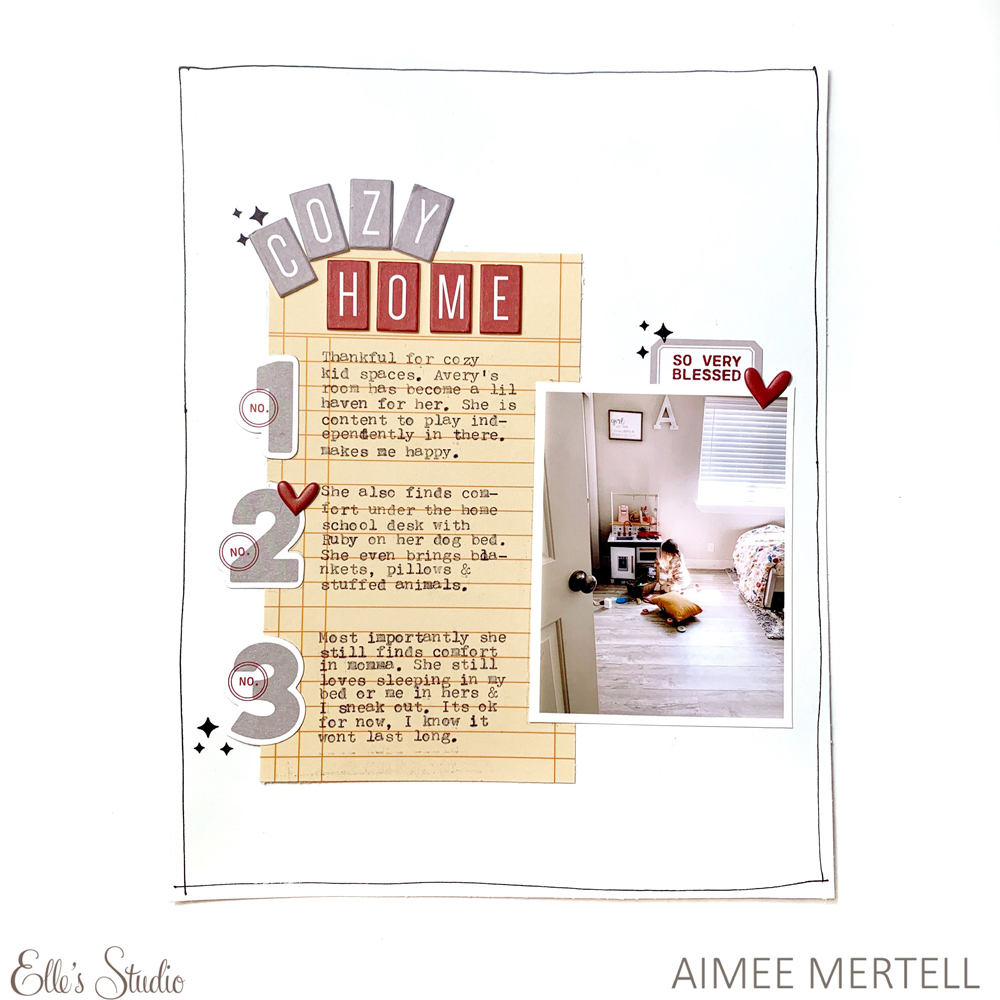
Cozy Home by Aimee Mertell – supplies used | Thankful Die Cuts, Gray Cardstock Label Stickers, Cozy Tile Chipboard Stickers, Thankful Paper Stack, Autumn Days Stamp
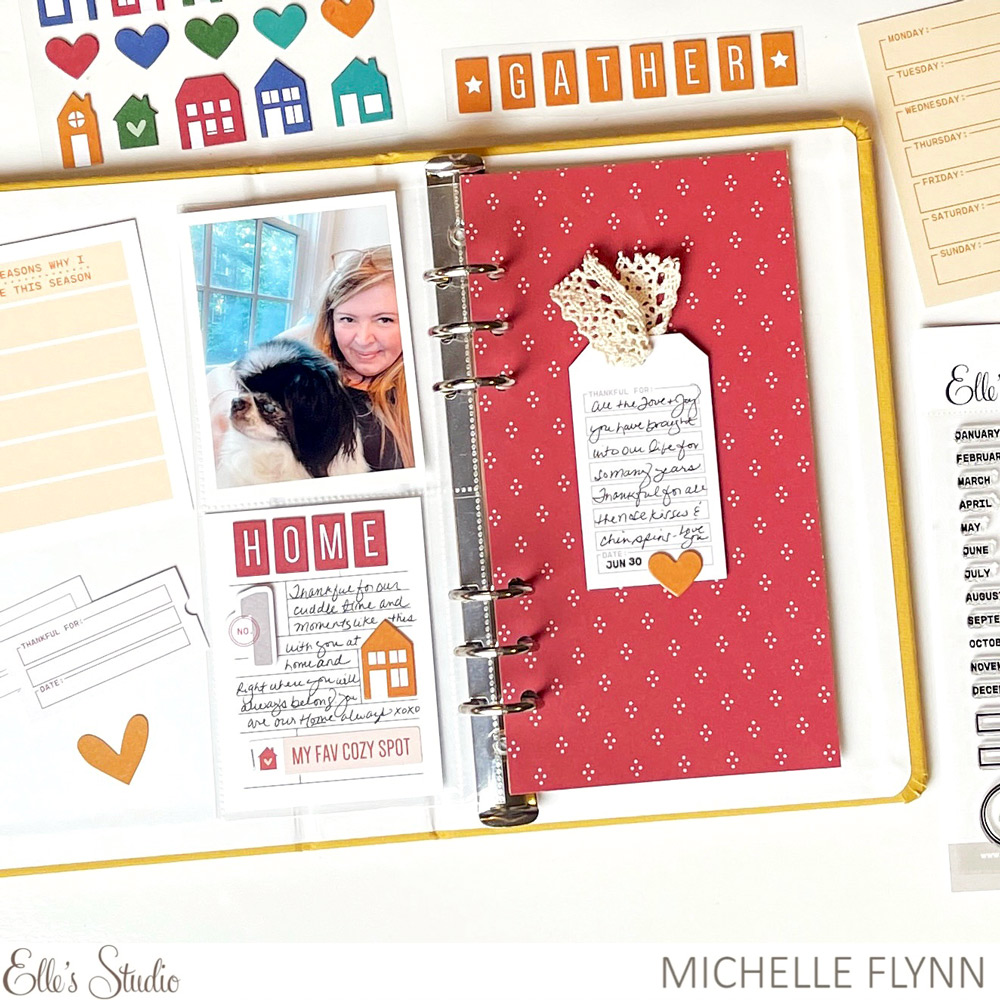
Home notebook spread by Michelle Flynn – supplies used | October 2022 KitJournaling Grid Tags, Thankful Die Cuts, Chipboard House Stickers, Cozy Tile Chipboard Stickers, Thankful Paper Stack, The Tiniest Date Stamp

Beautiful projects, right!? We know that they will inspire you to document fall memories of home and your loved ones! Be sure to share what you create using our newest kit with us on Instagram using the #EllesStudio hashtag and in our Elle’s Studio Facebook Group!

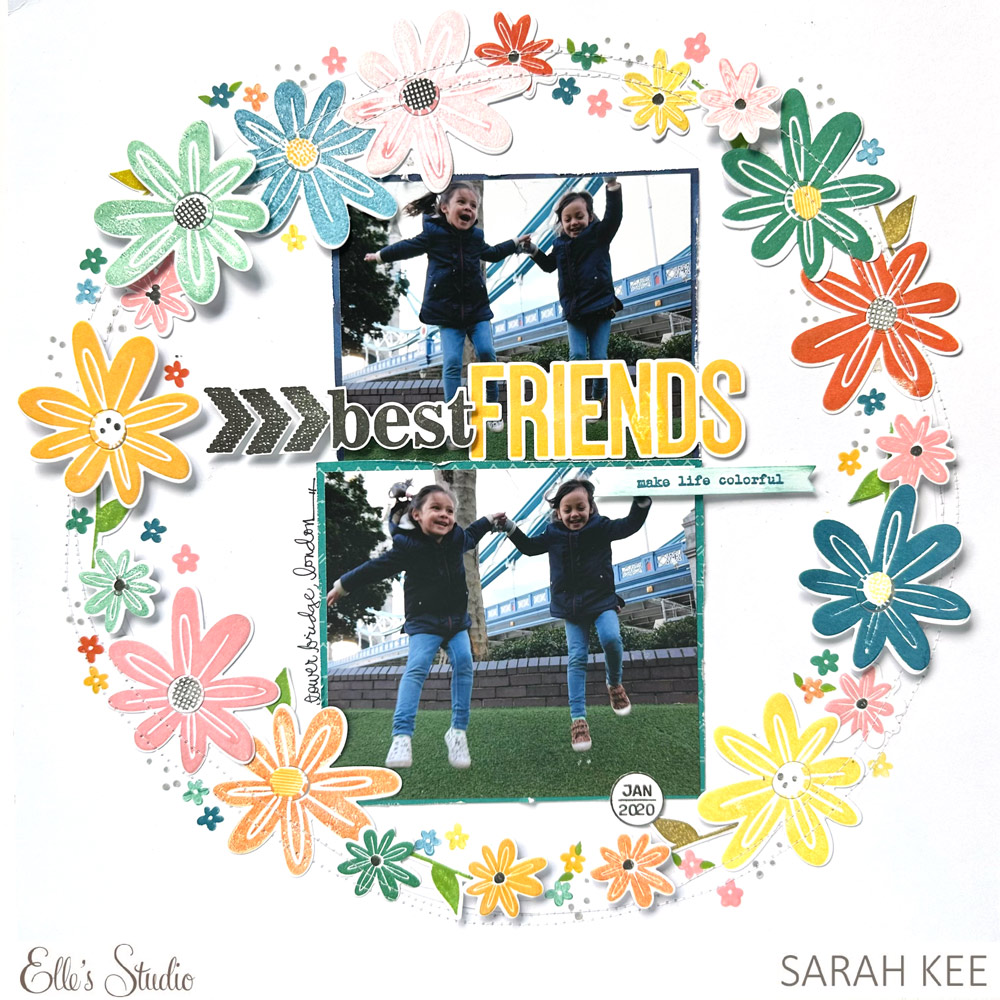
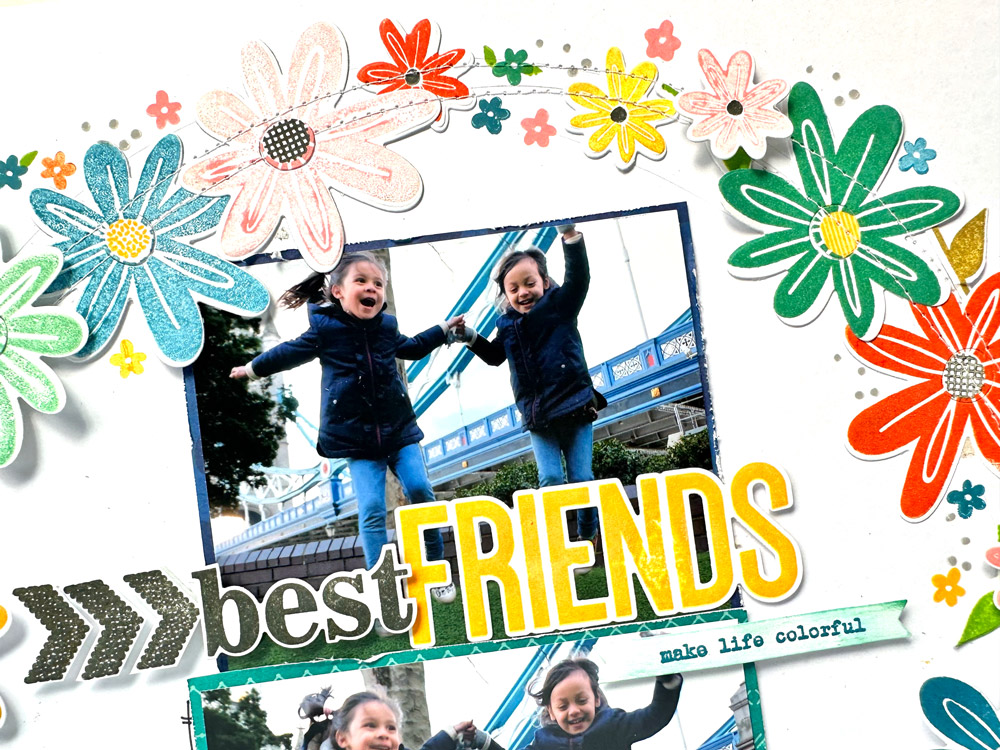
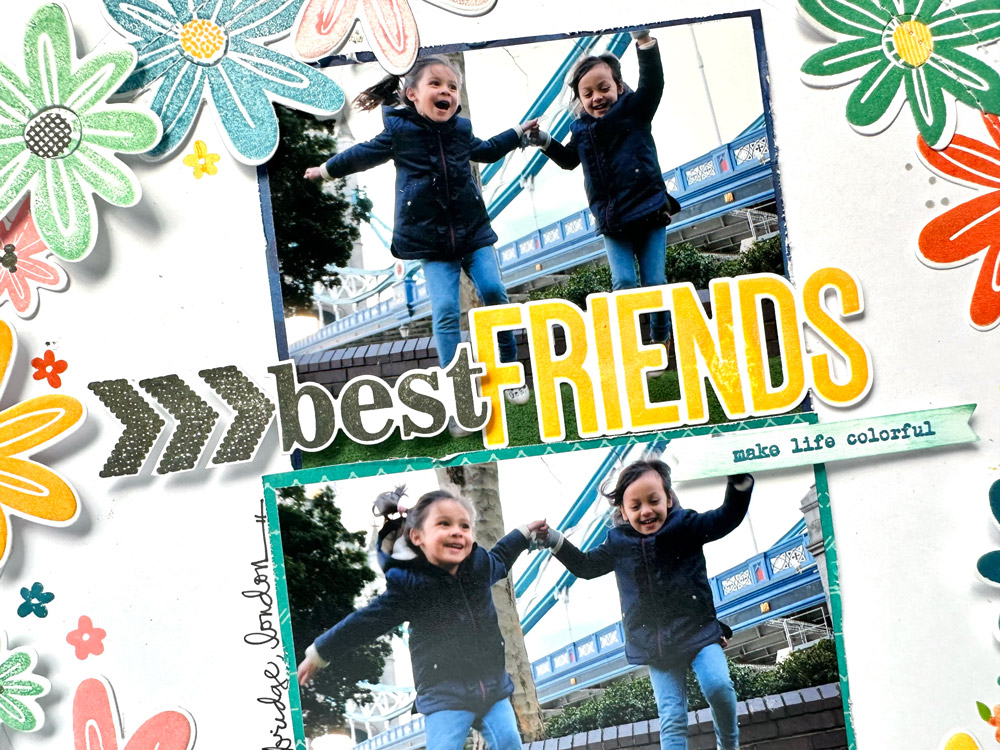
Best of Friends Layout with Sarah Kee

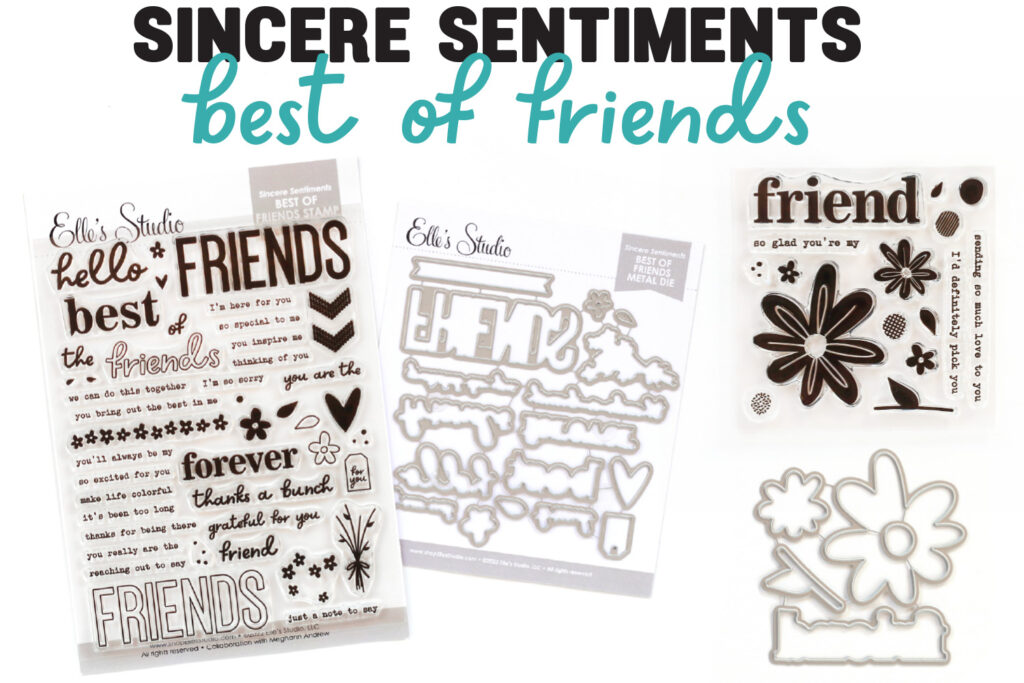
Hello, Elle’s friends! It’s me, Sarah, hosting today’s blog post, and I wanted to show you how to get extra use of the Sincere Sentiments Best of Friends Stamp and the Sincere Sentiments Best of Friends Add-on Stamp

I typically create projects pertaining to memory keeping—specifically layouts—so when I see the word “sentiment” I tend to think, “that’s for cardmakers.” Elle’s Studio, however, creates these versatile sentiment stamps that work well on layout designs, too. So the question becomes, “How do you use it on something that’s not a card?” Here’s what I came up with:

Supplies |  Sincere Sentiments Best of Friends StampSincere Sentiments Best of Friends Metal DieSincere Sentiments Best of Friends Add-on StampSincere Sentiments Best of Friends Add-on Metal DieThankful Paper Stack, Monthly Numbers Stamp, Banners Metal Dies

I focused on using both of the Sincere Sentiments stamp sets to get this layout done, and I’m glad I did because I had a lot of fun playing with my inks for this one.

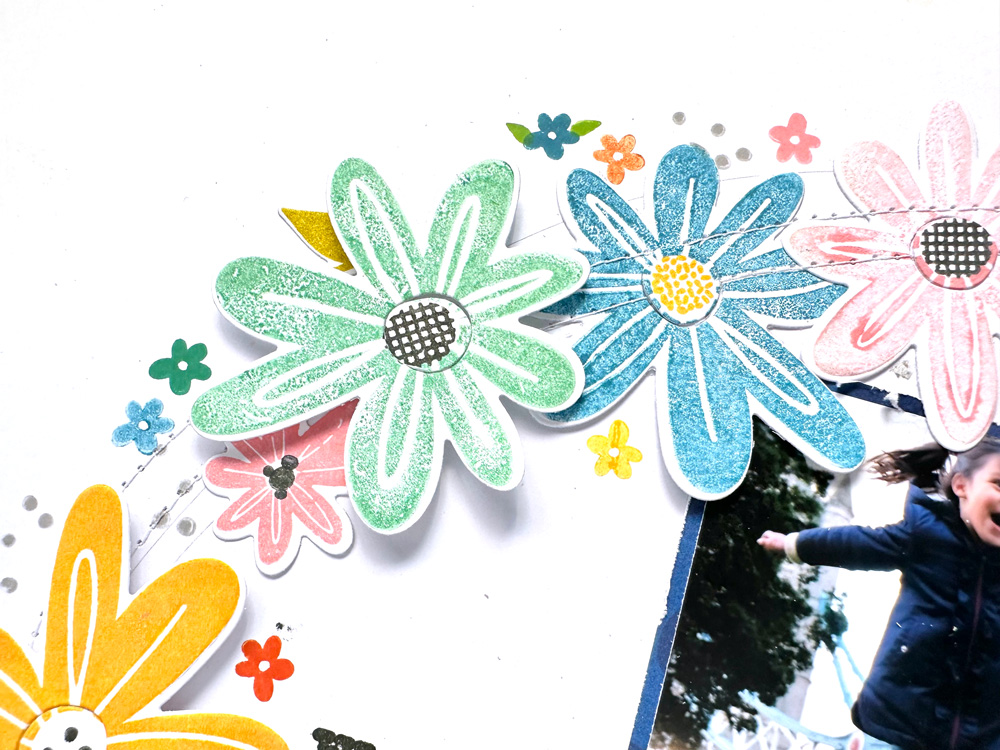
After stamping a variety of the flowers in the stamp sets, I used the Sincere Sentiments Best of Friends Add-on Metal Die to cut out die-cuts that were used to embellish my layout.

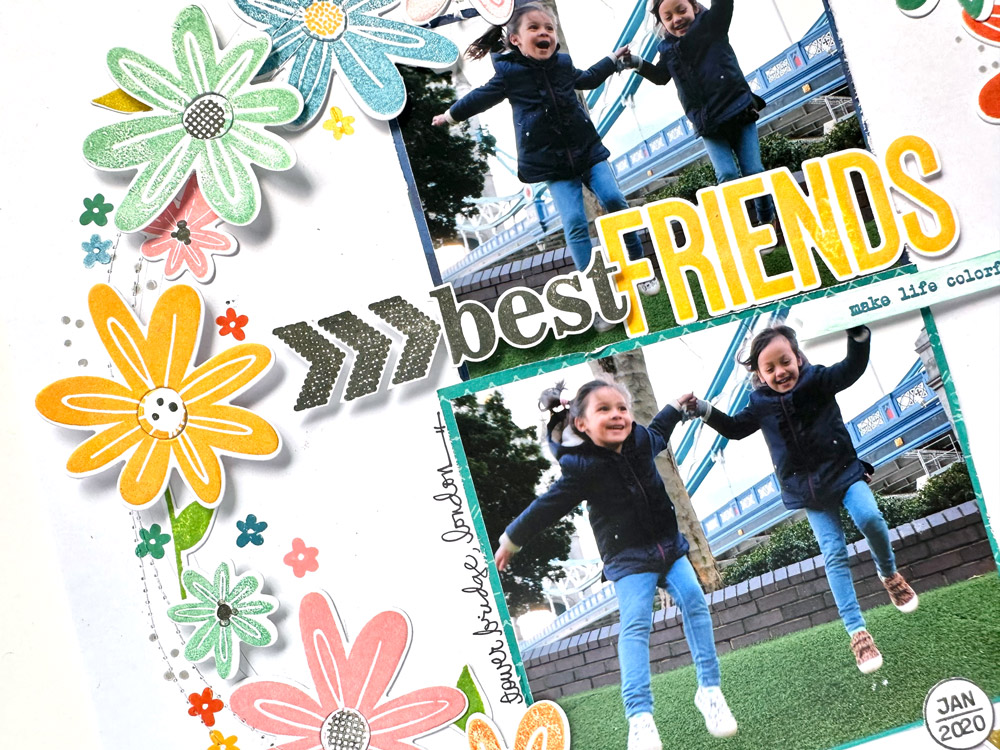
To pull this layout together, I first backed my two photos with patterned paper from the Thankful Paper Stack and placed them onto the center of my page. Then, I stitched a large circle around my photos to give my layout texture. 

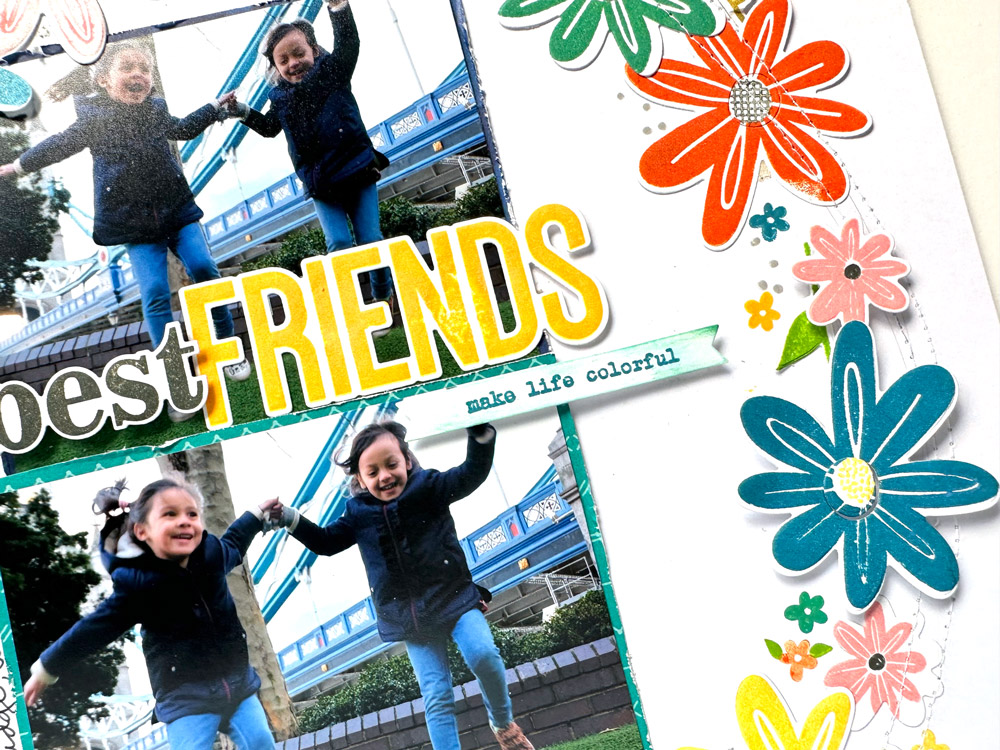
After stitching, I layered the flower die-cuts I stamped onto my layout to create a floral wreath!

To make the wreath appear fuller, I stamped some of the smaller flowers in the more bare areas. 

For my title, I used some of the sentiments from the Sincere Sentiments Best of Friends Stamp and cut them out with the Sincere Sentiments Best of Friends Metal Die. I like to fussy cut a lot of stamped images, but for my titles, I really like that the metal dies create such a nice, crisp edge.

To wrap things up, this is your friendly reminder to use the Sincere Sentiments collection for other projects besides cards. I love that they work well on a card, but they can also be used on a 12 x 12-inch layout! Here, I used them to bring out lots of colors in those flowers.

Anyway, it’s your turn! We’d love to see your projects featuring these stamps. Use it on layouts or cards—let’s see it on anything that makes your creativity shine! Share your projects with us at our Elle’s Studio Facebook Group or on Instagram using the hashtag #EllesStudio.

As always, thanks for reading and letting me share my work here. It’s always a pleasure to be making pretty things with Elle’s! 

Outdoor Autumn Memories with Guest Designer Shu-Wen Tham

We are so happy to welcome our October guest designer to the blog today, Shu-Wen Tham! Shu-Wen’s designs, whether on a layout or in a notebook, are clean, colorful and graphic, and we know that you will love what she has created with our October kit and add-ons! Let’s take a look at her first project!


Hello! My name is Shu-Wen (aka ChouxPuffCreations) and I’m a baker/crafter/music maker from Canada! I’ve been making cards for many years, but only recently started scrapbooking in 2020, and I’ve loved every moment of my creative journey. My scrapbooking style has been described as whimsical, colorful, and interactive. I am so excited to be guest designing with Elle’s Studio this month!

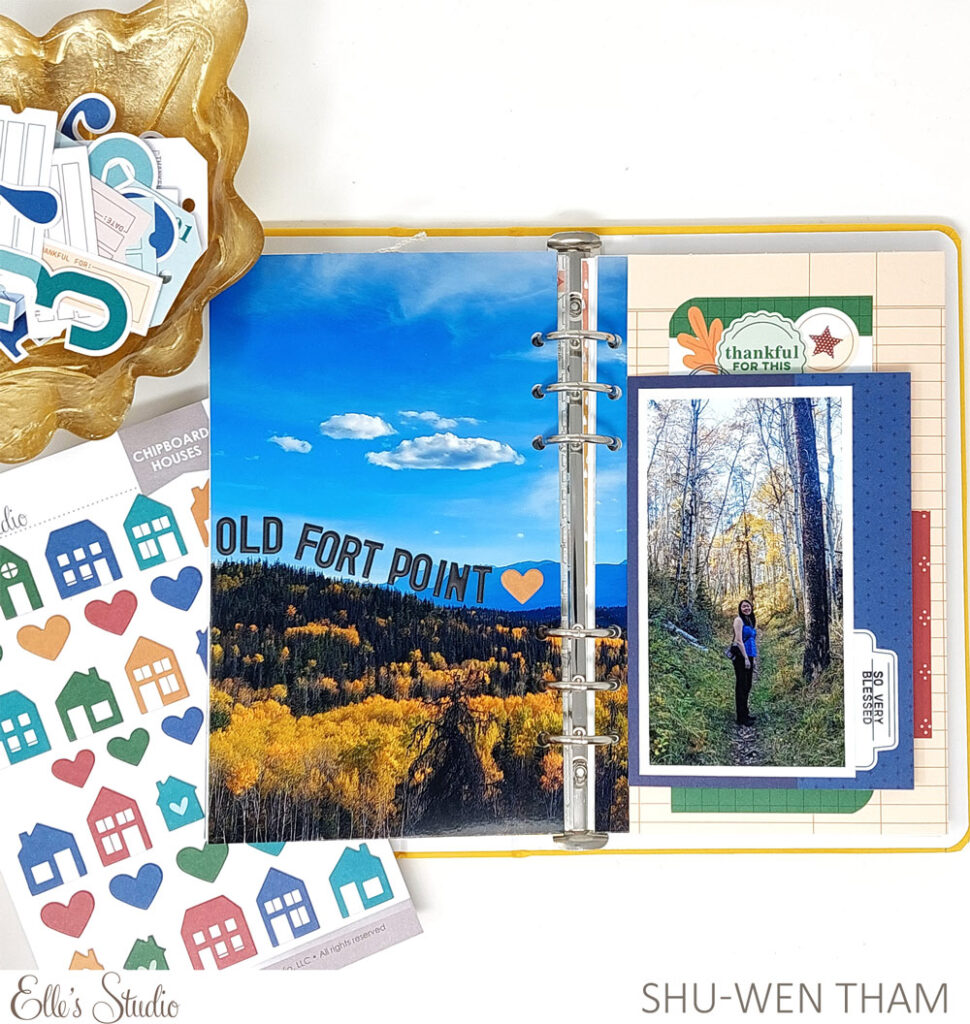
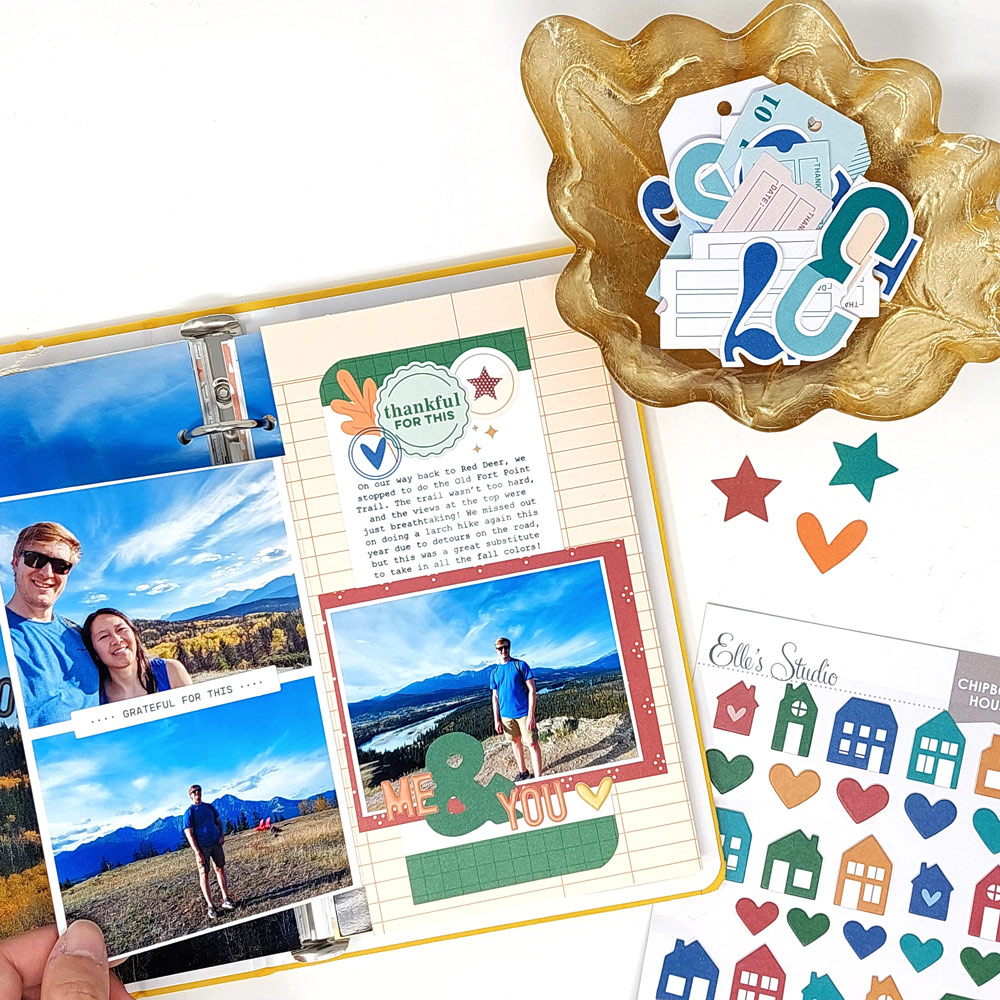
I love the rich jewel tones of this month’s kit, so for my first layout, I decided to lean into the season and document a hike that we did on a recent road trip with a layout in my traveler’s notebook-sized album. 

Supplies | October 2022 KitThankful Die Cuts, Chipboard House StickersBlack Puffy Alphabet Stickers, Tiny Autumn Hearts and Stars Puffy Stickers, Thankful Paper Stack, Autumn Days Stamp 

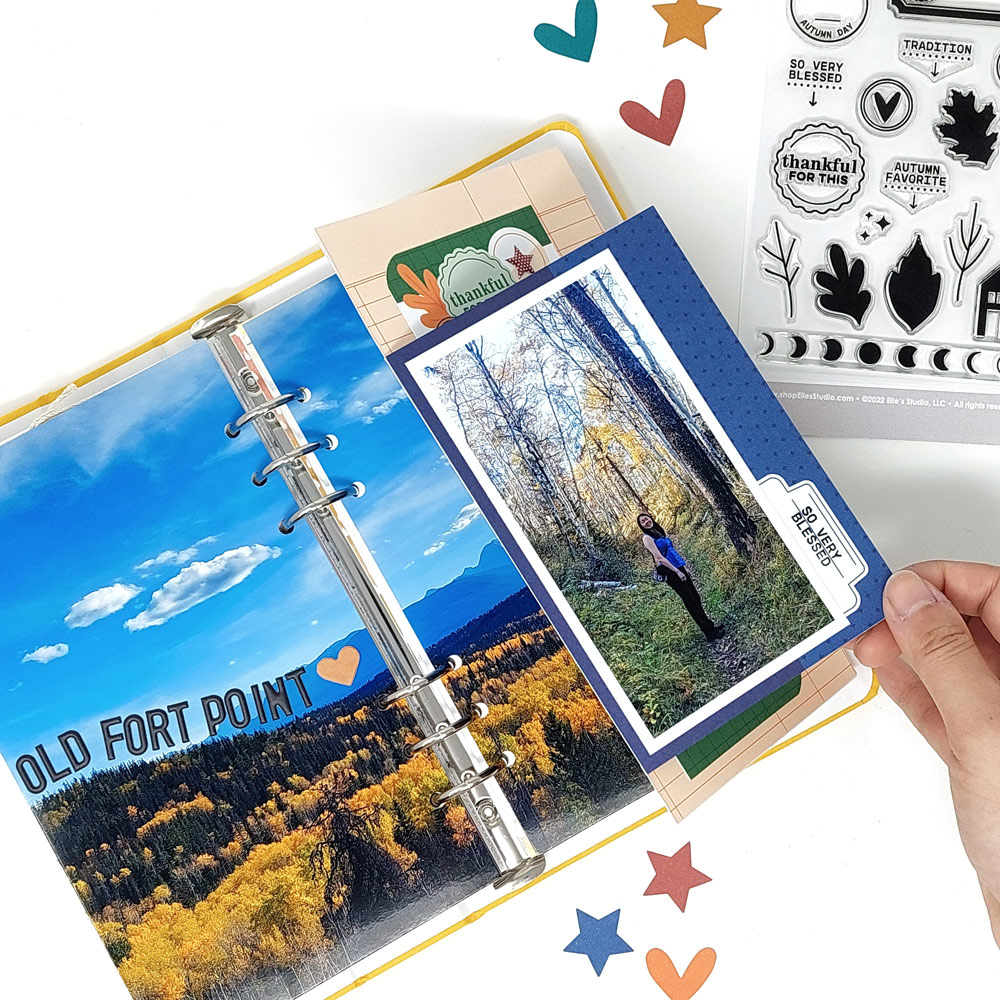
One of the first components that jumped out at me from this kit was the blue 4 x 6-inch tabbed tag with journaling lines from the October Kit. Since I was using it on a traveler’s notebook-sized page at 5 inches wide, I decided to rotate it vertically and cover up the journaling lines with a 3″ x 5.5″ photo. I oriented it so that the tab was sticking out on the right to give a hint that this journaling card will pull out to reveal a surprise underneath. Then, I used the “so very blessed” stamp from the new Autumn Days Stamp to stamp a sentiment on the tab, making sure to mask off the bottom portion.

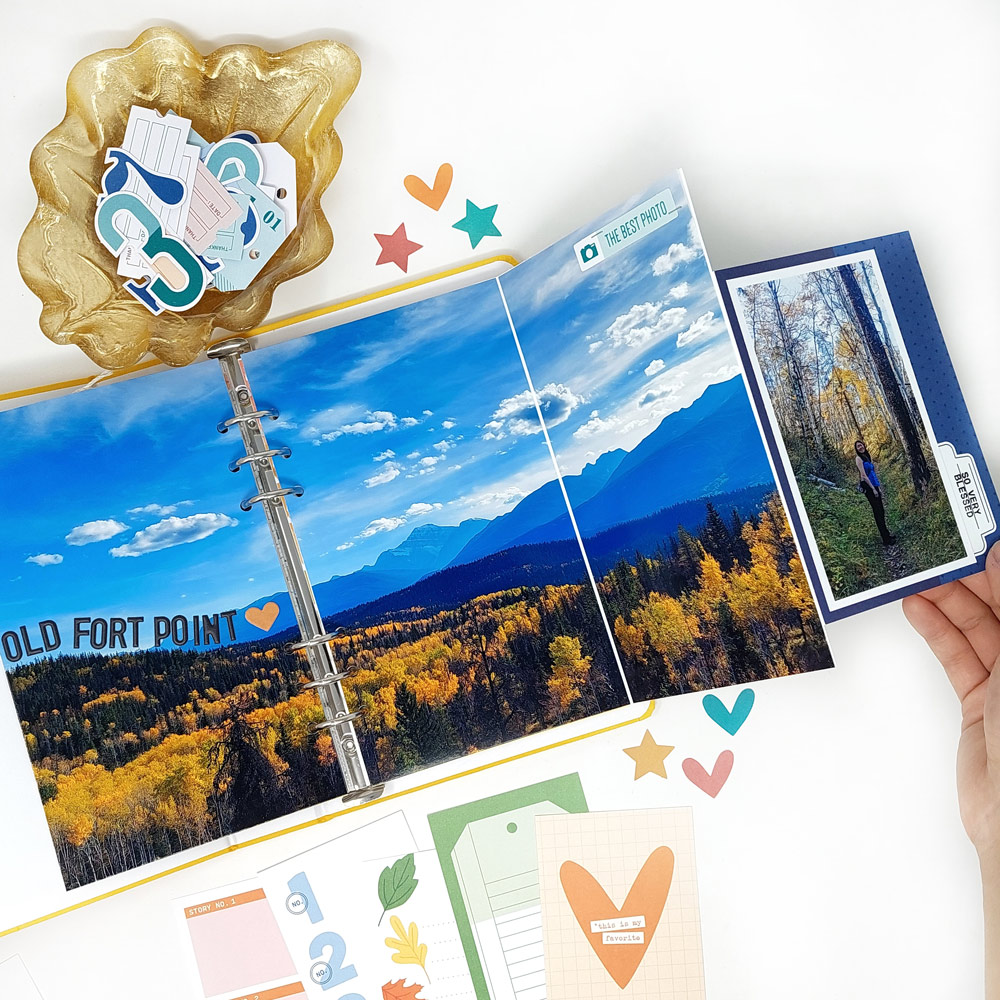
Surprise! The journaling card flap opens completely to reveal this tri-fold photo of the beautiful autumn views we were rewarded with at the top of our hike! This photo spans 14.5″ wide and 8.25″ tall, and this was my favorite photo taken during our hike! I kept the two embellishments on the photo simple to keep the focus on the beautiful colors in the photo: 

  • A title with the Black Puffy Alphabet Stickers indicating the hike that we did, lined up against the treeline towards the left side of my photo, and a yellow heart chipboard sticker from the to fill in the extra gap I had left at the end of the title.
  • One of the October Kit die cut pieces that reads “the best photo.”

I decorated the backsides of the blue 4 x 6-inch journaling tag flap with two more photos measuring 3.75 x 2.75-inches, and added the “grateful for this” October Kit die cut. To cover the back of the tri-fold photo, I used an orange ledger paper from the Thankful Paper Stack and layered the “thankful for this” green 4 x 6-inch journaling tag from the October Kit. I cut it in half and stacked the two halves on top of each other to make it look like a 3 x 7.25-inch vertical card, then used clear sticker paper to add my journaling on the top half of the card. Then, I layered on another photo that I had matted on more patterned paper from the Thankful Paper Stack. Finally, I finished this portion of the layout with the title, “Me & You,” using the Orange Puffy Alphabet Stickers and the ampersand die cut from the October Kit, and decorated my page with a few puffy stickers from the Tiny Autumn Hearts and Stars Puffy Stickers.

The colors in this kit complemented my autumn photos so well, and I love how this layout turned out! I hope you enjoyed reading about how I put this interactive layout together. Thanks for stopping by!

Find another project from Shu-Wen later this month, but until then, be sure to follow her on Instagram and YouTube!

Thankful For You with Michelle Flynn

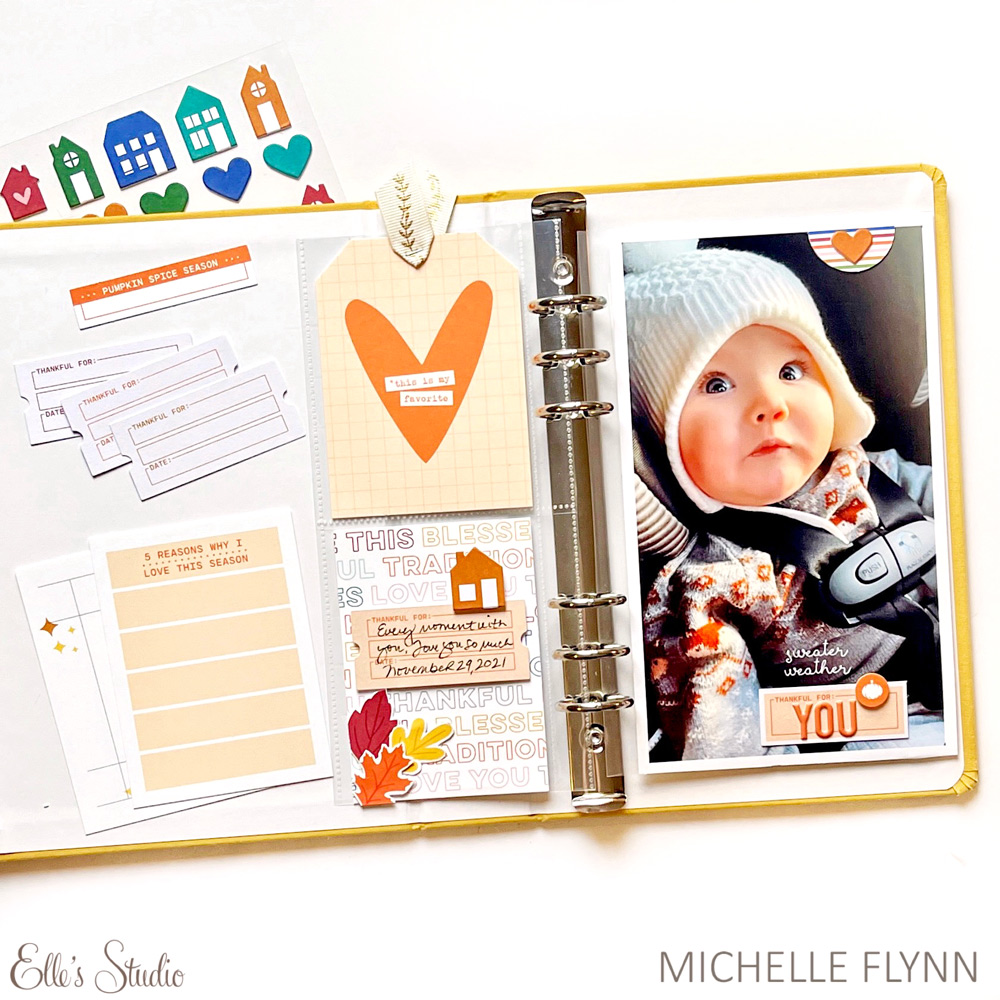
Happy October, friends! It’s Michelle with you today. Fall is really starting to show its colors and the October 2022 kit and add-ons are filled with products designed to inspire you to document these beautiful autumn days! If you didn’t already know, I’m a total kit person! I love to let the kits inspire me, especially when life gets busier for me at this time of year. Today I’m sharing a few ideas that will allow you to create a simple, but sweet layout in just about an hour.  

Supplies | October 2022 KitThankful Die CutsChipboard House Stickers, Orange Puffy Alphabet Stickers, Thankful Paper Stack, Nesting Tags Metal Die

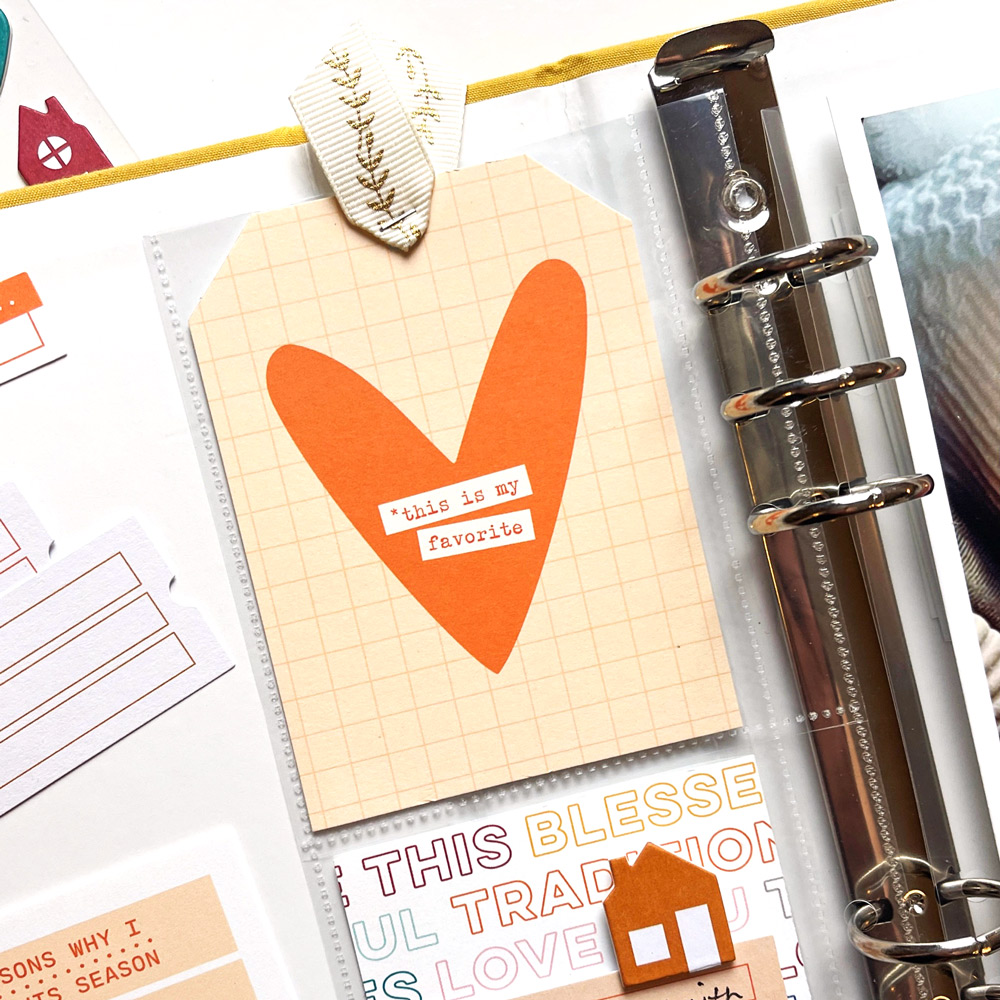
Once I have my kit in hand, I typically go through the pocket tags with the intention of letting them inspire a moment or memory, and I think you’ll find that this will work for you, too! As I was going through the October 2022 Kit I saw the beautiful, fall colored grid and heart pocket tag that captured me and I immediately remembered a photo of my grandson last autumn with the sweetest look on his face. It was the perfect pocket tag to compliment this memory! I used the Nesting Tags Metal Die to transform the pocket tag into a shipping tag, to which I stapled ribbon to the top. Tip: Simple personalization can really change the look and feel of your layout!

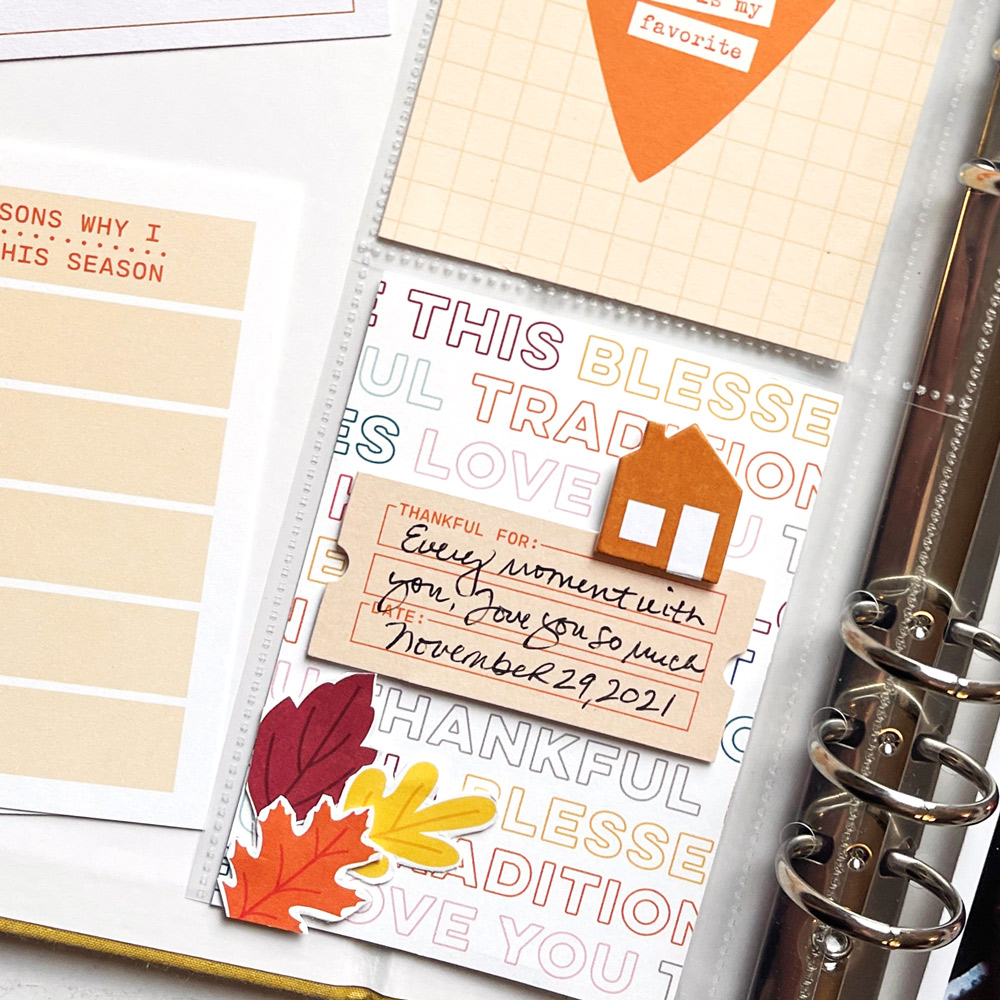
There was another pocket tag that I had my eye on in the October Kit which has the prettiest fall leaves on it. I fussy cut the fall leaves and started going through the Thankful Paper Stack to find the perfect pattern to coordinate with it, choosing the sentiment paper which I sized down to 3 x 4-inches. I adhered the fall leaves to the corner of my newly created pocket tag. I wanted to add short journaling and selected the “thankful for this” ticket in peach from the Thankful Die Cuts. I added my journaling and finished it off with one of those adorable Chipboard House Stickers! Tip: Use your products to create your own pocket tags!  

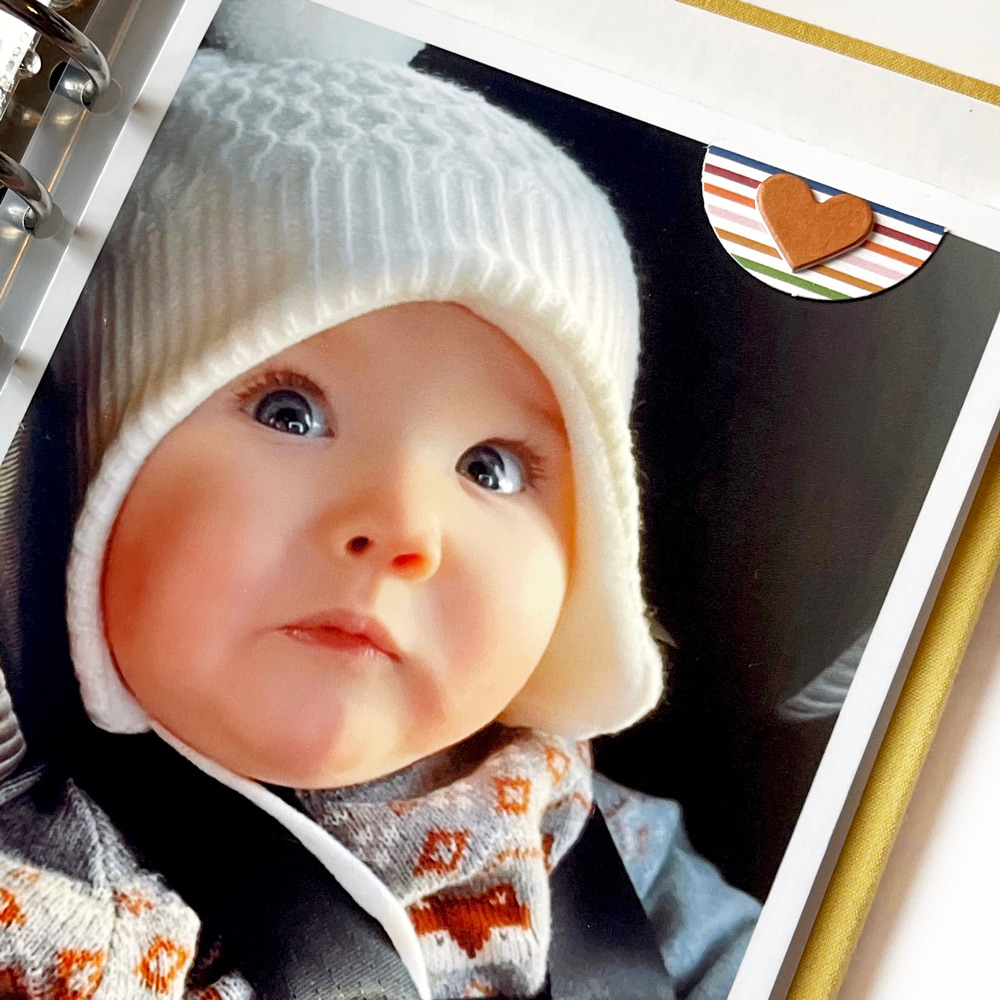
I printed the traveler’s notebook-sized photo (4-1/2 x 8-1/2-inches) of my grandson and selected one of the fun circle die cuts that comes in the October Kit to add to the top corner, cropping it in half and adding a sweet chipboard heart from the Chipboard House Stickers. Quick and simple personalization, and oh so cute!  

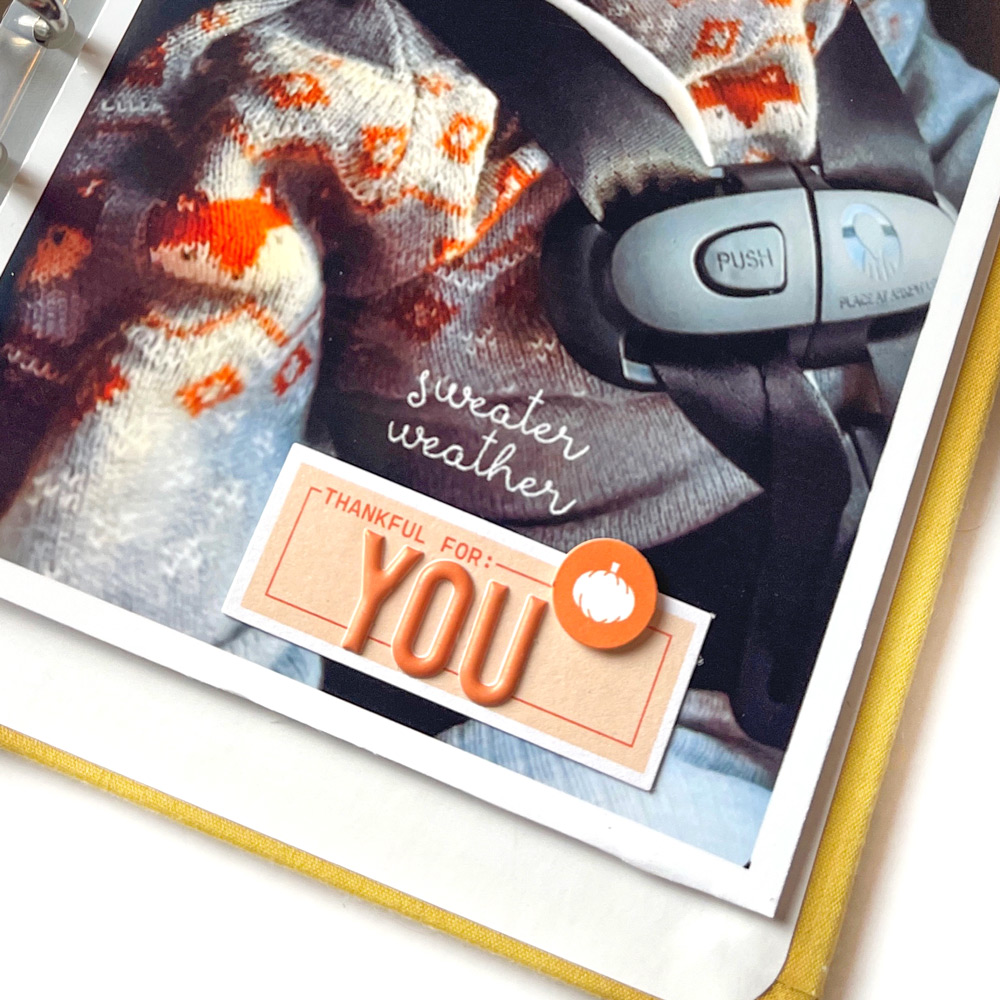
The right side of my layout was coming together with the full size photo, but it needed something else to add the creamy peach colors from the left side of the spread. I still had my Thankful Die Cuts out and chose a peach “thankful for” label, adding “you” with the Orange Puffy Alphabet Stickers, along with the cute pumpkin from the October Kit die cuts! It was the perfect way to wrap up this project, all in just an hour!  

My favorite part about creating this layout was that I allowed the October kit and add-ons to inspire me. Once I did that, the process flowed so beautifully and quite quickly. Give it a try when your kit arrives!

Thanks so much for sharing your time with me today! I can’t wait to see what you create and don’t forget to use the #ellesstudio hashtag on Instagram to share your inspiration and tips for creating with the monthly kit, as well as in our Facebook Group! I hope you have a wonderful start to this fall season! 
October Design Team Gallery: Volume One

Hello, Elle’s Studio fans! Can you believe it’s October!? We love this month, as we know many of you do, and we’re celebrating all things autumn with our new monthly kit and add-ons! Our design team has been busy creating beautiful projects to inspire you, so let’s let them show you how you can record your best fall moments with our new products!

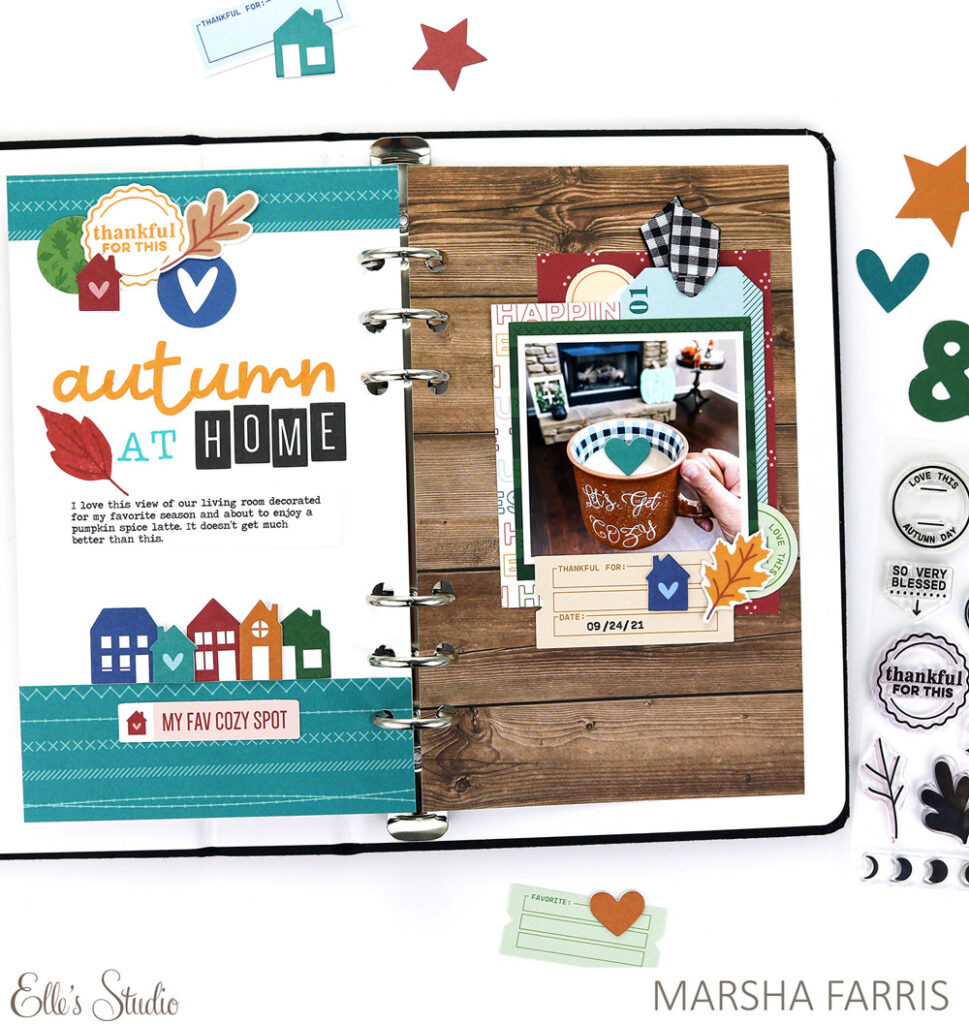
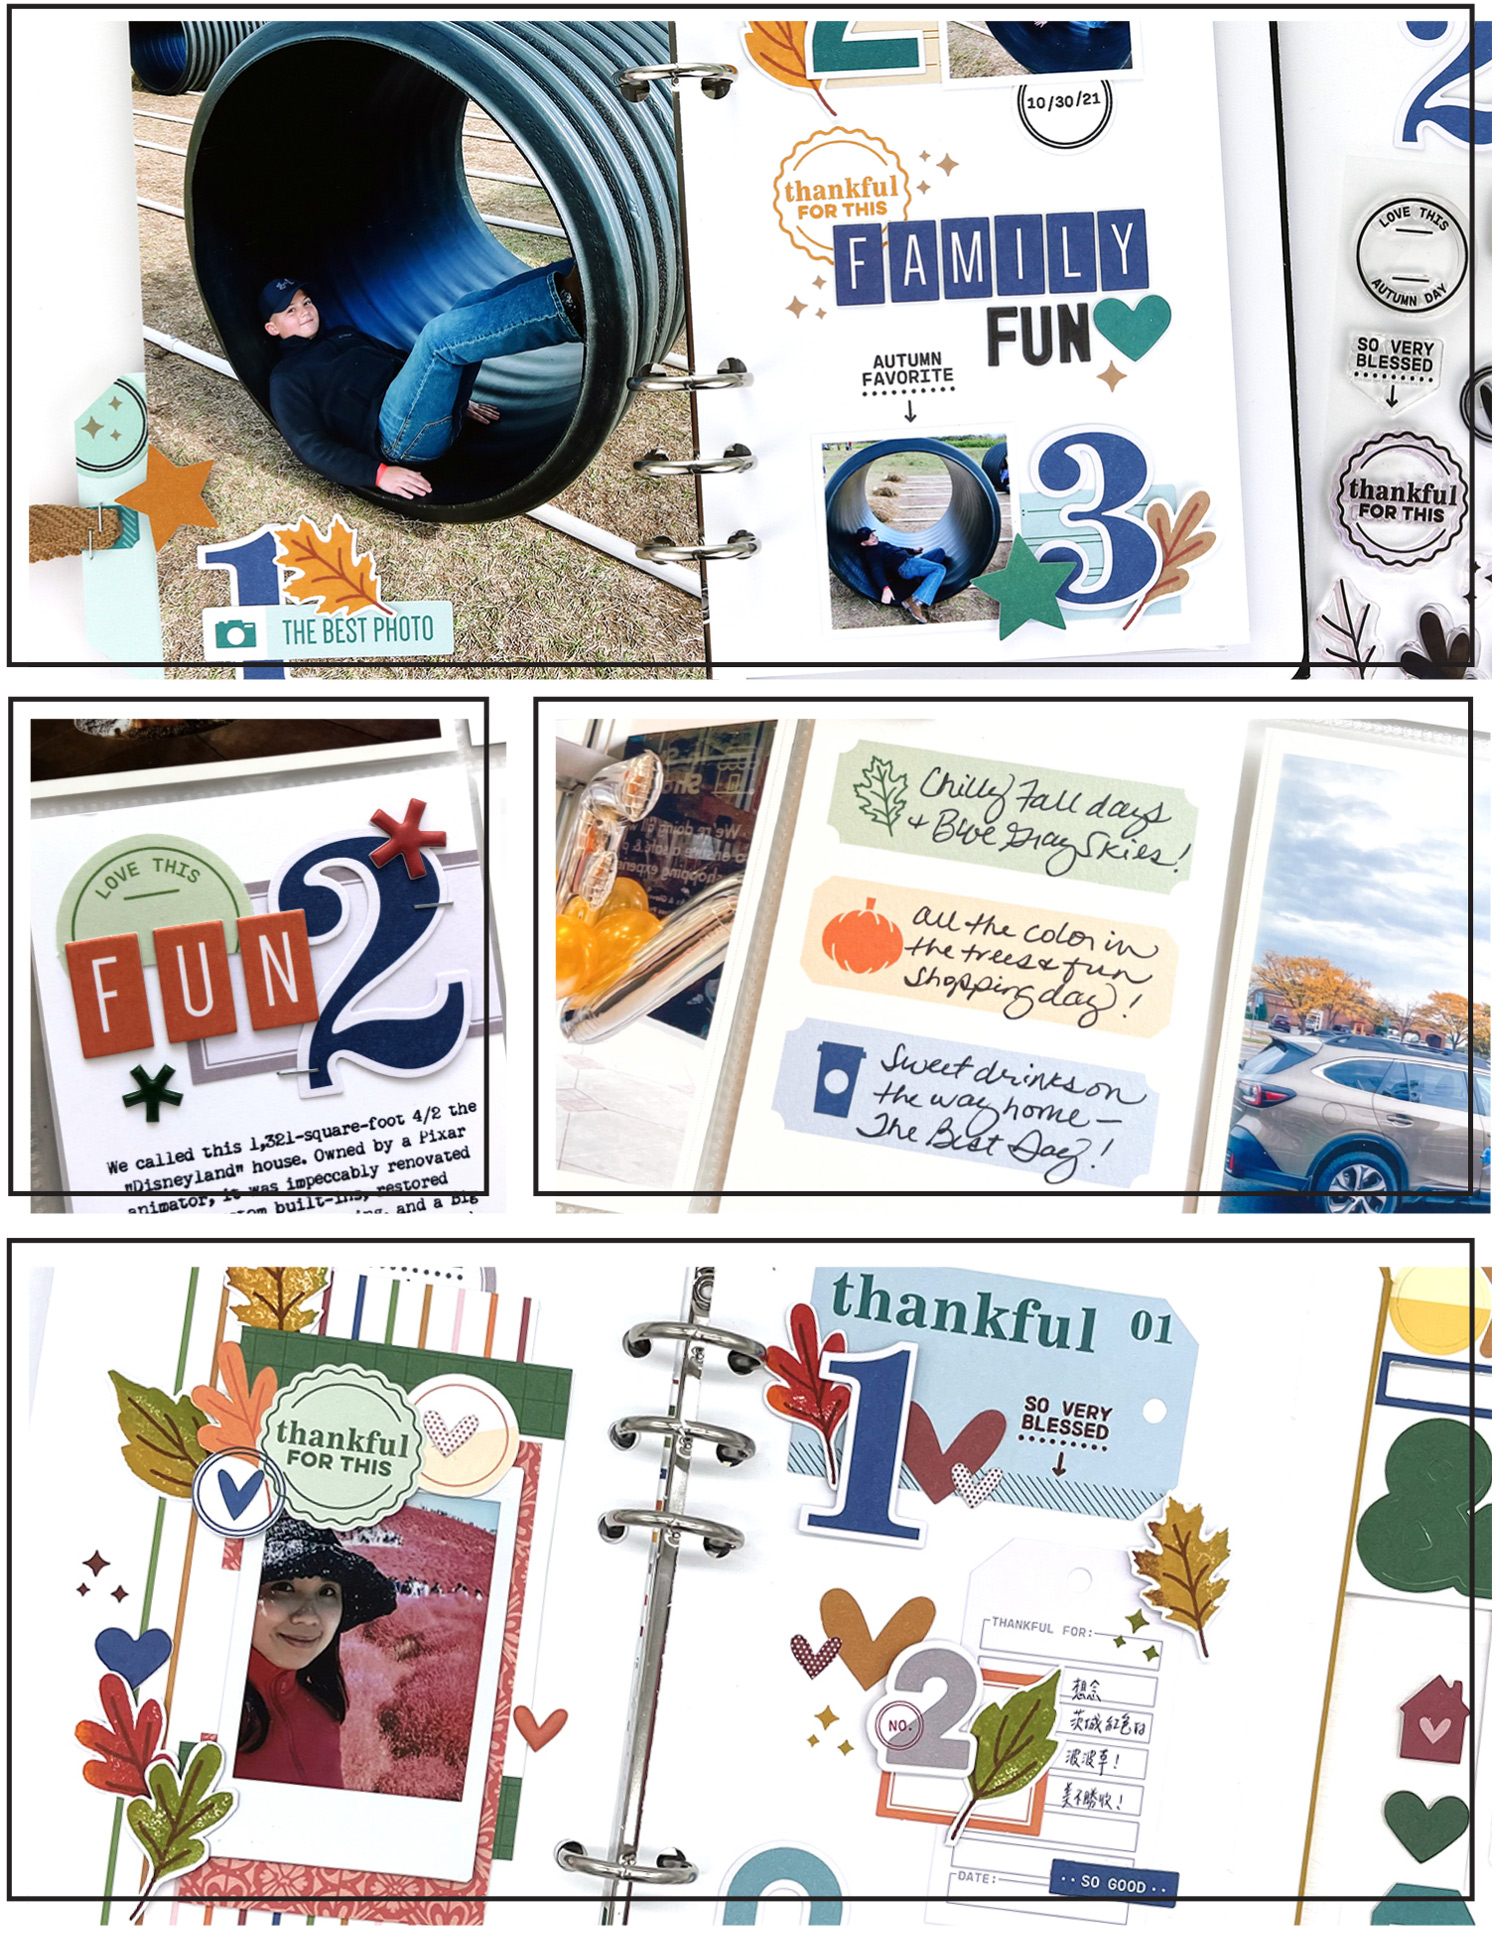
Autumn at Home notebook spread by Marsha Farris – supplies used | October 2022 Kit, Thankful Die Cuts, Chipboard House Stickers, Cozy Tile Chipboard Stickers, Thankful Paper Stack, Autumn Days Stamp, The Tiniest Date Stamp, Medium Hazel Stamp, Lizzy Alphabet Stamp

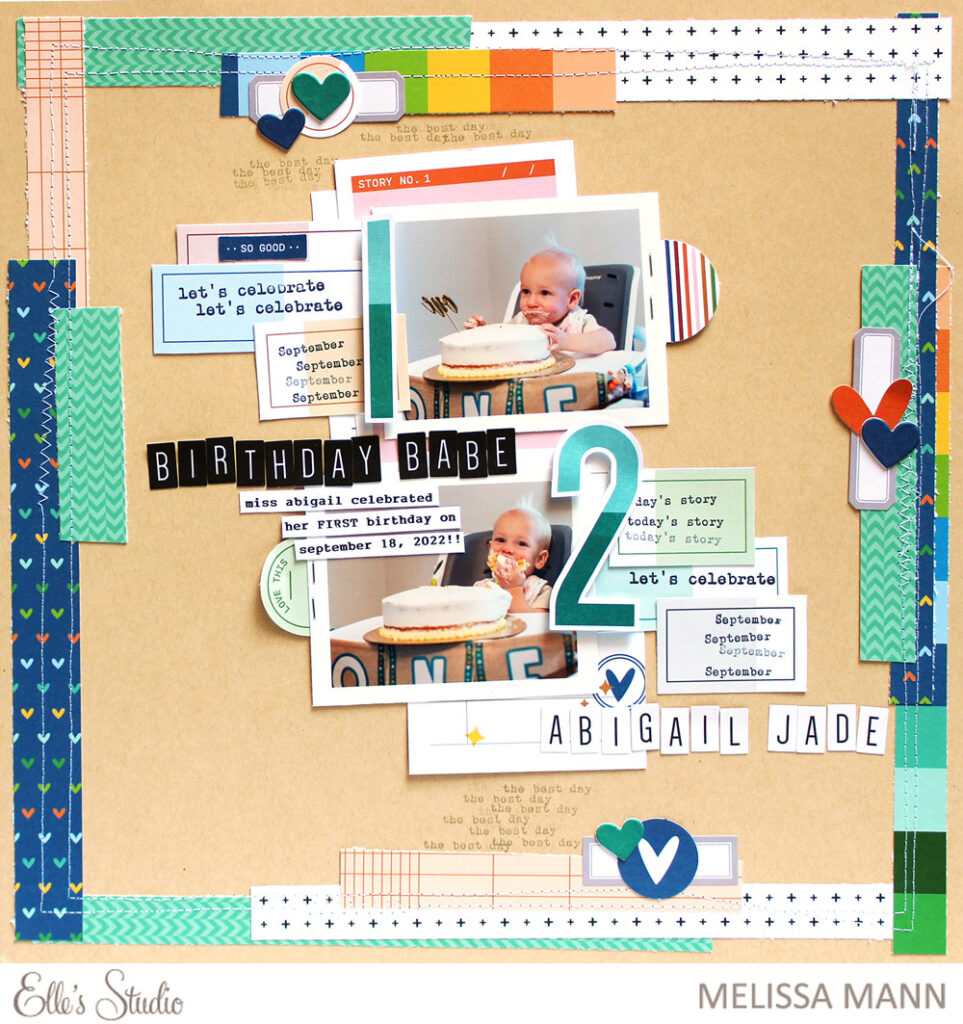
Birthday Babe by Melissa Mann – supplies used | October 2022 Kit, October Labels, Thankful Die Cuts, Gray Cardstock Label Stickers, Chipboard House Stickers, Jane Tile Alphabet Cardstock Stickers – White, Adventure Paper Stack, Good Times Paper Stack, Thankful Paper Stack

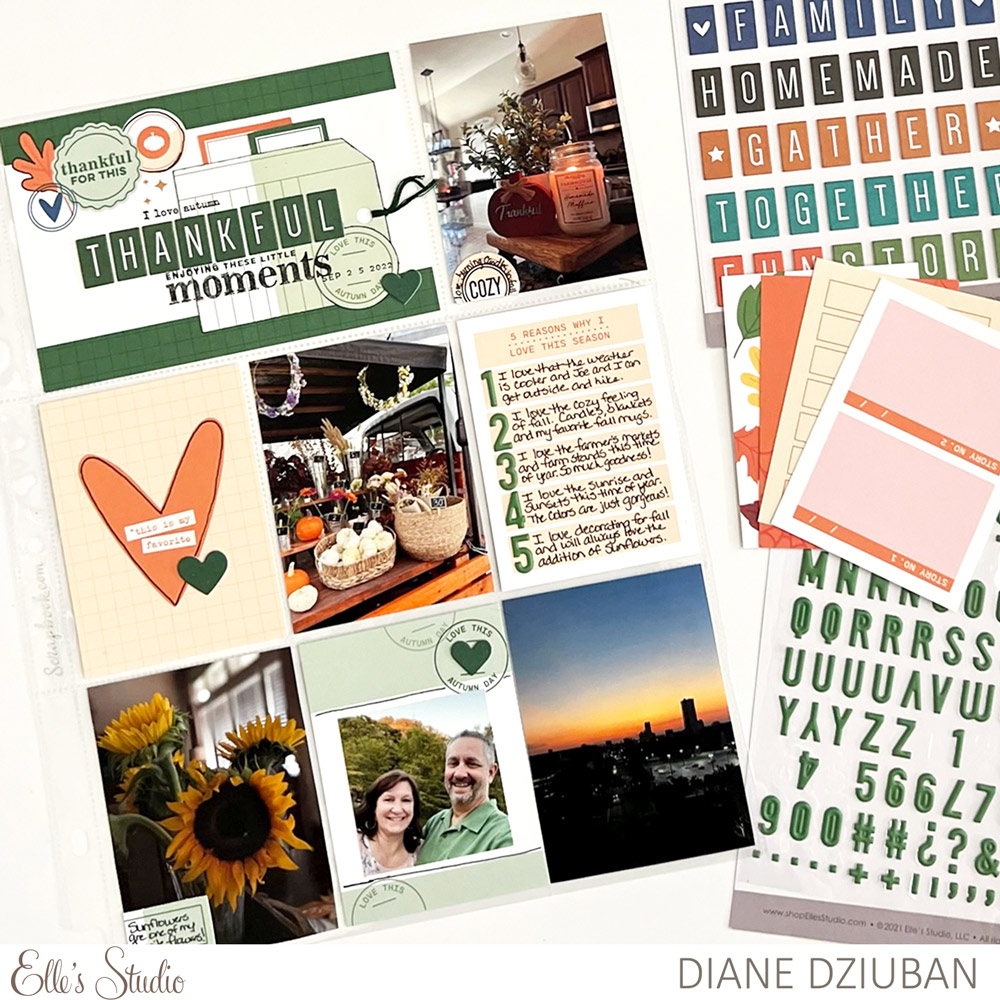
Thankful pocket page by Diane Dzubian – supplies used | October 2022 Kit, Thankful Die Cuts, Cozy Tile Chipboard Stickers, Chipboard House Stickers, Moss Green Puffy Alphabet Stickers, Autumn Tab Stamps, Grateful Stamp

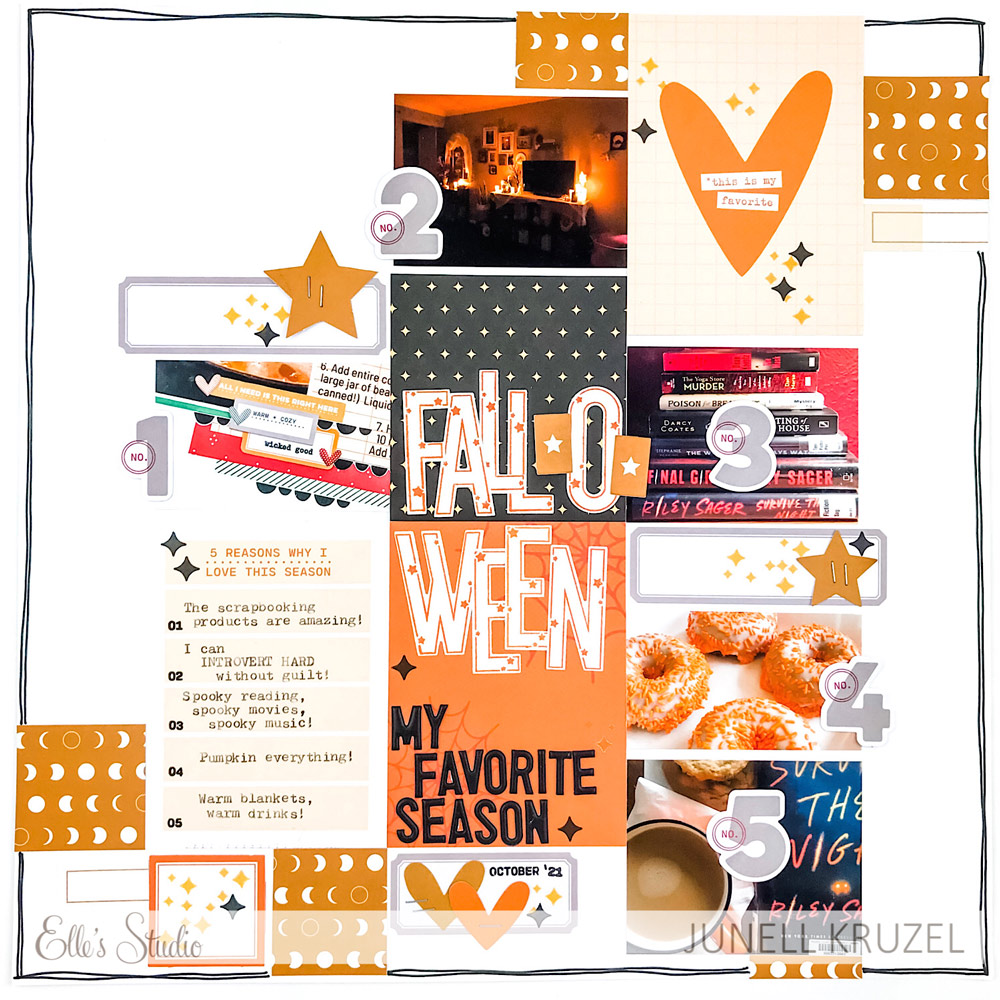
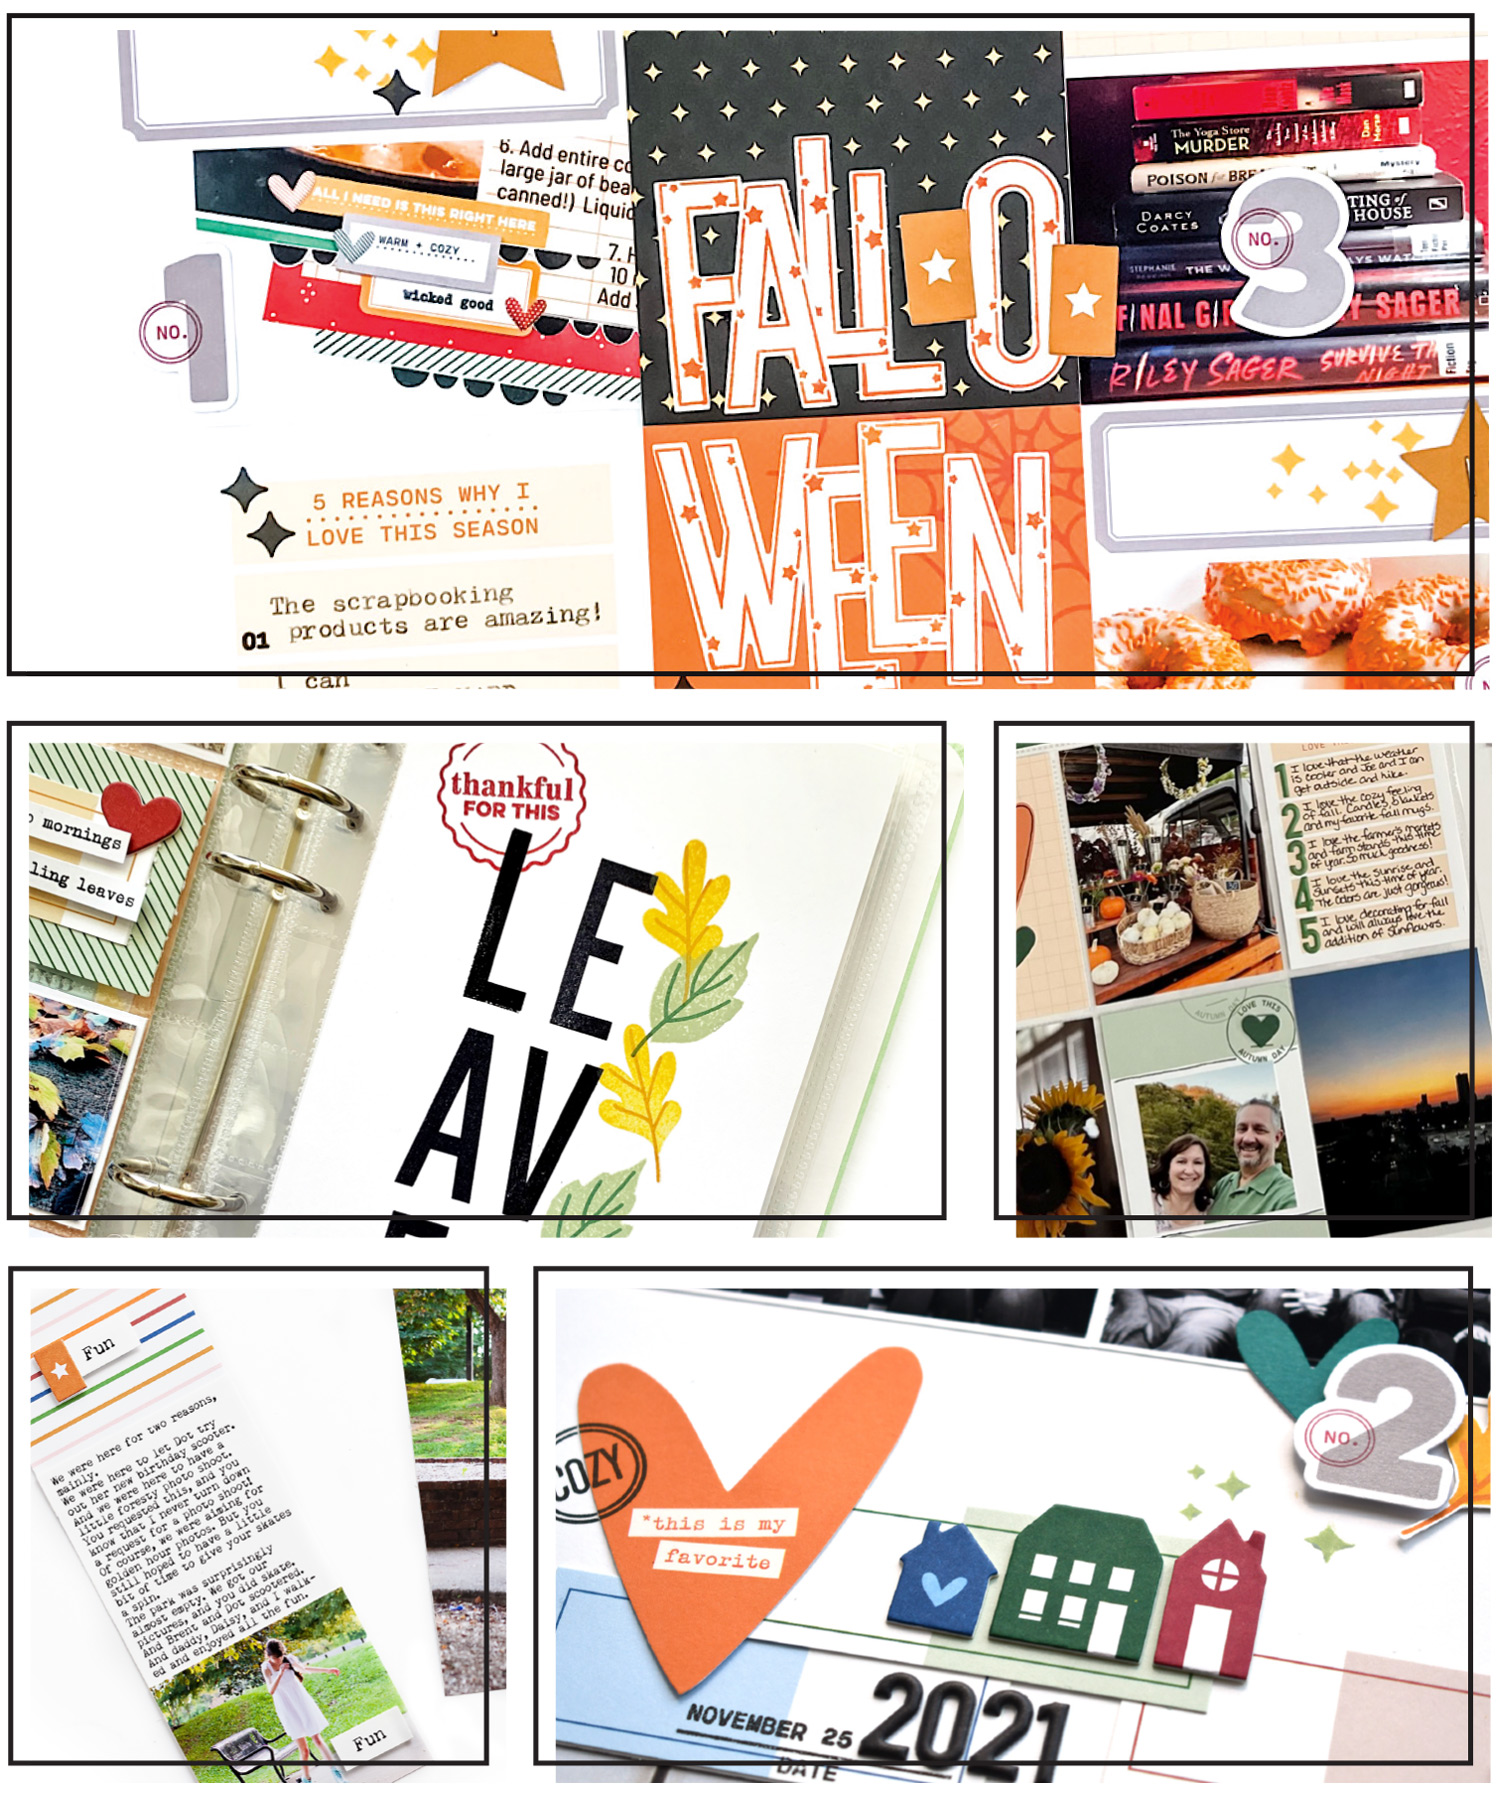
Fall-O-Ween by Junell Kruzel – supplies used | October 2022 Kit, Thankful Die Cuts, Gray Cardstock Label Stickers, Cozy Tile Chipboard Stickers, Black Puffy Alphabet Stickers, Autumn Days Stamp, The Tiniest Date Stamp

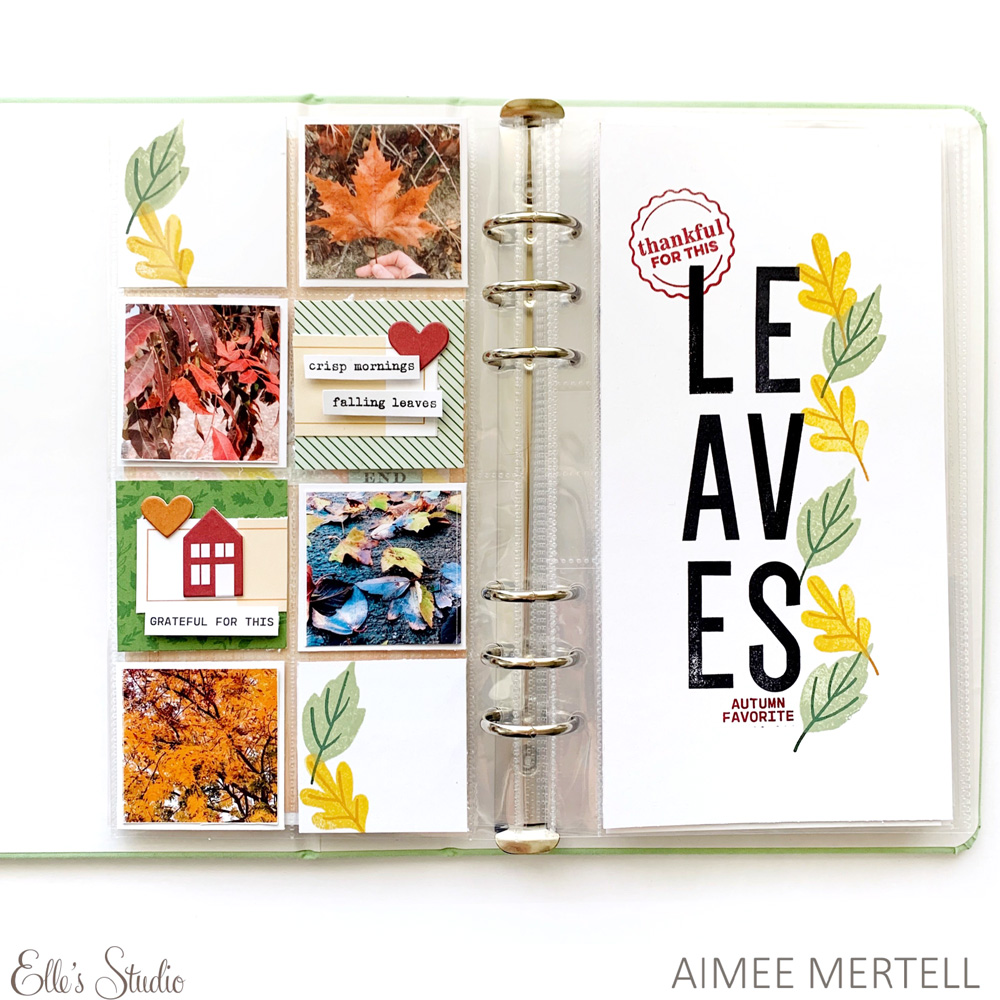
Leaves notebook spread by Aimee Mertell – supplies used | October 2022 Kit, October LabelsChipboard House Stickers, Thankful Paper StackAutumn Days Stamp, Autumn Tab Stamps, Large Jane Alphabet Stamp – Solid

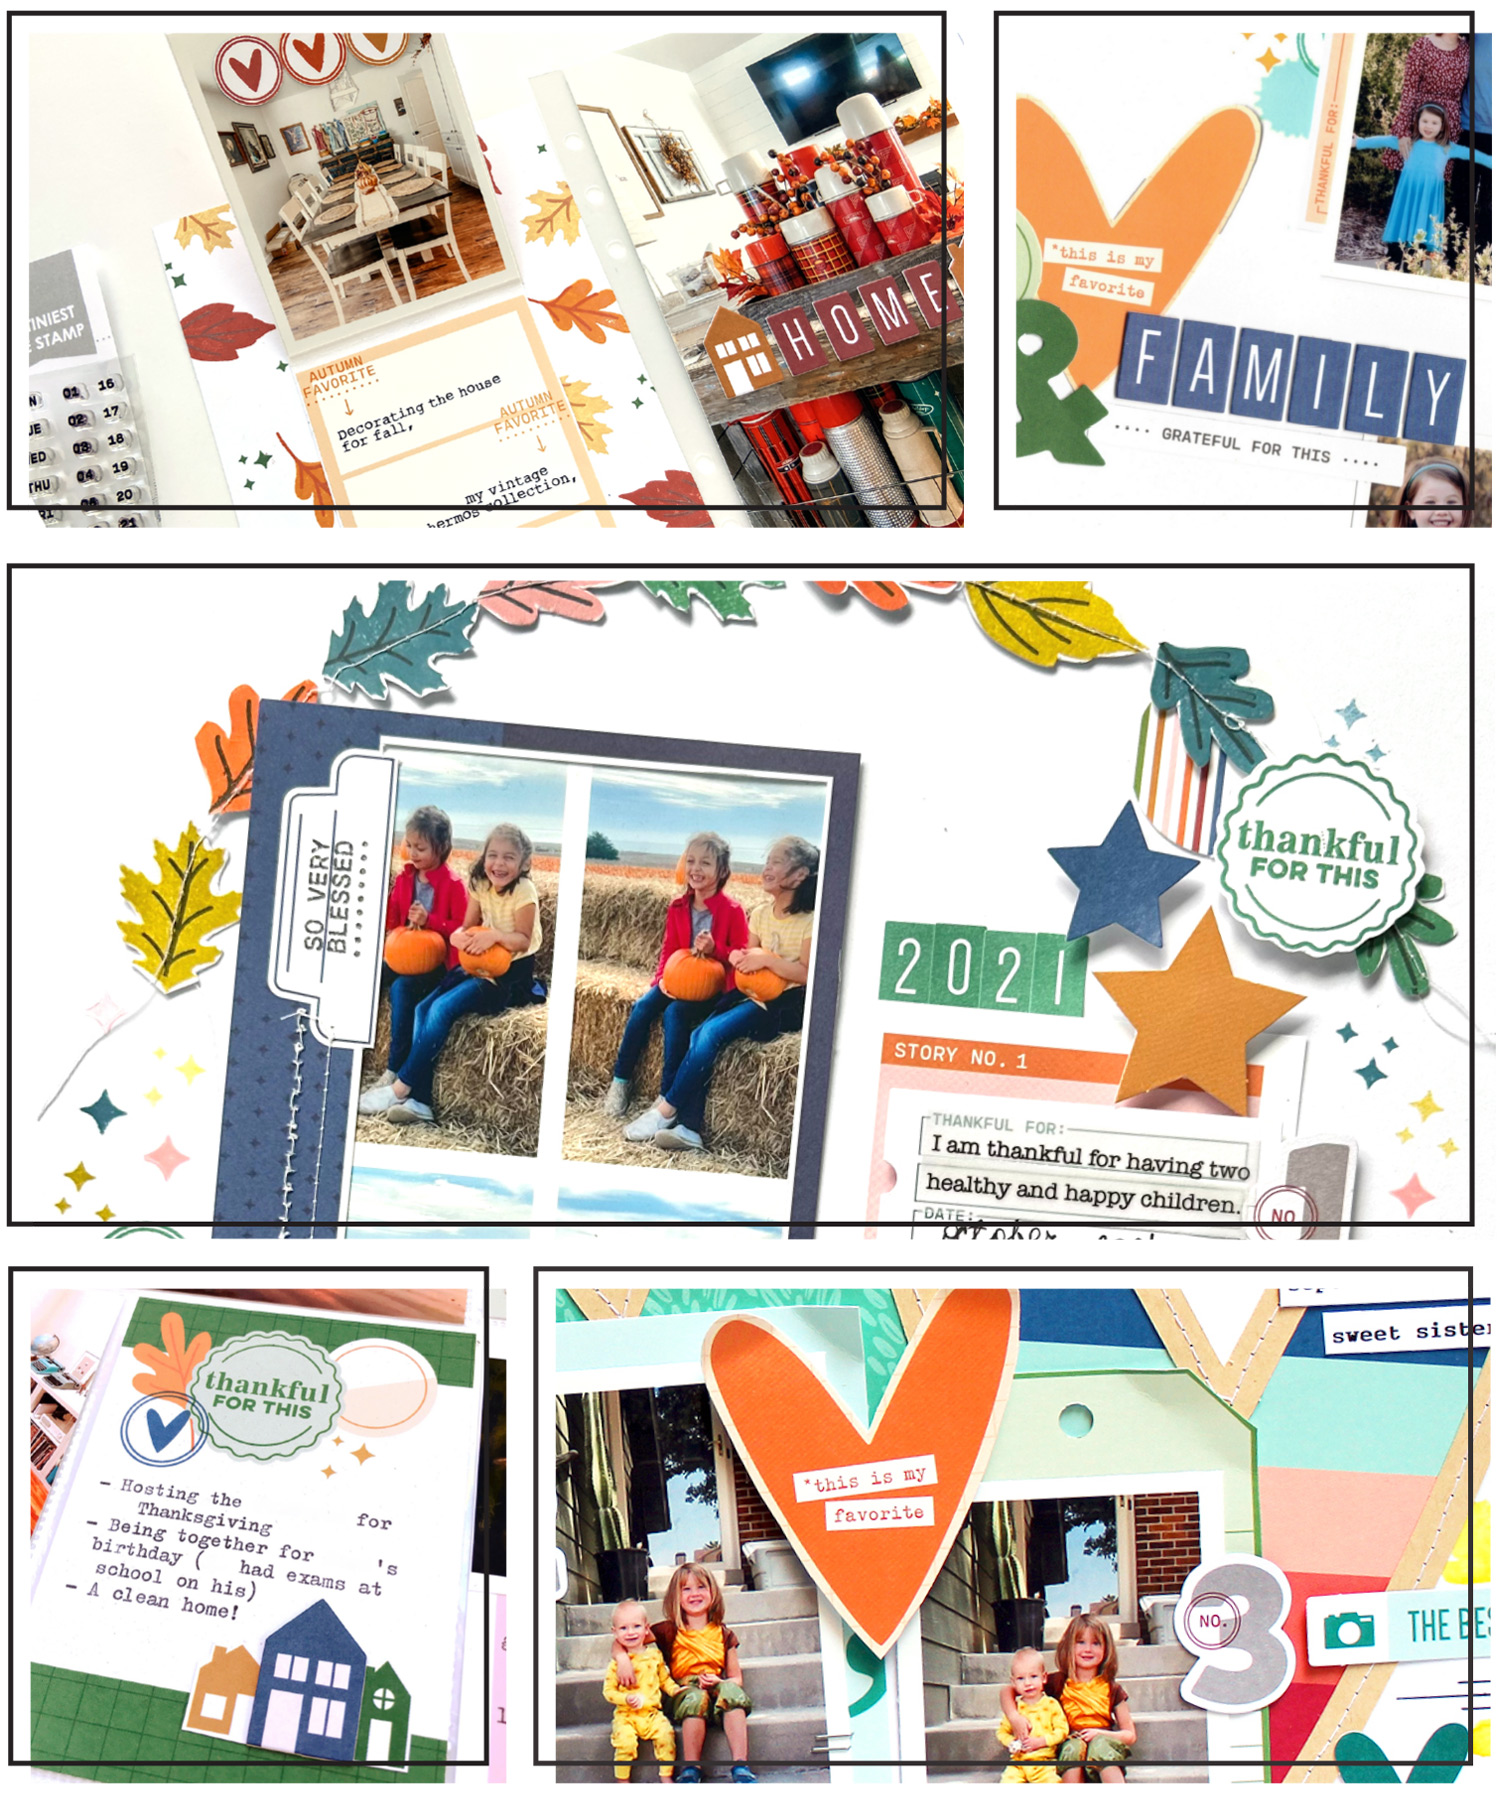
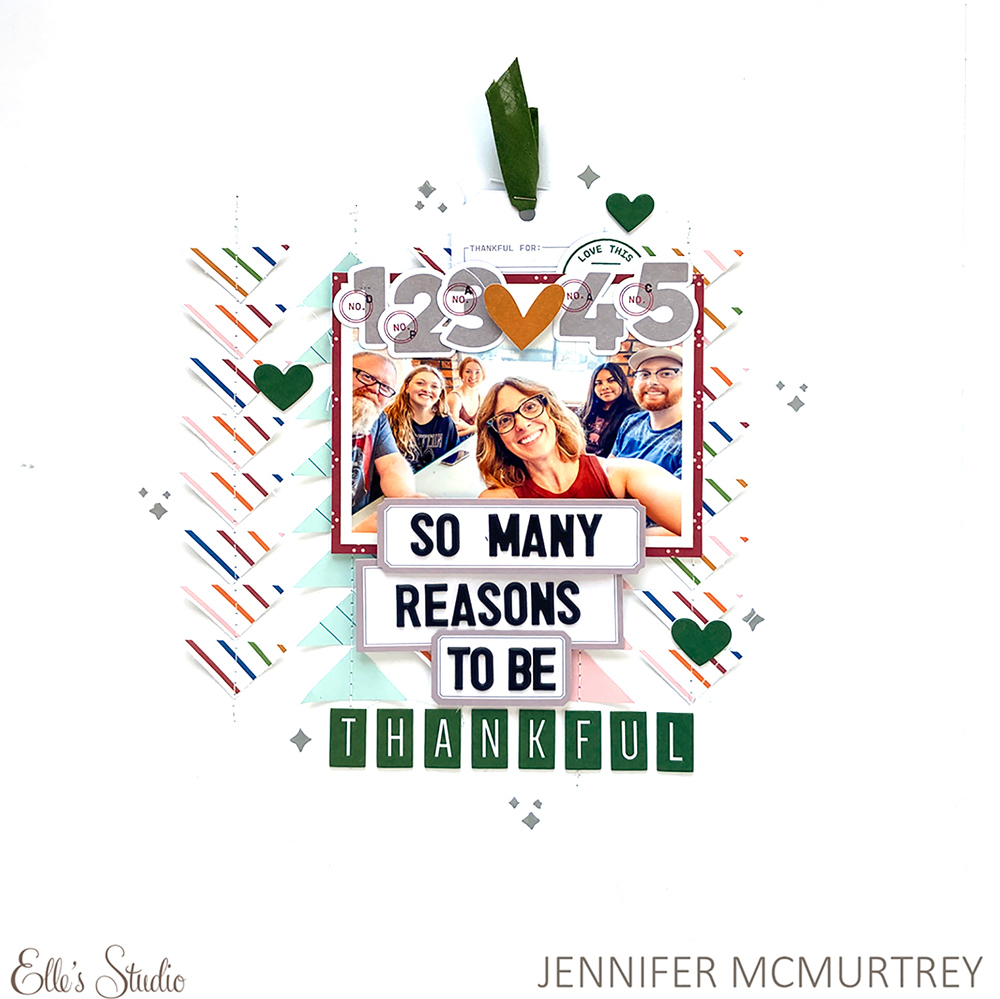
So Many Reasons by Jennifer McMurtrey – supplies used | October 2022 Kit, October Labels, Gray Cardstock Label Stickers, Chipboard House Stickers, Cozy Tile Chipboard Stickers, Black Puffy Alphabet Stickers, Autumn Days Stamp, The Tiniest Date Stamp

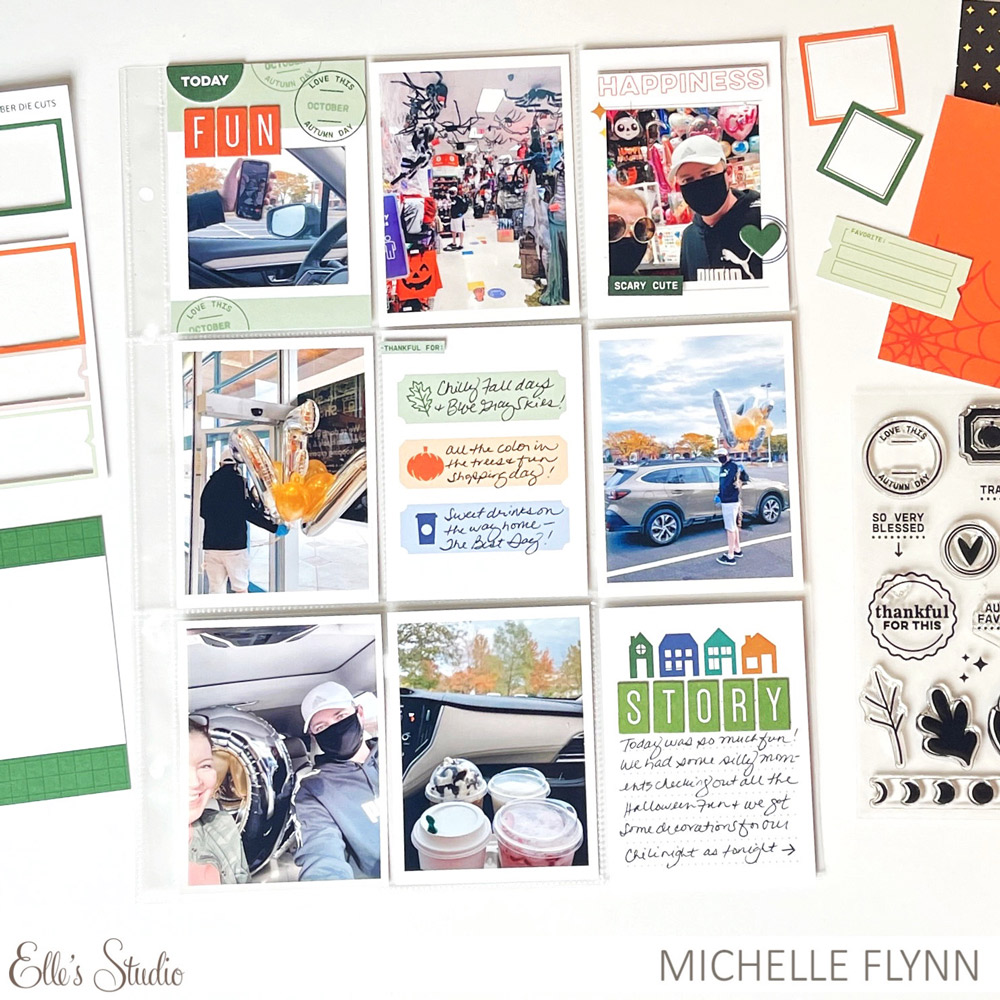
Fun Fall Day pocket page by Michelle Flynn – supplies used | October 2022 Kit, Thankful Die Cuts, Halloween Die Cuts, Chipboard House Stickers, Cozy Tile Chipboard Stickers, Autumn Chipboard Stickers, Thankful Paper Stack, The Tiniest Date Stamp

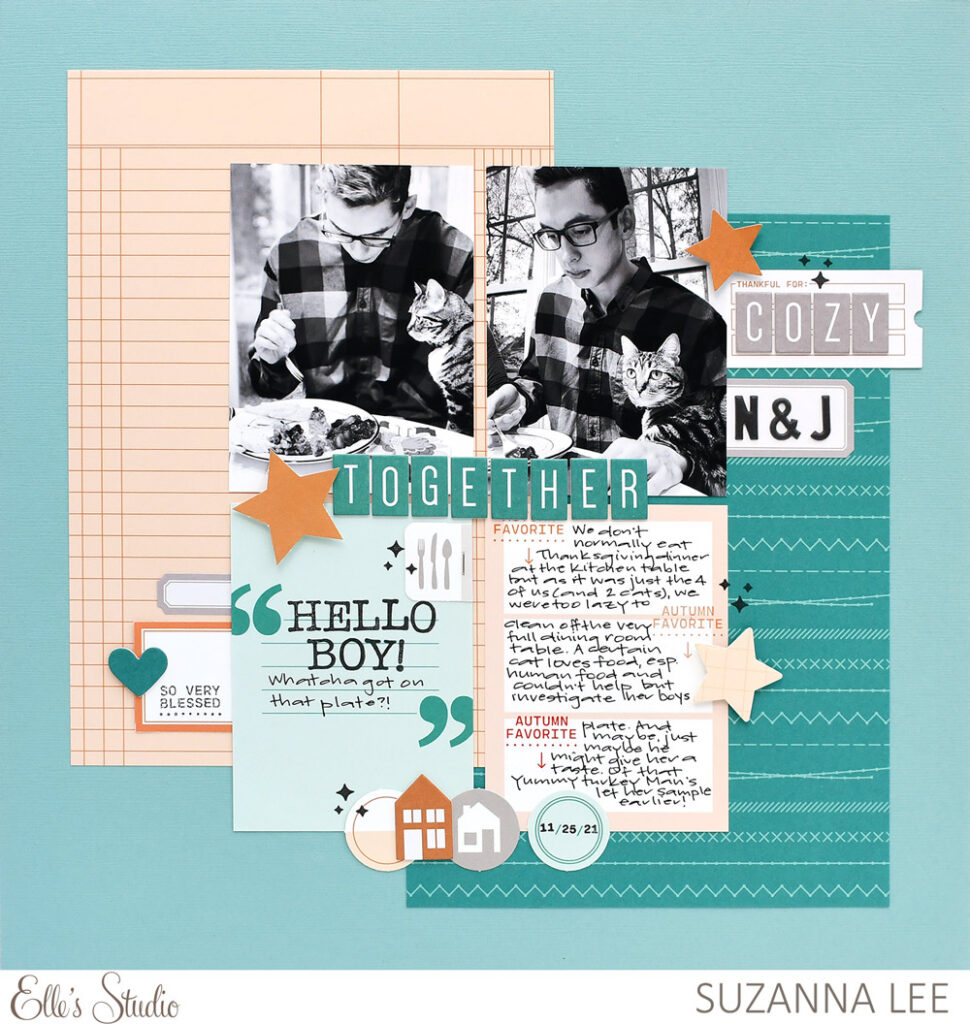
Cozy Together by Suzanna Lee – supplies used | October 2022 Kit, October Labels, Thankful Die Cuts, Gray Cardstock Label Stickers, Chipboard House Stickers, Cozy Tile Chipboard Stickers, Black Puffy Alphabet Stickers, Autumn Days Stamp, The Tiniest Date Stamp

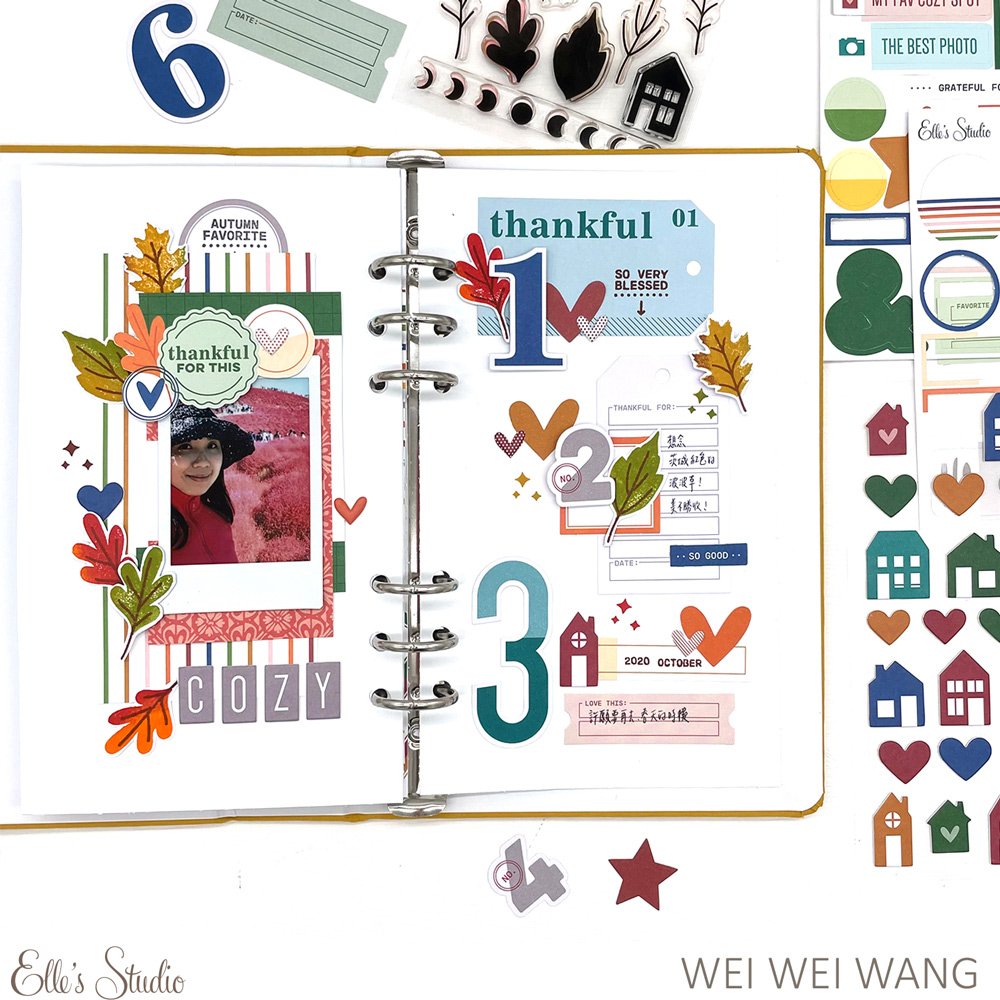
Cozy notebook spread by Wei Wei Wang – supplies used | October 2022 Kit, Thankful Die Cuts, Gray Cardstock Label Stickers, Chipboard House Stickers, Cozy Tile Chipboard Stickers, Autumn Days Stamp, The Tiniest Date Stamp

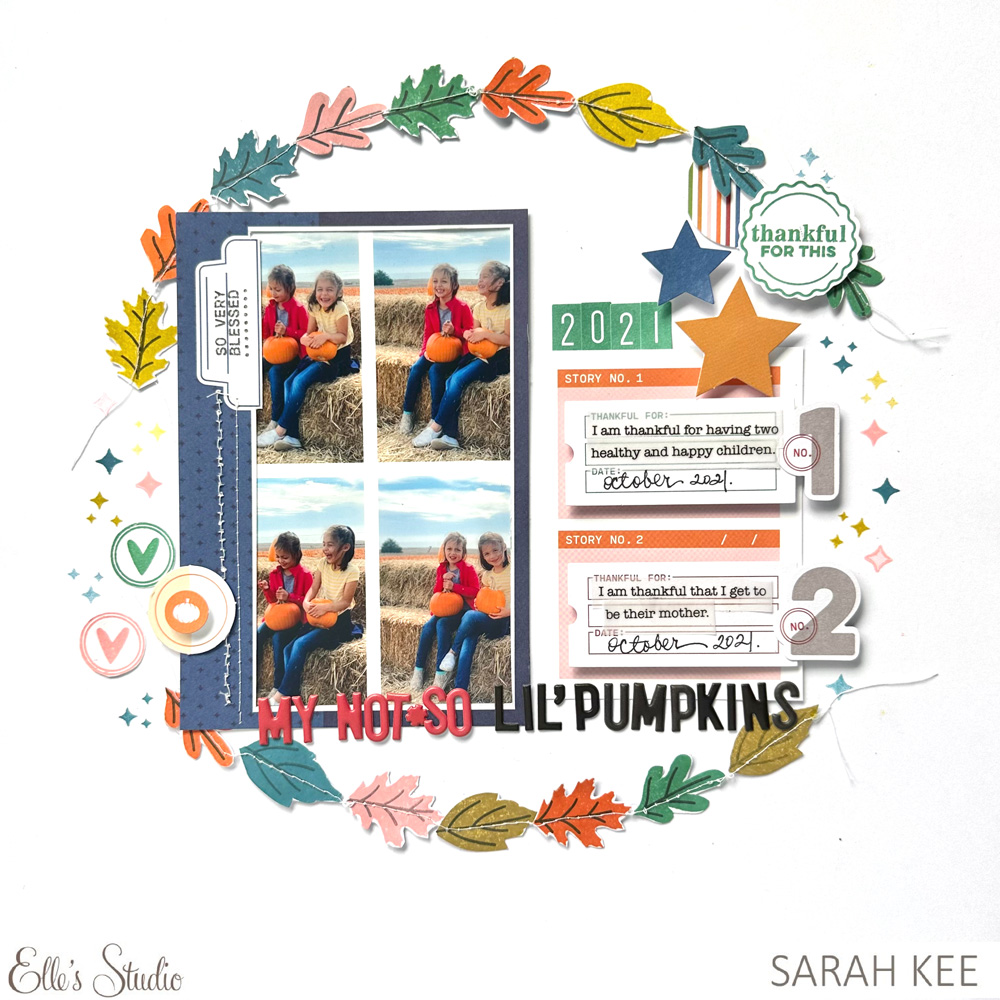
Lil’ Pumpkins by Sarah Kee – supplies used | October 2022 Kit, Thankful Die Cuts, Jane Tile Alphabet Cardstock Stickers – Dark Green, Black Puffy Alphabet Stickers, Fuchsia Puffy Alphabet Stickers, Autumn Days Stamp

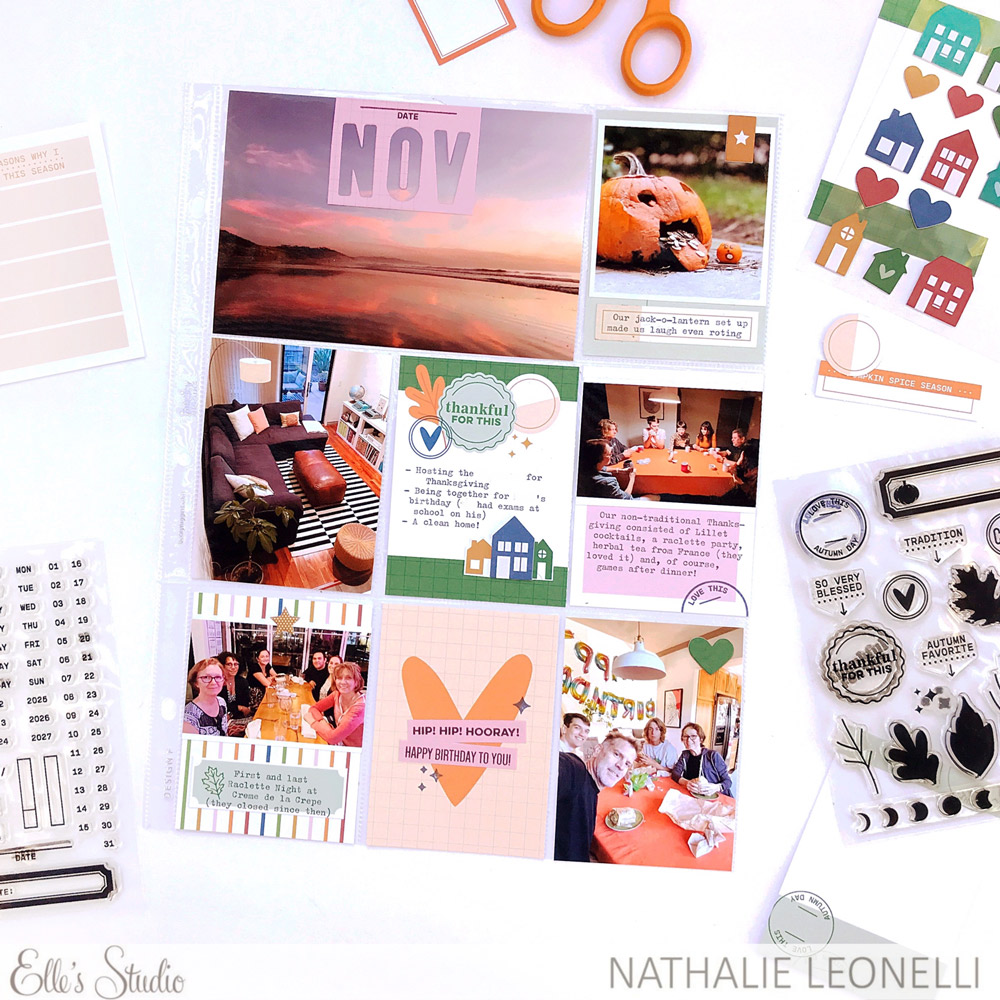
November pocket page by Nathalie Leonelli – supplies used | October 2022 Kit, Chipboard House Stickers, Cozy Tile Chipboard Stickers, Tiny Autumn Hearts and Stars Puffy Stickers, Thankful Paper Stack, Autumn Days Stamp, The Tiniest Date Stamp, Medium Jane Alphabet Metal Die

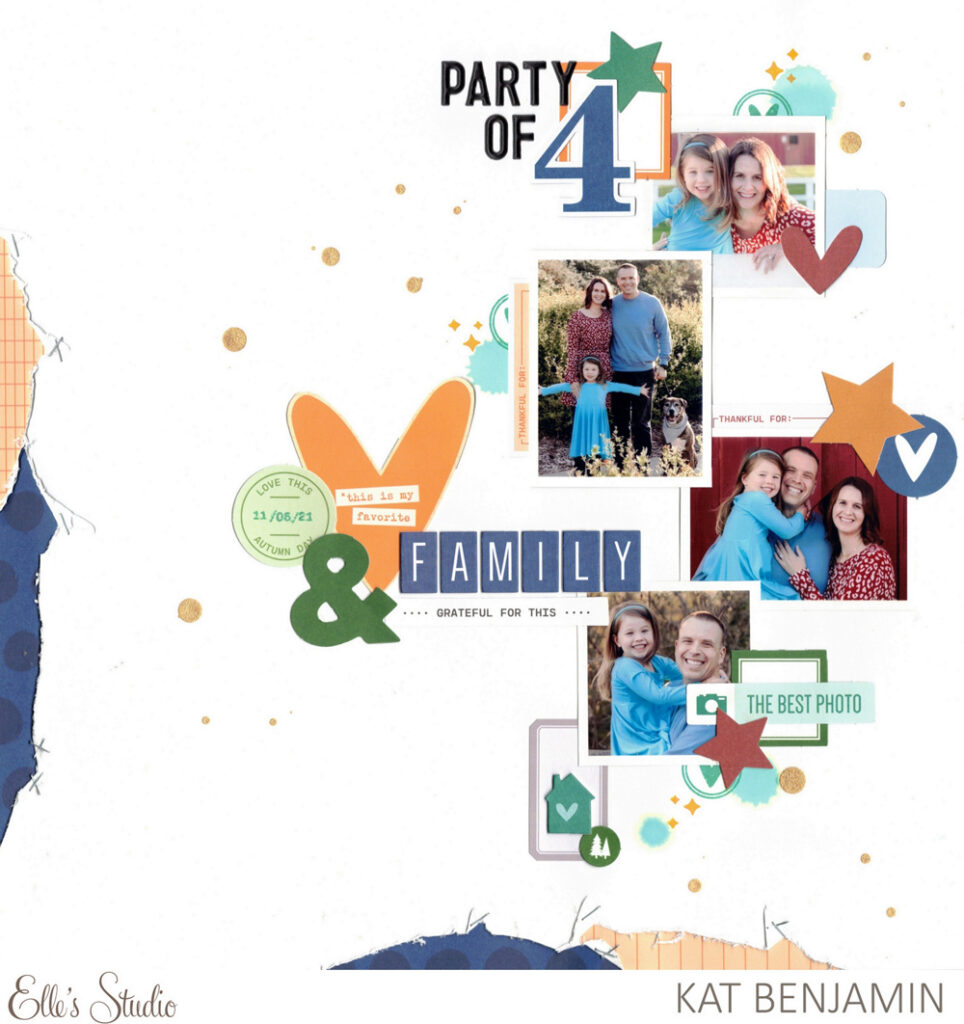
Party of 4 by Kat Benjamin – supplies used | October 2022 Kit, Thankful Die Cuts, Gray Cardstock Label Stickers, Chipboard House Stickers, Cozy Tile Chipboard Stickers, Black Puffy Alphabet Stickers, Thankful Paper Stack, Autumn Days Stamp, The Tiniest Date Stamp

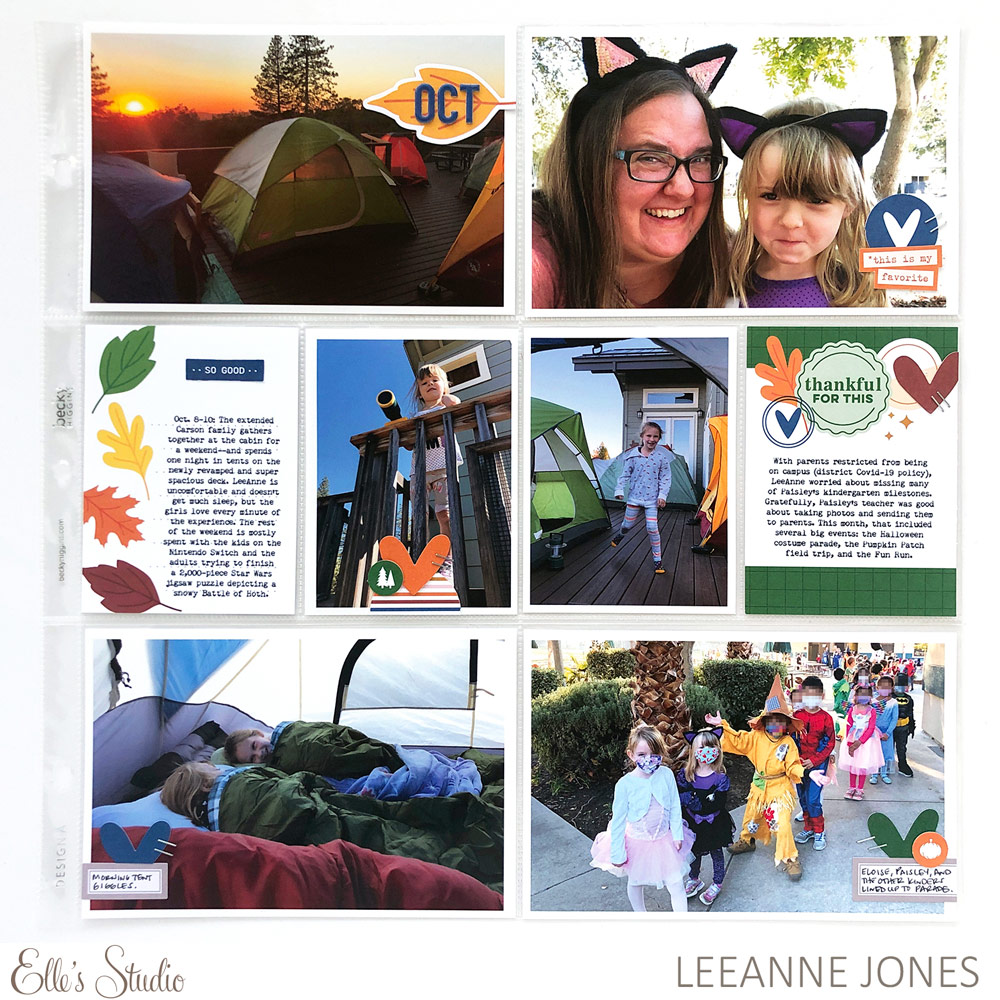
This is October pocket page by LeeAnne Jones – supplies used | October 2022 Kit, Thankful Die Cuts, Autumn Die CutsGray Cardstock Label Stickers, Navy Puffy Alphabet Stickers

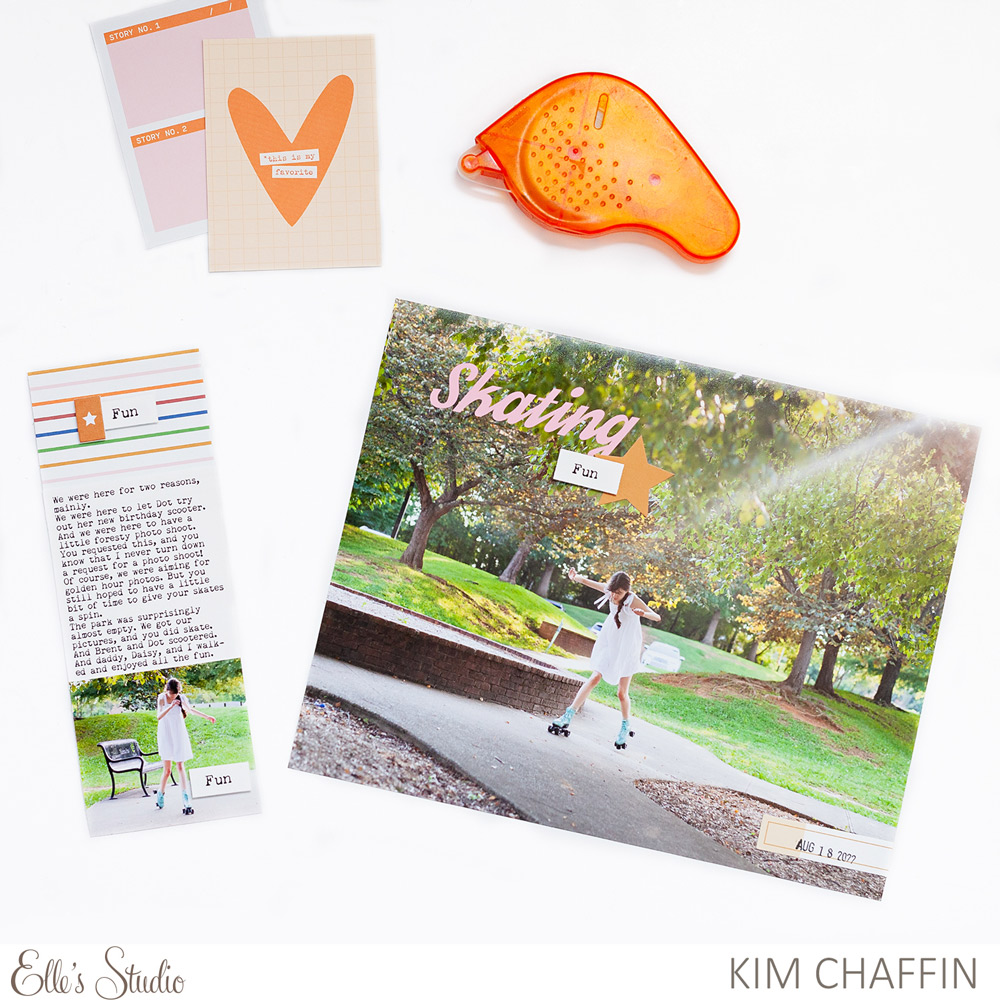
Skating Fun by Kim Chaffin – supplies used | October 2022 KitCozy Tile Chipboard Stickers

We can’t wait to see how these projects inspired you! Share what you create when your kit arrives by using the #EllesStudio hashtag on Instagram, or on the discussion board in our Facebook Group!
Our October kit and add-ons have arrived

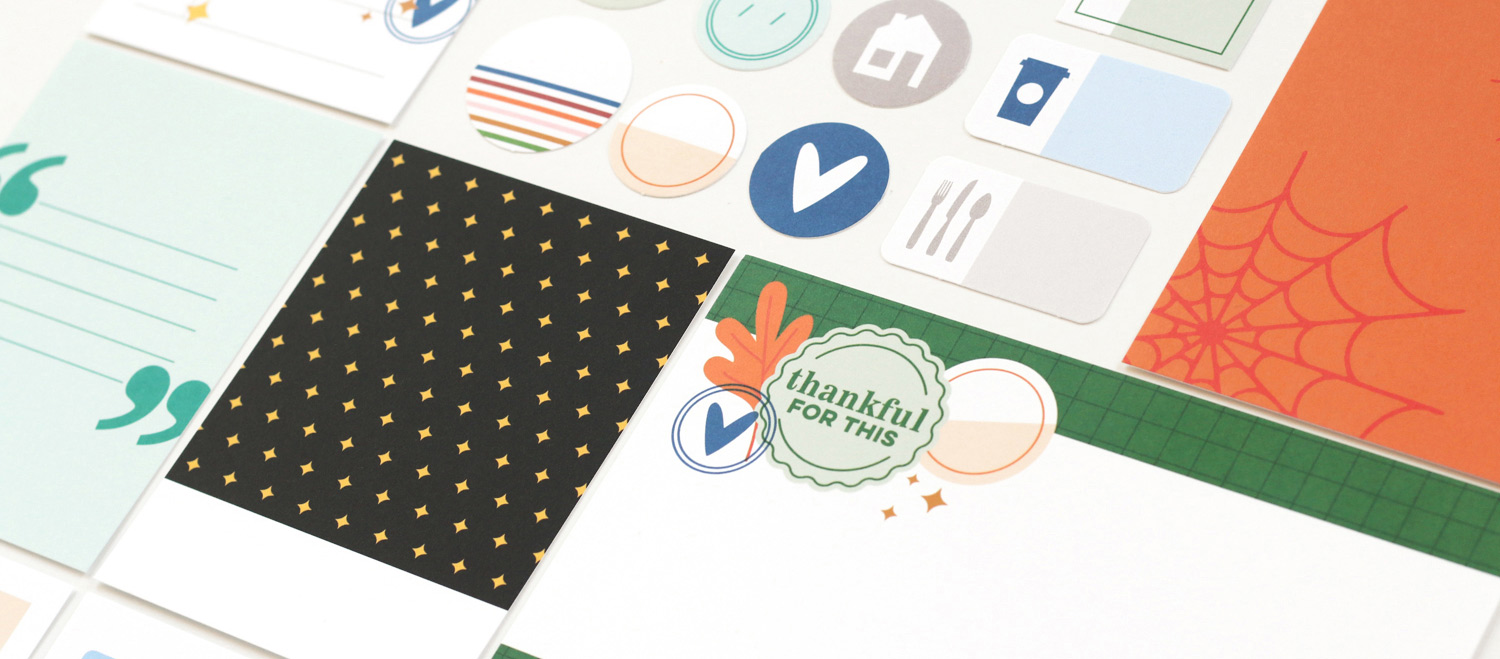
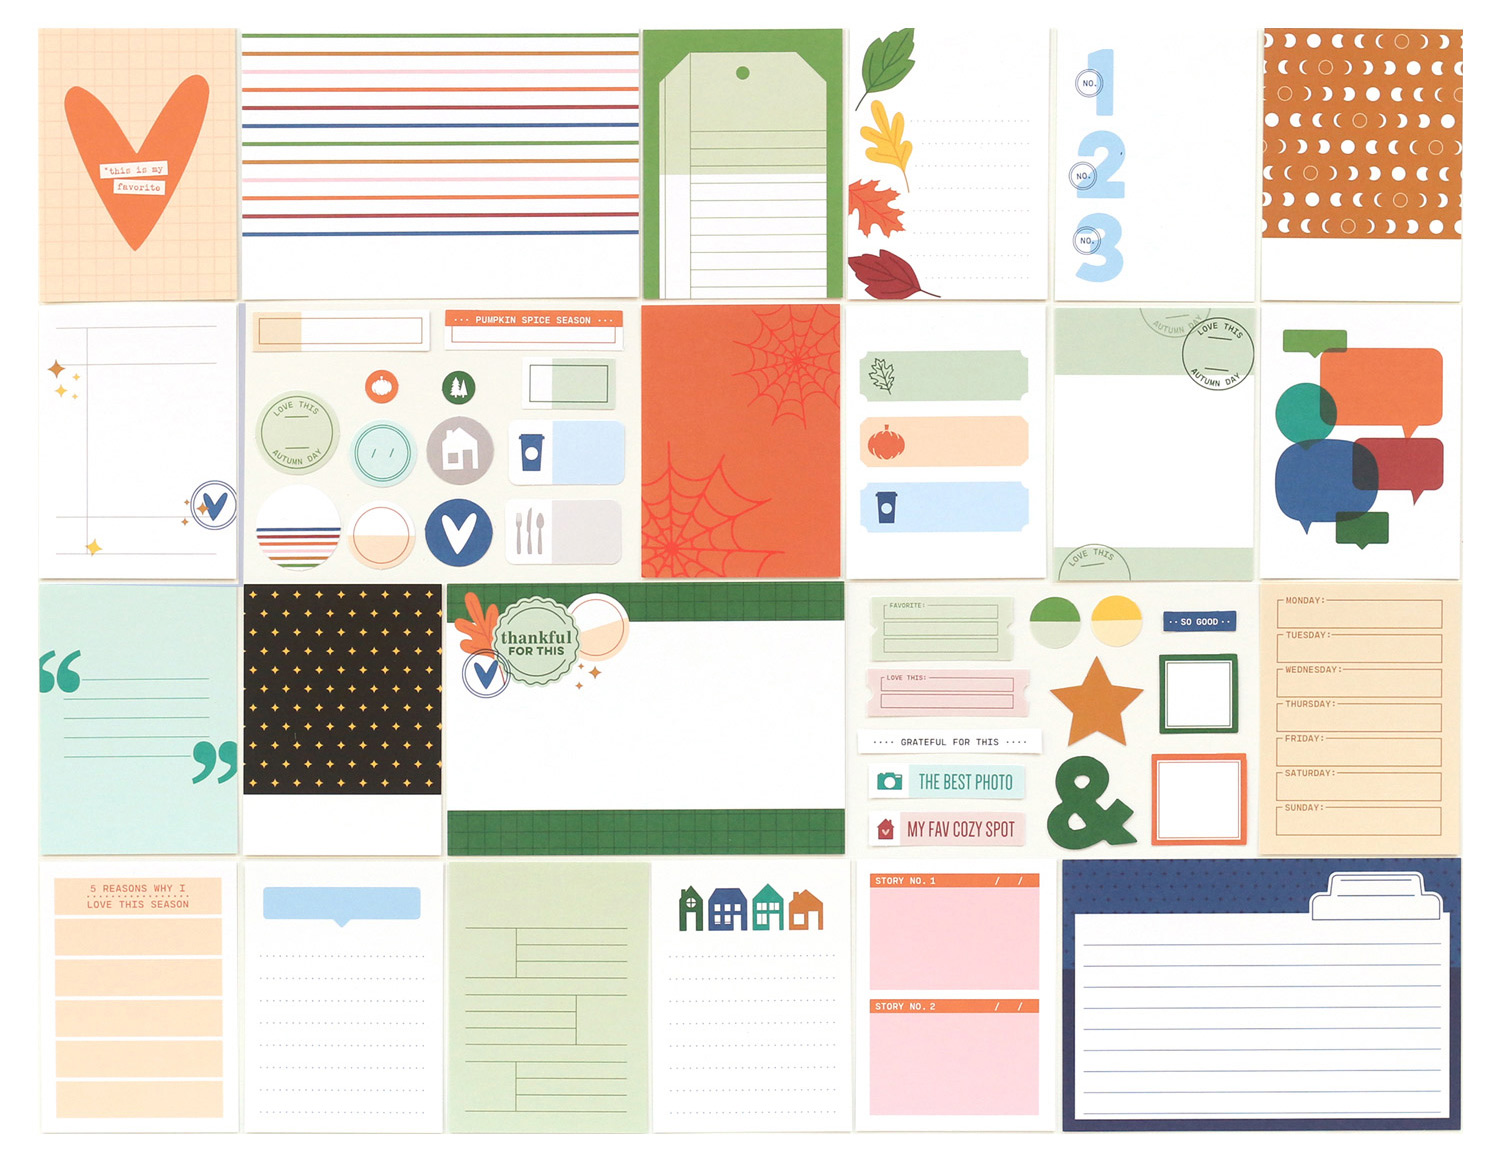
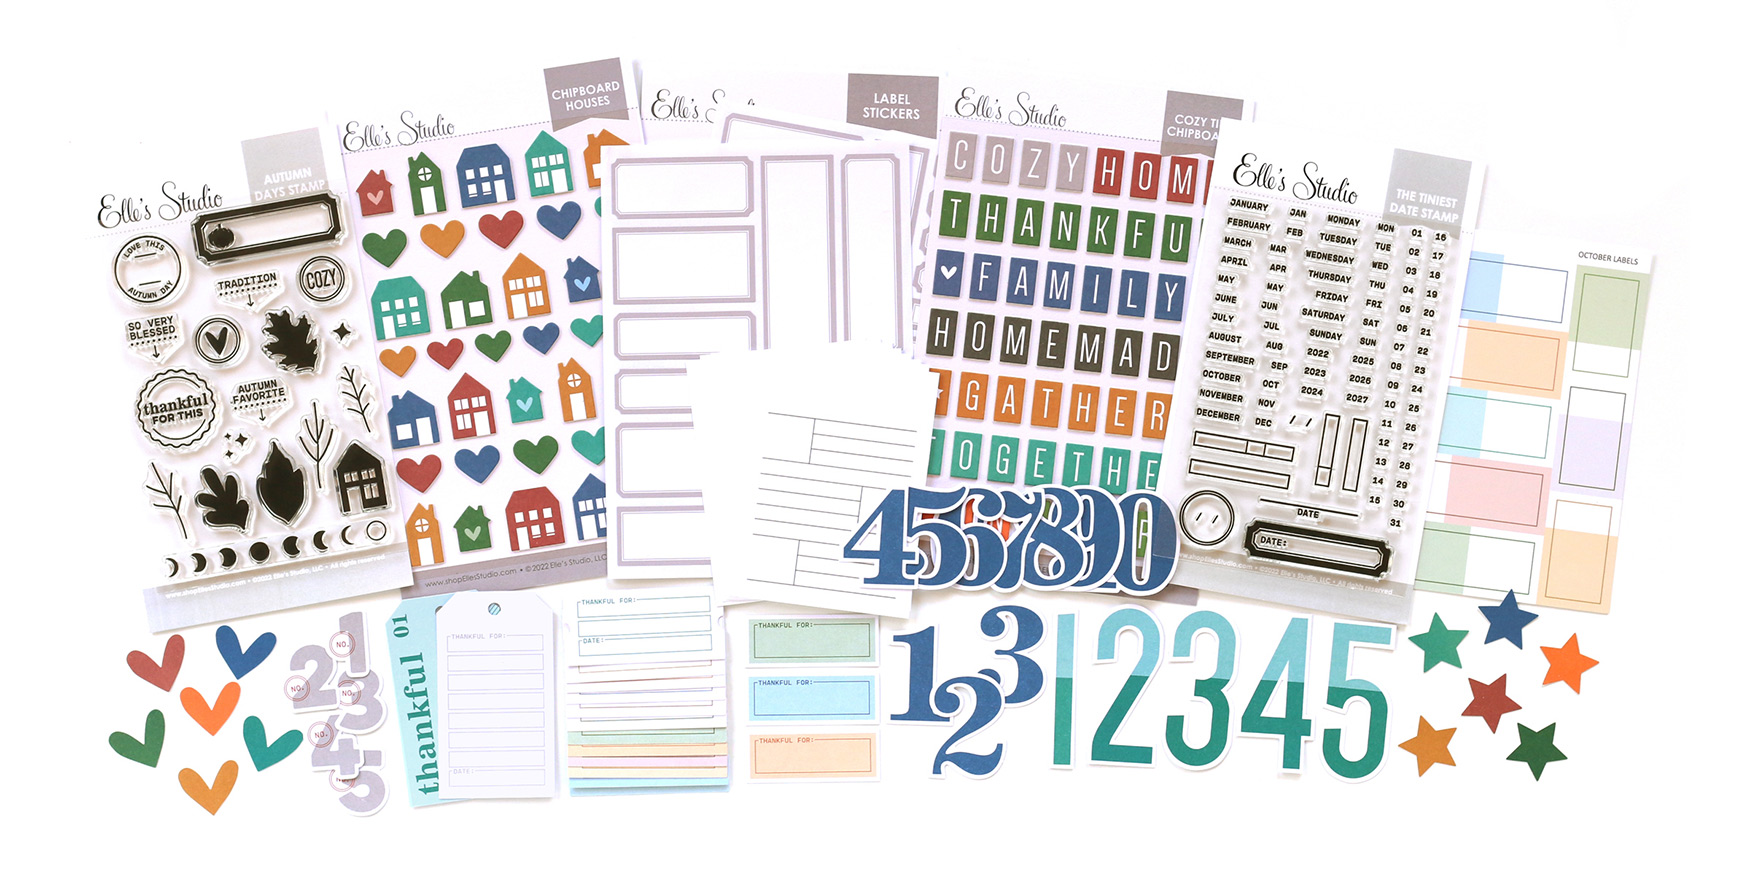
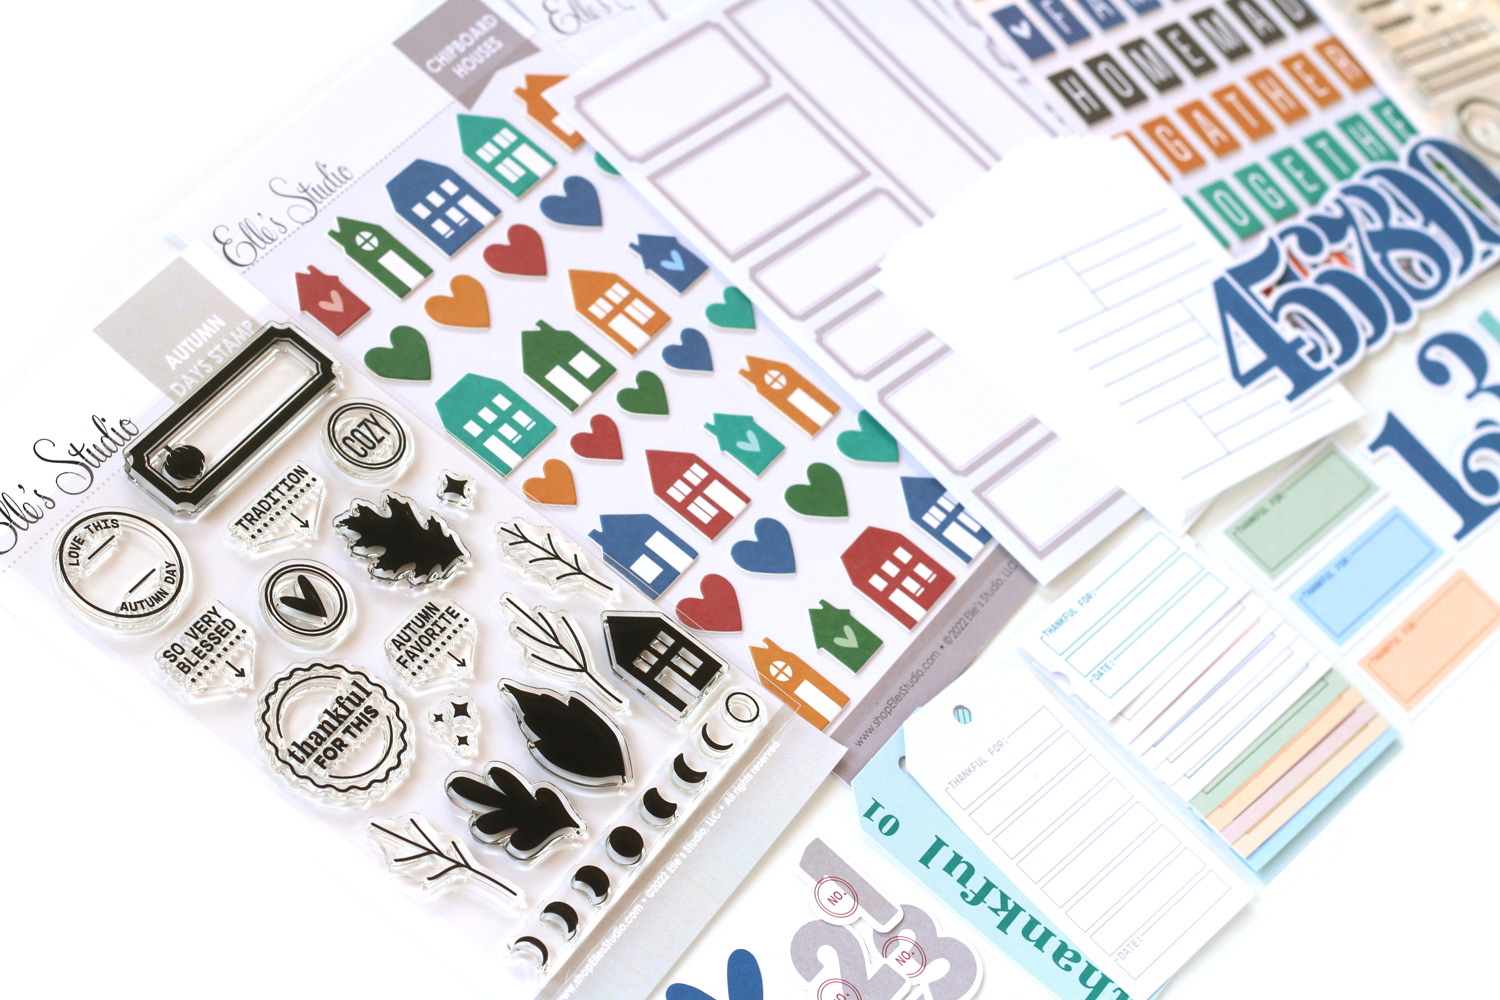
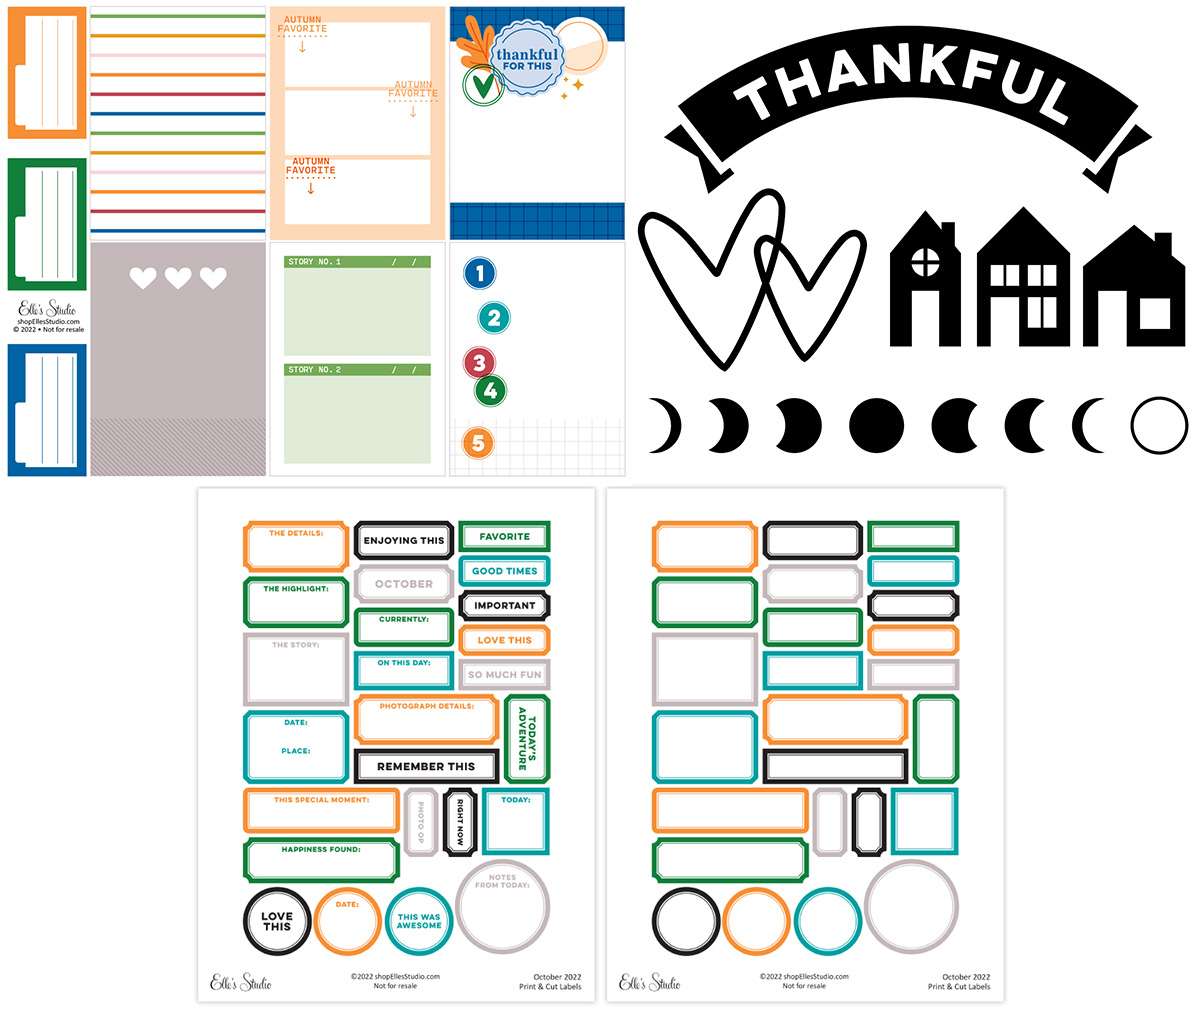
Our October reveal is here and we are excited to share all of the brand new and exclusive products that are now available in our shop today! Our October kit includes 3 – 4 x 6 inch tags, 18 – 3 x 4 inch tags, and 25 die cuts, that will work great on your scrapbooking layouts, pocket pages, traveler’s notebooks, cards, planners, and more! When designing our kits, we love to think of tags that can be used as prompts to help make it easier for you to get your story started and documented, and this kit is full of those and so much more!

Here’s the first look at all of the fun tags and die cuts included in this kit:

Our monthly kits are limited and once they sell out we will not be restocking! Look for a new kit on the 10th each month at 8:00 am Pacific! Our kits are available for single purchase or select our subscription option to subscribe and SAVE!

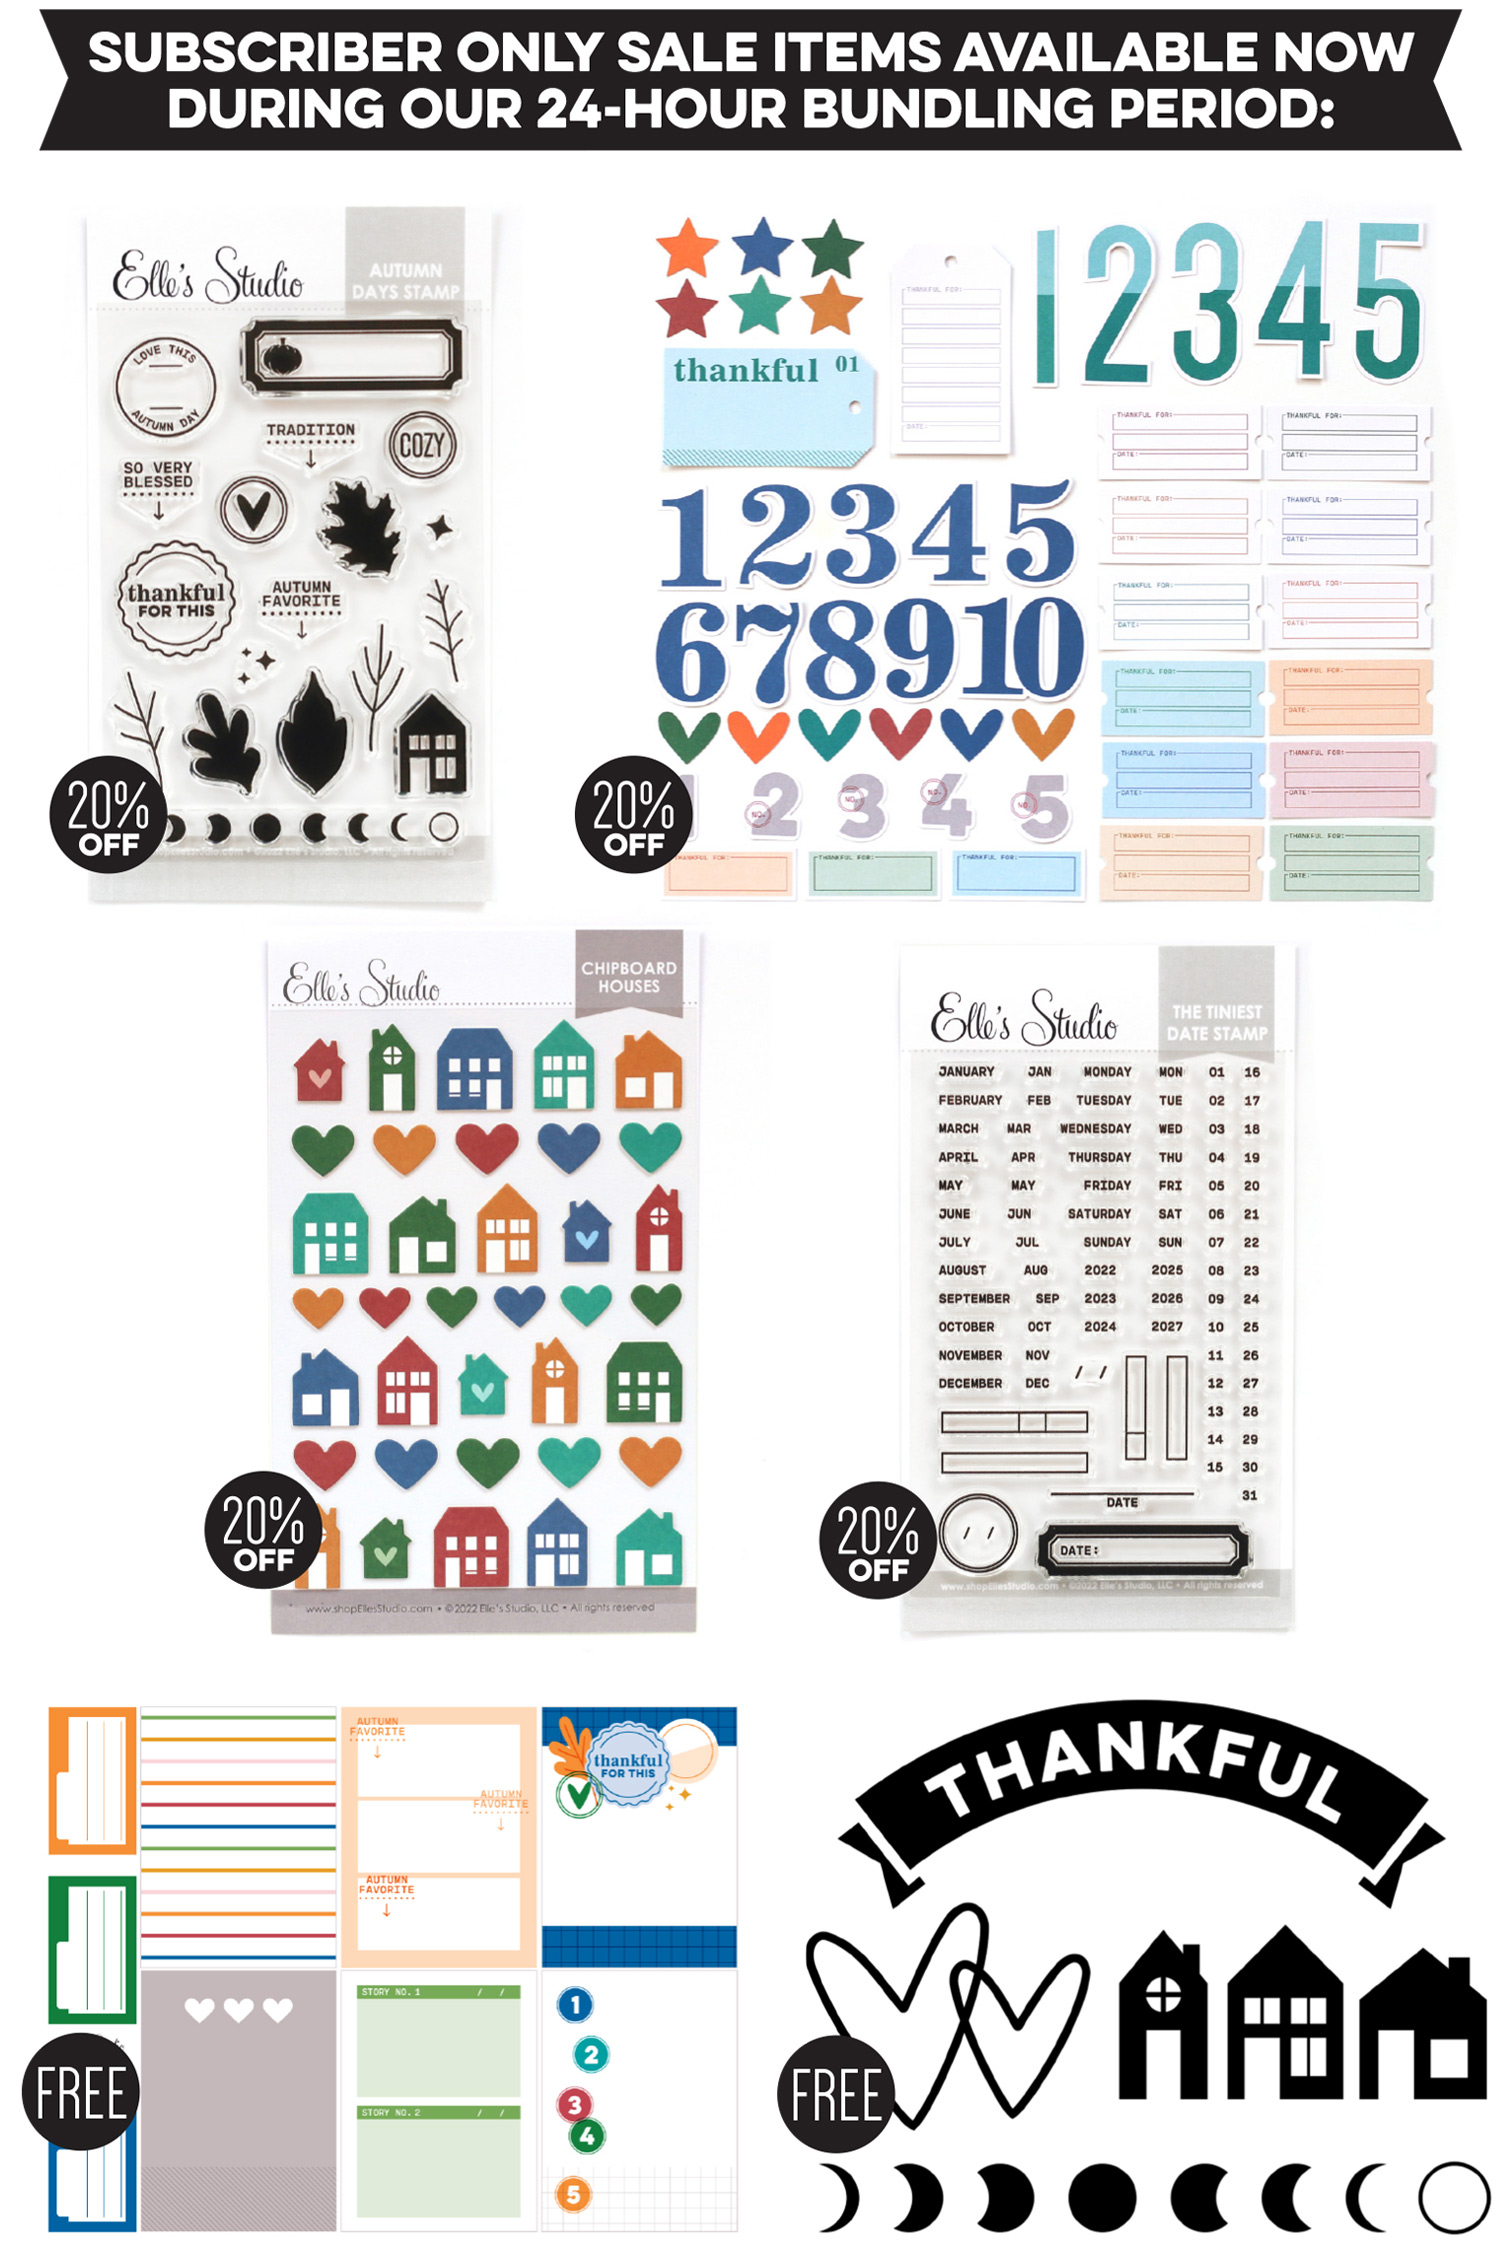
Here’s a peek of all the new and exclusive add-ons we have available this month! All of our coordinating add-ons can be purchased separately, so you have a chance to pick the products that work for your stash and what you’re documenting now, and if you need more than one, you can purchase multiples, too! The new items added to the shop for October are: stamps (Autumn Days and The Tiniest Date Stamp), Thankful die cuts, chipboard stickers (Houses and Cozy Tile), Gray cardstock label stickers, Black puffy alphabet stickers, journaling Grid tags, and October labels.

Our digital files this month include coordinating printables, cut files, and print and cut labels that coordinate with our kit – once you download these files, you can use/print them over and over again!

Subscribers, you can start bundling now! Bundling is easy – just log into your account and use the “Bundle with my kit subscription” shipping option during checkout to receive FREE shipping on any extra items purchased from our shop that will ship with your kit. This option will only be available during our 24-hour bundling period.

Not a subscriber? Don’t wait any longer to sign up! Subscribe today to lock in our special kit price of $9.99 + shipping, and you’ll be able to bundle any additional products from our shop and have them ship for FREE with your kit subscription, during our 24-hour bundling period, starting on the 10th at 8:00 am Pacific!
When starting a new subscription: you’ll want to first check out with only the kit subscription in your cart. After you have subscribed to our kit, you will then be able to see your special discounts on select items in our SALE section during our 24-hour bundling period! You must be logged into your kit subscriber account to see your discounted items. Quick note: Our subscription is risk free and can be cancelled at any time by emailing us. Our monthly kit and add-ons are available without a subscription each month, too.

Here’s a look at the items on sale for our subscribers only this month:

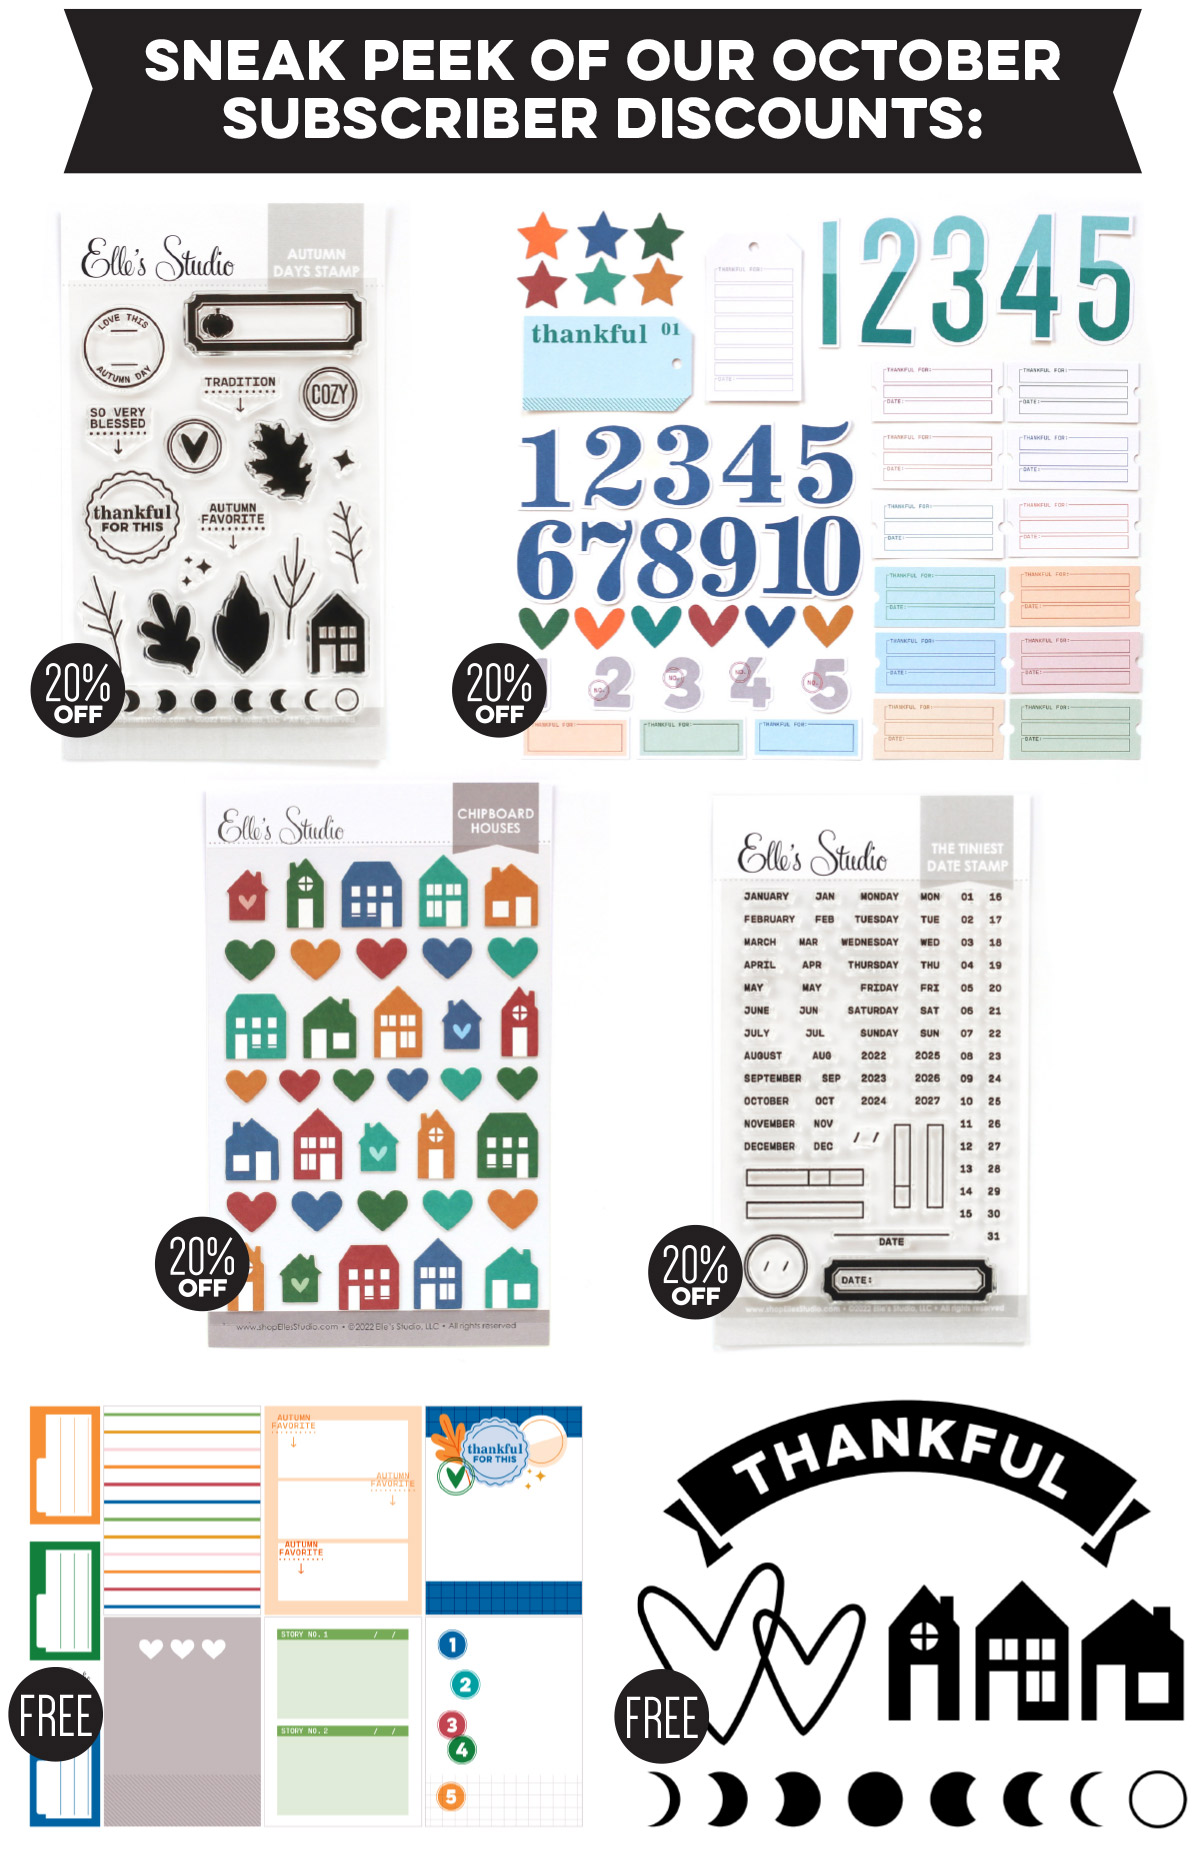
Subscribers: Pick up these six items for FREE to 20% off during our 24 hour bundling period that is going on now and ends on Tuesday, October 11th at 8:00 am Pacific! Please make sure you are logged into your subscriber account, then click on the SALE section to see these items on sale! Once you are logged in, you’ll see your special discounted product listing that specifies Sub Discount.

Looking for more inspiration? Our design team is ready to inspire you with brand new, fresh inspiration using the new products this month! You’ll be able to find their amazing inspiration in our product listings so you can see their projects while you shop! We will also be showcasing our team’s projects on the blog later today, and throughout the entire month!
Thank you so much for joining us today! We are so grateful to be a part of this amazing community and are excited to see how you use these new products! Make sure you share your projects with us in our Facebook group and make sure you use the #EllesStudio hashtag when posting on Instagram for a chance to be featured on our feed and win a gift certificate to our shop!

October Design Team Sneak Peeks

We are just two days away from our October kit and add-ons reveal and we are so excited to be able to share these fun sneak peeks of amazing projects our team made using all the new products that will be available soon! Our October reveal will be full of exclusive products that we’ve designed and will have you ready to document your October stories and take you right into the month of November! Look for these products and more, available in our shop, on Monday, October 10th at 8:00 am Pacific!

Not a subscriber? Reserve your spot now by pre-ordering our October kit and lock in our $9.99 kit price by starting a subscription today! You’ll want to choose our SUBSCRIBE & SAVE option to get signed up and start your subscription with our October kit. We will then hold your kit and you’ll be ready to bundle and save at our October 10th reveal! Details on how to bundle with your subscription order will be emailed to you once you have purchased this product.

Kit subscribers, don’t forget! Along with being able to bundle any products from our shop that will ship for FREE with your kit during our 24-hour bundling period, starting on the 10th at 8:00 am Pacific each month, our subscribers will also have access to special discounts on select items! Above is a preview of our October discounts and savings that will be available for our subscribers during our October bundling period! These discounted items can be found in our SALE section during our 24-hour bundling period, and you must be logged into your kit subscriber account to see them. If you haven’t subscribed to our kit, sign up now to take advantage of these special offers on October 10th!

We are so excited to share all of these new products with you and to see how you use them on your projects! Make sure you set your alarm and mark your calendar for this Monday, October 10th at 8:00 am Pacific! We hope to see you there!

Best of Friends Week: Card Sketches with Melissa Mann

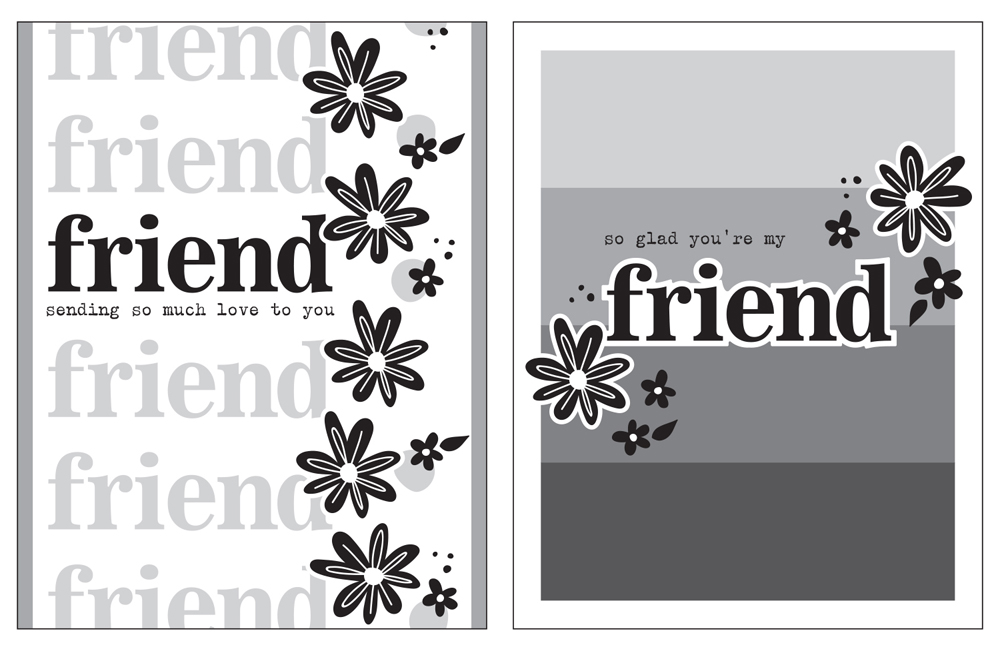
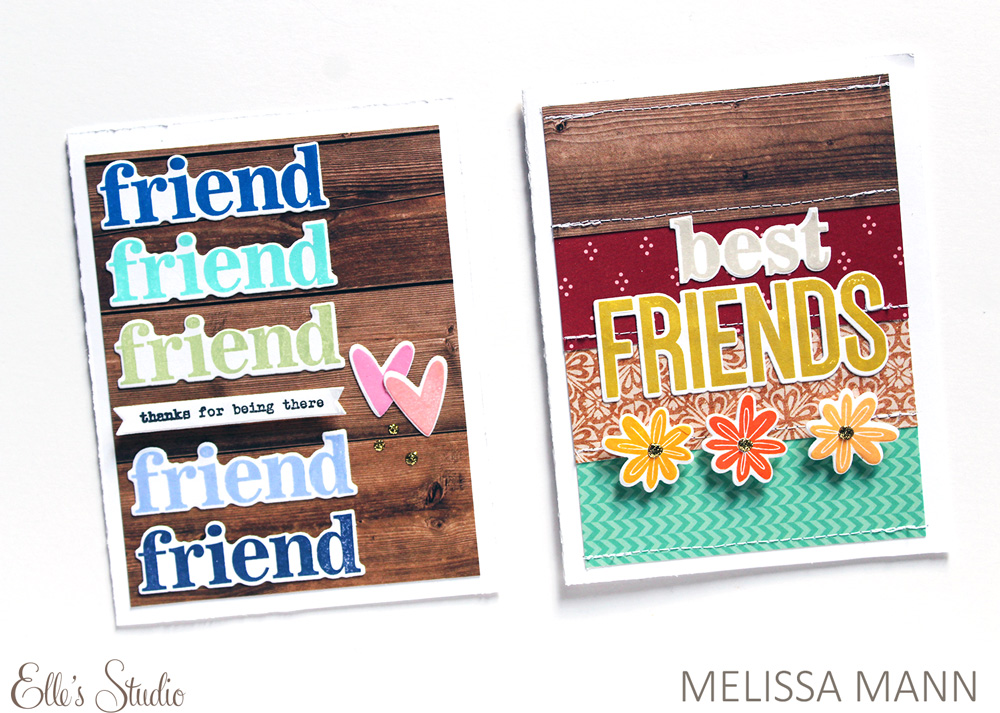
Hello! This is Melissa with you today sharing brand new greeting cards created using the new  Sincere Sentiments: Best of Friends stamps and coordinating metal dies. This release makes it super easy to create lovely cards for all those good friends in your life, and even easier when you have a sketch to inspire you! Today, we have two!

Take a look at the cards I created starting with the sketches!

Supplies |  Sincere Sentiments Best of Friends StampSincere Sentiments Best of Friends Metal DieSincere Sentiments Best of Friends Add-on StampSincere Sentiments Best of Friends Add-on Metal Die, Thankful Paper Stack, Adventure Paper Stack, Good Times Paper Stack

I loved the sketches for these cards. Card making is always a challenge for me, but with a good sketch, the possibilities are endless! I stuck pretty closely to each sketch for these cards, but was still able to add my own twist to each one. 

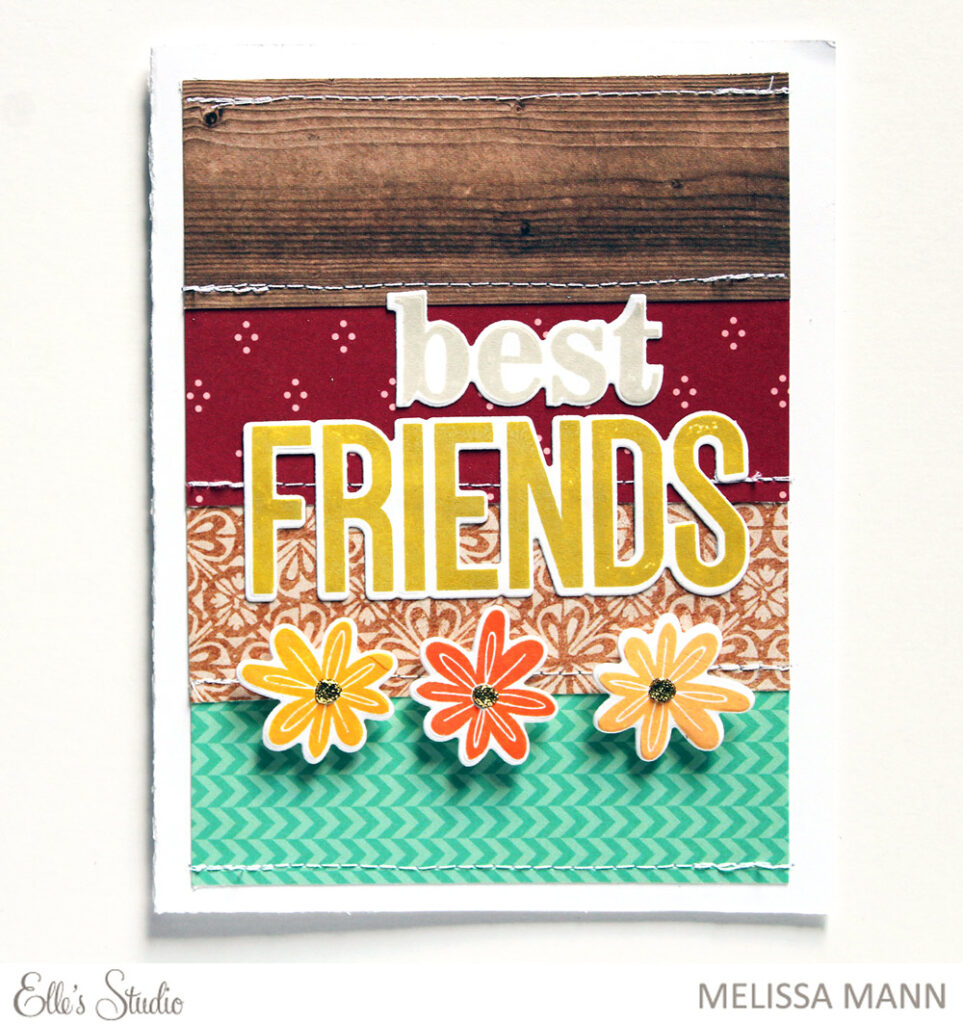
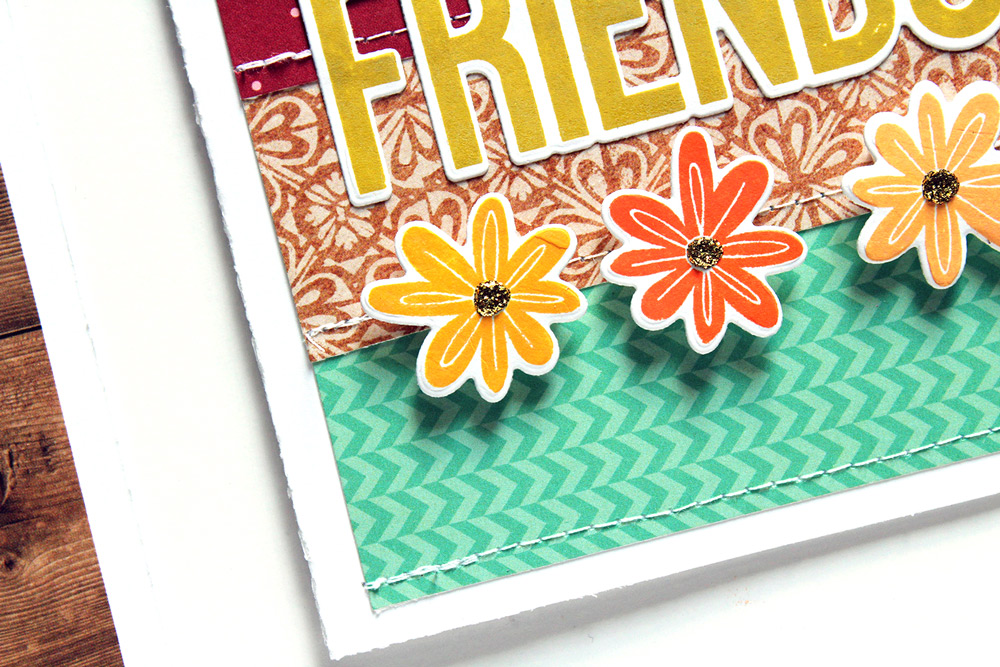
For the first card, I really wanted to bring in some colors to express a sense of warmth. I picked out several pieces of paper in autumn hues and layered them onto a white cardstock background and stitched them in place. I stamped out the words “friends” and “best” from the Best of Friends Stamp in green and gray inks and used the Metal Die to cut them out. I adhered these words down and then added three small flowers stamped out with the Best of Friends Add-on Stamp and placed them below my sentiment. I used sparkly gold glue to fill in the center of my flowers.

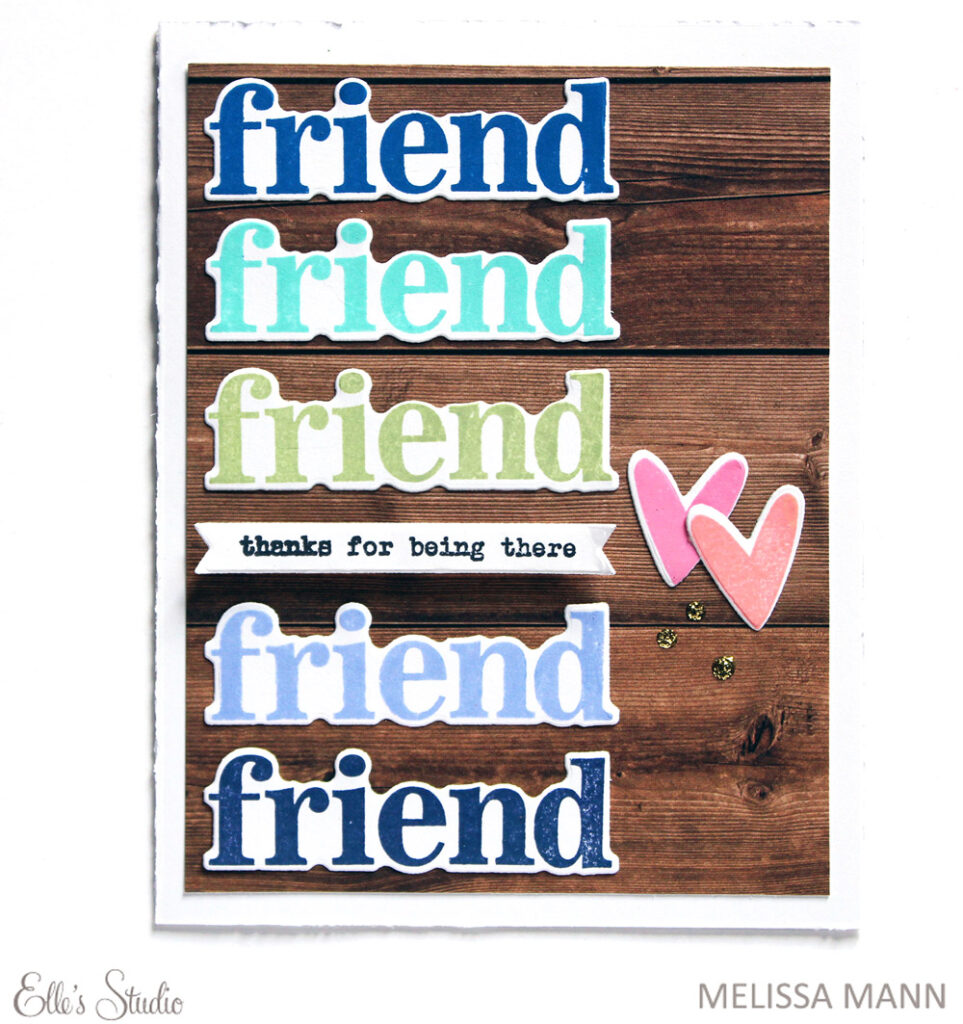
For my second card, I again used the wood grain patterned paper as my background and stamped out the word “friend” from the Best of Friends Add-on Stamp five times with different ink colors. I layered these vertically down the left side of my card before stamping a smaller sentiment and using the banner die from the Best of Friends Metal Die to cut it out. This was layered in between the “friend” sentiments. I stamped out two hearts and die cut them before placing on my card. Lastly, I accented with gold sparkly enamel dots. 

I can’t wait to see how you will use these brand new Best of Friends stamps and dies! These great products can be used in multiple ways. Thanks for stopping by!

Best of Friends Week: Slimline Sentiments with Wei Wei Wang

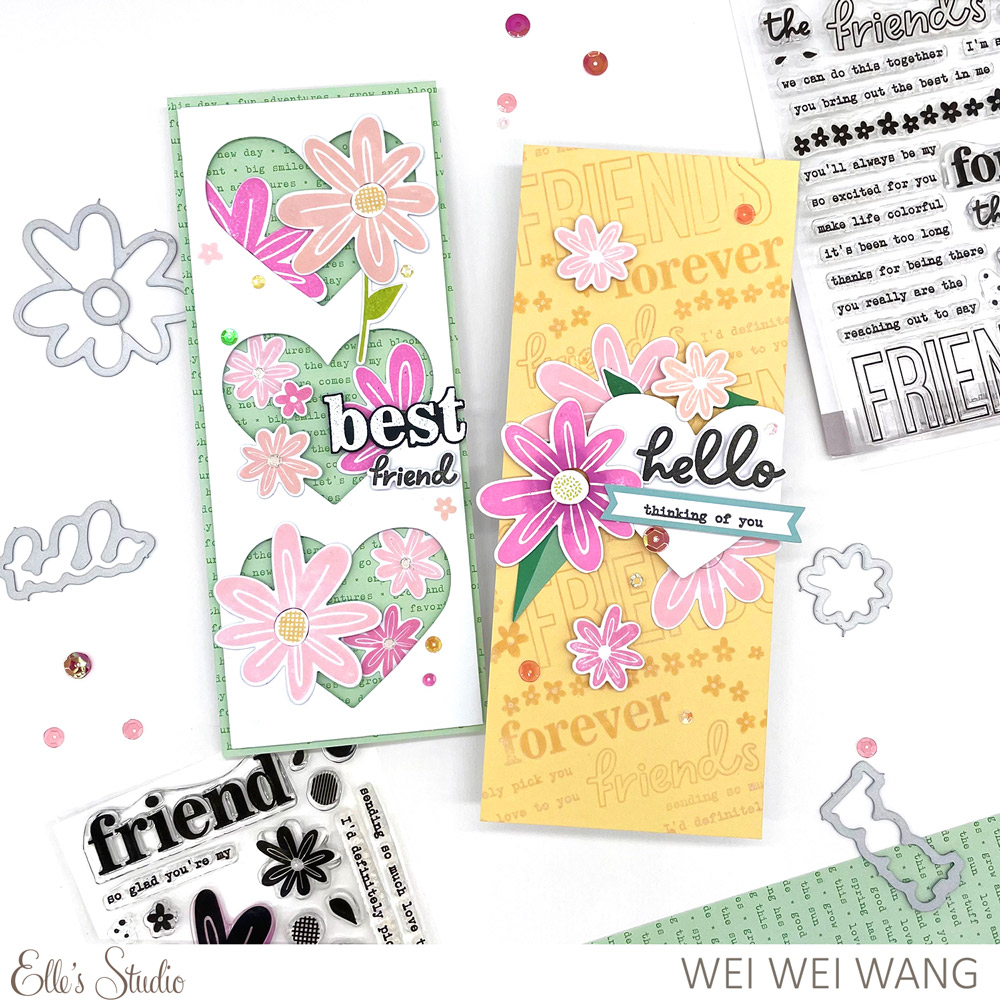
Hello, Elle’s Studio friends! It’s Wei Wei here to share floral slimline cards featuring the new Sincere Sentiments collection: Best of Friends!

I used the newest Sincere Sentiments Best of Friends Stamp, Sincere Sentiments Best of Friends Add-on Stamp and matching dies along with other great card-making supplies from the shop to create these cards.

Supplies | Sincere Sentiments Best of Friends StampSincere Sentiments Best of Friends Metal DieSincere Sentiments Best of Friends Add-on StampSincere Sentiments Best of Friends Add-on Metal Die, Love Notes Metal Die, The Best Paper Stack, Warm Solids Paper Stack, Flower Die Cuts

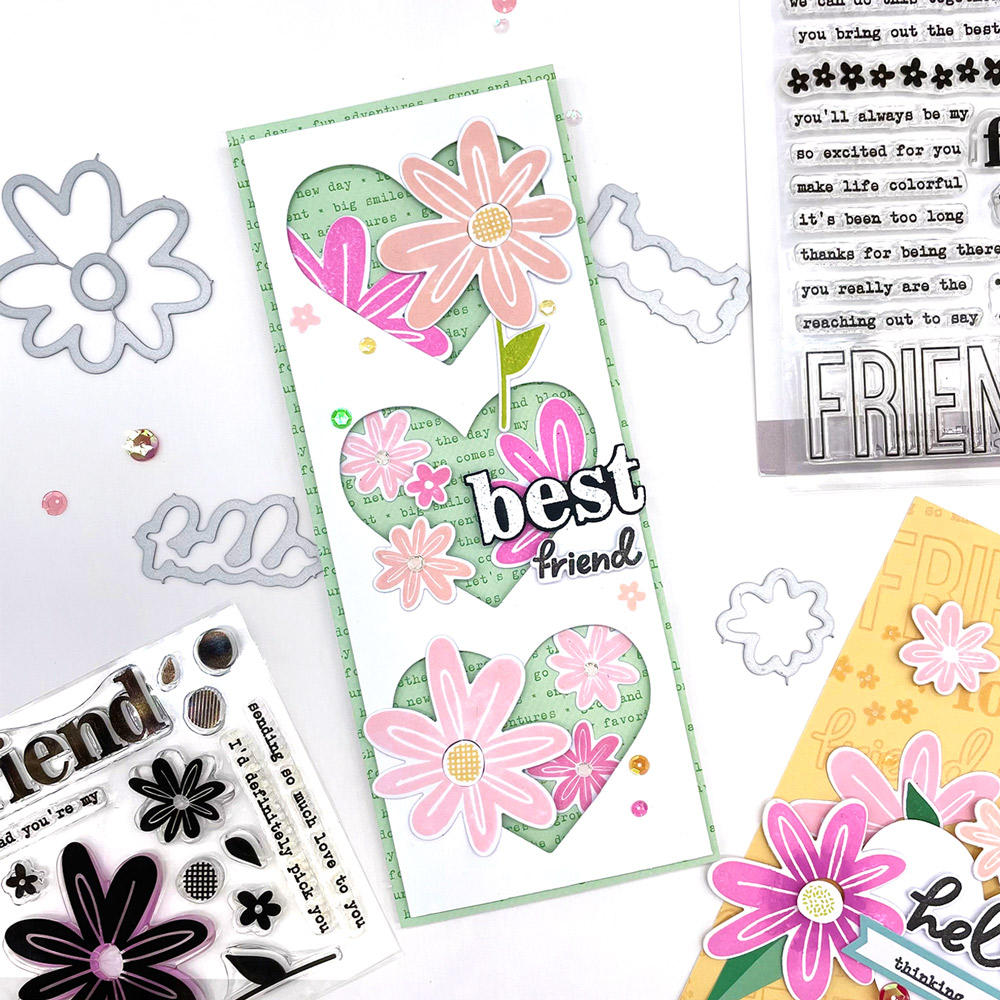
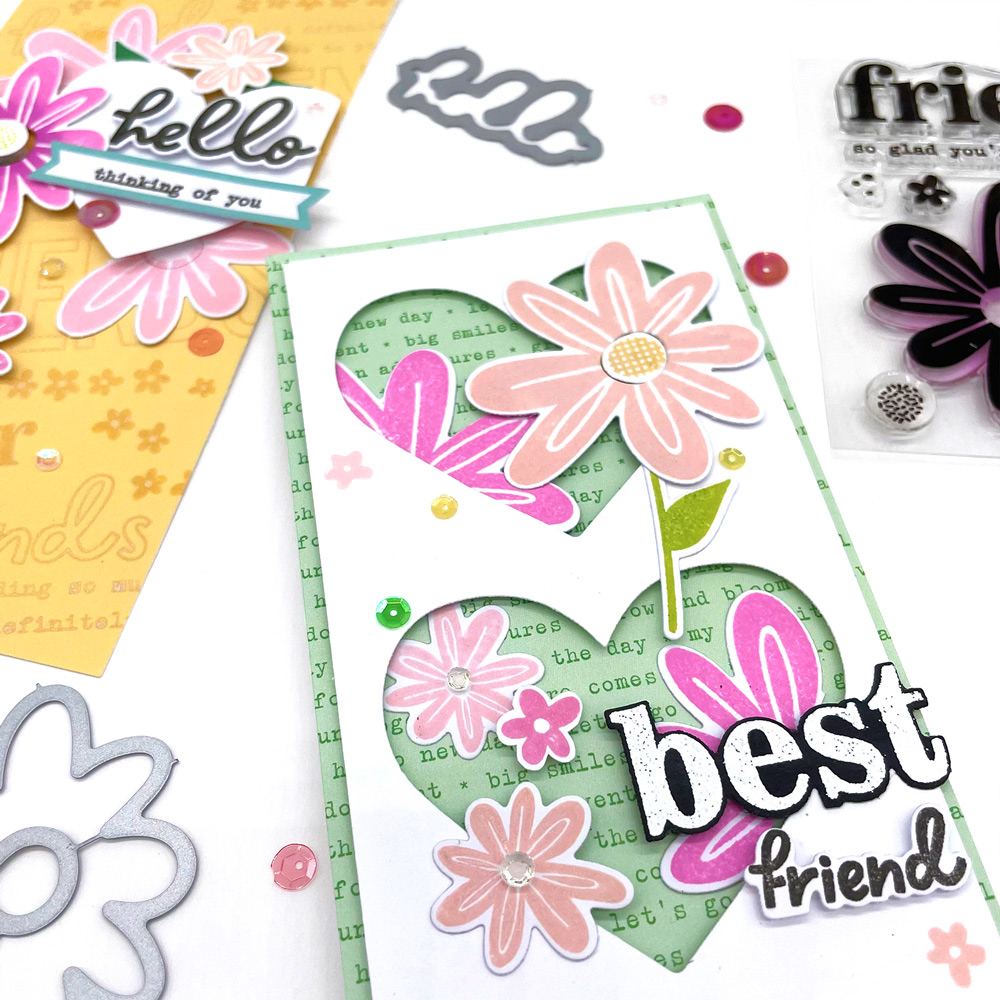
This first card started with the Love Notes Metal Die. I discarded the cut hearts and kept the negative part to create three windows. Underneath, I layered papers from The Best Paper Stack.

The beautiful florals are from the Sincere Sentiments Best of Friends Add-on Stamp. I arranged these beautiful stamped florals around the windows and added foam tape for dimension. 

To give the card more dimension and life, I heat embossed “best” in white onto black paper and paired it with “friend”. Both words are from Best of Friends Stamp and cut out with the Best of Friends Metal Die. A few jewels and sequins were added too. I love these, and they go with my card perfectly. 

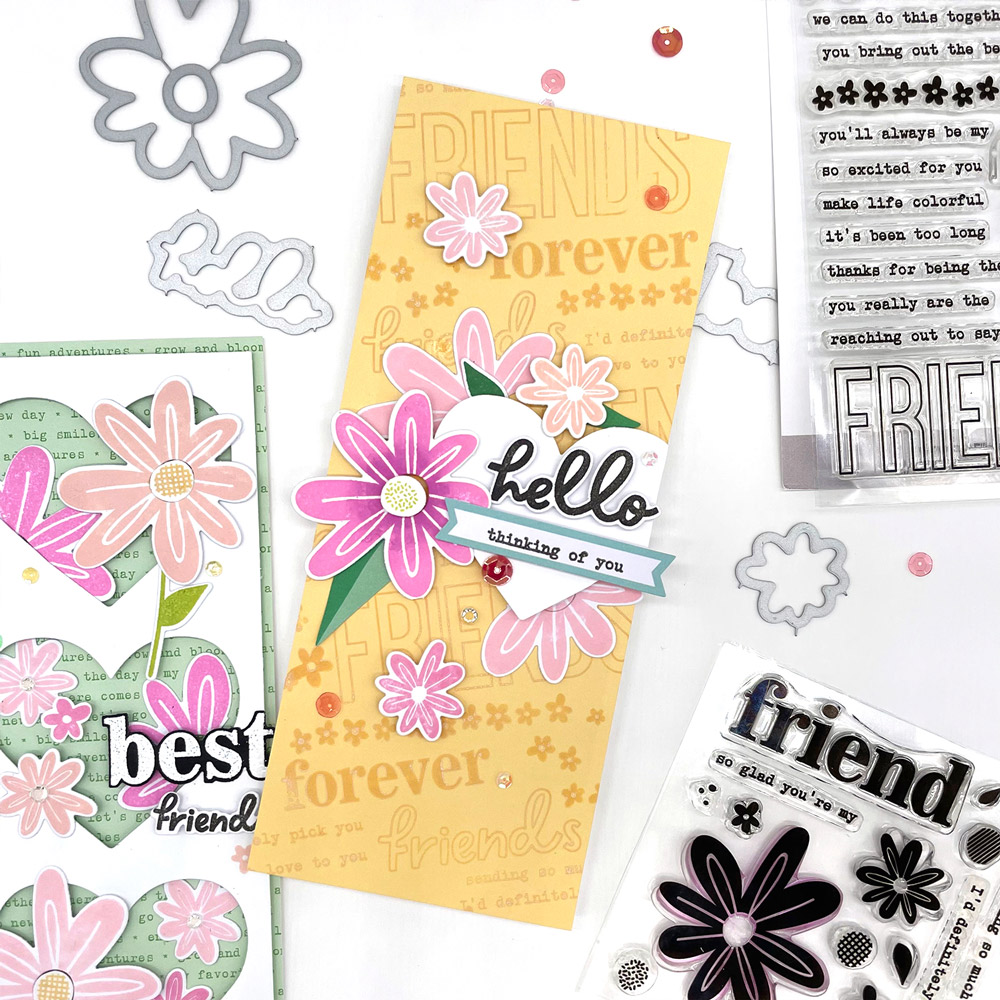
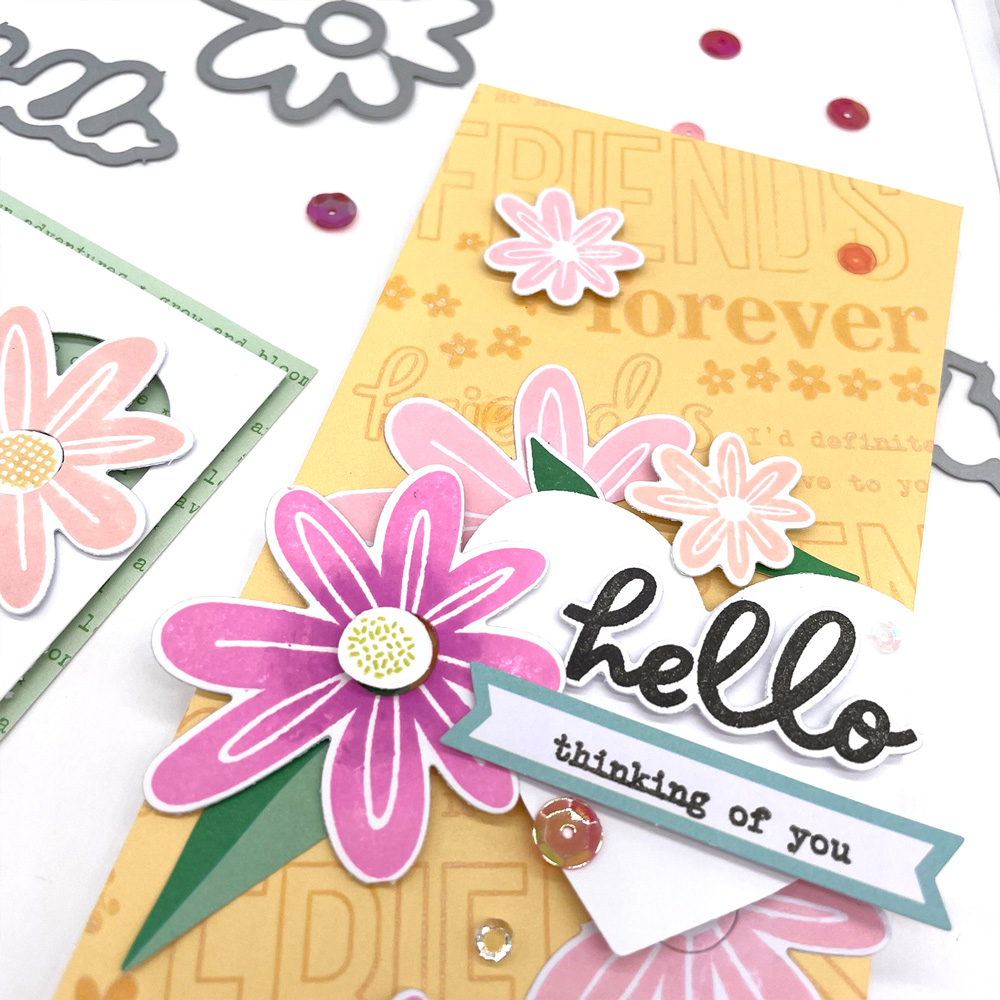
For the second card, I used the Best of Friends Stamp and Best of Friends Add-on Stamp to create my background. I inked the stamps with yellow ink and stamped them all together onto light yellow cardstock from the Warm Solids Paper Stack. This is a fun way to create a sentiment background!

I mounted a die cut heart left over from my first card, to which I layered a black “hello” and a banner with “thinking of you” stamped on top, both from the Best of Friends Stamp.

I once again used the Best of Friends Add-on Stamp to stamp flowers and cut them with their coordinating die to embellish the heart. To finish it off, I added a few sequins for shine.

Thanks so much for stopping by today! Happy creating with the new Best of Friends collection!

Best of Friends Week: Sweet and Simple with Jen McMurtrey

Hello, friends! We are so excited about the new Sincere Sentiments Best of Friends collection, a collaboration between Meghann Andrew and Elle’s Studio that released this week. I am loving all of the floral accents with the lovely friendship sentiments that are perfect for card making or memory keeping projects.

Today, I am sharing two simple and sweet cards that are very easy to assemble, even if you do not typically create cards (like myself).

Supplies | Sincere Sentiments Best of Friends Stamp, Sincere Sentiments Best of Friends Metal Die, Sincere Sentiments Best of Friends Add-on Stamp, Sincere Sentiments Best of Friends Add-on Metal Die, Thankful Paper Stack

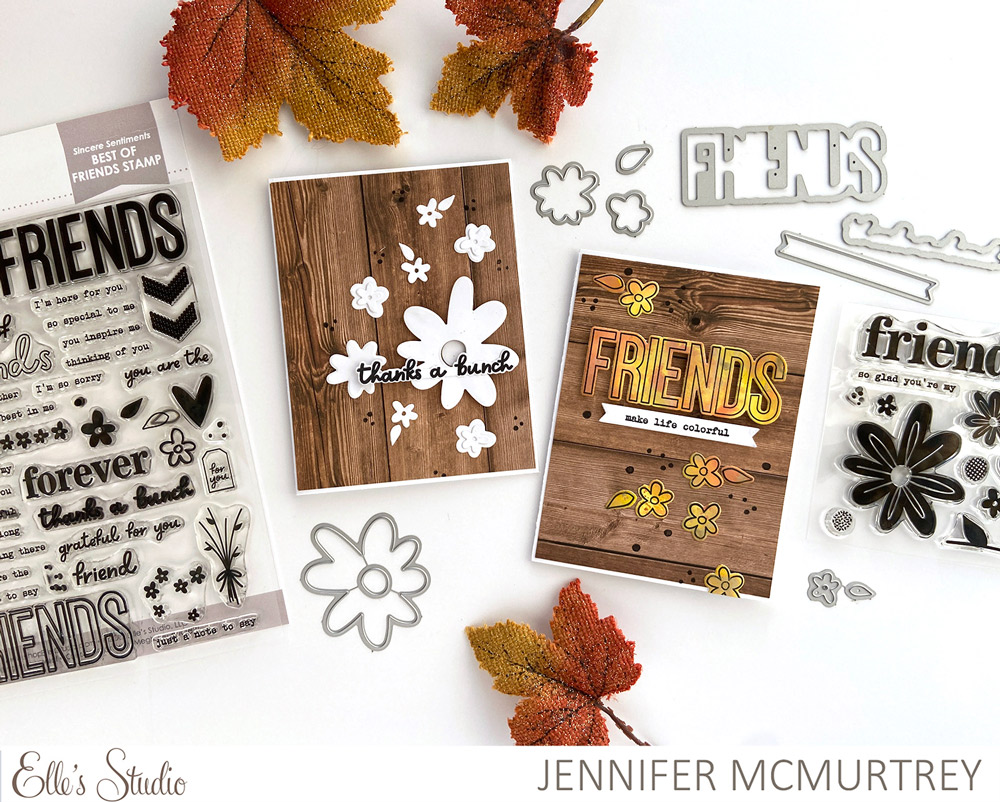
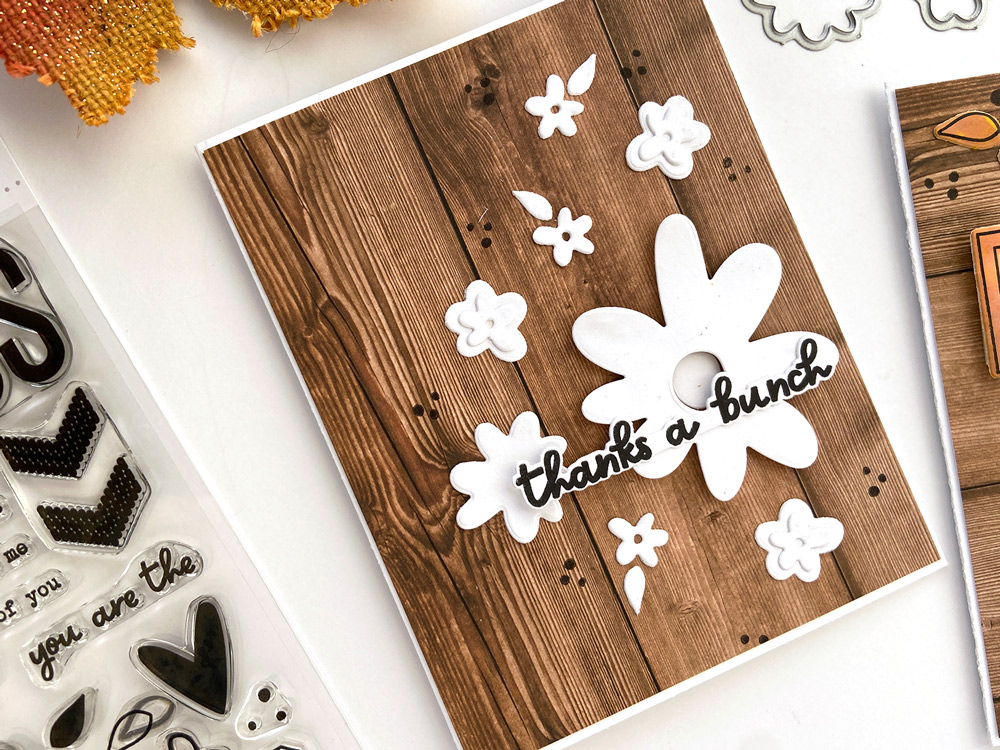
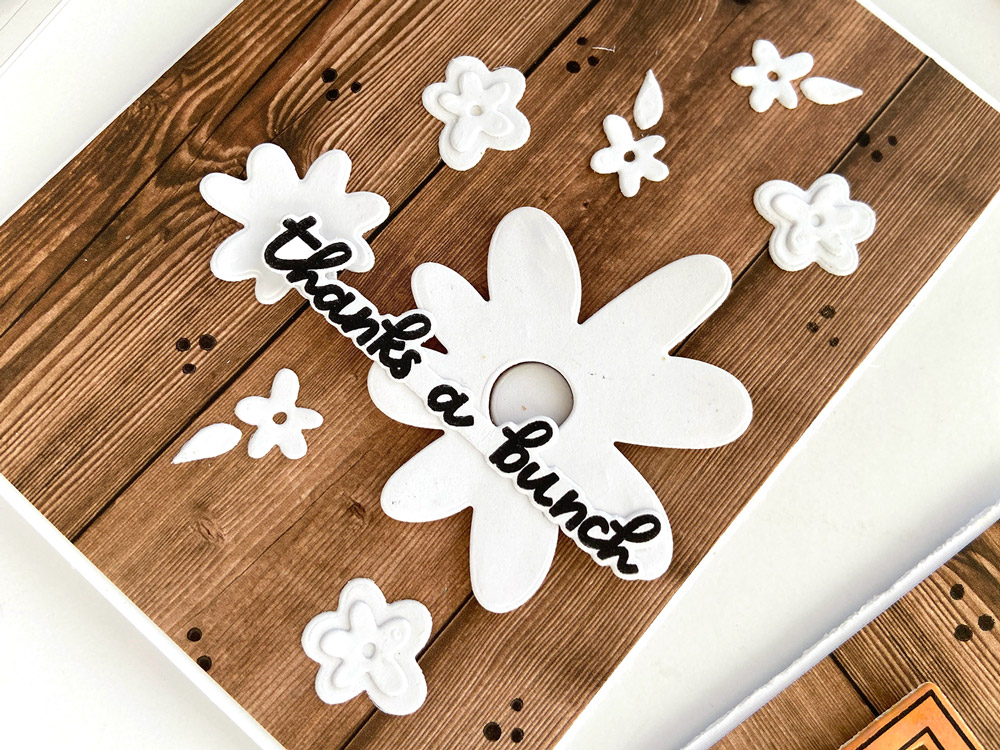
First is a simple white-on-white card with a woodgrain background from the Thankful Paper Stack. If you are not comfortable with stamping, this card is very easy to assemble with a lot of room for error if necessary.

Rather than stamping the flowers, I used just the metal dies to cut several blooms and leaves with white cardstock. To give the flowers dimension, I adhered the largest to the background with foam tape while layering the smaller ones on top of one another.

Next, I stamped the “thanks a bunch” sentiment and cut it out with the coordinating Metal Die. Getting a good stamped image or sentiment can be difficult, so I invested in a stamp platform some time ago. This is my go-to when it comes to creating projects that include stamps. Otherwise, I struggle with getting clean and clear results.

After adhering the stamped sentiment, I added depth by stamping dots randomly throughout the background to complete the card. Super simple, right?

Next is another easy card that only looks like it was difficult to create.

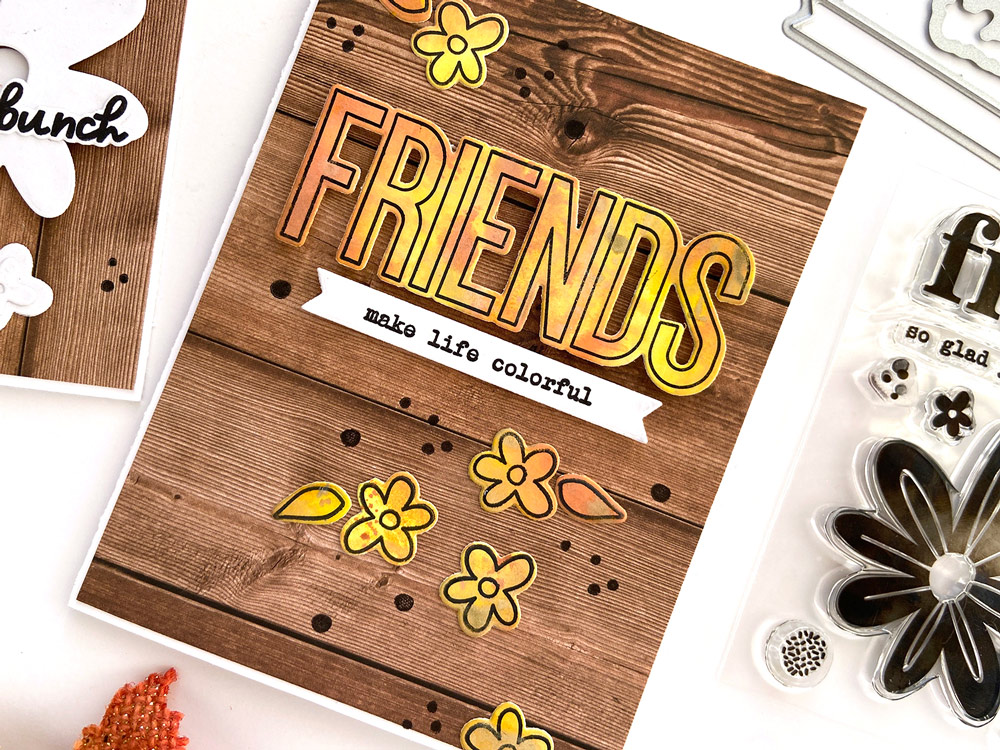
For this card, I again chose the woodgrain background, which matches the fall colors of the card. I am very good at procuring lots of supplies that sit on my shelf unused. Can anyone relate? If you are a collector of oxide inks, like myself, it is time to break them out to create colorful stamped images!

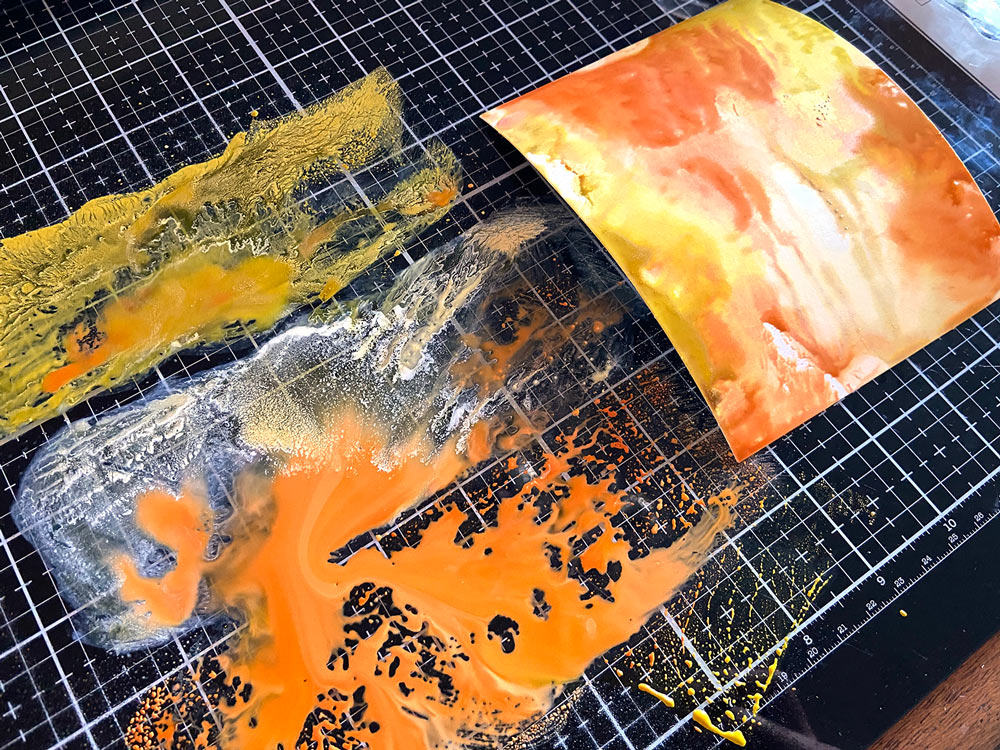
First, I took three different oxide inks and smeared them on my glass mat. Next, I sprayed the inks with water until large drops formed that I then dabbed white mixed media paper onto. I did this several times and used a heat tool between layers to dry the ink until I had the marbled effect I wanted. Using your inks in this manner is a great way to dip your toe into mixed media – especially if you’ve wanted to try but haven’t been comfortable doing so. Admittedly, my colors look a bit like peas and carrots, but I decided to go with it. 

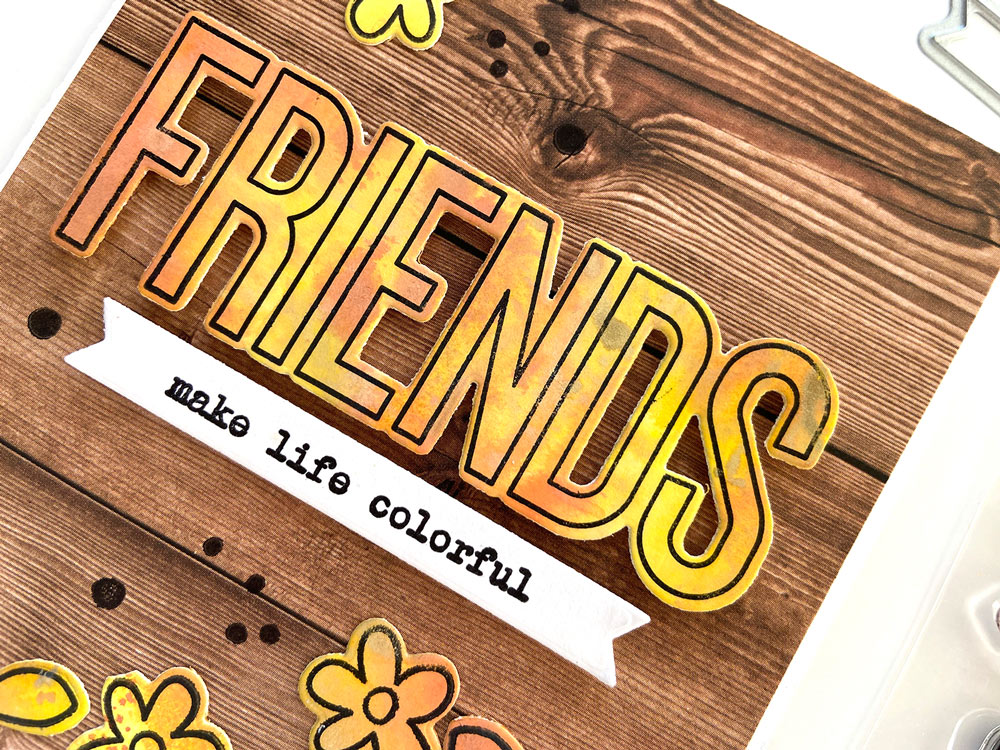
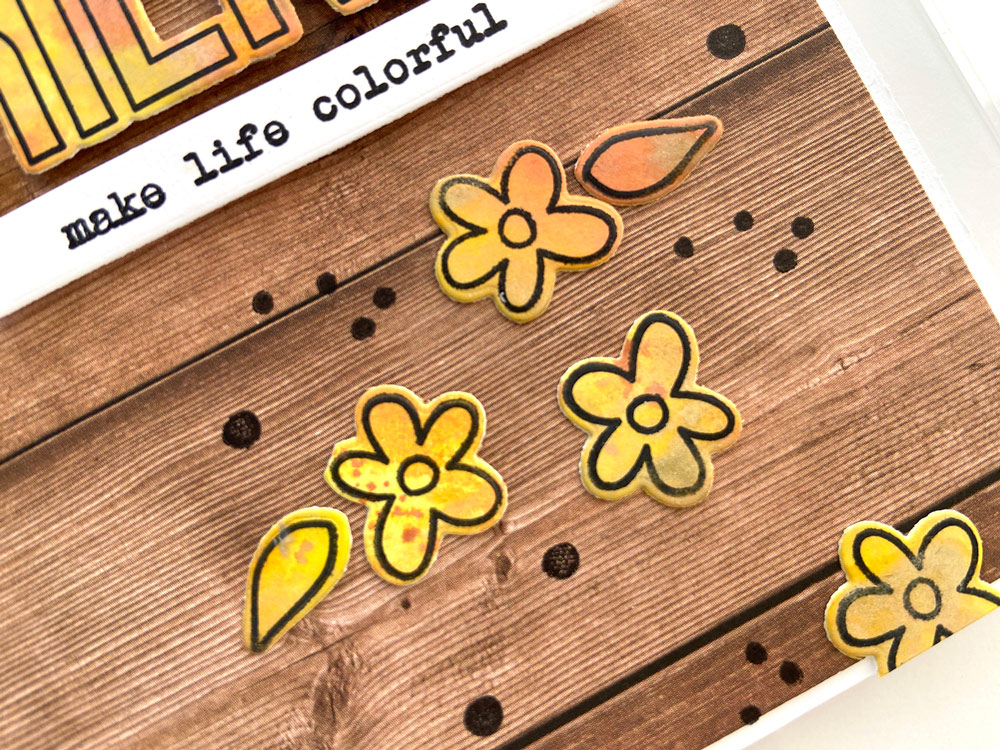
Once the inks were dry, I used my stamp platform to stamp the “friends” sentiment, flowers, and leaves. Then I cut each out with the coordinating dies.

To complete the card, I stamped “make life colorful,” cut it out with the coordinating banner Metal Die and adhered it with foam tape. Like the first card, I again stamped dots on the background to add more color and depth.

As you can see, both cards are simple designs that anyone can make. I encourage you to grab the Sincere Sentiments Best of Friends collection, dust off your inks, and make a few cards. These were so fun to create!

Thank you for stopping by today! Remember to post your finished projects to Instagram using the hashtag #EllesStudio or on the discussion board of our Facebook Group so we are able to see your amazing work!

Stop by tomorrow for more Sincere Sentiments Best of Friends inspiration, and be sure to find it in the shop today while supplies last!