Designing in Digital with Sarah Kee

Hello, Elle’s friends. It’s me, Sarah, here on the blog, and today I wanted to show you how to stretch pieces from your August kit and add-ons by using mostly digital files. Have you ever tried the monthly digital files? They are such an awesome way to make the most out of your monthly kits. Best part—they’re affordable and can be used over and over again!

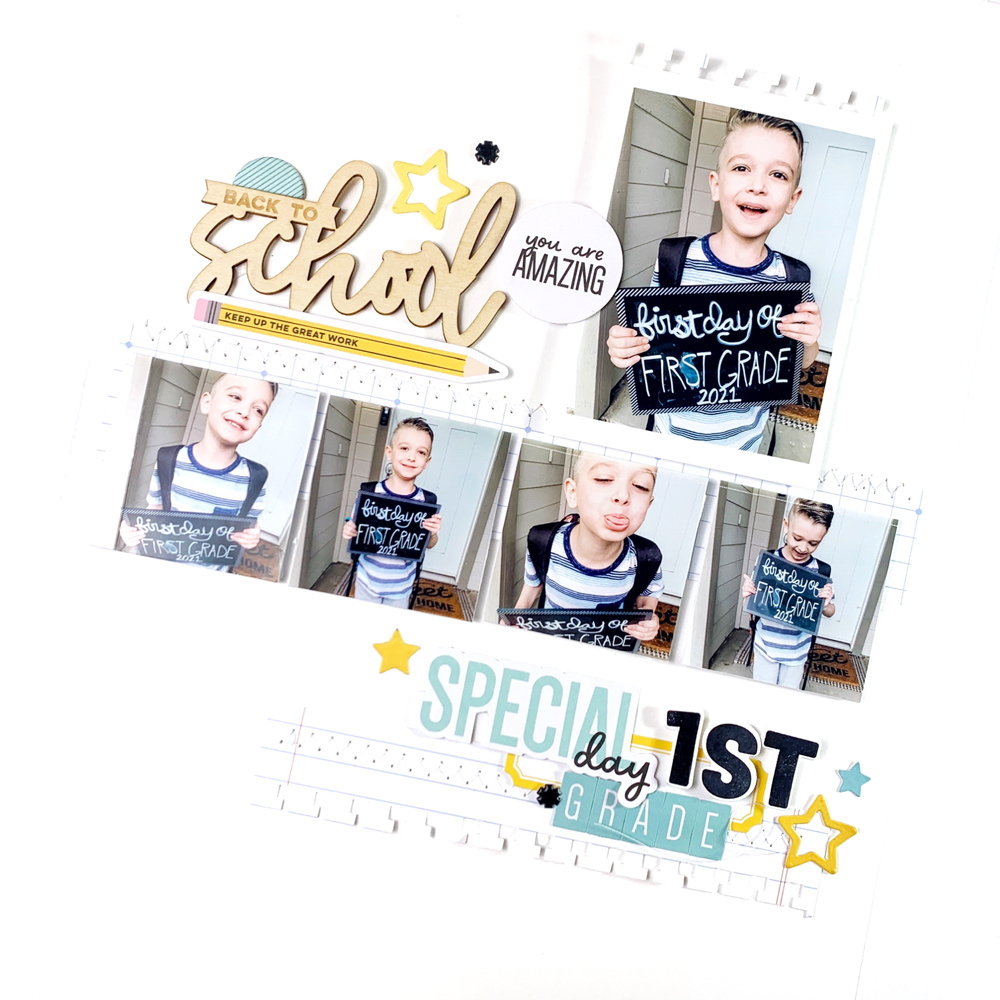
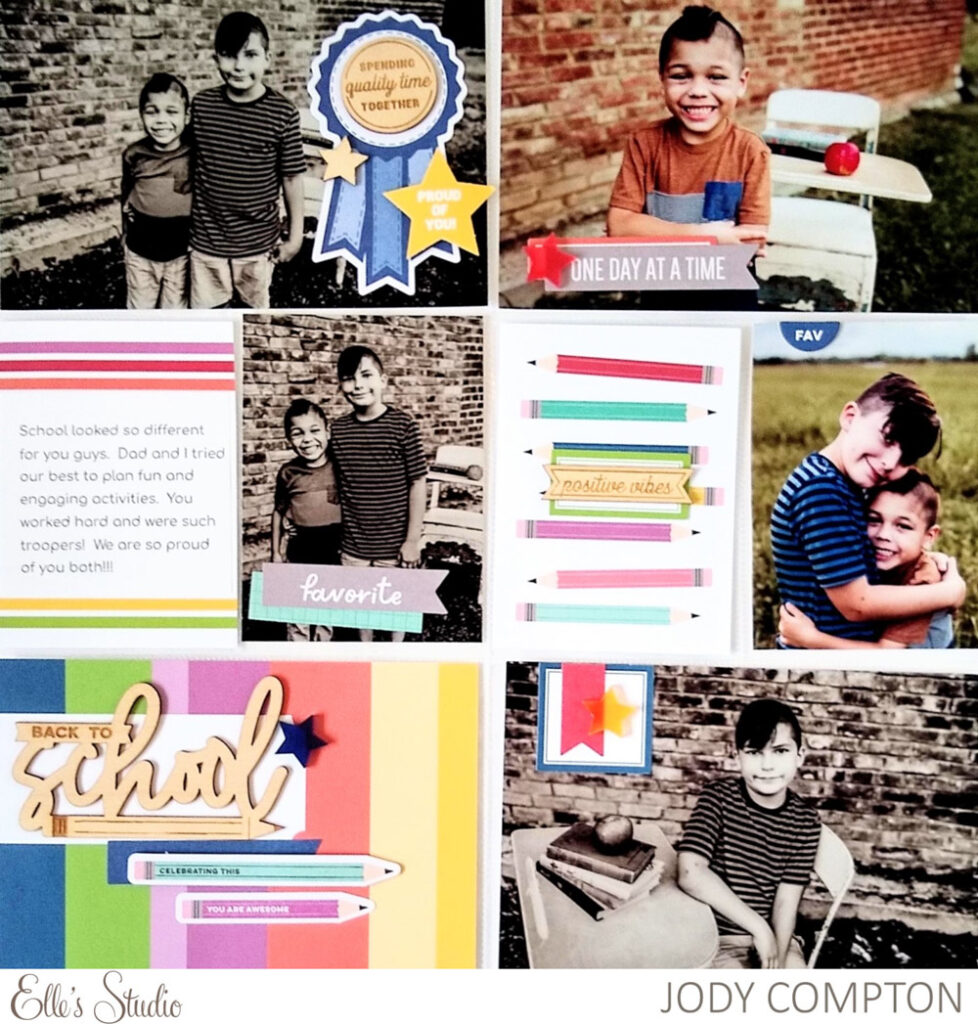
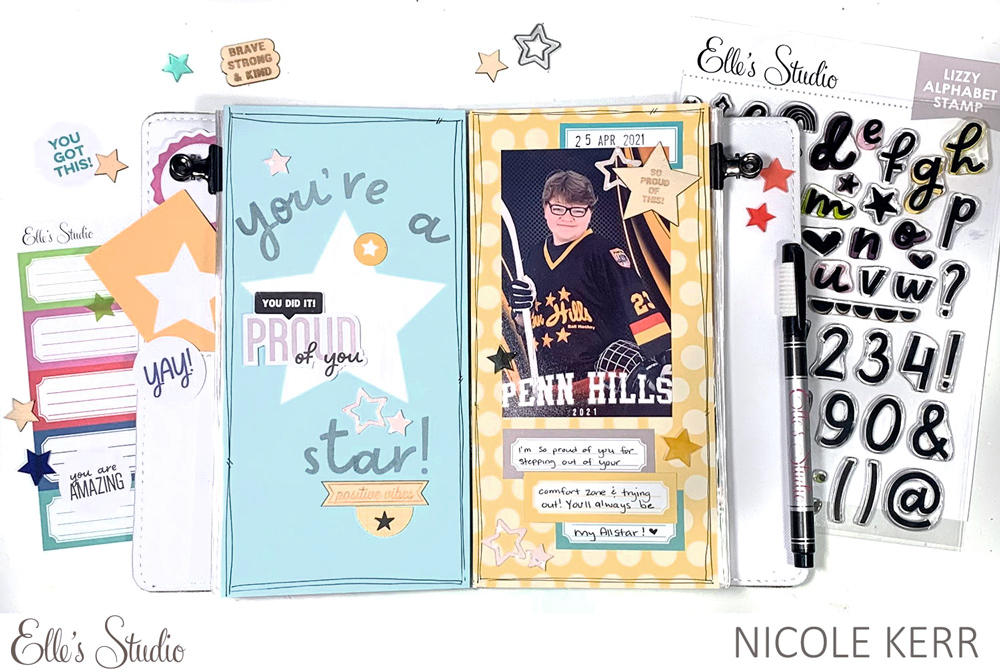
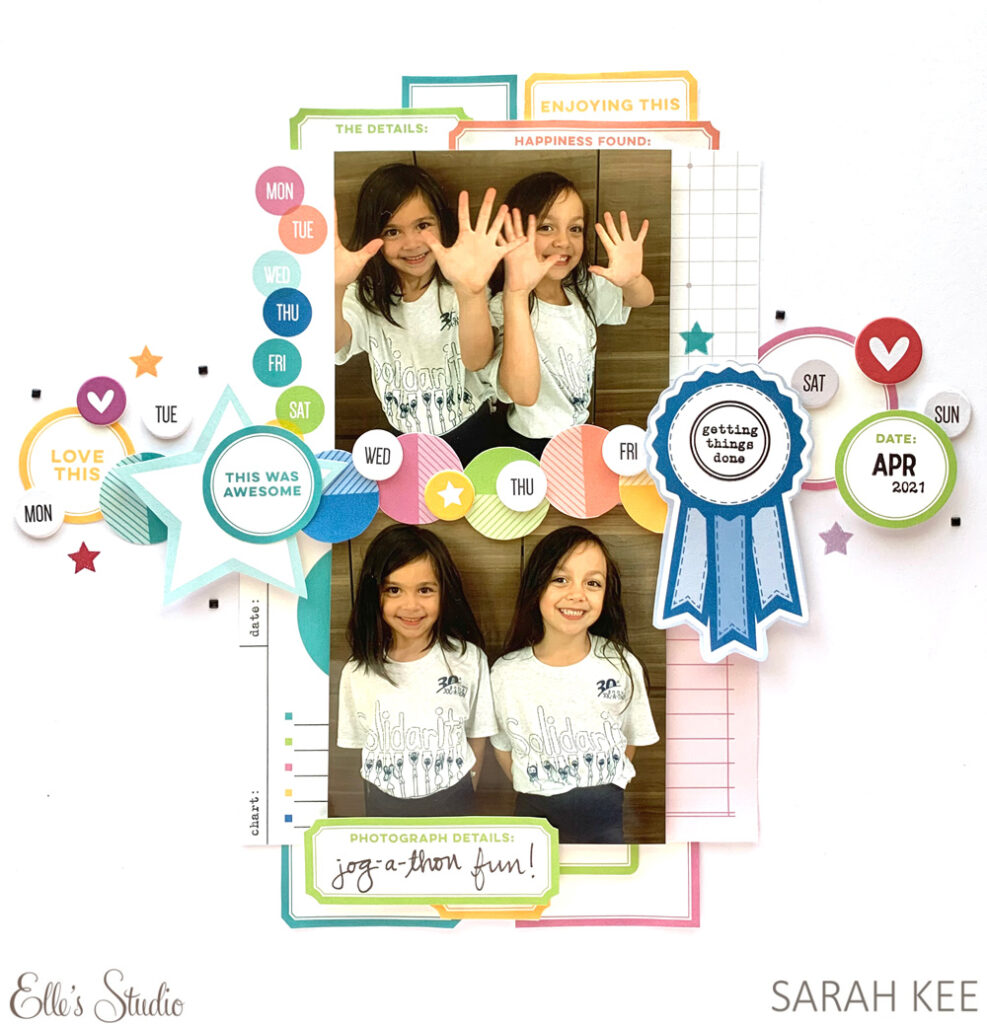
Here’s what I came up with:

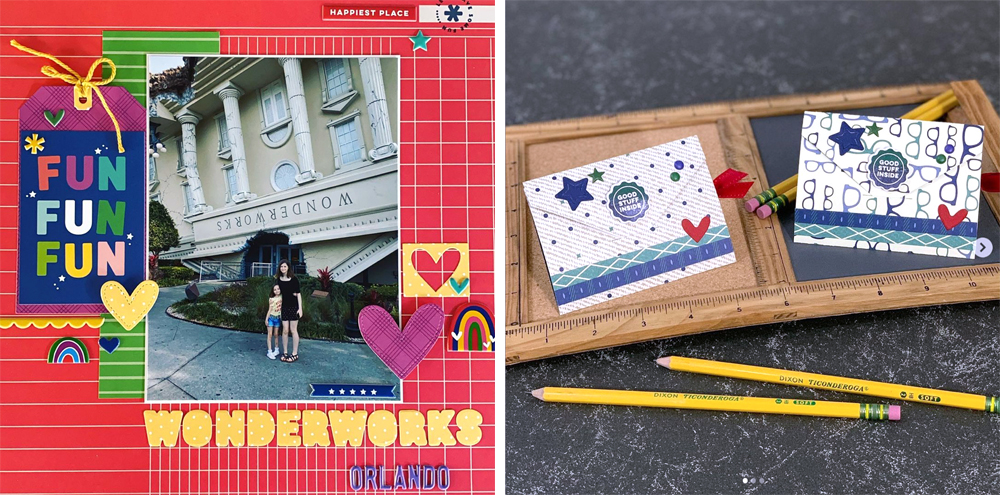
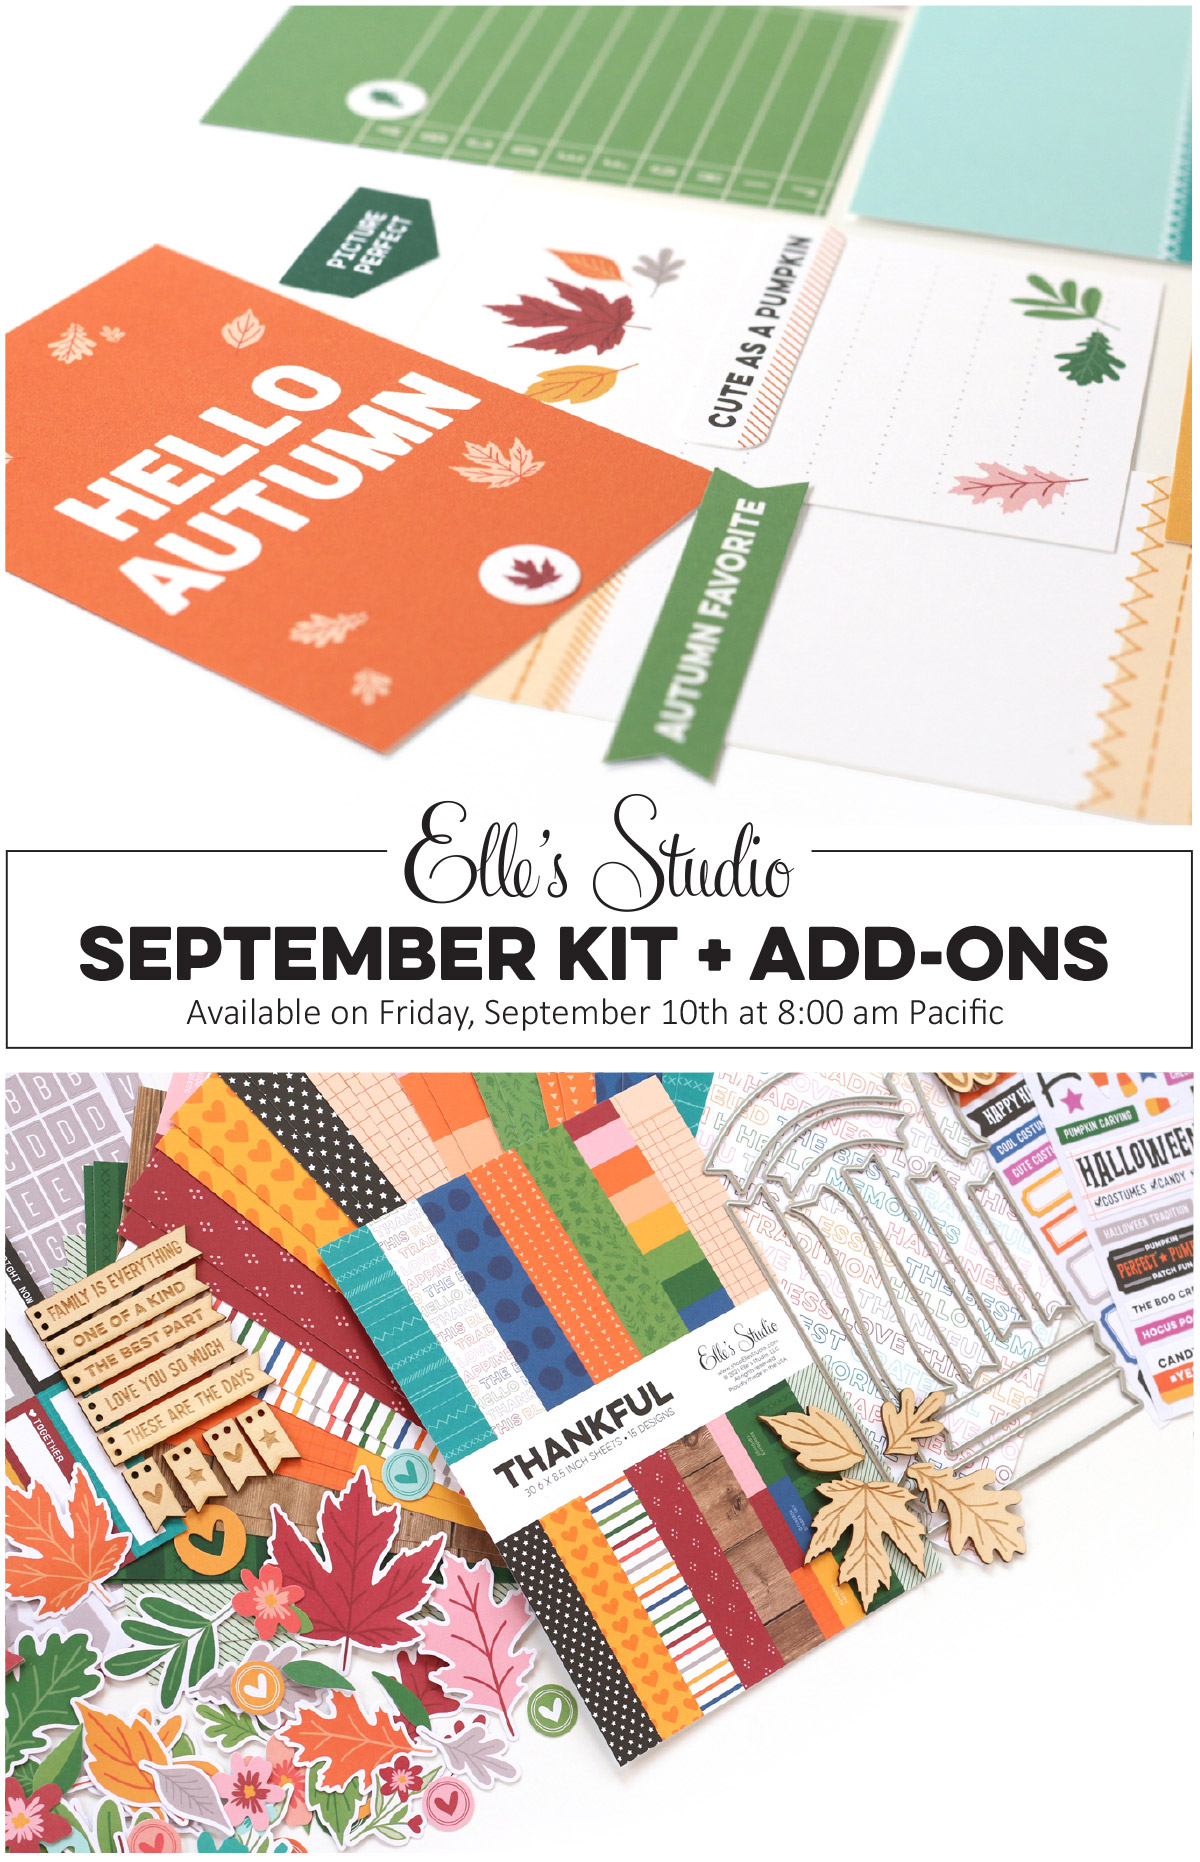
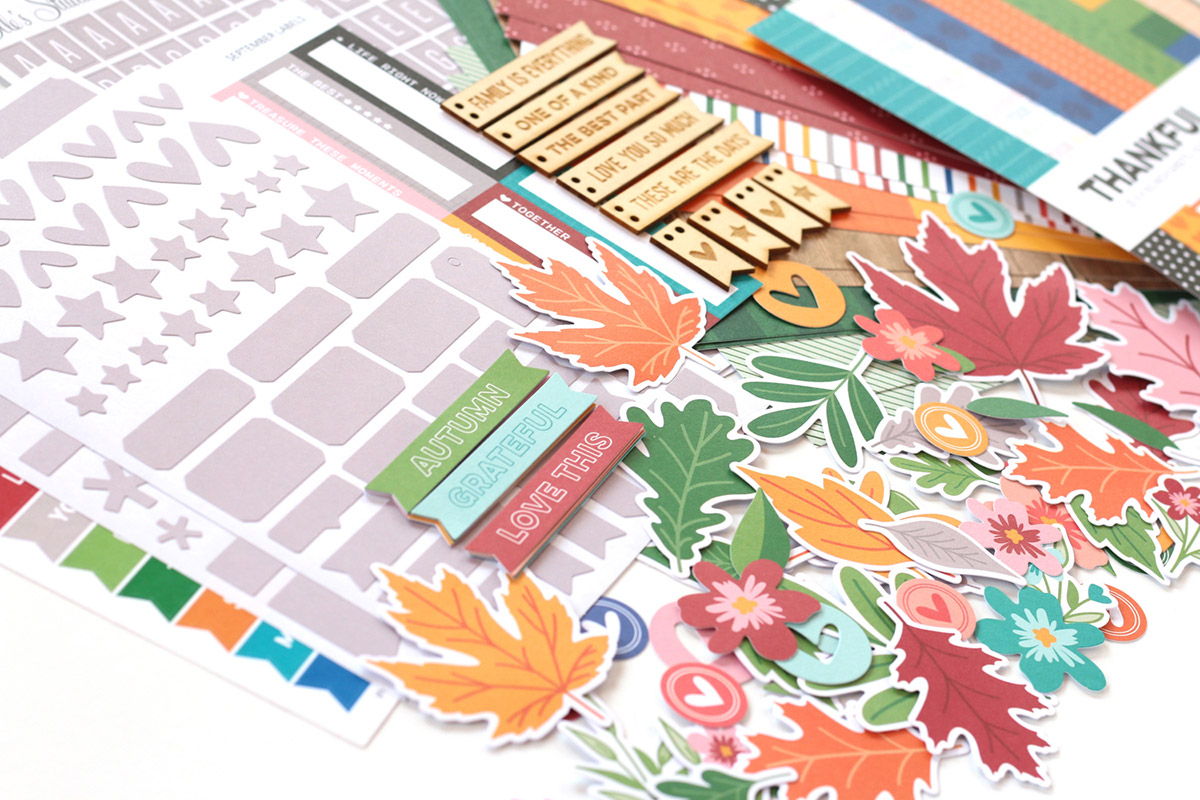
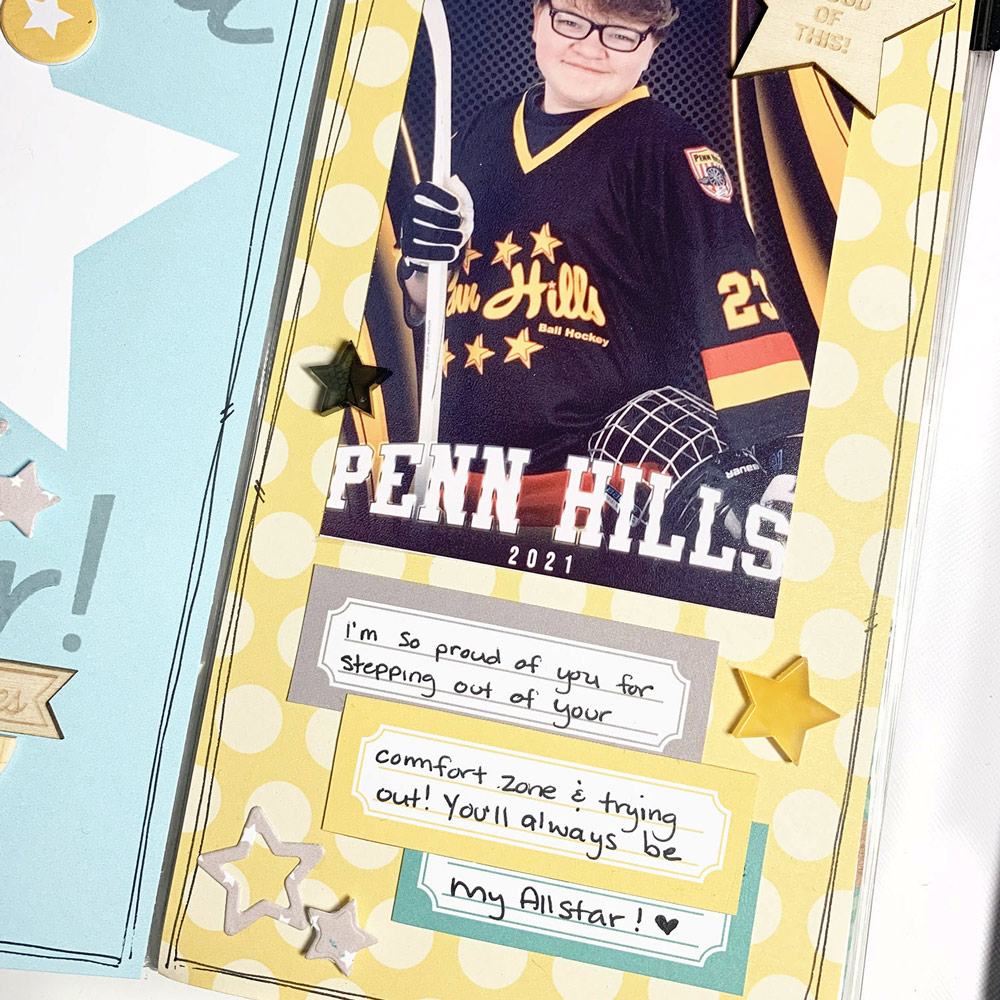
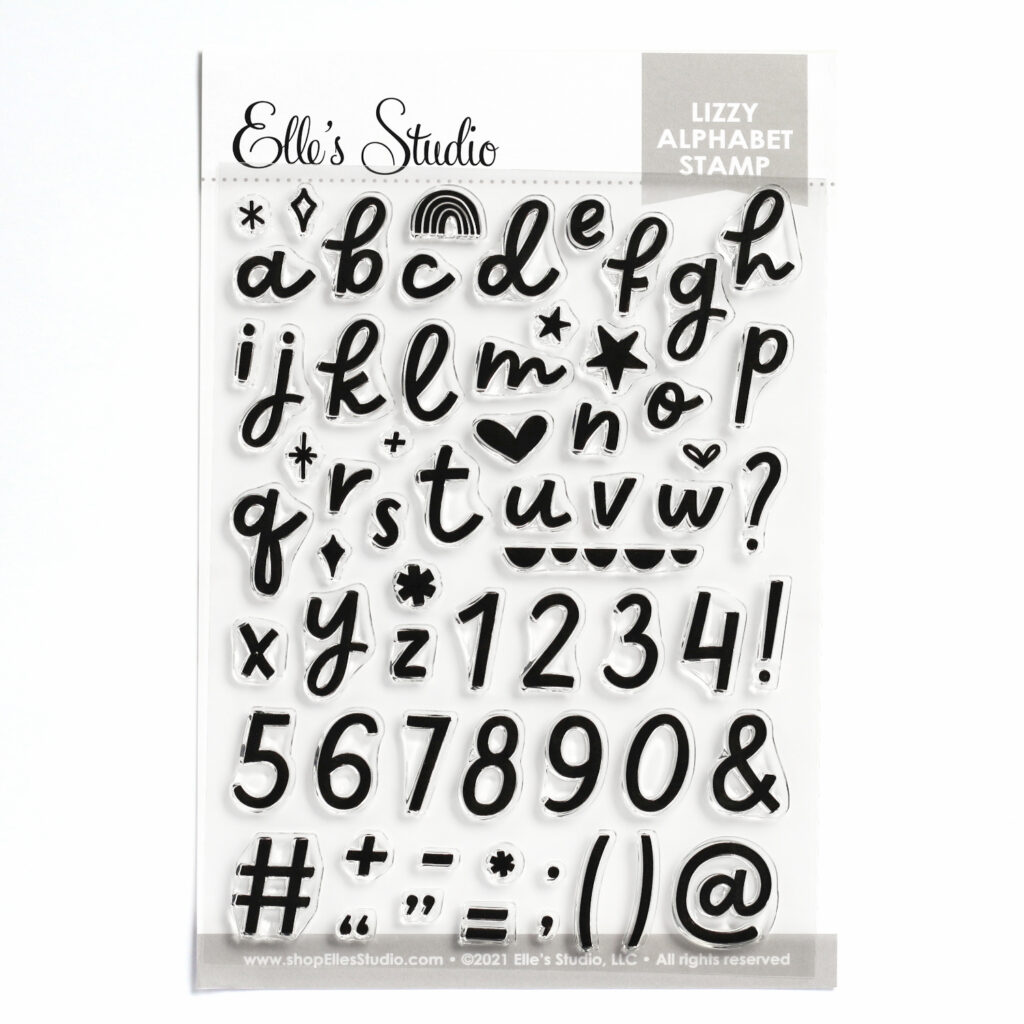
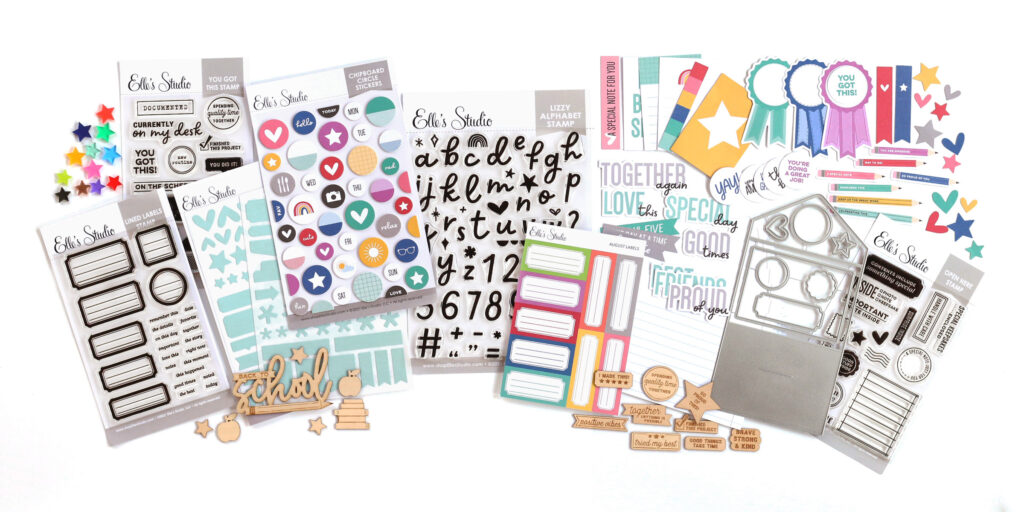
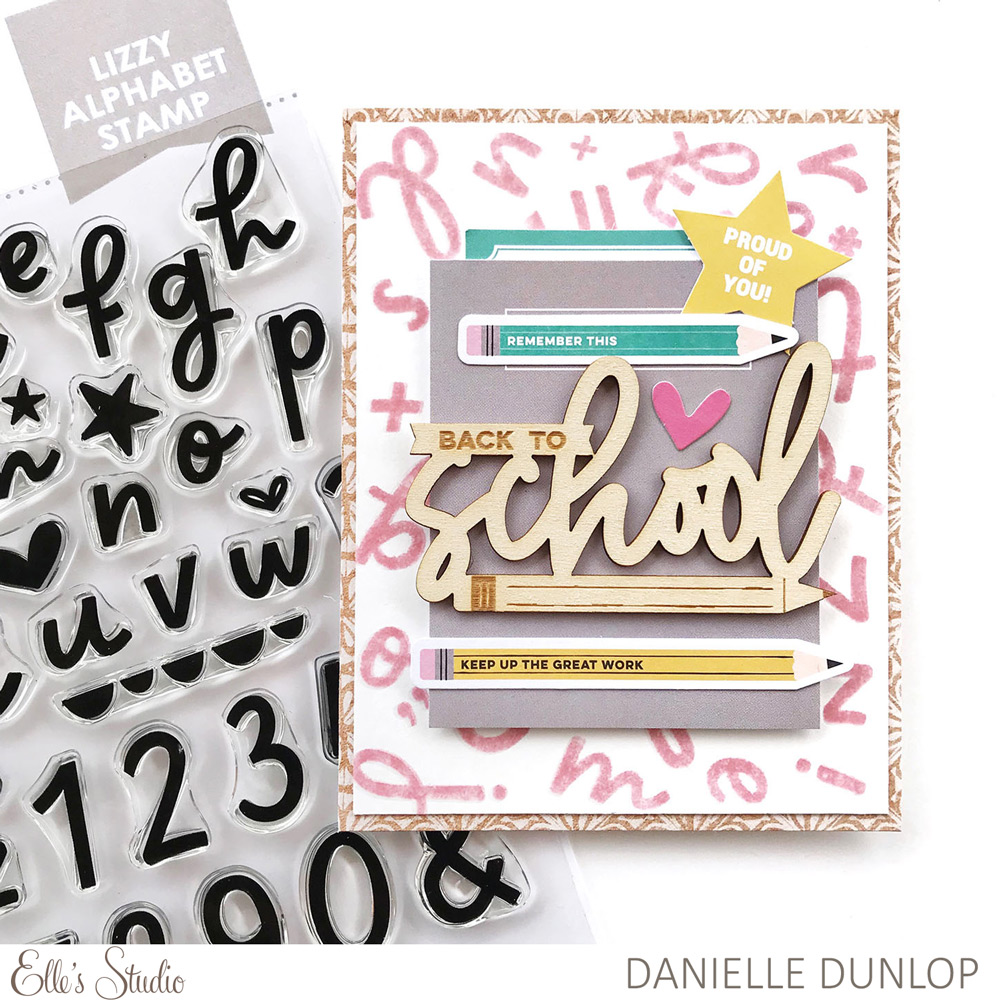
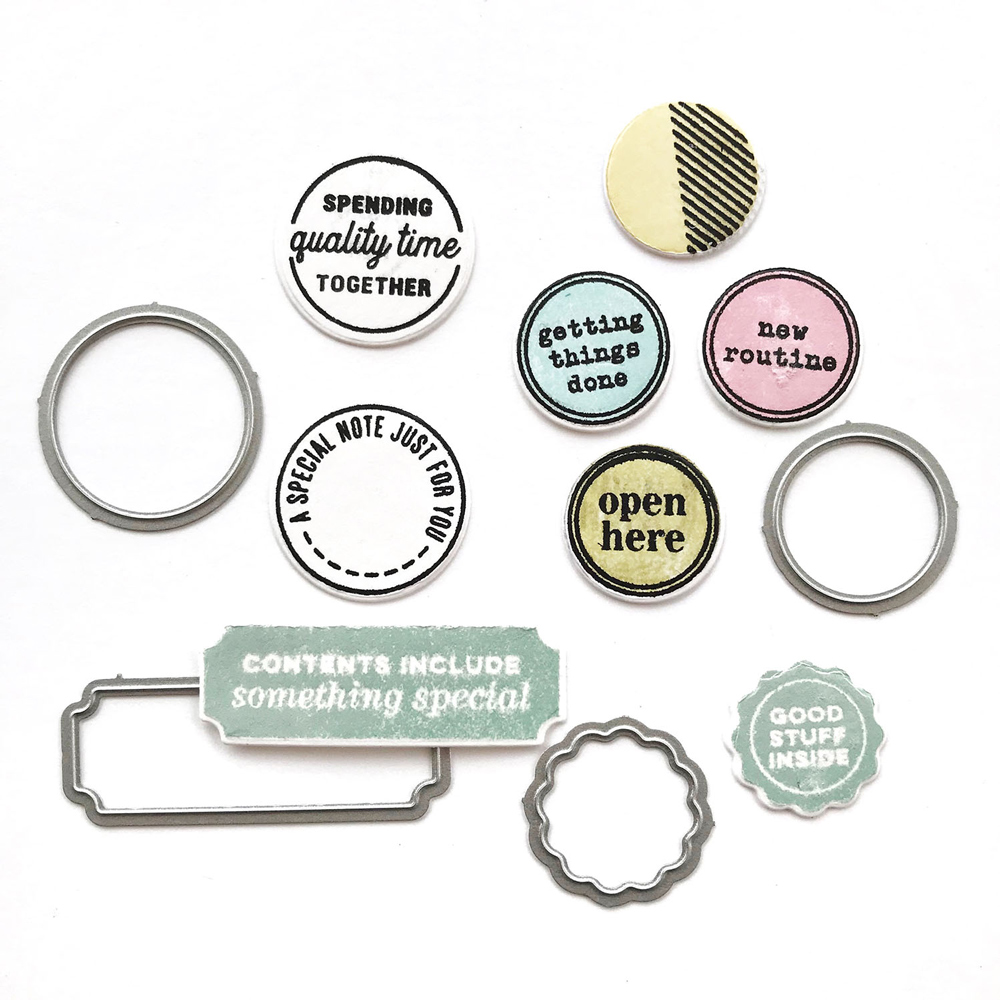
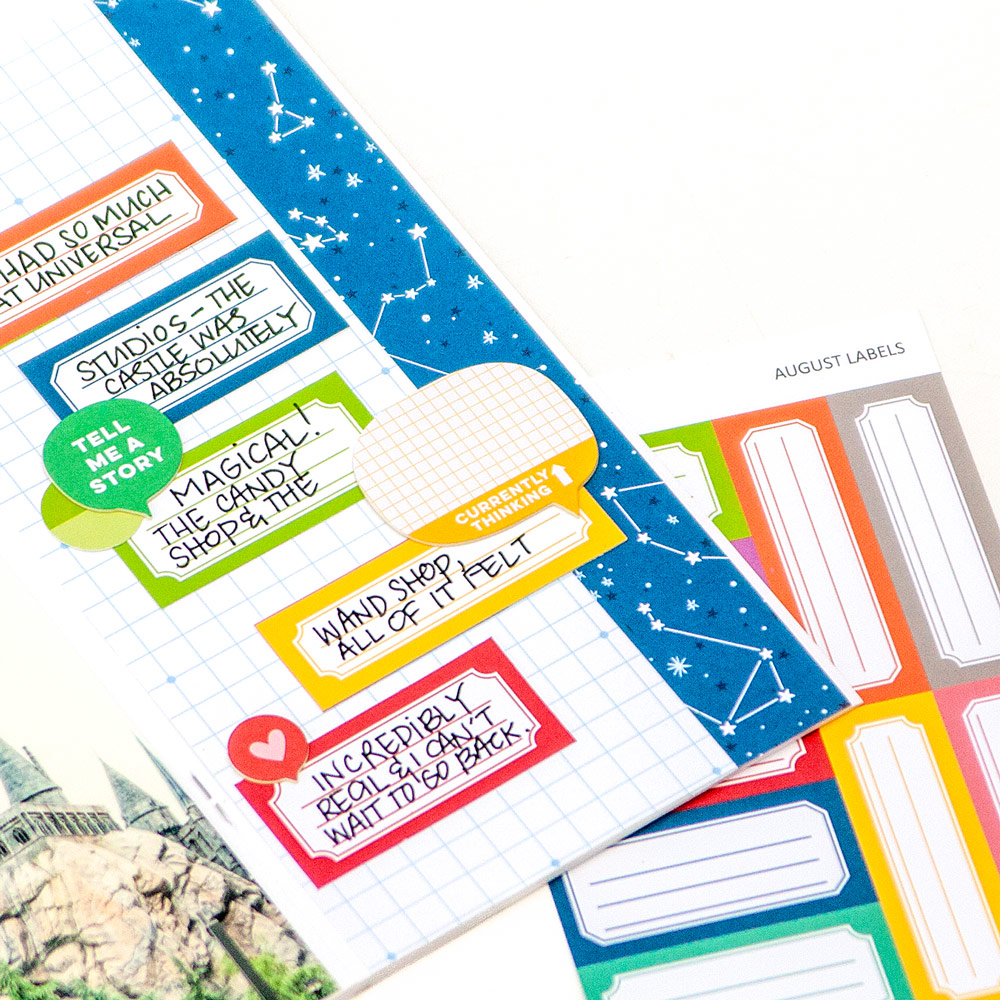
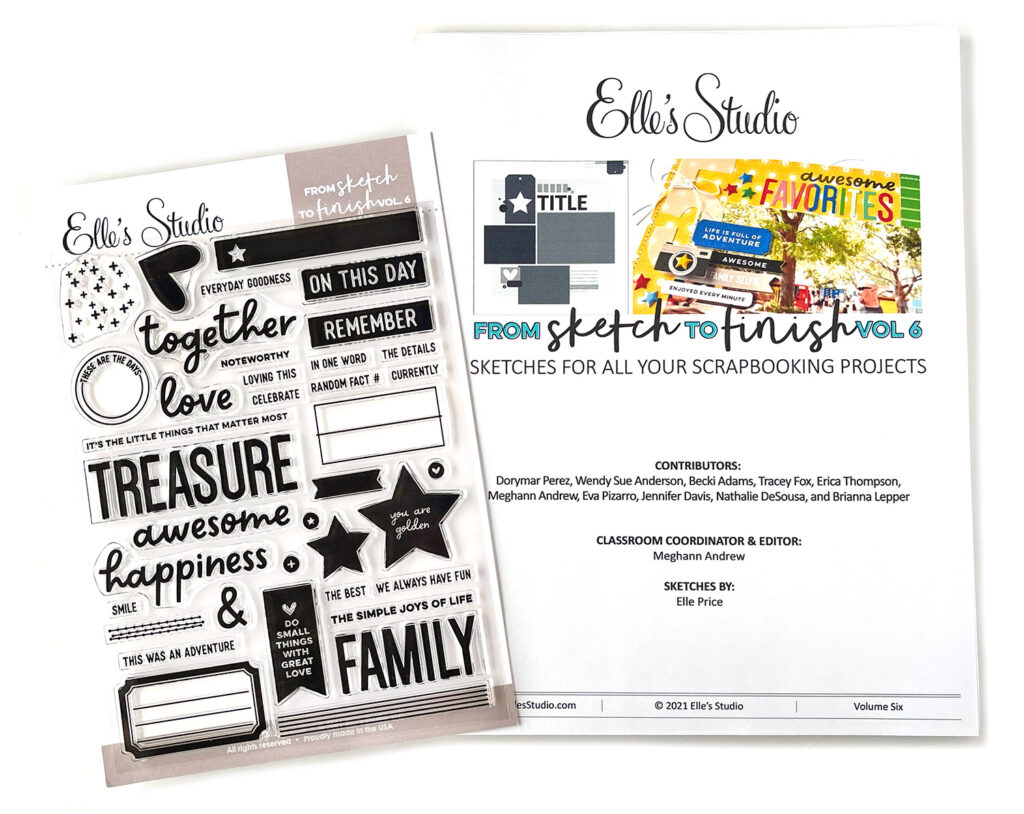
Supplies | August 2021 Note to Self Printables, August 2021 Print and Cut Labels, The Great Outdoors Printables, Chipboard Circle Stickers, You Got This Stamp, Monthly and Daily Tabs Stamp, Daily Tabs Stamp, Black Puffy Alphabet Stickers

I mostly focused on using the Note to Self Printables.

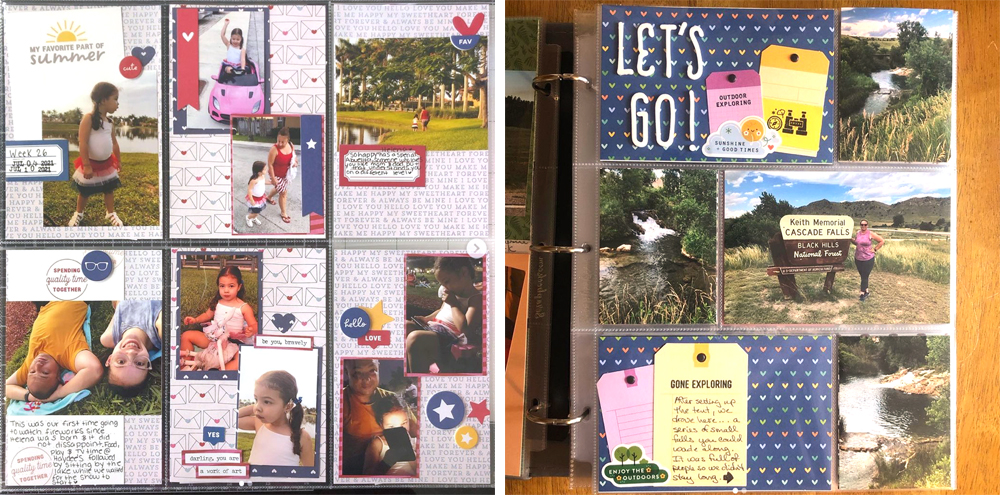
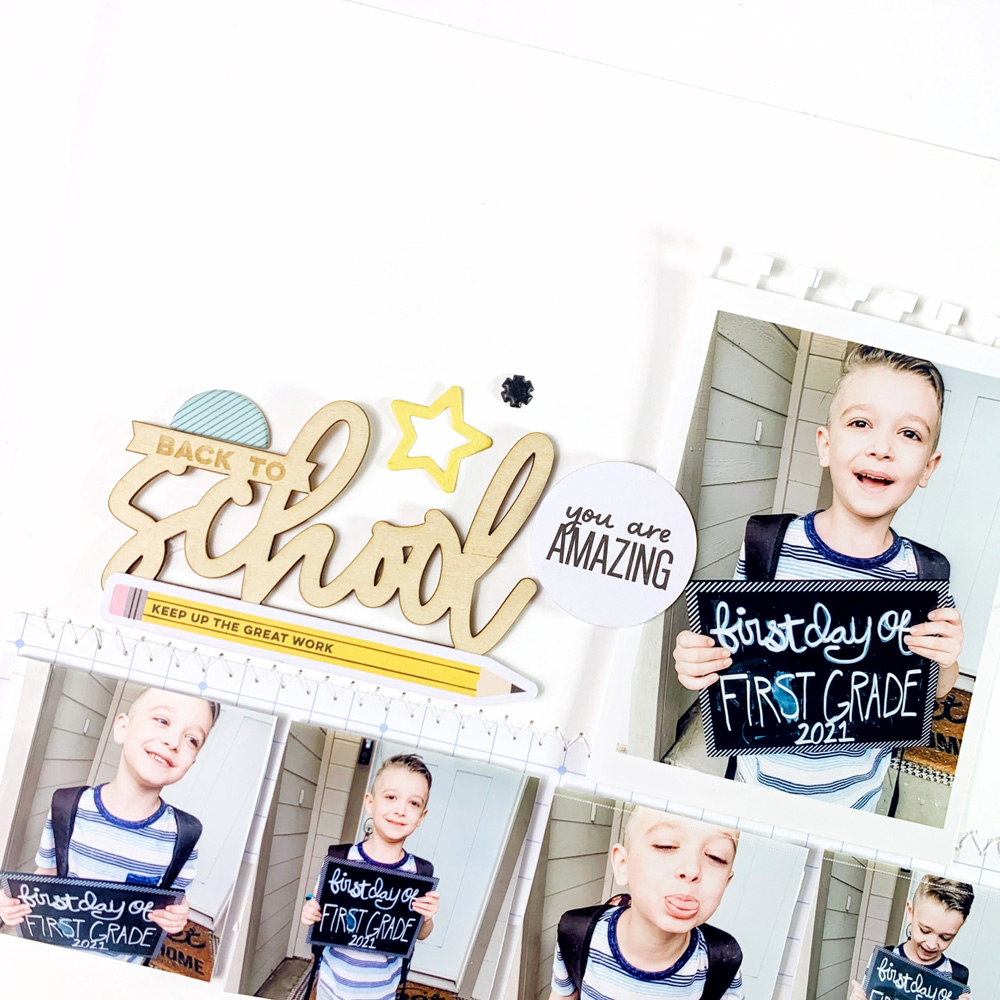
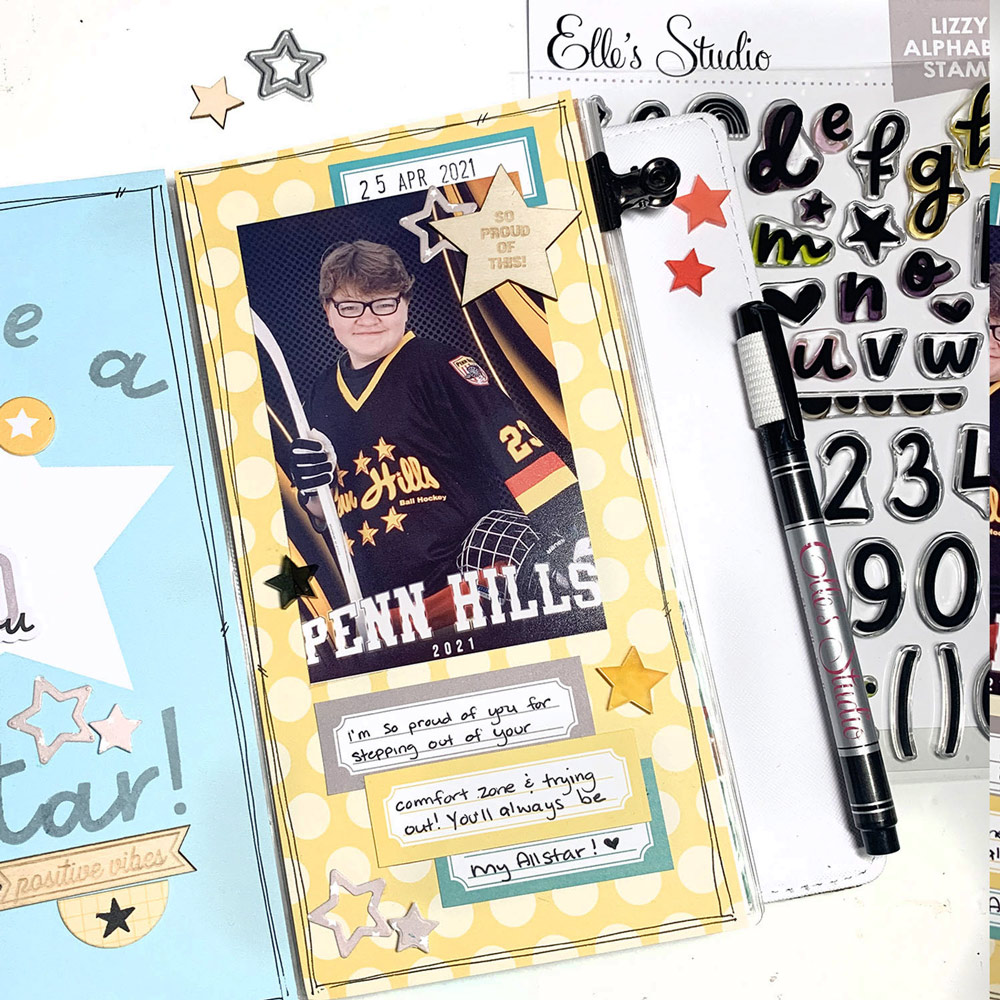
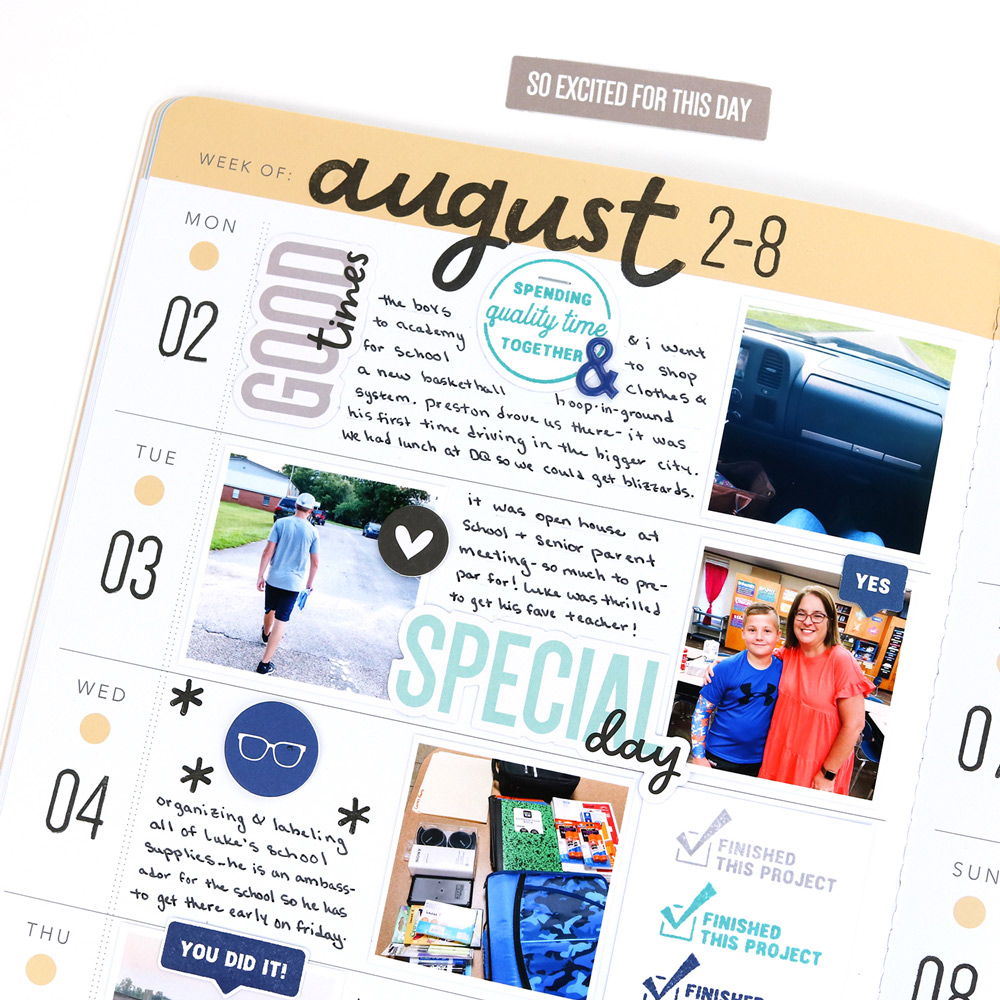
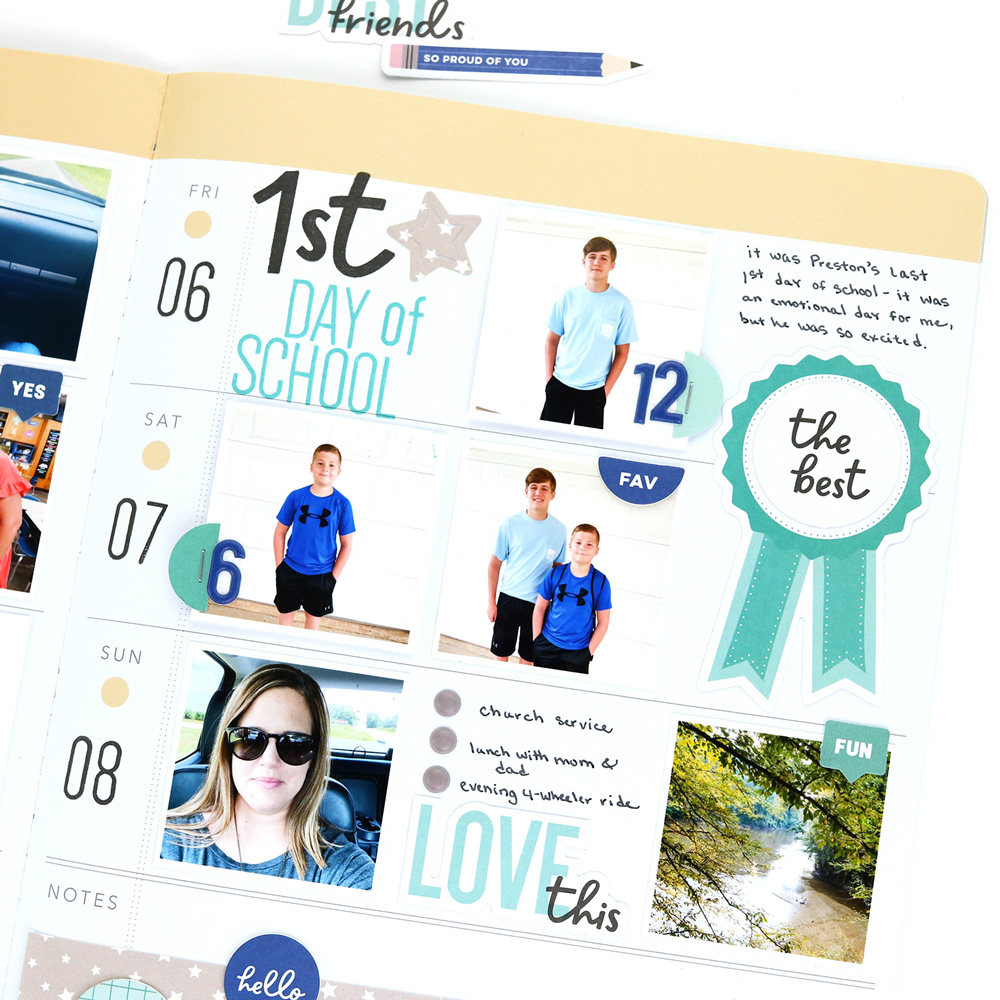
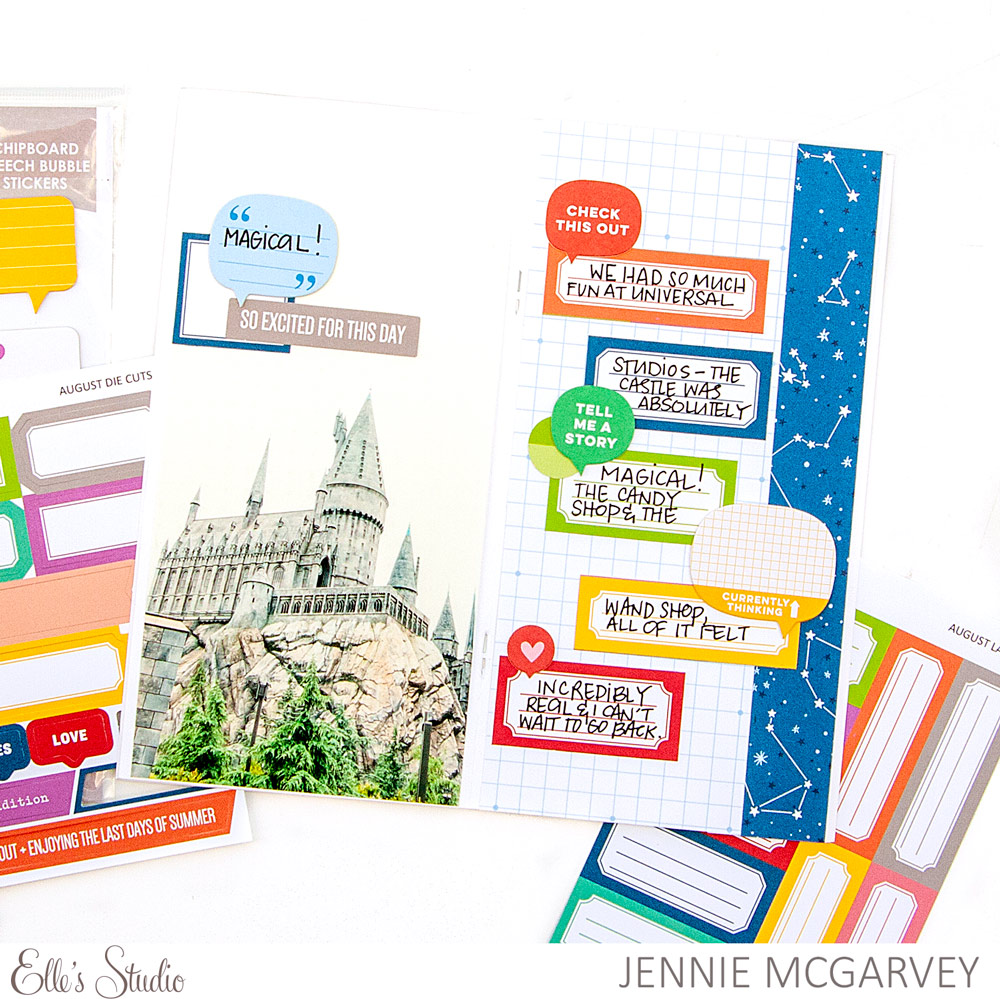
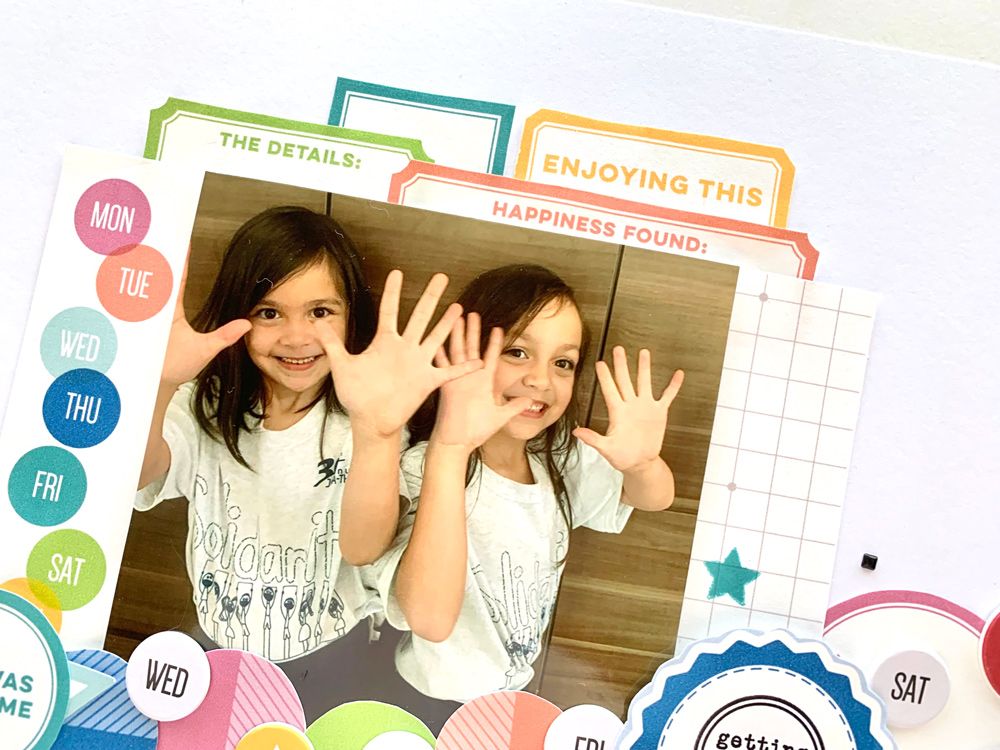
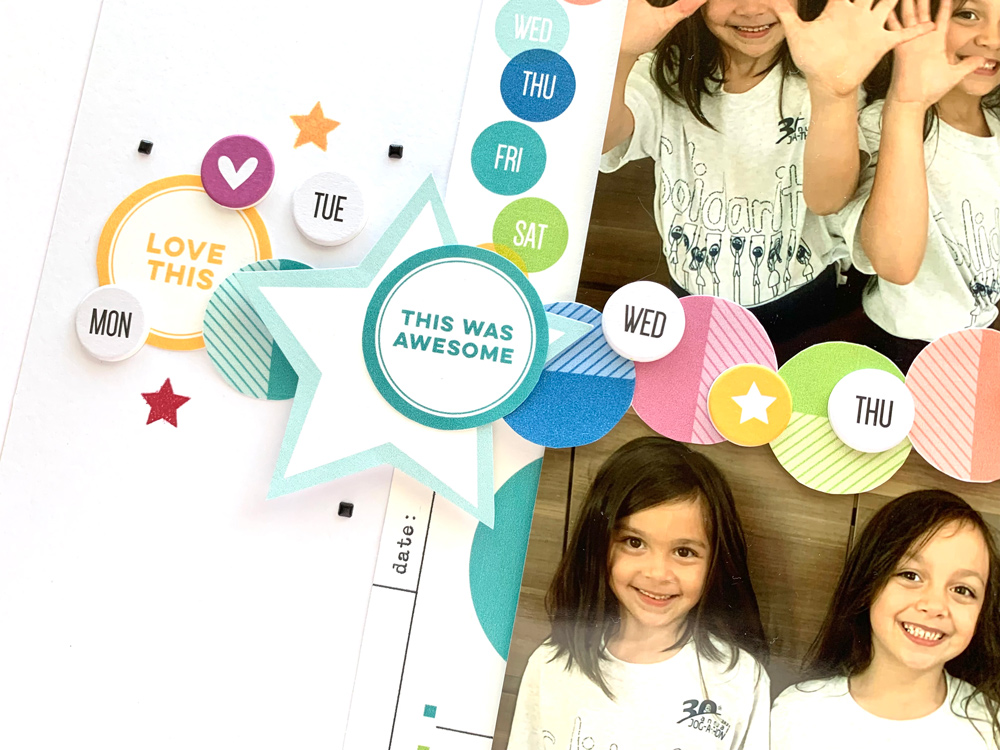
First off, I cut out four of the 3×4 inch printable tags (note to self, graph paper, pie chart, and days of the week). Then, I added them to the center of my layout to help frame all my pieces. 

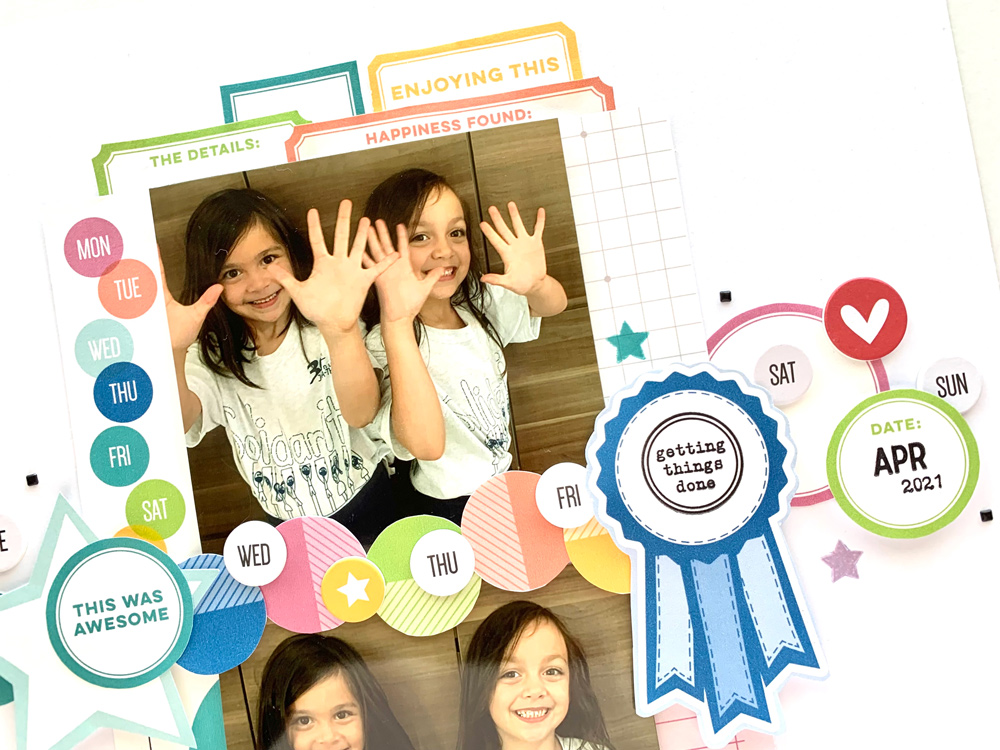
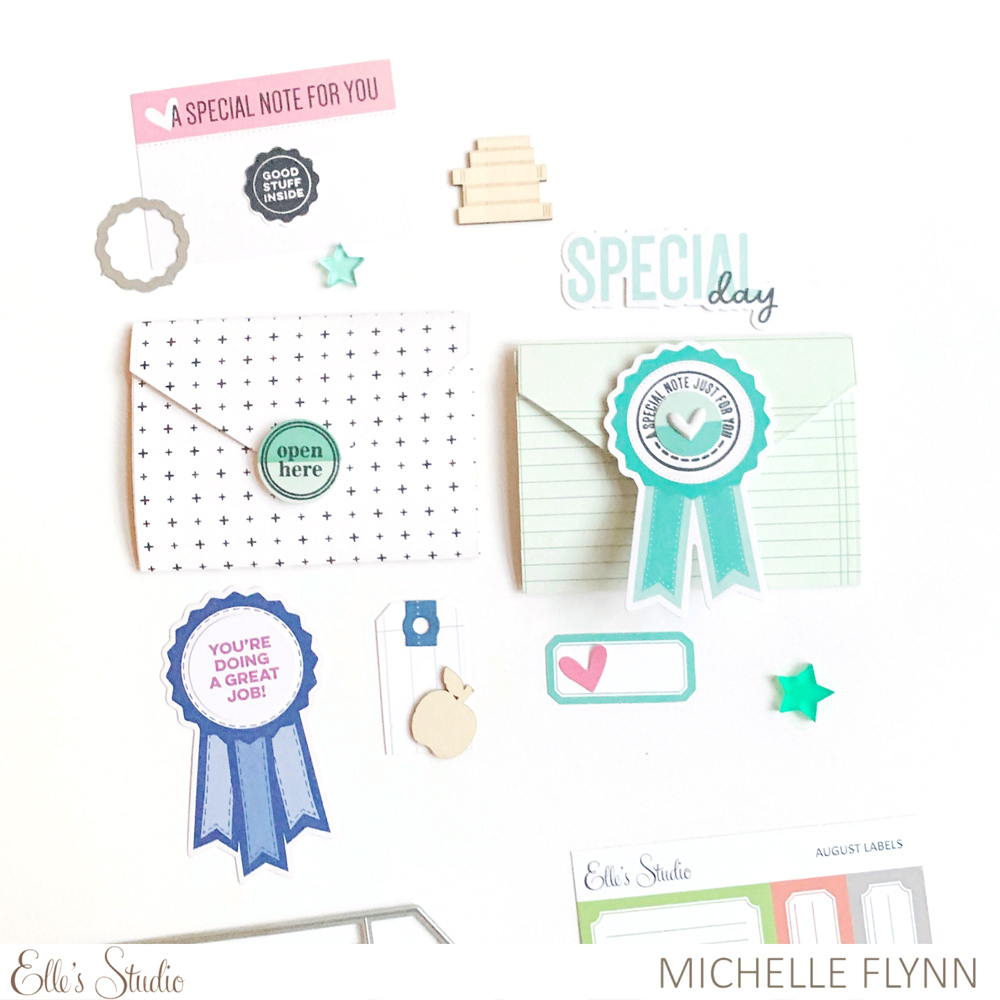
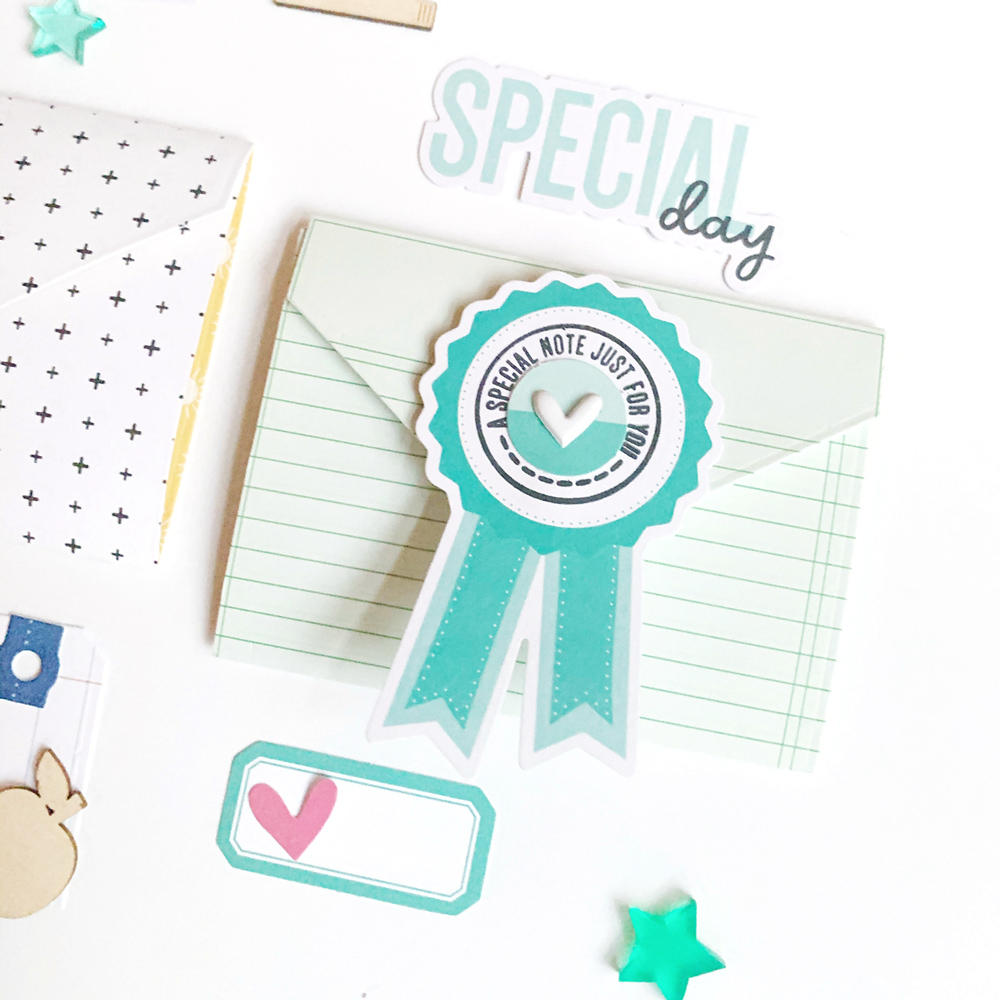
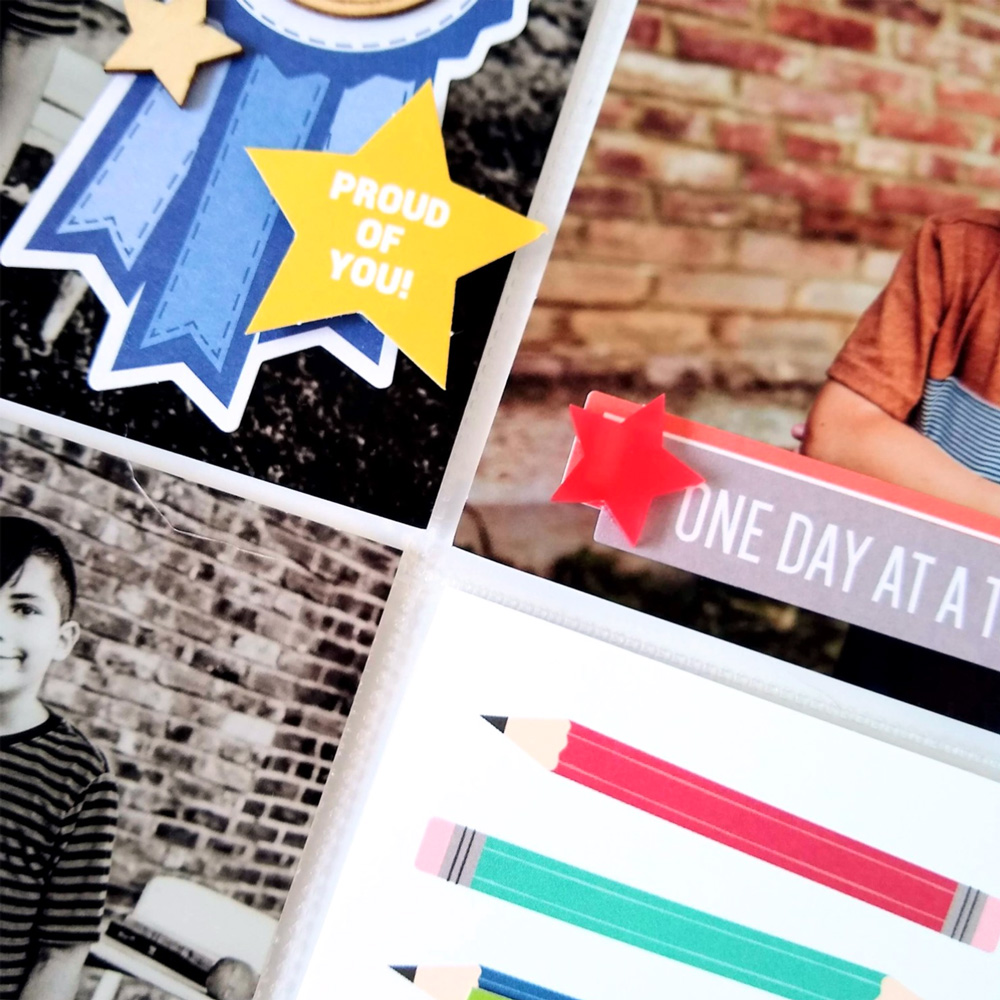
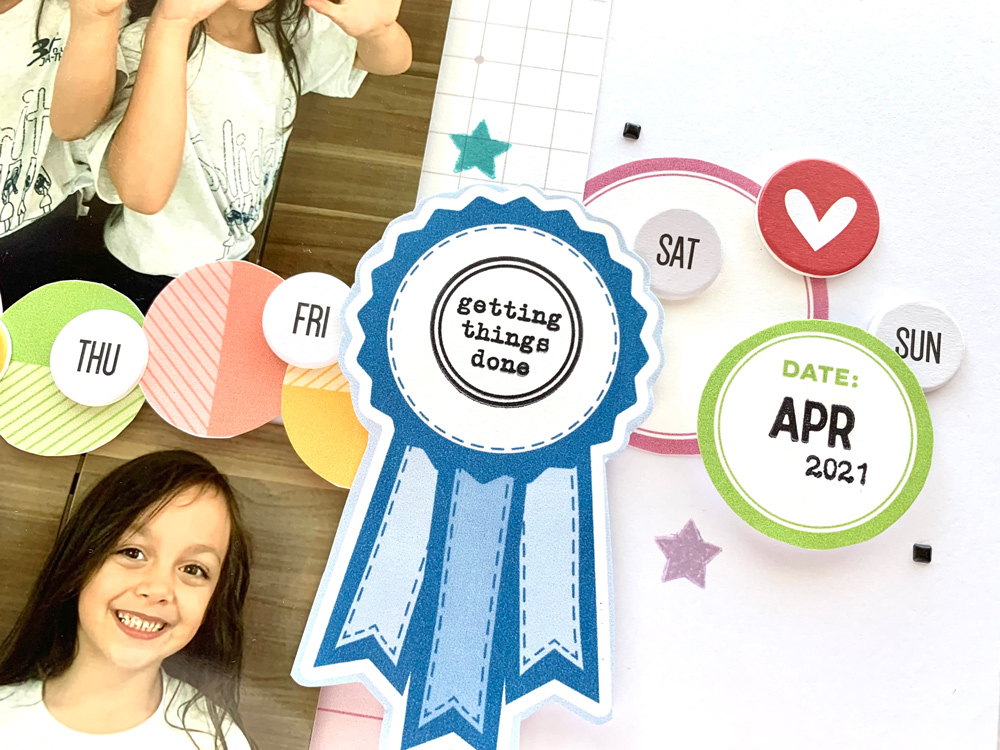
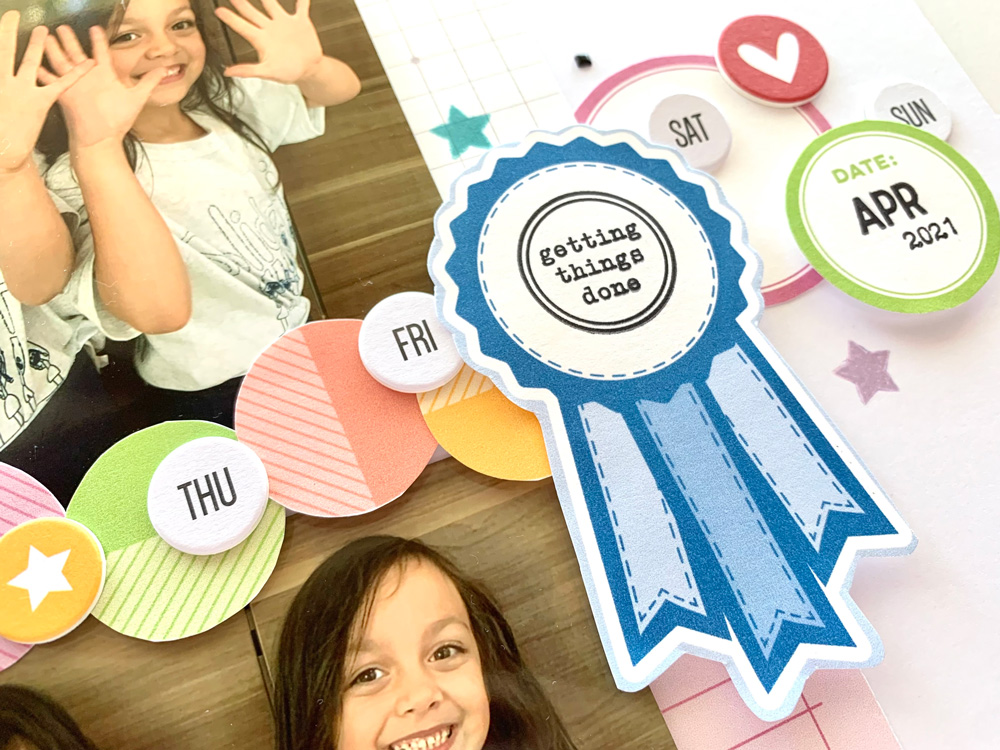
With the other 3 x 4 inch tags left on the printable (the star and the prize ribbon), I fussy cut out those shapes to create my own embellishments. I cut out the prize ribbon and stamped on “getting things done” from the You Got This Stamp

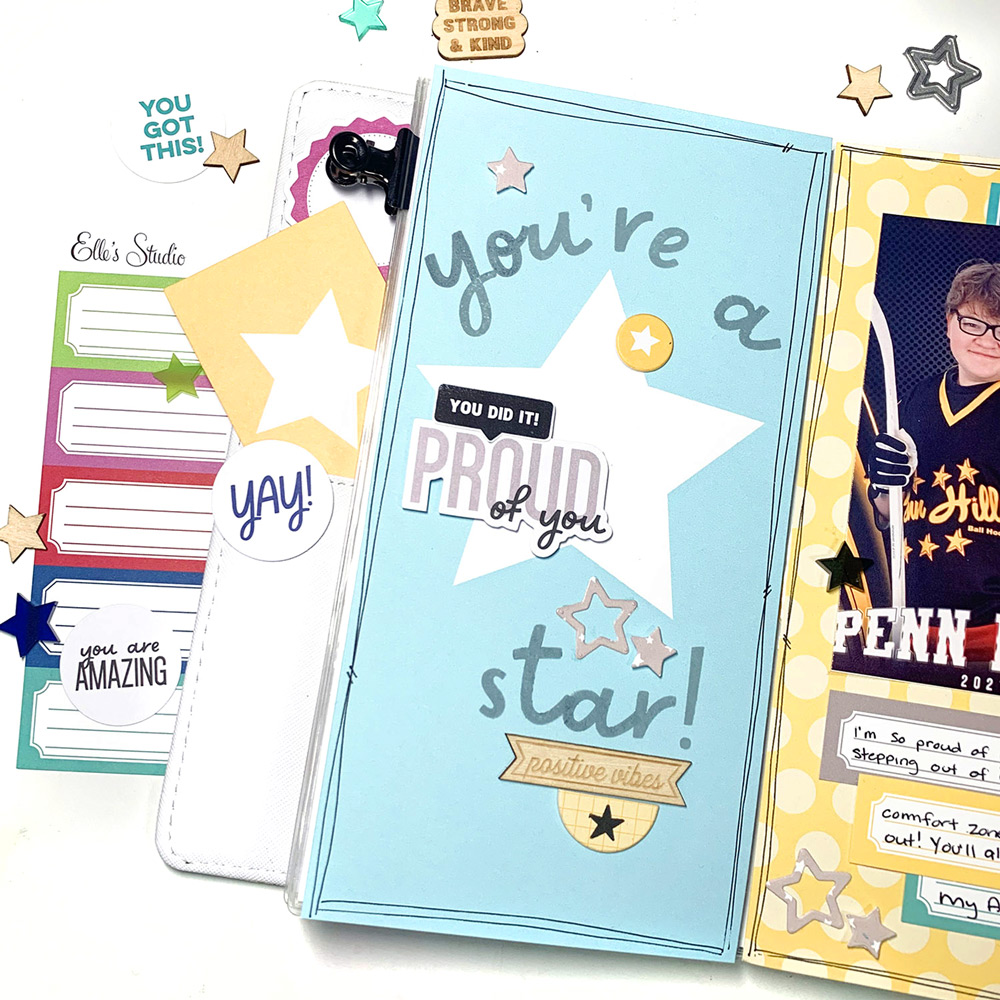
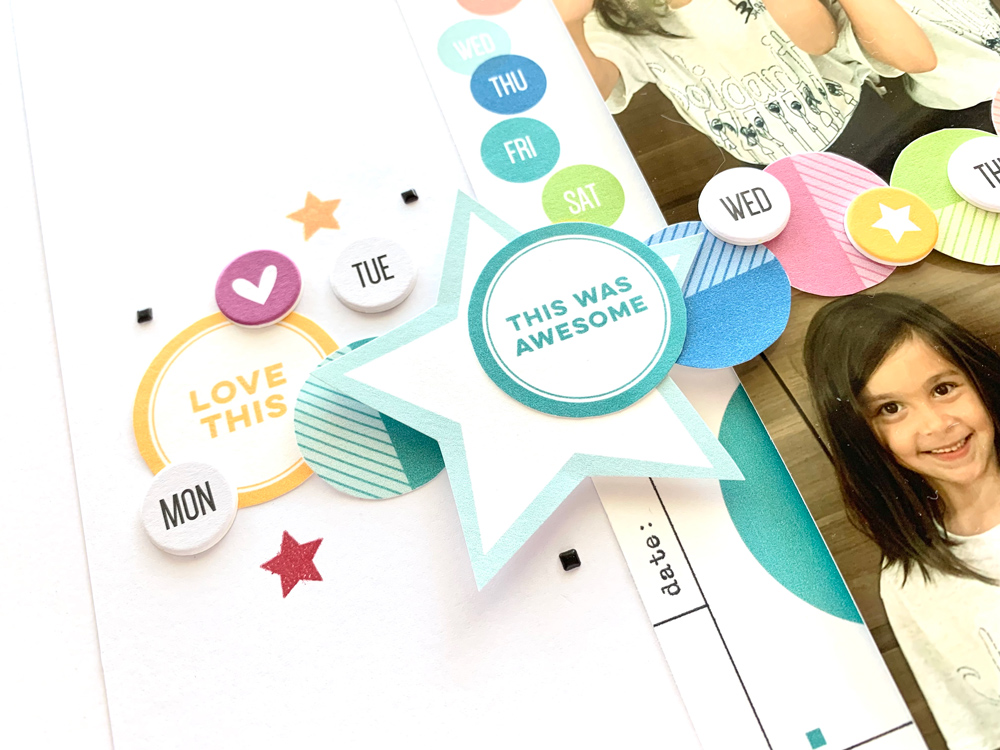
Then, I cut out the star shape from the last 3 x 4 inch printable. I layered the circle “this was awesome” printable from the August 2021 Print and Cut Labels to the stop of my star.

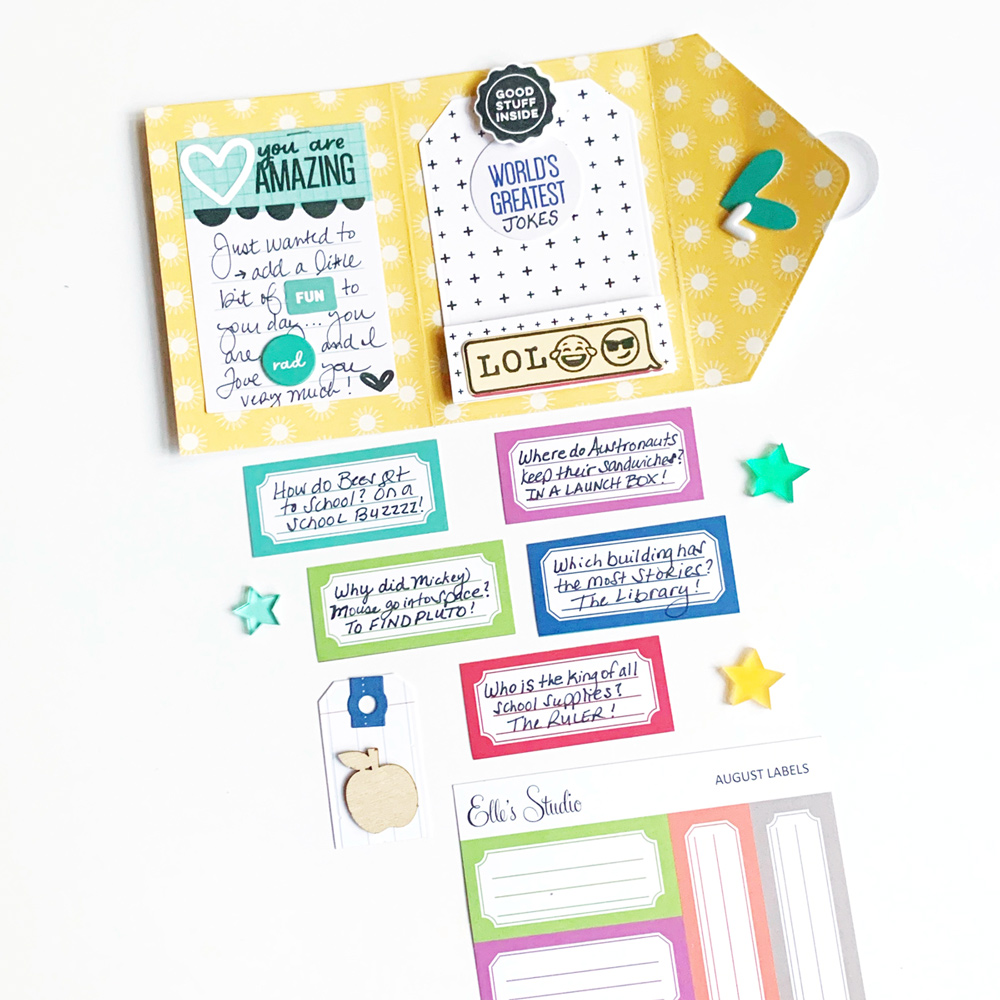
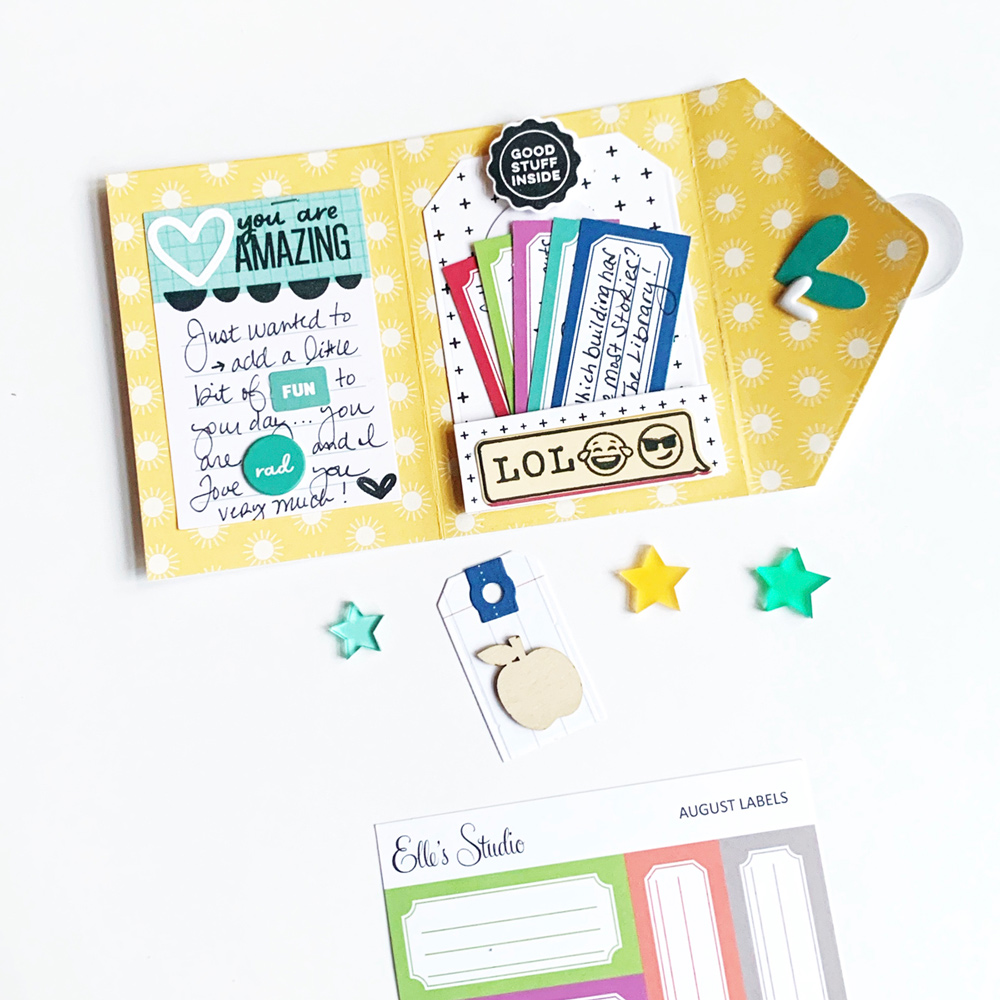
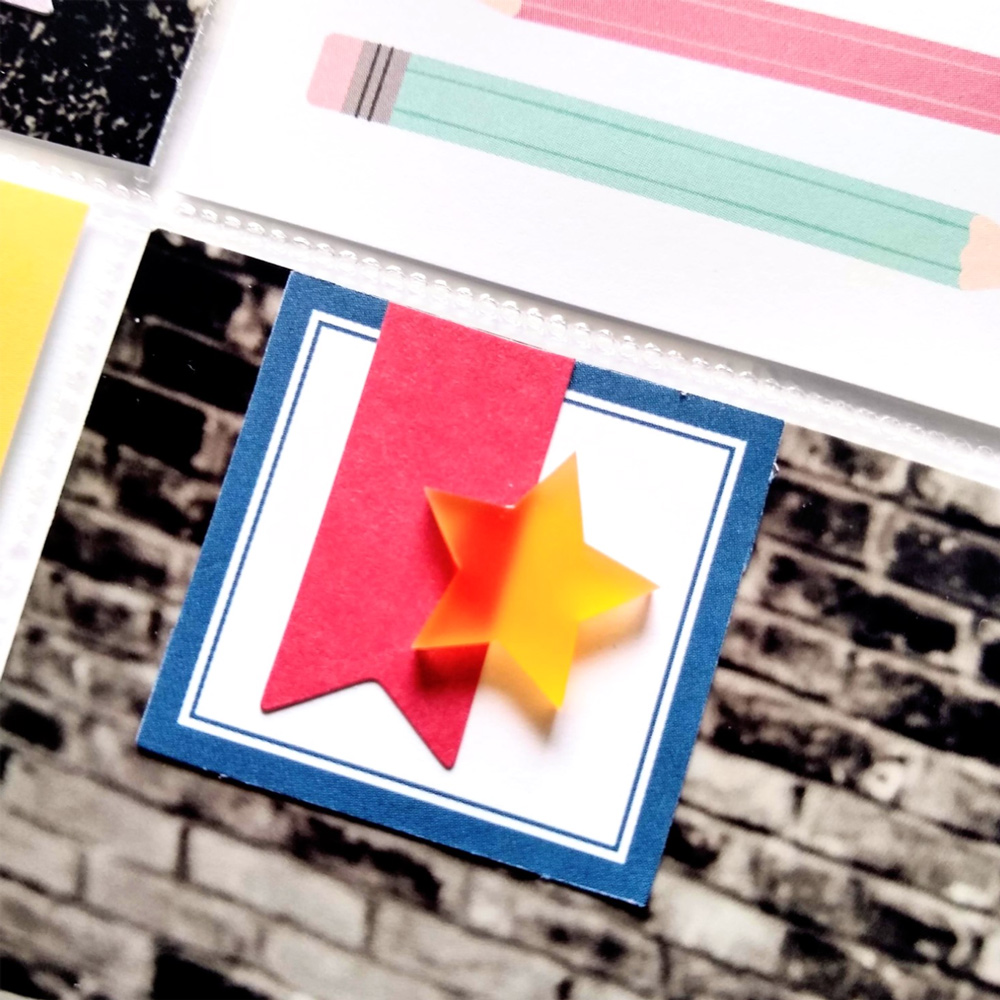
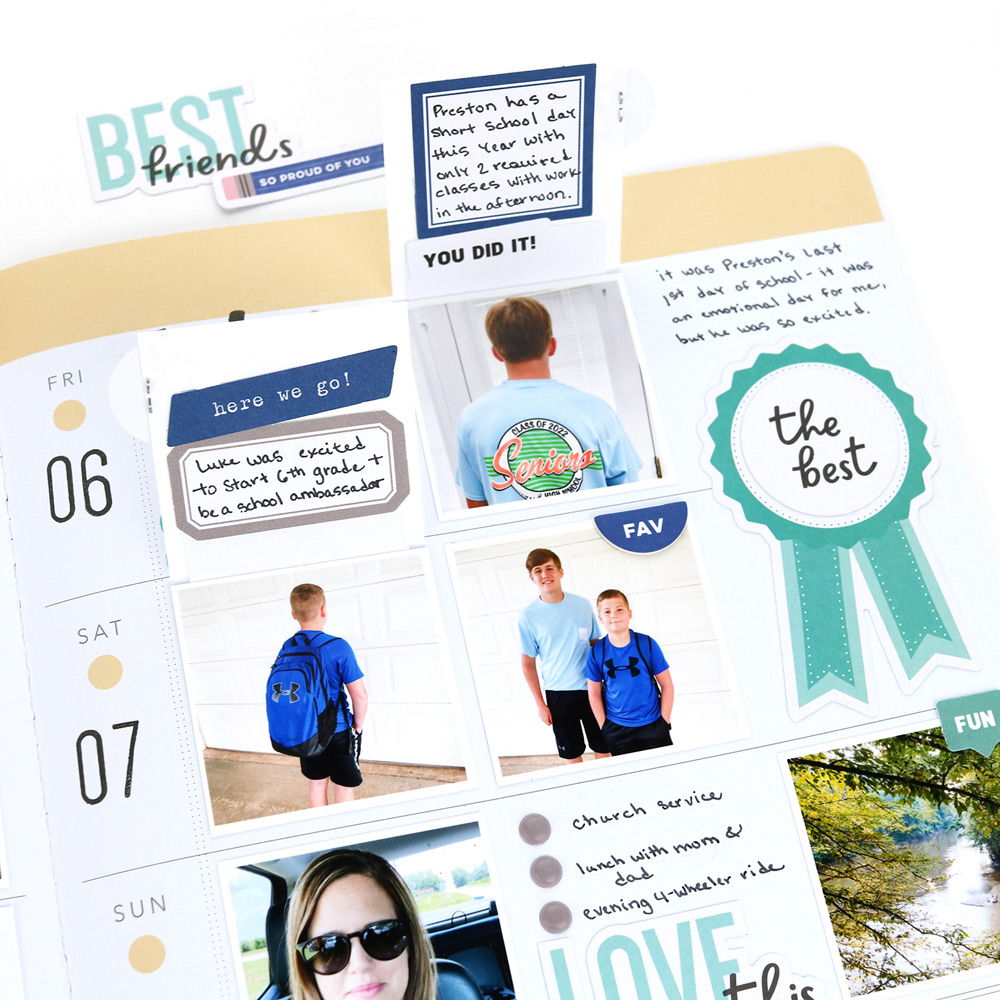
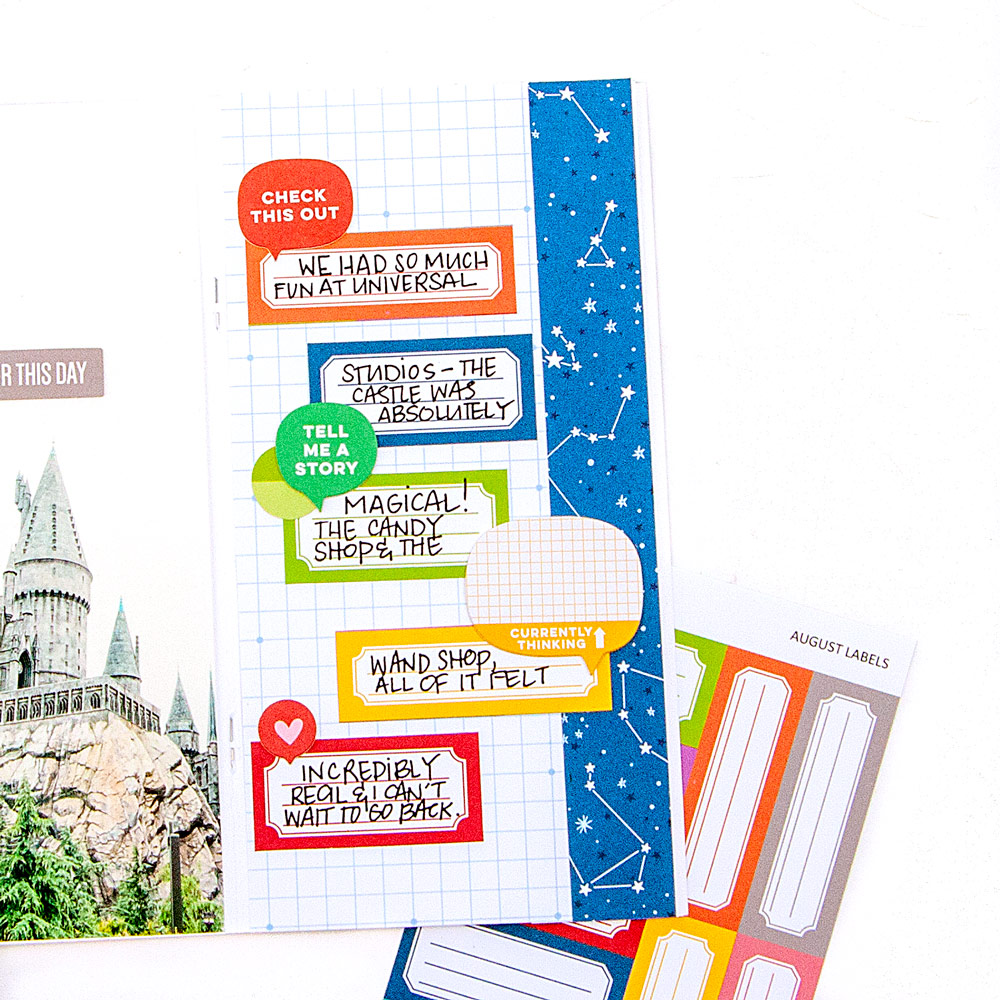
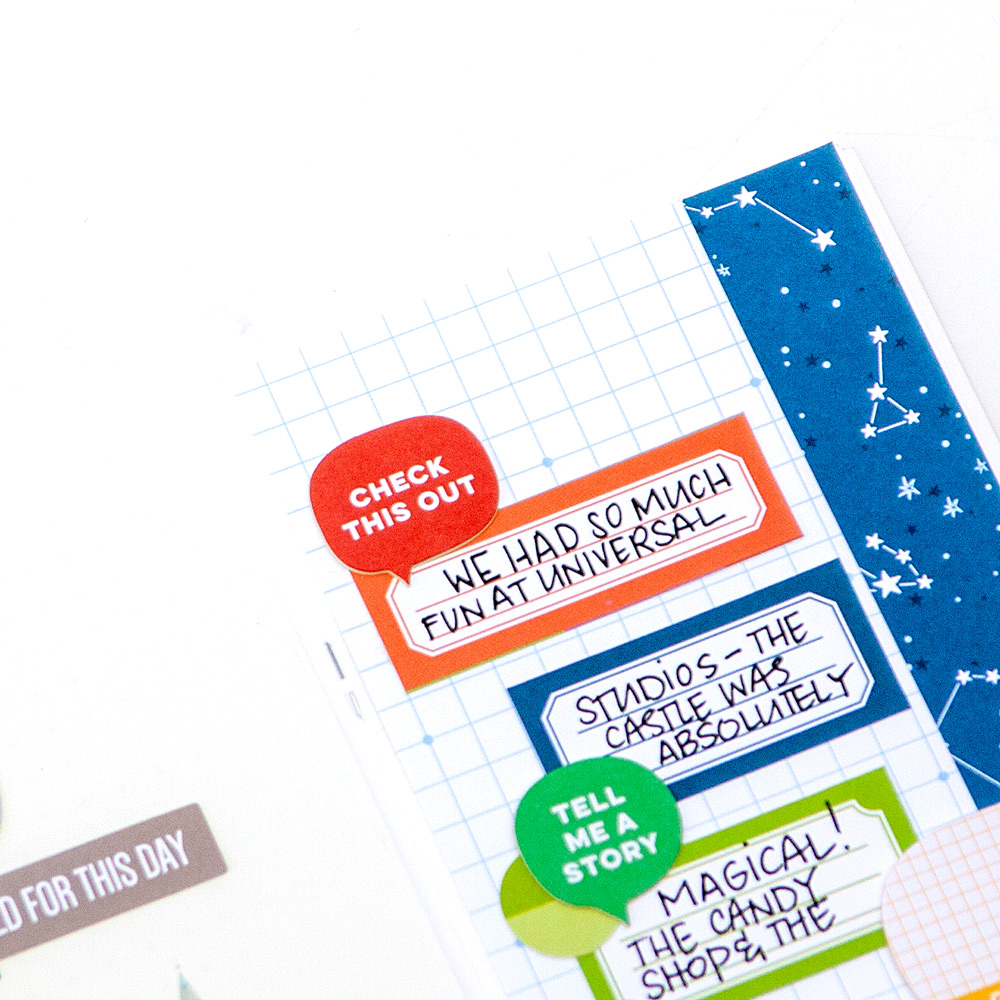
To further embellish my layout, I cut out a handful of the labels from the August 2021 Print and Cut Labels and layered them toward the top and bottom of my photos. I didn’t pick any specific labels; I just wanted to create a cluster of them to add more color to my project.

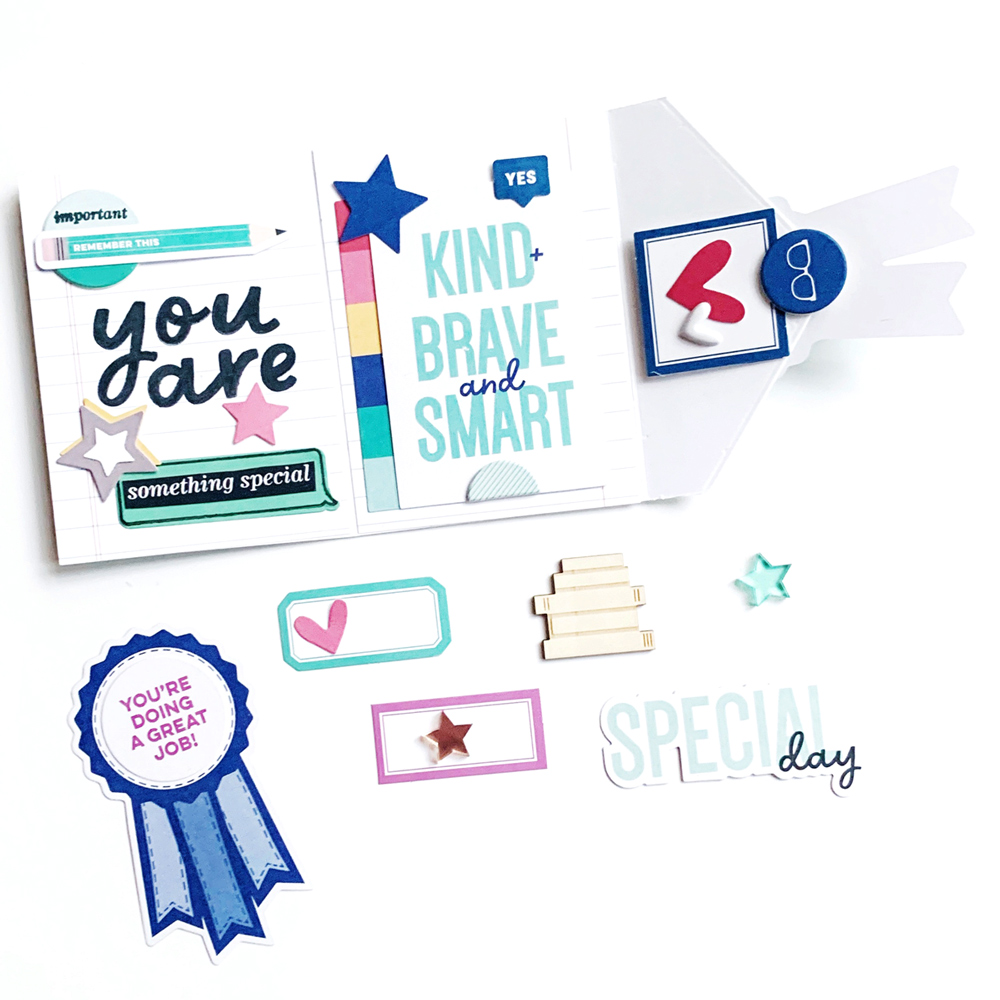
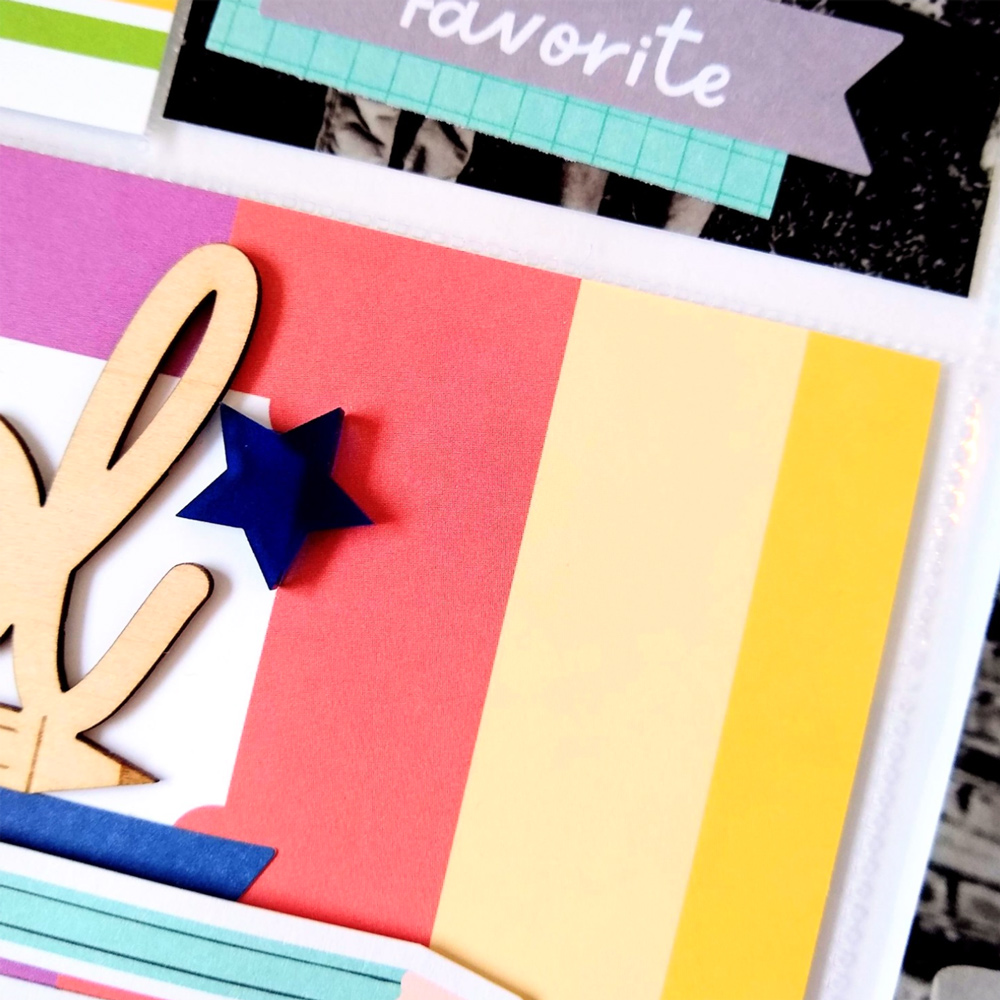
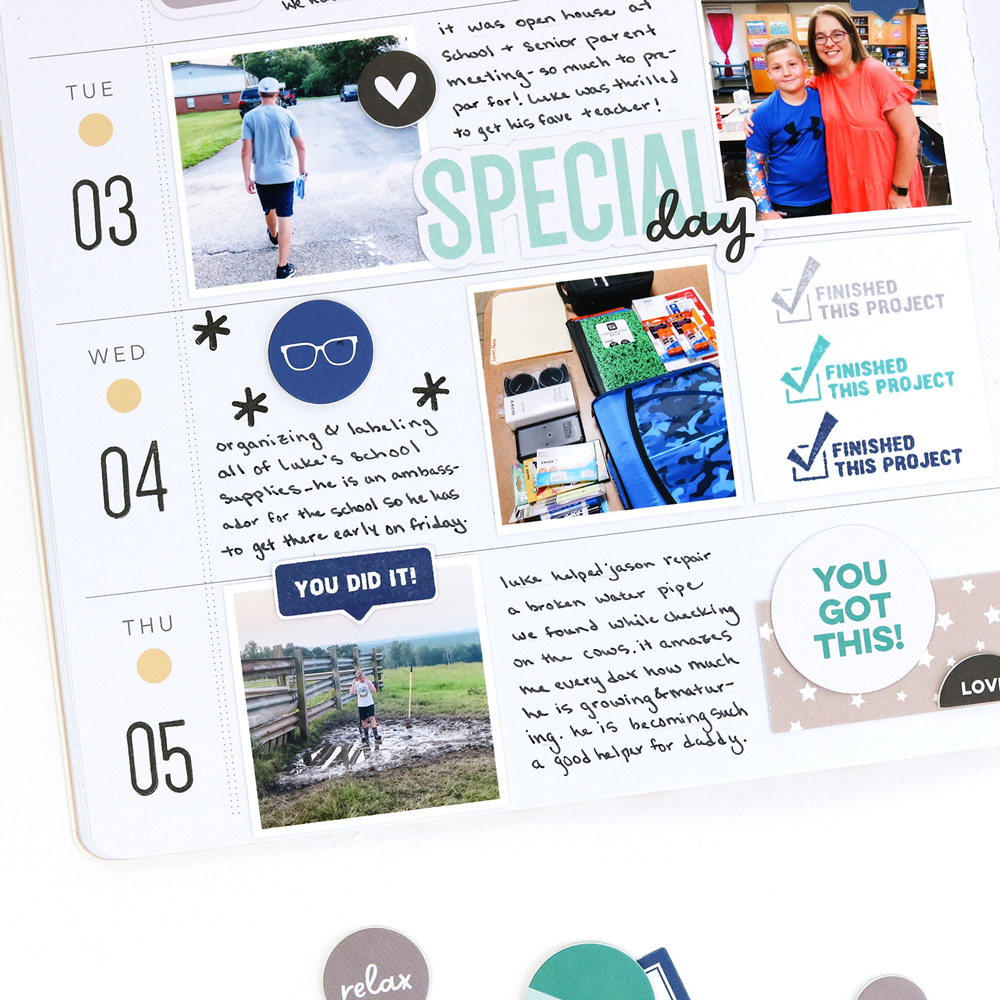
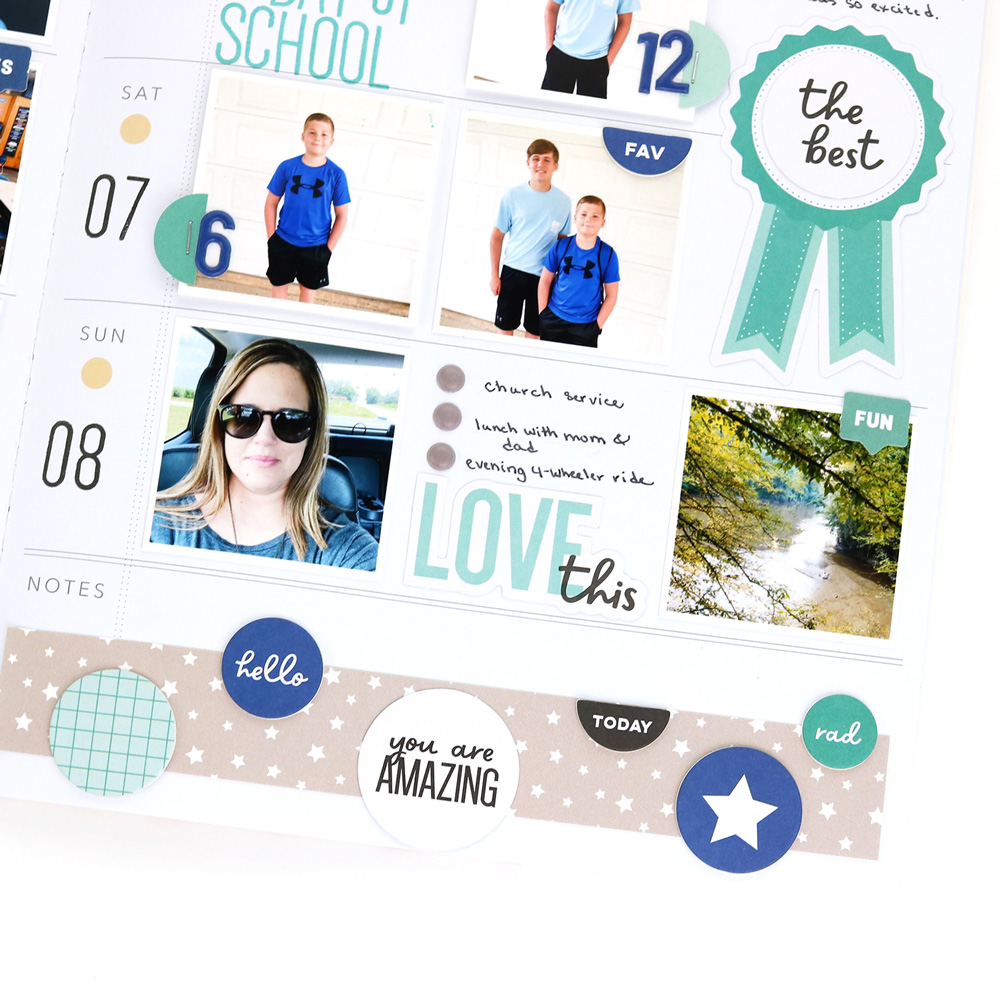
I wanted to create a horizontal element to break up the photos on my layout, so I used more printables from the Note to Self Printables. On that digital file, there are some fun, colorful circles. I cut all of them out and scattered them horizontally across my page. 

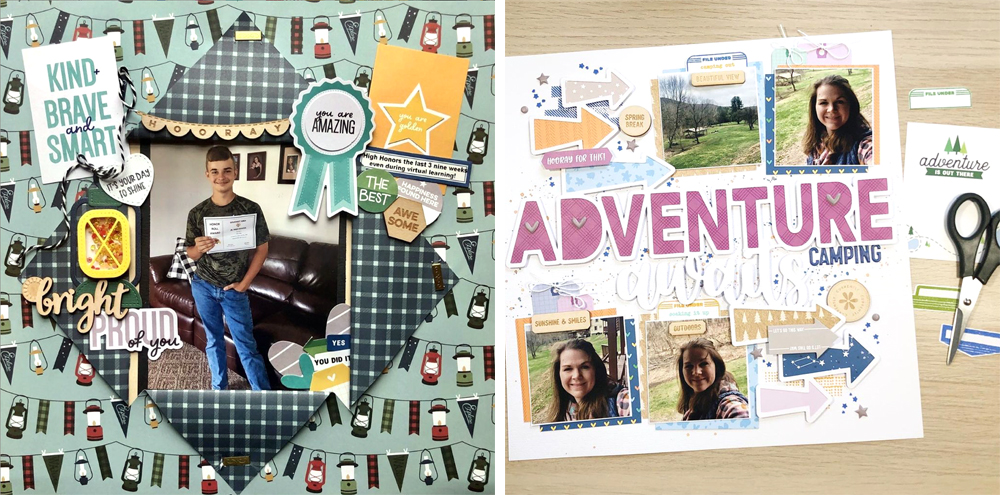
On this horizontal element, I layered the prize ribbon and star embellishments that I created. Also, to create more dimension to my layout, I added some of those awesome Chipboard Circle Stickers that I had leftover from the August release. Lastly, I stamped some scatted stars using the You Got This Stamp to complete my layout.

And that’s all I have for today! What’d you think? We’d love to see your projects featuring digital files. Whether they be cut files or print and cut labels, these files are a great way to expand your kits. They are jammed packed and ready for you to use—over and over again! Each month, there are new digital files that coordinate with the monthly kit, so don’t forget to check them out! 

Join us and  share your projects with us at our Elle’s Studio Facebook Group or on Instagram using the hashtag #EllesStudio.

As always, thanks for reading and letting me share my work here. It’s always a pleasure to be making pretty things with Elle’s Studio products! 

Are you a monthly kit subscriber? If so, you get our monthly digital files for free with your subscription! Be sure you’re logged into your account, and visit our Digital tab where you can download the printables and cut files that coordinate with your kit each month!

July and August #EllesStudio Spottings on Instagram

Hello, friends! We’re so excited to share six projects that we discovered this month by searching the #EllesStudio hashtag on Instagram. Take a look at what we found:

On the left, we love how Stephanie (@crafts_rainbows_plants) created such a stunning layout using a past monthly kit, Parker Alphabet Metal Dies and My Heart Metal Die! What a striking design! On the right, Stacy (@honeyscraftroom) used our new Pocket Envelope Metal Die and Open Here Stamp to create the sweetest back to school notes for special kiddos!

How about some pockets? On the left, Leonela (@leonela_wright) used our latest August monthly kit and Chipboard Circle Stickers to create a fantastic summer layout! On the right, Renee (@reneeh20) created great filler pockets using our Adventure Paper Stack, Cardstock Die Cut Tags and The Great Outdoors Stamp on her adventure-filled page! We love them both!

Our new Proud of You Die Cuts take center stage on the layout on the left by Jill (@jillmrugg), and we also love the extra embellishment and texture added to her page with our wood veneers! Last, but not least, the layout by Heather (@heyheather_scrapbooks) features our Adventure and Good Times Paper Stacks along with the new Navy Puffy Alphabet Stickers, and the Summertime Tabs Stamp! So much to love about this layout!

Just for sharing their projects, these six paper crafters will each win a $10 gift certificate to the shop! Thank you so much for posting your projects and using the #EllesStudio hashtag, ladies! Please email us at info@shopellesstudio.com to claim your prize!

Use our products on your next project and post to Instagram using the hashtag #EllesStudio for a chance to be featured here on our blog, and win a gift certificate to the shop! We can’t wait to see what you create this month!

School Days: A Back to School Layout with Aimee Mertell

For today’s final School Days post, we’re going “old school” with a traditional layout created by Aimee Mertell. We know you’ll love how many of the obligatory first day photos that Aimee fit on her layout, while keeping it clean and simple! Let’s take a look!

Hi there, Elle’s Studio friends! It’s Aimee here with you today— excited to wrap up our School Days blog posts with a 9 x 12 inch layout. Lets go ahead and take a look and I’ll walk you through what I did!

Supplies | 4 x 6 inch Notebook Journaling TagsProud Of You Die CutsLight Teal Cardstock Basic Shape StickersJane Tile Alphabet Cardstock Stickers – Light Teal, Chipboard Circle StickersBack To School Wood Veneers, Adventure Paper Stack, Parker Alphabet Stamp, Parker Alphabet Metal DiePocket Envelope Metal Die

I don’t know about you, but I am one of those mamas that just keeps clicking! I seem to take a million photos just to make sure I get at least one good shot and then I am left with too many options—all of which I love! That was exactly the case on my son’s first day of the first grade. I snapped a ton of photos and I think each one captures his personality in a different way, so rather than narrowing them down, I am going to use them all! 

I started by building a photo strip horizontally in the center of the page. To do this, I machine-stitched a narrow strip of subtle blue grid paper from the Adventure Paper Stack to the center of the page and layered my four photos over top, all measuring around 2-1/2 inches square. I now have a great little mash-up of favorites! Next, I added another photo sized at 3 x 4 inches, and I laid it just above my photo strip. I then went to work building a fun title and embellishing! There was no way I wasn’t going to use the Back To School Wood Veneers title— it is absolutely perfect for this page. I opted to cover the existing pencil on the wood veneer piece for a yellow pencil die cut from the Proud Of You Die Cuts to add some more color.

I used a 4 x 6 inch Notebook Journaling Tag, a border punch and my sewing machine to adhere a strip of notebook paper under my photos. I feel that this adds some balance to the page and is also an anchor for my continued title and information about the photos. I used the Parker Alphabet Stamp with the coordinating Metal Die and the light teal Jane Tile Alphabet Cardstock Stickers to mix alphas and spell out “first grade.” I added a sentiment from the Proud Of You Die Cuts and finished it off with a sprinkle of yellow stars cut from the Pocket Envelope Metal Die and some tiny teal stars from the Light Teal Cardstock Basic Shape Stickers

The August 2021 kit and extras pair perfectly with school time memories! I absolutely love this back to school layout and I hope it inspires you to document YOUR back to school stories—whether they are from this current school year or years prior I’m sure you’re bound to create something special!  Happy creating!

Share your school days projects , created with our August 2021 kit and add-ons with us! Join the Elle’s Studio Facebook Group where you can post on the discussion board, or post your project on Instagram using the hashtag #EllesStudio! For all of our teachers, students and parents out there, have a great school year!

School Days: Lunchbox Notes with Michelle Flynn

Do you have a school kid in your life who needs a reminder of how awesome they are? Or maybe someone special in your life who needs some encouragement? Surprise them with a note in their lunchbox, backpack or laptop bag! Michelle Flynn is with us today to share a two wonderful designs that will have you inspired to craft some sweet notes in no time! Let’s take a look!

Hi friends! It is Michelle here and I am so happy to be back sharing some sweet and fun lunchbox notes using the August 2021 kit and add-ons! This release was full of everything you could want to document and craft every type of back to school related event or activity and I have just loved creating with every single bit of it! I have already used the Pocket Envelope Metal Die so many times now that it has fast become my go-to for notes in and outside of my memory keeping. Today I am sharing how I used it to make these little lunchbox notes for your special back to school student, or even a teacher!

I started with the idea of two different note cards: one funny note for a little midday laugh and the other a sweet note of encouragement. I chose the gorgeous black and white paper from the Good Times Paper Stack for the funny note and for the sweet note I chose the light green grid paper from the Adventure Paper Stack. I used the Pocket Envelope Metal Die to create both cards and for opening labels of the lunchbox notes, I used the Open Here Stamp and the Proud Of You Die Cuts. I love the way the opening labels just add such a pop of color with that beautiful paper!

For the funny lunchbox note card, I used the August Labels to hand write cute little jokes and the labels were so perfect for this! I matted the inside of the note card using the yellow Adventure Paper Stack pattern. I am loving those little mini cards in the Proud Of You Die Cuts package and decided on the mint and white one for the left side of the notecard. I used the You Got This Stamp and the Lizzy Alphabet Stamp for this mini card and added a handwritten note along with a heart from the Pocket Envelope Metal Di, a die cut from the August Kit along with the Chipboard Circle Stickers

I pulled out the Nesting Tags Metal Die to make a tag for the right side of the card with that same black and white paper I used for the front of the card and I used dimensional adhesive to use the tag to make a holding spot for the jokes. I used the super fun Text Message Stamp and Text Message Metal Die, combined with the Hazel Alphabet Stamp to create that adorable “LOL” text message at the bottom of the joke holder. I just love the way it turned out and hope it brings lots of smiles.

The sweet, encouraging note card just has my heart. I trimmed down the 4 x 6 inch Notebook Journaling Tag for the left inside of the card and used the Proud Of You Die Cuts and Chipboard Circle Stickers for the corner and stamped “important” using the Lined Labels Stamp. I then used the Lizzy Alphabet Stamp to stamp “YOU ARE” as I wanted the you are message to be carried from the left to the right of the inside of the card. While I still had my Text Message Metal Die I went ahead and used that to stamp “Something Special” from the Open Here Stamp. I then used some of the sweet stars as an added element.  

For the right side of the card I used those mini cards again from the Proud Of You Die Cuts along with a die cut from the August Kit and a chipboard sticker. I really adore how it turned out!

Thank you for sharing your time with me today! I hope these little lunchbox note cards gave you some ideas on how to celebrate the students or teachers in your life, no matter what age they are! I had the best time using the August 2021 kit and add-ons. It was such a special release and I am not sure I would have ever created these sweet cards without such a beautifully curated kit! I love how each month it inspires me and I hope it inspires you because I cannot wait to see how you create with it!  Share your inspiration on Instagram using the #ellesstudio hashtag and join us for even more fun over in the Elle’s Studio Facebook Group! Happy creating, friends!

Supplies | August 2021 Kit, August Labels, 4 x 6 inch Notebook Journaling Tags, Proud Of You Die Cuts, Chipboard Circle Stickers, Adventure Paper Stack, Good Times Paper Stack, Lizzy Alphabet Stamp, Lined Labels Stamp, Open Here Stamp, You Got This Stamp, Text Message Stamp, Hazel Alphabet Stamp, Nesting Tags Metal Die, Text Message Metal Die, Pocket Envelope Metal Die

Stop by tomorrow when Aimee Mertell will finish out our School Days posts with a gorgeous layout! Until then, happy creating with your August 2021 kit and add-ons!

School Days: Pocket Page with Jody Compton

Are you ready to go back to school this week with us? For the next three days our design team will be sharing projects dedicated to returning back to the classroom. Even if you don’t have school aged kiddos to document, pull out your photos from years past, or use these projects to inspire a project about how YOU are learning something new! Let’s start out with Jody Compton, who is sharing a pocket page with us to kick off our School Days posts!

Hi there Elle’s Studio friends! It’s Jody here with you today sharing a School Days pocket page using the August 2021 kit and add-ons. It’s simply titled Back to School, thanks to the amazing Back To School Wood Veneers.  w

Supplies | August 2021 Kit, August Labels, Proud Of You Die Cuts, Chipboard Circle Stickers, Back To School Wood Veneers, Acrylic Stars  

Last year, we decided to homeschool both our boys. Knowing that they would not take standard school photos I hired a photographer to come and take pictures at our house.  It was a big success and I love mixing black and white photos with colored photos. I not only used the Back To School Wood Veneers as a title, but I also sprinkled them throughout the pockets for texture and color.  

Another product I wanted to highlight was the fabulous Proud Of You Die Cuts. This is a huge pack of goodness.  The award ribbon stole the show in the top right pocket. I used several other die cuts around the page for pops of color and subtitles.  

Elle’s Studio always has the sweetest acrylic bits. I used several of the Acrylic Stars on this page because I was very proud of how our boys handled homeschooling. I love that the Acrylic Stars are not too chunky and come in a variety of colors!  

The August 2021 Kit die cuts are so versatile. I like to use the blank ones as layers. Mixing up different shapes and sizes gives the page movement and texture. 

I hope this page has given you some inspiration to create your own school days project. Please use the #ellesstudio hashtag on Instagram when you share your projects so we can see what you create!

Join us tomorrow when Michelle Flynn will be sharing some amazing lunchbox cards—perfect for a schooler or anyone else who needs some encouragement!

A sneak peek of our September 10th reveal!

Our September kit + coordinating add-ons reveal is almost here and we can’t wait to share with you all the new and exclusive products that will be available soon! Our reveal will be full of the perfect products to document your September stories and take you right into the month of October! This month, our September kit will include 3 – 4 x 6 inch tags, 18 – 3 x 4 inch tags, and 26 die cuts!

Not a subscriber? You can pre-order our September kit now and lock in our $9.99 kit price by starting a subscription today! You’ll want to choose our SUBSCRIBE & SAVE option to get signed up and start your subscription with our September kit. We will then hold your kit and you’ll be ready to bundle and save at our September 10th reveal! Details on how to bundle with your subscription order will be emailed to you once you have purchased this product.

Kit subscribers, don’t forget! Along with being able to bundle any products from our shop that will ship for FREE with your kit during our 24-hour bundling period, starting on the 10th at 8:00 am Pacific each month, our subscribers will also have access to special discounts on select items! These discounted items can be found in our SALE section during our 24-hour bundling period, and you must be logged into your kit subscriber account to see them. Quick note: Our kits and add-ons are available without a subscription each month, too.

We are so excited to share all of these new products with you and see how you use them on your projects! Make sure you set your alarm and mark your calendar for Friday, September 10th at 8:00 am Pacific! We hope to see you there!

An All-Star Traveler’s Notebook with Nicole Kerr

Hello ES friends! It’s Nicole here and today I’m sharing a travelers notebook spread featuring the Lizzy Alphabet Stamp, the August Note to Self Printables and a few other add-on goodies! This month’s products inspired me to create this spread documenting my son making his travel hockey team! He was so proud and has worked hard all season. The August release created the perfect opportunity to document this memory with its back-to-school themed products.

Supplies | Note to Self Printables, August 2021 Print and Cut Labels, August Labels, Proud Of You Die Cuts, Chipboard Circle Stickers, Positive Vibes Wood Veneers, Acrylic Stars, Celebrate Paper Stack, Lizzy Alphabet Stamp, You Got This Stamp, Pocket Envelope Metal Die

The left side of my spread features the star tag available in this months Note to Self Printables. This was a 3 x 4 inch tag that I converted into a traveler’s notebook-sized page using Photoshop. I used the new Lizzy Alphabet Stamp to add “You’re a star!” in grey ink. I also added ephemera, a few chipboard stickers and wood veneers to the page. To add to the star theme, I used the star die that came in the Pocket Envelope Metal Die and star stamp from the You Got This Stamp.

On the right, I featured my son’s hockey photo. Below the photo I added in my journaling on three of the August Labels. I love using the labels for journaling because it gives me an opportunity to add smaller pops of color and a little more dimension to a page. I also used an August 2021 Print and Cut Label to add the date above my photo. 

Lastly, I used a few more star elements from the Pocket Envelope Metal Die, the Acrylic Stars and the Positive Vibes Wood Veneers to embellish the page.

Not only are the products this month great for back to school, but they are perfect for documenting proud sports moments! I love the versatility that they provide! Thanks so much for joining me today! Until next time, have a colorful day!

Find the new Lizzy Alphabet Stamp in the shop along with our other August 2021 kit and add-ons today while supplies last, and don’t forget to tag us using the #EllesStudio hashtag when you share what you create with our products!

Memory Planner Monday: Back to School with Marsha Farris

Hey, Elle’s Studio friends! This is Marsha, and I’m excited to share a layout in my memory planner! For my project today, I documented the first full week of August using the August kit and add-ons. The release this month was absolutely perfect for this week of back-to-school activities!

Supplies | August 2021 Kit, Proud Of You Die Cuts, Chipboard Circle Stickers, Tiny Shapes and Dots Puffy Stickers – Neutrals, Navy Puffy Alphabet Stickers, Good Times Paper Stack, Lizzy Alphabet Stamp, You Got This Stamp, Jane Alphabet Stamp, Pocket Envelope Metal Die

I began the layout by stamping the month with the new Lizzy Alphabet Stamp. I just LOVE this stamp! It is such a fun, whimsical font and works well with so many different types of projects. I used the Jane Alphabet Stamp and black ink to complete the dates on the pages. Then, I printed my photos and arranged them on the layout, roughly according to the date they were taken. 

Next came the fun part: the embellishing! I chose a few of the Proud Of You Die Cuts in coordinating colors and used them to embellish several areas of the spread. The sentiments and designs matched well with this week’s photos. Using the You Got This Stamp and teal ink, I stamped a circular-shaped stamp and cut it out using a circle punch. I also repeat-stamped another sentiment using three ink colors. It is a simple technique, but I just love this little detail! Using the same stamp, I stamped another phrase in navy ink, trimmed it out, and added it to one of the photos. To complete this page of the spread, I added Chipboard Circle Stickers to a few areas of the layout.  

I did more stamping with the Lizzy Alphabet Stamp and the Jane Alphabet Stamp using black and teal inks. I always love the look of a mixed alpha stamped title! Using a gray patterned paper from the Good Times Paper Stack and the Pocket Envelope Metal Die, I cut out a star to embellish the title area. I added my sons’ grade numbers on their first day of school photos with Navy Puffy Alphabet Stickers

Because I had additional photos I wanted to include, I created two flip-ups. This also allowed space for additional journaling. I created little tabs for the flip-ups by trimming a circular die-cut tag from the August Kit in half and using mini staples to attach the die-cut pieces to the photos. 

I added a trimmed piece of the same gray patterned paper from the Good Times Paper Stack to the bottom of the spread. I used the Proud Of You Die Cuts and Chipboard Circle Stickers to create a fun design element that spanned both pages. The last step in my memory planning process was filling in my journaling for each day. I always try to include the little details I will enjoy looking back on in years to come. 

I hope I have given you some ideas for using the August kit and extras in your memory planner! Thanks so much for stopping by today! Happy creating!

Show us how you’re using our August products to complete your memory planners! Post your planner pages to our Elle’s Studio Facebook Group or share on Instagram using the hashtag #EllesStudio!

Back-to-School Encouragement with Guest Danielle Dunlop

Today we’re excited to welcome our August guest back to the blog: Danielle Dunlop! Today Danielle is switching things up from her first post to share handmade positivity to your day! Let’s check out what she created!

Hi everyone! It’s Danielle here with some more projects made with the gorgeous August kit and add-ons. This time I didn’t make a layout, but I went for two other projects: cards!

Supplies | August 2021 Kit, August Labels, Proud Of You Die Cuts, Back To School Wood Veneers, Good Times Paper Stack, Lizzy Alphabet Stamp

The first one is a back to school card. It’s that time of the year again, and this is a fun way to give a kid some encouragement to start the new school year! I started creating a background with the Lizzy Alphabet Stamp. I randomly placed the letters, numbers and some punctuation over the background and stamped it in a light pink. Then I stamped it again with Versamark ink and clear heat embossed it for a shiny effect!


The Back To School Wood Veneers added the perfect sentiment, and I topped it with the pencils, heart and star from the Proud Of You Die Cuts. The grey card backing it all is from the August Kit. It had ‘documented’ printed on it, but I covered that up with one of the pencils.


Finally I glued the card on top of one of the papers from the Good Times Paper Stack.


Supplies | Back To School Wood Veneers, Acrylic Stars, Good Times Paper Stack, Open Here Stamp, You Got This StampPocket Envelope Metal Die

The second card was made with the new Pocket Envelope Metal Die. I’m totally in love with this die, it allows you to quickly make a cute card with an envelope. For this one, I stayed with the back-to-school theme. I die cut the envelope and card using patterns from the Good Times Paper Stack and decorated the card with the You Got This Stamp, Back To School Wood Veneers and Acrylic Stars.

Now the best part is that this die set goes perfectly with the Open Here Stamp, which makes it super easy to decorate your envelopes.

But that’s not all! The Pocket Envelope Metal Die comes with additional die shapes that match the Open Here Stamp, You Got This Stamp. I love it when all these sets come together this way! In the picture below you see some examples of stamps from these sets along with the matching dies.


Thank you for stopping by today! I really enjoyed being here as a guest designer this month and I can’t wait to eall your creations made with the August 2021 kit and add-ons!

My name is Danielle and together with my husband and our fur baby Blink we live on a tiny remote Caribbean island called Saba. We have our own restaurant here, which keeps us busy, but I will always need my creative time. I like to try new creative hobbies all the time, but scrapbooking is the one thing I have been doing for about 20 years now. My pages are either clean or they get real messy when I use mixed media. 

Be sure to follow Danielle on her Instagram feed to see more layout and amazing card creations. We thank you so much for inspiring us this month, Danielle!

From Sketch to Finish Inspired with Jennie McGarvey

Hello!  It’s Jennie and I’m back to share a traveler’s notebook layout inspired by a 12″x12″ sketch! Curious how that works?  Let’s walk through it!

I took a sketch from the From Sketch To Finish Vol. 6 Class and turned it into a traveler’s notebook layout. I used the first sketch from this class and honestly, the hardest part about the whole process was choosing which sketch to use. The sketches are all really versatile and would work for a variety of sizes of pages, despite being drawn in 12″x12″ format.

Supplies | August 2021 KitAugust LabelsChipboard Speech Bubble StickersAdventure Paper Stack

The way I made this layout work for a standard size traveler’s notebook insert was to create an imaginary line, or page break, between the photo and the descending numbers. The photo and everything to the left would be on the left-hand side of the page and the numbers, plus everything to the right would be on the right-hand side of the page.

Instead of trying to make the photo size match perfectly in the insert, I decided a full-page photo would be best.  I had the perfect photo as well: a photo of the Hogwarts Castle with lots of sky. It was a completely overcast sky, which would allow me to focus on the castle (my goal!) AND add the title without covering anything up.

You can see when you look at the right-hand side of the page that I didn’t follow the sketch exactly. I didn’t include descending numbers because it really didn’t fit the overall theme of my layout. However, I did want to stick to the feeling of embellishments cascading down the page.

To create a firm boundary on the right-hand side, I wanted to use a bold patterned paper to let my eye know where the page ended. The starry patterned paper was perfect, both for the striking color and the magical theme of the layout!

The original sketch included boxes that these August Labels were perfect for. The labels helped me journal the story of our day at Universal Studios AND stay in the color theme for the Hogwarts houses! The Chipboard Speech Bubble Stickers were perfect in size, color and text.

Keeping the overall layout simple was necessary because the size of the traveler’s notebook would be easily overwhelmed with too much pattern or embellishment. The supplies I chose really helped tell the story without making the page too busy. The sketch was perfect and it really didn’t matter at all the original size, it was easy to make it fit for my traveler’s notebook!

Have you ever worked with a sketch intended for a different size layout?  Will you try now after seeing how easy it was here? Make sure you pick up the From Sketch To Finish Vol. 6 Class and have lots of inspiration for all of your future projects!

Take the guesswork out of creating with our latest class, From Sketch to Finish Vol. 6! You can find this class now available in our shop with the exclusive 6 x 8 inch stamp, or as a digital download only!

We can’t wait to see what YOU create with the inspiration from our newest class! Share how any of our new sketches in the class inspire you to create by posting your project in our Elle’s Studio Facebook Group or by posting on Instagram using the hashtag #EllesStudio!