Hello! It’s Jennie and I’m back to share a traveler’s notebook layout inspired by a 12″x12″ sketch! Curious how that works? Let’s walk through it!
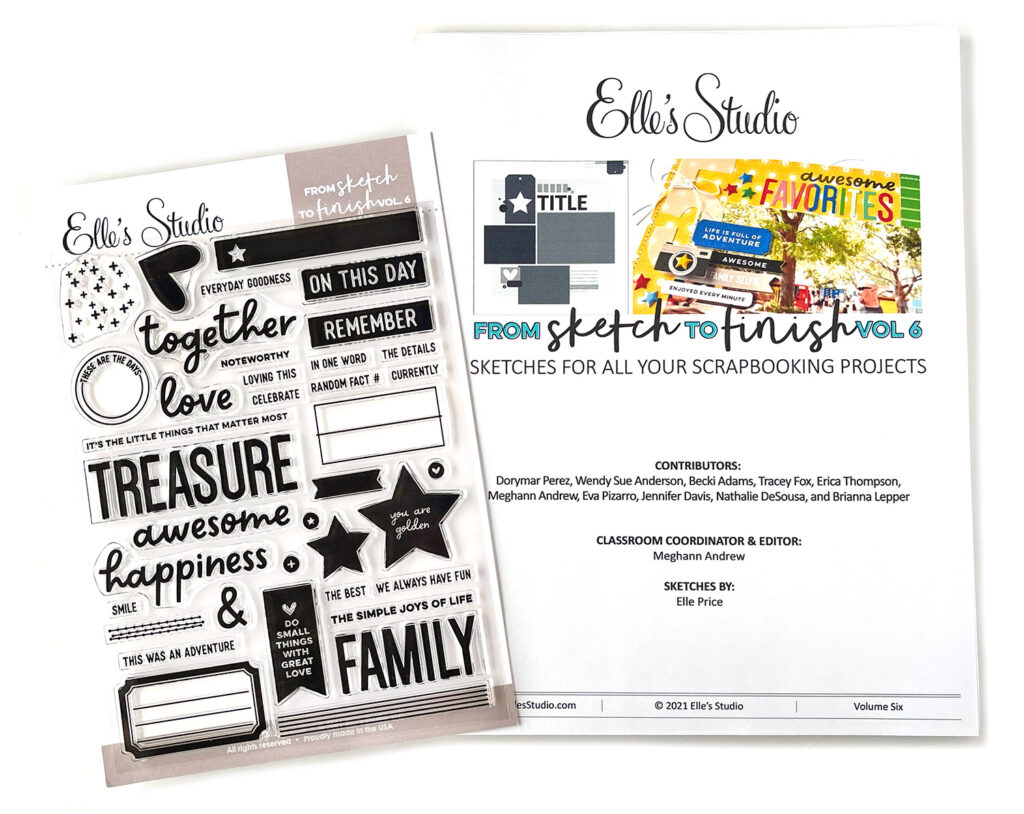
I took a sketch from the From Sketch To Finish Vol. 6 Class and turned it into a traveler’s notebook layout. I used the first sketch from this class and honestly, the hardest part about the whole process was choosing which sketch to use. The sketches are all really versatile and would work for a variety of sizes of pages, despite being drawn in 12″x12″ format.
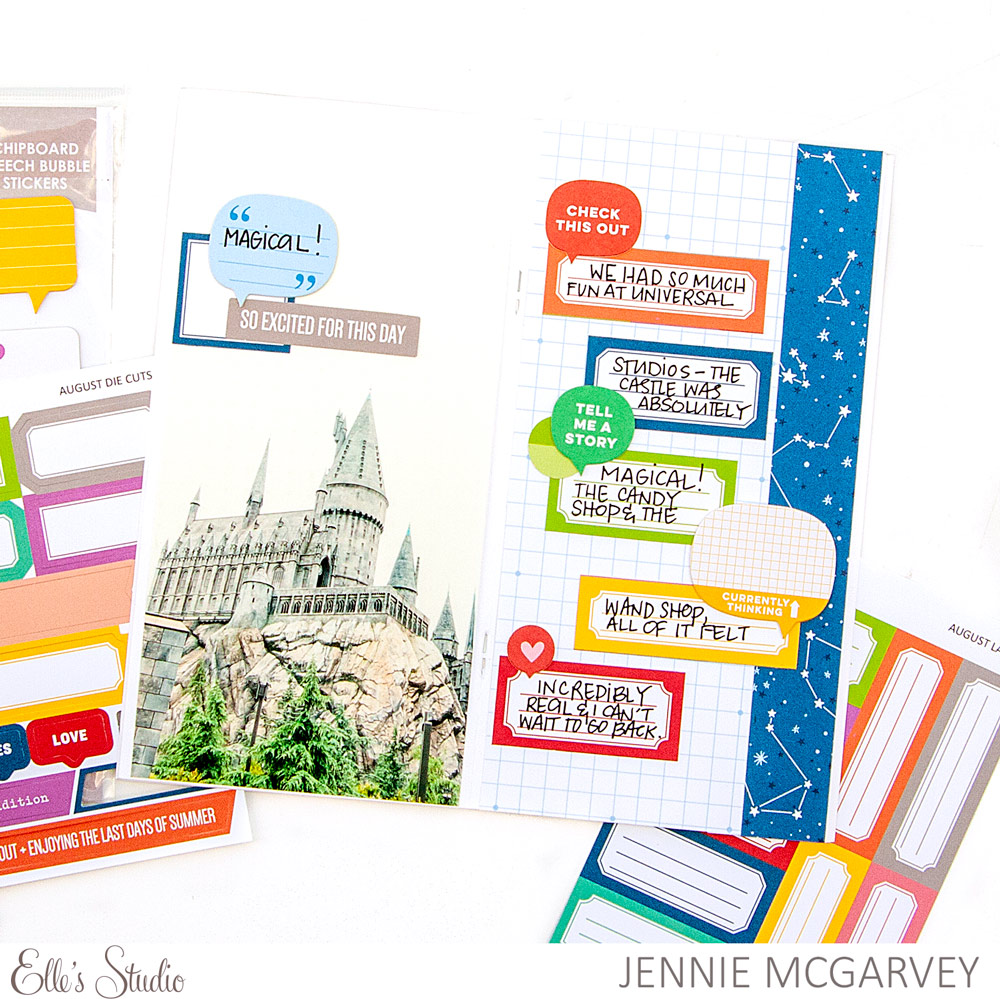
Supplies | August 2021 Kit, August Labels, Chipboard Speech Bubble Stickers, Adventure Paper Stack
The way I made this layout work for a standard size traveler’s notebook insert was to create an imaginary line, or page break, between the photo and the descending numbers. The photo and everything to the left would be on the left-hand side of the page and the numbers, plus everything to the right would be on the right-hand side of the page.
Instead of trying to make the photo size match perfectly in the insert, I decided a full-page photo would be best. I had the perfect photo as well: a photo of the Hogwarts Castle with lots of sky. It was a completely overcast sky, which would allow me to focus on the castle (my goal!) AND add the title without covering anything up.
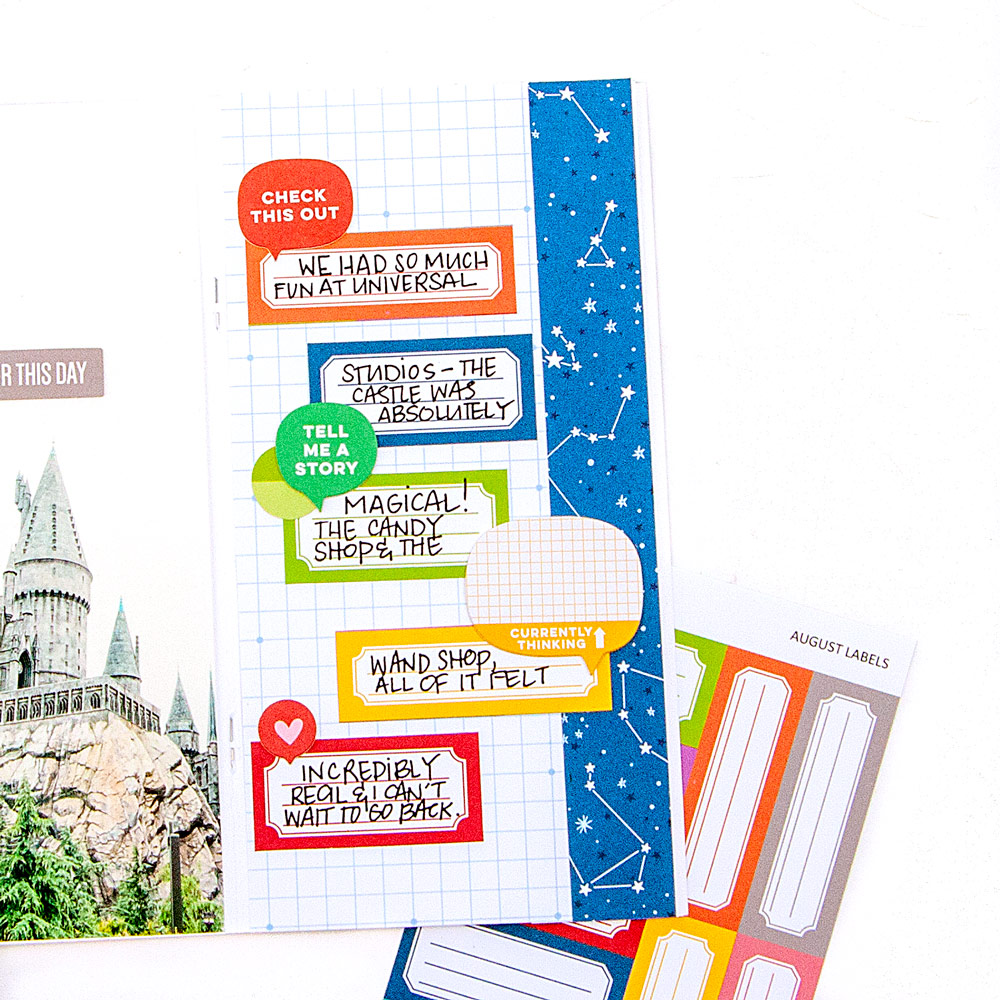
You can see when you look at the right-hand side of the page that I didn’t follow the sketch exactly. I didn’t include descending numbers because it really didn’t fit the overall theme of my layout. However, I did want to stick to the feeling of embellishments cascading down the page.
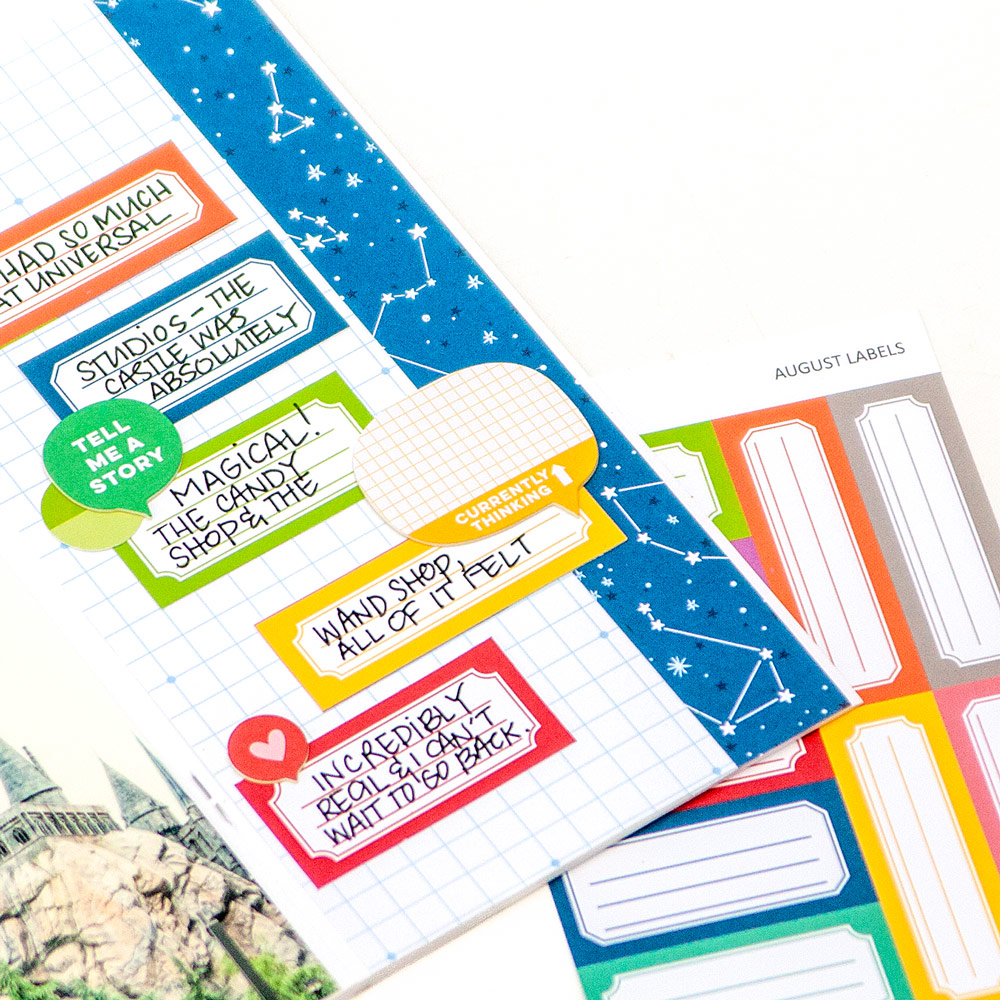
To create a firm boundary on the right-hand side, I wanted to use a bold patterned paper to let my eye know where the page ended. The starry patterned paper was perfect, both for the striking color and the magical theme of the layout!
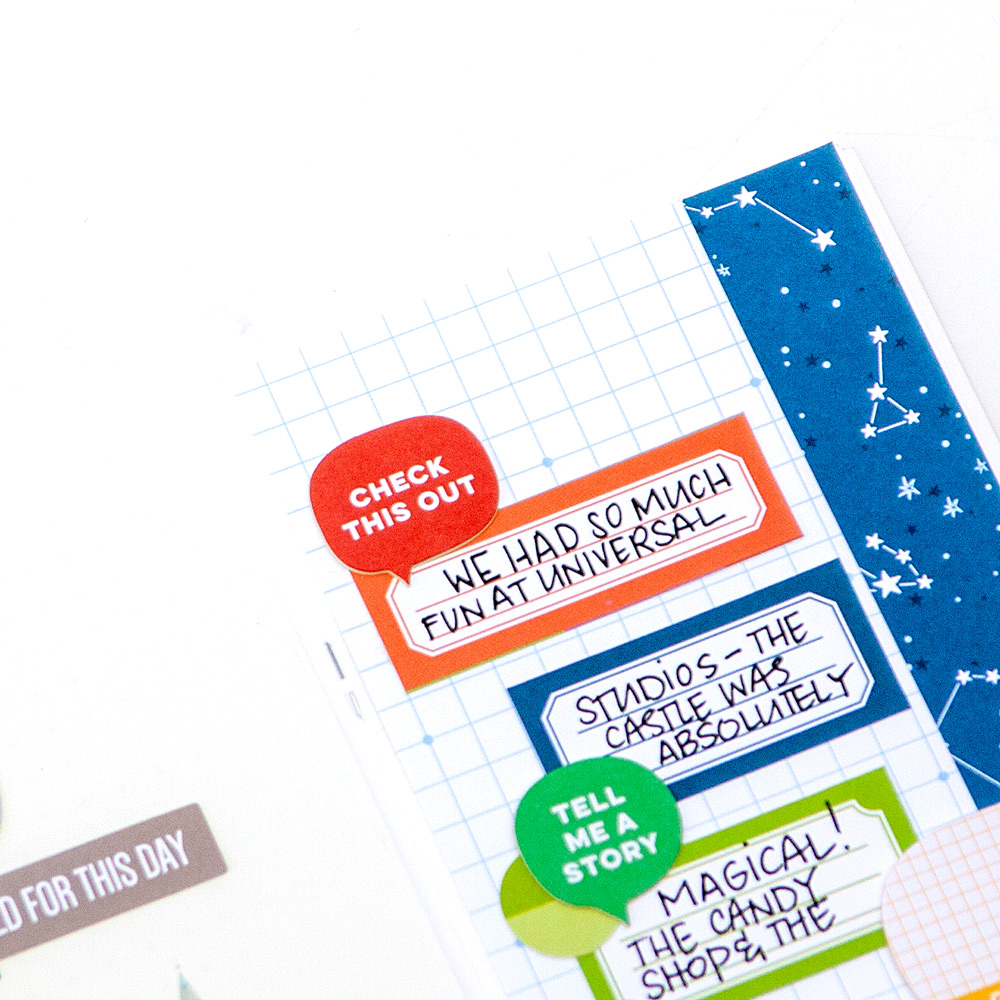
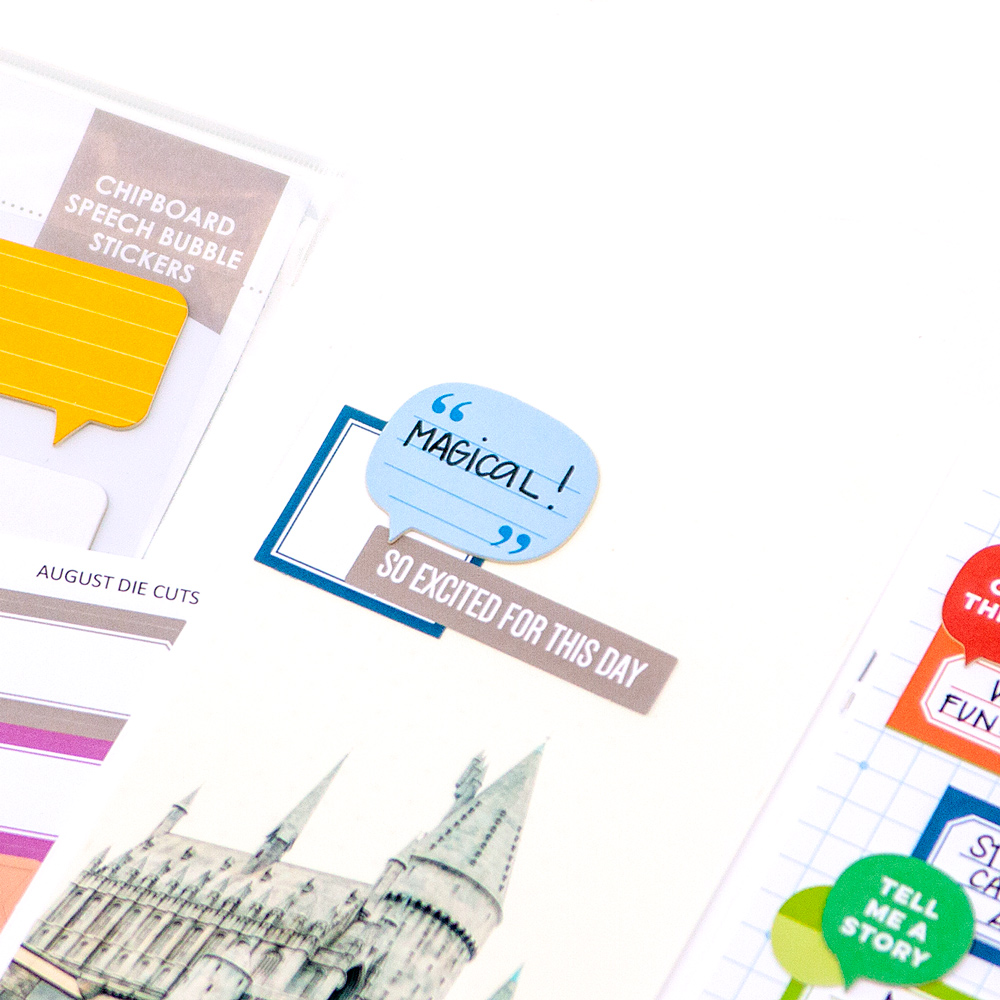
The original sketch included boxes that these August Labels were perfect for. The labels helped me journal the story of our day at Universal Studios AND stay in the color theme for the Hogwarts houses! The Chipboard Speech Bubble Stickers were perfect in size, color and text.
Keeping the overall layout simple was necessary because the size of the traveler’s notebook would be easily overwhelmed with too much pattern or embellishment. The supplies I chose really helped tell the story without making the page too busy. The sketch was perfect and it really didn’t matter at all the original size, it was easy to make it fit for my traveler’s notebook!
Have you ever worked with a sketch intended for a different size layout? Will you try now after seeing how easy it was here? Make sure you pick up the From Sketch To Finish Vol. 6 Class and have lots of inspiration for all of your future projects!

Take the guesswork out of creating with our latest class, From Sketch to Finish Vol. 6! You can find this class now available in our shop with the exclusive 6 x 8 inch stamp, or as a digital download only!
We can’t wait to see what YOU create with the inspiration from our newest class! Share how any of our new sketches in the class inspire you to create by posting your project in our Elle’s Studio Facebook Group or by posting on Instagram using the hashtag #EllesStudio!