A special deal for you + another giveaway!!

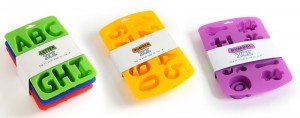
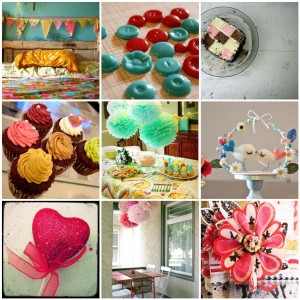
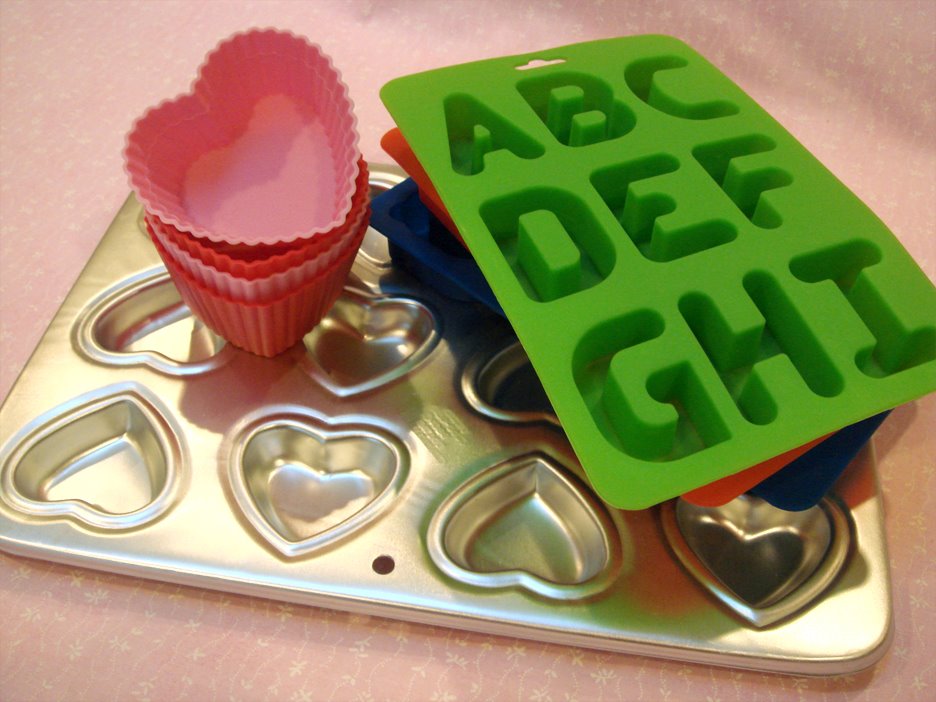
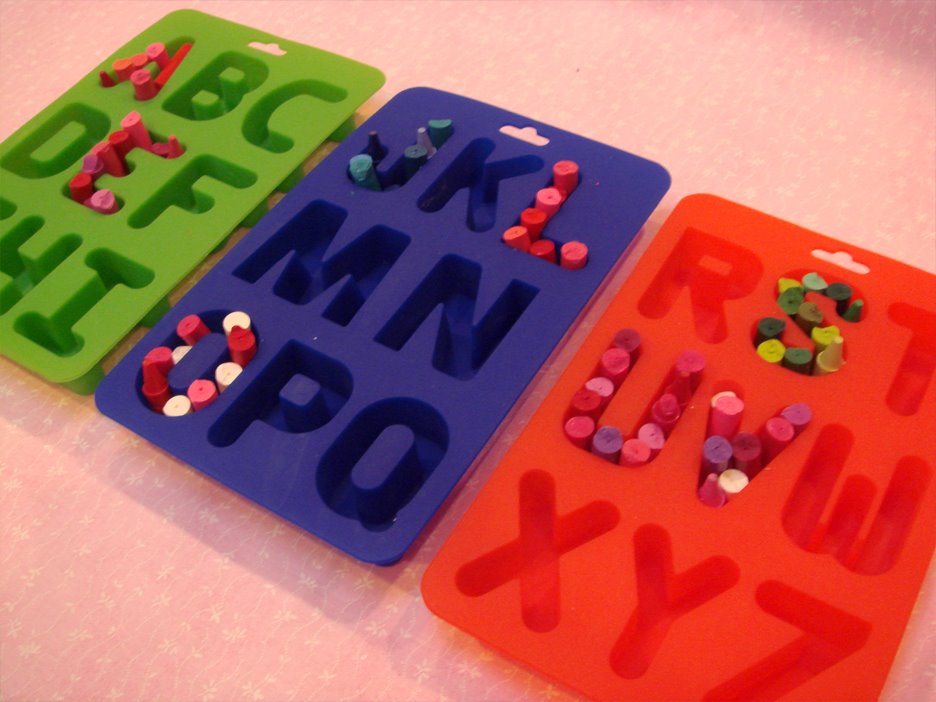
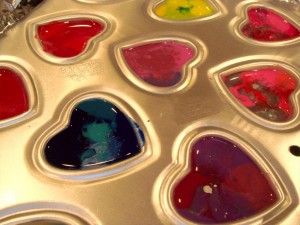
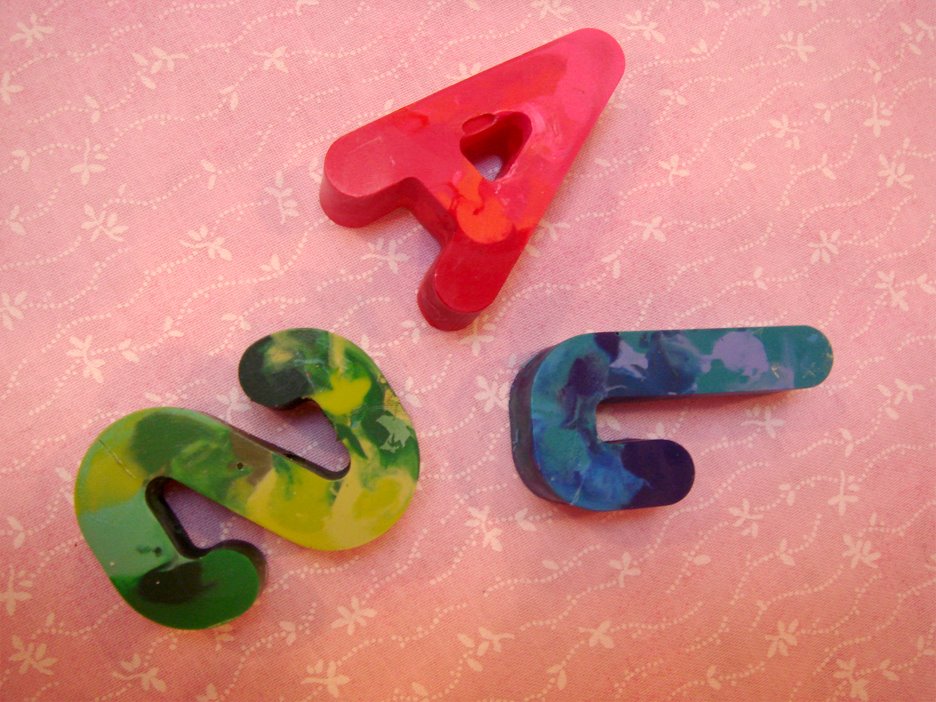
We are so excited!! Sillycone Inc. (the maker of the silicone trays we used during Day 2 of our craft week – pictured above) wants to give 6 of our readers each a set of: Alphabets, Number and Symbol trays!

To enter in the giveaway, just leave a comment below or email us with the subject “Sillycone giveaway” and we’ll be drawing 6 lucky winners on Feb. 3rd! Spread the word and tell all your friends – this is an awesome prize, we love these trays!!

They are also offering an amazing deal for our readers – Buy 1, get 1 free! You must mention Elle’s at checkout and this offer is only good until Feb. 3rd! Check out their store here.

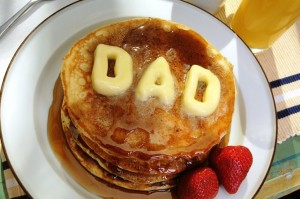
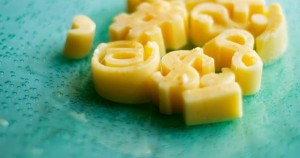
We made ice cubes with them before we made our crayons, but I had no idea how many more things you could make with them! Butter, cheese, chalk, soap, candles, and more! Click here to see some of their recipes. Here are some pictures to inspire you:

That butter looks so cool – I love it!!

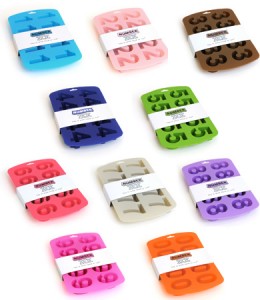
They also just launched some single number trays – these would be perfect for birthday parties! Pour some melted chocolate in them and make number toppers for your cupcakes – don’t forget the sprinkles!
These trays have so many uses, my wheels are turning now on what to create next ๐Ÿ™‚ I hope you all enjoy the giveaway and make sure you take advantage of there amazing offer of buy 1, get 1 free from now until Feb. 3rd at Sillycone Inc.!

Winner!

The winner of the grand prize for our “Handmade With Love” week is Drumroll…………………………………………………………………….
arlsmom aka Lynda said…
OMG…this is the cutest!!!

Congrats!! Please email me your address and we’ll get your prize out asap!

A big huge thanks again and lots of hugs to everyone for making this fun little week of crafts so much fun! You are truly the best!!

We have one more thing for you because the fun just can’t be over yet! We’ll be announcing it today, very soon, so stay tuned!

XO, Elle

Handmade With Love – winners and inspiration!

I cannot even put into words how fun this week was for us! Getting to share our projects and read your comments was amazing and I am so thankful for all of our readers ๐Ÿ™‚ You made this week so much fun! I’m feeling so inspired, probably the most inspired I’ve every been! Thank you all so, so much for stopping by!

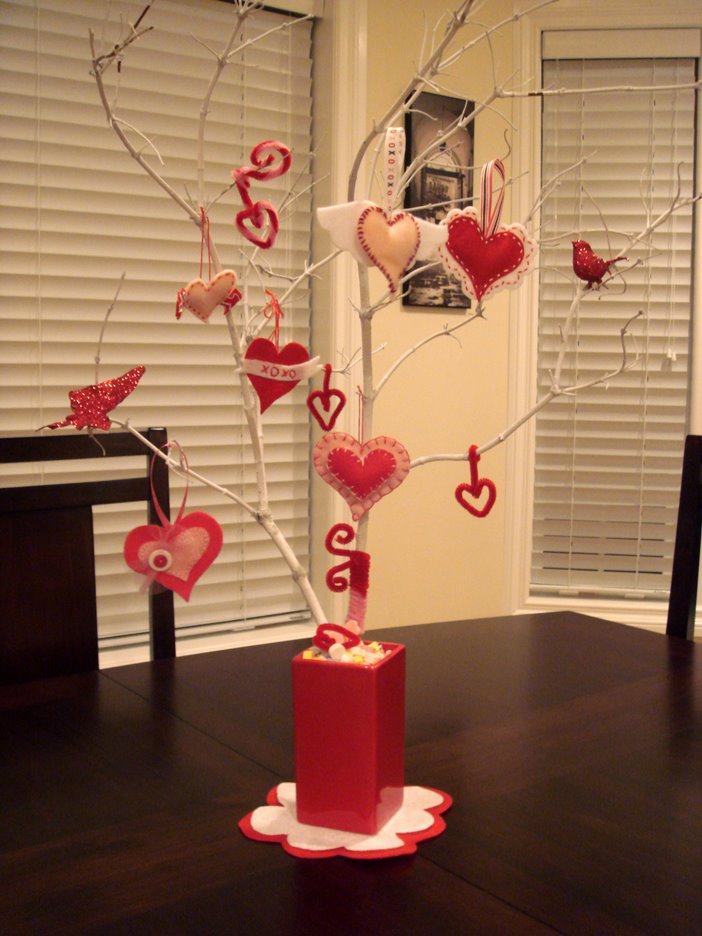
Here’s a couple pictures of our tree on the table:

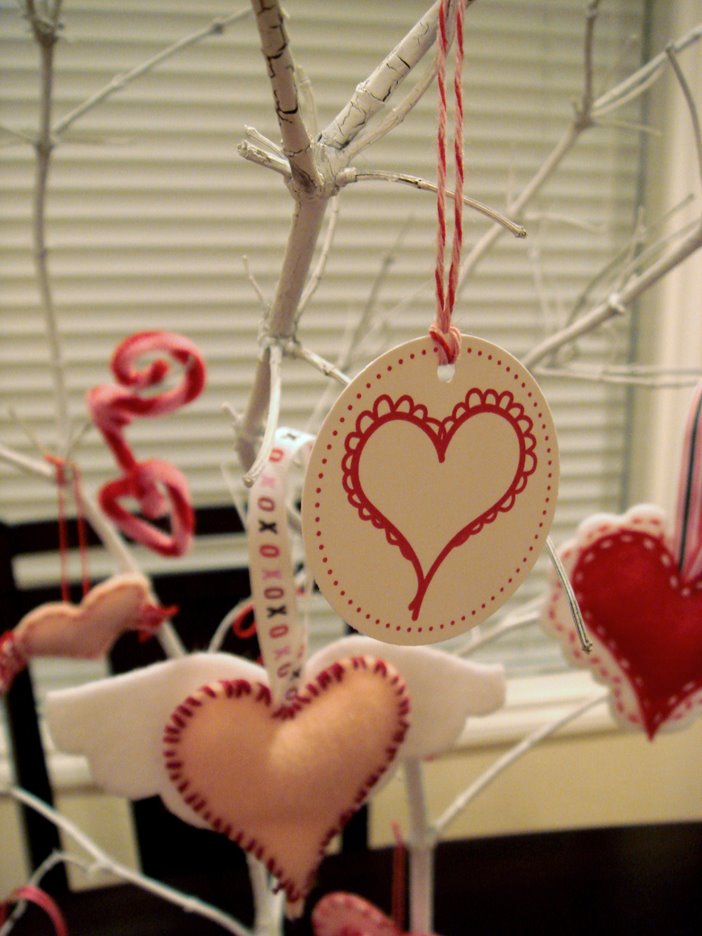
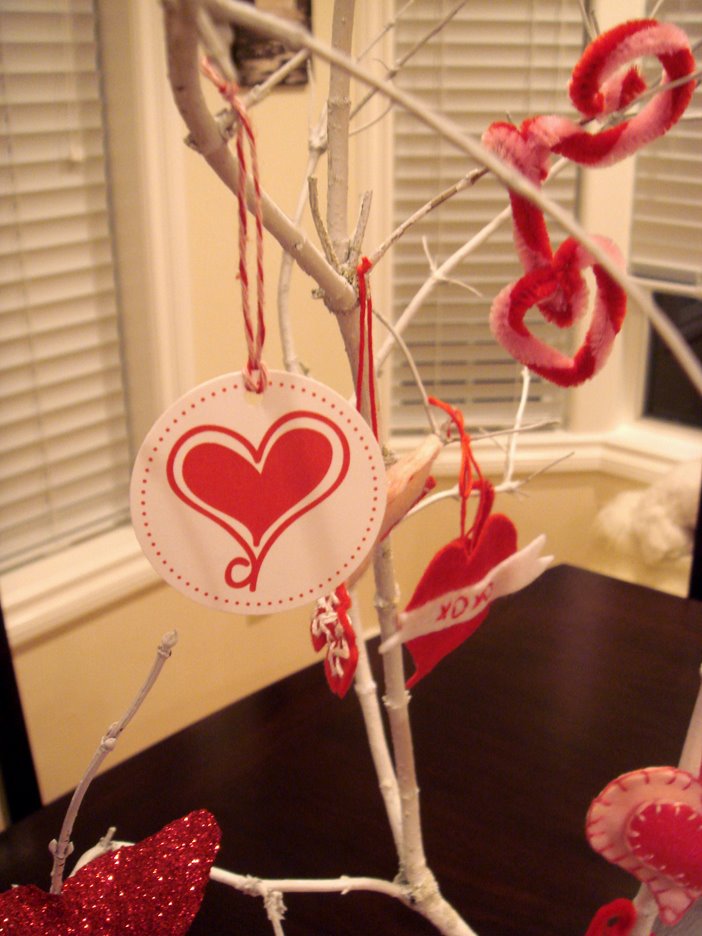
I added some of our paper tags! Turned out cute ๐Ÿ™‚

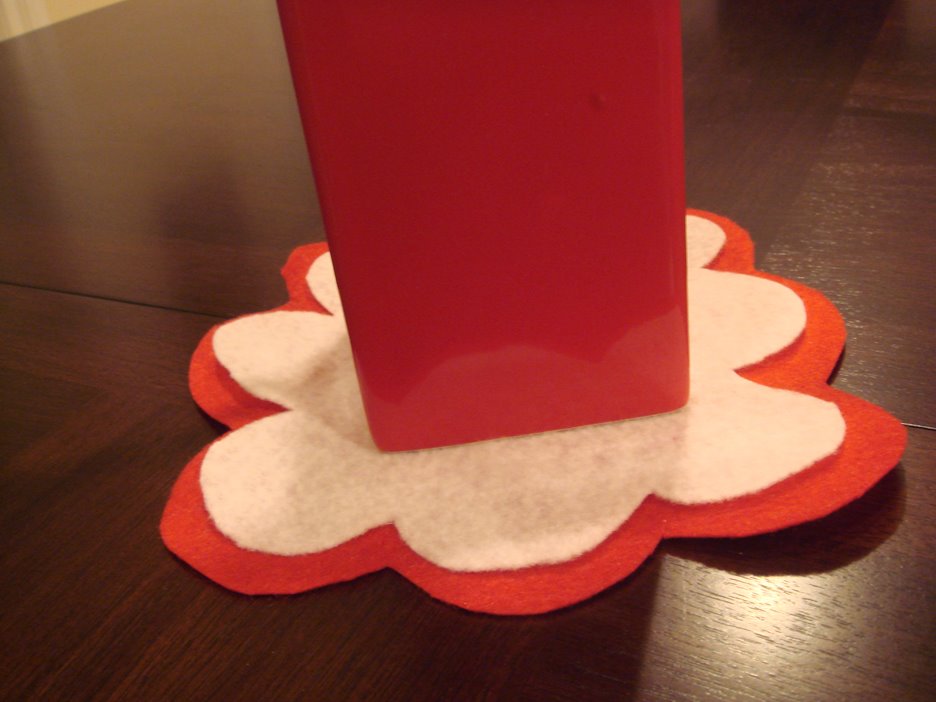
And, I ended up making a little felt doily for under the vase!

We have some winners to announce! I really wish everyone could win! It’s so hard to draw only one name out of each dish for each day!
The winners are:

Day 1:
Stephanie said…
How adorable those are! And what a great idea to put wax paper on the back.
January 17, 2009 9:45 AM

Day 2:
.charity.sorrells said…
What a great idea! TFS Elle!
January 18, 2009 4:59 PM

Day 4:
jennie said…
mine would have to say a month of no laundry!
January 20, 2009 5:51 PM

Day 5:
Tracy said…
If i were to win..I would either make this for my awesome husband or my 2 yr old son..who makes me laugh everyday!!
January 21, 2009 10:19 AM

Congrats, ladies!!! If you could email me with your address we’ll get your goodies out asap! We are still leaving the last giveaway open until January 28th – so there is still one more chance to win something ๐Ÿ™‚
———————————————————————–
We also had some awesome suggestions and good questions from our readers!

Day 1 โ€“ cupcakes:
Margo suggested these would work great for bridal showers!
Q: Did you make icing or use store bought?
I usually use a store bought cupcake mix and make buttercream icing. Buttercream tastes so good and goes on nice and smooth. Itโ€™s also super easy to make! TIP: You donโ€™t have to have a piping bag to pipe icing. You can use a plastic โ€œsandwichโ€ bag and cut one of the corners off and pipe the icing through the hole!

Day 2 โ€“ Handmade Crayons
Lynsey suggested the heart crayons would even work as a decoration! Put them in a pretty bowl on the coffee table or as a centerpiece on the kitchen table for Valentineโ€™s Day!

Jen suggested these would be an awesome idea to make the crayons to fit inside an Easter egg! They could hunt for eggs and have fun crayons along with their candy and money!

Erin H
suggested these crayons would be a great idea for stocking stuffers or kids parties!

Joli
mentioned she bought Lego silicone molds for her boys! (those crayons would looks so cool! I’d love to see pictures!)

Q: When you melt the crayons do they let off fumes? And, can you re-use your molds for food?
I didn’t notice any smell coming from the crayons when they melted in the oven. If you have anyone in the house that is super sensitive to smells you might want to turn on the fan just in case. I would not recommend reusing the molds for food once the crayons have been in them. Tiny bits of wax do get left behind when you pull the crayons out of the molds.

Q: Wow the baking tray is gorgeous! Where can I find that?
The bird tray in the giveaway is from Target! And, I just found out that Target also has heart silicone molds in there $1 section! The metal heart tray came from Michael’s Craft Store.
Day 6 โ€“ Felt Love
Judith
suggested these hearts would work great as scrapbook embellishments!

Day 7 โ€“ Heart Tree
Q: Is your name pronounced โ€œel?โ€ I have a dd named Ellie, and she was wondering, but I told her it was probably different but I would ask!
Itโ€™s been pronounced both ways – the correct way to say it would be โ€œElโ€ but most people say it “Ellie”. It’s actually a nickname that came from the last four letters in my real name, Danielle. People started calling me Elle in grade school and it stuck ever since!

If anyone else has any questions, please feel free to post or email them ๐Ÿ™‚

———————————————————————–

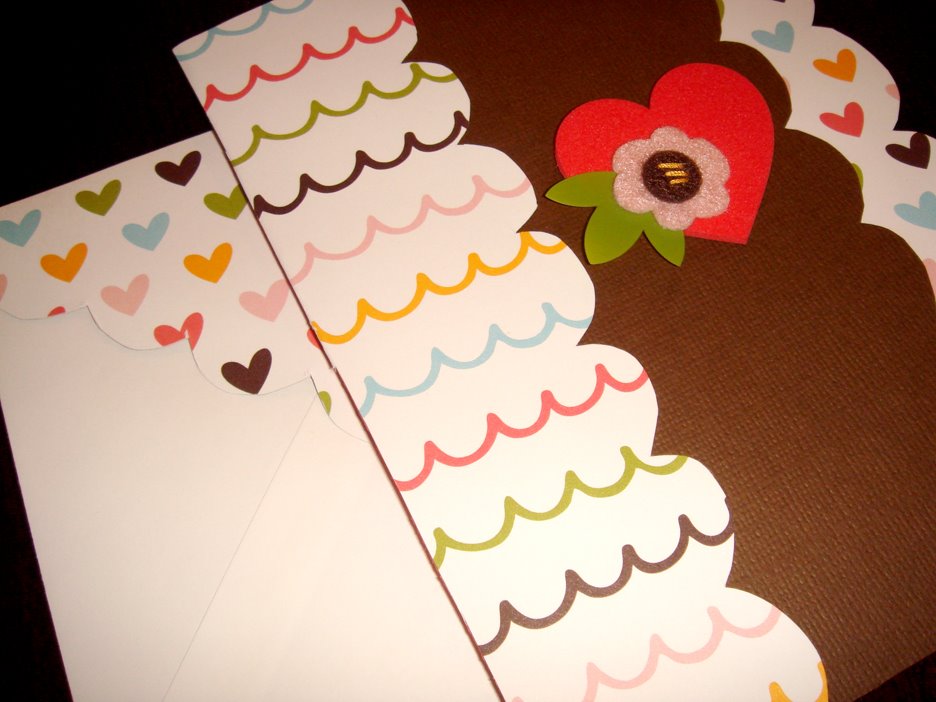
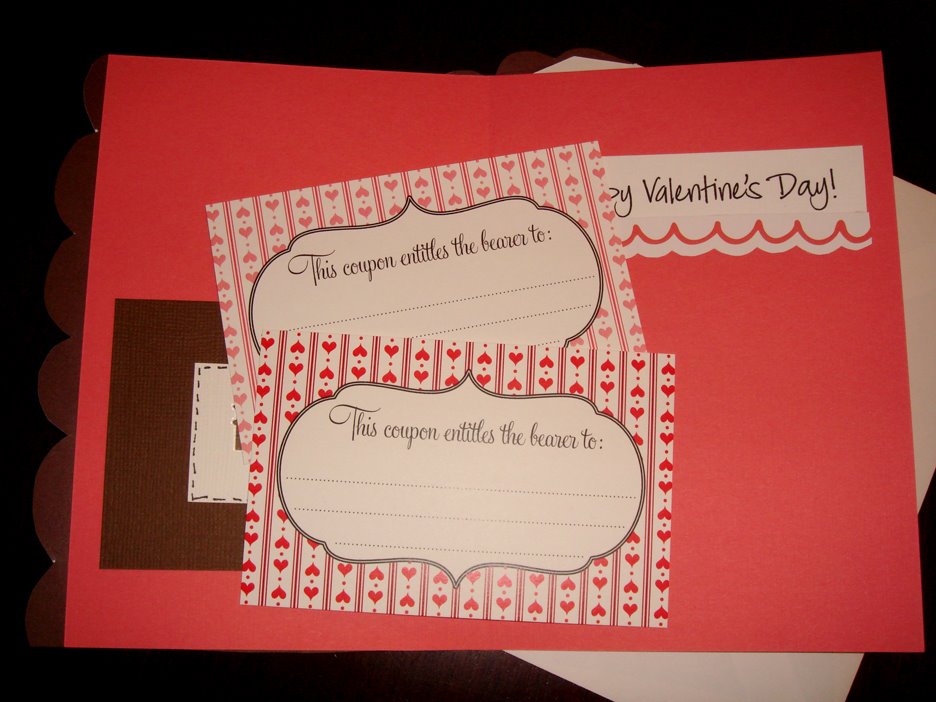
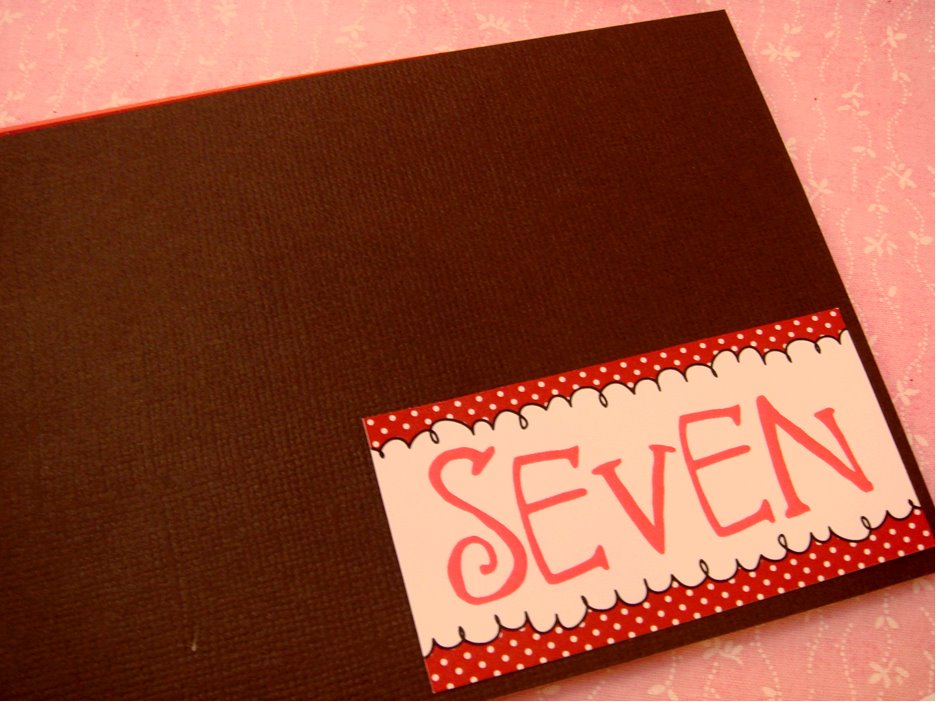
I’m really excited about some fun things coming up! One fun thing is that we recently got to participate in is Fred Flare’s Valentine’s for charity! Here’s the one we sent in:

Those pictures aren’t the best but I promise it looks better in real life! The inside has a little pocket for the two coupons and I added scallops to the envelope! All the valentine’s will be on sale for $4 each starting this coming week and everything will be donated to charity! I can’t wait to see what everyone else created!!

I’m also super excited about this:
A HUGE congrats to these ladies – they are amazing and I love everything they do! I can’t wait for their online shop to open ๐Ÿ™‚ I bet they’ll have lots of fun stuff!!

Lots of fun eye candy! I hope everyone has a great weekend! I’ve got my to-do list going and it’s getting long, LOL!
Love you all and thanks again for makng this last week the BEST ever!!!
XO, Elle

Handmade With Love – Day 7 – Heart Tree

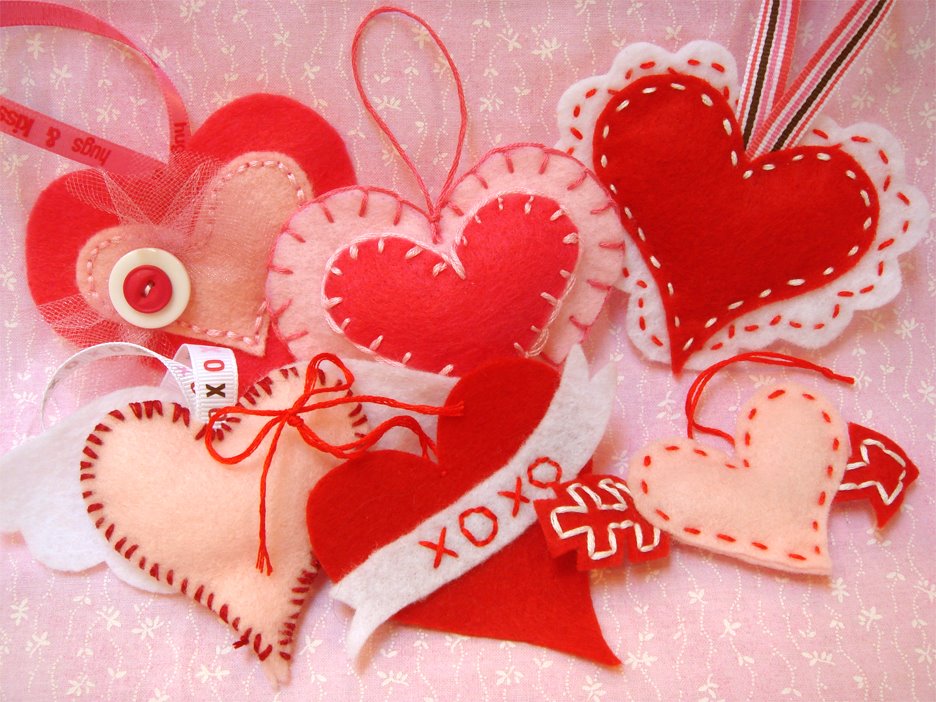
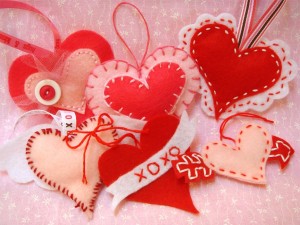
Today is part two of our felt heart and tree tutorial! We’ll work on the tree (display) part today ๐Ÿ™‚ After you have made your hearts {shown above, patterns here} you can get started on the display!
You’ll want to find a tree branch that has quite a few branches on it, but is small enough for where you are putting it on display. Ours is going to go in the center of our dinning room table!
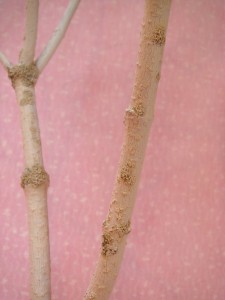
Bring the branch inside and you could choose to leave it as is or paint it. We painted ours white. We also didn’t clean the branch and painted right over the mossy parts. This gave a great effect! You can use any type of paint, we used just regular craft paint.
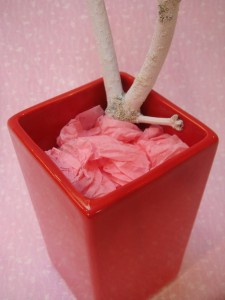
You’ll need some sort of vase to put your tree branch in. This red one below is from Michael’s Craft Store and cost 3.99! Quite a deal ๐Ÿ™‚ Get the branch in the vase the way you like it and fill it so the branch will not move. You can use rice or packing peanuts – this time we used tissue paper and packed it in there very tight! Make sure you leave a little extra space at the top!
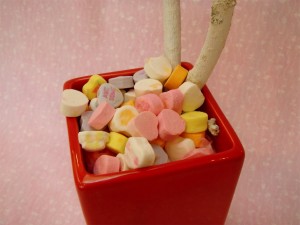
Feel the extra space with something fun, like candy! We choose little candy conversation hearts.
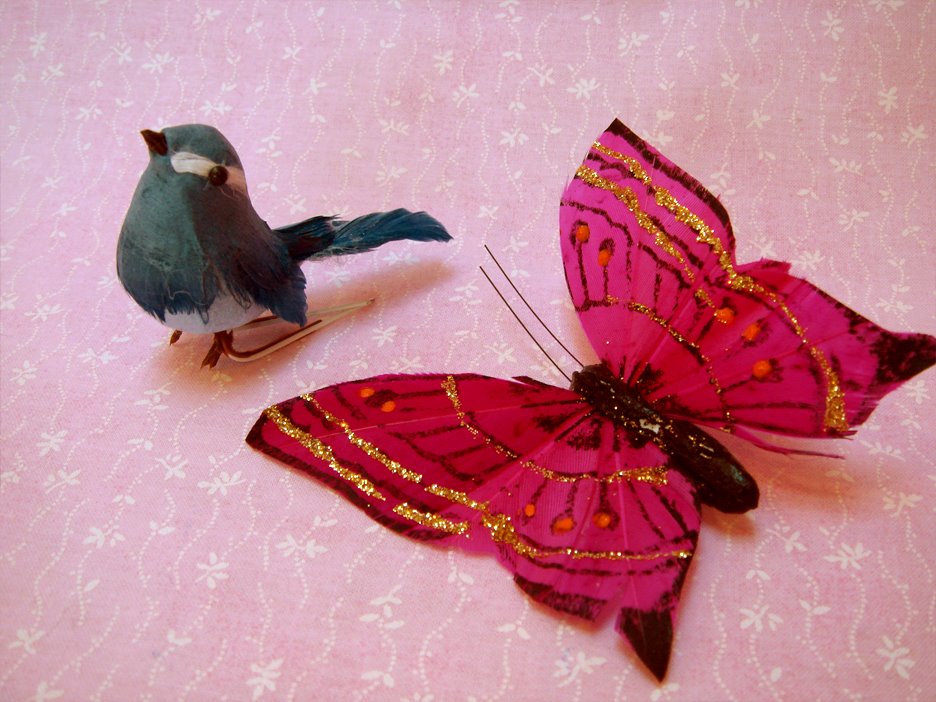
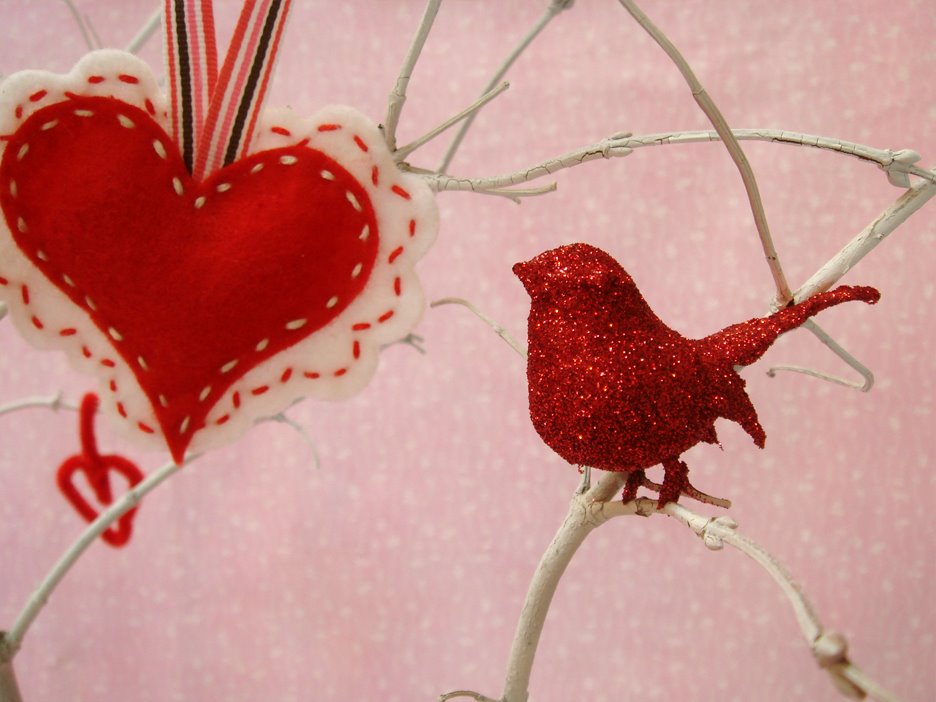
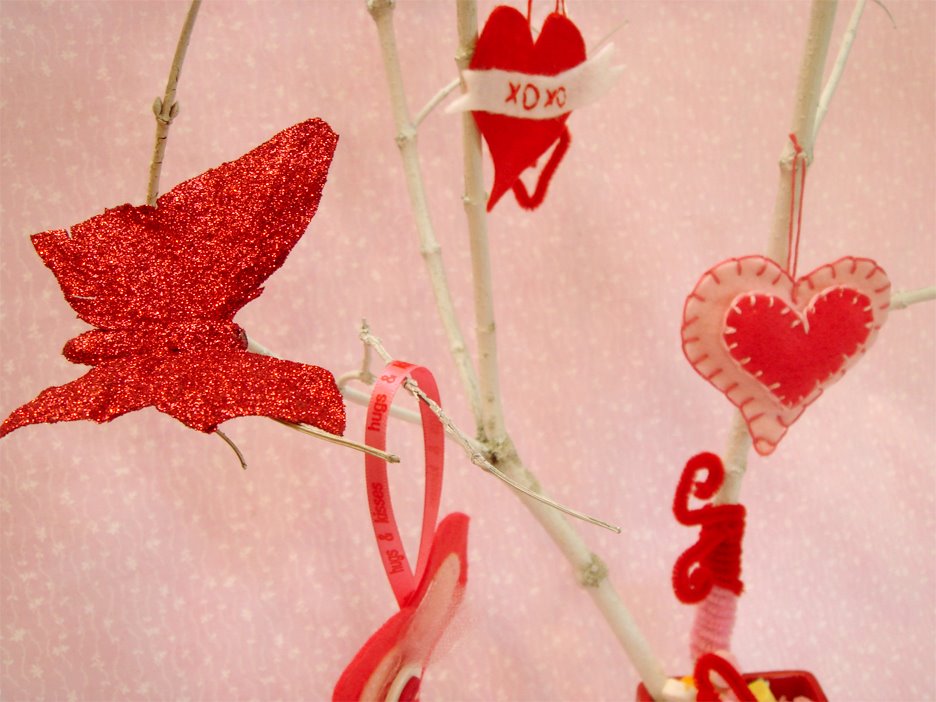
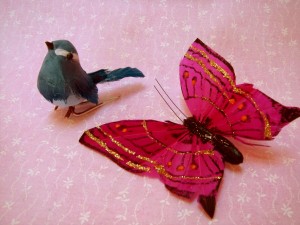
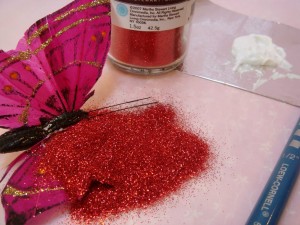
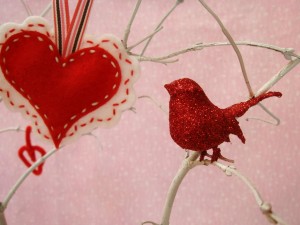
Besides decorating your tree with the fun hearts we made yesterday, you could also add some birds or butterflies! When we went to the craft store we couldn’t find any in the right color – so I decided just to glitter them red!
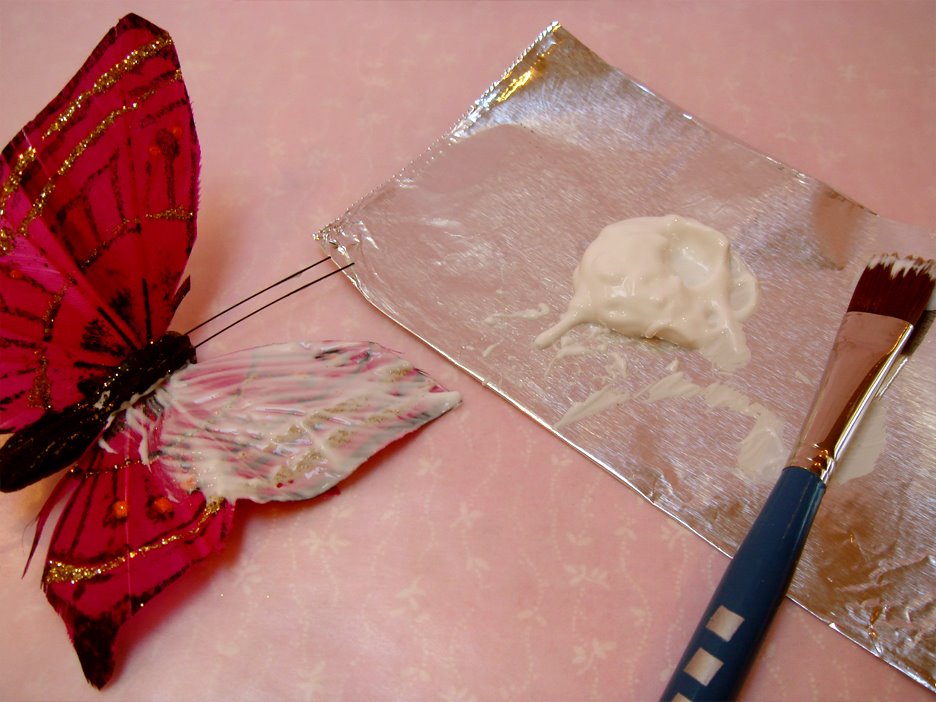
To glitter any object for your tree you’ll want to use a good paint and apply a thin layer over your item.
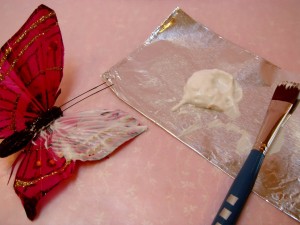
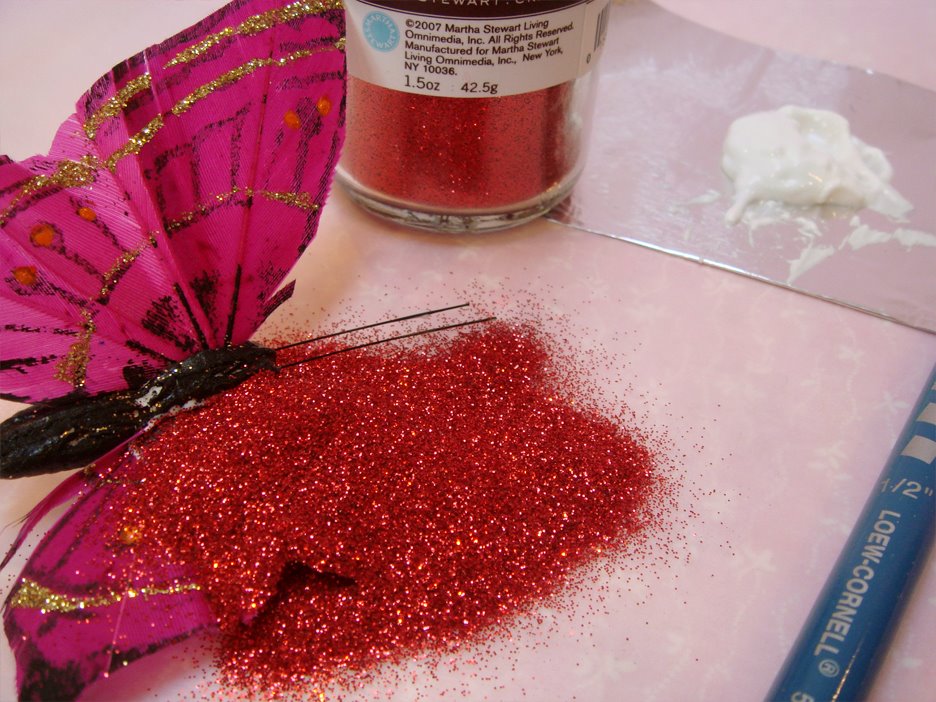
Sprinkle the glitter over the glue. We worked in parts so the glue wouldn’t dry before we got the glitter on! Martha Stewart’s glitter works wonders! It has so much sparkle!!
Secure your birds, butterflies or other objects on your tree and add your felt hearts.
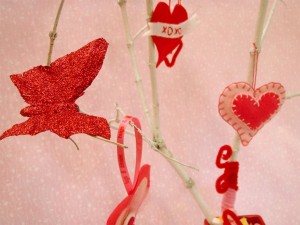
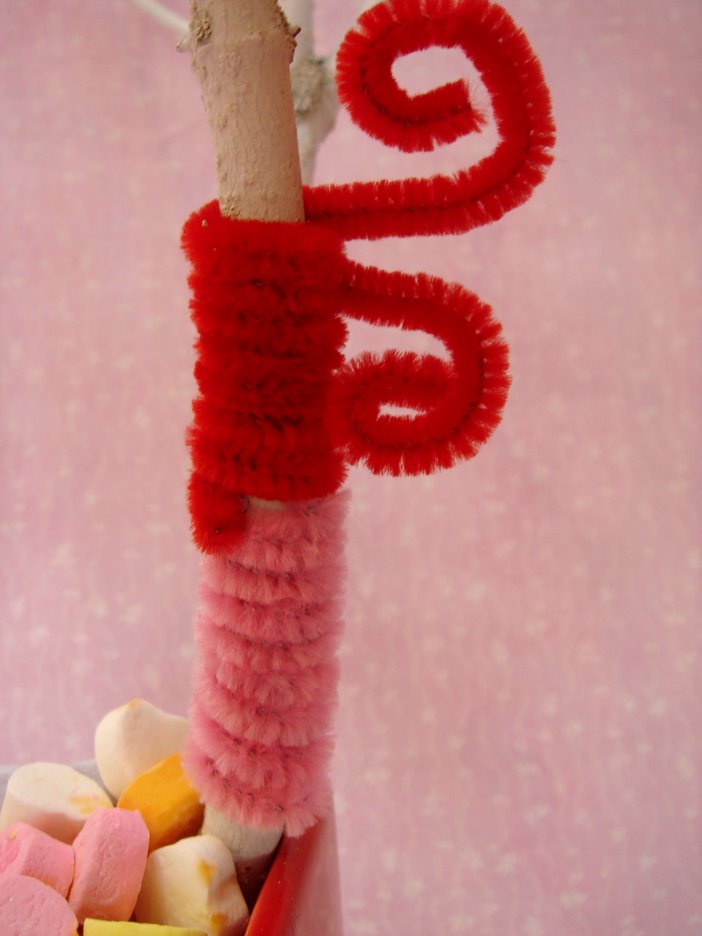
We also got out the pipe cleaner and added it for some extra fun! You can wrap parts of the branches in it and then curl the ends!

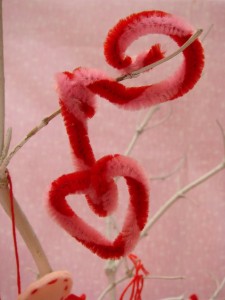
Or, make some hearts and hang them on the tree, too! Take two colors of pipe cleaners and twirl them together before shaping to get the effect seem below.

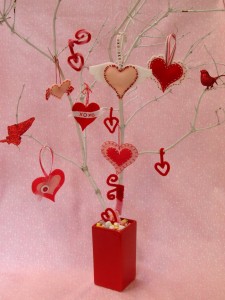
And, ta da!! You now have a beautiful and fun decoration! We love the way this turned out and we’ll have to post photos of it on our actual table because it looks so cute!!
Time for the giveaway!

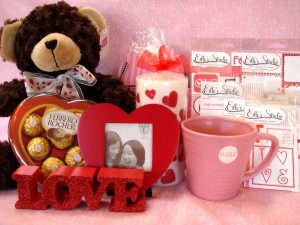
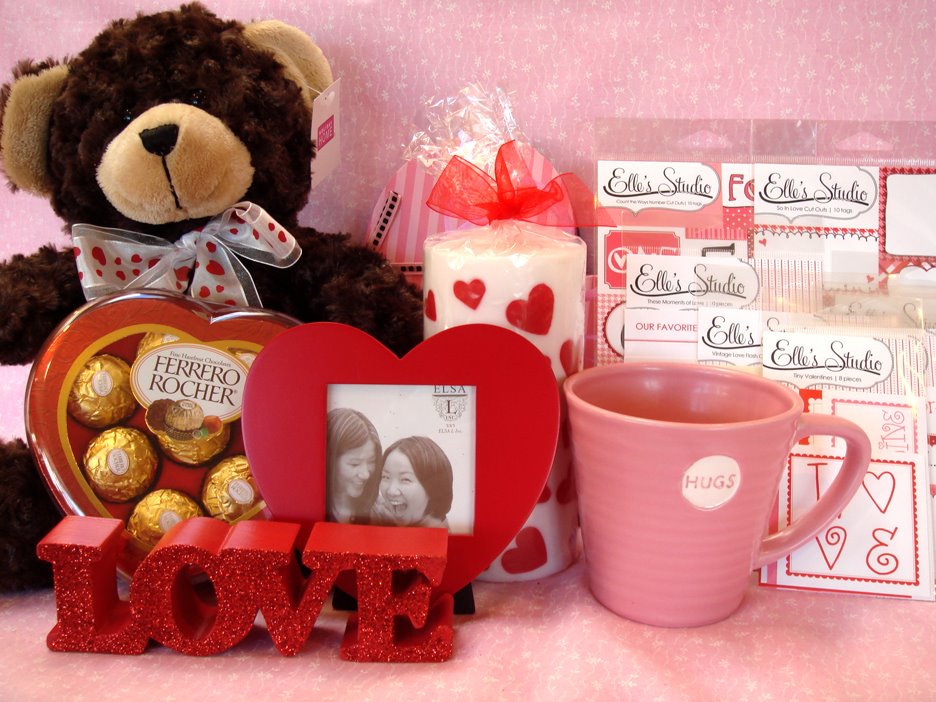
One person will win all the items pictured above – this is our biggest giveaway EVER! There are a bunch of items for Valentine’s Day there – include two boxes of candy and that adorable teddy bear! You’ll even receive a bunch of our tags! Just leave a comment below and you’ll be entered to win! The winner from this post will be announced next week on Wednesday, January 28th so everyone can have plenty of time to enter ๐Ÿ™‚ All the other giveaway winners, from the other posts, will be announced tomorrow night!! Make sure you check back to see if you’re a winner from those – if you haven’t entered the giveaways below, do so now!!

PLEASE NOTE: Because of recent spamming we’ve had to turn anonymous comments off. If you’d like to enter any of our giveaways please email us and put the title of the blog post for the giveaway your entering in the subject of the email! All anonymous comments made before this will still be counted.

Handmade With Love – Day 6 – Felt Love

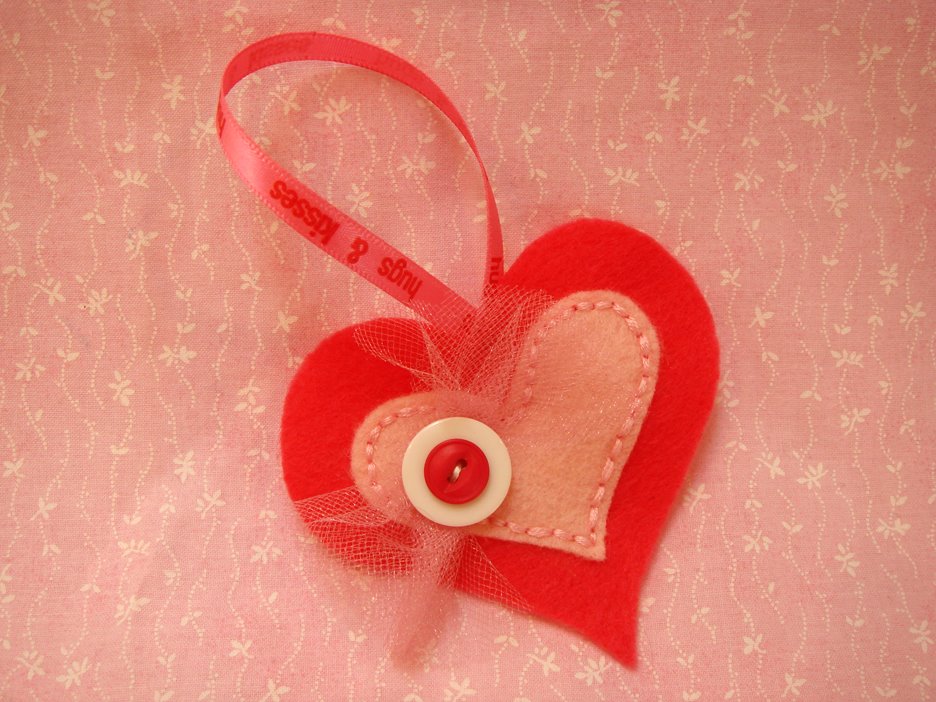
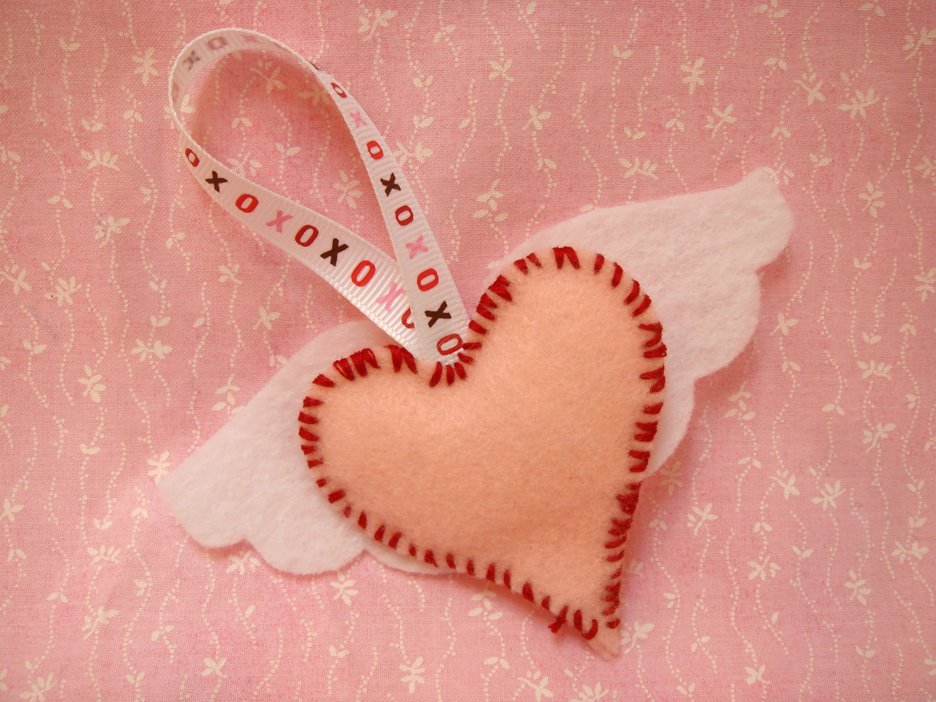
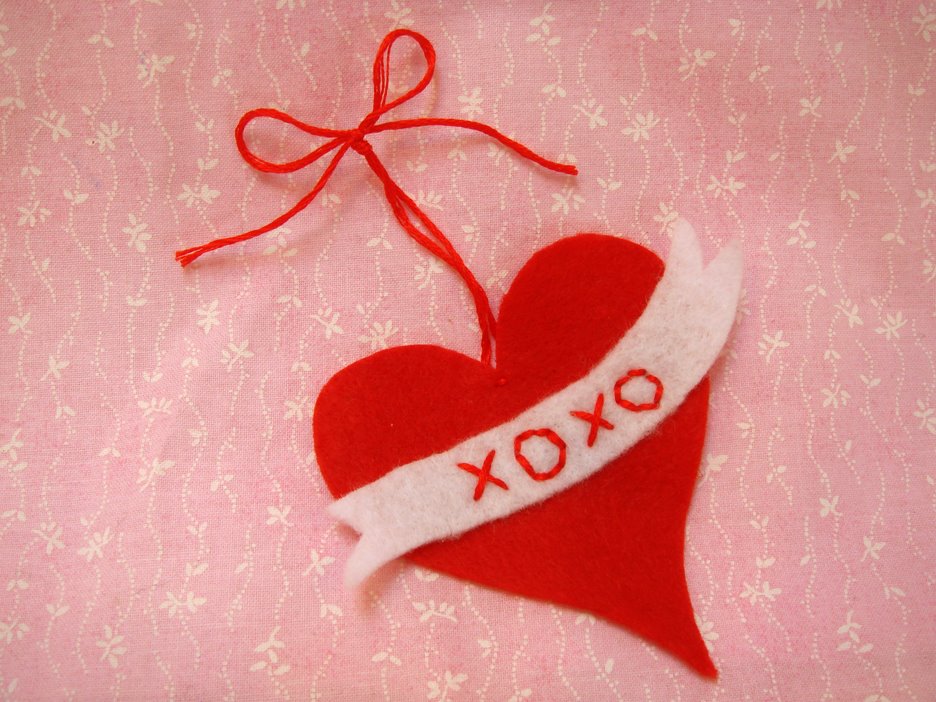
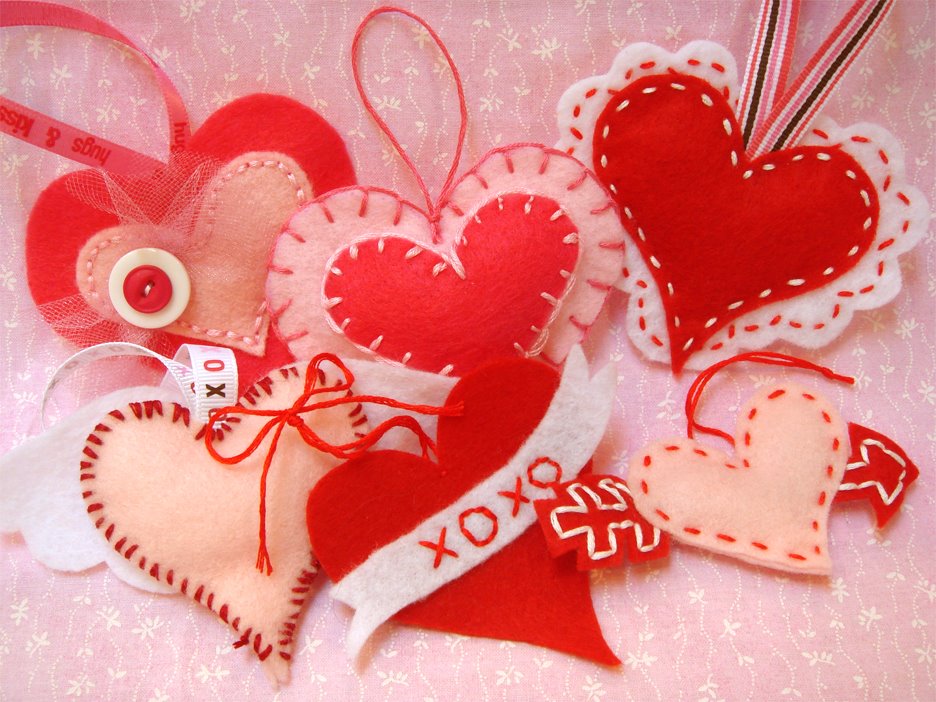
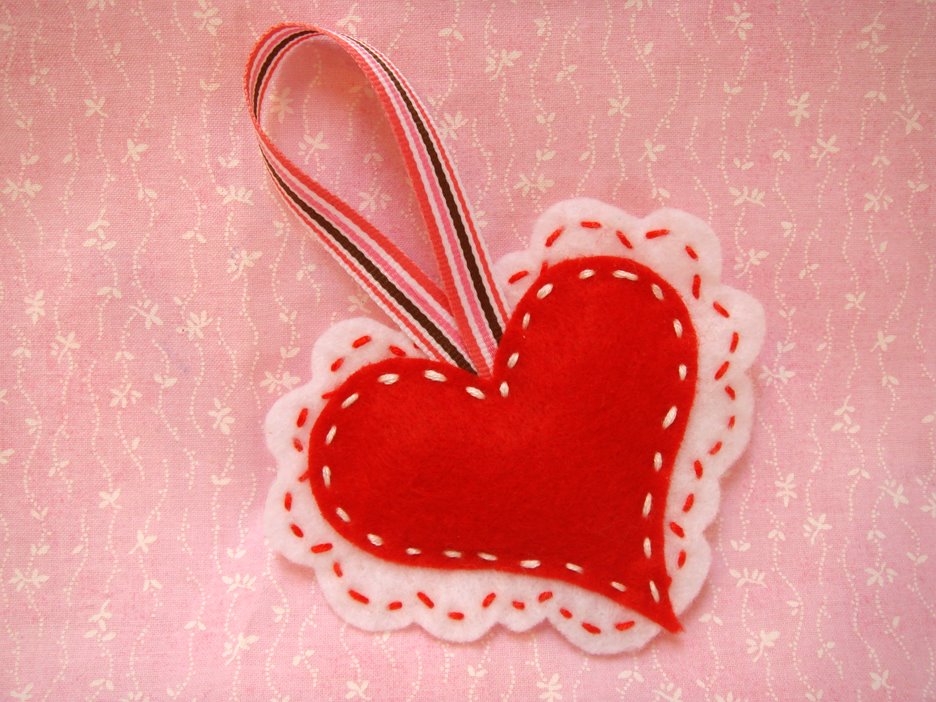
Today’s project is going to be done in two parts, part one involves making little hearts out of felt! Now, I’m not the best sewer but I do have some tips that will hopefully help ๐Ÿ™‚ Tomorrow we will show you how to display your little hearts in a super fun and cute way!

Supplies:
Felt
Floss or string for sewing
Needle
Disappearing Ink Marker
Our free pattern download
Stuffing
Ribbon for loops for hanging…

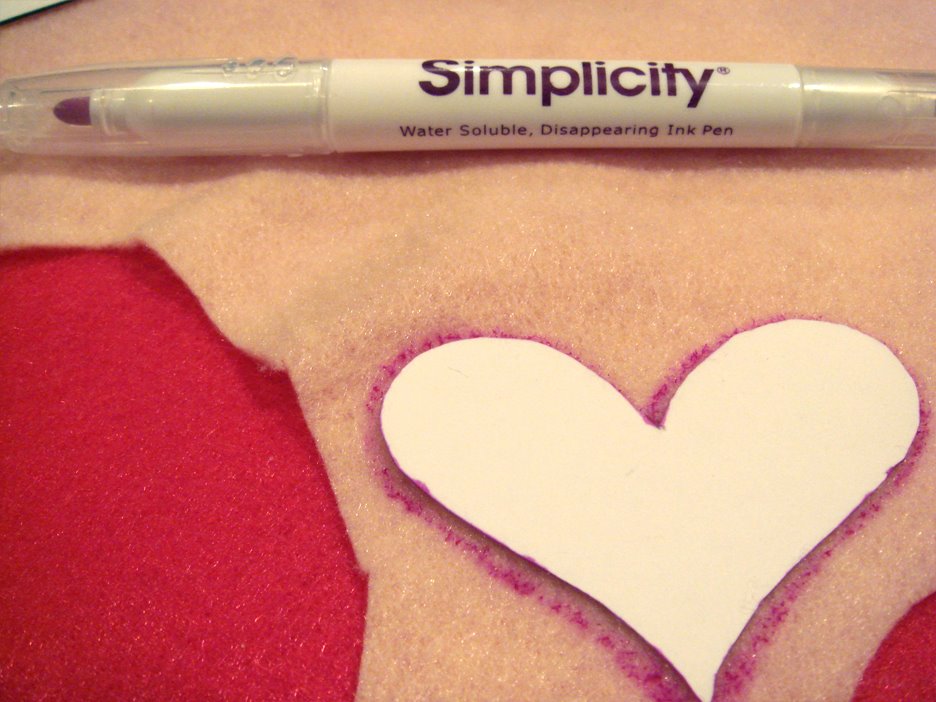
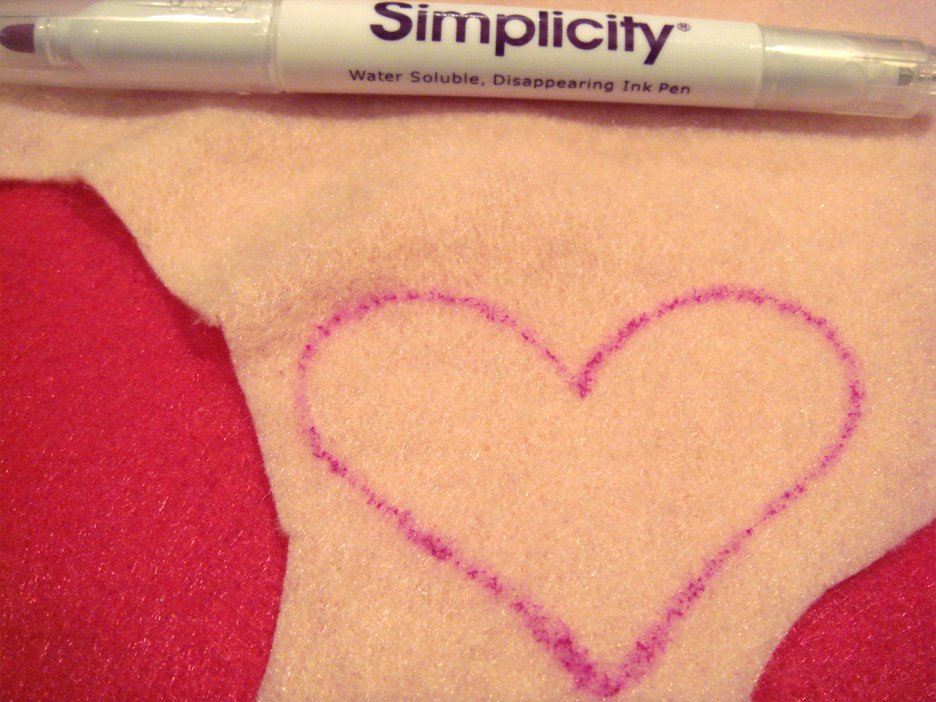
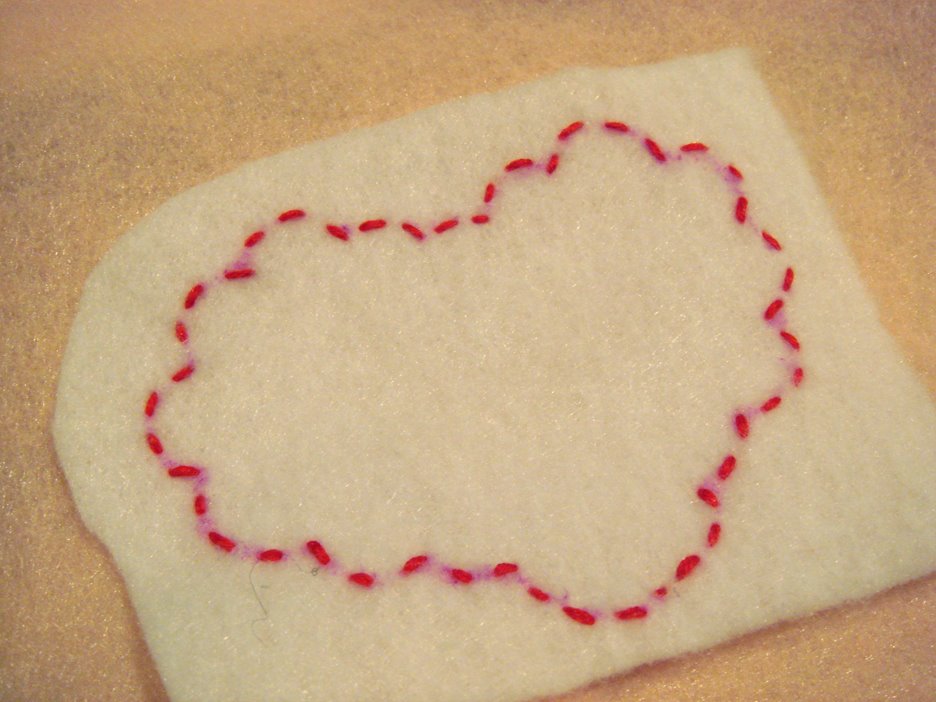
You’ll want to start by printing your patterns on cardstock and cutting them out of the cardstock to make stencils. This will allow you to trace them easily on to the felt! We used a “Simplicity” disappearing marker and it worked great, plus it was only 2.99 at the fabric store! That purple ink will be completely gone in 24 hours! You could use a regular marker, but then you’ll have to be sure you cut all the marked parts off or use the back sides.

Another thing to think about – if you plan on stuffing your hearts, you’ll need to cut two of the same heart to stitch together!

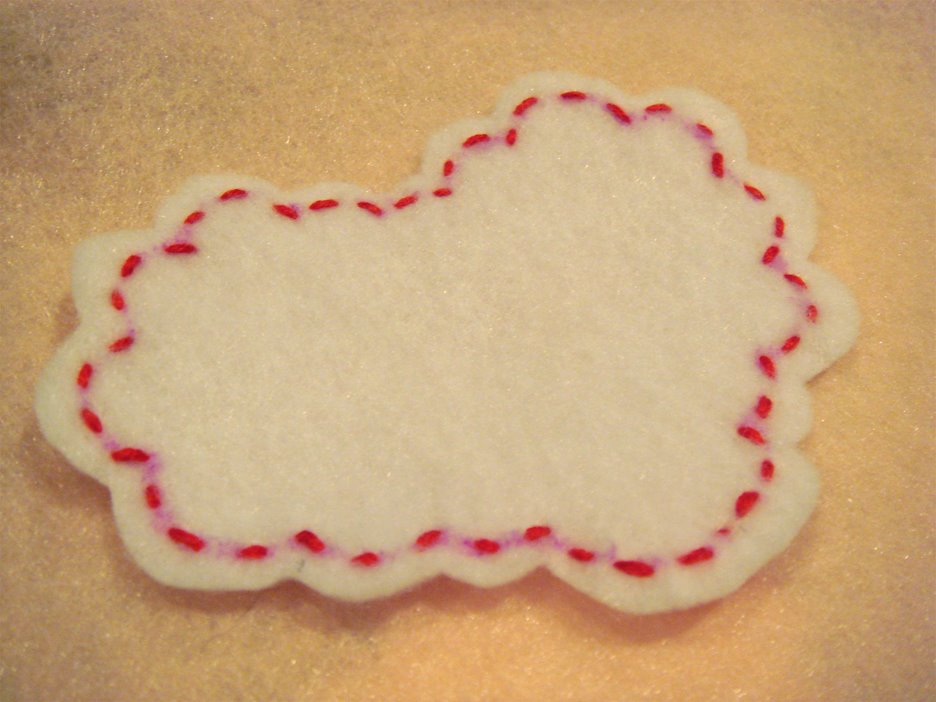
Once you have your patterns traced you can either cut the pattern out and then sew or sew around the marked line and then cut (if you do it the second way you’ll have to use a disappearing ink marker – otherwise the line will show!!). Just make sure if you have a two piece pattern that you do it the same way for both pieces!

{Photo above: stitching first, Photo below: cut second}

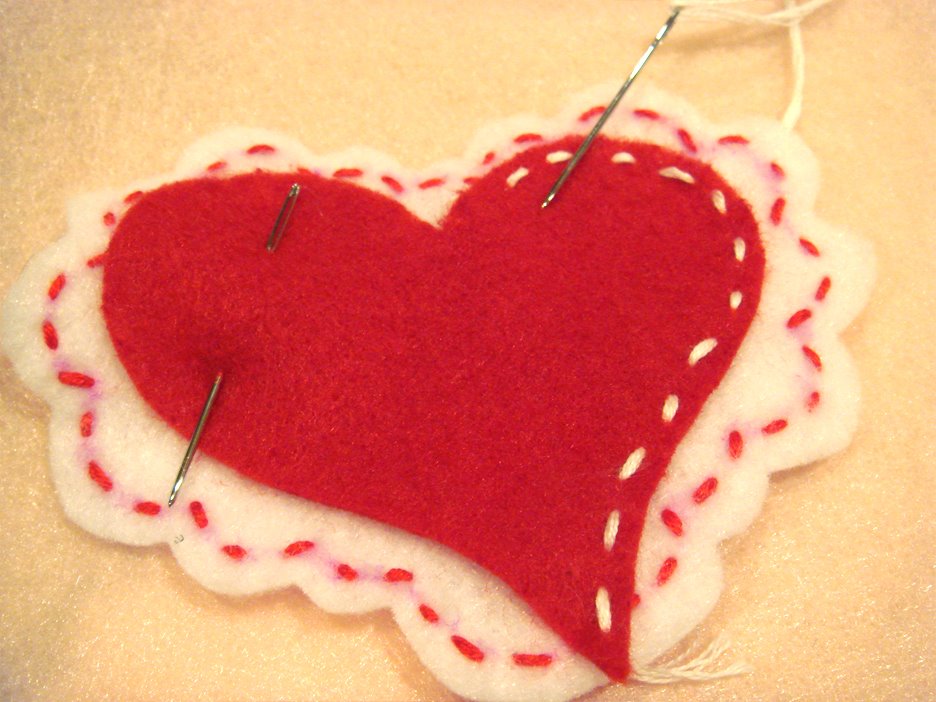
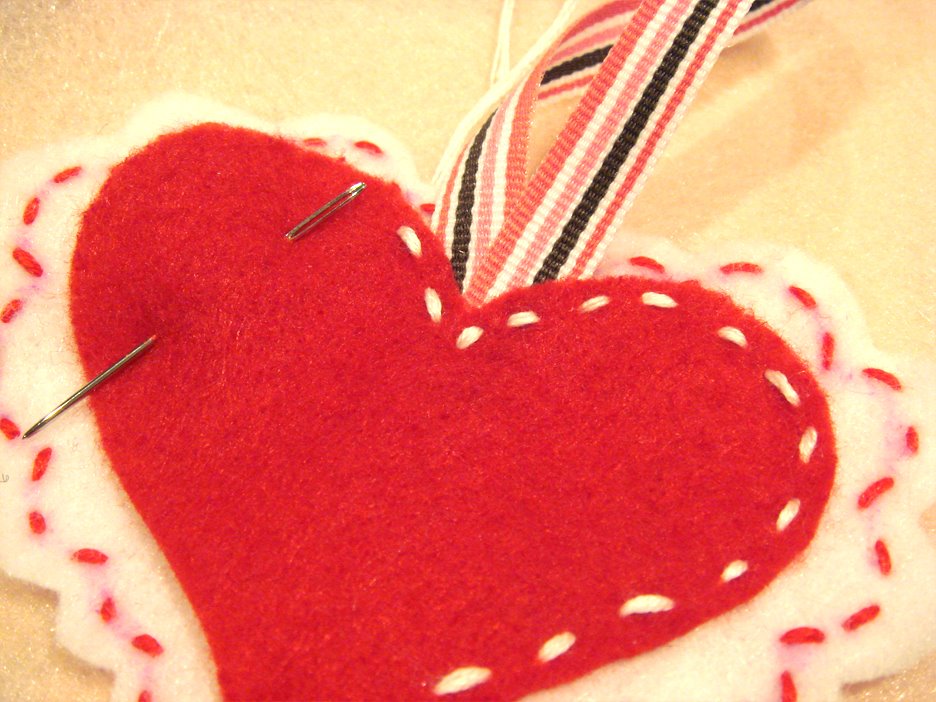
A couple tips on sewing – Simple stitches look great! Use two needles, one to sew and one to help secure the felt so it doesn’t slide around while stitching!

Stitch the ribbon loop between the felt pieces as your going along

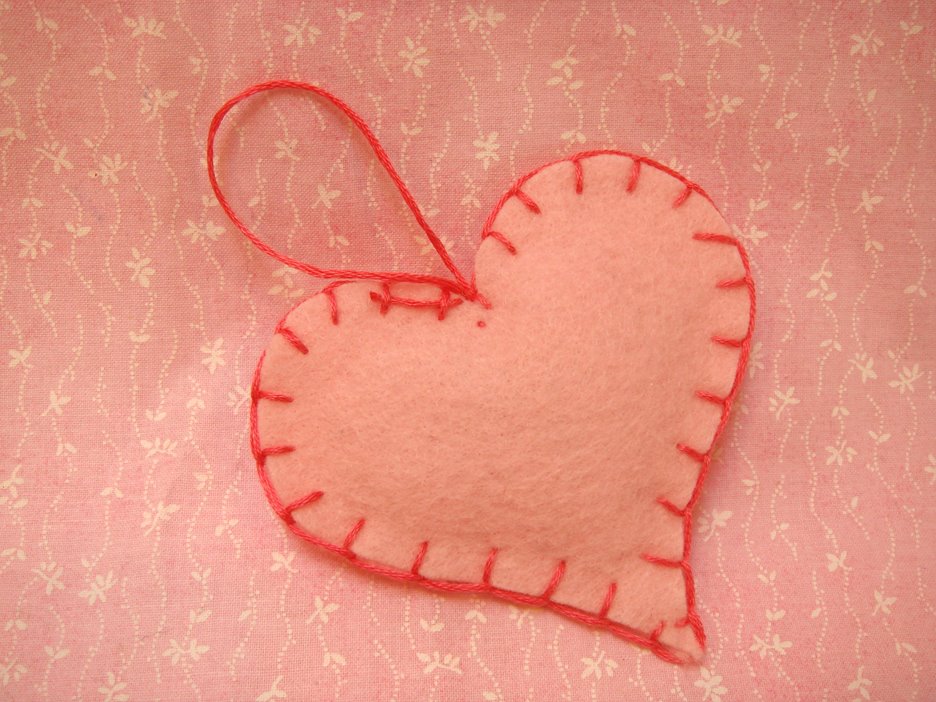
Just as your about to finish up your stitching you can stop and add a little stuffing! This will give it an little extra poof.

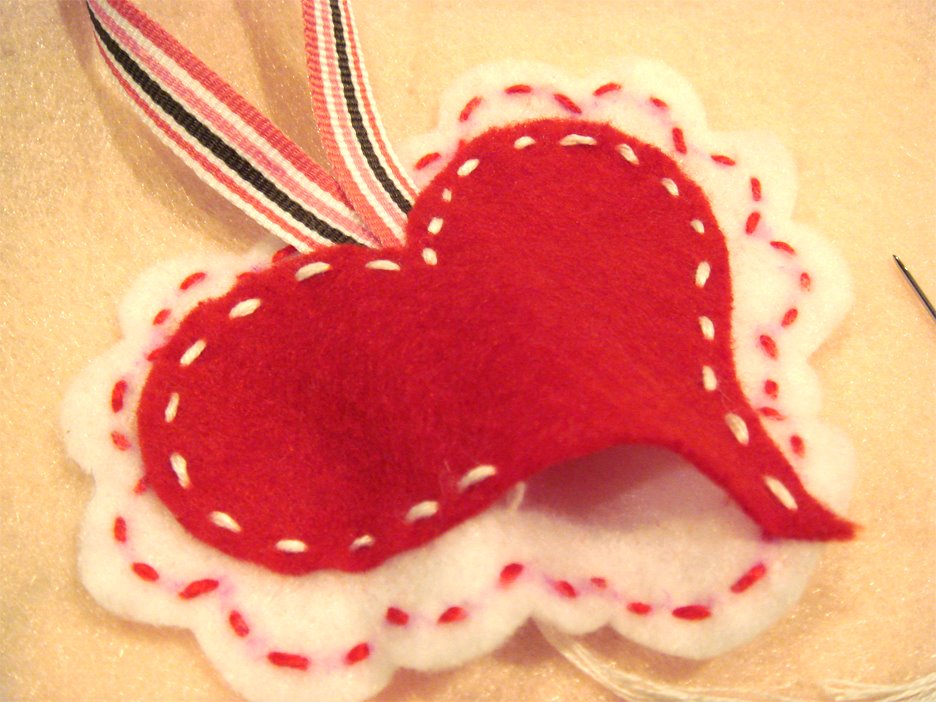
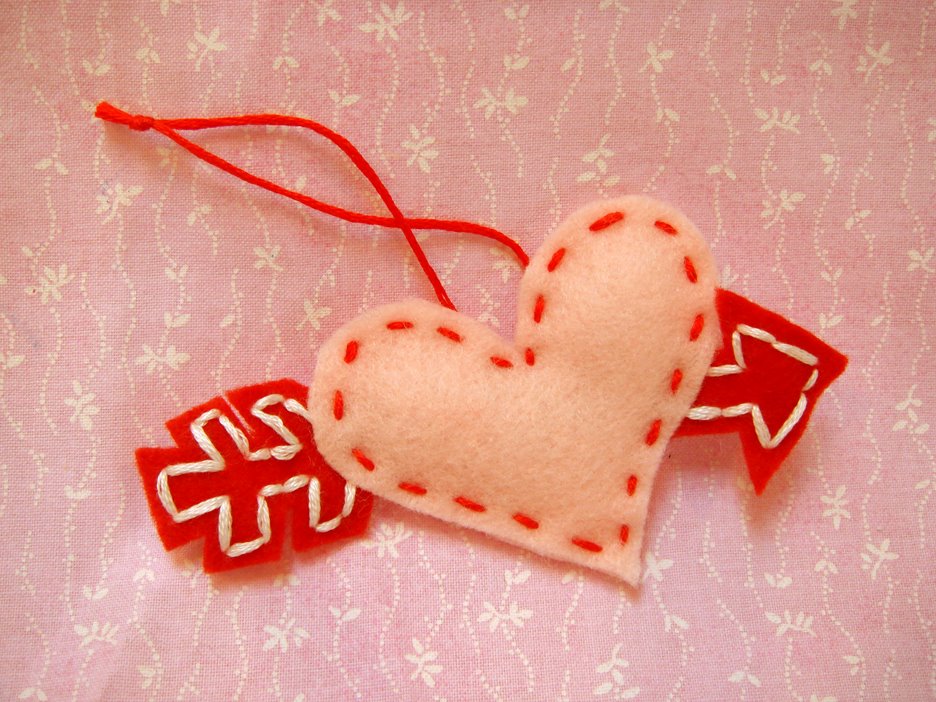
For the heart and arrow pattern, first stitch the arrow, then sew the arrow in between the two heart pieces!

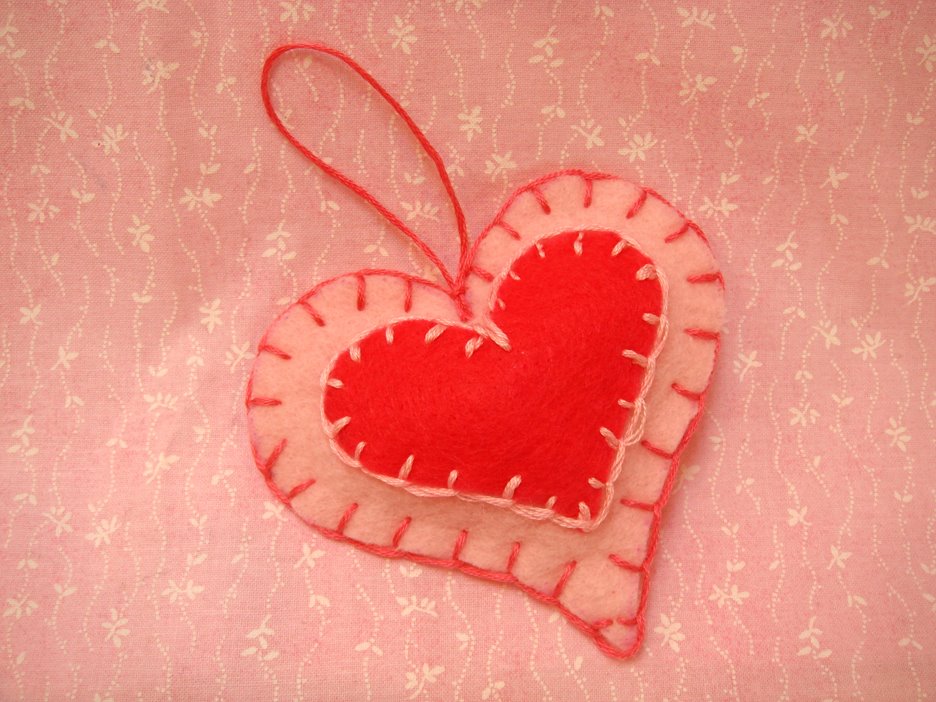
Create a two layer heart…
Or just leave the second layer off!

Add buttons and tulle for extra fun!

Make your heart fly by adding wings!

Or, add a banner! You could also make this banner say things like: love you, honey, mom, dad, my love, etc. Use your disappearing ink pen to write the letters and then stitch!

Add some cute scallops!

All of the hearts shown below are included in our FREE pattern download today! They are color coded so you’ll know what pieces go together. If you want to share your creations with us feel free to upload them to our flickr gallery!

{the free download is a pdf file that requires Adobe Acrobat to open. If you do not have Adobe Acrobat Reader you can download it here for free}
I hope you all enjoy the patterns! If you have any questions please post them here and I’ll answer them on Saturday ๐Ÿ™‚ And, make sure you check back tomorrow to see part two, how to display the hearts! And, we’ll also be doing our biggest giveaway ever!!
Happy Creating everyone!
XO, Elle

Handmade With Love – Day 5 – Count the Ways!

We often tell the special ones in our life “I love you!” but we rarely tell them how much or why we love them the way we do! Here is some fun inspiration to create a fun “Let Me Count the Ways” mini album that will do just that!

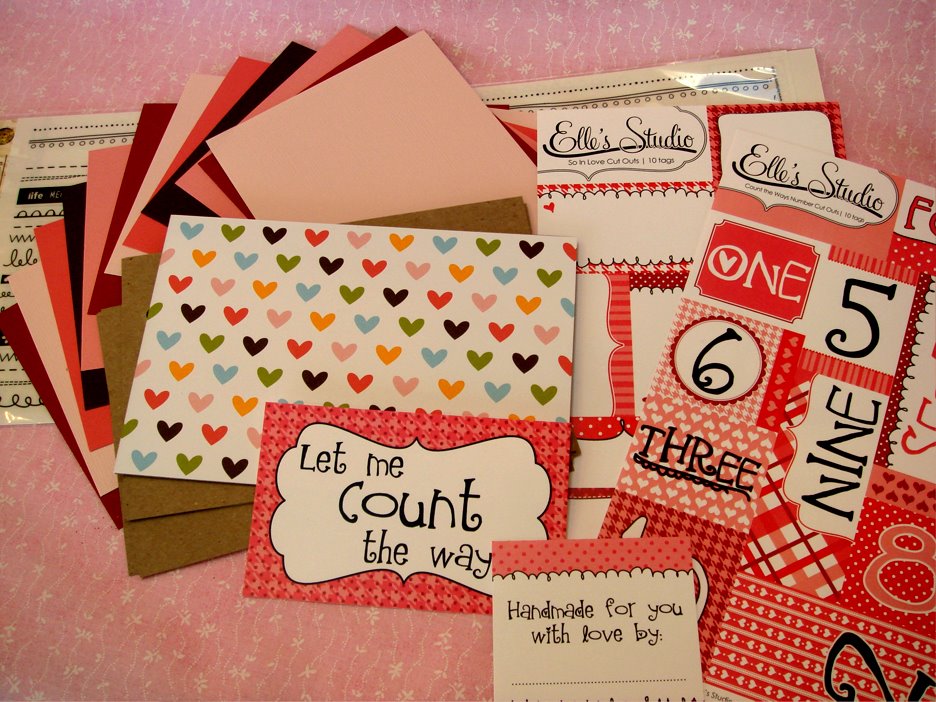
You could use any type of number stamps and cardstock you have already, but for ours we used our So In Love Journaling Tags, Cut Outs: So In Love and Cut Outs: Count The Ways Numbers. They all coordinate perfectly! For the front cover I used the American Crafts heart paper, which I love!! And then just some simple cardstock on the inside.

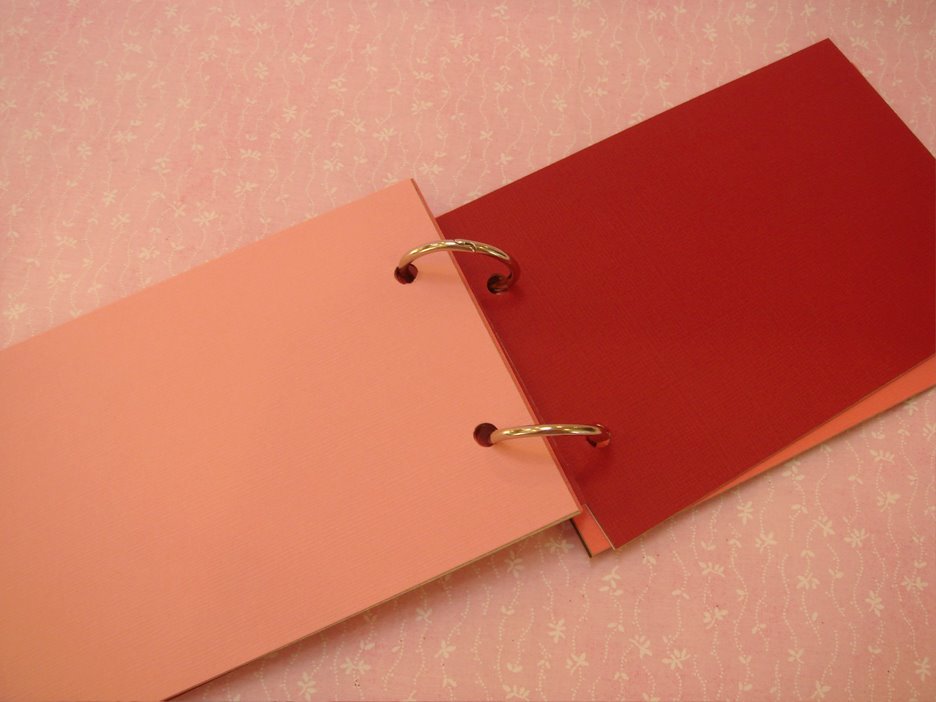
I covered each side of a small (4 x 6 inch) chipboard album, rotating between the 5 cardstock colors I picked out.

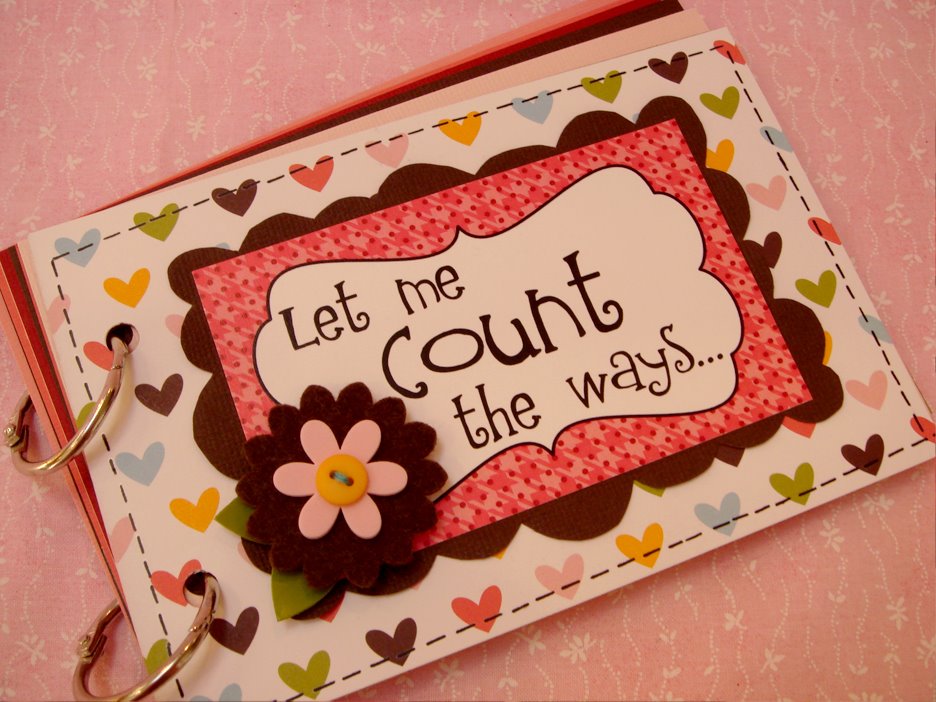
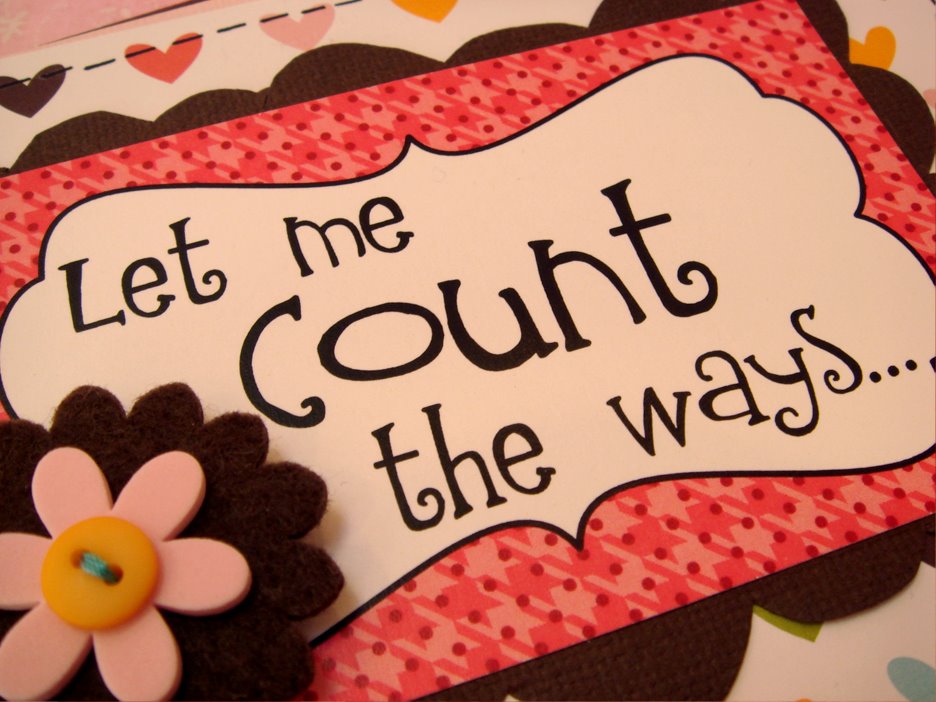
Here’s a look at the cover – the flower embellishment (and heart paper) is from American Crafts and the journaling sticker is from this set.

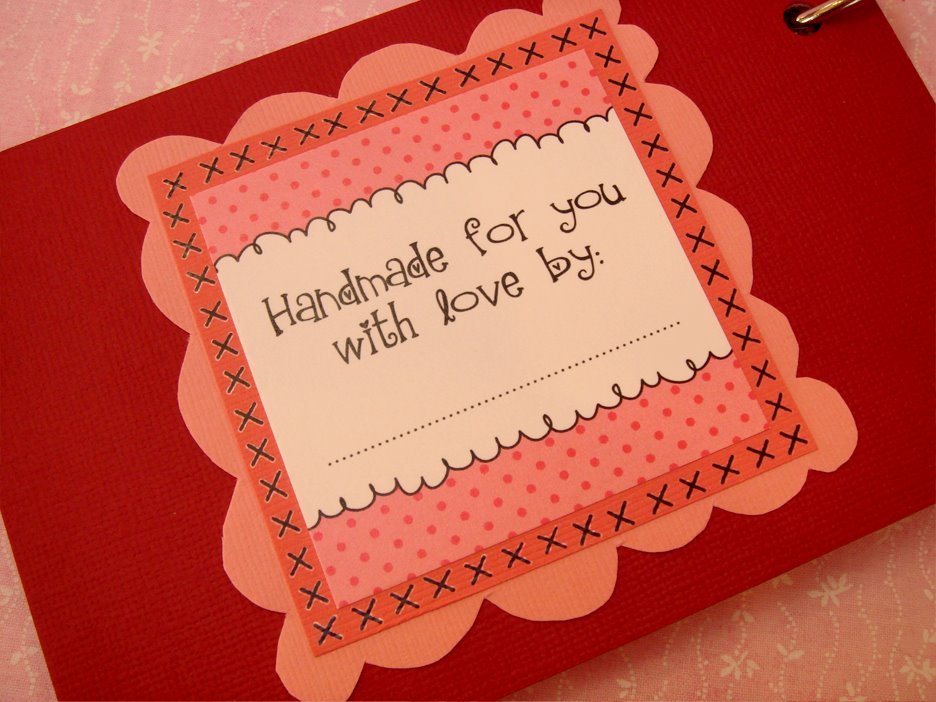
On the back I added the “Handmade for you with love by:” journaling tag that comes in the same set with the tag as above.

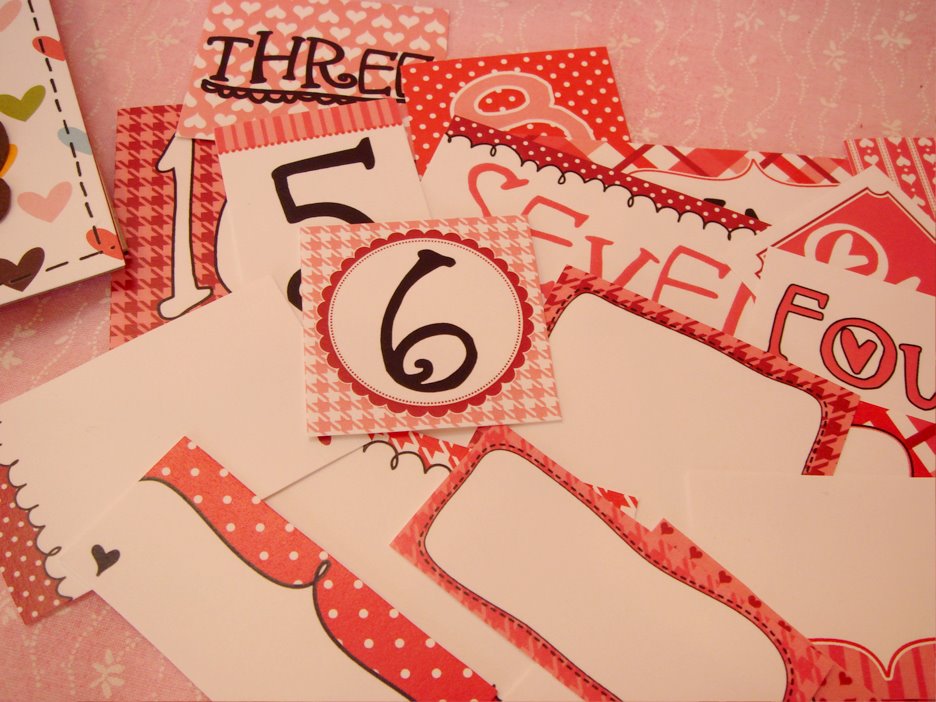
Then, I cut out all the “Cut Outs”

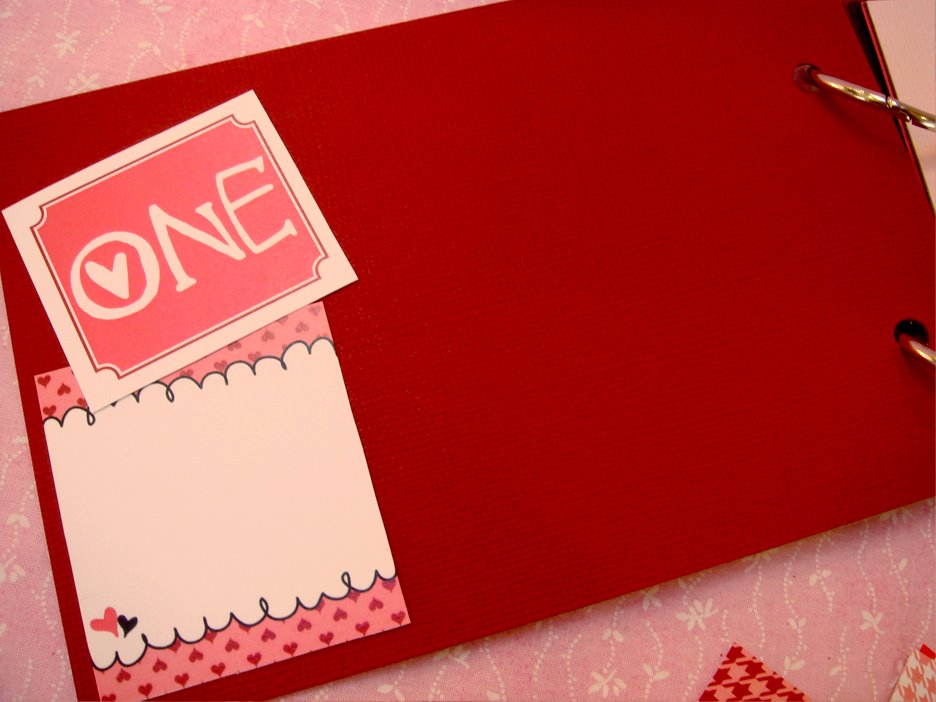
And, started laying things out! You can put a photo on each page, along with a number and then a little journaling spot. Examples could be “You’re always there for me”, “You always say the right things”, “For always taking care of me”, etc!

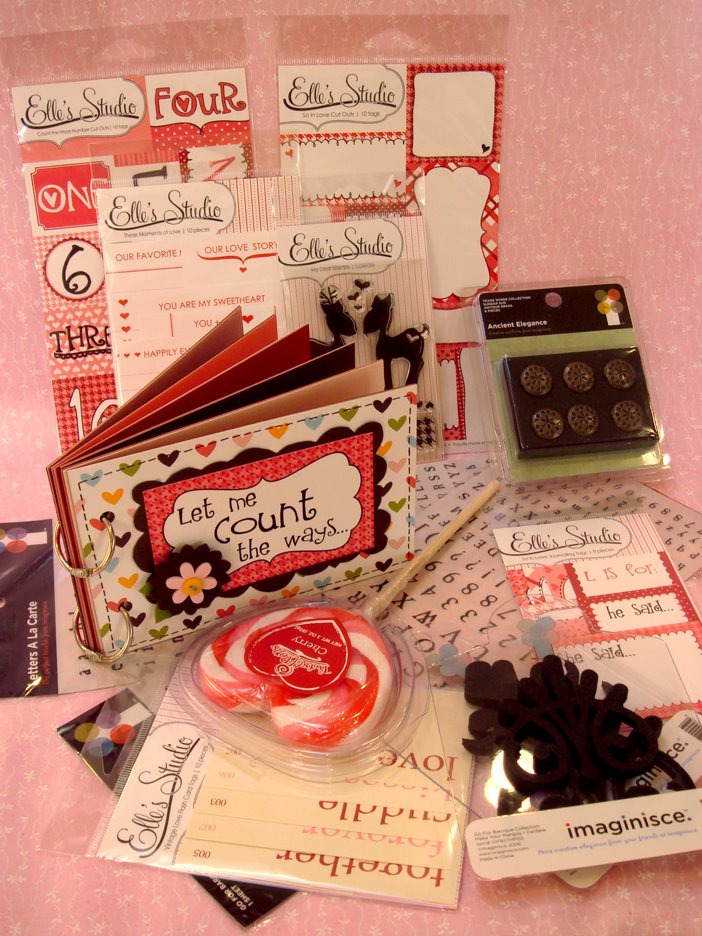
At this point I was going to start adding photos… but then thought “Hey! I could give the mini book away with the other goodies” So, this little mini book above is included in our giveaway today! I didn’t glue anything down on the inside so you will be able to add your photos, numbers and journaling spots wherever you choose! I hope you like it ๐Ÿ™‚
We love hearing about what you’d want your coupon to say in yesterdays post, so today we want to hear “Who is the someone special in your life you’d finish the mini book for?” This could be anyone, don’t forget about parents, grandparents, kids, nieces, cousins and more!

One winner will receive all the goodies pictured above! There are lots of supplies there to finish the mini book, plus a little candy, too! The winner will be announced January 24th, so make sure you check back then! If you haven’t entered the other contests, please feel free to do so! All close on the same day, January 24th ๐Ÿ™‚
P.S. Tomorrow we will be starting part one of our last project and it will include a free download! Part two, on the following day, will include on of our biggest giveaways ever! It’s over a $80 value so you won’t want to miss it!

Handmade With Love – Day 4 – Coupons!

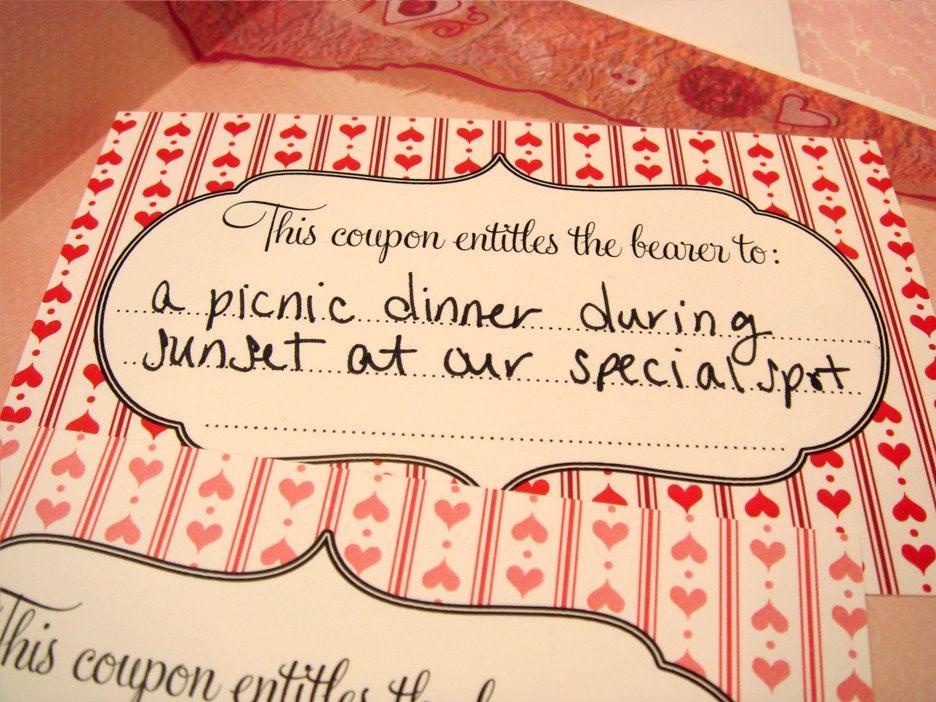
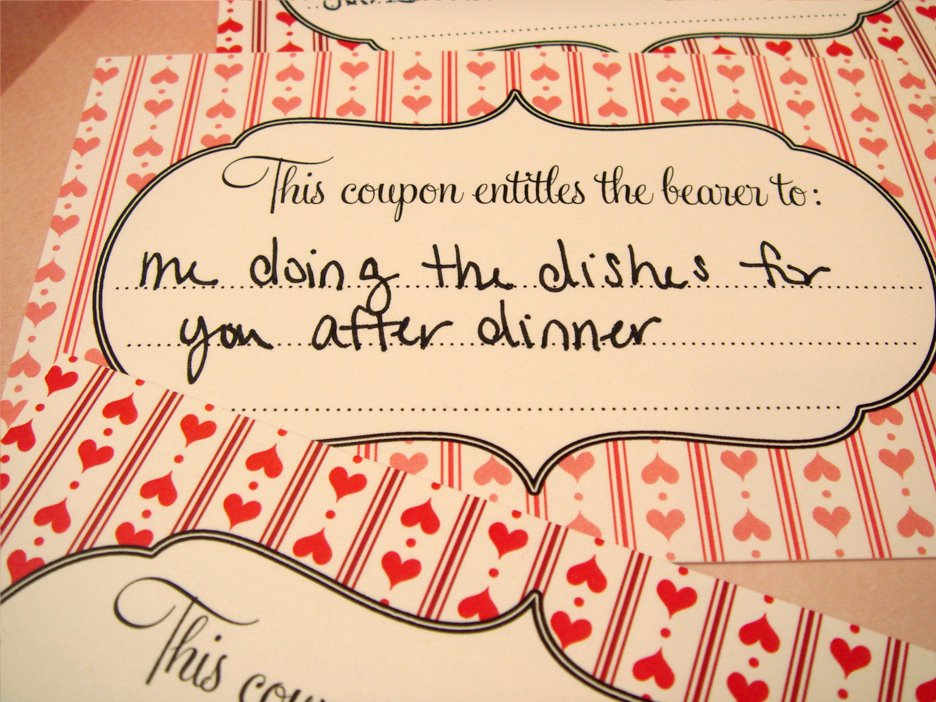
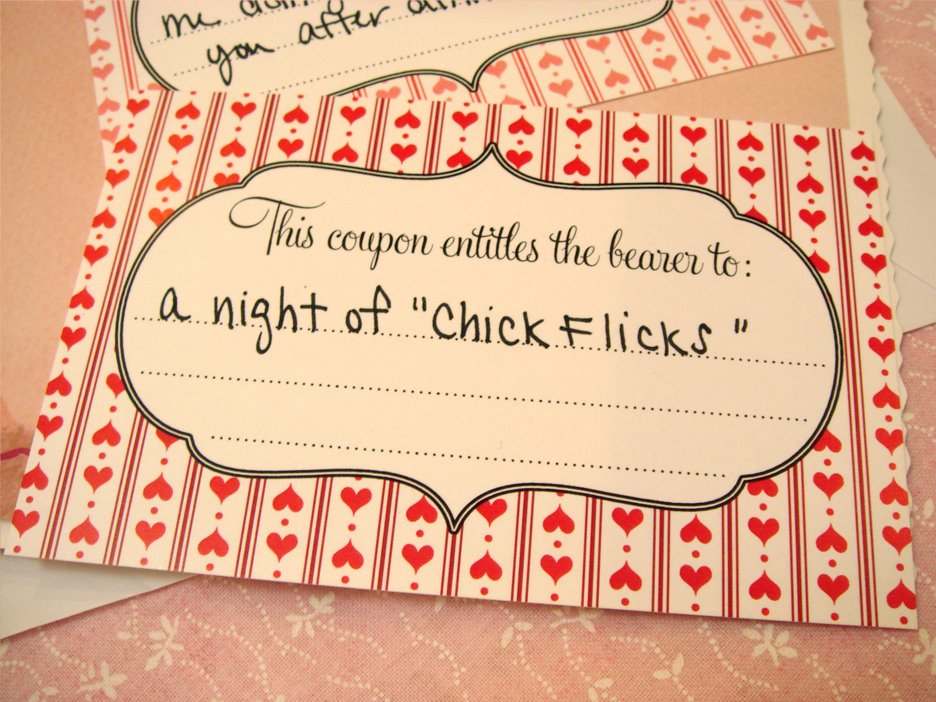
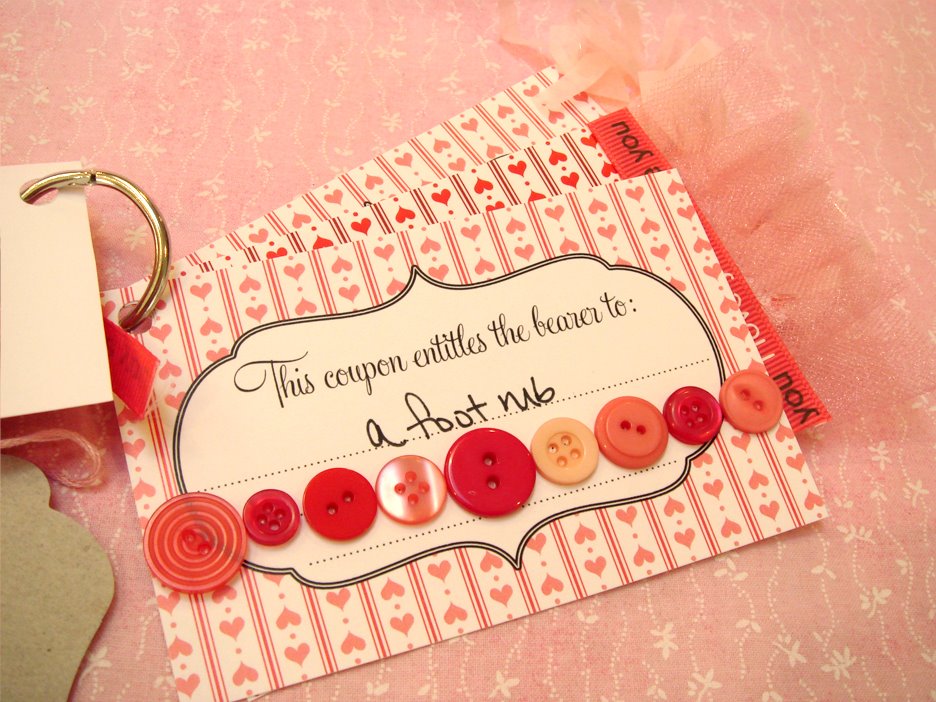
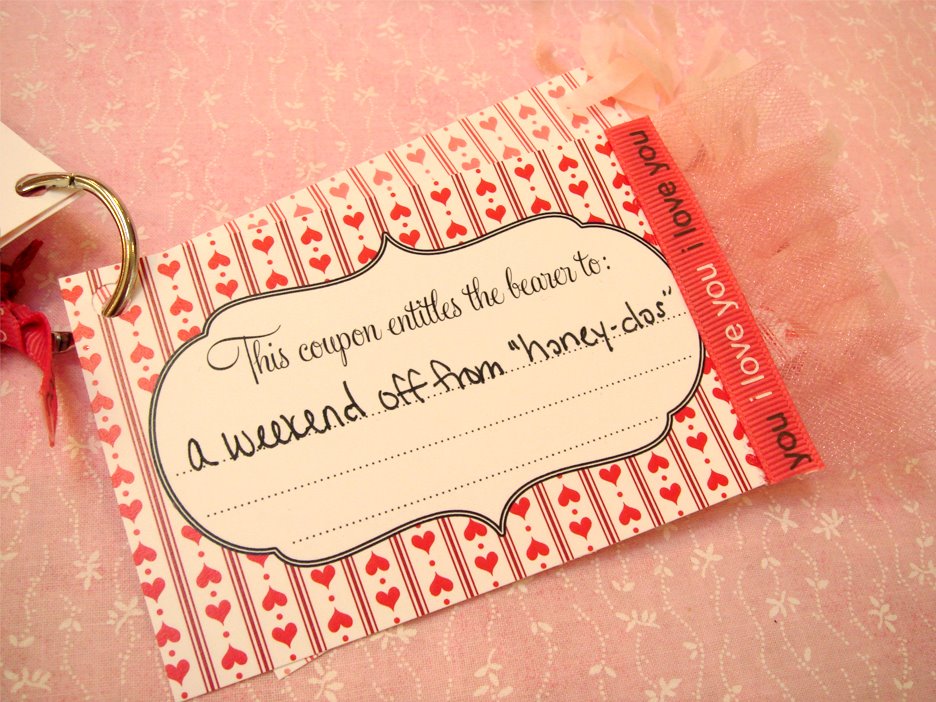
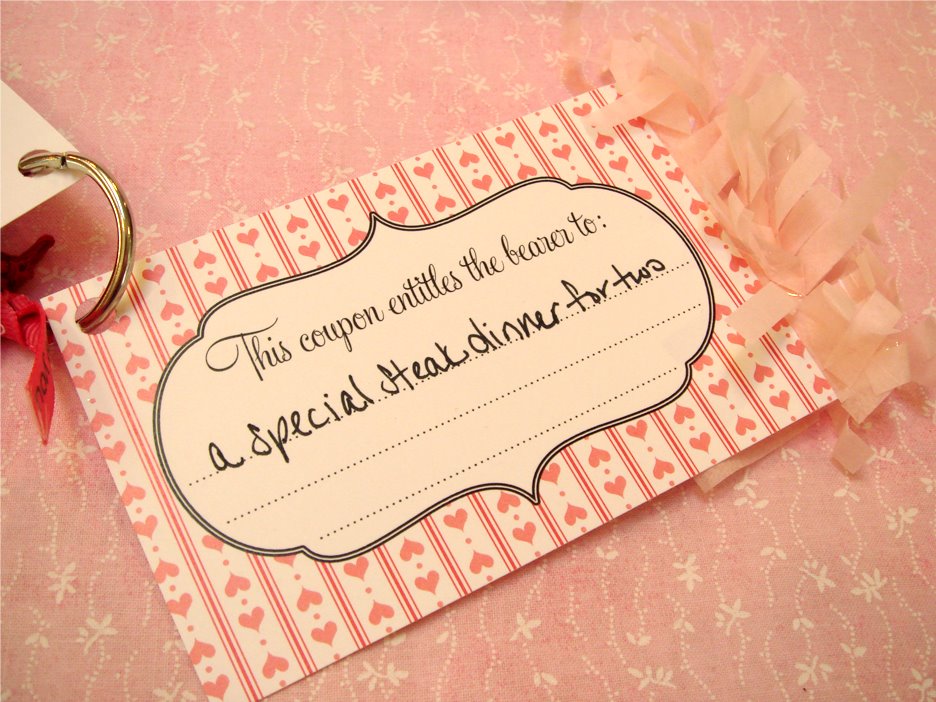
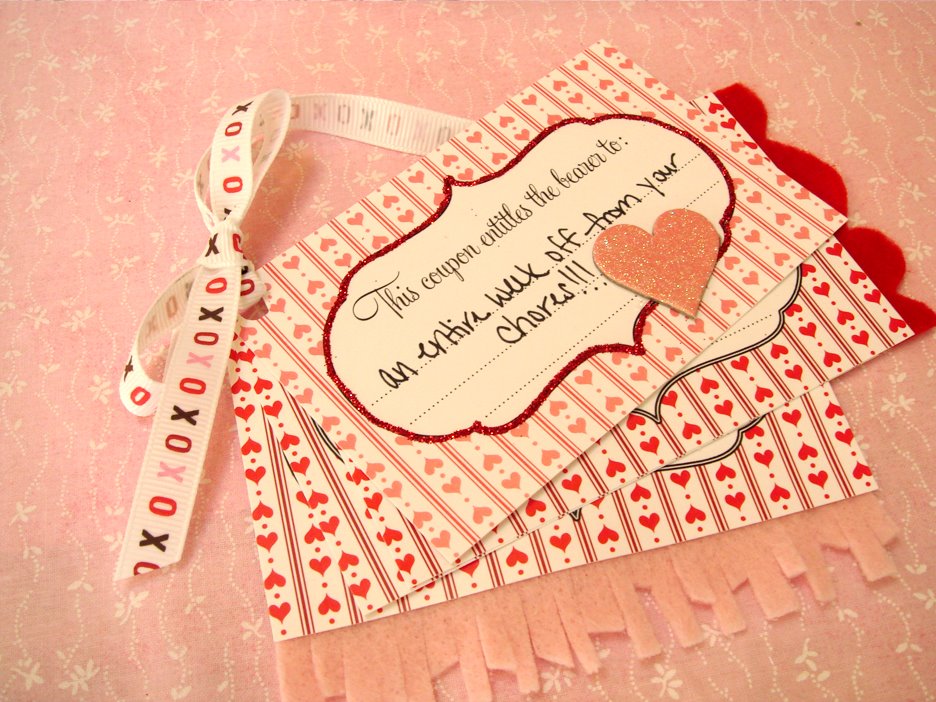
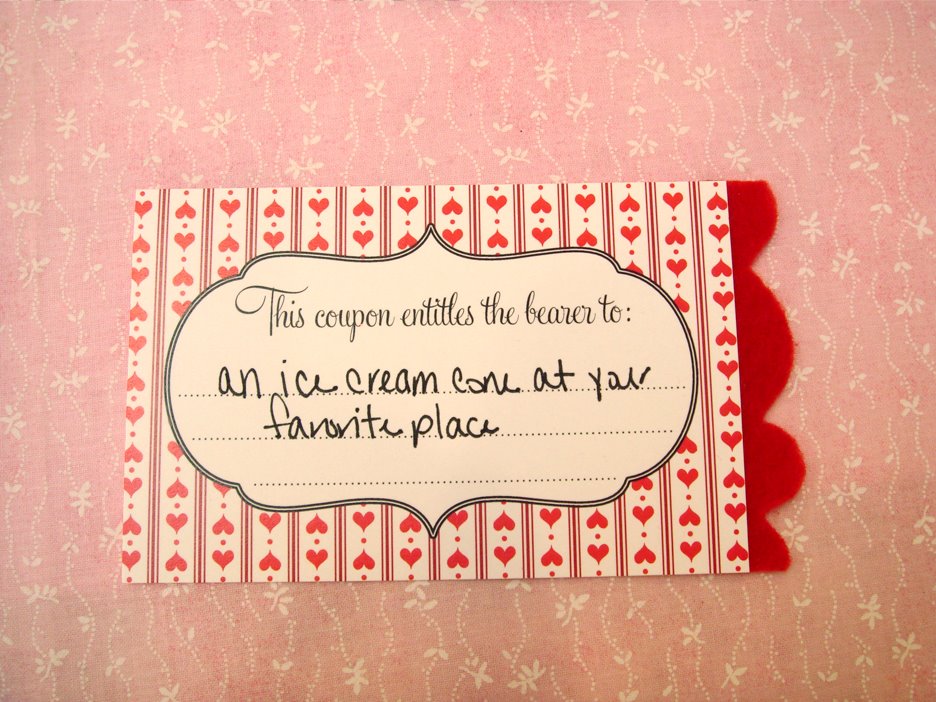
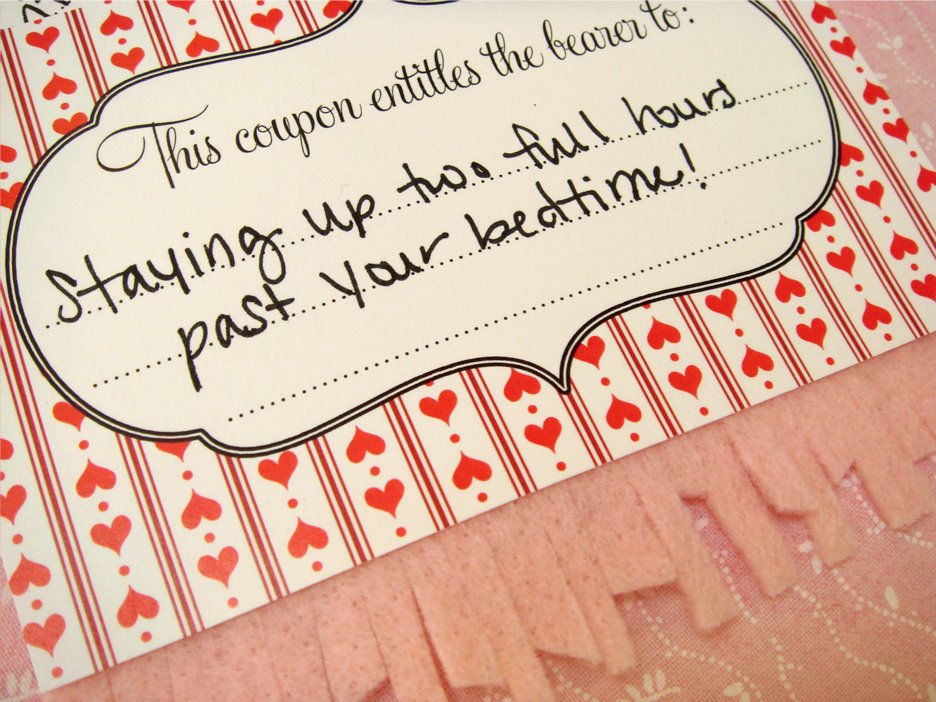
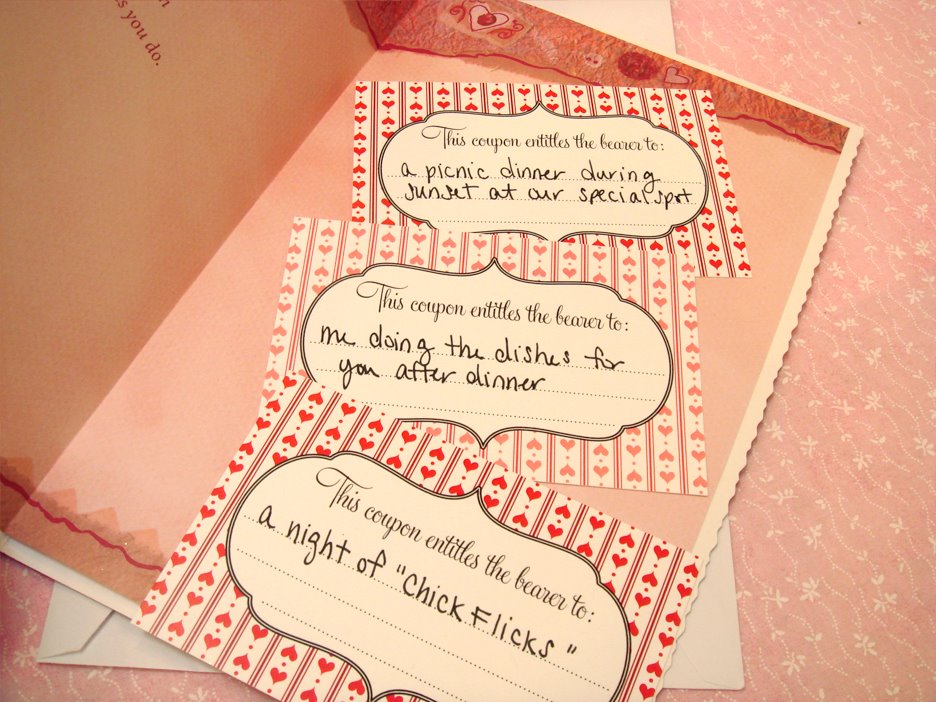
Stumped on what to get that special someone in your life for Valentine’s Day? This is the perfect answer to your problem! Give them a “coupon” to something you know they’ll appreciate! We used our True Love Coupons, but you could make your own, too! Our tutorial today will show you how you can spice up the coupons and give you ideas of what to write on them! We’ve done some for girls, guys and kids! There is also a fun giveaway at the end!

A simple way:

Tuck the coupon(s) into a special card and make the gift completely personalized! Make sure you write something sweet and fun on them!

For the “crafty” ones to give:

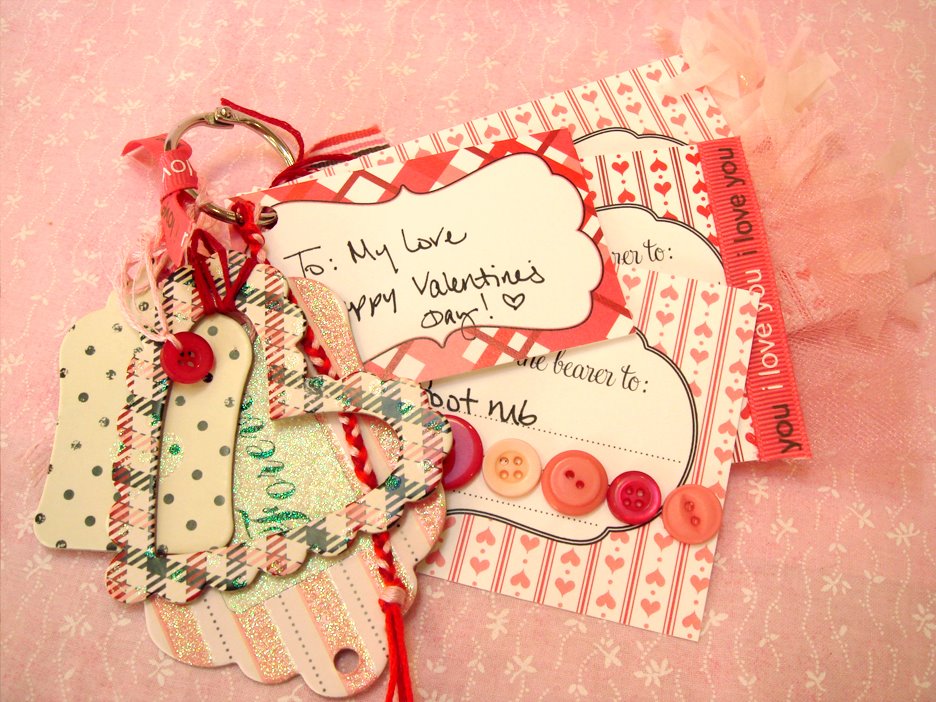
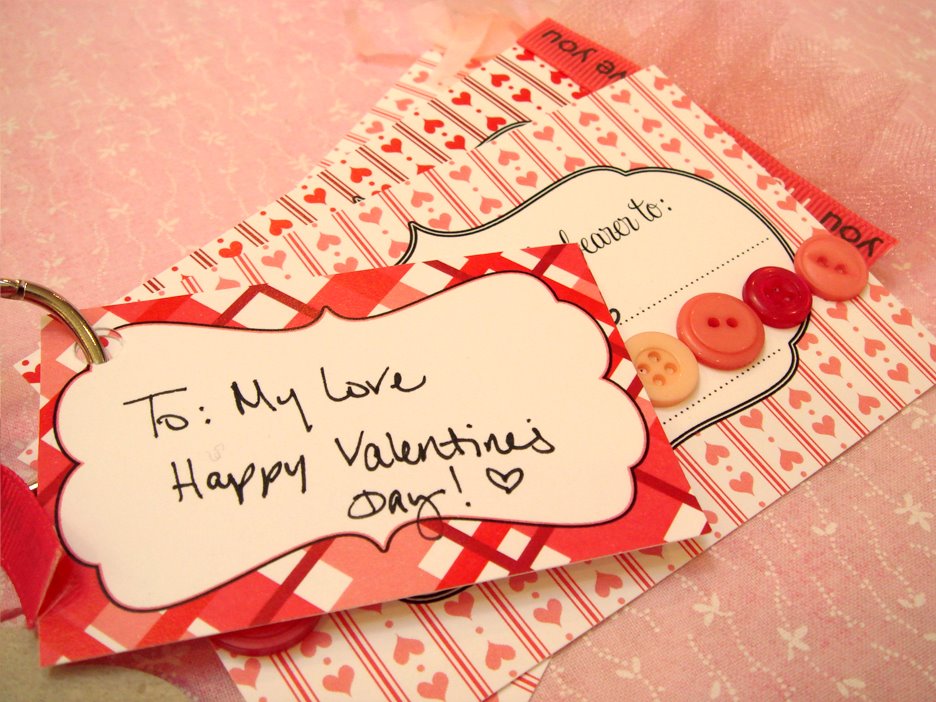
Spice up the coupons with chipboard letters and shapes, buttons, tulle, ribbon, glitter, tissue paper and felt!

Then hook all of them together with a ring and you have your very own mini coupon book to give! {tag shown above from our Cut Outs: So In Love}

And, don’t forget the kids! This is a great alternative to chocolates or candy and gives them something to look forward to for later on!

Time for the giveaway!
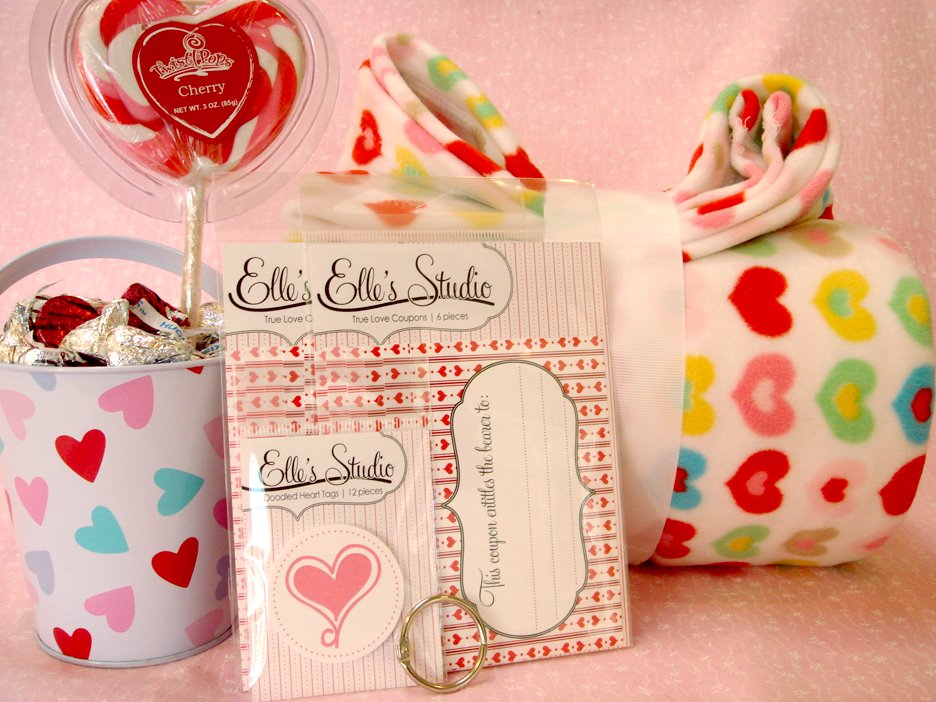
What would you want your coupon to say? Leave a comment with that answer, and you’ll be entered to win the fun set pictured above! The prize includes 2 packs of our True Love Coupons, 1 set of our Doodled Heart Tags, a super cute blanket to snuggle up with your loved one in and some candy in that cute tin! Winner will be announced on January 24th, everyone is welcomed to enter!
———————————————————-
I wanted to say thank you so much for such an awesome response to our week of fun so far! I’ve really enjoyed reading all the comments and emails – you are all SO sweet!! I will be highlighting some comments and suggestions that people had and answering some questions, too on January 24th when we announce all the winners! So, if you have any questions regarding any of our posts please let us know!
Thanks so much!
XO, Elle

Handmade With Love – Day 3 – Be Mine Banner

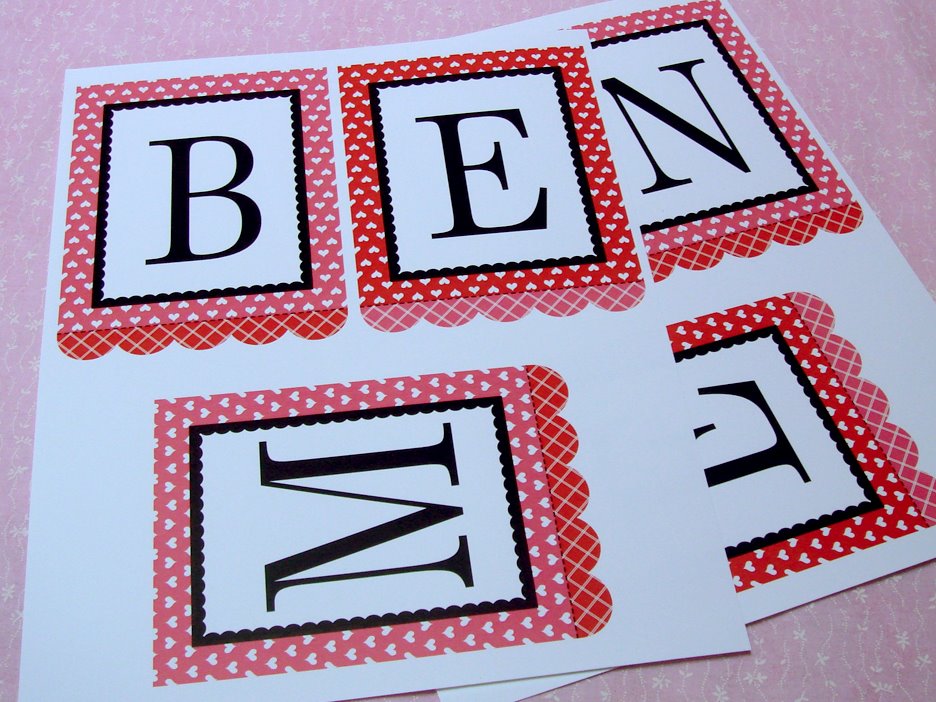
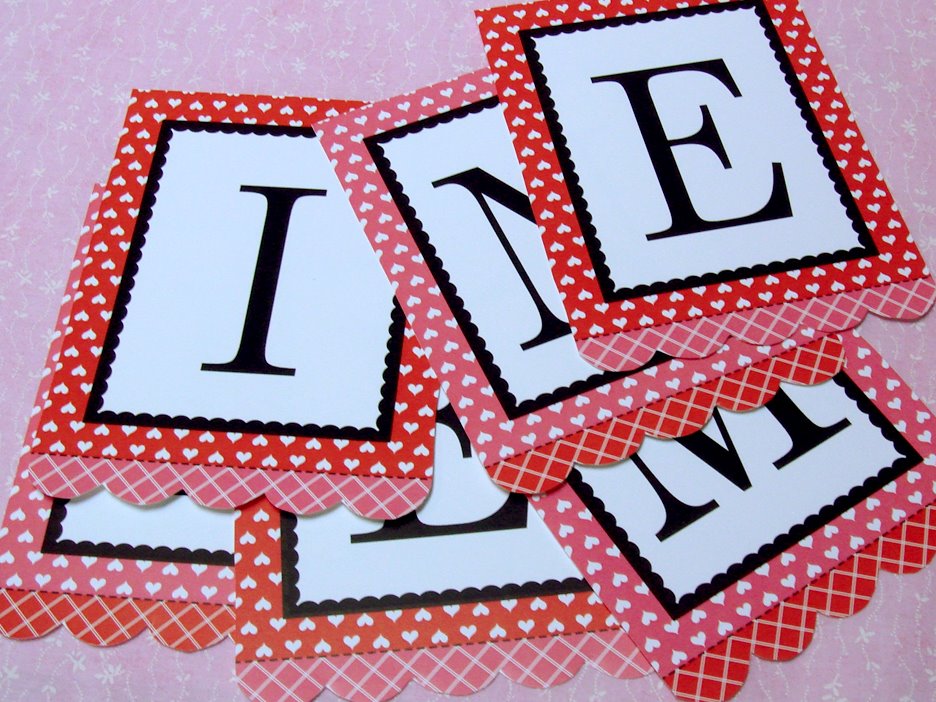
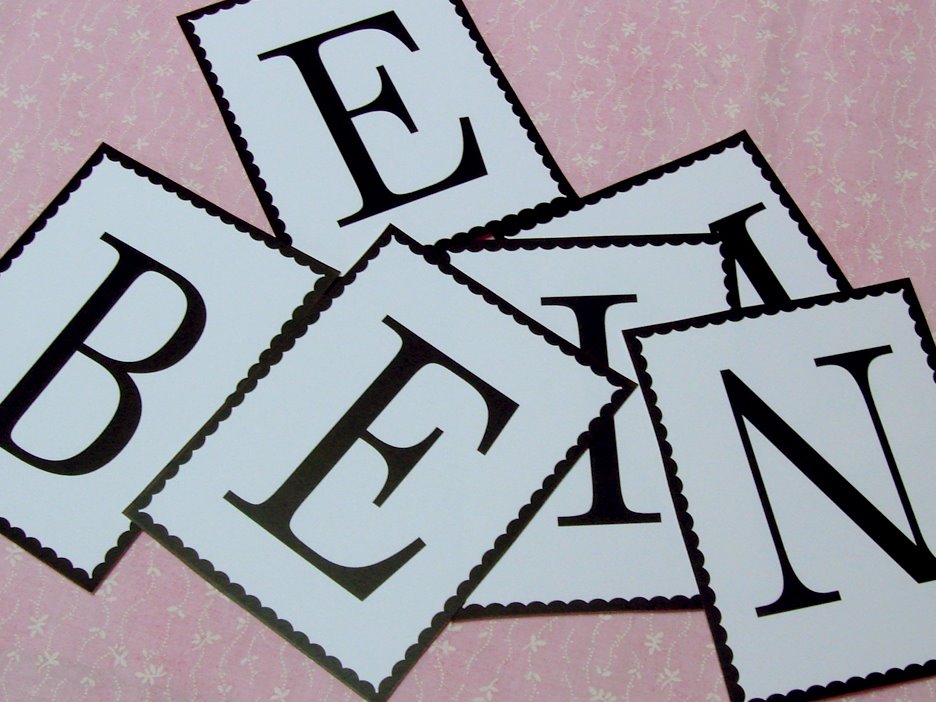
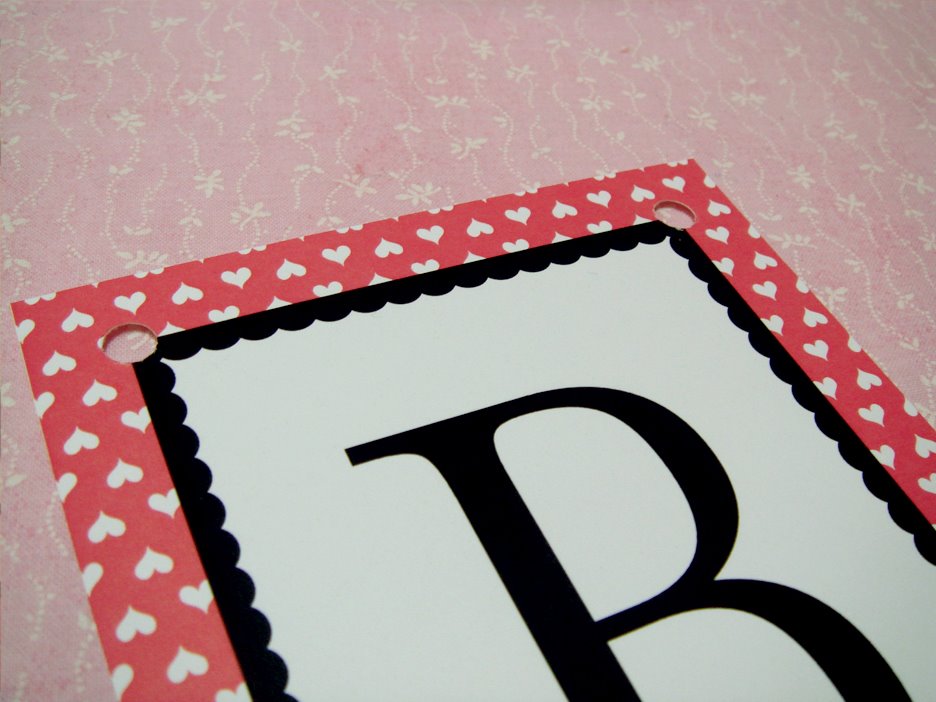
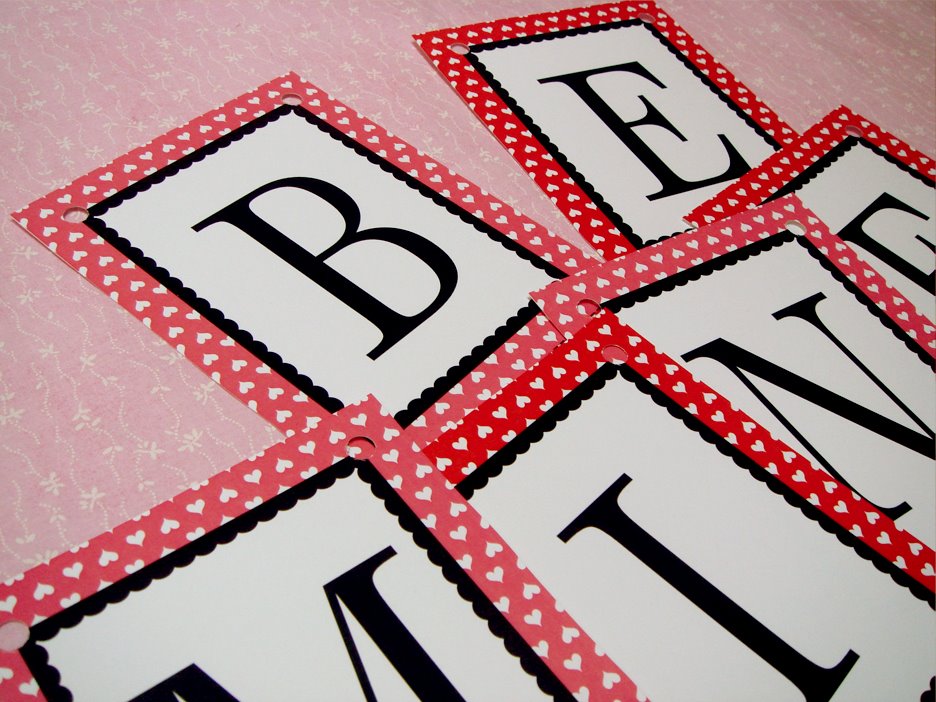
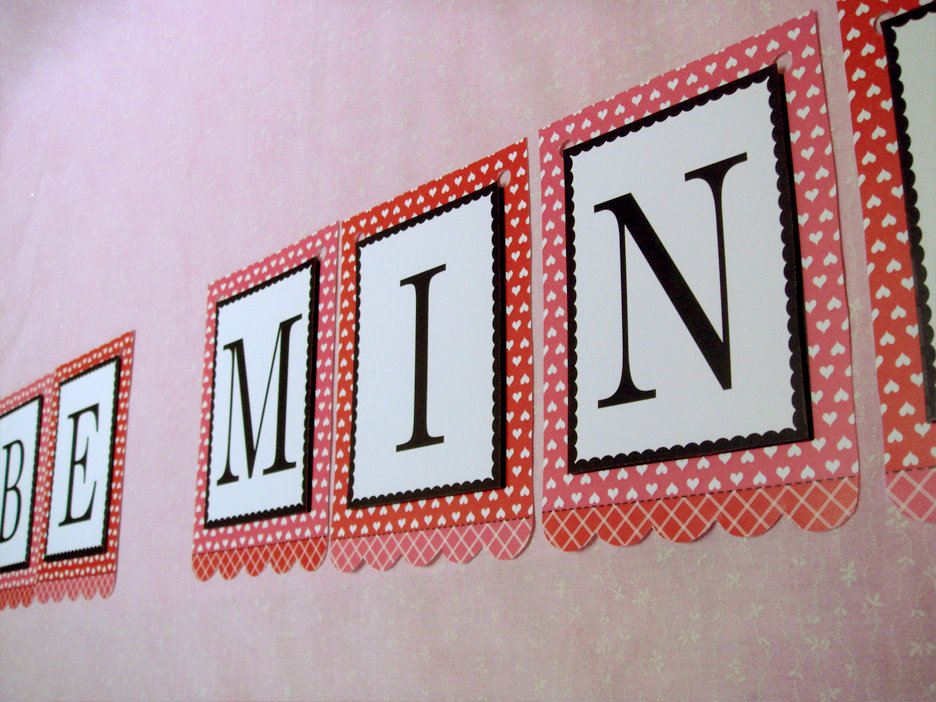
Today we have a fun FREE banner download that you can download, print out and create! I’ve put together a small tutorial on how I put our banner together, but really you could do it any way you choose!

To put the banner together like shown in this tutorial, you’ll need the following supplies:
Tulle or ribbon
Two print outs of the free download
Pop-up dots
Hole puncher
Scissors

1. Print out the banner file twice.
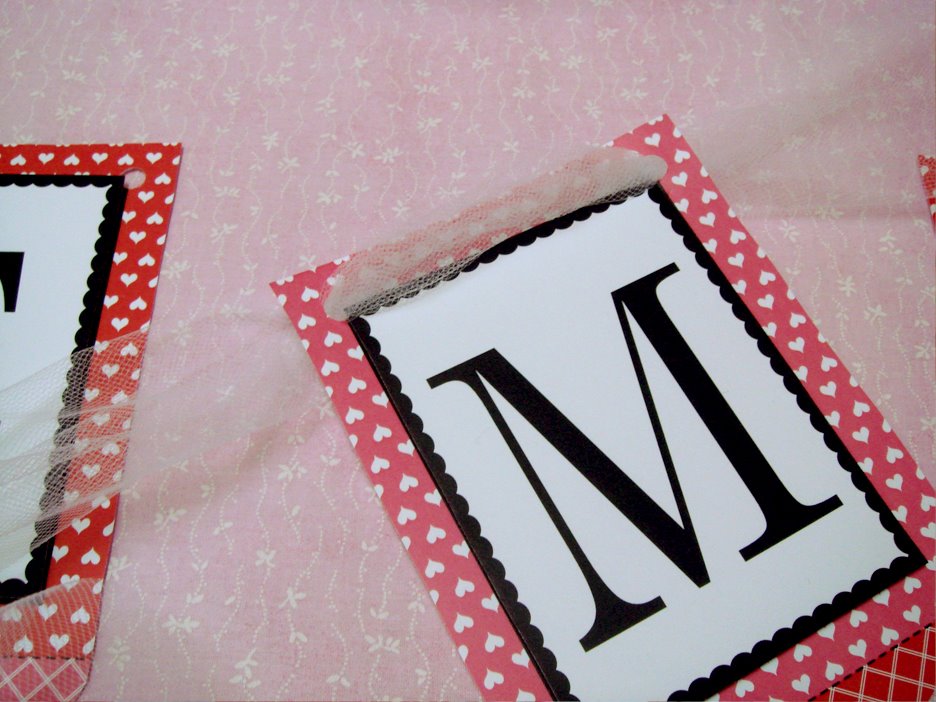
2. Cut one set of the banner out along the colored edges like the photo below.

3. Cut out your other set along the black edges, like the photo below.

4. On the first set of cut outs, punch holes in the top corners. This will be where you string the tulle or ribbon through.

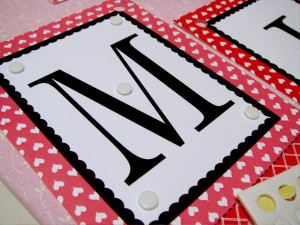
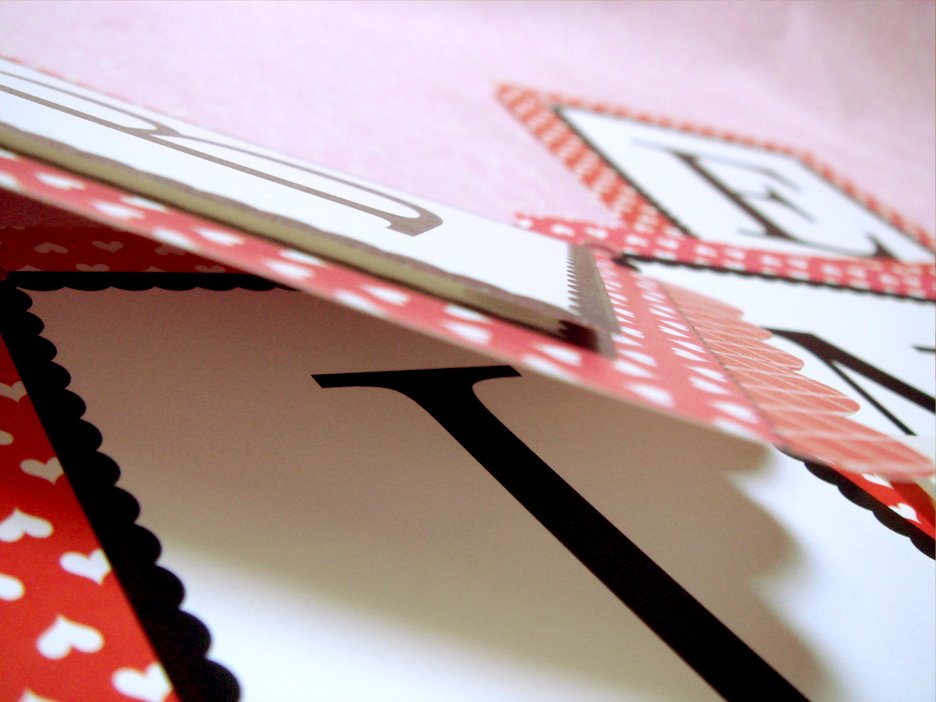
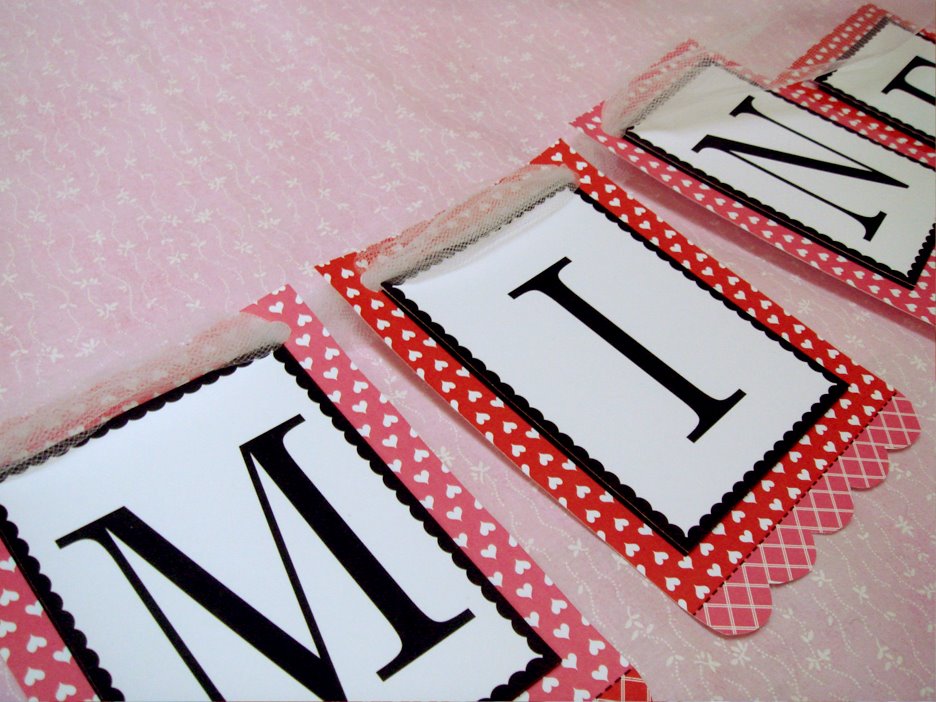
5. Take your Pop-Up dots and stick them on each piece of the banner. 7. Take the pieces you cut out from step 3 and put them on top of your pieces with the colored edges. This will create a 3D effect and gives your a banner a little extra detail.

8. Layout all your pieces and get the spacing the way you’d like it once hung.

9. Take your tulle or ribbon and start from the center out. This will help in making sure your banner is centered on your tulle or ribbon!

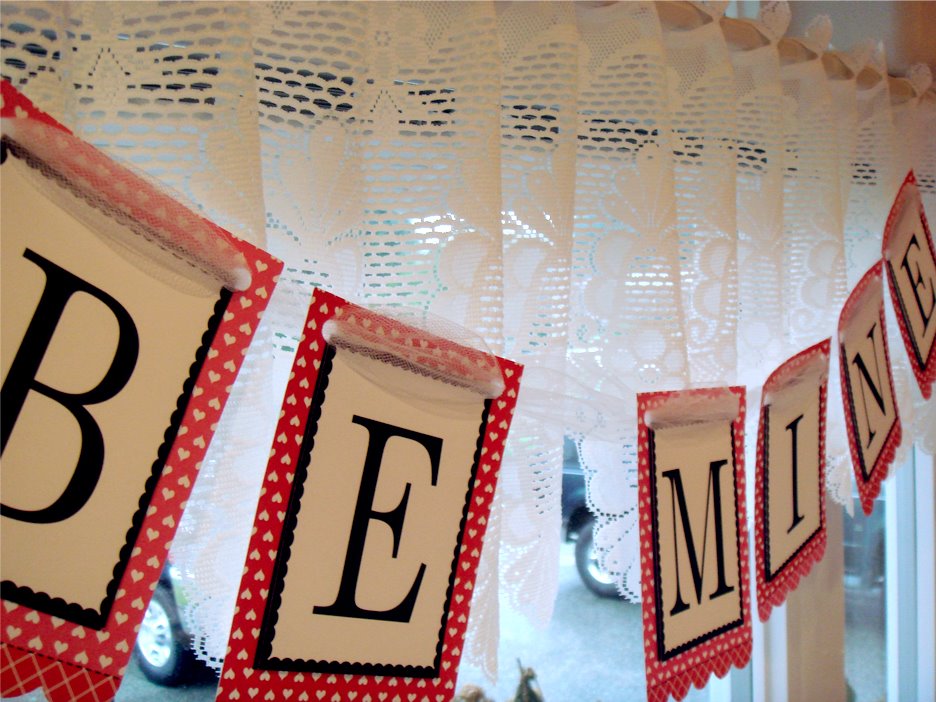
10. Ta da! You could add buttons, glitter, etc. to this, too! The possibilities are endless!

We hung ours in our window – love it!


{the free download is a pdf file that requires Adobe Acrobat to open. If you do not have Adobe Acrobat Reader you can download it here for free}

We hope you enjoy the free banner download today! If you make one we’d love to see it – please feel free to upload it to our flickr gallery!
We’ll see you tomorrow with more fun!
XO, Elle
P.S. If you haven’t had a chance to enter the giveaways from Day 1 and Day 2 please do! All winners will be drawn on the 24th ๐Ÿ™‚

Handmade With Love – Day 2 – Handmade Crayons

Grab the kids for this one – The first part of this project is great for little hands!

Supplies:
Lots and lots of crayons – old or new!
Metal and/or silicone molds
Plastic or paper bags
Extra embellishments for bags!

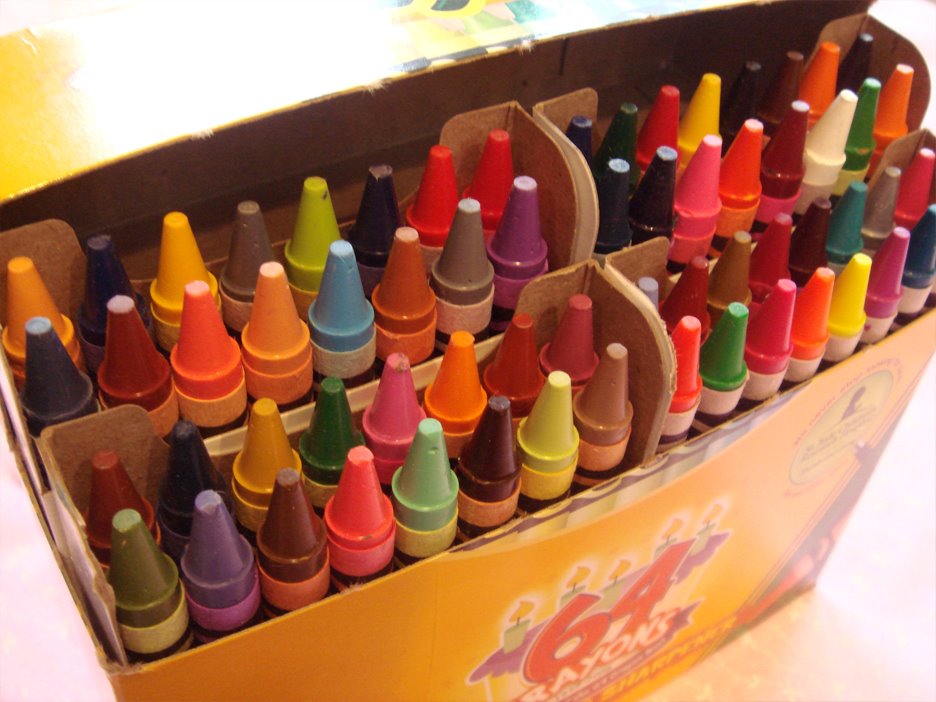
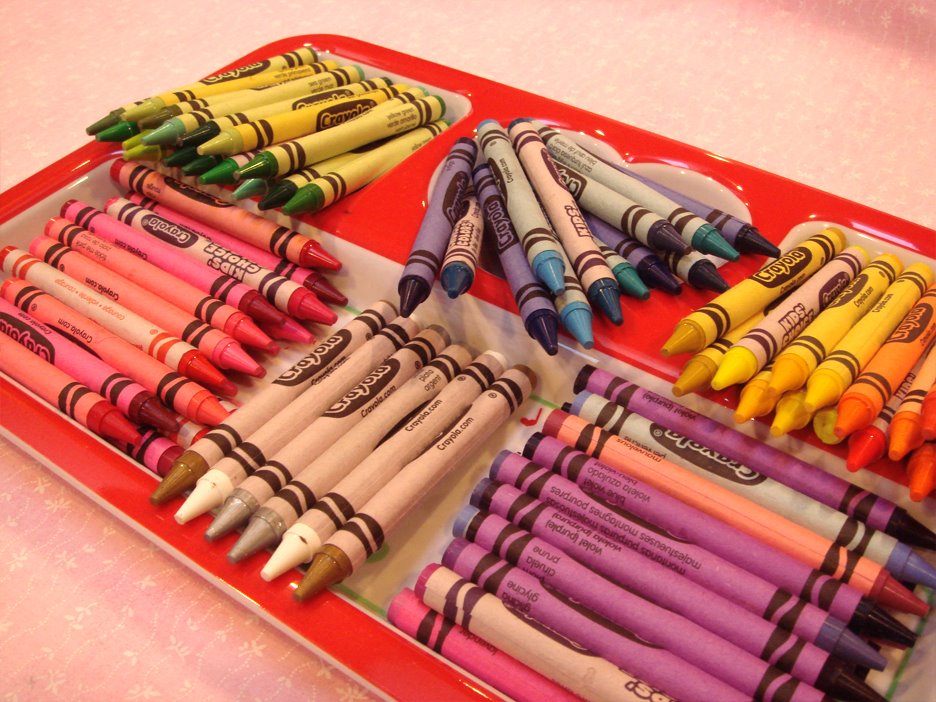
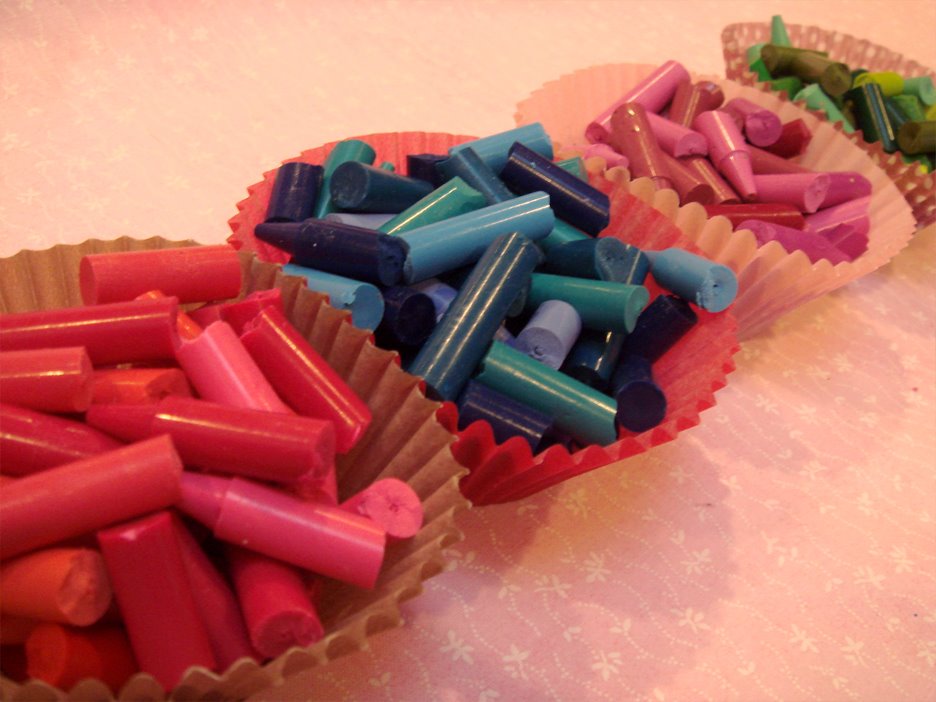
1. Grab any extra crayons around the house or if you don’t have any, start with new ones! I started with a new box of Crayola crayons. I decided that I wanted to make crayons with complementing and contrasting colors, so I began by separating all the crayons into their color groups.

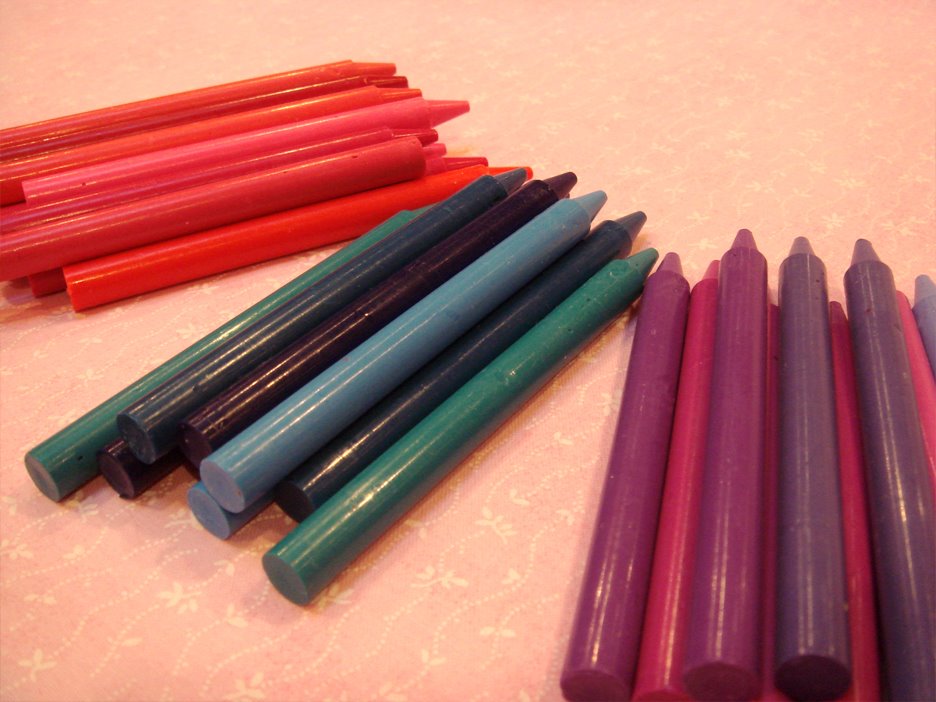
2. Next, you have to remove all the paper wrappings from the crayons

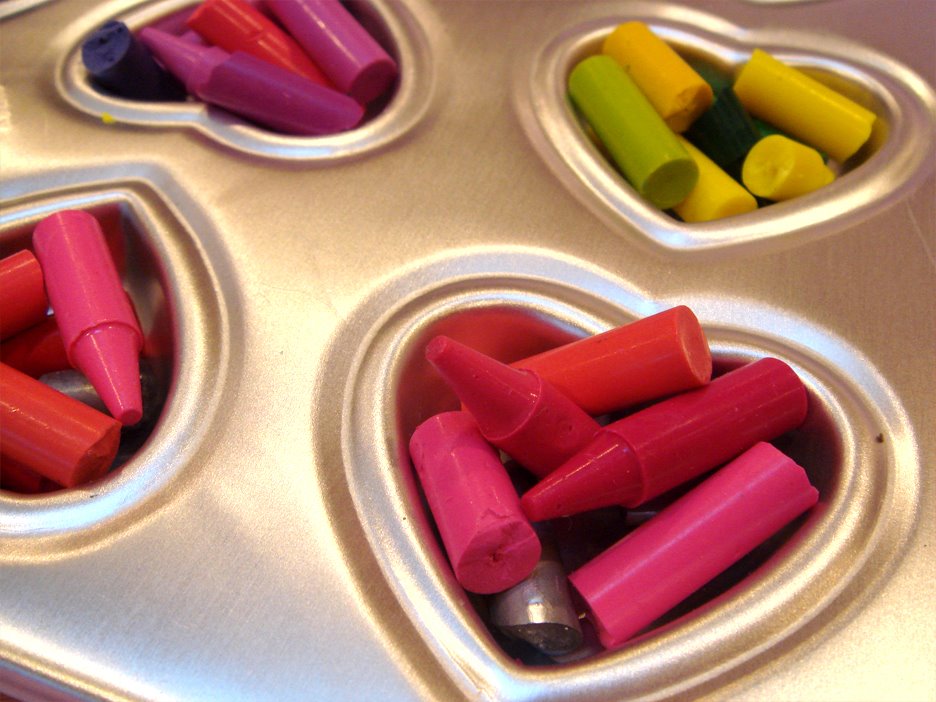
3. Break all the crayons into small pieces – each crayon should break up into four pieces if it is a full, new crayon.4. Get your molds together. Silicone and metal molds work great! I bought the heart molds at Michaels (a craft store in the baking section) and the alphabet molds from here.

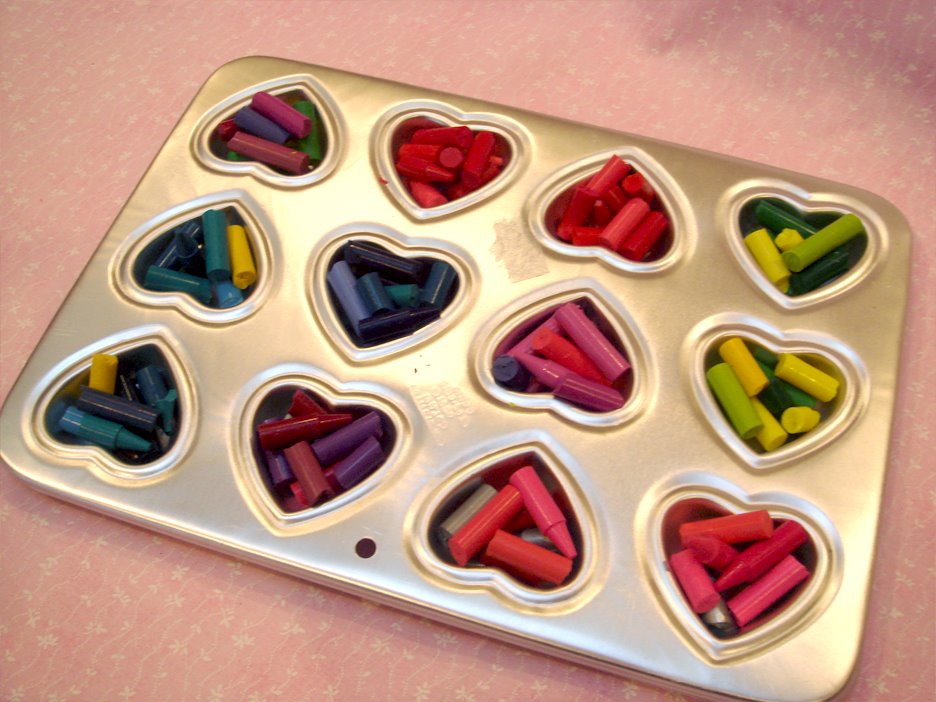
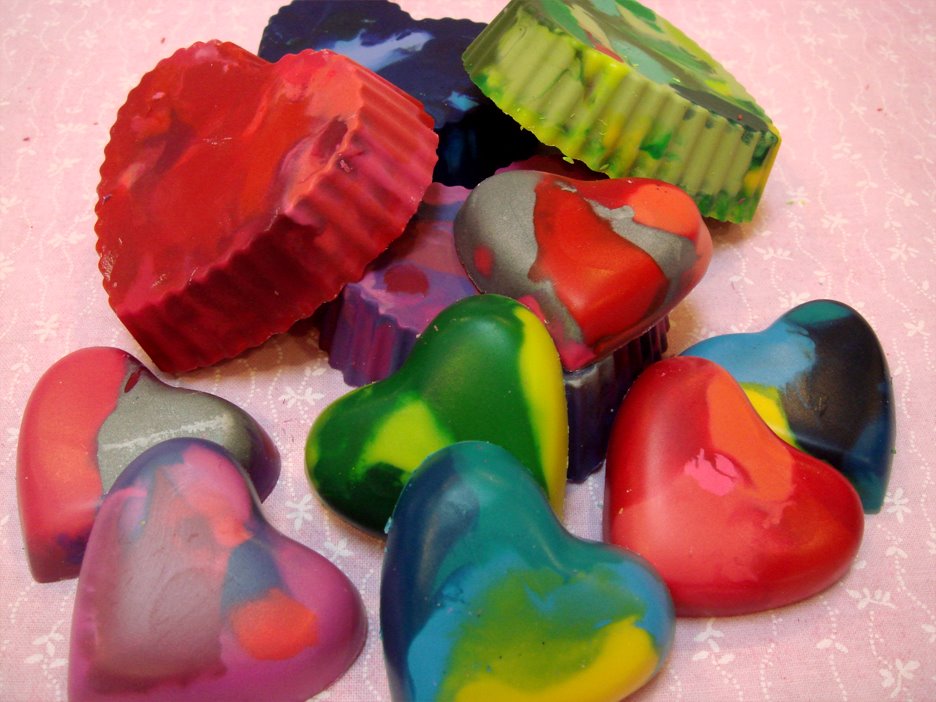
5. Take all the crayon bits and peices and pile them in the molds. I found that contrasting colors get a better marbled effect than putting alike colors together. Example: Pink and red blended together to well, almost giving no marbled effect, but dark green and bright yellow looked great! So did red and white or pink and white ๐Ÿ™‚

{be careful not to pile the crayons to high, but at least high enough to make a good and sturdy crayon once it is all melted together}7. For the alphabet molds, I found that standing the crayons upright worked great! I only filled the letters I needed.

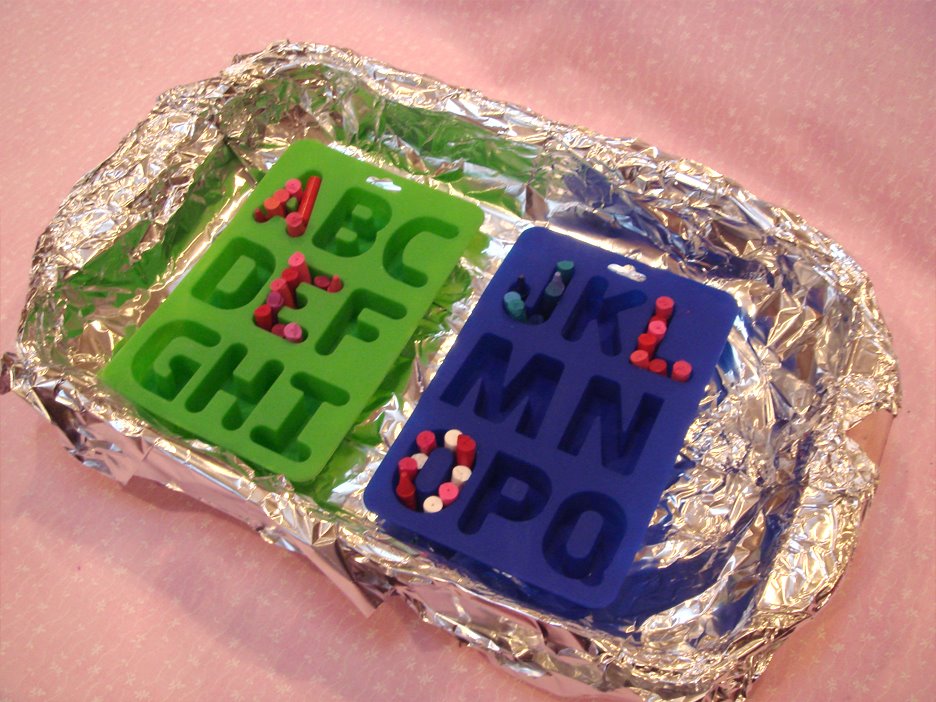
8. Preheat your over to 275 degrees and put your crayon filled molds in a baking pan that is lined in foil. The foil will protect your oven and your pan from any melted crayon spillage!

9. Each mold will need about 10 – 15 minutes in the oven. The thinner ones will take less time than the thicker ones. Keep your eyes on them, and pull them out as soon as they look melted. If you leave them in to long the colors will mix together too much! Kids should NOT help with this part!! The melted wax is very hot!

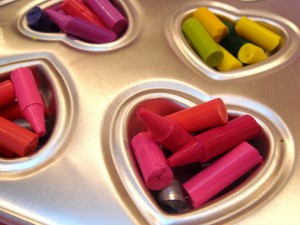
10. Allow the molds to set for a couple of hours – they should be completed cooled before you pull them out. Gently peel away the silicone and pop out the crayon shapes. For the metal molds, give them a good whack on the counter and they’ll pop right out!

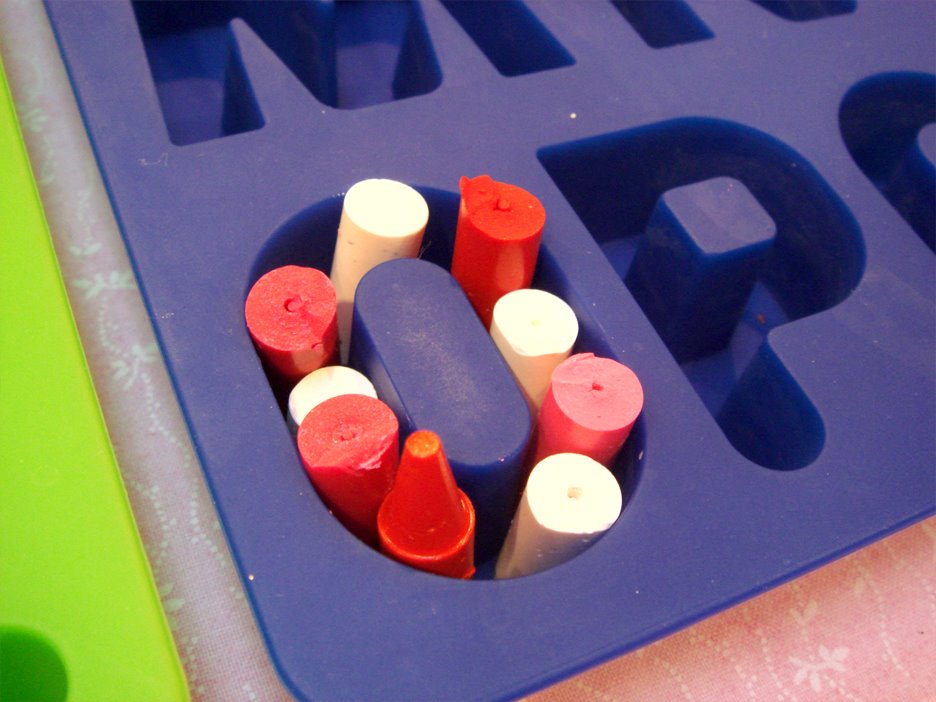
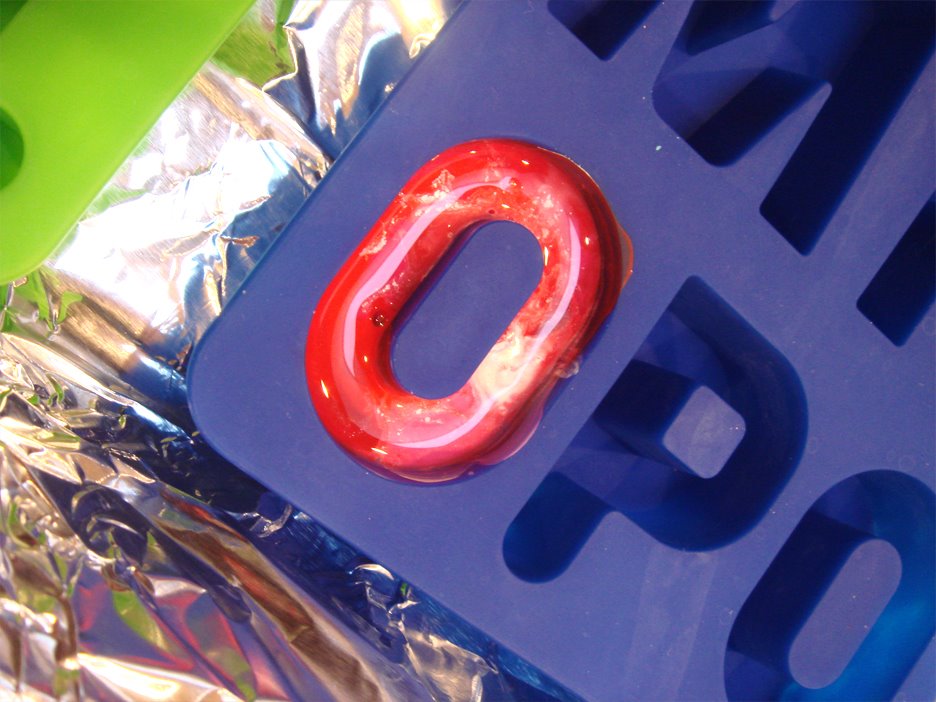
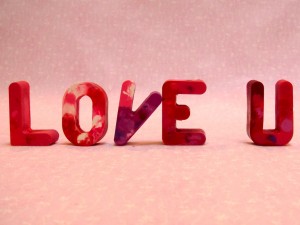
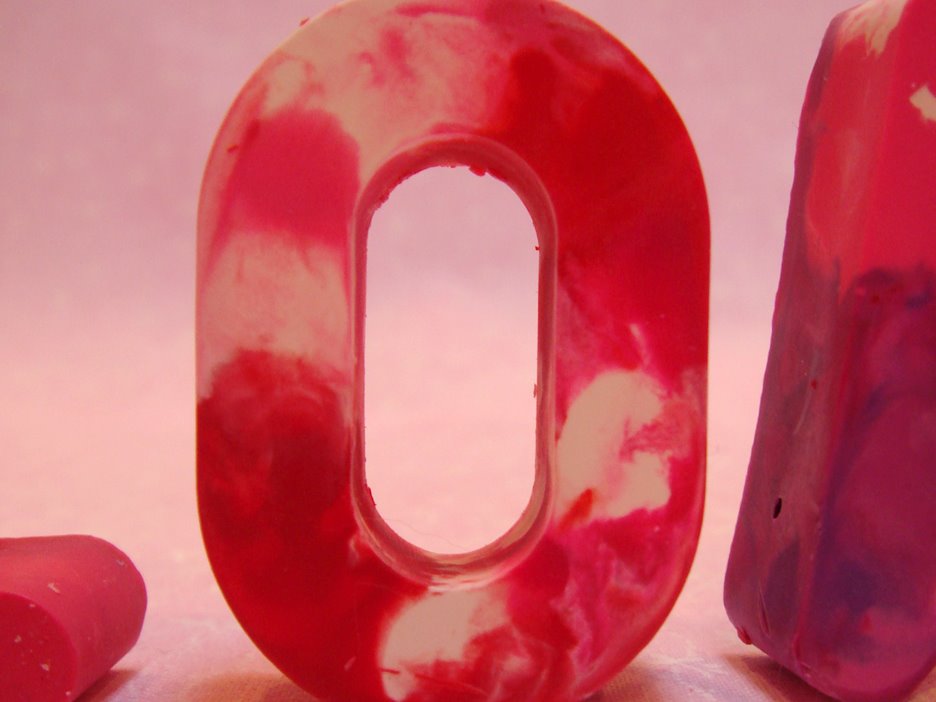
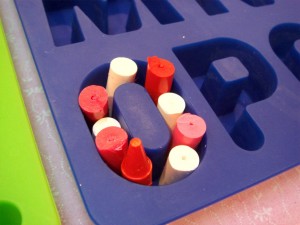
{here is a close up of the “O” from the “LOVE U” letters. I love the way it turned out! The pink, white and red colors worked great together! I did nothing extra to get the marbled effect either! This was just achieved by just letting them melt in the oven!}

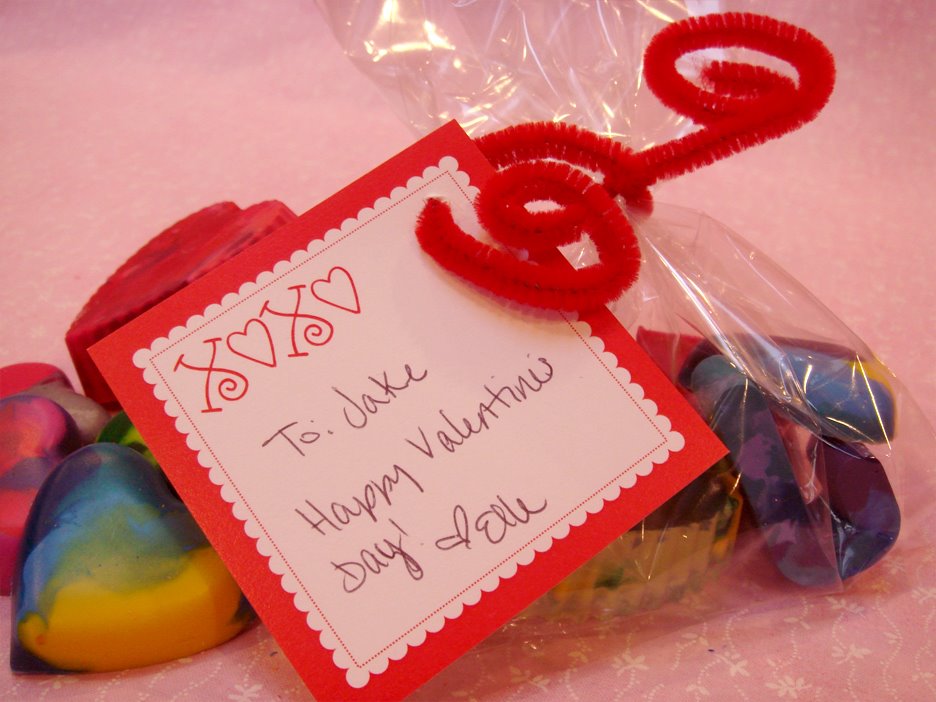
11. Have your kids help you package the crayons in either plastic or paper bags – these would be a great alternative to hand out at school! You could give each kid the first letter in their name and a couple hearts!

Time for another giveaway! Here’s another great kit to get you started on this project! There are some of the silicone heart molds we used, along with the cutest bird plate from Target! Even some Martha Stewart glitter for decorating the plastic or paper bags, ribbon, Elle’s Studio tags and stamp set, and chocolate!
Everyone is welcome to enter, just leave a comment below! All the winners from each giveaway will be announced on Saturday, January 24th!

Handmade With Love – Day 1

Supplies needed:
Small Scrapbook Tags
Alphabet Stamps
Stamp Pad
Wax Paper
and your favorite frosted cupcakes!


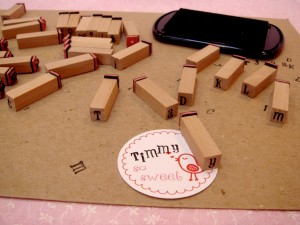
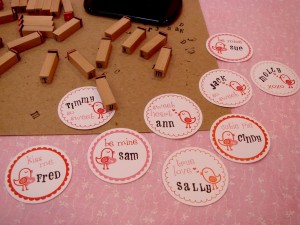
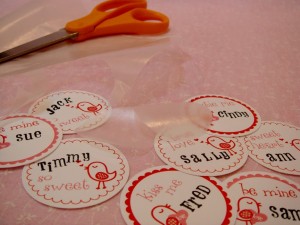
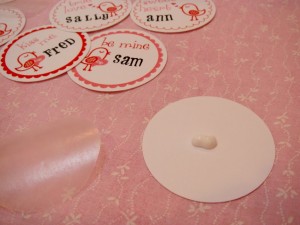
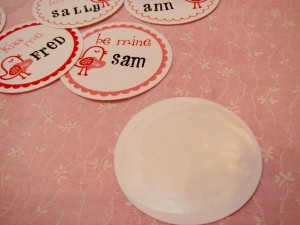
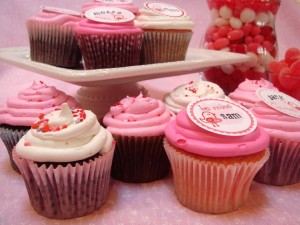
1. Gather your small scrapbook tags (we used our Sweet Tweet Circle Tags) and make a list of the names for the people who will be eating the cupcakes. Start stamping each persons name on a tag. 2. Once you have all the names stamped on the tags and they have dried, you’ll want to line the back of each tag with wax paper. If you don’t, the grease in the cupcake icing will soak through.3. Cut circles from the wax paper that will fit on the back of your tags.4. Place a small drop of glue on the back of each tag and glue the wax paper to the tag.
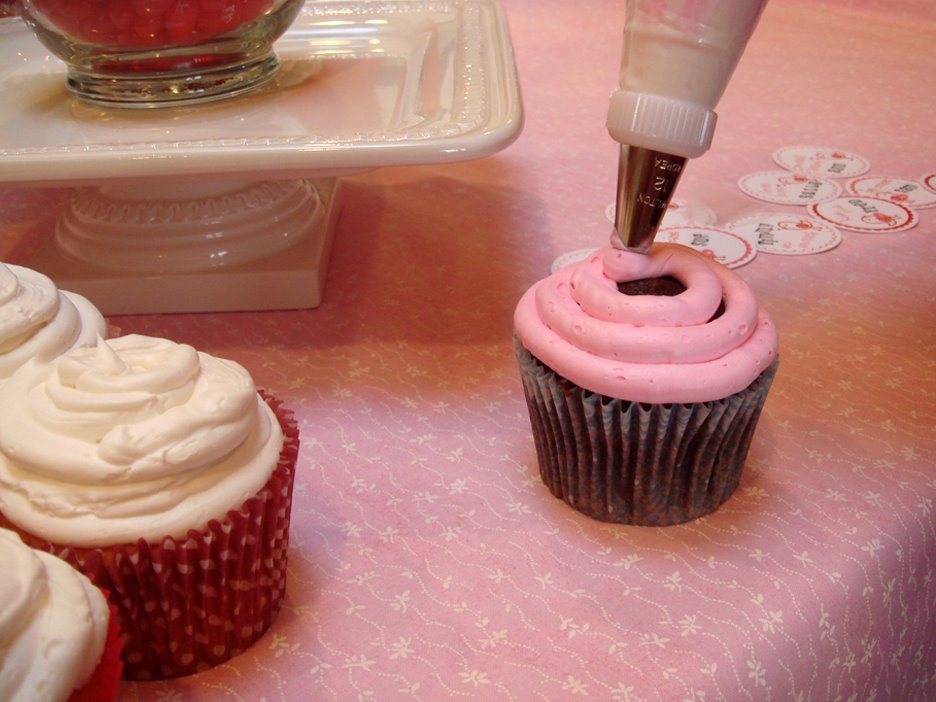
5. Frost all your cupcakes – I used a piping bag and a large tip but you don’t have to.

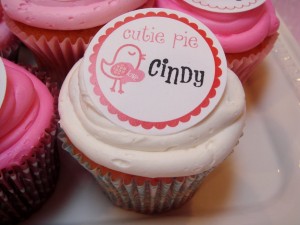
6. Once you have all your cupcakes frosted, place your personalized tags on each cupcake! You can add sprinkles, too, if you prefer! These cupcakes would work great for Valentine’s parties or in the office or at school!
Other things you could top cupcakes with are chipboard letters or super big buttons! But, remember, any cupcake toppers that are paper or chipboard need to be lined with wax paper – if you don’t the grease will soak through! As you can see in the photo above, I didn’t line “Jack’s” cupcake and the grease went through the paper in no time! Poor Jack!
If you don’t want to stamp names, you could use tags that have no room for a name, like our Doodled Heart Tags!

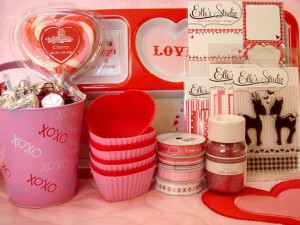
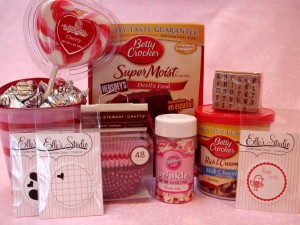
Now it’s time for a giveaway! One person will win this awesome set of goodies that includes everything you need to make these on your own, even some fancy Martha Stewart cupcake liners and three packs of Elle’s Studio tags! Just leave a comment below and you’ll be entered to win! Anonymous comments have now been enabled, but you must leave a link to your blog and your name in the comment! The winner from each giveaway will be drawn on next Saturday, January 24th!