Grab the kids for this one – The first part of this project is great for little hands!
Supplies:
Lots and lots of crayons – old or new!
Metal and/or silicone molds
Plastic or paper bags
Extra embellishments for bags!
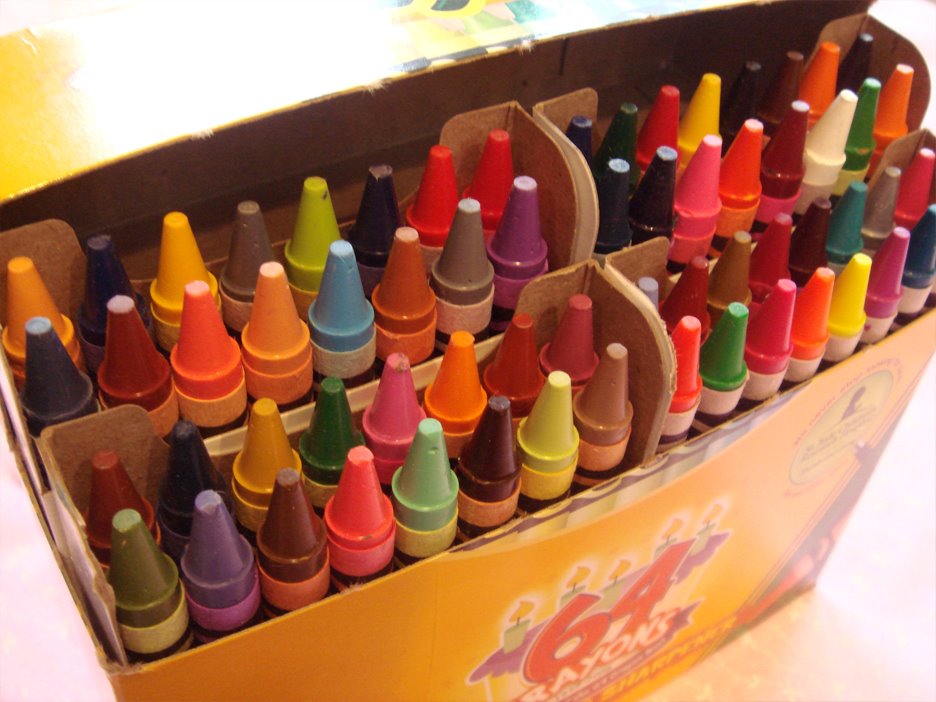 1. Grab any extra crayons around the house or if you don’t have any, start with new ones! I started with a new box of Crayola crayons. I decided that I wanted to make crayons with complementing and contrasting colors, so I began by separating all the crayons into their color groups.
 2. Next, you have to remove all the paper wrappings from the crayons
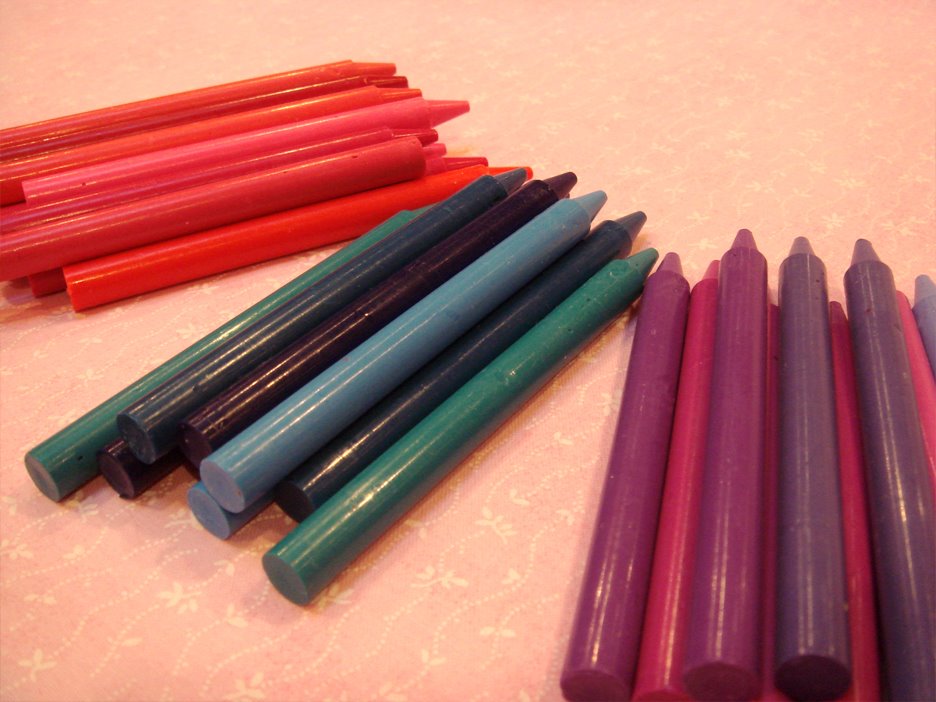 3. Break all the crayons into small pieces – each crayon should break up into four pieces if it is a full, new crayon.
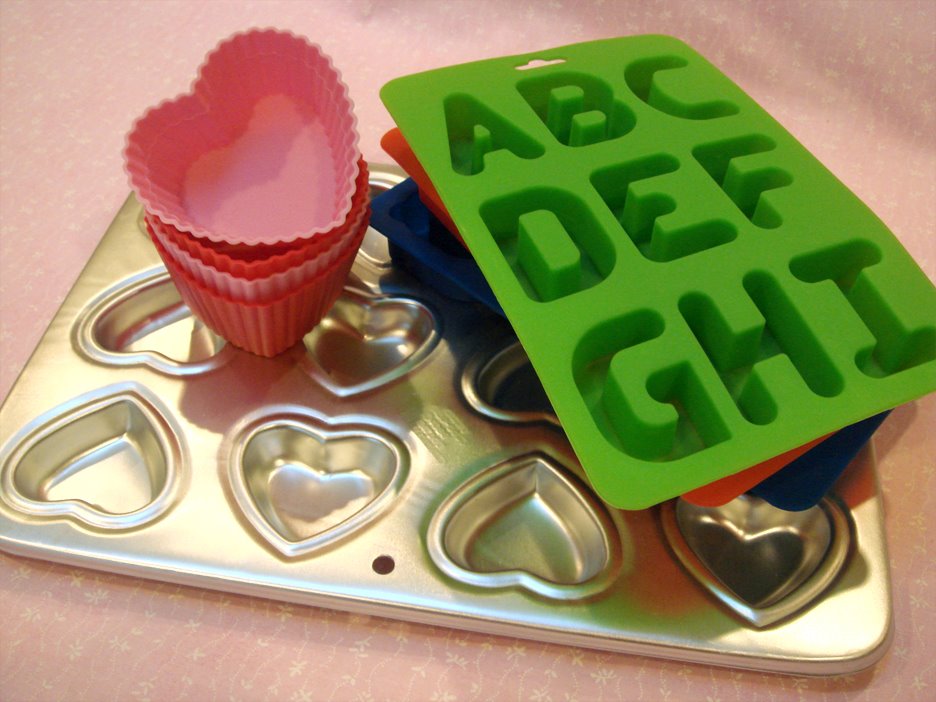
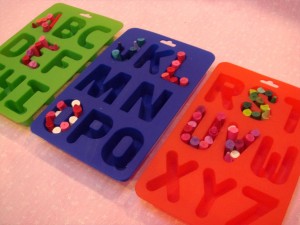
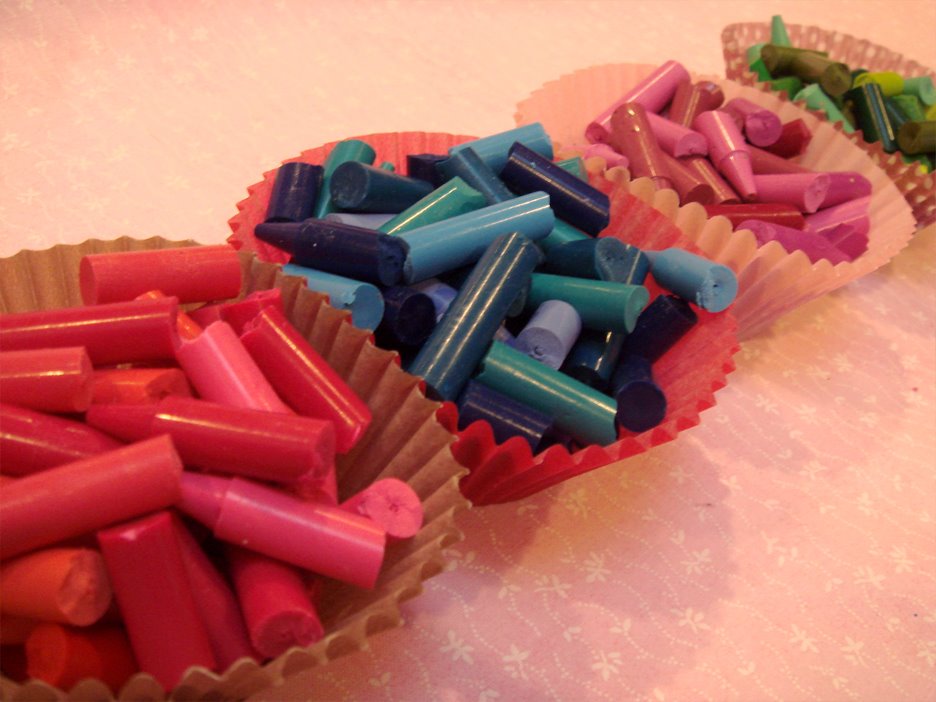 4. Get your molds together. Silicone and metal molds work great! I bought the heart molds at Michaels (a craft store in the baking section) and the alphabet molds from here.
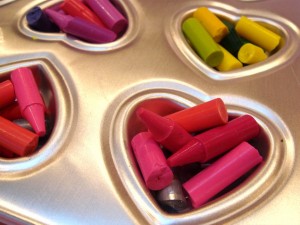
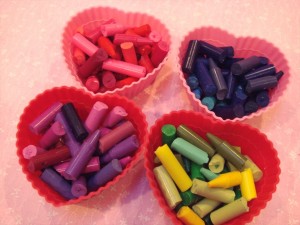
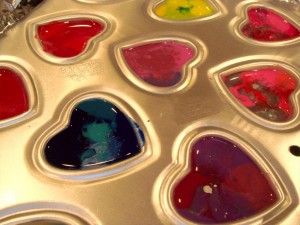
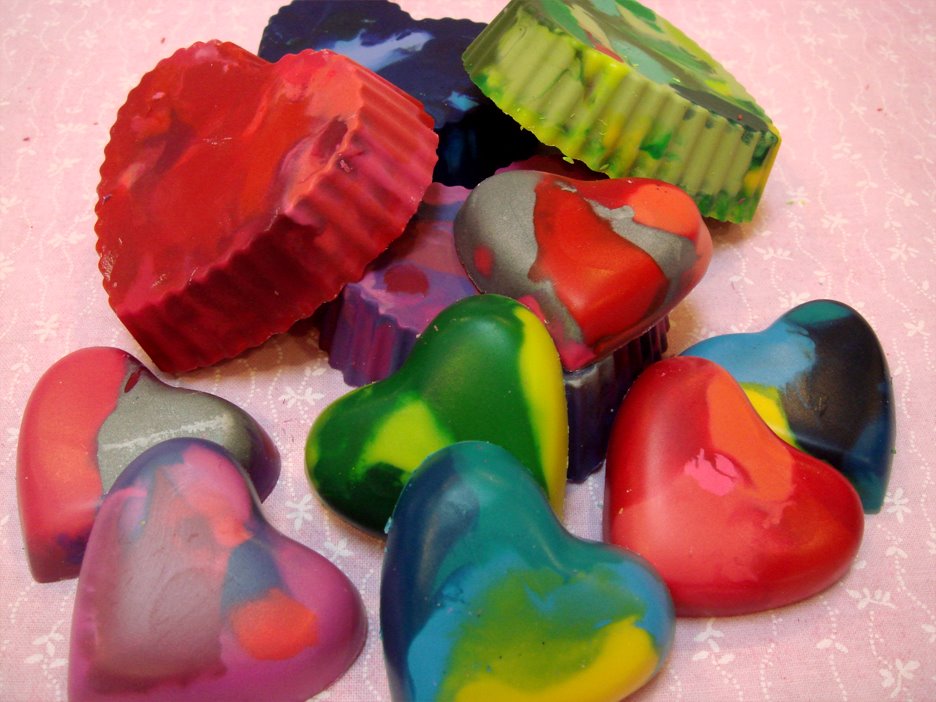
 5. Take all the crayon bits and peices and pile them in the molds. I found that contrasting colors get a better marbled effect than putting alike colors together. Example: Pink and red blended together to well, almost giving no marbled effect, but dark green and bright yellow looked great! So did red and white or pink and white 🙂
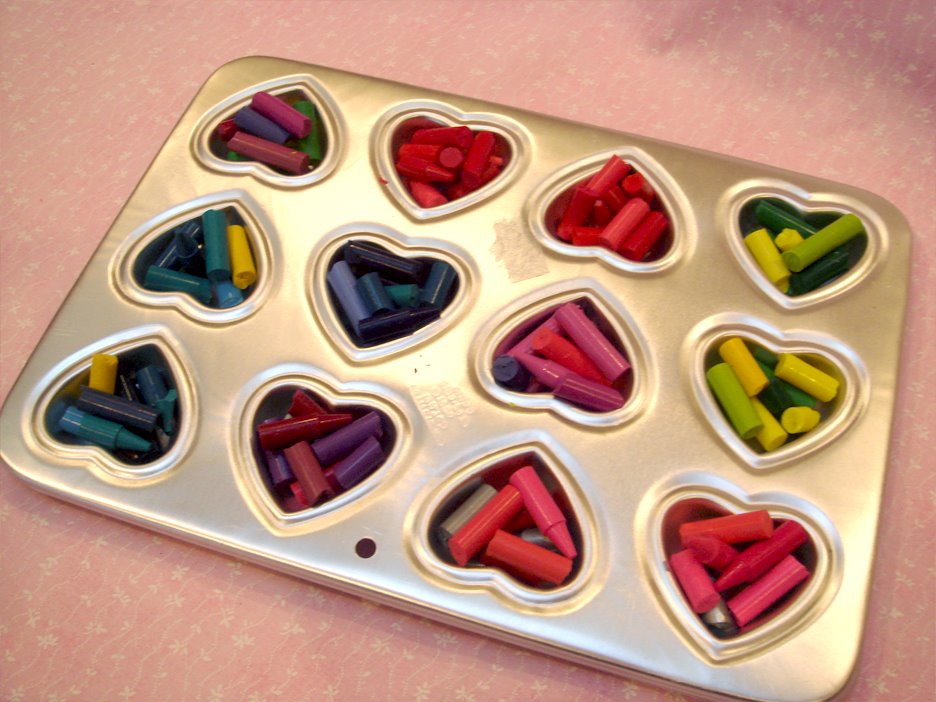
{be careful not to pile the crayons to high, but at least high enough to make a good and sturdy crayon once it is all melted together}
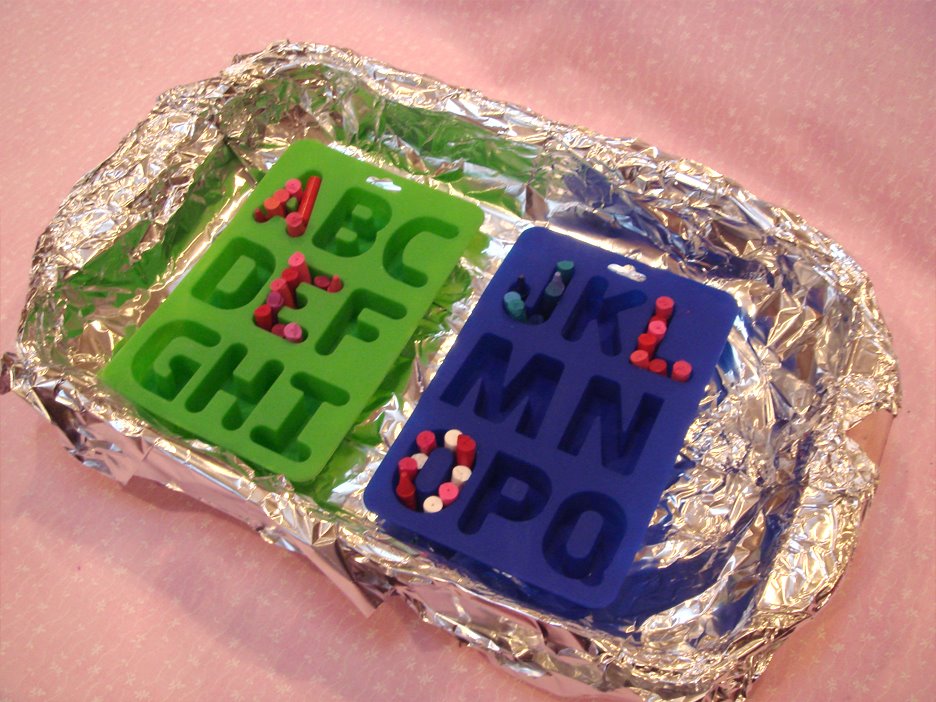
 7. For the alphabet molds, I found that standing the crayons upright worked great! I only filled the letters I needed.
 8. Preheat your over to 275 degrees and put your crayon filled molds in a baking pan that is lined in foil. The foil will protect your oven and your pan from any melted crayon spillage!
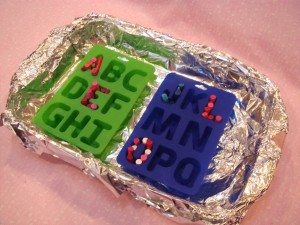 9. Each mold will need about 10 – 15 minutes in the oven. The thinner ones will take less time than the thicker ones. Keep your eyes on them, and pull them out as soon as they look melted. If you leave them in to long the colors will mix together too much! Kids should NOT help with this part!! The melted wax is very hot!
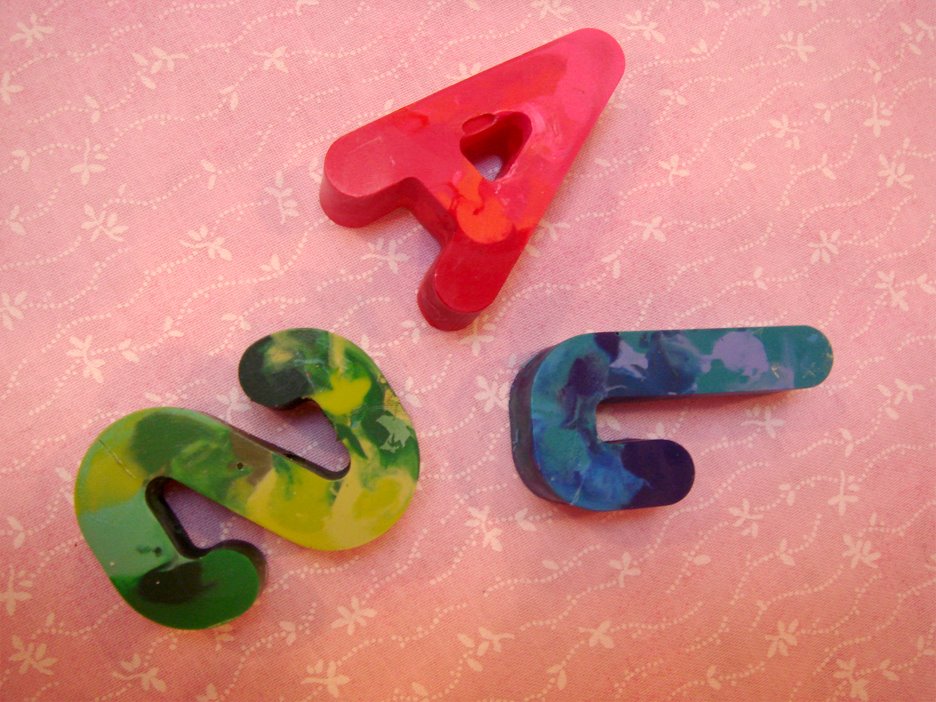
 10. Allow the molds to set for a couple of hours – they should be completed cooled before you pull them out. Gently peel away the silicone and pop out the crayon shapes. For the metal molds, give them a good whack on the counter and they’ll pop right out!


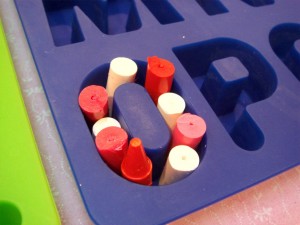
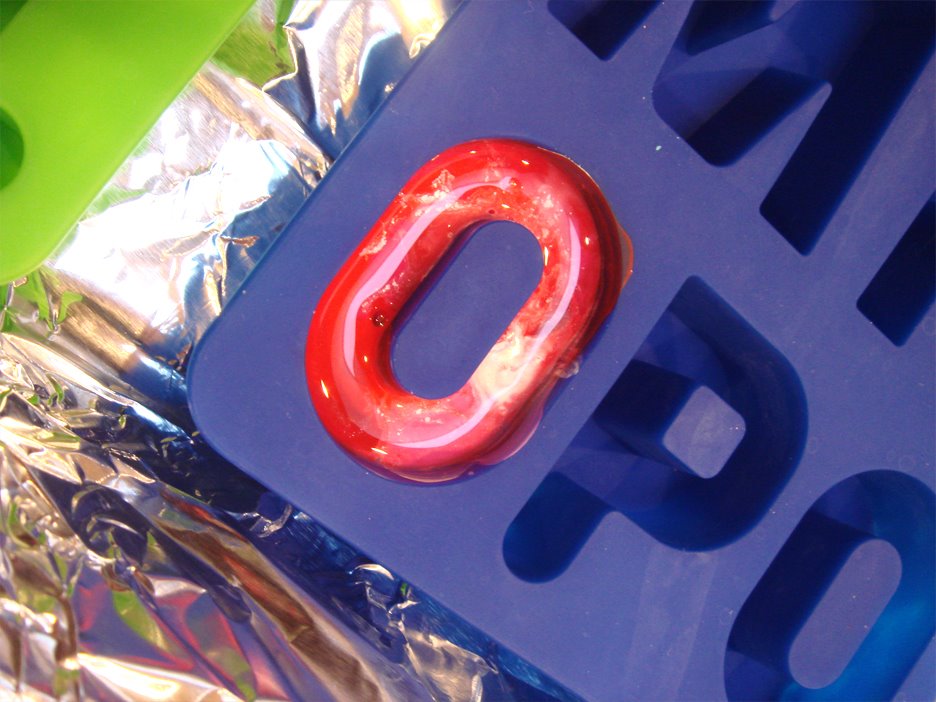
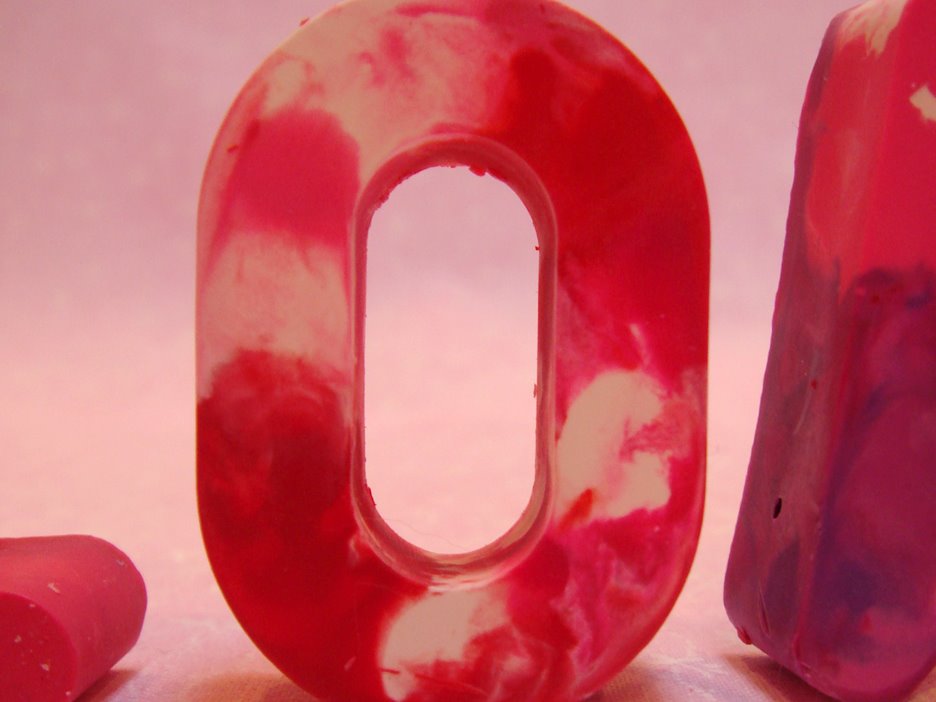
 {here is a close up of the “O” from the “LOVE U” letters. I love the way it turned out! The pink, white and red colors worked great together! I did nothing extra to get the marbled effect either! This was just achieved by just letting them melt in the oven!}
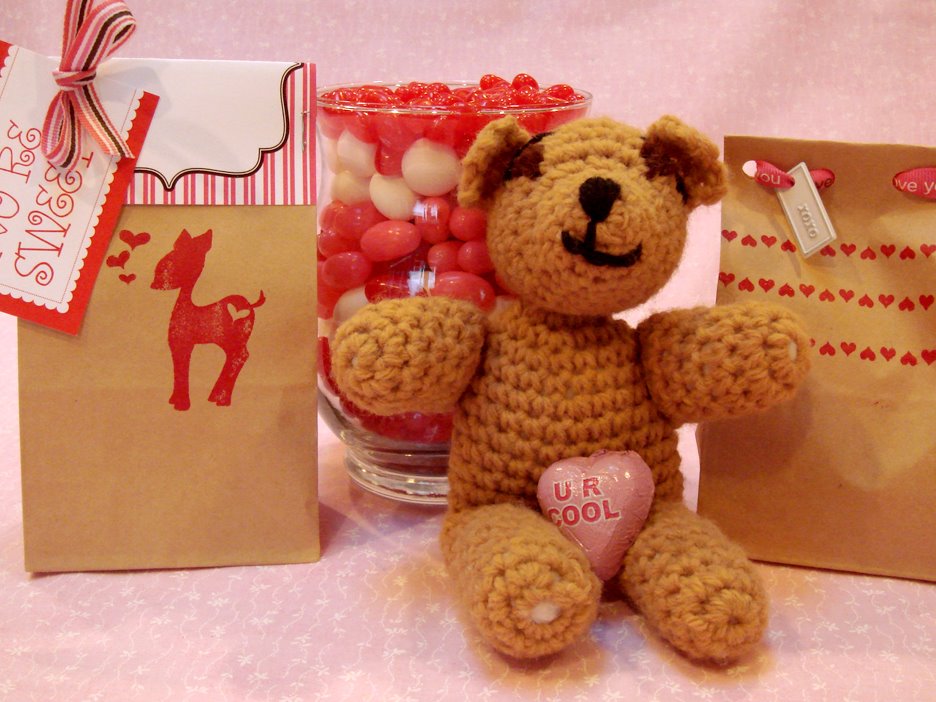
 11. Have your kids help you package the crayons in either plastic or paper bags – these would be a great alternative to hand out at school! You could give each kid the first letter in their name and a couple hearts!


 7. For the alphabet molds, I found that standing the crayons upright worked great! I only filled the letters I needed.

 8. Preheat your over to 275 degrees and put your crayon filled molds in a baking pan that is lined in foil. The foil will protect your oven and your pan from any melted crayon spillage!
 9. Each mold will need about 10 – 15 minutes in the oven. The thinner ones will take less time than the thicker ones. Keep your eyes on them, and pull them out as soon as they look melted. If you leave them in to long the colors will mix together too much! Kids should NOT help with this part!! The melted wax is very hot!
 10. Allow the molds to set for a couple of hours – they should be completed cooled before you pull them out. Gently peel away the silicone and pop out the crayon shapes. For the metal molds, give them a good whack on the counter and they’ll pop right out!
 {here is a close up of the “O” from the “LOVE U” letters. I love the way it turned out! The pink, white and red colors worked great together! I did nothing extra to get the marbled effect either! This was just achieved by just letting them melt in the oven!}
 11. Have your kids help you package the crayons in either plastic or paper bags – these would be a great alternative to hand out at school! You could give each kid the first letter in their name and a couple hearts!
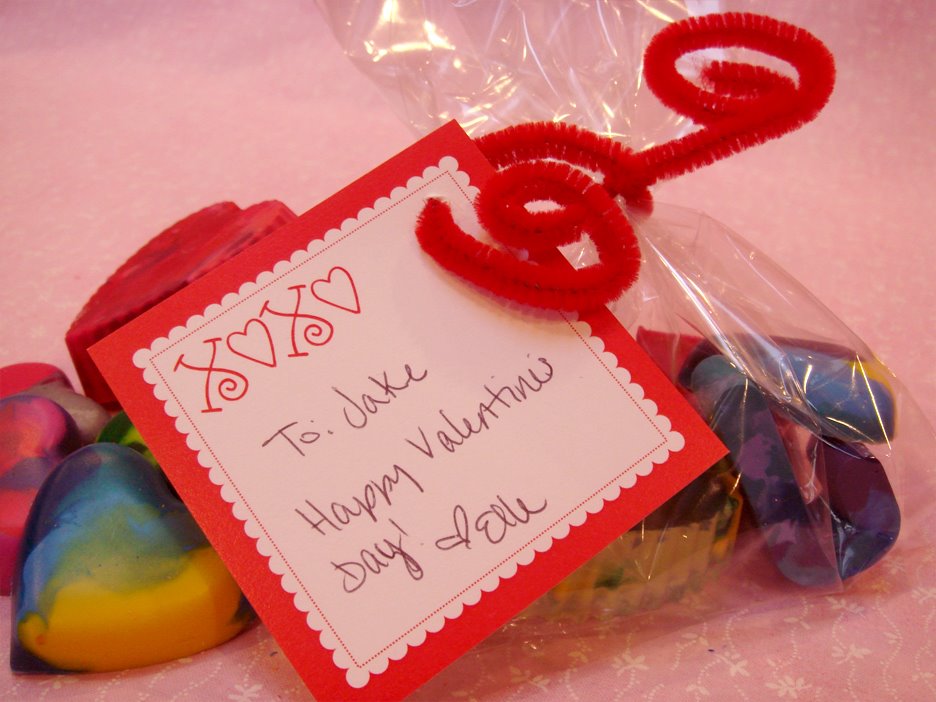
{for these bags above we used our Tiny Valentines, My Dear stamps, and Cherry and Strawberry Journaling Tags}
Time for another giveaway! 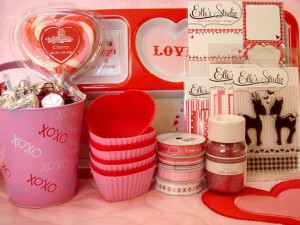 Here’s another great kit to get you started on this project! There are some of the silicone heart molds we used, along with the cutest bird plate from Target! Even some Martha Stewart glitter for decorating the plastic or paper bags, ribbon, Elle’s Studio tags and stamp set, and chocolate!
Here’s another great kit to get you started on this project! There are some of the silicone heart molds we used, along with the cutest bird plate from Target! Even some Martha Stewart glitter for decorating the plastic or paper bags, ribbon, Elle’s Studio tags and stamp set, and chocolate!Everyone is welcome to enter, just leave a comment below! All the winners from each giveaway will be announced on Saturday, January 24th!
Comments