Making A Christmas List with Wei Wei Wang

Hello crafty friends! It’s Wei Wei with you today to share a traveler’s notebook layout featuring the amazing Elle’s Studio November 2021 kit and add-ons. I also played with some of my most favorite Elle’s Studio products: the Large Star Jane Alphabet Stamp and Large Star Jane Number Stamp.
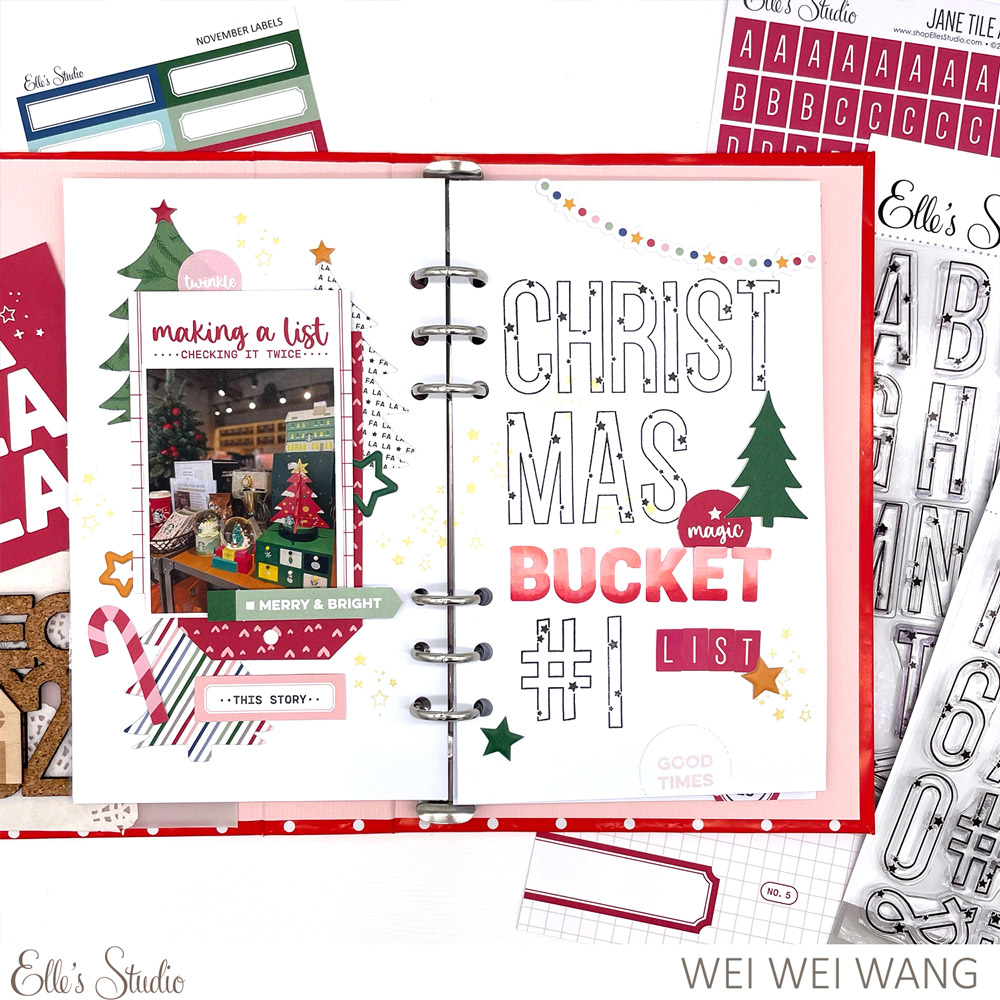
Supplies | Large Star Jane Alphabet Stamp, Large Star Jane Number Stamp, Document December 2021 Kit, November 2021 Kit, November Labels, Holiday Fun Stickers, Jane Tile Alphabet Cardstock Stickers – Red, White Parker Alphabet Cardstock Stickers, Chipboard Tree Stickers, Puffy Heart and Star Stickers, Wonder Paper Stack, A Merry Moment Stamp, Holiday Shapes Metal Die, Nesting Tags Metal Die
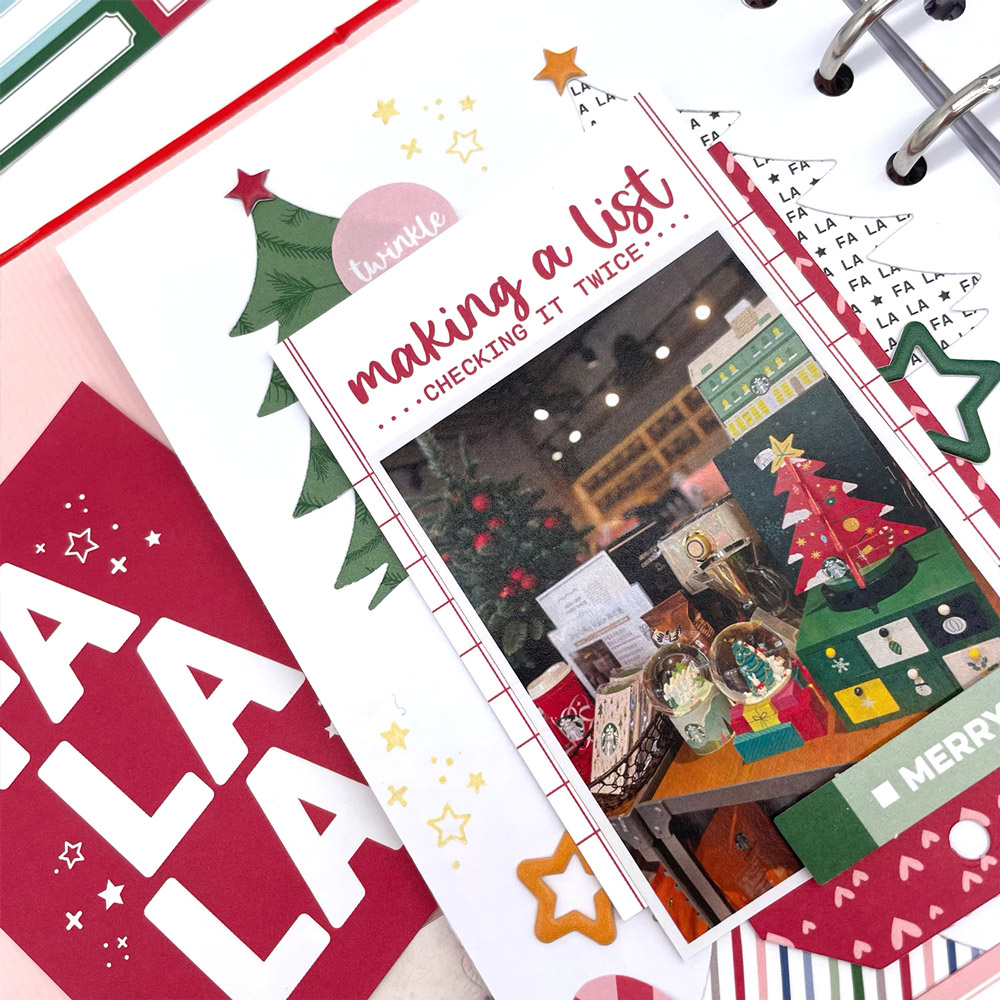
For the left side of my spread, I used the Holiday Shapes Metal Die to cut out three Christmas trees in my background, then backed them with patterned papers from the Wonder Paper Stack. I printed out my photo, layered it with a journaling tag from the November 2021 Kit and a red heart tag which was cut with Nesting Tags Metal Die and Wonder Paper Stack.
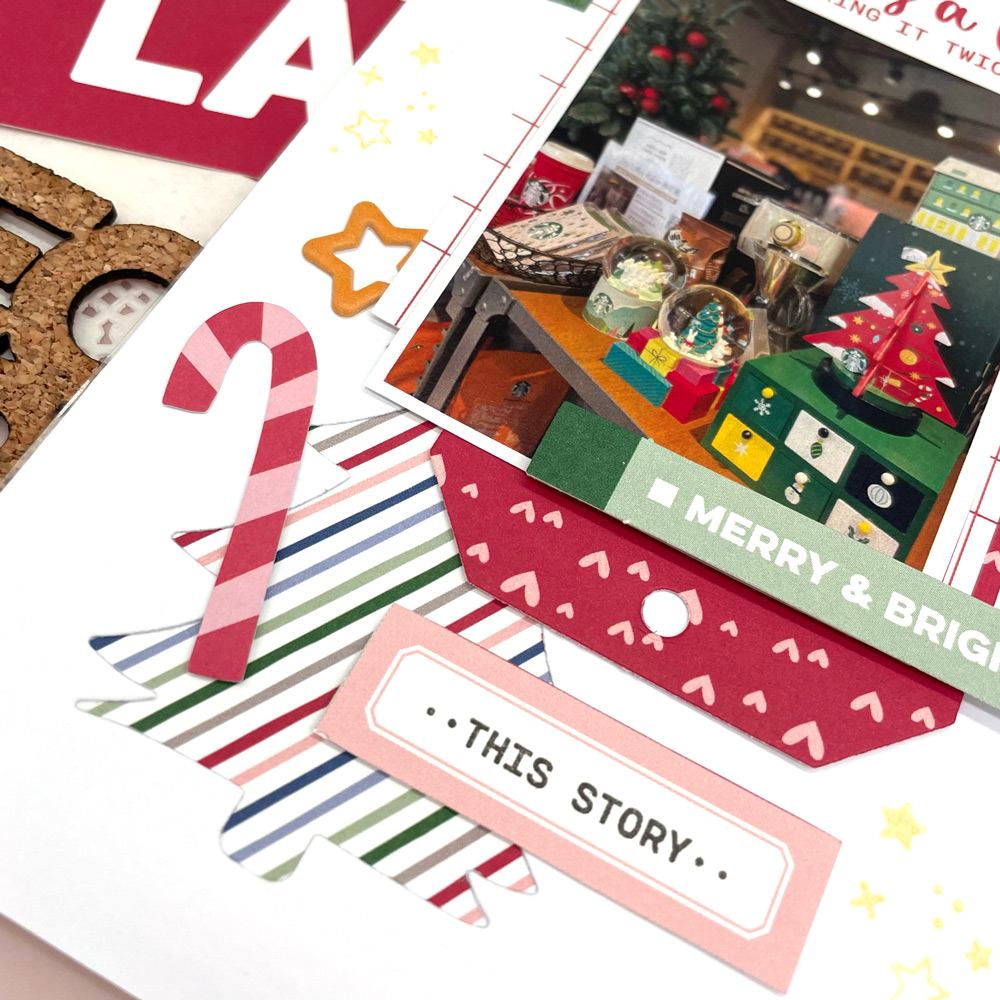
To embellish the page, I added a little bit of adorable Holiday Fun Stickers, and die cuts from the November 2021 and Document December 2021 kits. Next, I stamped the phrase from the A Merry Moment Stamp onto the pink November Label.
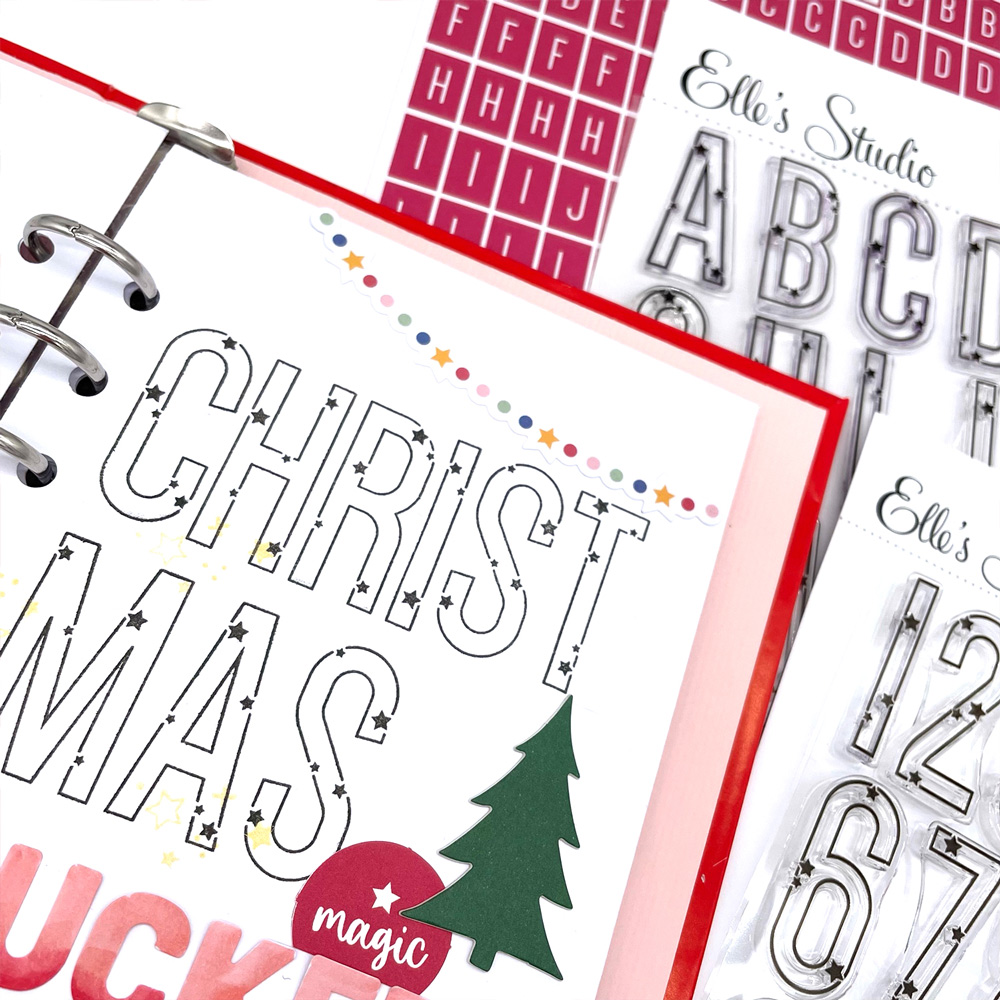
For the right side of my spread, I had fun creating the title using the Large Star Jane Alphabet Stamp and Large Star Jane Number Stamp, along with different stickers available to coordinate with this month’s kit. To create the title, I began by stamping “Christmas” and “#1”. I love the tiny star design on the outline alphabet—they are definitely a must have for holiday documenting! The “bucket” was spelled out using the White Parker Alphabet Cardstock Stickers. I colored it with Copic markers to create my own pink ombré effect. I love the beautiful result on the white background! Then, I finished off the title by adding red Jane Tile Alphabet Cardstock Stickers.

I have to admit, I loved using the different elements to complete my title.
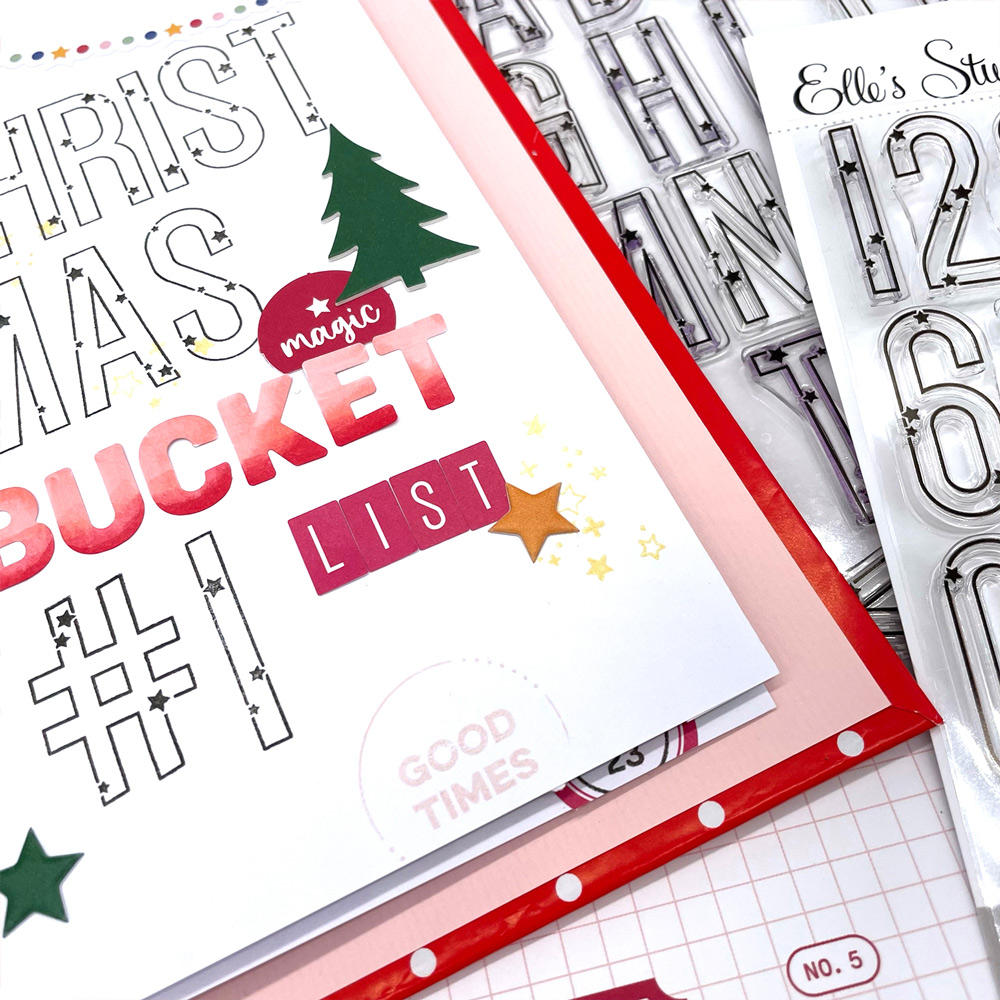
I didn’t want to go too embellishment heavy, as I really wanted my title to stand out. Therefore, I only added very small clusters using the cute die cuts from the November 2021 and Document December 2021 kits. I also added a dark green Chipboard Tree Sticker to match the left side of my spread.

The stamped gold little stars from the A Merry Moment Stamp added the perfect finishing touch for my spread.

To finish off, I used the Puffy Heart and Star Stickers to embellish and bring the whole layout together.

I really hope this has inspired you to use the Large Star Jane Alphabet Stamp and Number Stamp, as well as the November 2021 Kit to create a project of your own. Happy creating!

Show us how you are using the Large Star Jane Alphabet Stamp and Number Stamp in your holiday projects! Post on Instagram using the hashtag #EllesStudio, and in our Elle’s Studio Facebook Group!

Monthly Moments Documented with Aimee Mertell

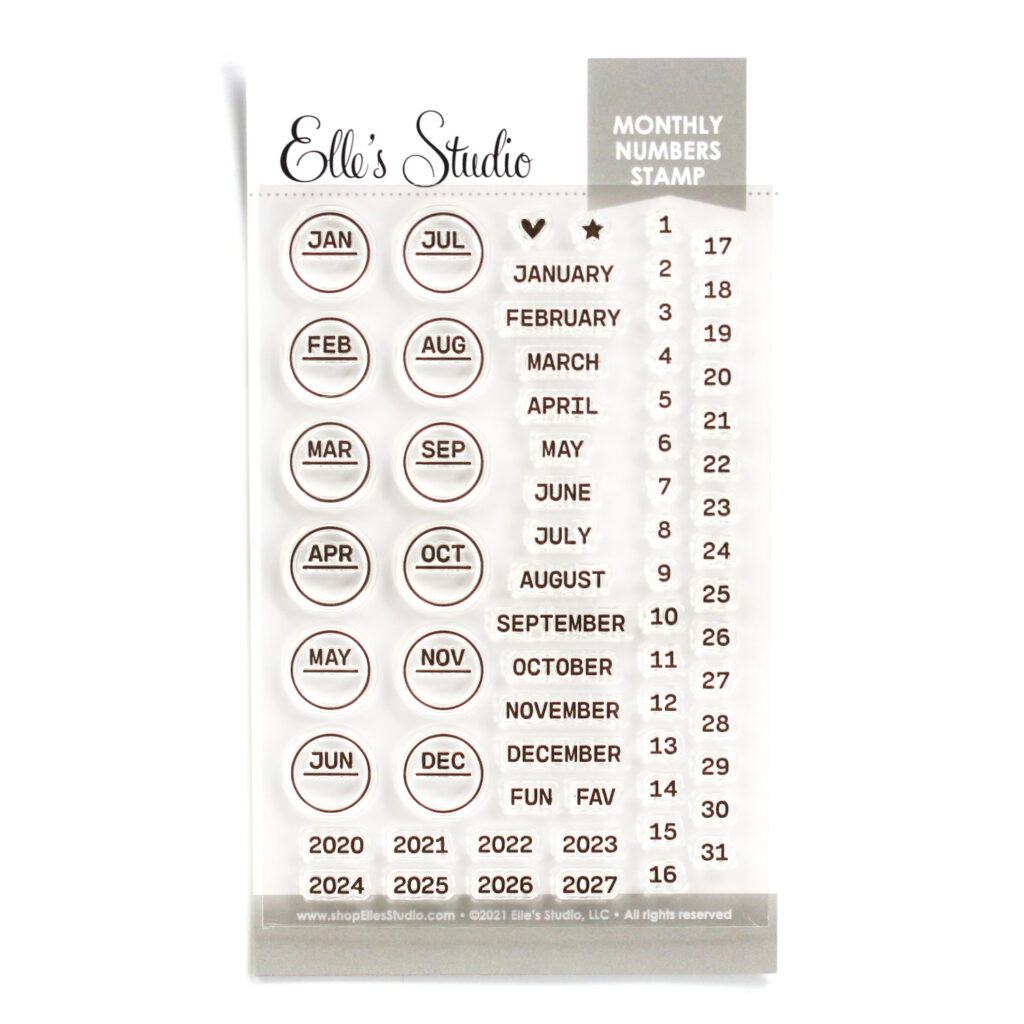
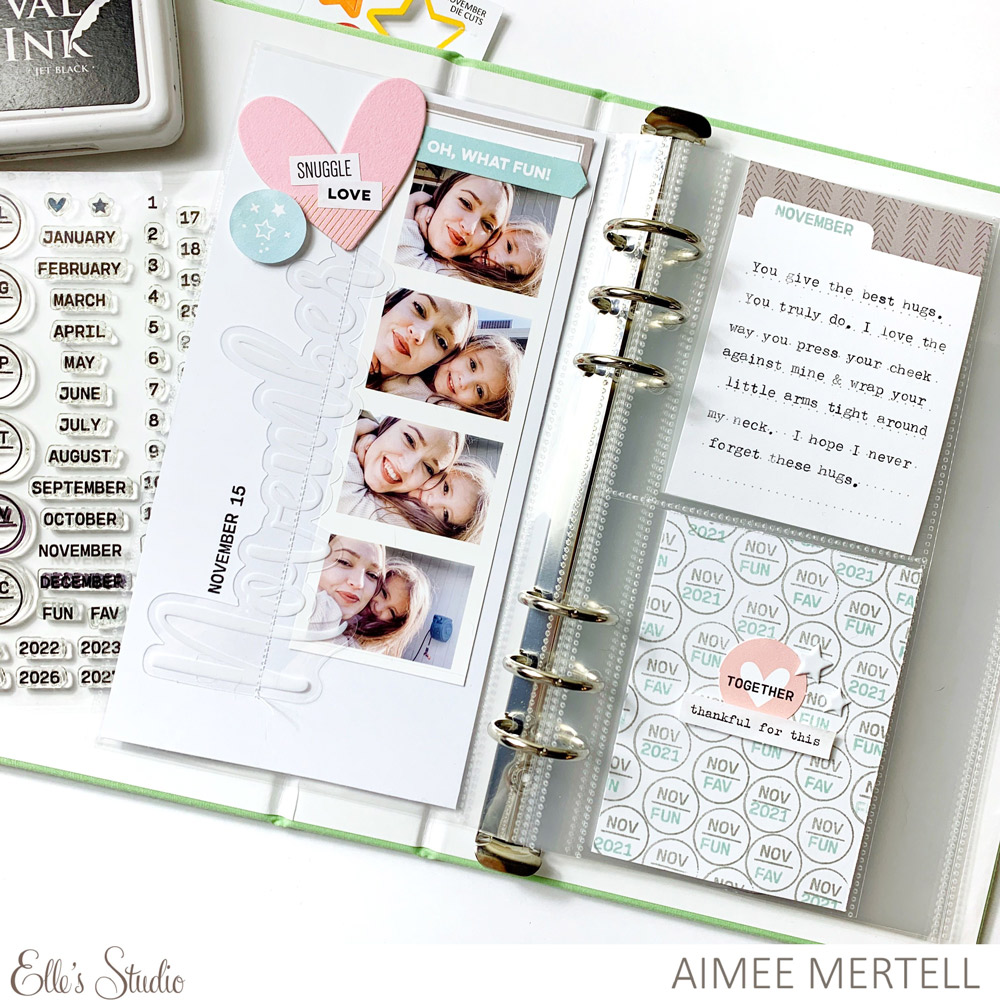
Hey there Elle’s Studio friends! It’s Aimee back on the blog today focusing on the new Monthly Numbers Stamp that was released in November. I really wanted to showcase how versatile this stamp set is, so I challenged myself to use it on a traveler’s notebook layout rather than using it on a layout or in a memory planner, which is what generally comes to mind when thinking about monthly number stamps. Let’s check it out!

Supplies | Monthly Numbers StampNovember 2021 KitHoliday Fun Stickers, Full of Joy Chipboard Stickers, Puffy Heart and Star Stickers, Acetate Months, A Merry Moment Stamp  

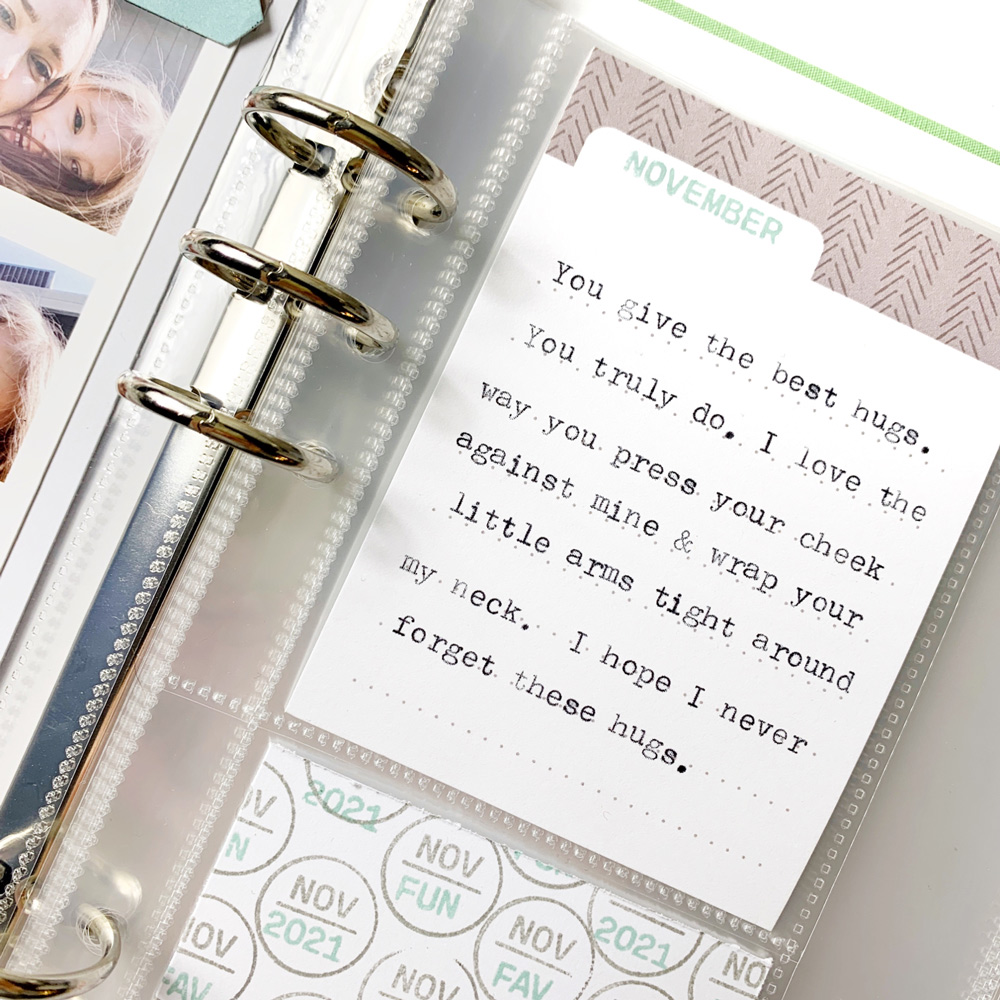
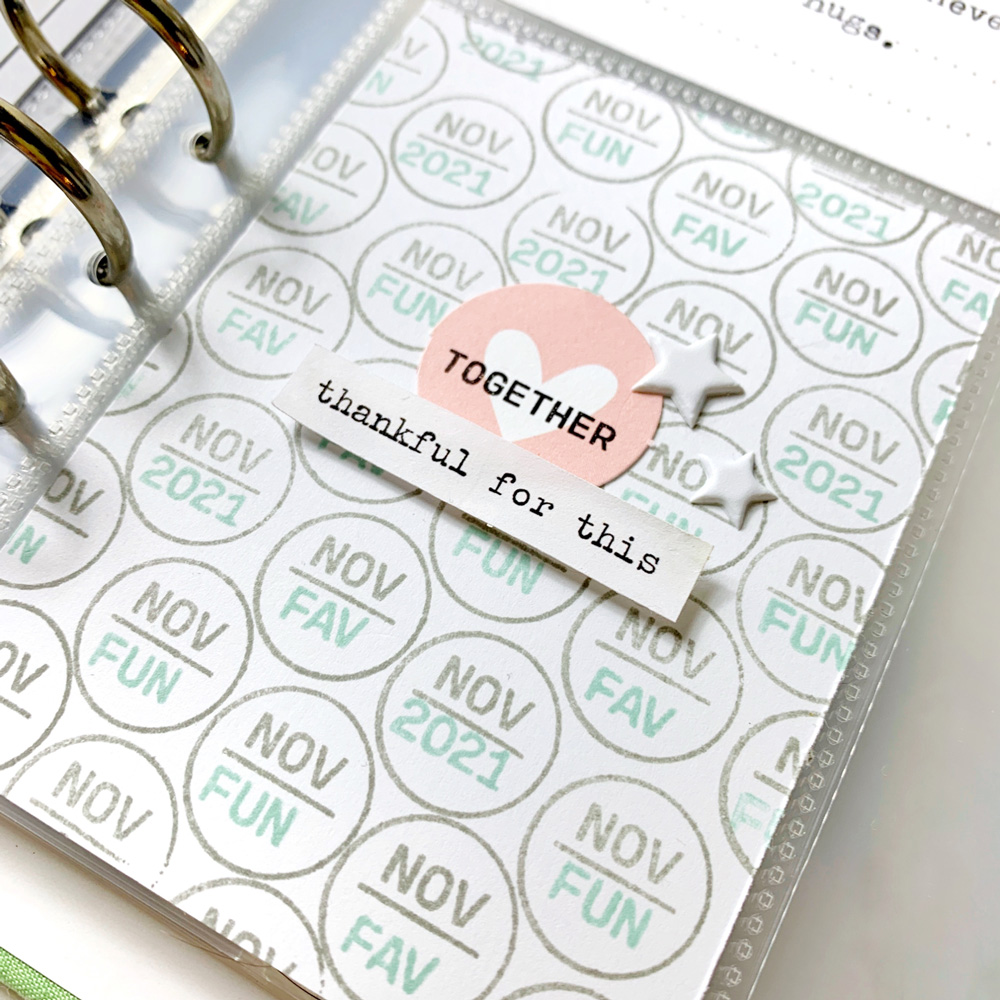
I started out this spread by creating my own 3 x 4 inch filler tag using the Monthly Numbers Stamp. I chose a beautiful grey ink from Catherine Pooler called Twilight and the circular November stamp out of the set. I began stamping in a diagonal fashion until the card was full—making sure I was also stamping off the edge of the tag for a cohesive look. Next, I wanted to fill in the circles I just stamped with some words from the stamp set. I chose Fav, Fun and 2021 and stamped them inside the circles using Catherine Pooler Hot Tub, which I think is a beautiful match to the kit colors. 

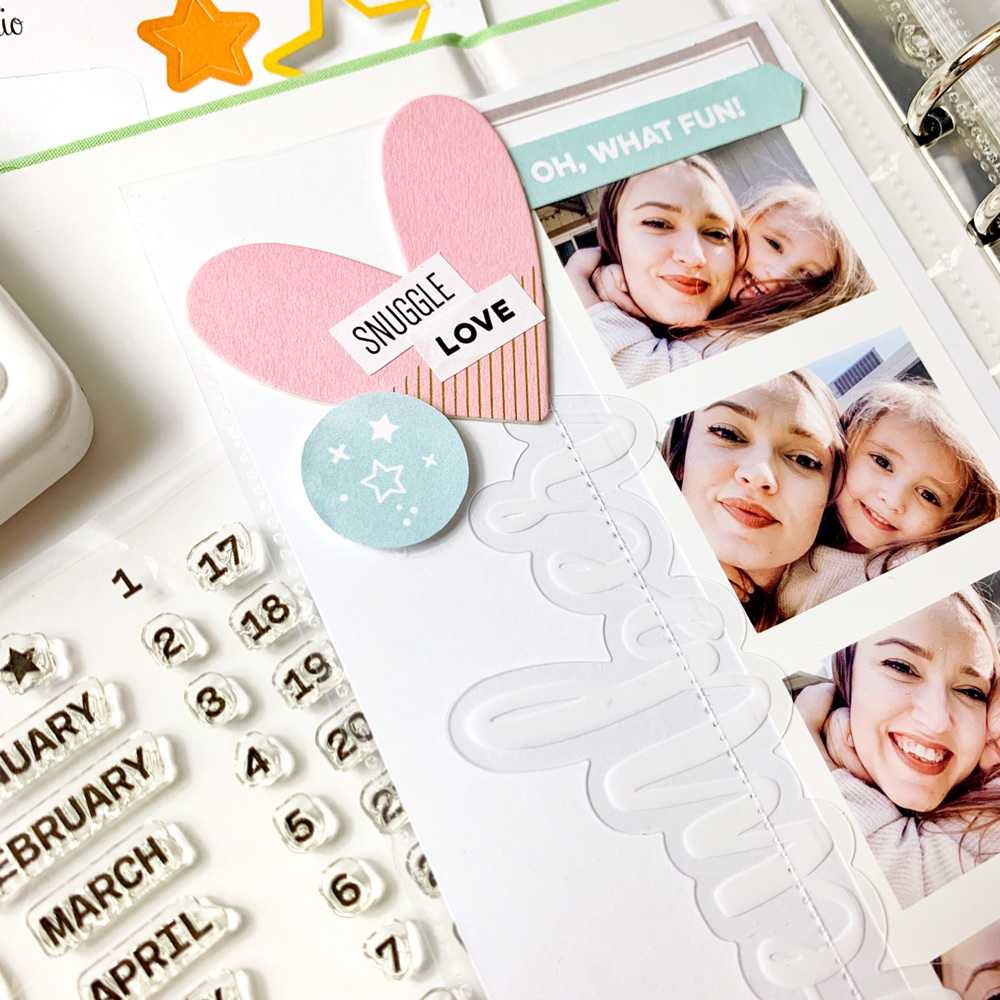
I adorned my freshly made tag with a die cut from the November 2021 Kit, a phrase sticker from the Holiday Fun Stickers and Puffy Star Stickers. Again, I found more opportunities to use the Monthly Numbers Stamp by simply stamping the month onto the top of a tabbed journaling tag as well as using it in place of a roller date stamp by adding the date that my photo was taken on the left side of the page near my photos. 

To keep with my theme, I pulled out the Acetate Months from my stash and machine stitched “November” alongside my photo booth style photo collage. I simply love the interest this brings to the spread. Now, I needed more color on the page, so I grabbed embellishments that would mirror the colors on the filler tag that I created earlier. I chose a large pink heart from the Full of Joy Chipboard Stickers and layered the Holiday Fun Stickers on top. Snuggle love indeed! I brought in pops of blue with die cuts from the November Kit and popped them up on foam dots for added dimension. 

So what do you think? Are monthly number and date stamps just for planners, or would you consider using them on a layout? I had so much fun creating my own pocket tags and I could have created an entire background, too! The sky is the limit with the Monthly Numbers Stamp and I truly hope I inspired you to look at your stamp sets in a brand new way today. Catch you next time!

Find our new Monthly Numbers Stamp in the shop today, while supplies last!

Document December 2021 Inspiration: Week 01

Welcome to December friends! We are so excited to have begun our Document December projects this week, and our design team is ready to inspire you to create all through the month to record your merriest moments! Let’s take a look at all of the wonderful pages and pockets that our team has been crafting this week with our Document December products!

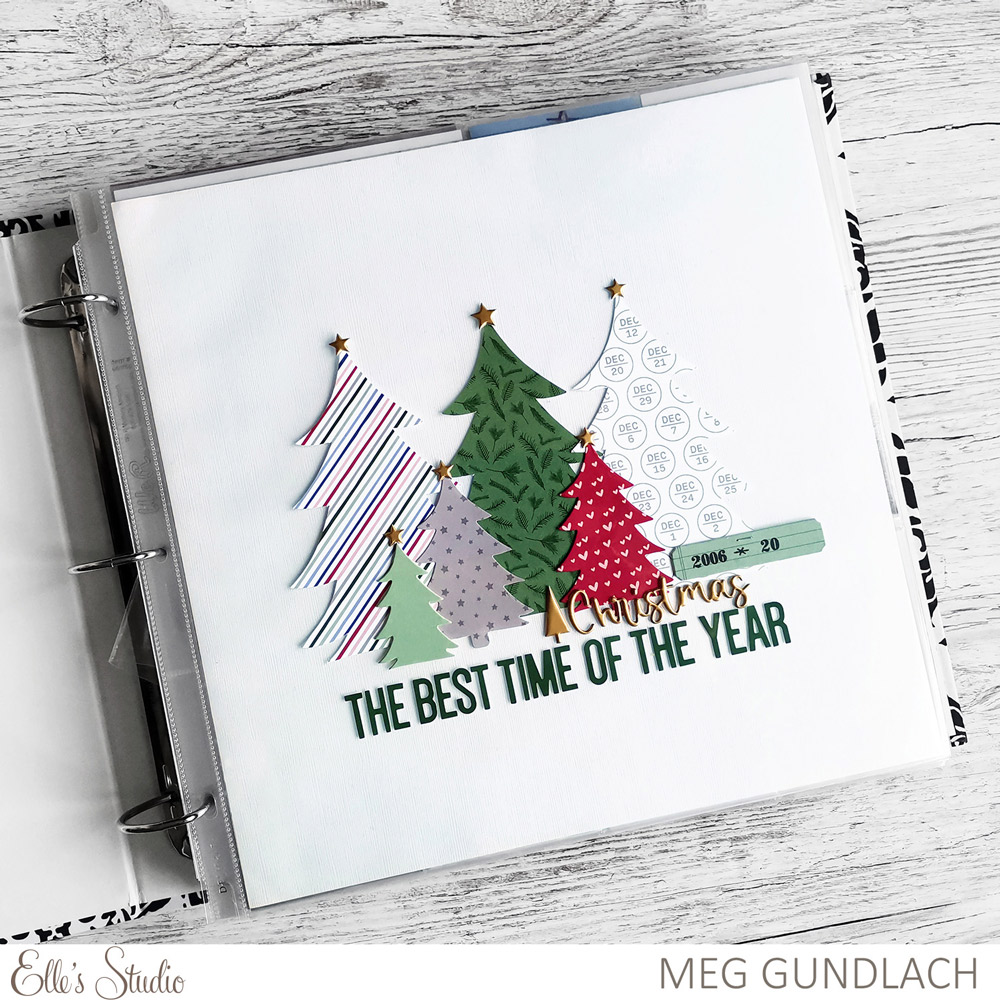
Meg Gundlach

We absolutely love Meg’s clean and creative title page for her album. The patterned trees created using our November 2021 Cut File and Wonder Paper Stack add so much interest to the page, and we love that they were topped with gold stars from our Holiday Magic Gold Puffy Stickers!

Shannon Dombkowski

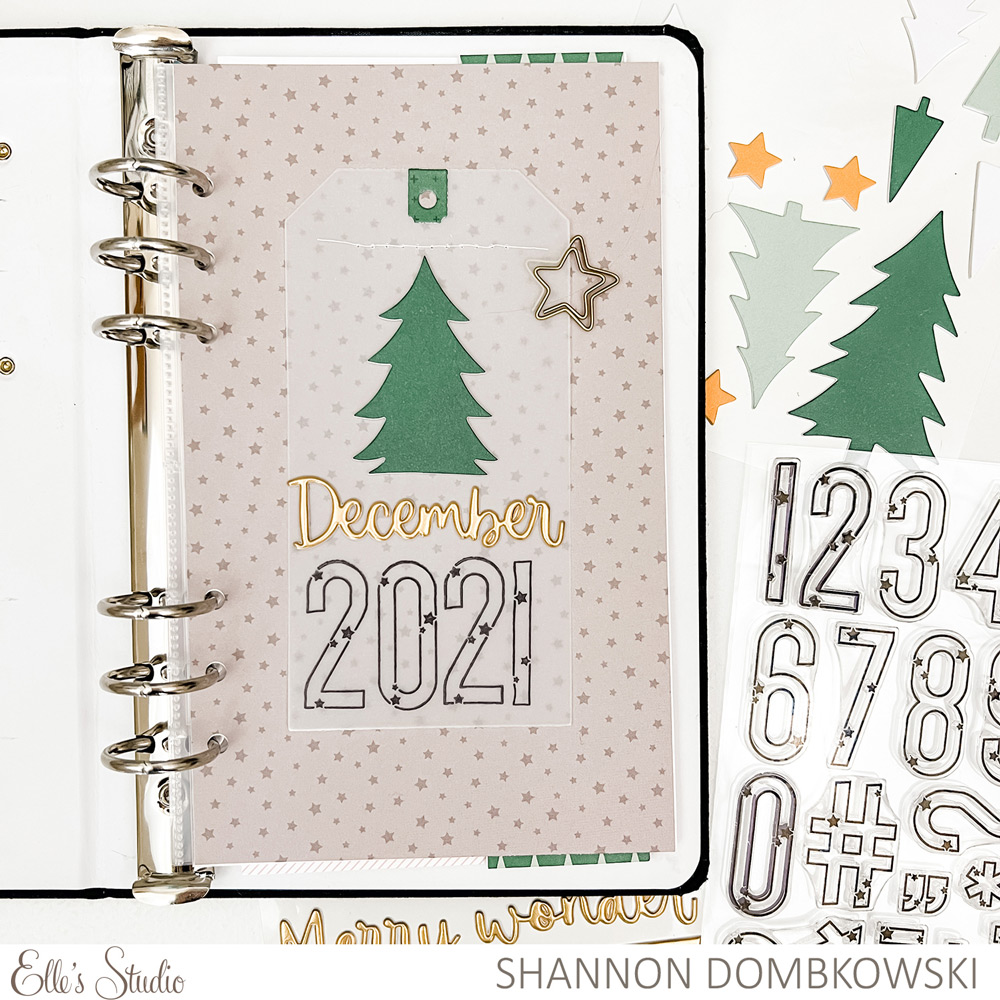
Here’s another title page from Shannon, and we love that it uses our Large Star Jane Alphabet Stamp, a perfect alpha for the holiday season! How fun to add the tag in vellum so that the Wonder Paper Stack pattern can peek through, too!

Wei Wei Wang

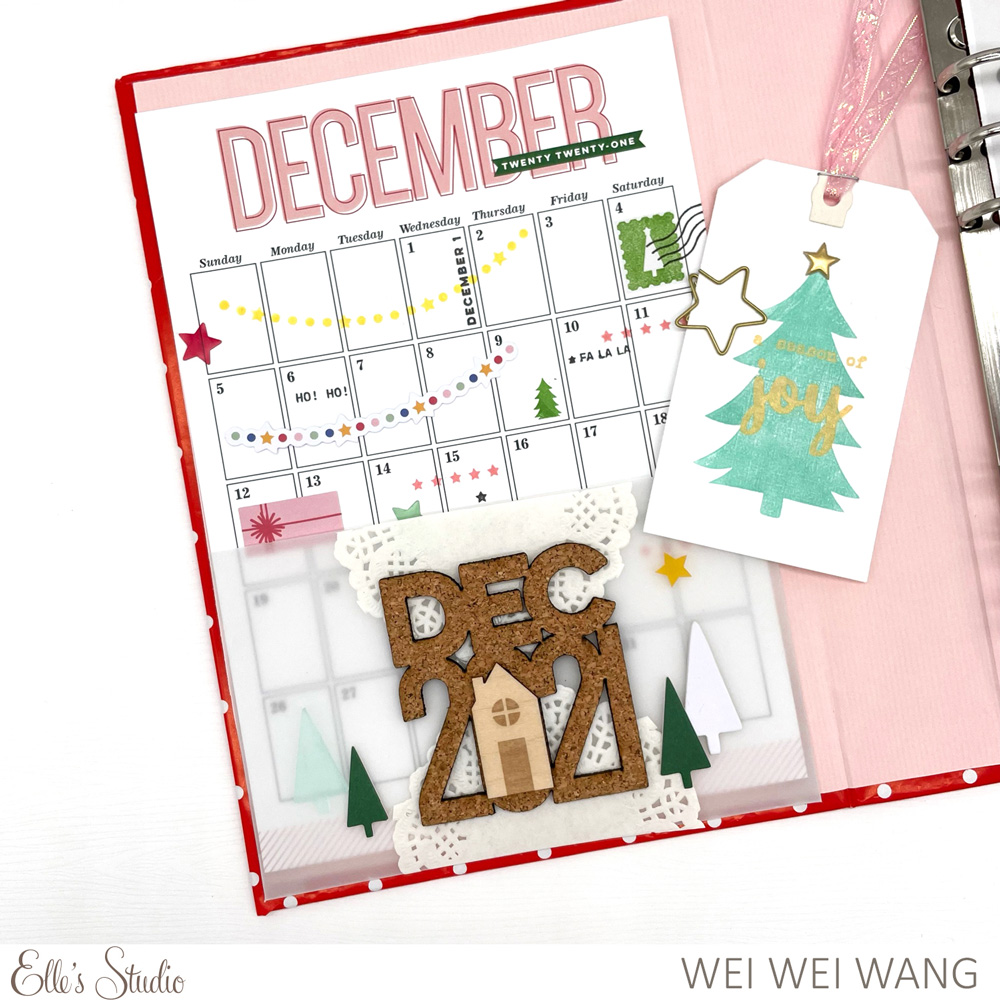
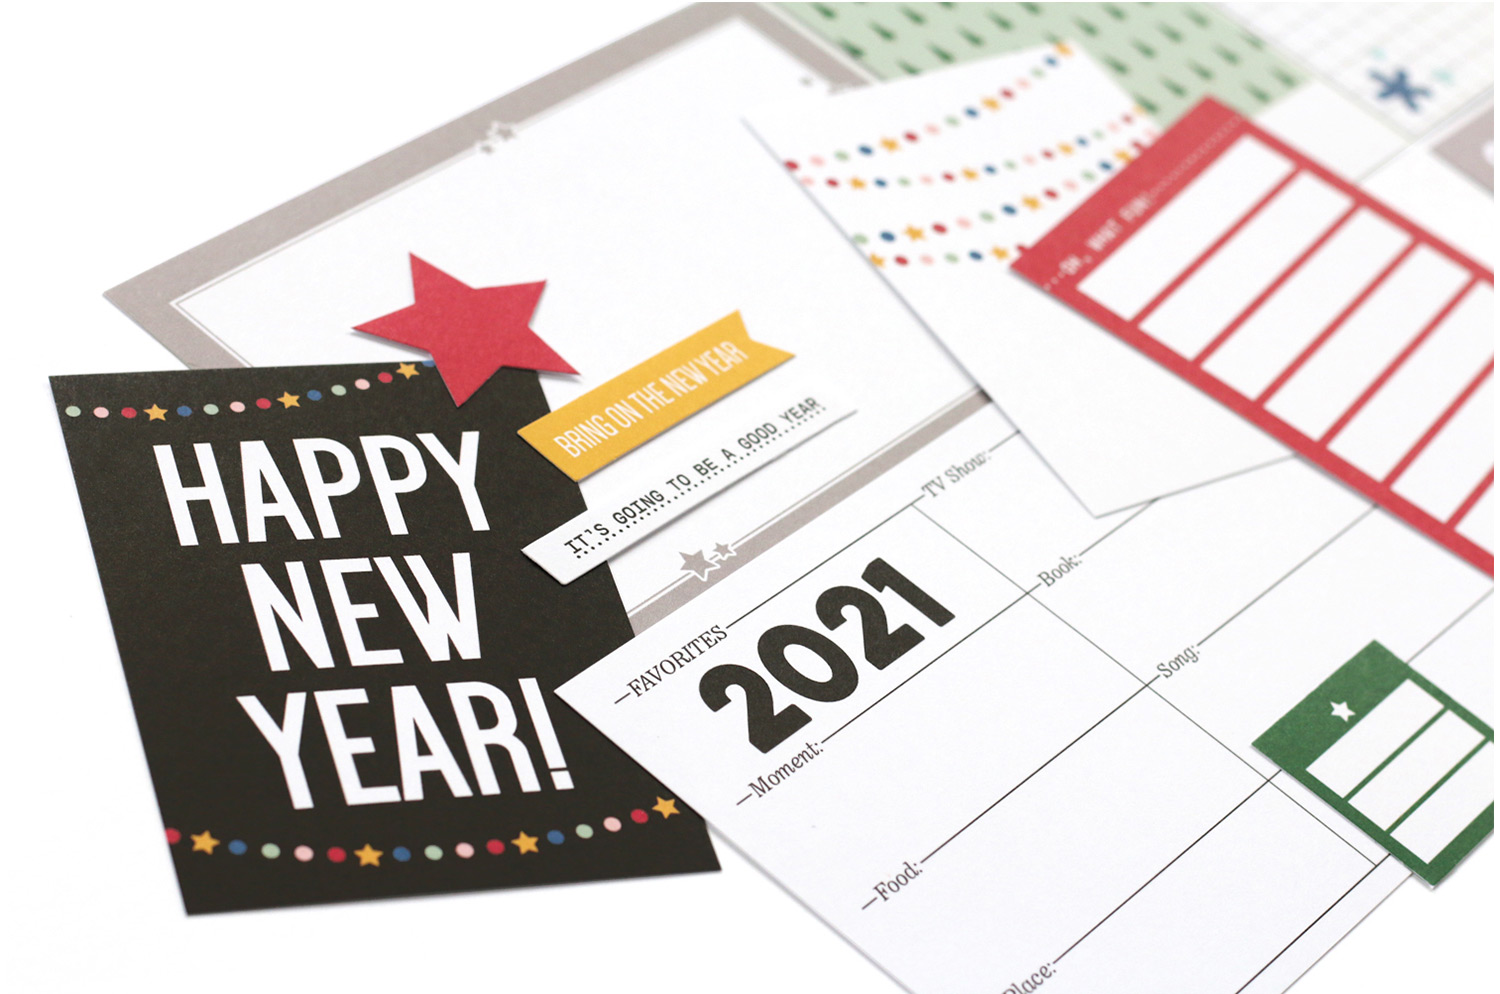
Our Document December Kit includes this fun calendar, and we love the way that Wei Wei dressed it up with die cuts from the kit, stamps from our Document December collection and Dec 2021 Cork to add to the inside of her album cover!

Nicole Kerr

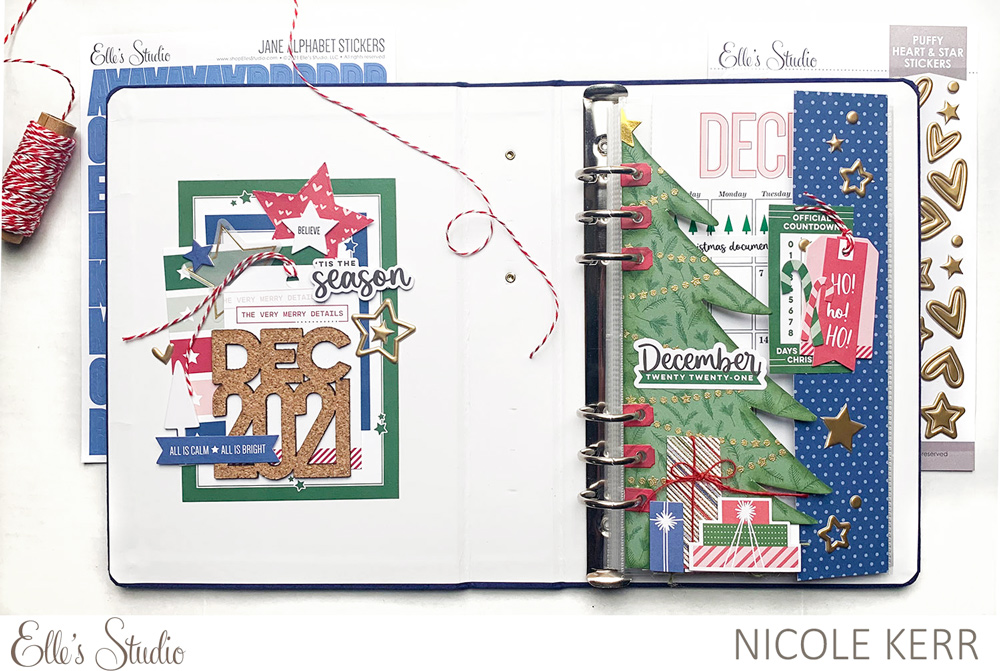
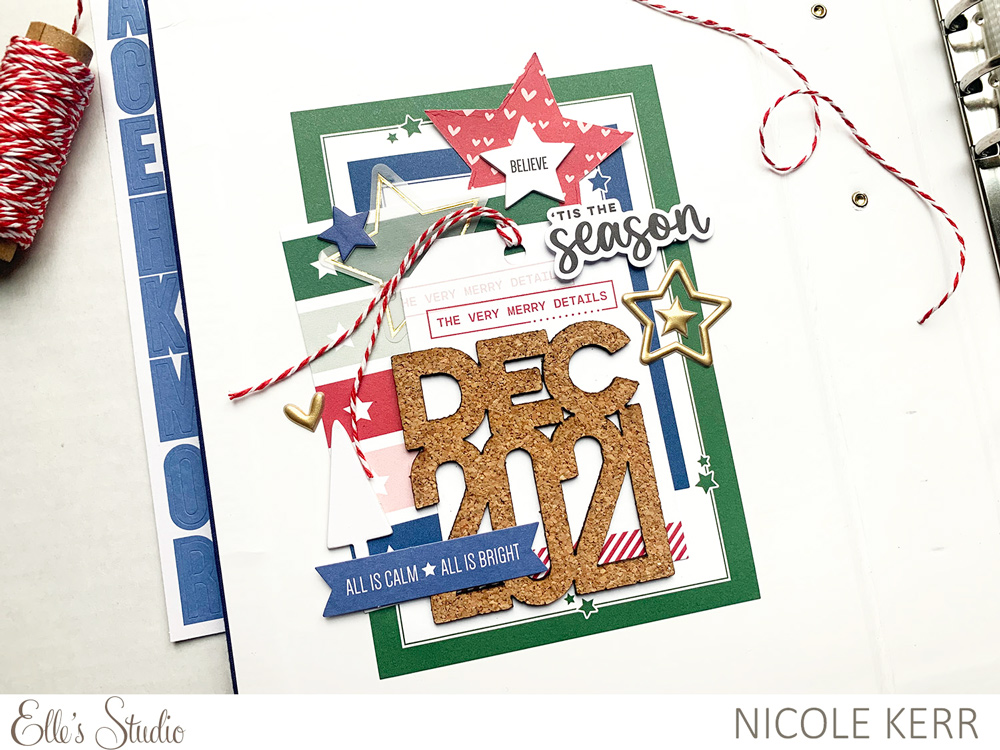
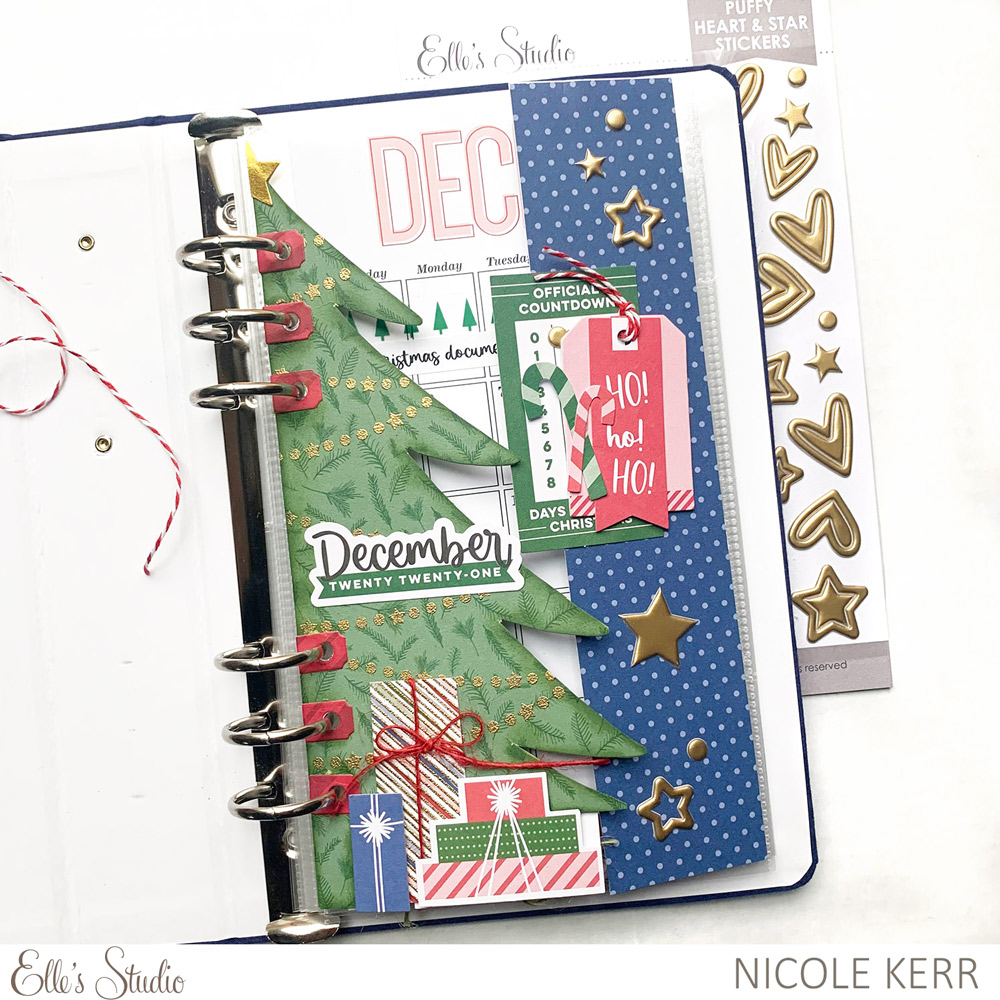
Nicole also used our Dec 2021 Cork to start off her album, with a layered tag feature on the inside of the cover. Opposite, Nicole created a stunning feature to cover her December calendar using elements from the Document December Kit. What a beautiful spread!

Michelle Flynn

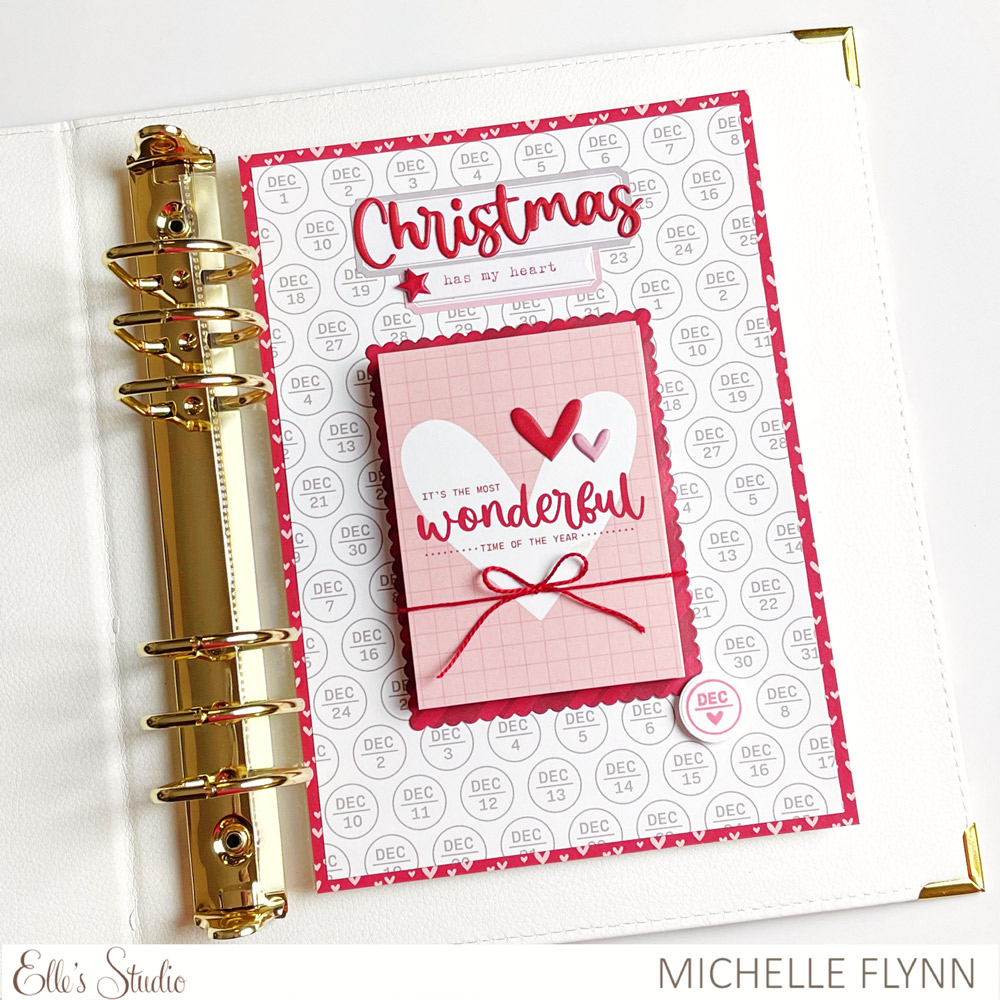
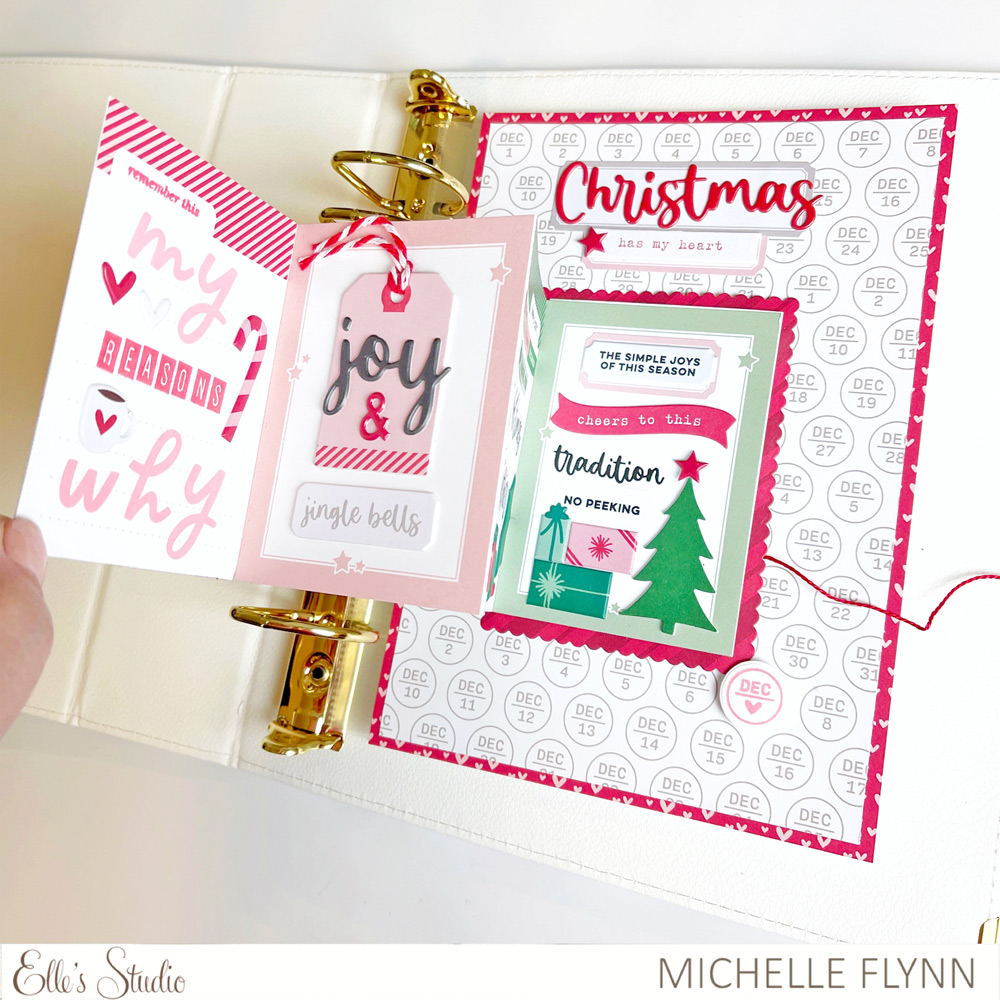
We love interactive elements in our album, and this page by Michelle featuring an accordion tag element has us so excited! We love that Michelle added a title in using our Title Builder Vol. 5 The Merriest products, too!

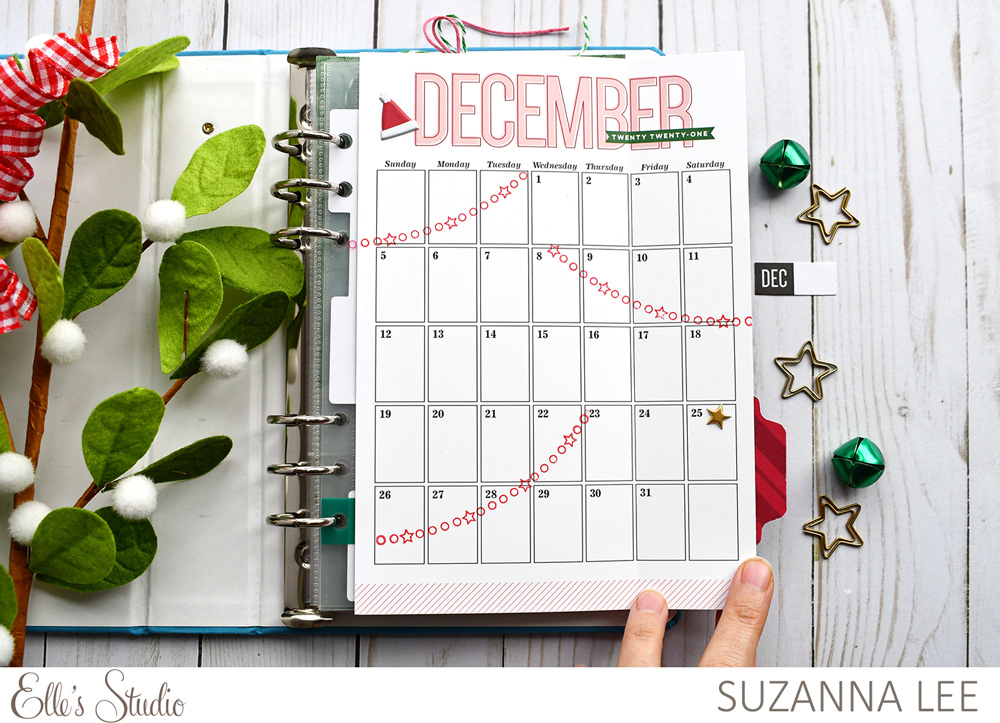
Suzanna Lee

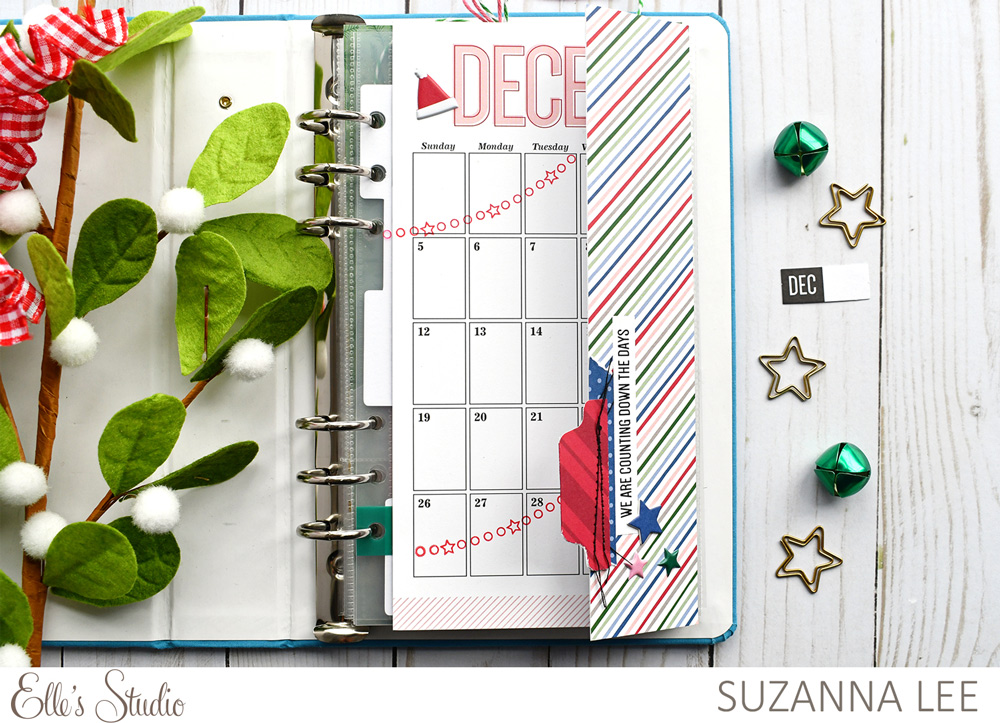
Suzanna dressed up her calendar for the occasion with stamped bunting from our Merry Christmas Stamp and added a fun and colorful flip on the side using our Wonder Paper Stack!

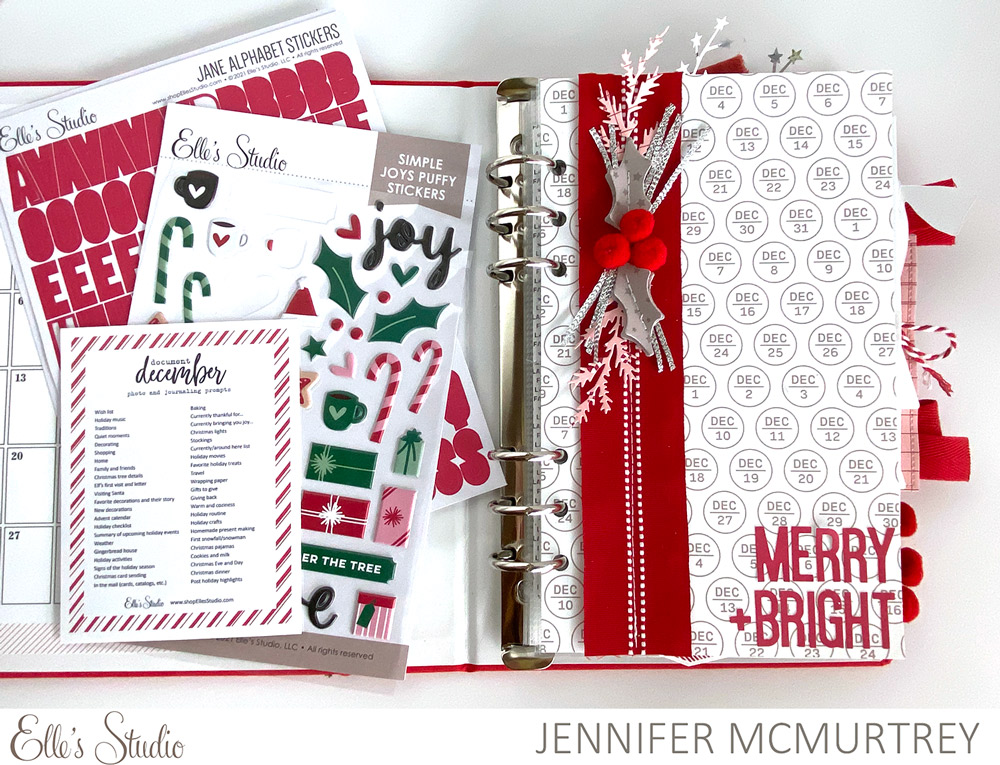
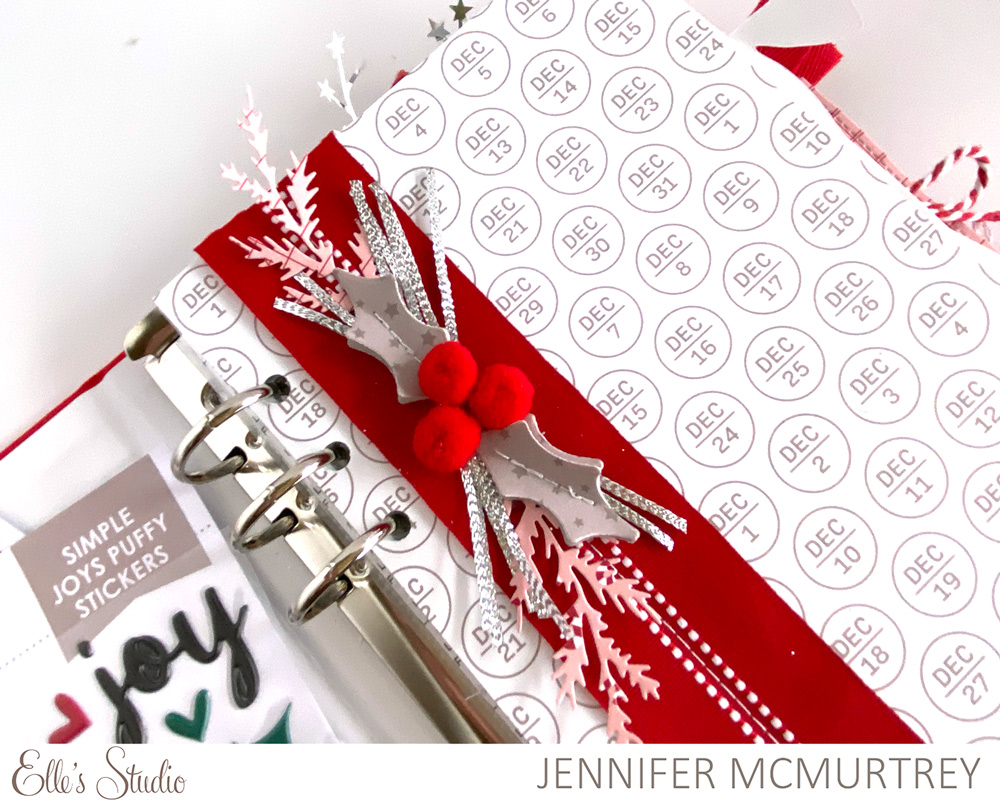
Jen McMurtrey

Jen’s beautiful intro page includes a custom paper floral arrangement created using our Wonder Paper Stack! We also love her clean and simple title using the Red Jane Alphabet Cardstock Stickers!

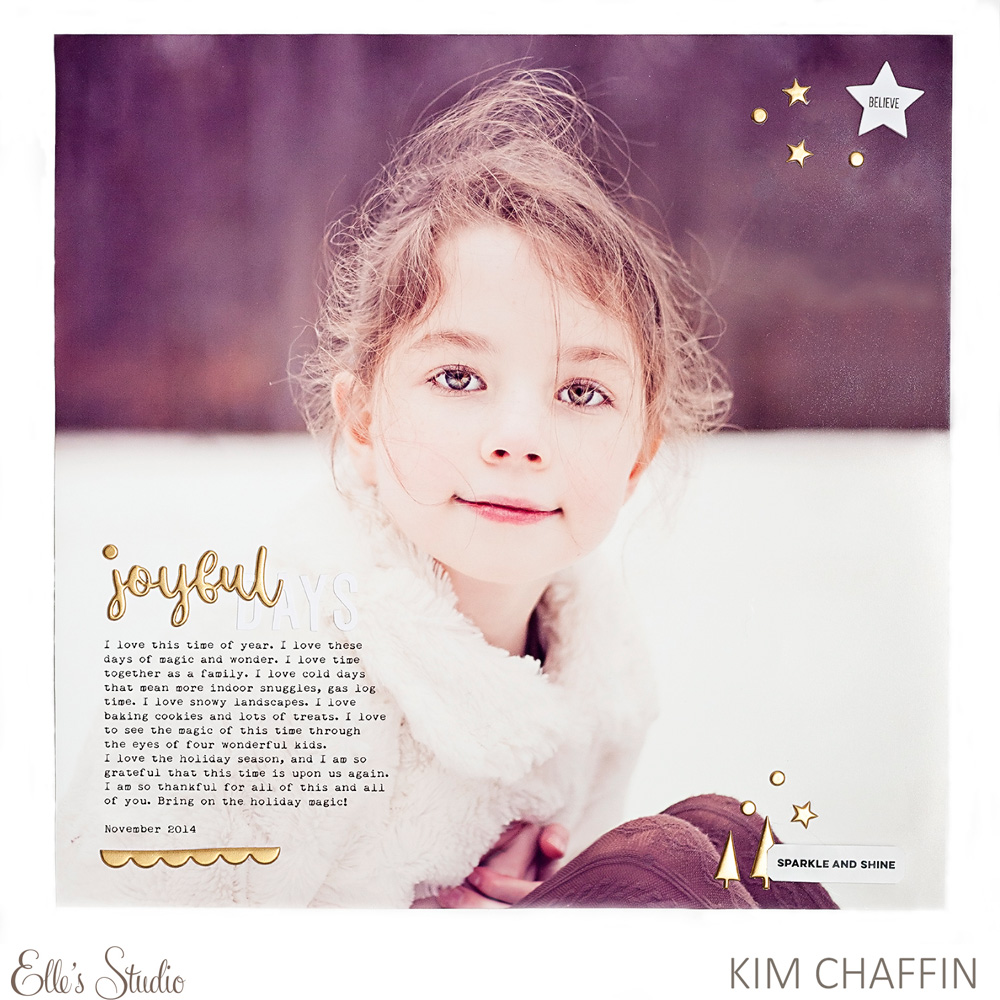
Kim Chaffin

Kim’s large photo steals the show, but she accented it beautifully with the Holiday Magic Gold Puffy Stickers and “believe” chipboard star from the Document December Kit. Isn’t that smile the sweetest, too!?

Patricia Roebuck

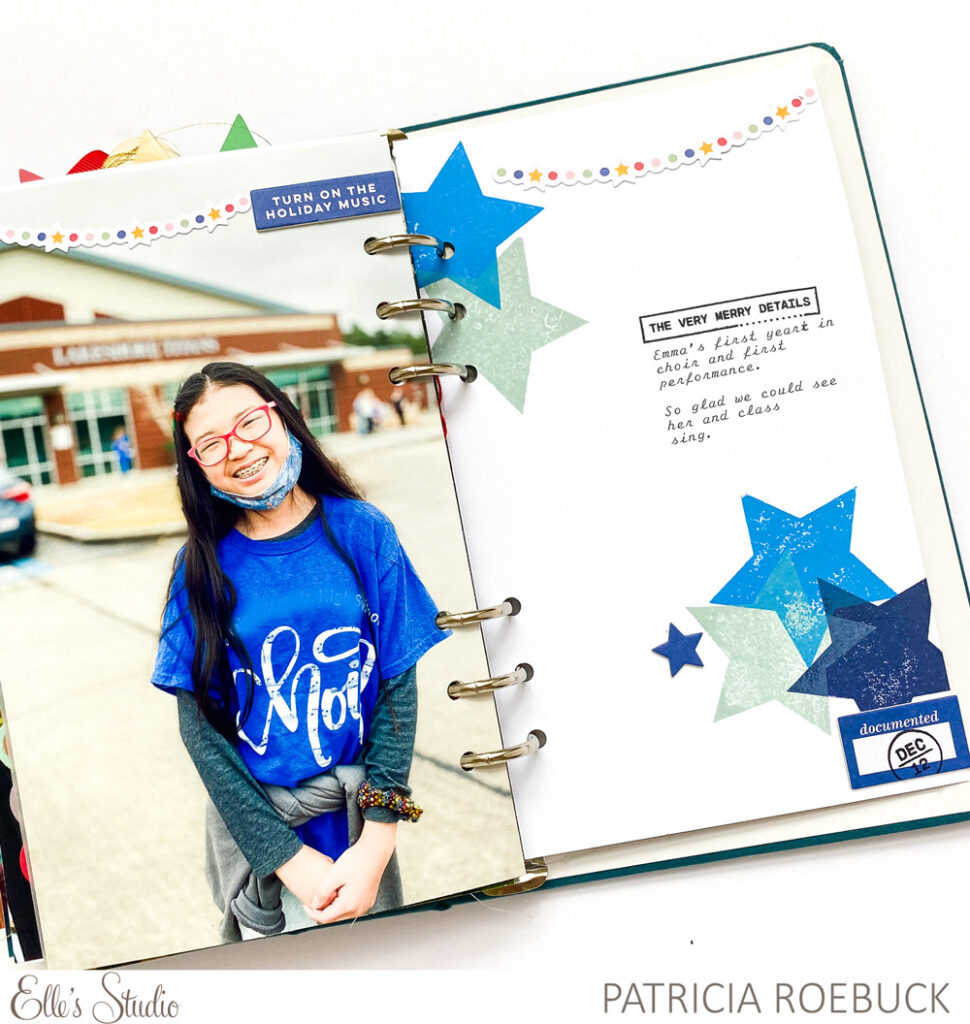
This spread by Patricia takes a different spin on the use of colour, and we love that Patricia coordinated the large stars stamped with the Holiday Shapes Stamp to her daughter’s t-shirt, tying the two sides together perfectly.

Aimee Mertell

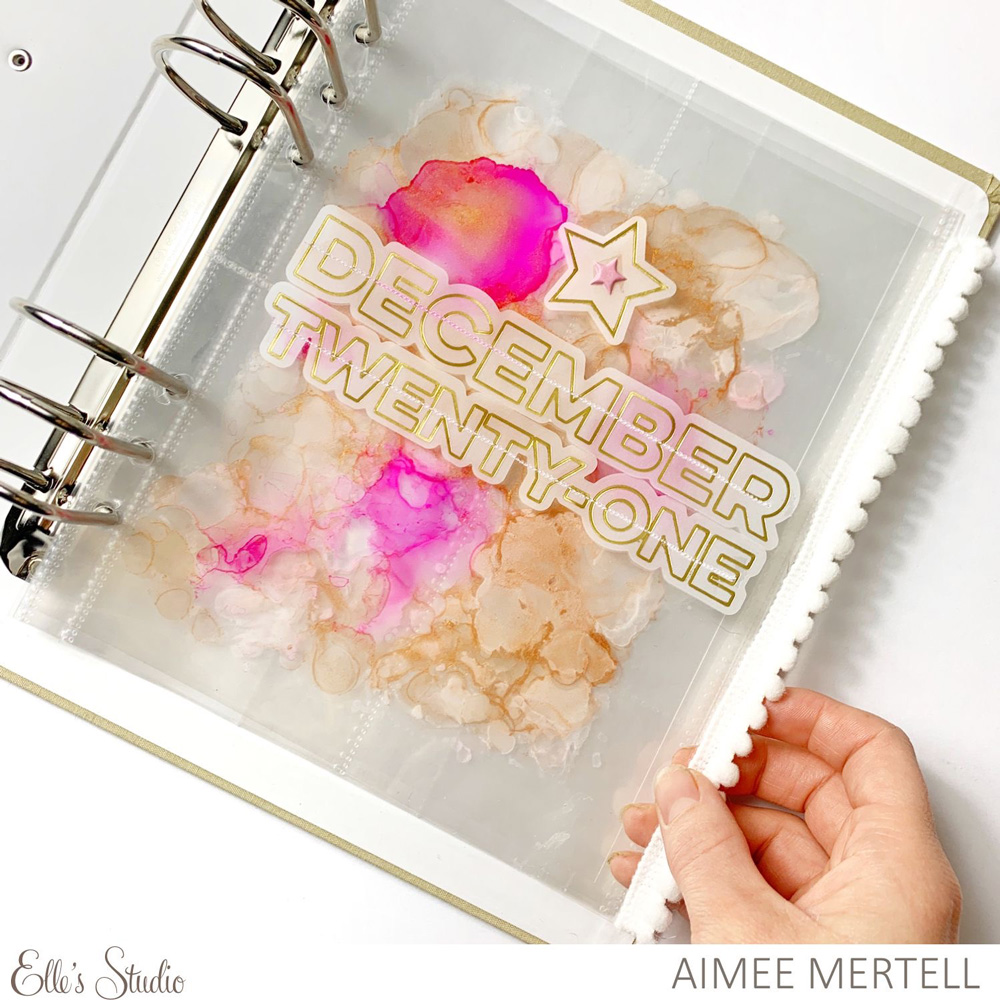
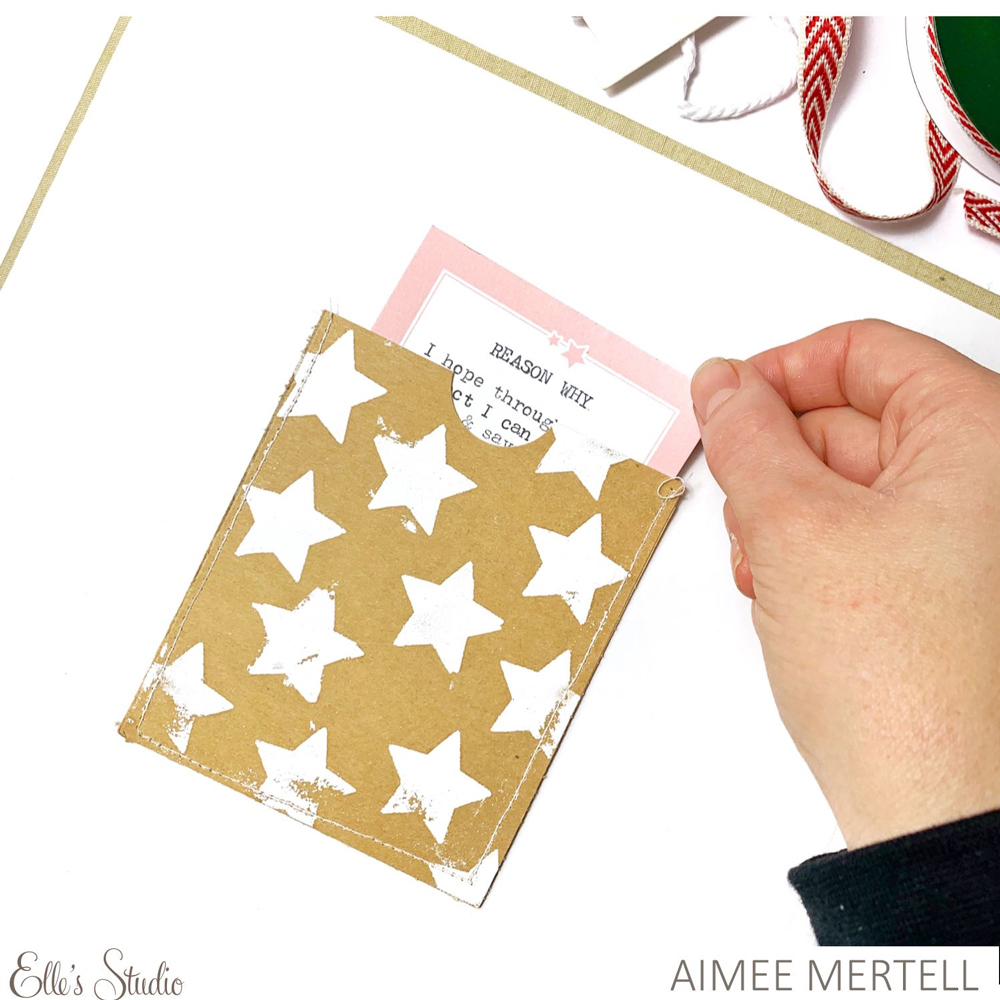
Aimee’s beautiful intro page incorporates mixed media and our The Merriest Vellum Die Cuts! Aimee also added a pocket to the inside of her album to hold her “reason why,” typed on our Star Journaling Tag. Pretty in pink!

Marsha Farris

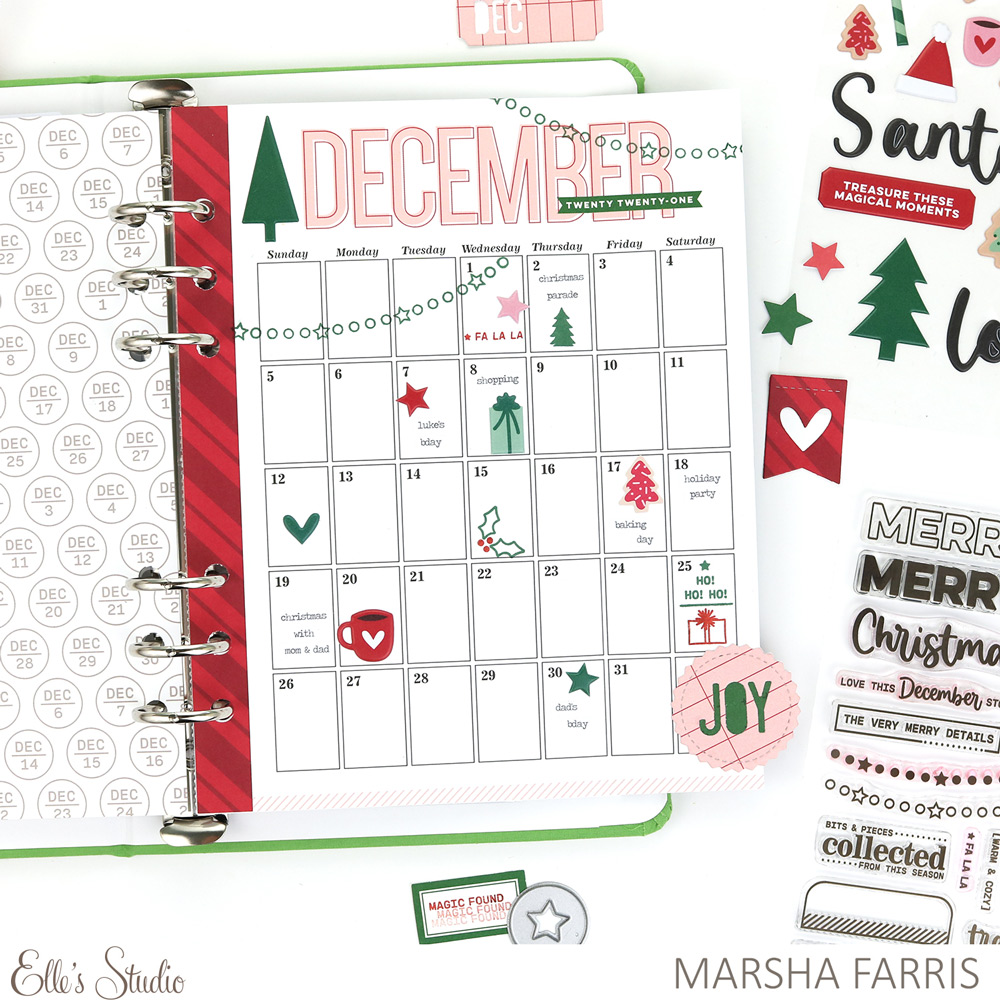
Check out this fun calendar that Marsha created using stamps, stickers and die cuts from our Document December collection! This is one beautiful way to fill in your December calendar!

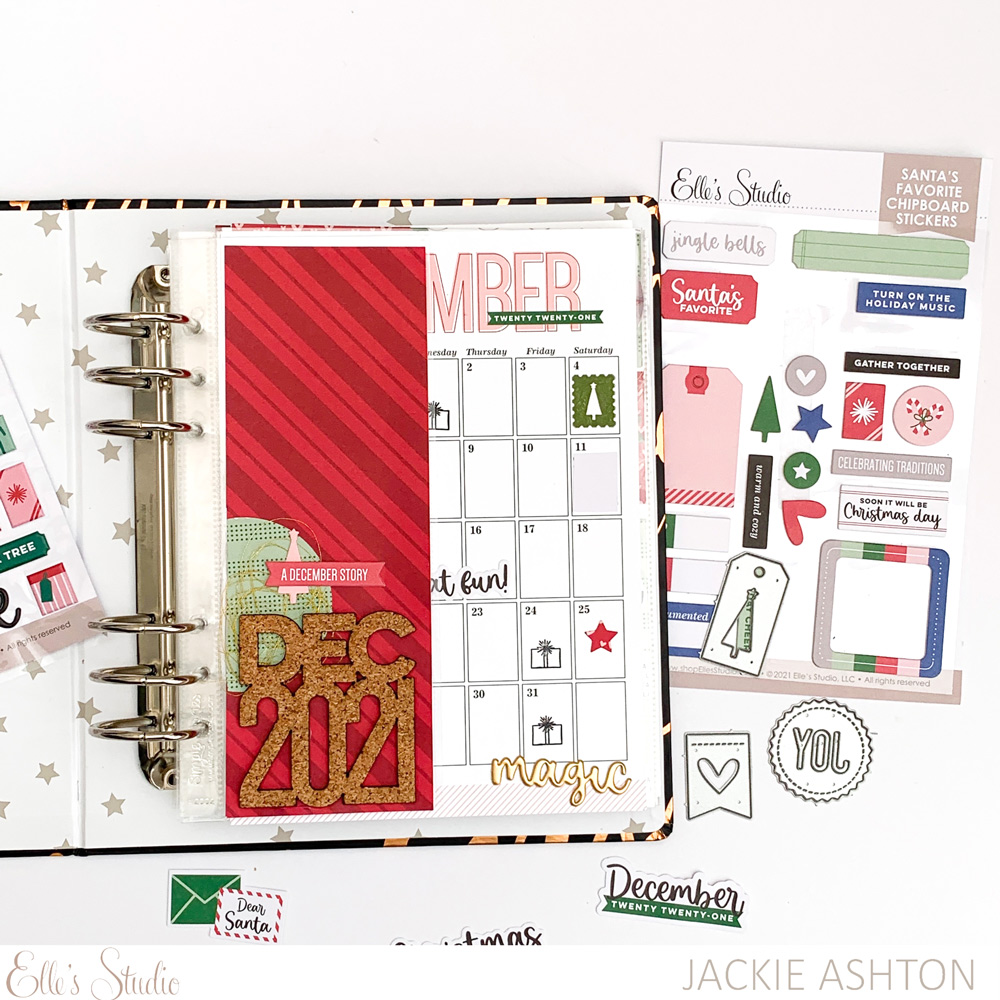
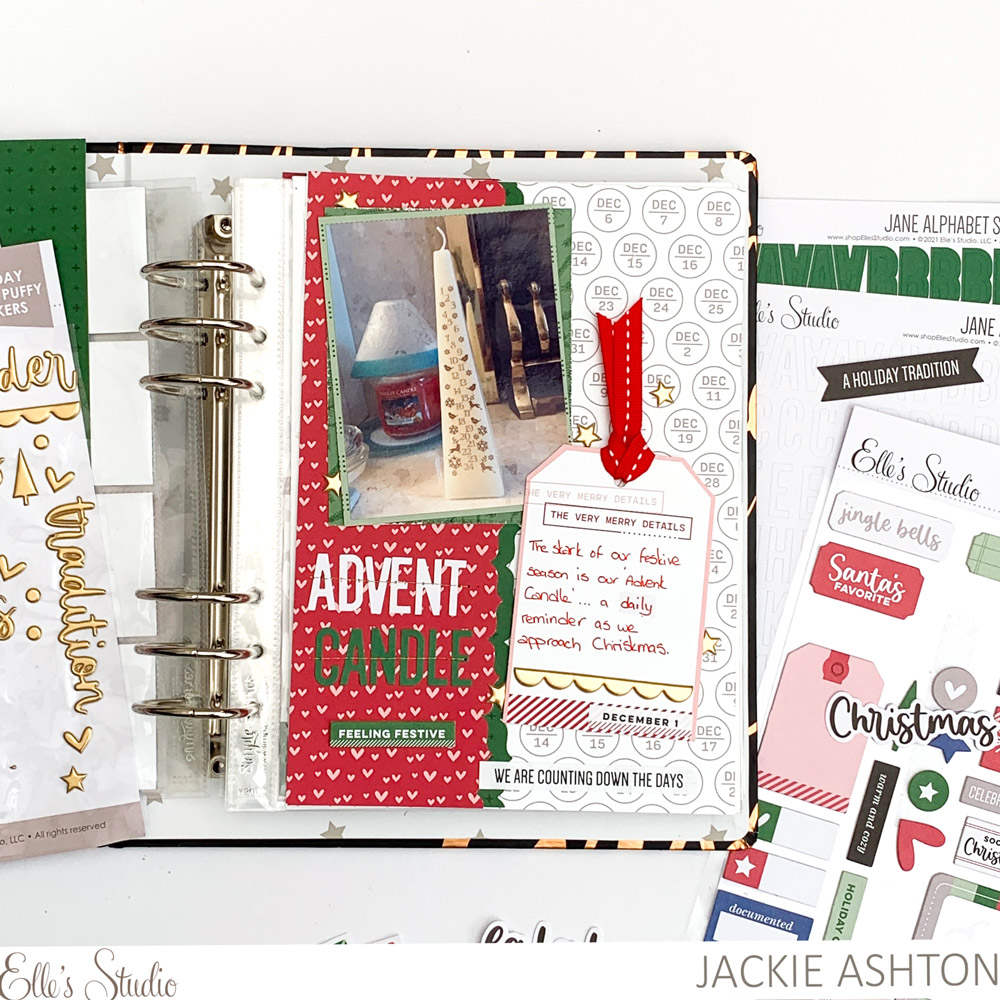
Jackie Ashton

Jackie created a little peek-a-boo page to start off her album, using our Dec 2021 Cork, the fun Santa’s Favorite Chipboard Stickers from our Document December Kit and the Wonder Paper Stack. She even documented her advent candle, adding a page to start off her album!

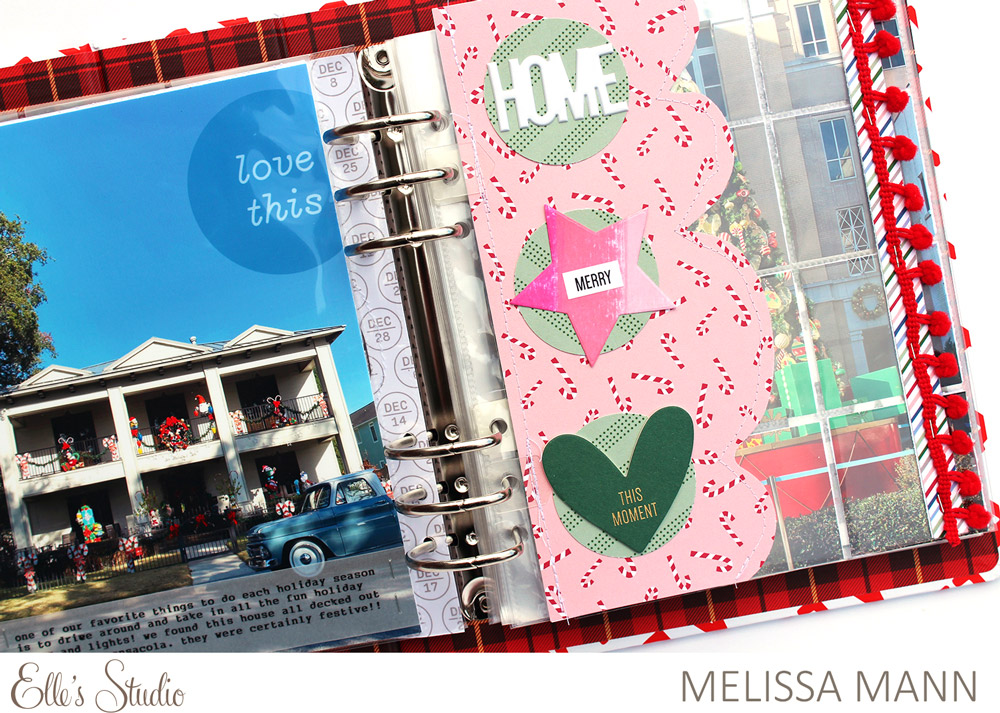
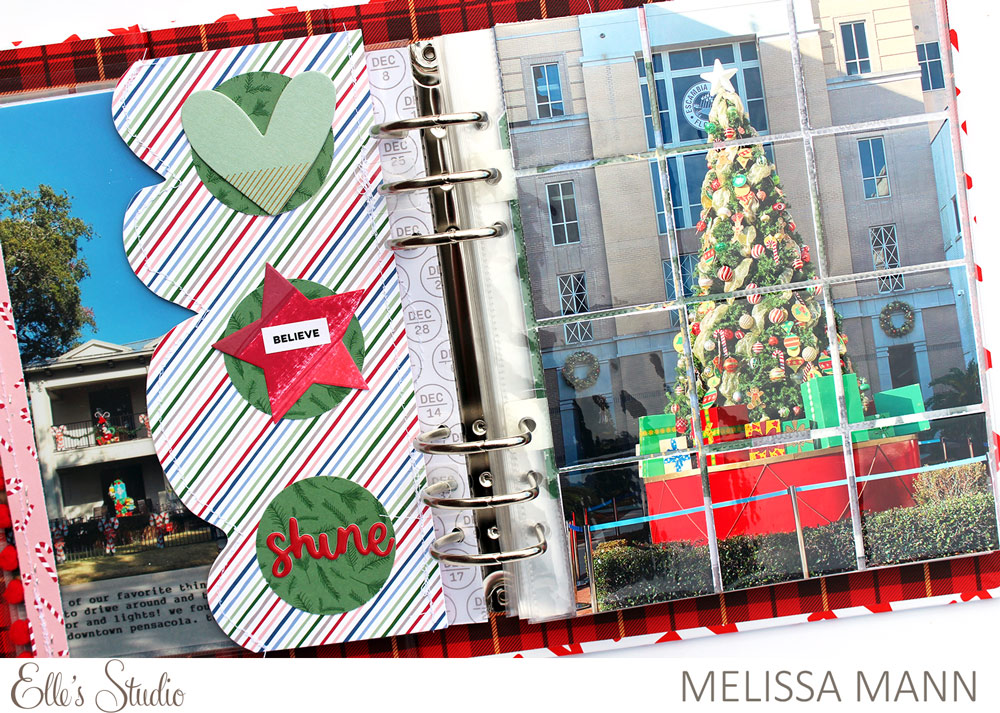
Melissa Mann

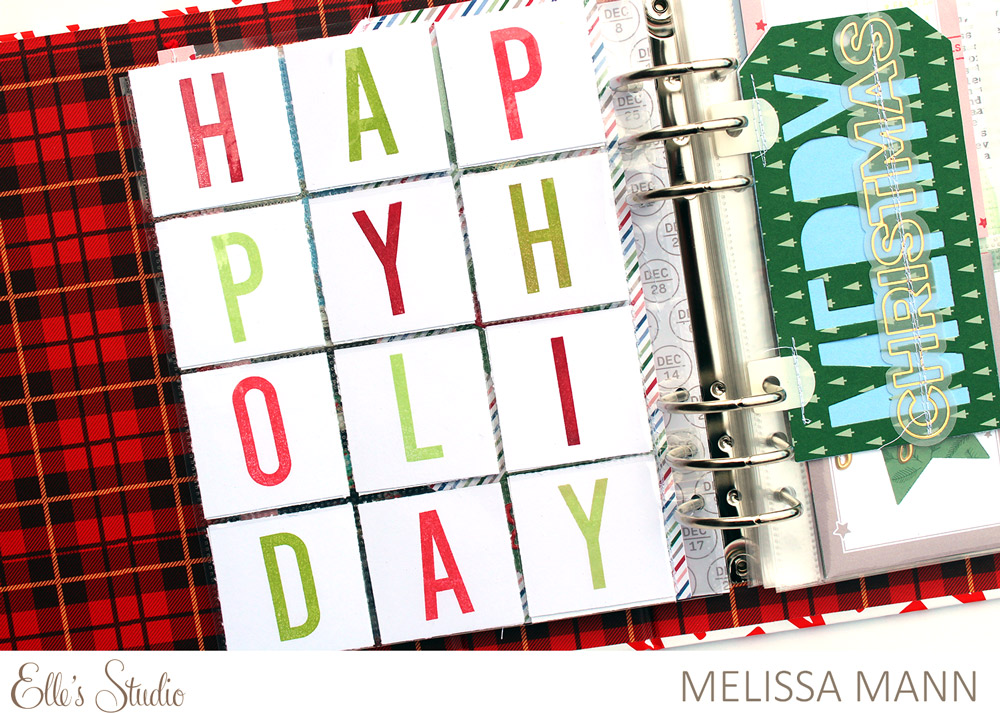
Melissa is bringing a playful, homespun feel to her album with a fun, scalloped page that features our The Merriest Puffy Stickers, Holiday Shapes Metal Die and Full of Joy Chipboard Stickers! We also love the “Happy Holiday” pocket page that Melissa created using the Solid Large Jane Alphabet Stamp!

Junell Kruzel

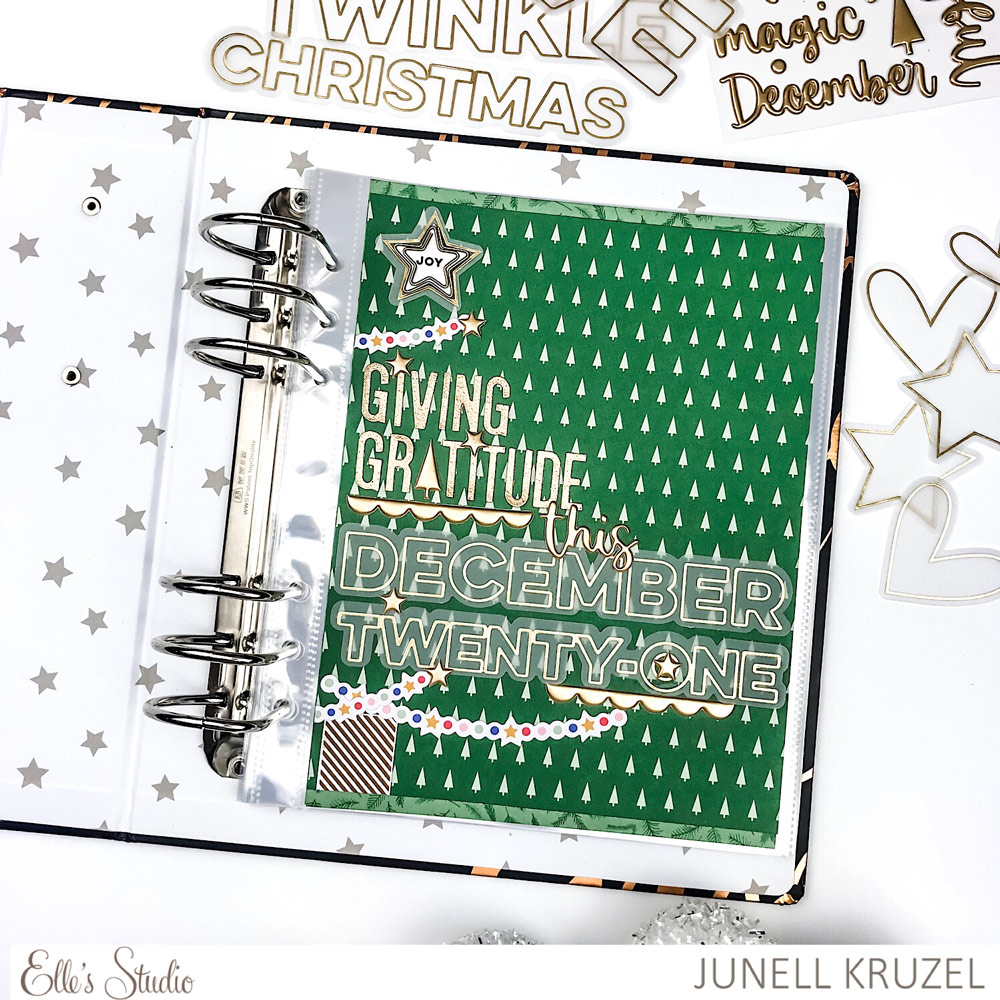
Junell’s pretty title page finishes off our post this week. We love the clever way that Junell arranged her album title to look like a Christmas tree using the Holiday Magic Gold Puffy Stickers, The Merriest Vellum Die Cuts and die cuts from the Document December Kit! What an inspiring page!

Stop by next Saturday, December 11th for more Document December inspiration from our team! Until then, share the pages and pockets that you are creating with us in our Elle’s Studio Facebook Group!
Digital Delight with Sarah Kee

Hello, Elle’s friends. It’s me, Sarah, up on the blog, and today I wanted to show you how I used some of the latest digital files in the store with the November 2021 kit and add-ons.

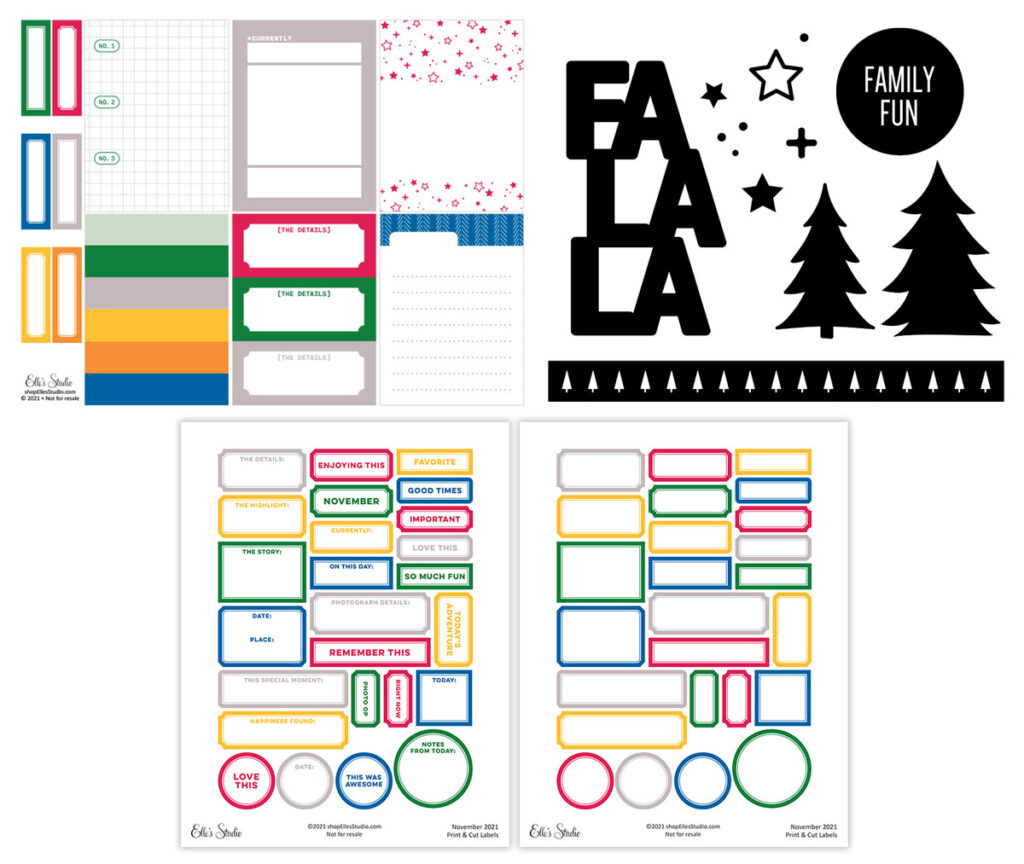
For starters, have you tried the digital files yet? There’s digital cut files, digital labels, and even printables—something for any kind of craft project! I find that they are a great way to make the most out of your monthly kits. A crafting product that you can use over and over again is a must when it comes to creating!
Here’s how I felt inspired:

Supplies | November 2021 KitNovember 2021 Cut Files, Red Cardstock Label Stickers, A Merry Moment Stamp, The Merriest Puffy Stickers, Gold Puffy Heart and Star Stickers, Wonder Paper Stack, Autumn Tab StampHome Sewn Stitches Stamp

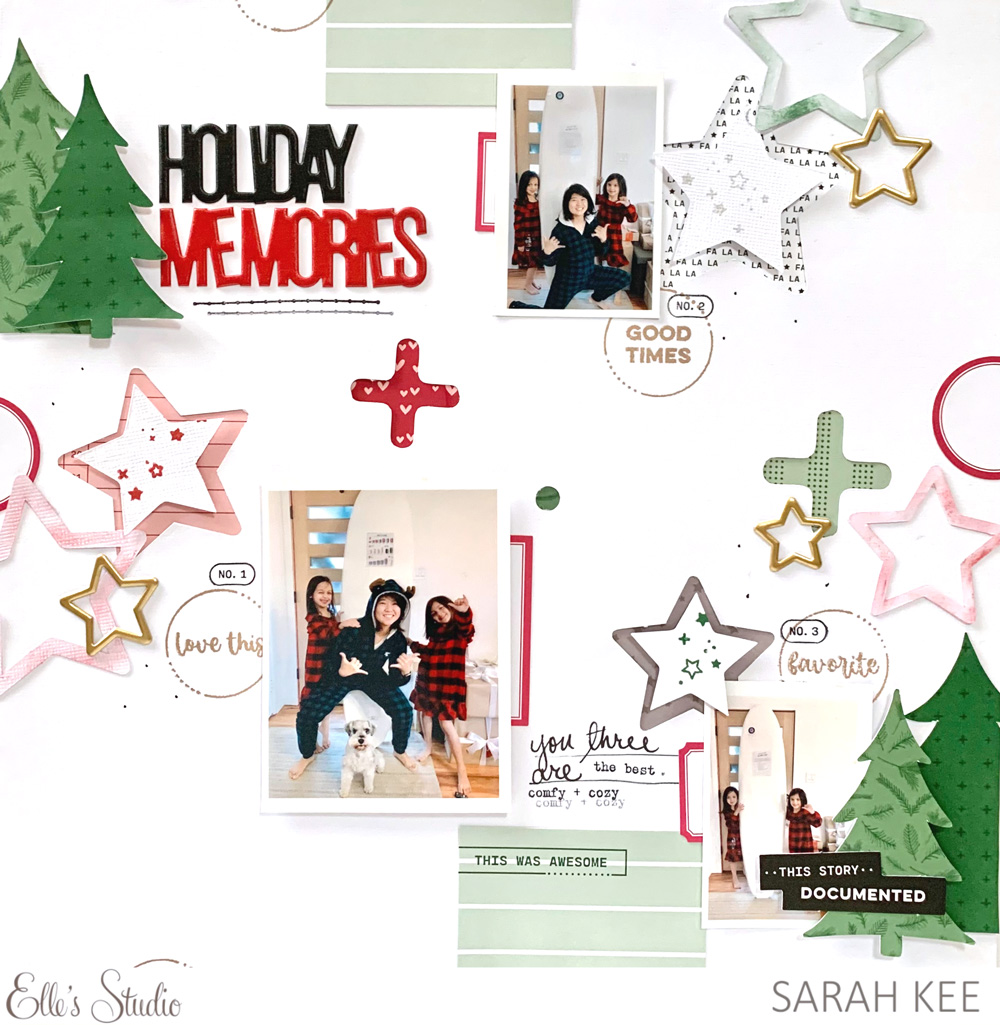
I mostly focused on using the November 2021 Cut Files for this layout.

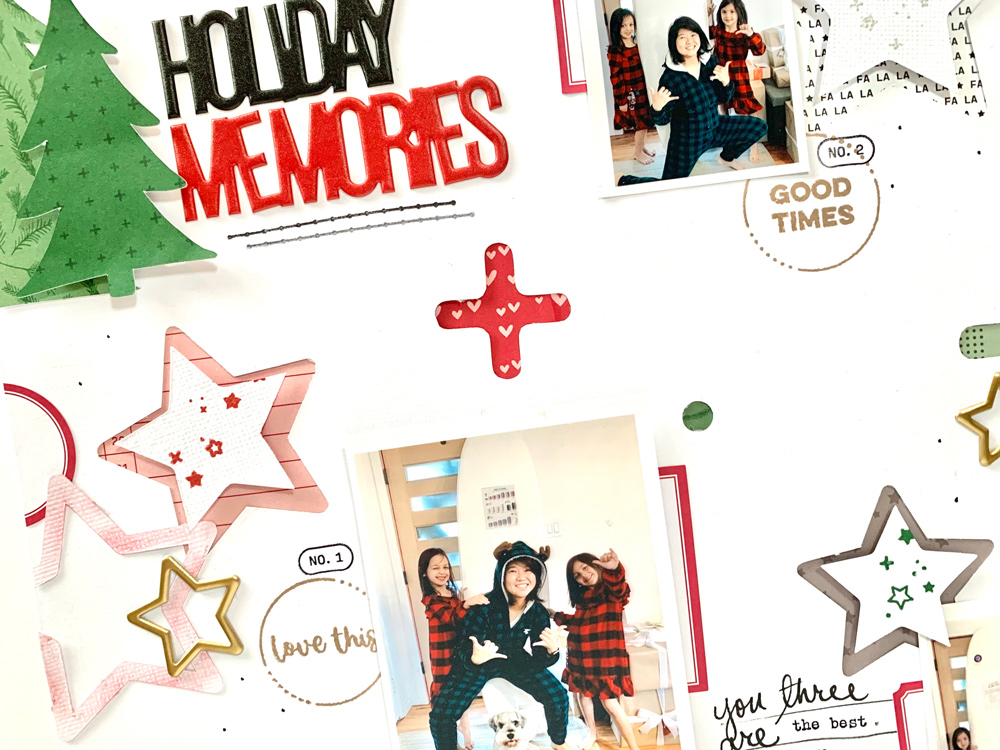
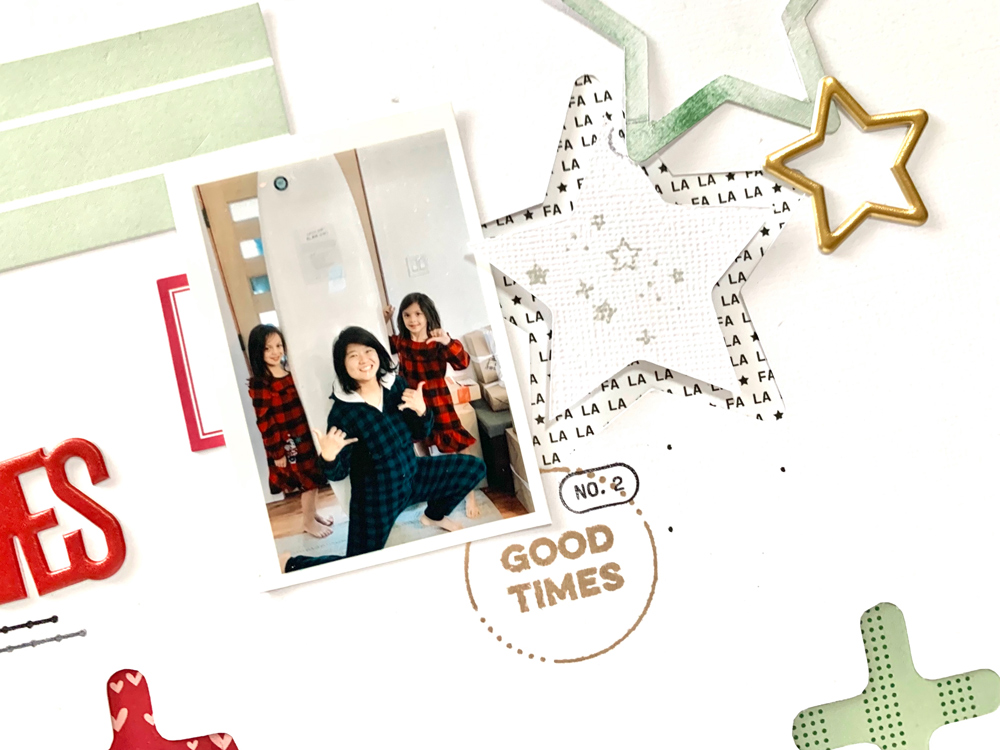
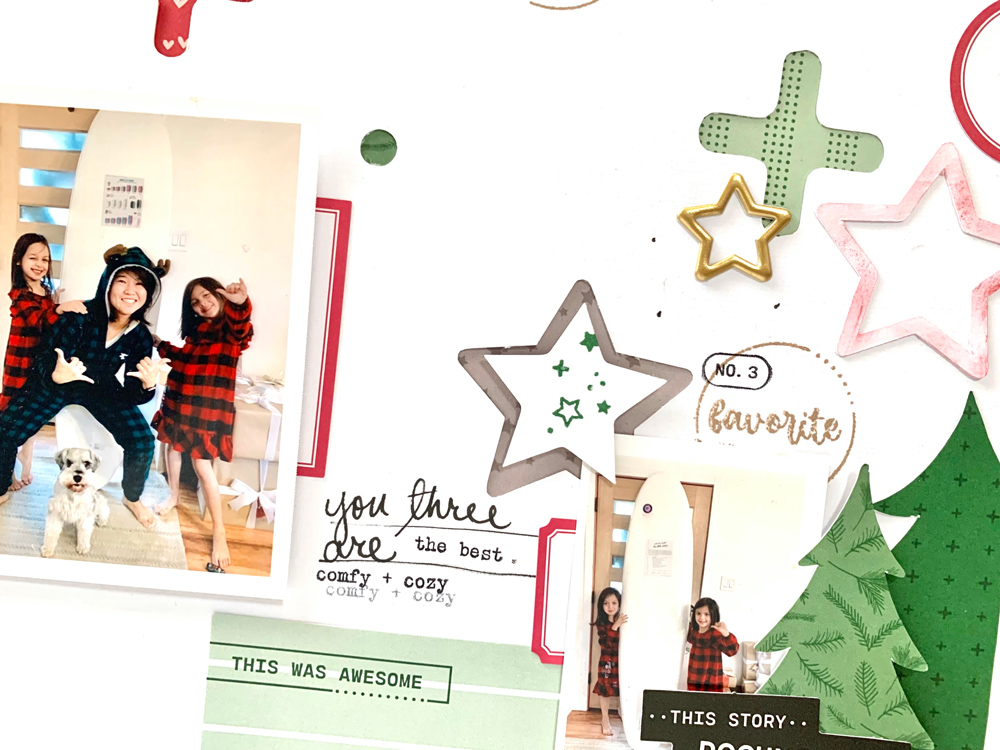
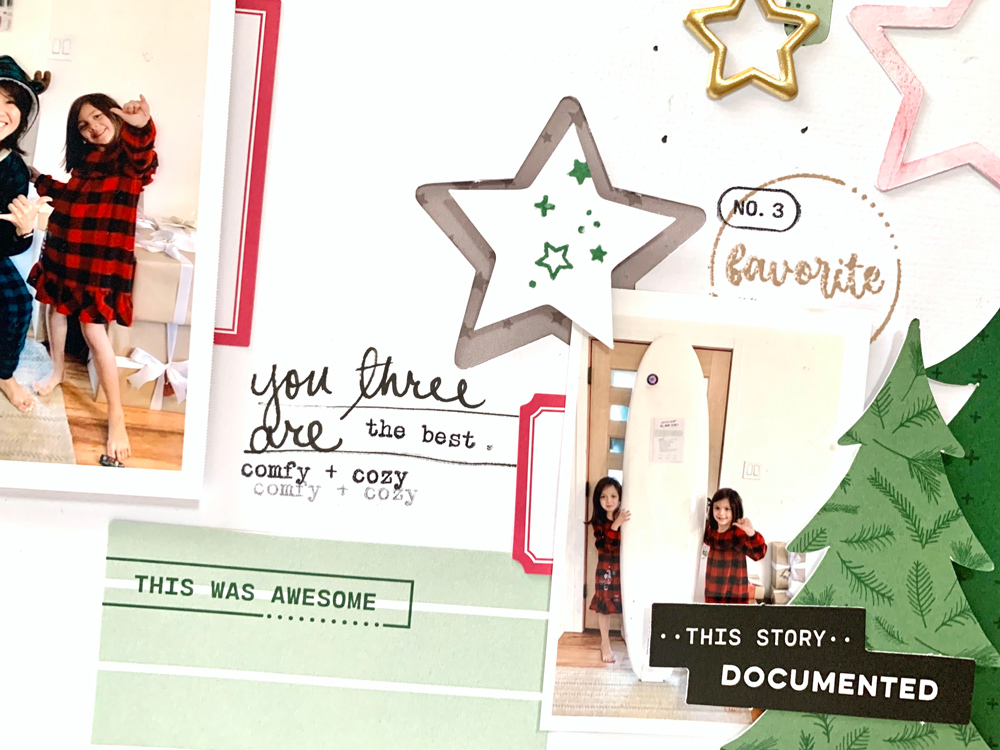
I wanted to make a cool background and felt inspired by the star cluster in the cut file, so I cut them directly out of a white 12 x 12 inch cardstock sheet.

I kept all of the pieces that were cut out. I stamped the cut out stars with the star clusters from the A Merry Moment Stamp to help it stand out from the white. 

I inked the cut outs of the outline of the stars to give my layout more dimension, using both red and green inks to coordinate with the patterned papers.

At each section that was directly cut out on the 12 x 12 inch white cardstock, I backed it with a coordinating patterned paper. I used different sheets from the Wonder Paper Stack

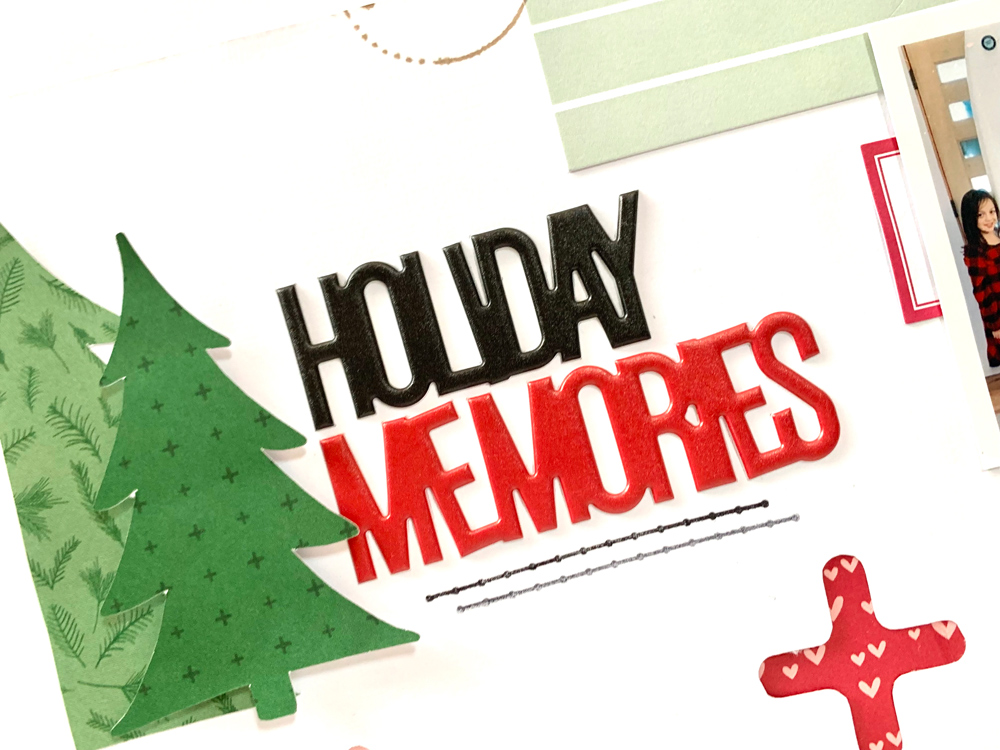
I added pine trees from the November 2021 Cut Files using more patterned paper from the Wonder Paper Stack. For the title, I used stickers from The Merriest Puffy Stickers. Honestly, adding a good, solid title is one of the easiest ways to dress up a layout!

To finish it off, I layered my photos, scattered Red Cardstock Label Stickers around the page, and added scraps from my November kit to my page. 

That’s all I have for today! What do you think of my use of the cut files?! We’d love to see your projects featuring some of these digital files. Whether they be digital die cuts or print and cut labels, these files are a great way to expand your kits. They are jammed packed and ready for you to use, and you can use them over and over again! Each month, there’s new digital files, so don’t forget to check them out! 

Join us and share your projects with us at our Elle’s Studio Facebook Group or on Instagram using the hashtag #EllesStudio.

And as always, thanks for reading and letting me share my work here. It’s always a pleasure to be making pretty things with Elle’s! 

Don’t miss the November digitals that coordinate perfectly with your November 2021 kit and add-ons! As an added bonus for subscribing to our monthly kit, our kit subscribers get all of our digitals for FREE each month. Check out a monthly kit subscription to get this perk for yourself!

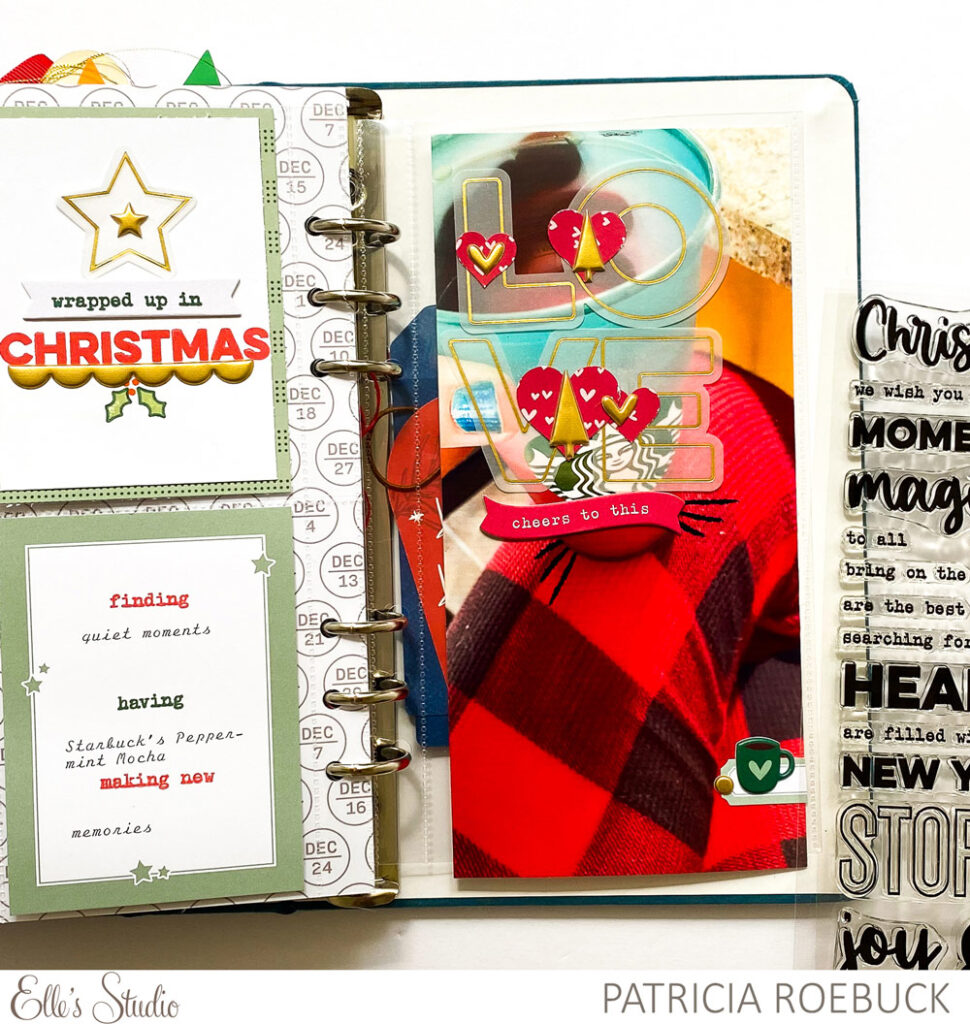
The Merriest Traveler’s Notebook Spread with Patricia Roebuck

Hello there, ES fans! It’s Patricia Roebuck here and today I’m sharing how I used the new Title Builder Vol. 5 Stamp: The Merriest in a traveler’s notebook pocket page. If you have this new holiday collection, I hope I’ll inspire you to pull it out to create this week!


Supplies | Title Builder Vol. 5 The Merriest Stamp, The Merriest Vellum Die Cuts, The Merriest Chipboard Stickers, Star Journaling Tags, Holiday Magic Gold Puffy Stickers, Simple Joys Puffy Stickers, Wonder Paper Stack

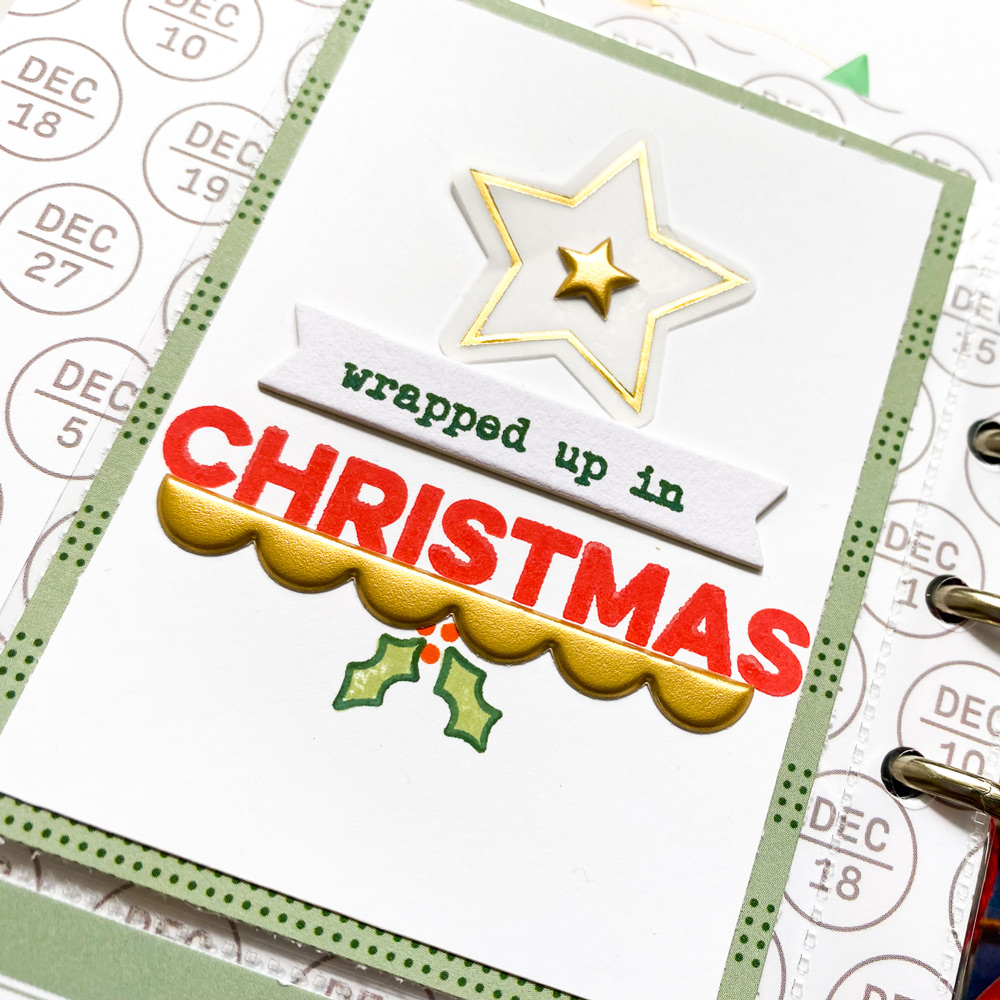
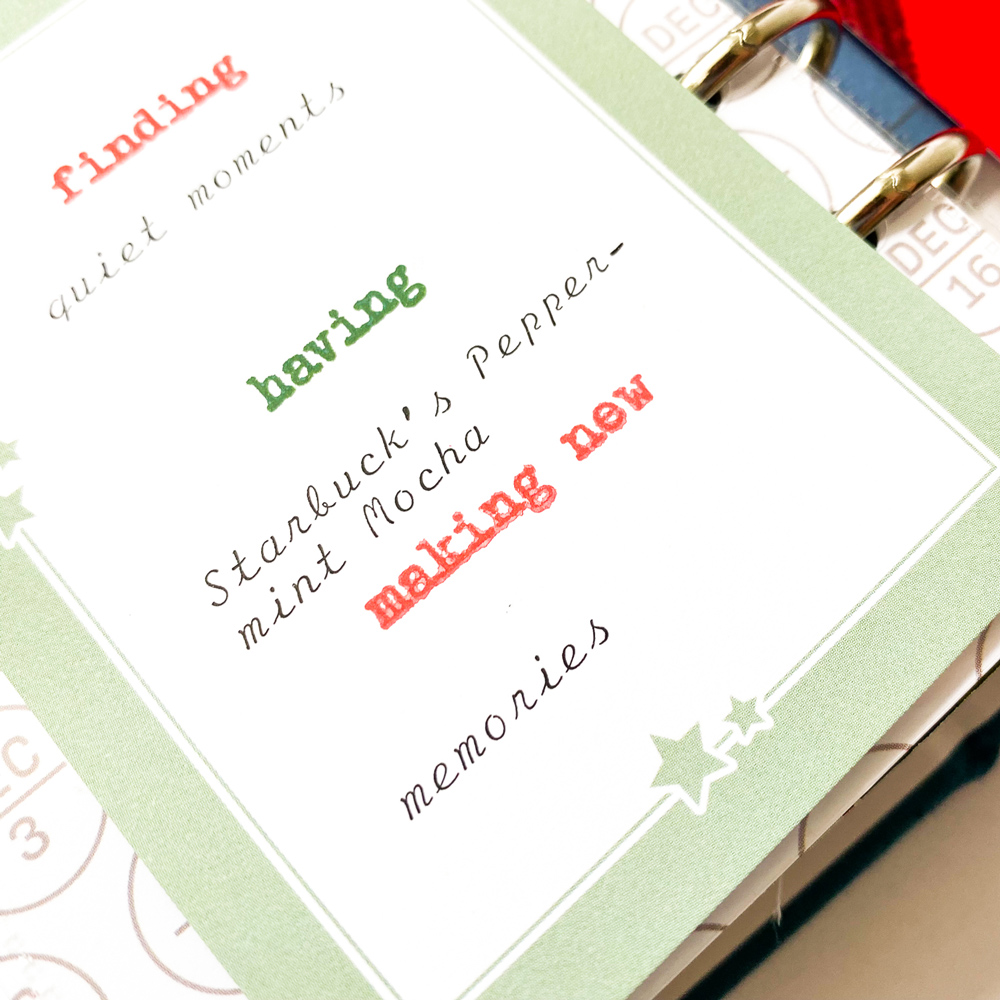
I concentrated most of the stamping on the left with the two 3 x 4 inch pockets, using a combination of the Title Builder Vol. 5 Stamp, Holiday Magic Gold Puffy Stickers, The Merriest Vellum Die Cuts, and TThe Merriest Chipboard Stickers

The top tag was created with plain, white cardstock trimmed smaller than 3 x 4 inches and layered over a Wonder Paper Stack pattern trimmed to 3 x 4 inches to create a frame. I used this tag to add my title, using the chipboard stickers, stamp and vellum die cuts together!

On the bottom 3 x 4 inch tag, I used a Star Journaling Tag with the Title Builder Vol. 5 Stamp to start my journaling. 

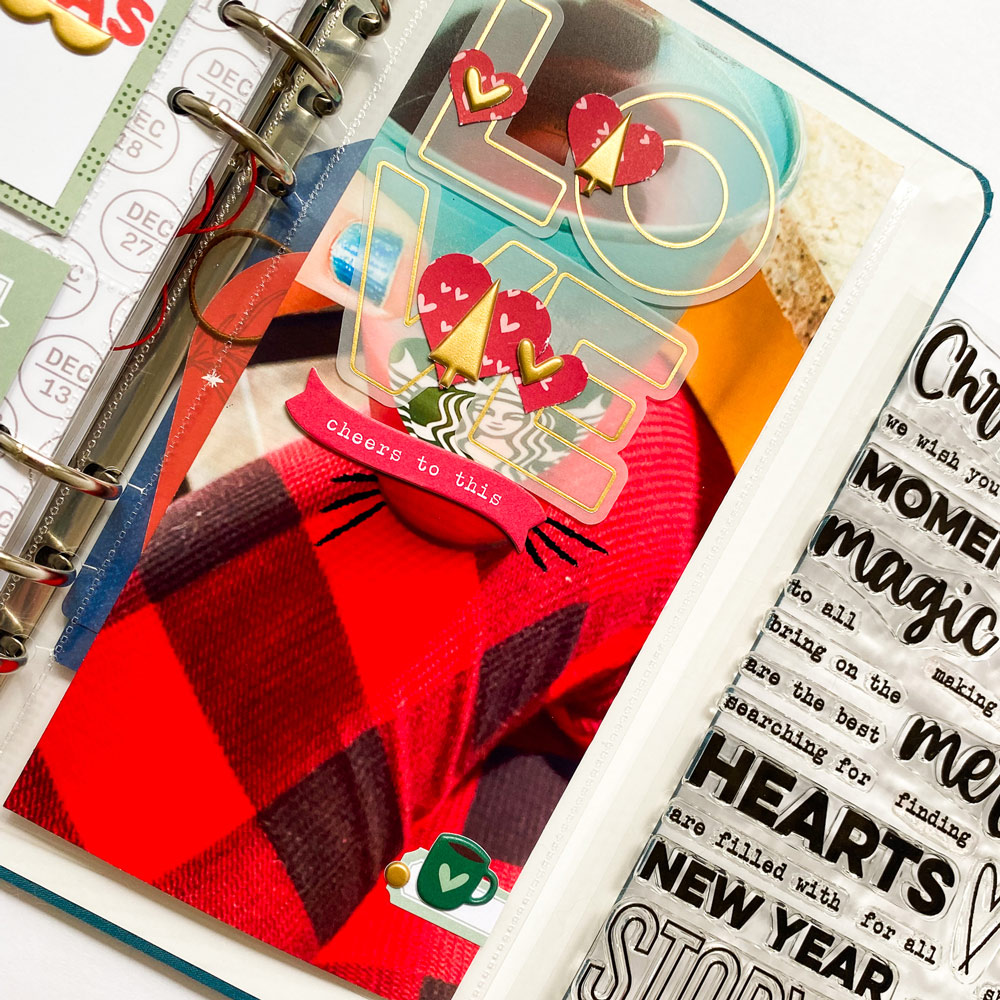
The right side includes a large photo topped with The Merriest Vellum Die Cuts and The Merriest Chipboard Stickers to layer over my photo. I emphasized this title with the Title Builder Vol. 5 Stamp and finished with The Merriest Chipboard Stickers, Wonder Paper Stack punched into hearts, Holiday Magic Gold Puffy Stickers and the Simple Joys Puffy Stickers to create balance.  

The neutral greens from the Wonder Paper Stack and Star Journaling Tag let all the reds pop from my photo, stamping, and other patterns. The Title Builder Vol. 5 The Merriest Stamp gave me the creativity to make a unique traveler’s notebook entry and I hope you give these ideas a try in your December album!

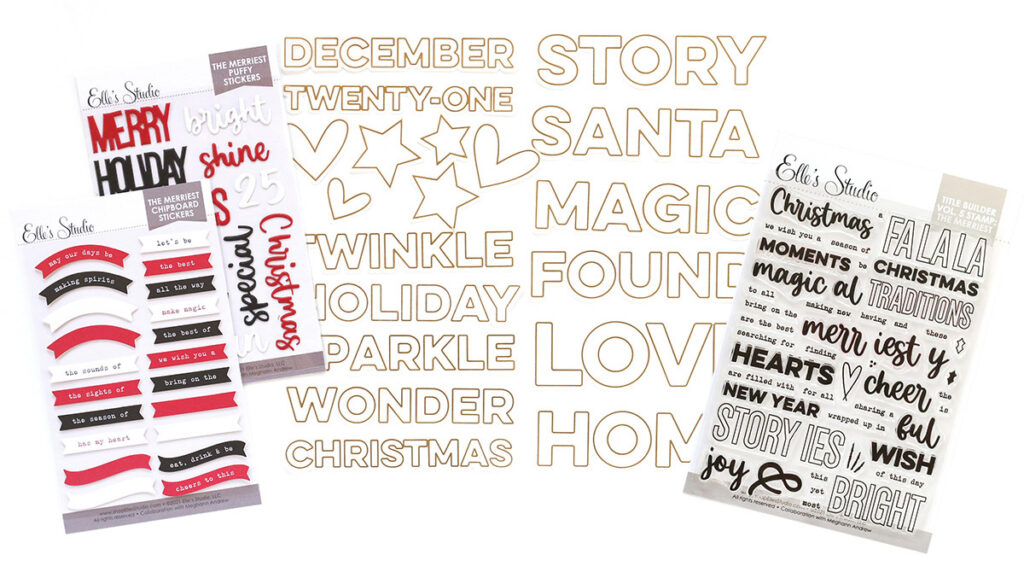
Don’t miss out! Our Title Builder Vol. 5 The Merriest Stamp has now been restocked! If you were waiting to get the latest volume of our popular Title Builder series, now is your chance. And don’t miss out on the coordinating extras to help you build beautiful and joyful titles! Find them in the shop today!

A sneak peek of our December 10th reveal!

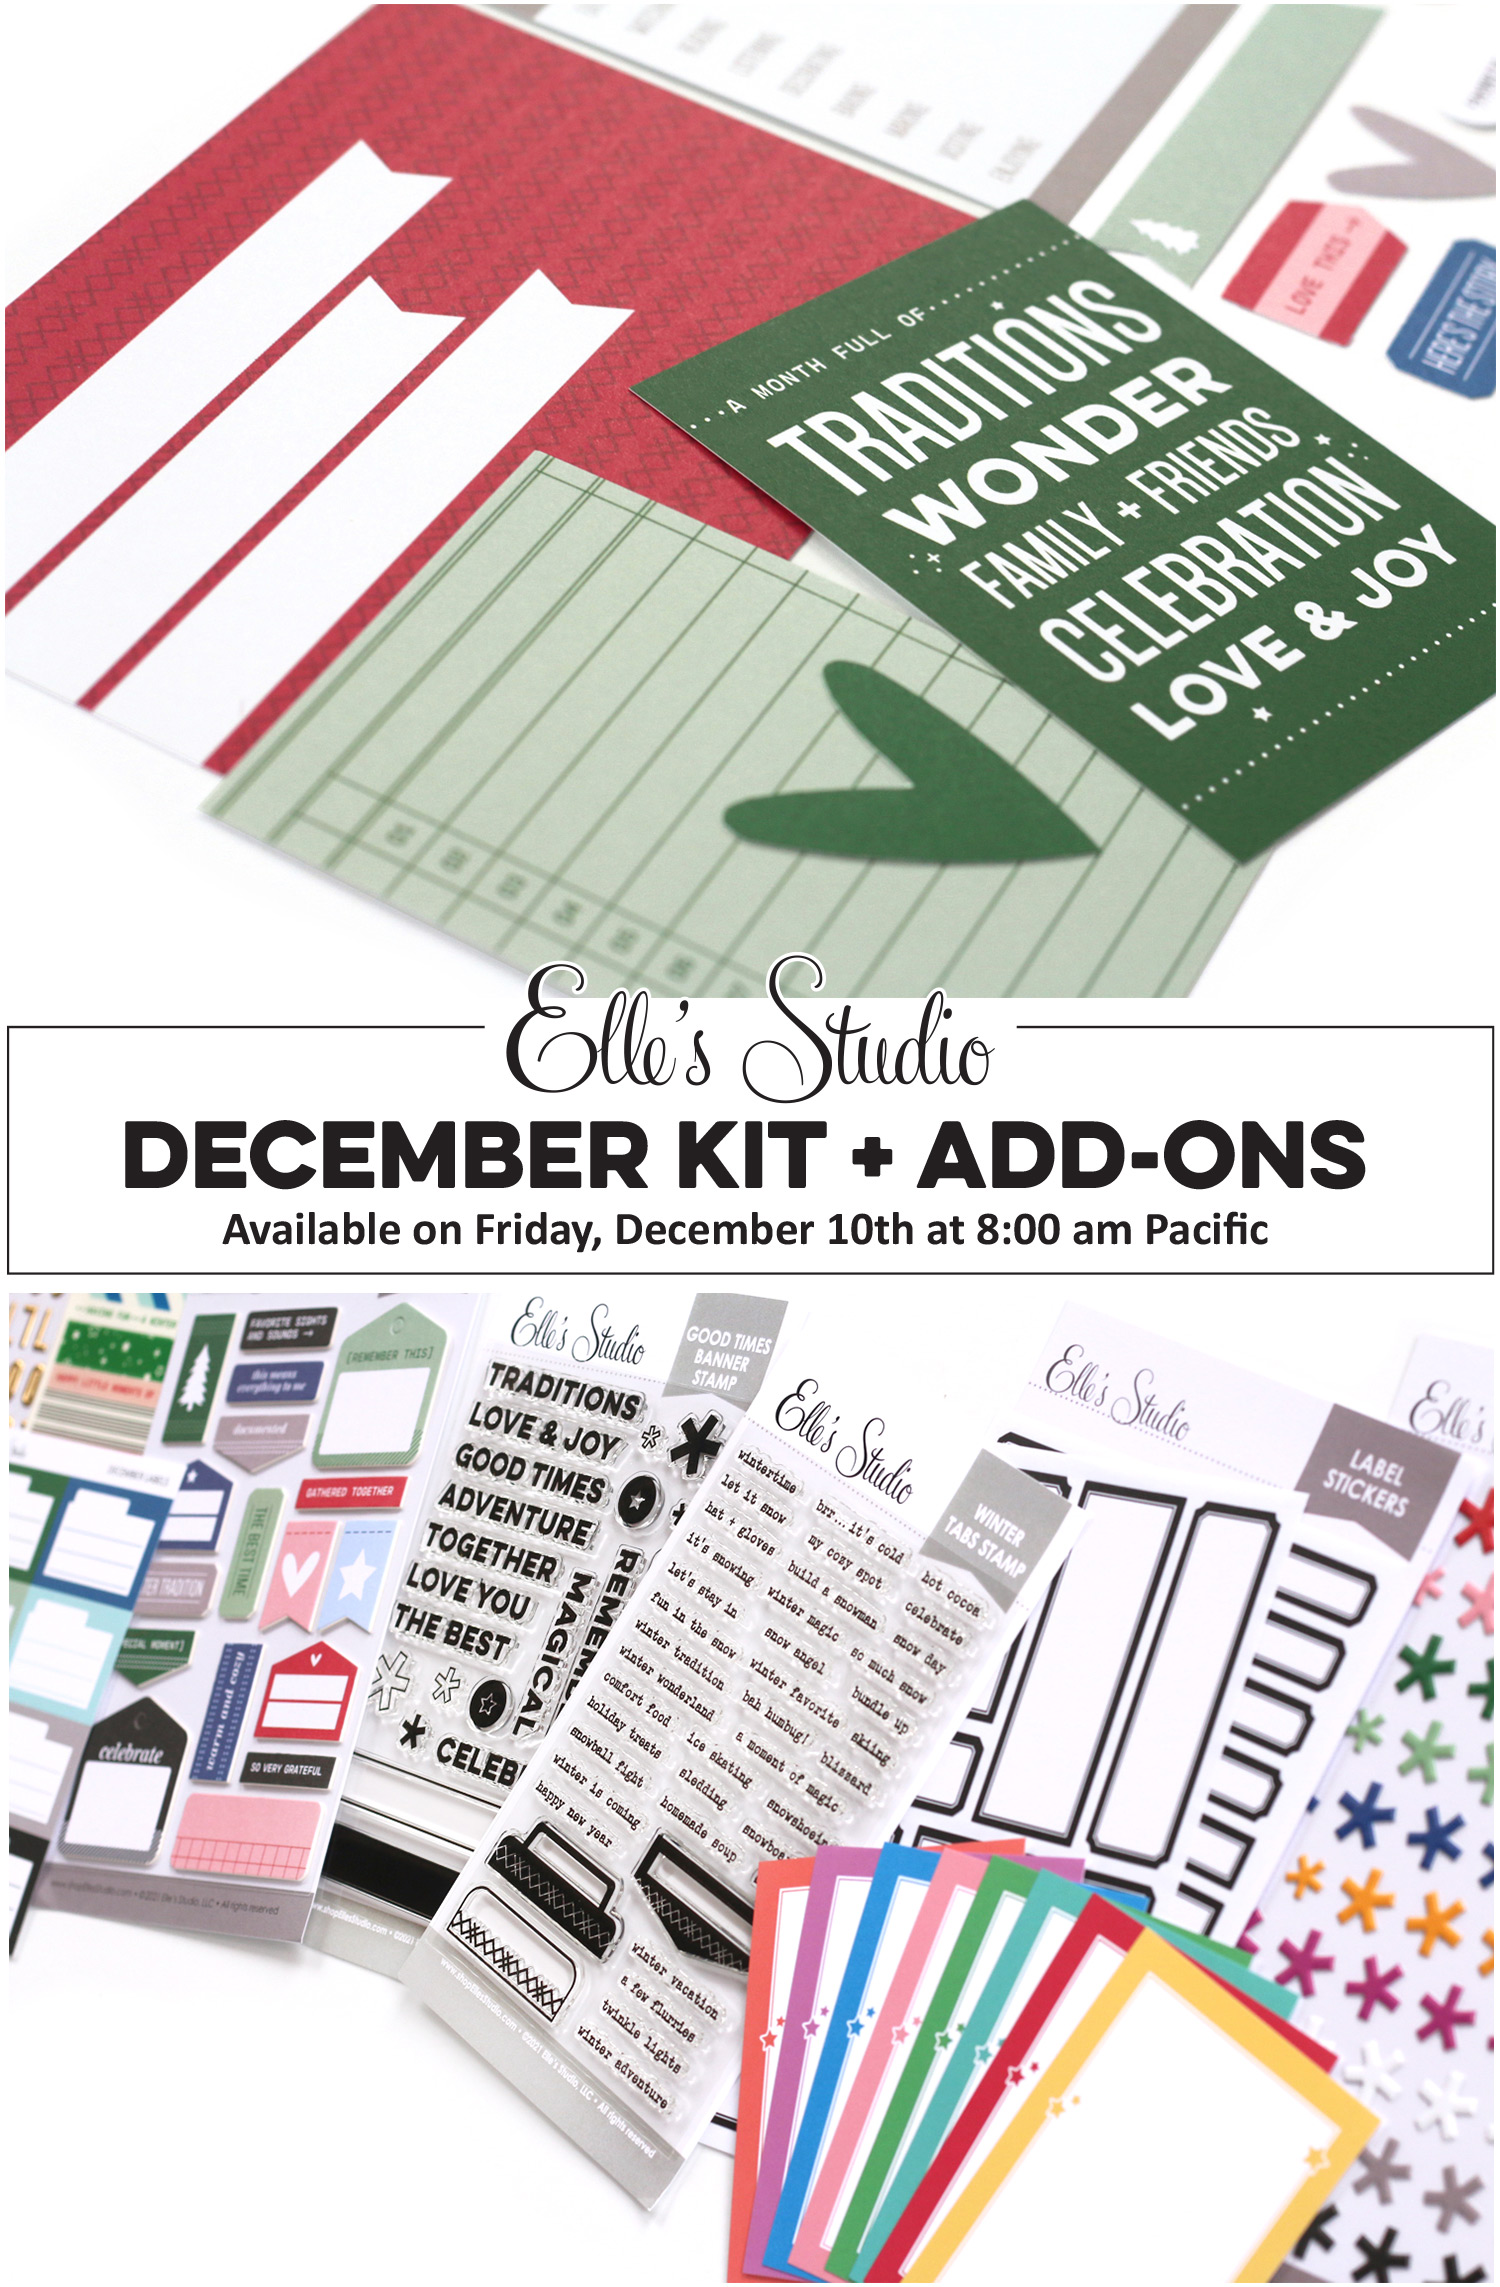
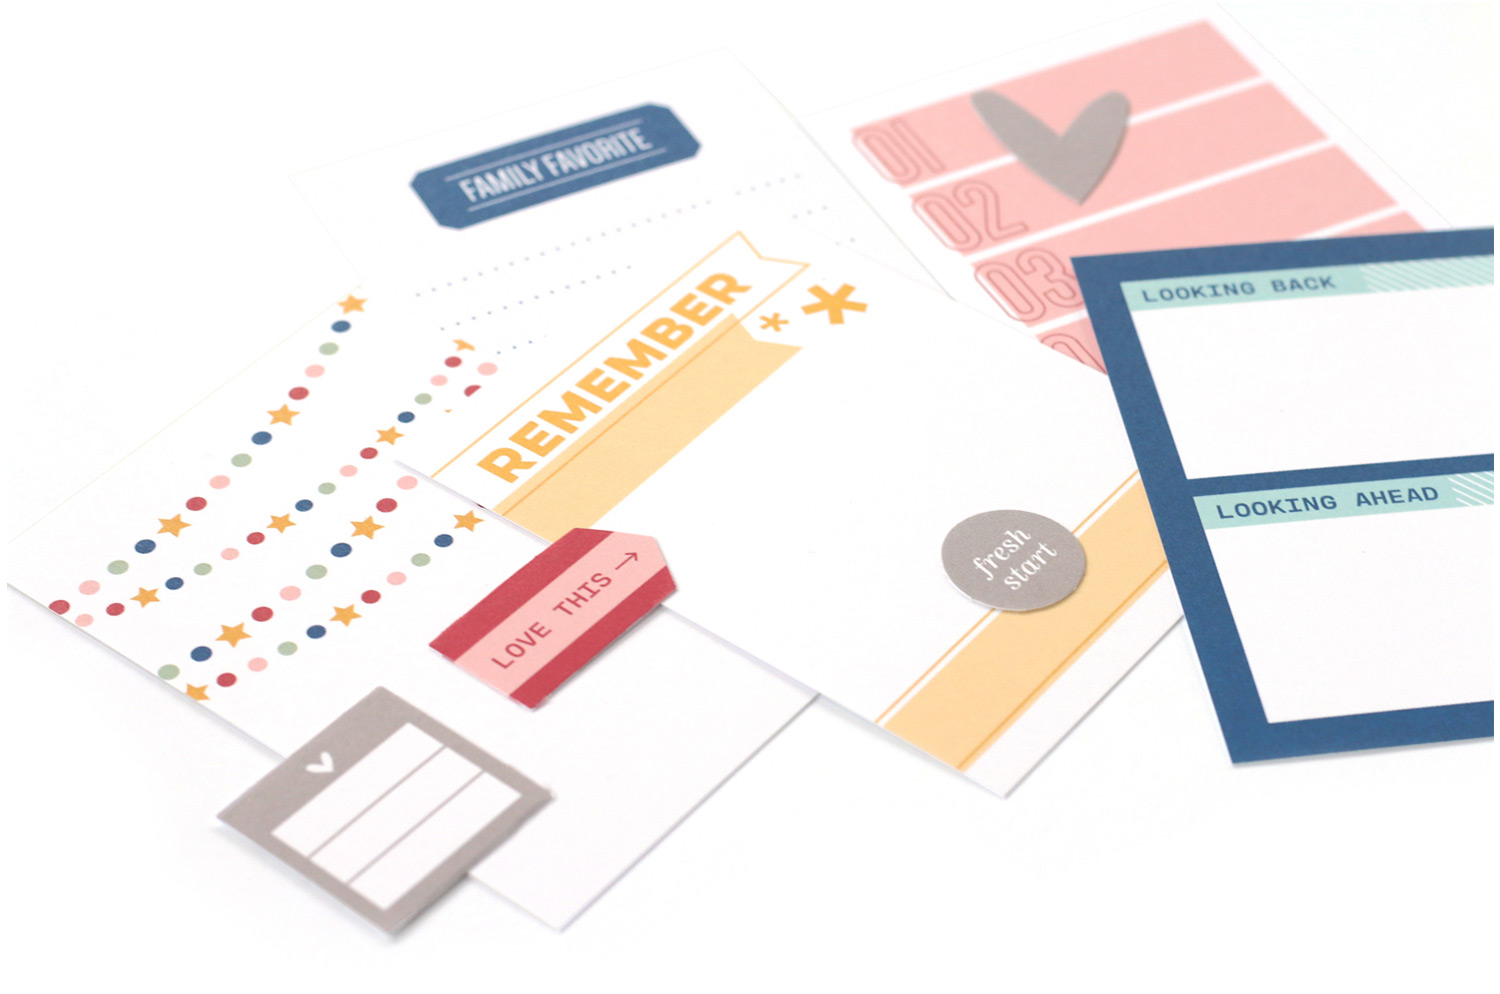
Our December kit + coordinating add-ons reveal is almost here and we can’t wait to share with you all the new and exclusive products that will be available soon! Our reveal will be full of the perfect products to document your December stories and take you right into the month of January! This month, our December kit will include 3 – 4 x 6 inch tags, 18 – 3 x 4 inch tags, and 25 die cuts!

Not a subscriber? You can pre-order our December kit now and lock in our $9.99 kit price by starting a subscription today! You’ll want to choose our SUBSCRIBE & SAVE option to get signed up and start your subscription with our December kit. We will then hold your kit and you’ll be ready to bundle and save at our December 10th reveal! Details on how to bundle with your subscription order will be emailed to you once you have purchased this product.

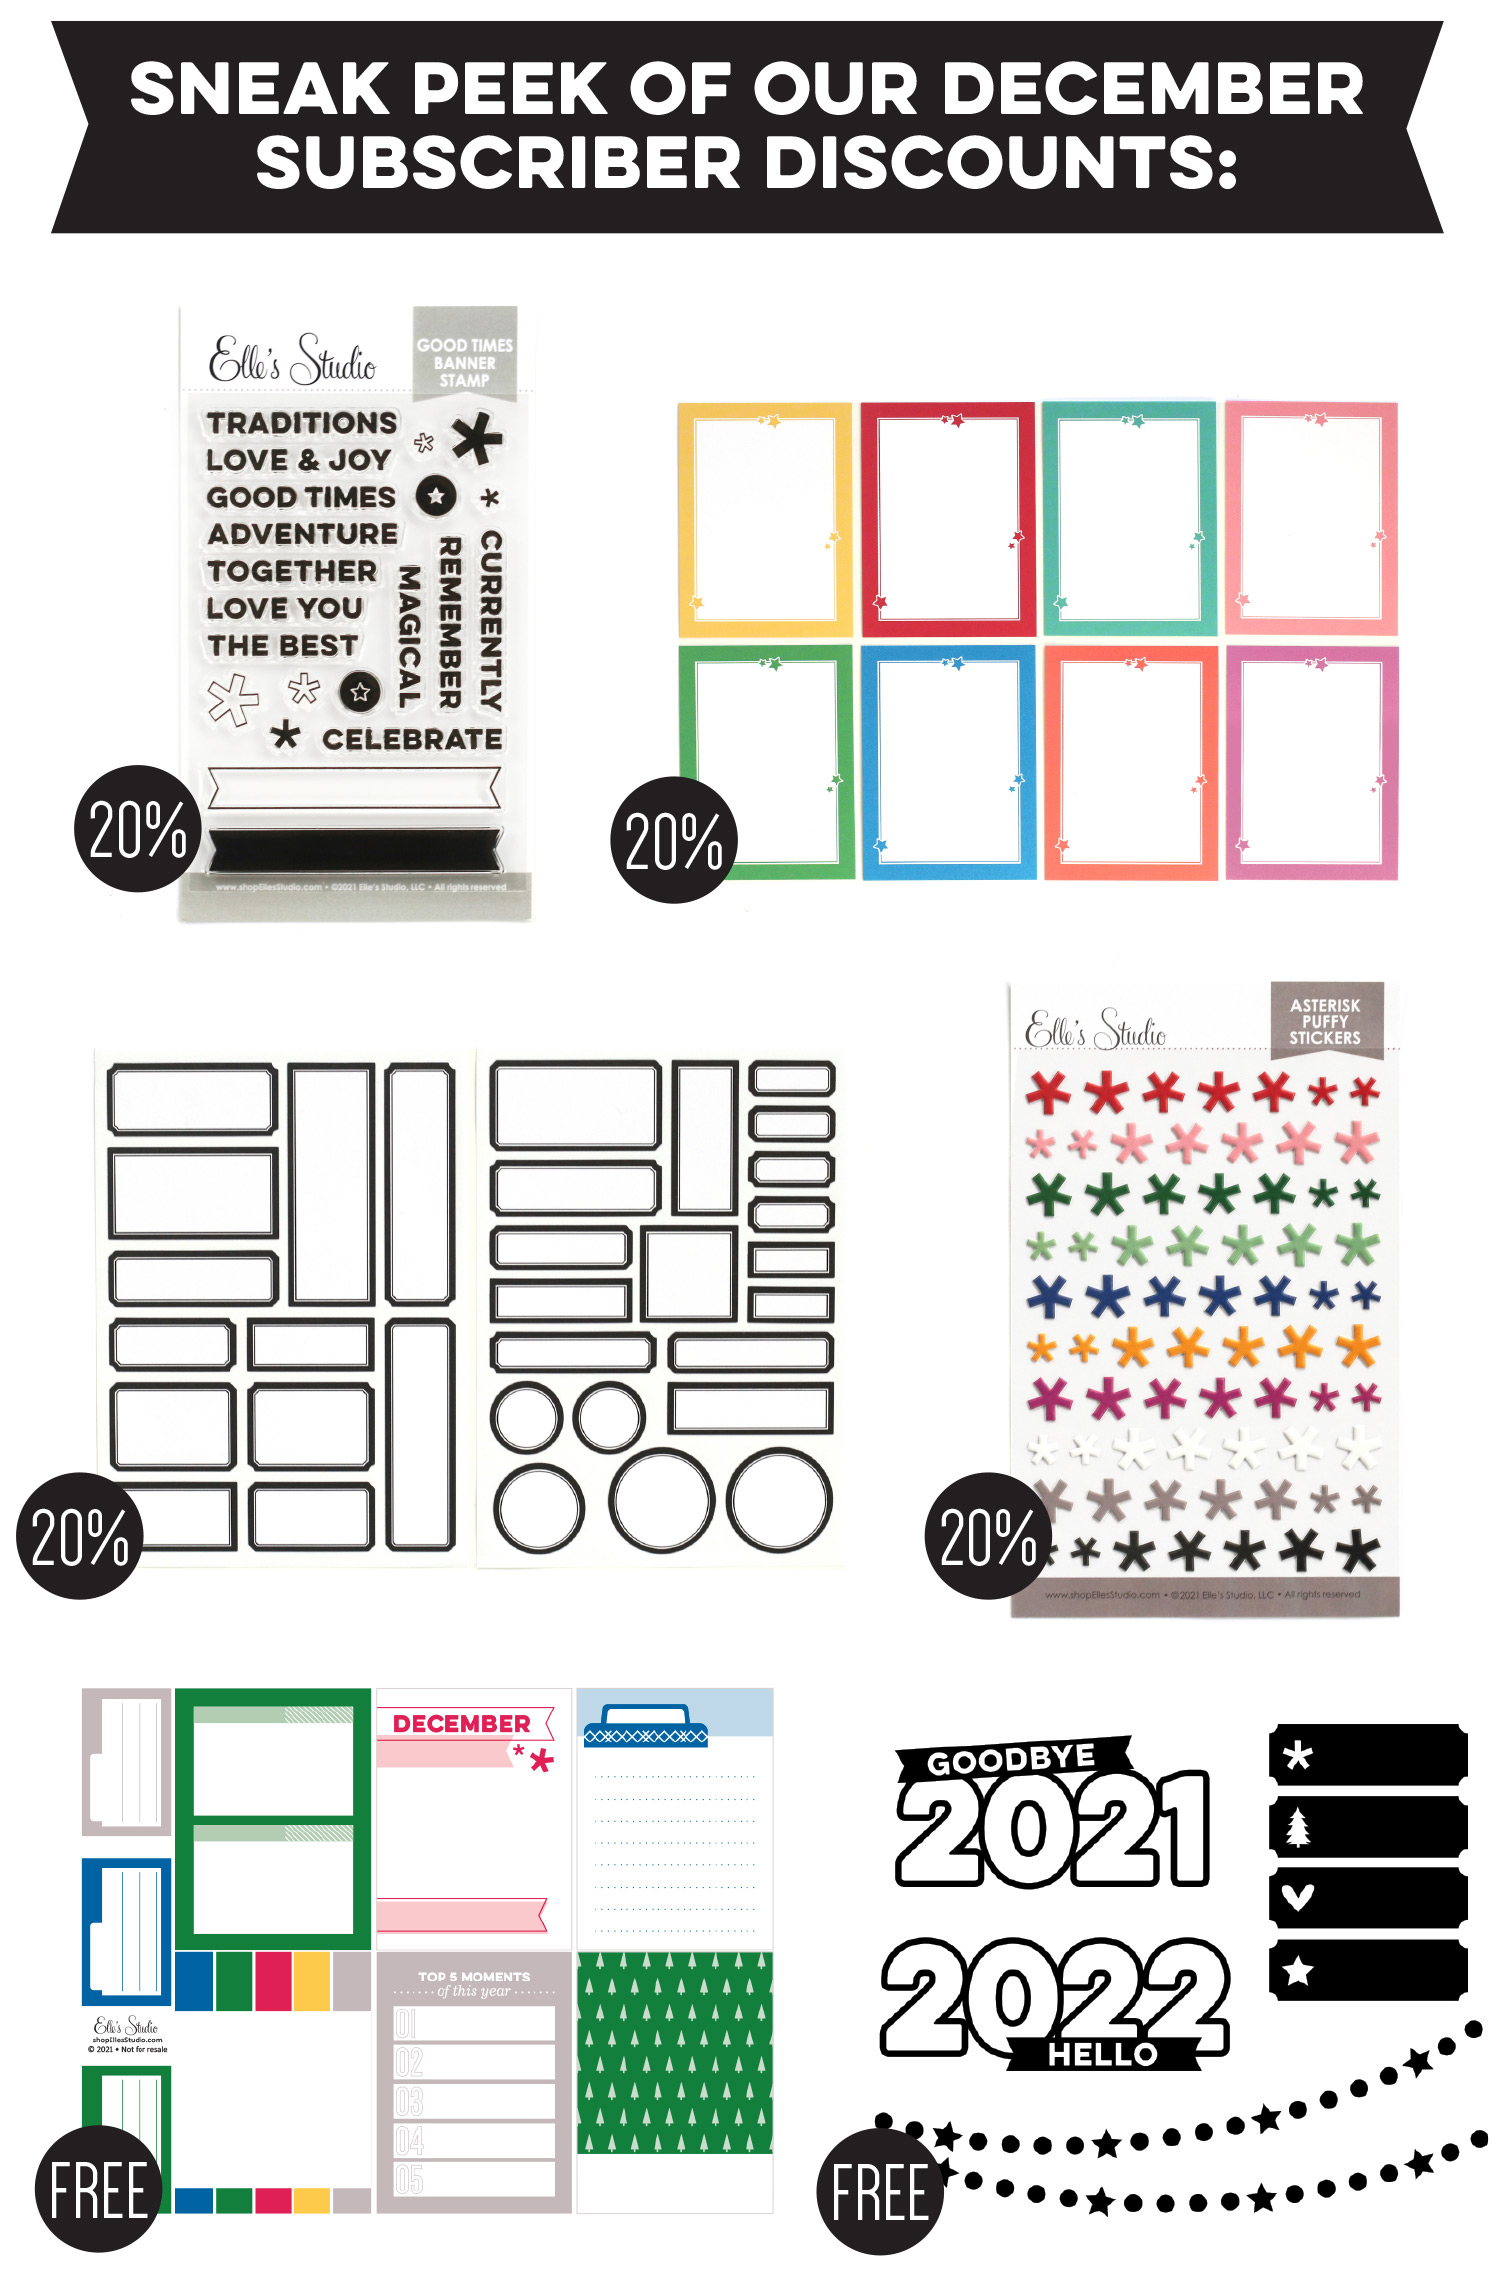
Kit subscribers, don’t forget! Along with being able to bundle any products from our shop that will ship for FREE with your kit during our 24-hour bundling period, starting on the 10th at 8:00 am Pacific each month, our subscribers will also have access to special discounts on select items! These discounted items can be found in our SALE section during our 24-hour bundling period, and you must be logged into your kit subscriber account to see them. Quick note: Our kits and add-ons are available without a subscription each month, too.

We are so excited to share all of these new products with you and see how you use them on your projects! Make sure you set your alarm and mark your calendar for Friday, December 10th at 8:00 am Pacific for our December kit and add-ons reveal! We hope to see you there!

Merry & Bright Greeting Cards with Katarina Prevendarova

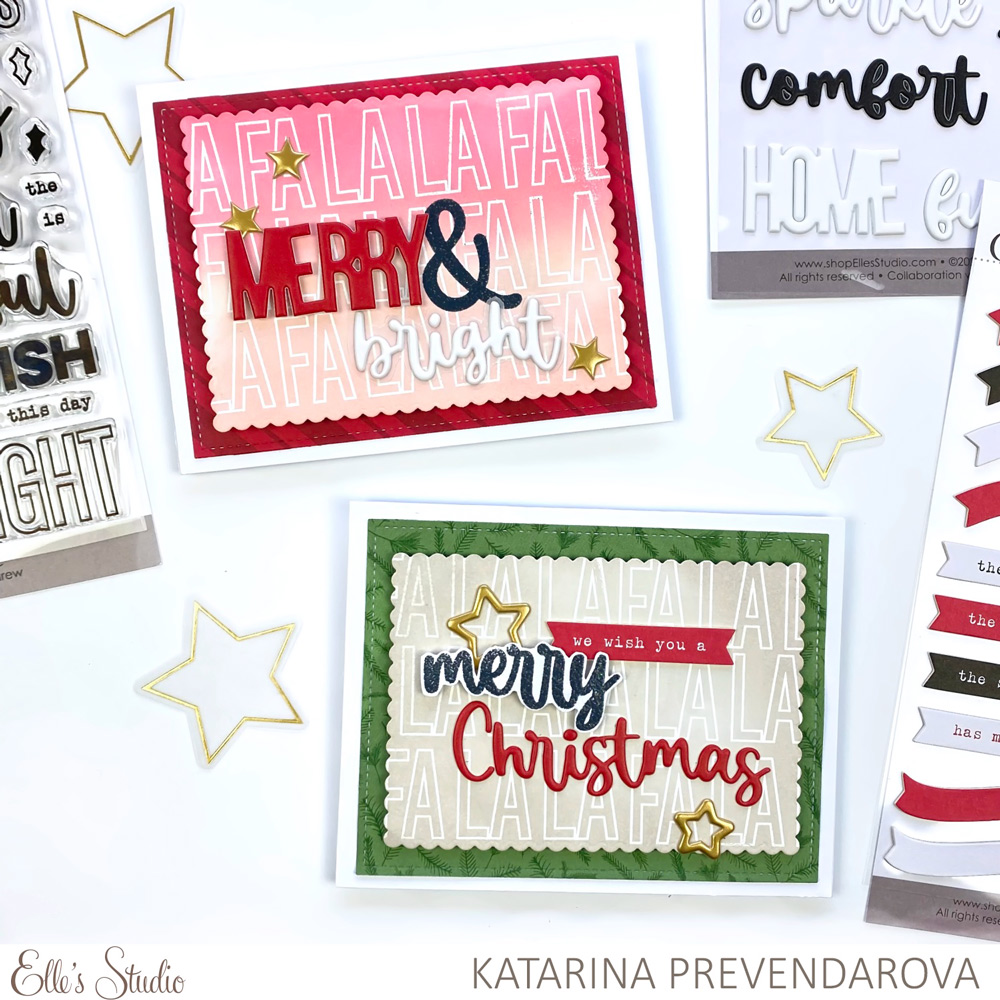
Hi Elle’s Studio friends! It’s Katarina back with you again with some fresh inspiration! The holidays are approaching, and it’s time to create pretty holiday cards! I had the best products to make them: the newest Title Builder Vol. 5 The Merriest Stamp with coordinating products and the beautiful Wonder Paper Stack. I created two Christmas cards— let’s have a look.

Supplies | Title Builder Vol. 5 The Merriest Stamp, The Merriest Chipboard Stickers, The Merriest Puffy Stickers, Gold Puffy Heart and Star Stickers, Wonder Paper Stack, Layered Card Metal Die

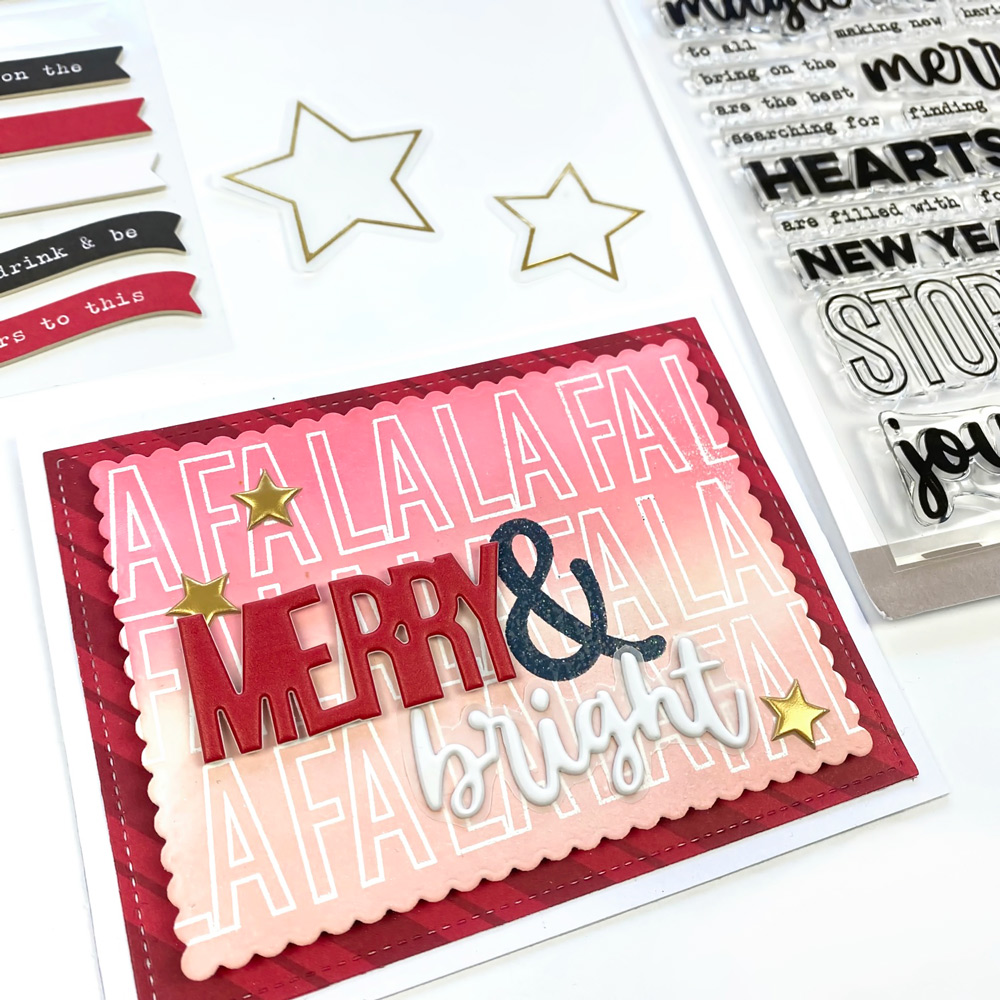
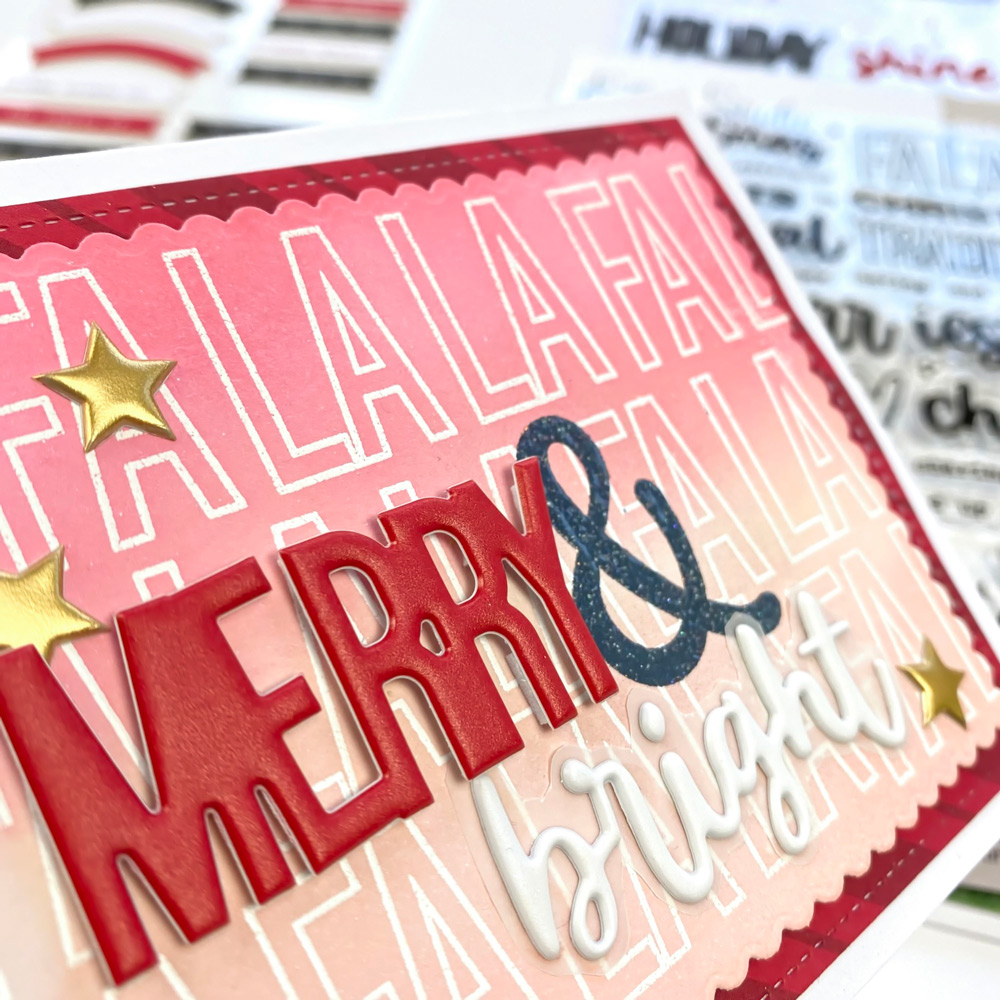
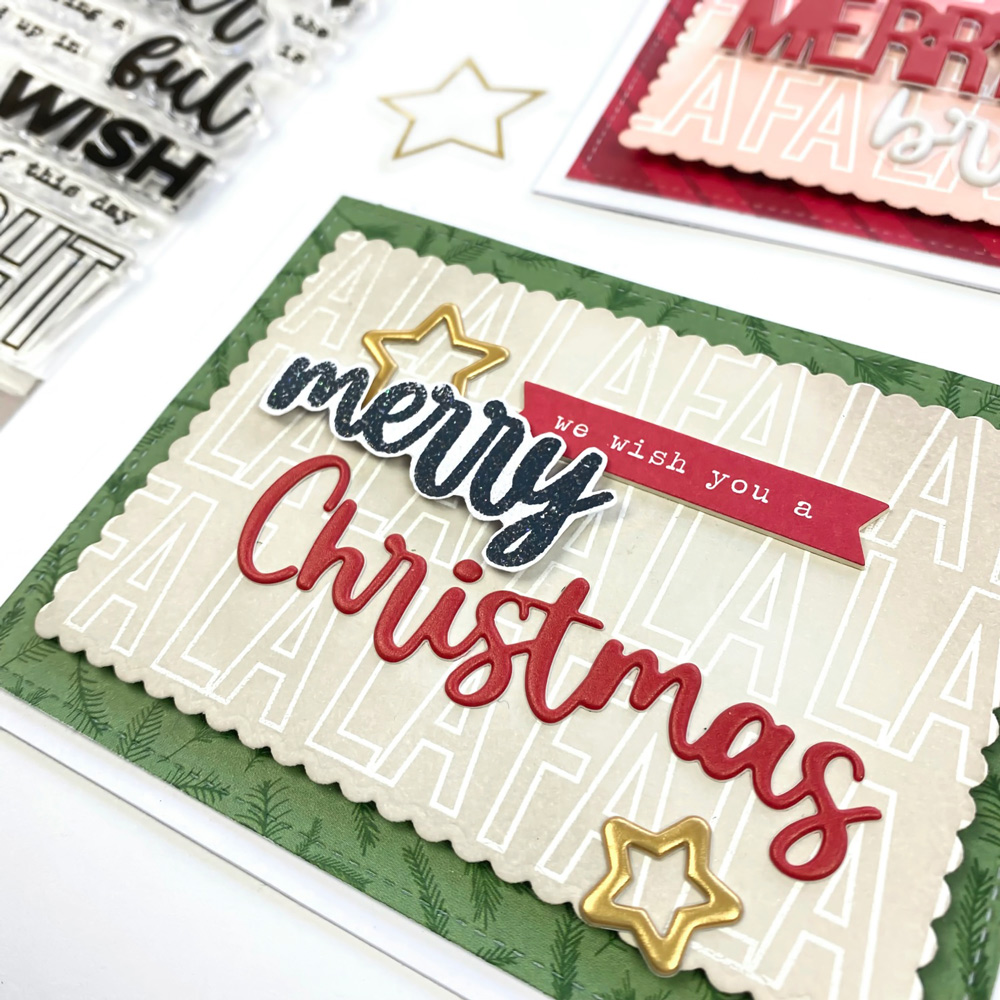
I wanted to create an interesting background for my cards and use the latest Title Builder stamp at the same time. I chose the “fa la la” stamp from the Title Builder Vol. 5 The Merriest Stamp and repeat stamped it on a piece of white cardstock using Versamark embossing ink. Next, I used white embossing powder and my heat gun to make my stamps ink resistant. Then, I combined various hues of Distress Oxide inks and a blending brush to create two different backgrounds. I loved the result!

I used the Layered Card Metal Die to cut out the layers for my cards from the beautiful Wonder Paper Stack and my custom background paper.

To decorate the red card, I used two of The Merriest Puffy Stickers. I backed the white “bright” word with a piece of vellum to make it stand out better. I also stamped an ampersand from the The Merriest Stamp and heat embossed it using black embossing powder. To finish off, I added three gold puffy stars from the Gold Puffy Heart and Star Stickers.

To create the green card, I used a combination of one of The Merriest Chipboard Stickers, one of The Merriest Puffy Stickers and a stamped and heat embossed word “merry” from the The Merriest Stamp. Again, to add a bit of sparkle, I added golden stars from the Gold Puffy Heart and Star Stickers.

It was so easy and joyful to create my cards using the Title Builder Vol. 5 The Merriest Stamp with the Wonder Paper Stack. I love how my cards turned out and can’t wait to send them out and make someone happy. Thanks for stopping by today, friends!

Share your merriest holiday cards with us, created using our products! Post in our Facebook Group or on Instagram using the hashtag #EllesStudio!

Holiday Good Times with Guest Designer Emma Kate

Today we are excited to welcome back our November guest designer, Emma Kate to the blog! Emma is showing us how to create a spectacular and festive layout today, using only a few elements from our shop along with some mixed media fun! Let’s see what she created!

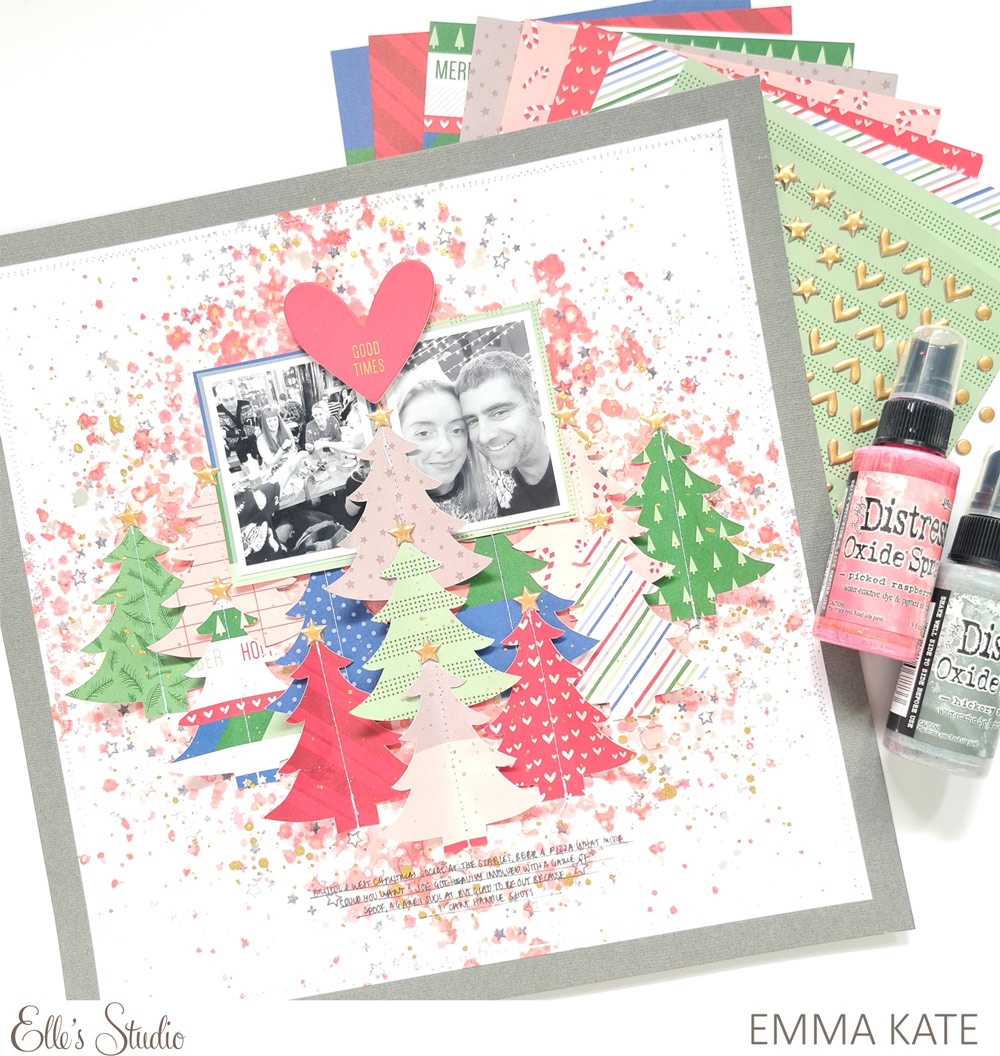
Hey Elle’s Studio friends, I’m back to share with you a festive 12 x 12 inch layout using the awesome Wonder Paper Stack and some mixed media goodness. Each pattern design was so beautiful I just had to use them all!

Supplies | Full of Joy Chipboard Stickers, Gold Tiny Shapes and Dots Puffy Stickers, Wonder Paper Stack, A Merry Moment Stamp

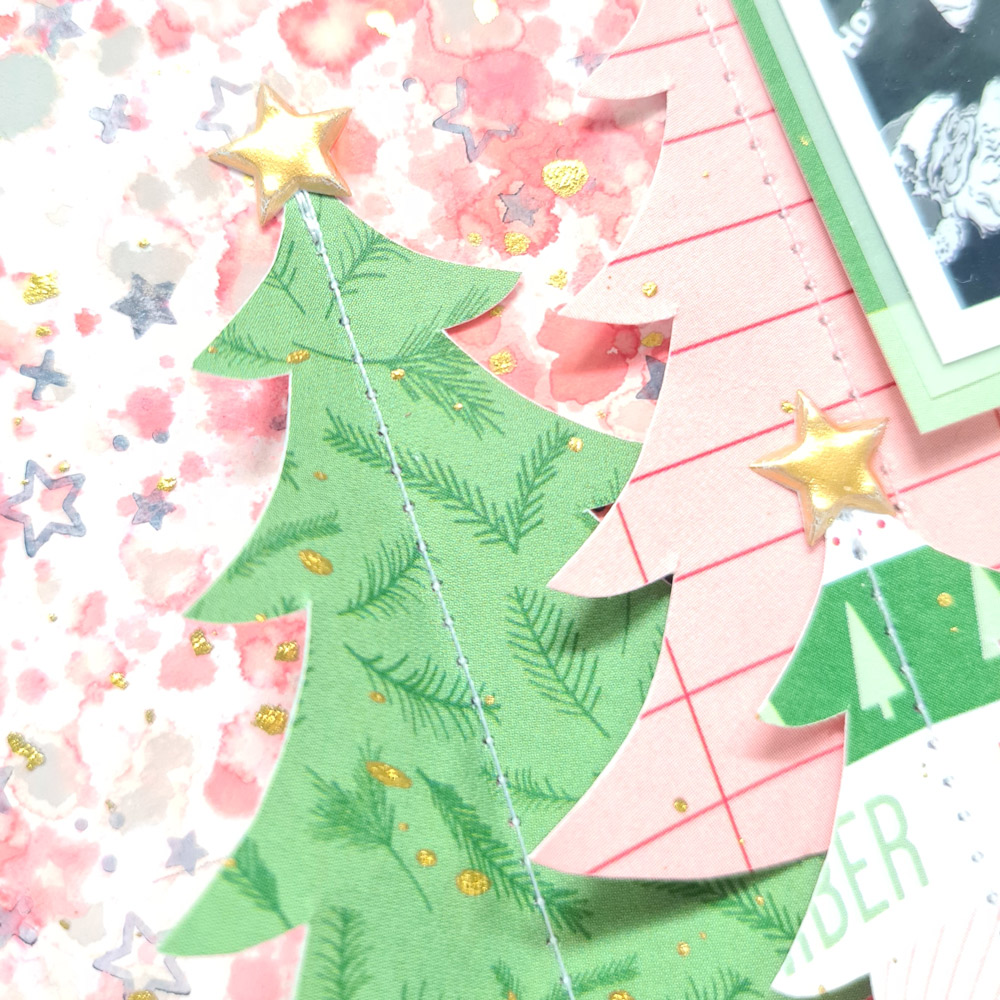
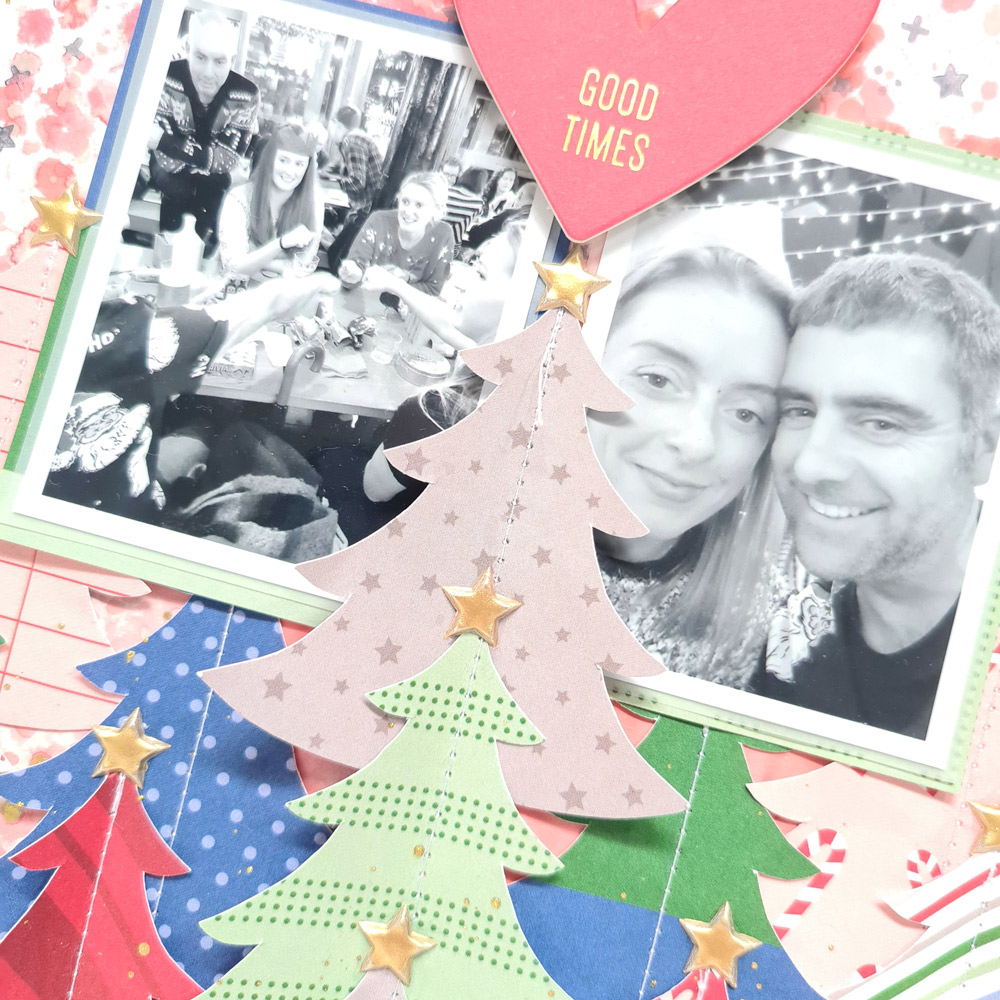
I began by sketching out a Christmas tree shape to create a template, then I fussy cut 13 Christmas trees as odd numbers are more visually appealing. I then got to work on my background by firstly prepping my white cardstock with clear gesso.

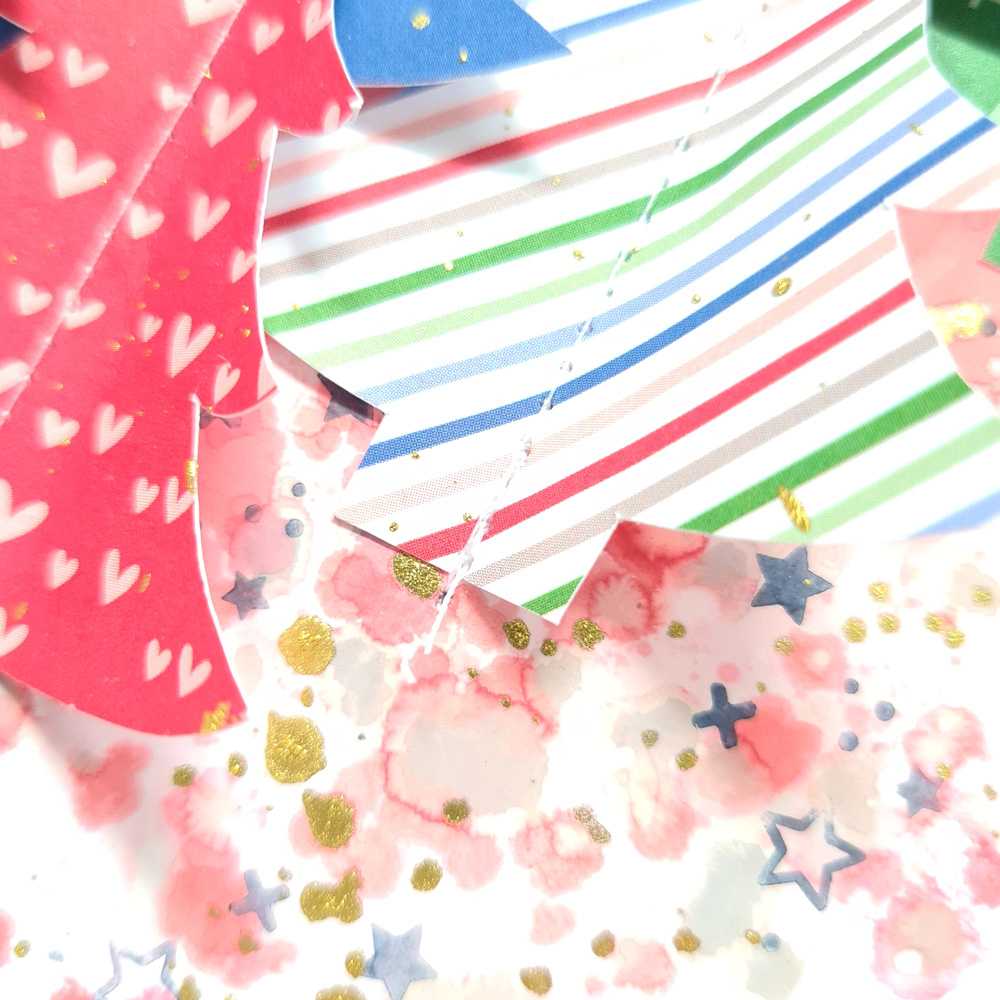
When the gesso was completely dry, I used the packaging technique along with Distress Oxide Sprays in complimentary colours to create my base. Furthermore, I randomly stamped, in black ink, stars from the A Merry Moment Stamp using second and third generation stamping to add depth to my background.

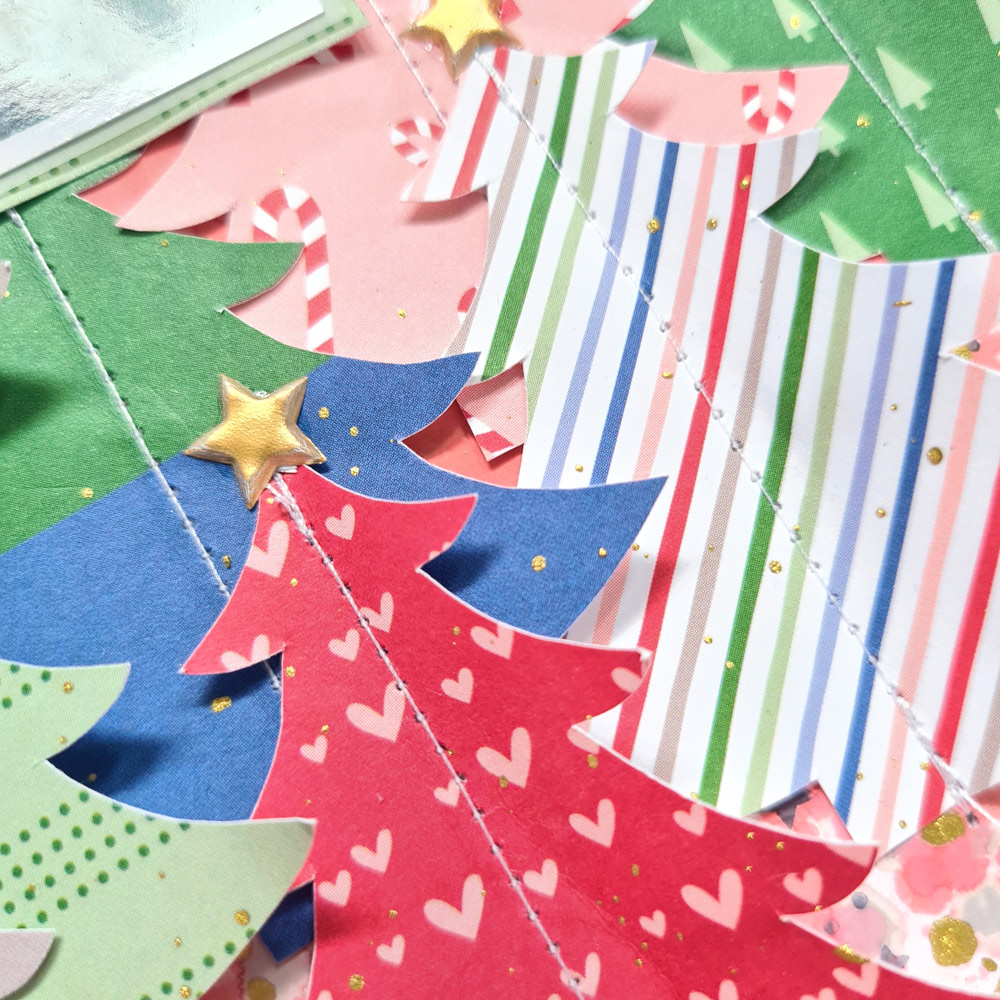
Next, I arranged my photos and Christmas trees and when I was happy with the placement I adhered them to my page using wet glue. When adhering my Christmas trees, I only used a tiny amount of glue as I wanted to machine stitch along the centre of each tree then fold up each side to add dimension to my layout. 

To make each little tree shine I added a gold star from the Gold Tiny Shapes and Dots Puffy Stickers pack. I need a truck load of these—they are so darn cute! 

To finish my layout, I added the ‘Good Times’ red heart from the Full of Joy Chipboard Stickers along with my journalling before I mounted my entire page onto grey cardstock to balance the grey tones of my photos. I absolutely love this time of year and all of the Elle’s Studio goodies are just perfect for documenting those magical moments!

Much Love!

Let me introduce myself! My name is Emma, “createwithemmakate” is my social media name and is where you can find all my scrapbooking ventures. I live in Bristol, in the United Kingdom, with my partner Joe and 5 year old little girl, Bea. During the day I work full-time as a Senior Science Technician but at night after I’ve put Bea to bed I like to relax by being creative.

Documenting my memories using paper crafts is such a joy for me, I feel like I have a picture book of Bea’s life which I absolutely love. Also eagerly awaiting the latest scrapbooking collection is always fun, knowing that you have more supplies than you will ever need but just cant resist that patterned paper that you don’t have or those super cute puffy stickers that you absolutely can’t live without. And the best thing about all of that, every scrapbooker understands the madness!

Find more of Emma’s creations, as well as more projects using the November 2021 kit and add-ons on Instagram and Facebook. Thank you so much for inspiring us this month, Emma!

Document December Prep Party Week Three with Marsha Farris

Welcome to week three of our Document December Prep Party! Today we’re hearing from design team member Marsha Farris who is organized, but doesn’t create much in advance. Maybe you’re the same? Let’s take a look at what products Marsha is pairing and what she has been creating using our Document December 2021 collection!

Hey, Elle’s Studio friends! This is Marsha, and I’m excited to share a few things I’ve done to prep my Document December album! I love documenting my holiday memories, and by doing a little prep work and planning before the month begins, the process is so much easier during the busy days of December. 

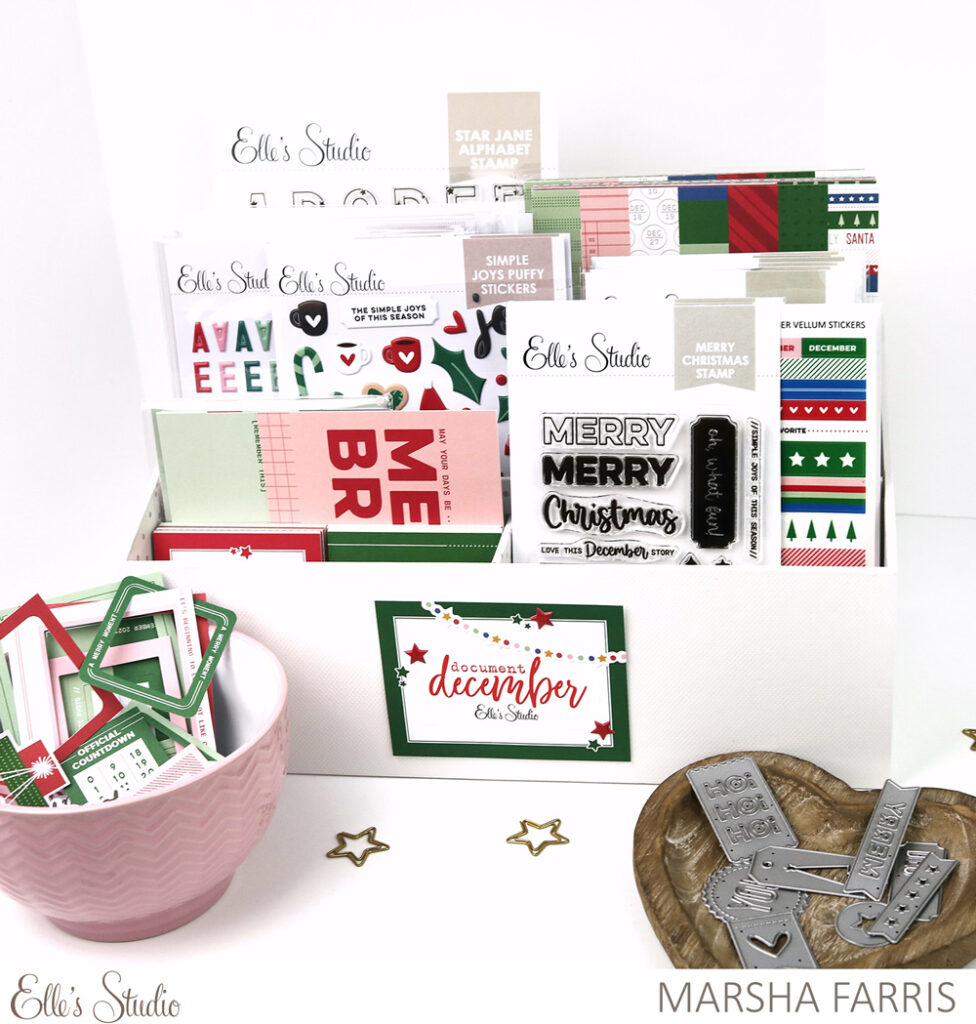
I organize all of my Document December supplies in a divided desk organizer, along with a few small containers for the smaller bits and pieces. This keeps all of the products together and easy to find while I’m crafting. I added a bit of holiday fun to the organizer by embellishing a Star Journaling Tag with a sticker and die cut from the Document December Kit and stars from the Christmas Tiny Shapes and Dots Puffy Stickers.

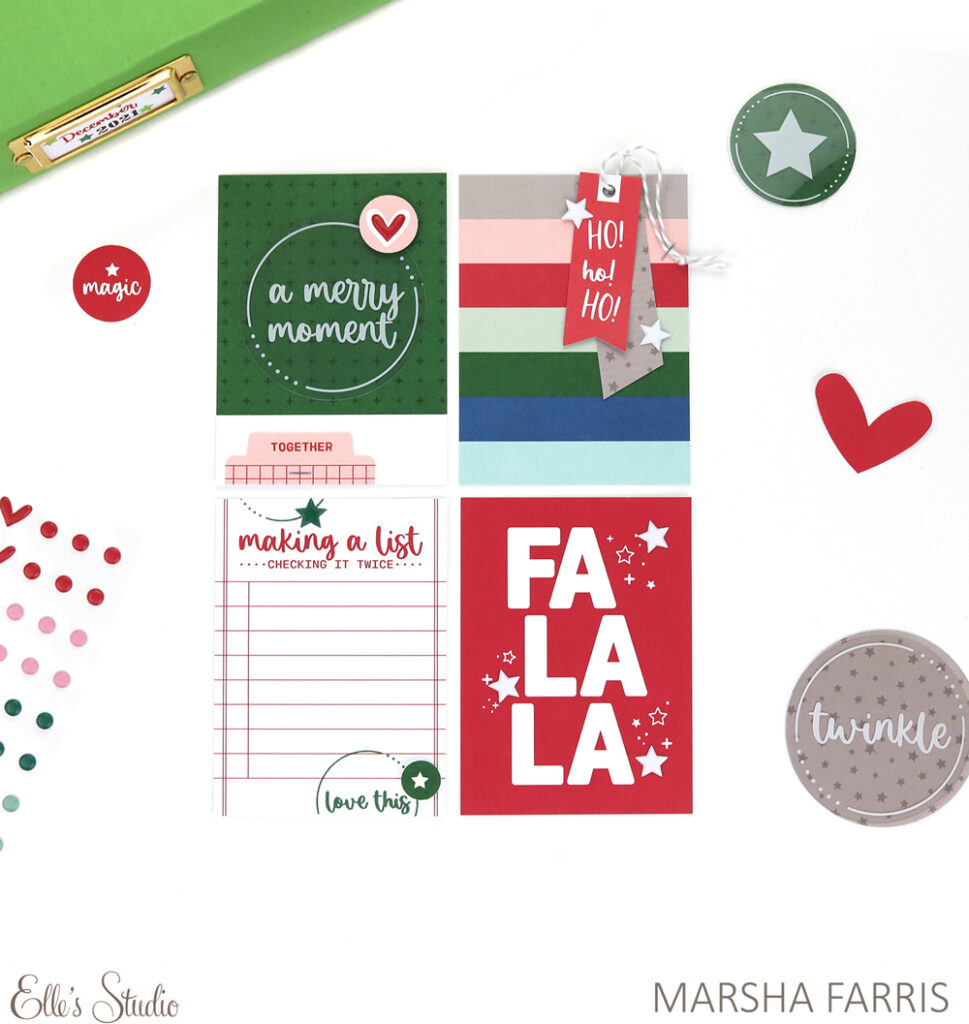
This year, I am using a traveler’s notebook-sized album. I don’t prep my entire album, but I enjoy creating a few pages and pocket tags before the month begins. I began by embellishing journaling tags from the November 2021 Kit using the A Merry Moment Stamp, Christmas Tiny Shapes and Dots Puffy Stickers, and die cut tags from the November Kit and Document December Kit.  

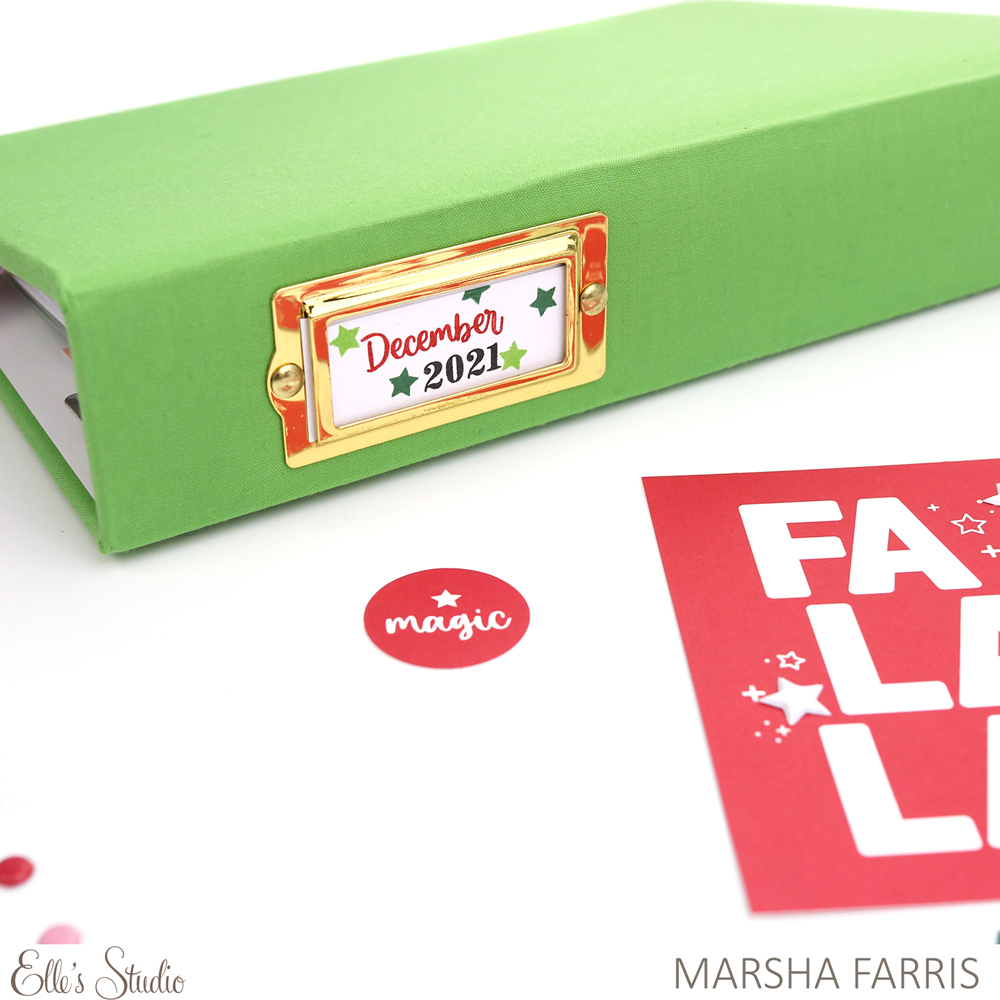
I also decorated the label on the spine of the album using the Merry Christmas Stamp and a few ink colors.

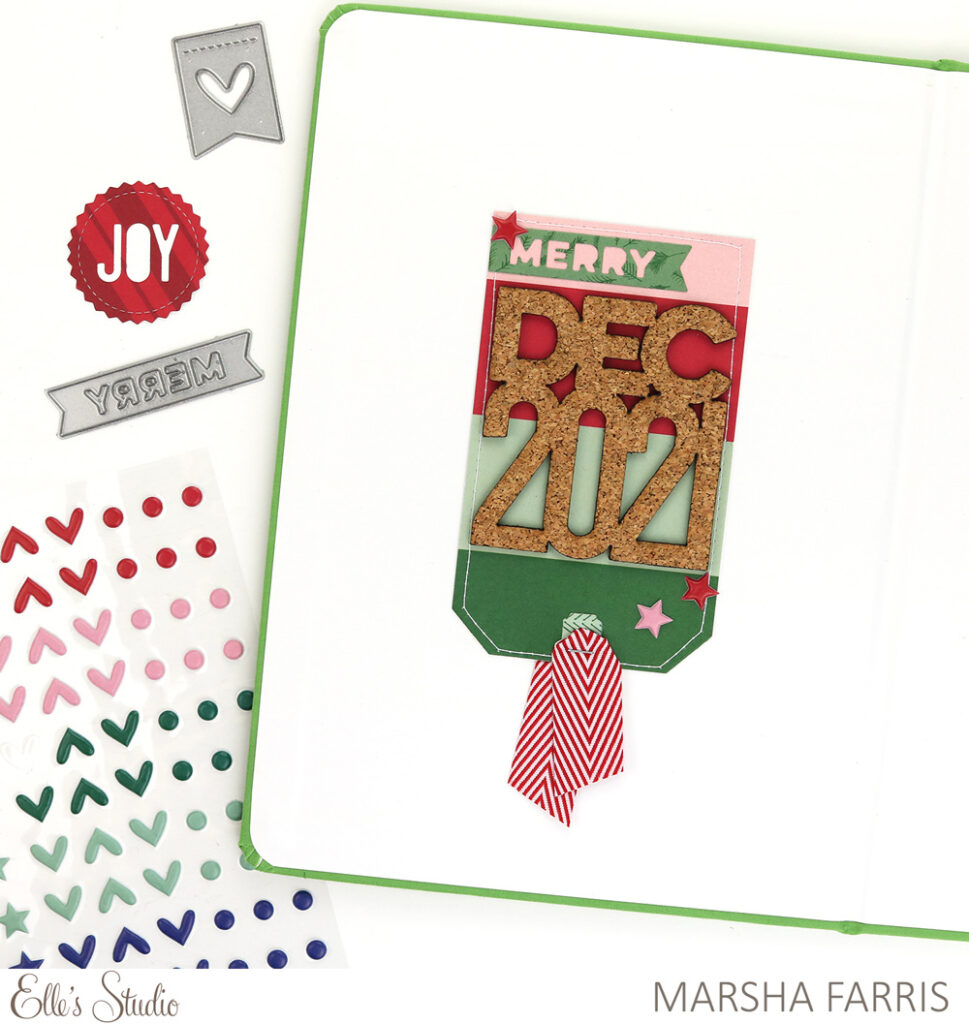
For the inside cover of my album, I cut out a tag with the Holiday Tags Metal Die and a striped patterned paper from the Wonder Paper Stack. Next, I added the December 2021 Cork and embellished it with Christmas Tiny Shapes and Dots Puffy Stickers and a die cut word created with the Christmas Die Cuts Metal Die.

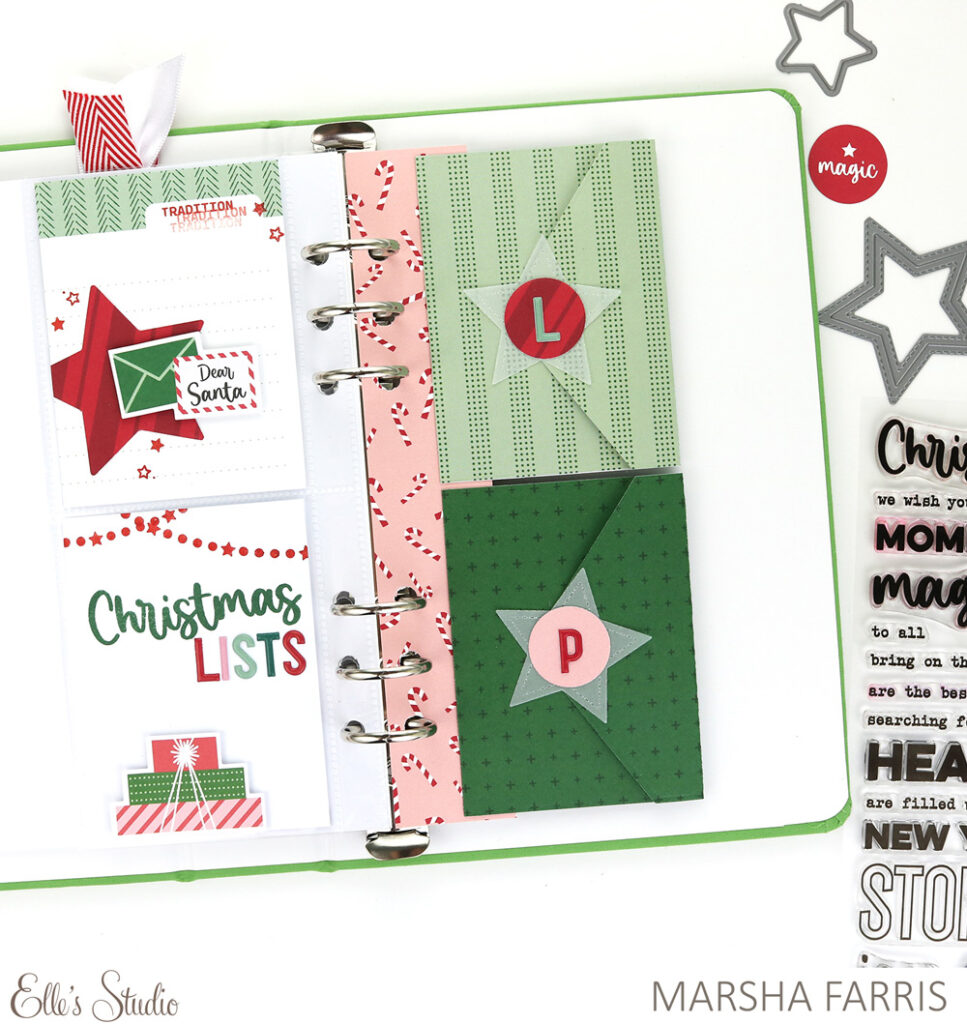
I created more embellished journaling tags with the Merry Christmas Stamp and the Title Builder Vol. 5 The Merriest Stamp to document my sons’ Christmas Lists for this year. I used the Pocket Envelope Metal Die and Wonder Paper Stack to create envelopes to hold their lists. 

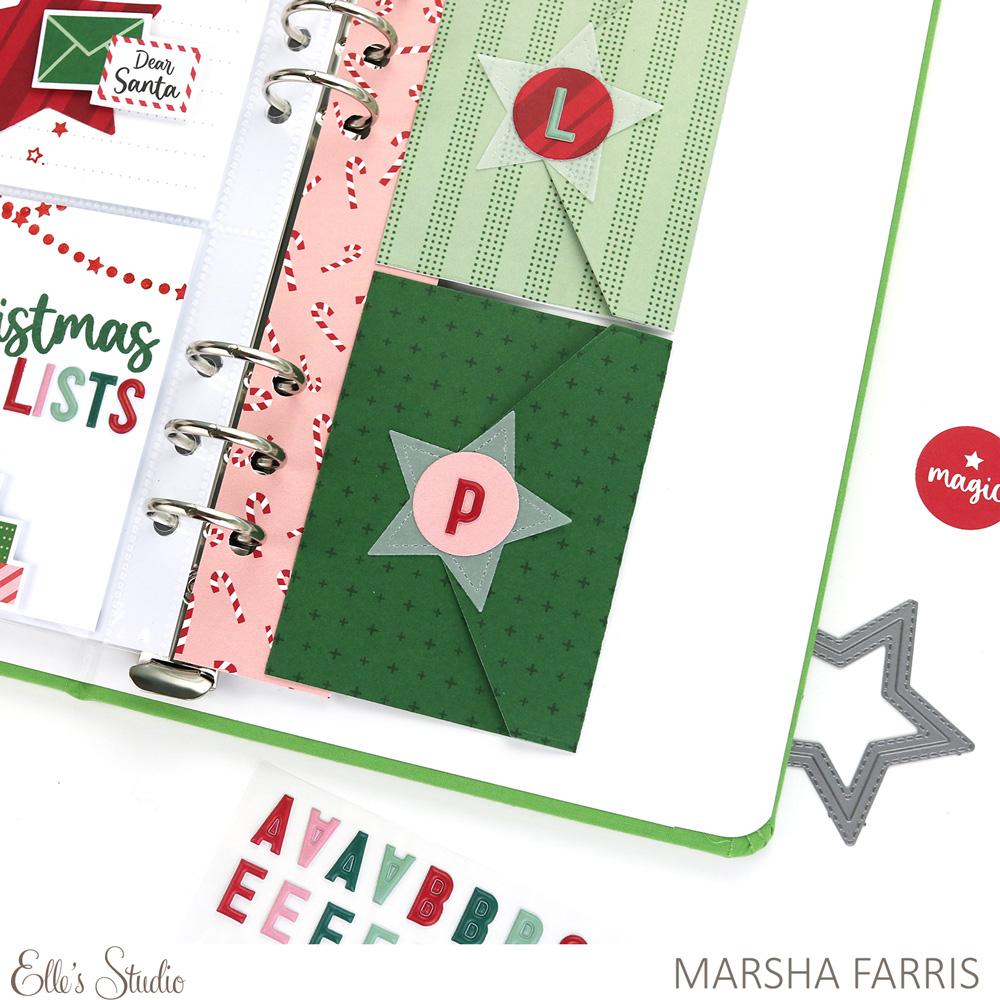
Next, I added die cut vellum stars created with the My Star Metal Die. The Christmas Puffy Alphabet Stickers were perfect for including the initial on each envelope. Then, I adhered the envelopes onto a trimmed patterned paper and punched holes along the edge to hold this page in the album. Now the envelopes are ready for my boys’ Christmas wish lists!

I’ve enjoyed sharing a few items I have prepped for my December album using the November 2021 kit and add-ons, along with the Document December 2021 collection! Thanks so much for stopping by today! Happy holiday documenting!

Supplies | Document December 2021 Kit, November 2021 Kit, Star Journaling TagsChristmas Puffy Alphabet Stickers, Christmas Tiny Shapes and Dots Puffy Stickers, December 2021 Cork, Magical Acetate CirclesWonder Paper Stack, A Merry Moment Stamp, Title Builder Vol. 5 The Merriest Stamp, Merry Christmas Stamp, Pocket Envelope Metal Die, Holiday Tags Metal Die, Christmas Die Cuts Metal Die, My Star Metal Die

Show us how you are getting ready for this merry project using our products! Join and post to the discussion board in the Elle’s Studio Facebook Group so that we can all be inspired by YOU!

Full of Joy with Nicole Kerr

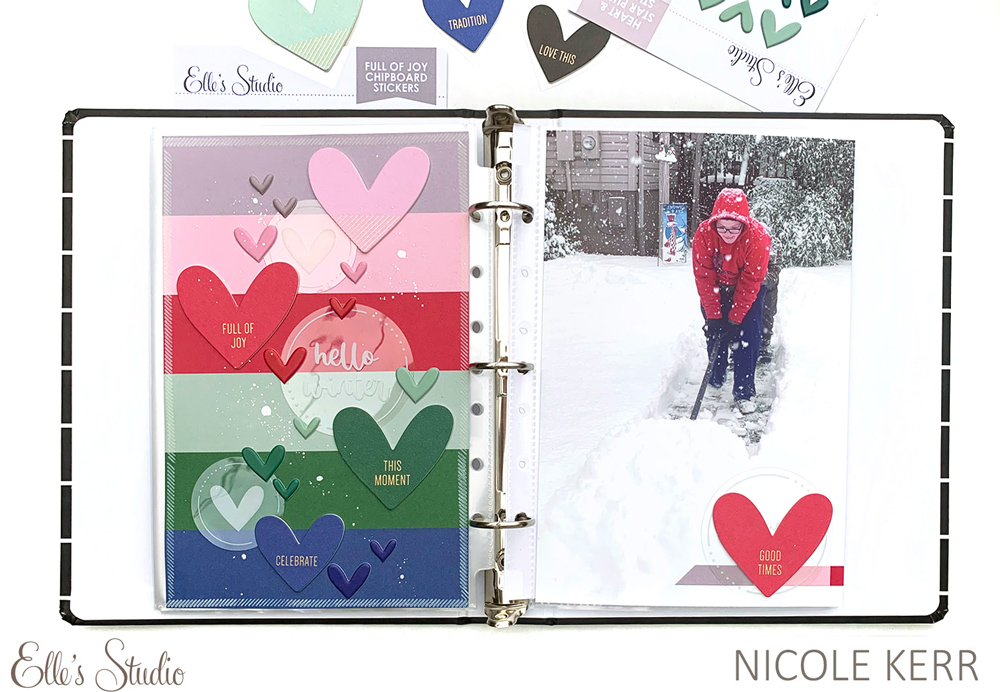
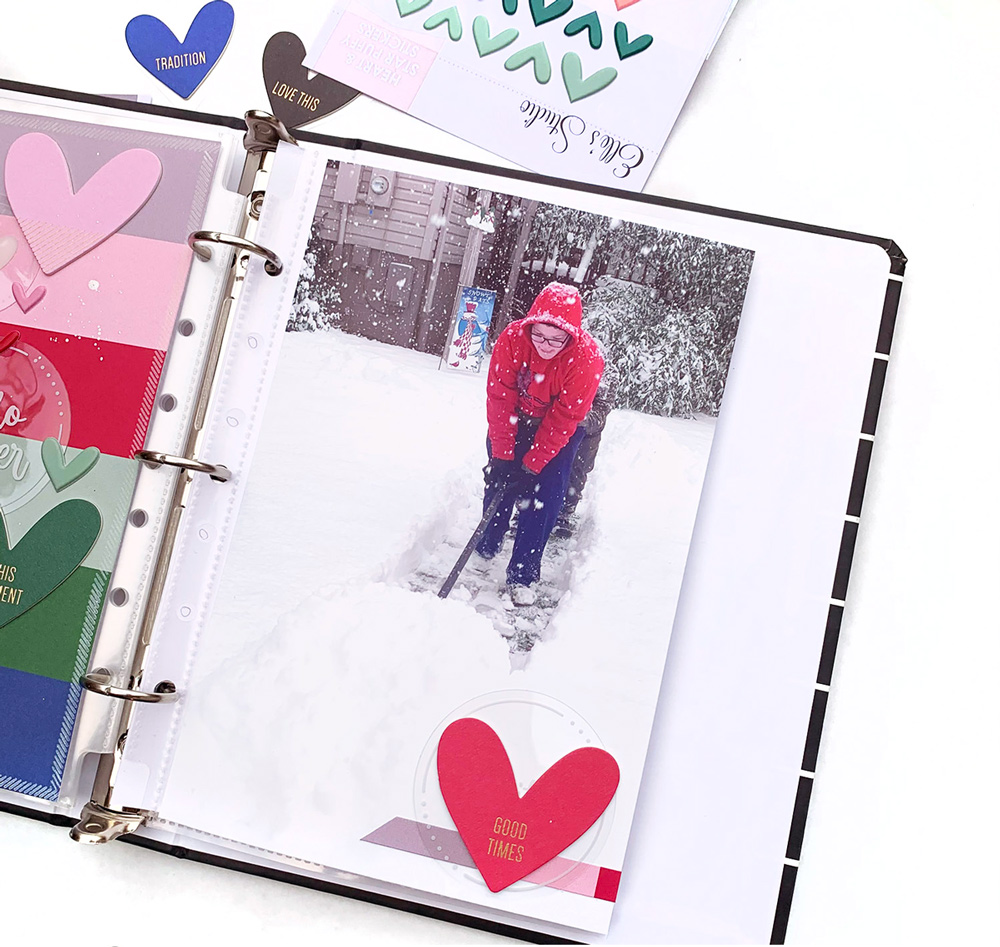
Hello Elle’s Studio Friends! It’s Nicole here and today I get the pleasure of featuring the new Full of Joy Chipboard Stickers on a project today! These gorgeous heart-shaped stickers are going to be perfect for documenting your holiday and everyday moments this time of year! Today, I’m sharing how I documented a story of my son and his love for shoveling snow in the winter. We had a huge snow storm last year around Christmas and these chipboard stickers were perfect for documenting that memory!

Supplies | Full of Joy Chipboard Stickers, Puffy Heart and Star Stickers, Tiny Shapes & Dots Puffy Stickers – Neutral Magical Acetate Circles, Wonder Paper Stack, Home Sewn Stitches Stamp

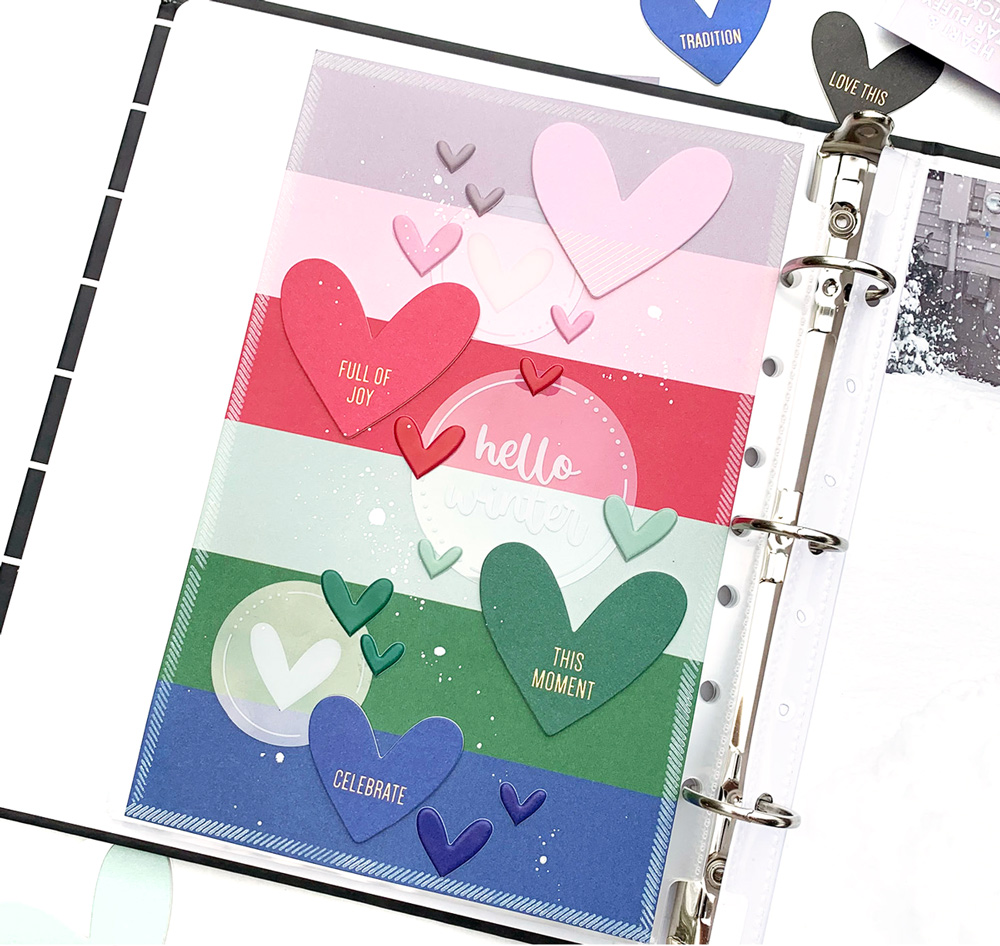
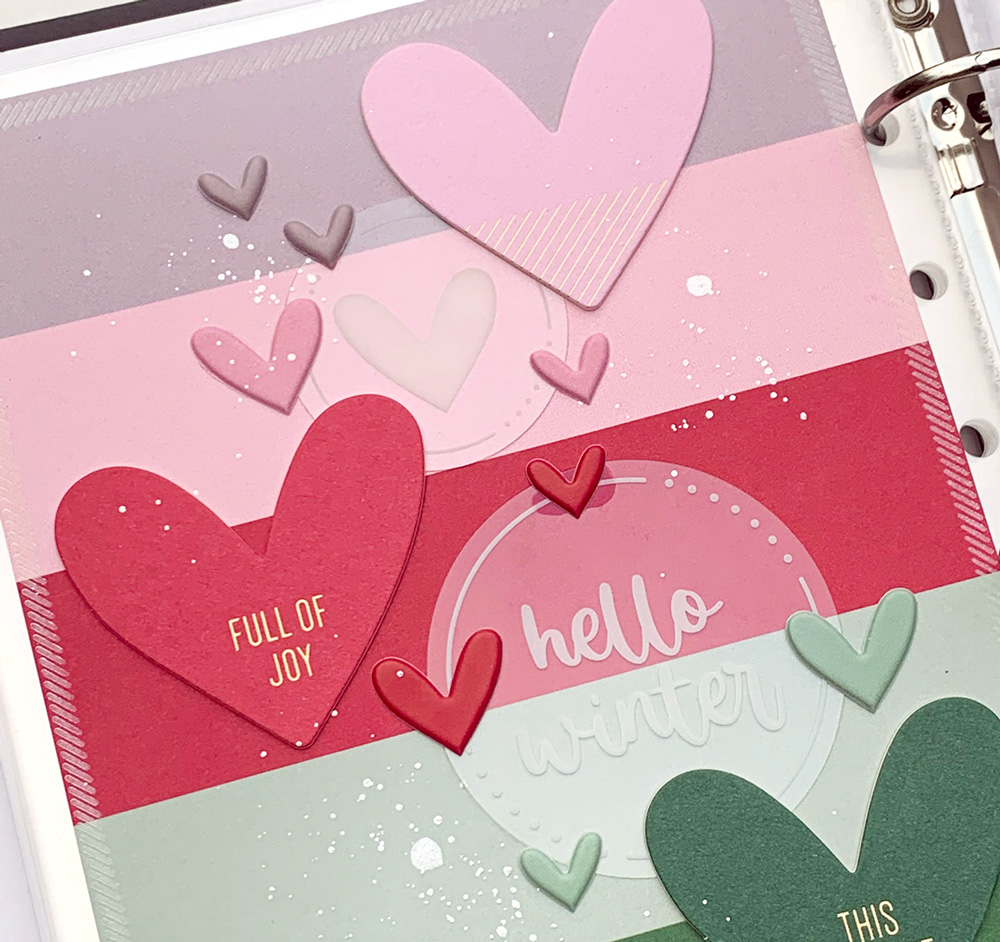
For the left side of my spread, I wanted to feature these beautiful chipboards. I used the coordinating striped paper from the Wonder Paper Stack and color-blocked the Full of Joy Chipboard Stickers as well as the Puffy Heart and Star Stickers and grey hearts from the Tiny Shapes & Dots Puffy Stickers

Behind a few of these hearts, I layered a few of the Magical Acetate Circles with hearts and also one that said “hello winter.”  To give it a pop of sparkle, I used silver shimmer watercolors to add a few splatters. Finishing this side, I used the Home Sewn Stitches Stamp and stamped a white diagonal border that coordinated with the gold diagonal stripes on the hearts. Keeping colors, patterns and shapes similar helps keep the layout cohesive.

For the right side of my spread, I chose to use a full page photo. The photo is predominantly white, which helps the eye “rest” from all of the busy colors on the left side of the spread.  In this white space, I used another acetate circle and chipboard heart to bring the colors from the left to the right. I also added a small strip of the same paper, cut at a coordinating diagonal, to bring that element to the right side of the spread as well.

The Full of Joy Chipboard Stickers are a perfect addition and focal point to any spread; holiday or every day! Layering with acetates, or coordinating with papers and other puffy hearts can make for a dimensional spread! Be sure to grab your set in the shop today before they’re gone! Thanks so much for joining me today and I hope you’ve been inspired!

Did you grab the Full of Joy Chipboard Stickers from our shop during our November release? Share how you used them in your projects by posting on Instagram using the hashtag #EllesStudio, or sharing in our Elle’s Studio Facebook Group!