We are loving all the questions you are sending our way! Keep them coming!
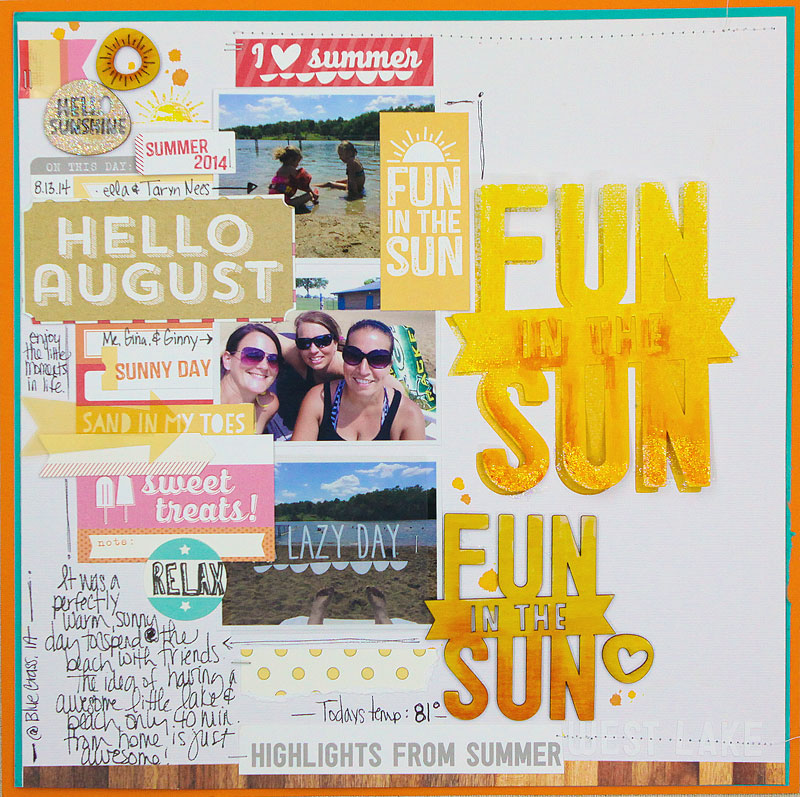
Today, I’m going to try to cover a few of them while sharing a layout I created that was inspired by your questions!
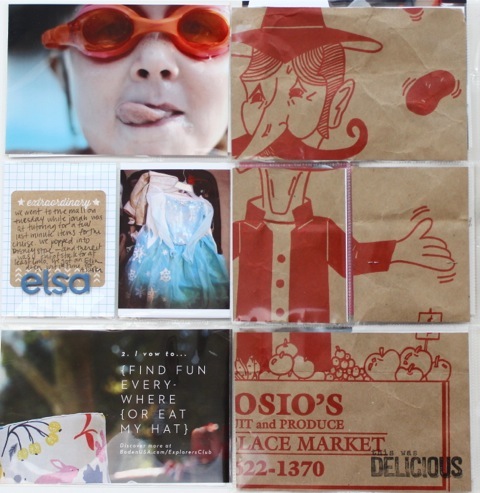
Q :: I just purchased my first cutting machine (the Silhouette) and I LOVE that you have Cut Files that coordinate with your kits and collections. Could you share a few ideas of how to use them?
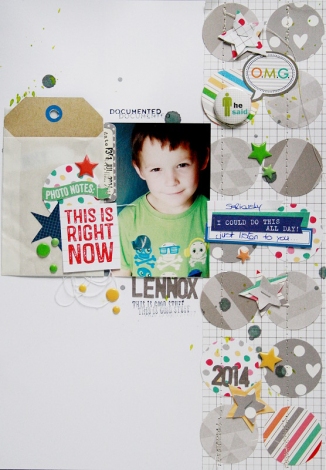
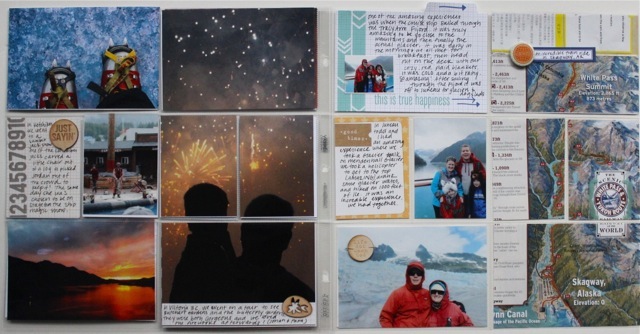
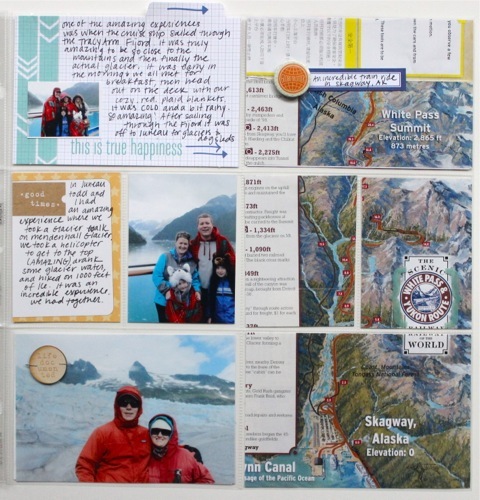
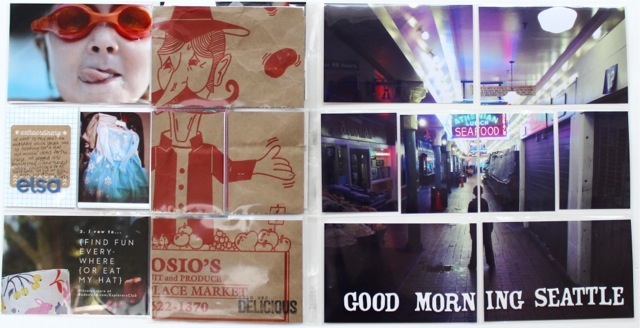
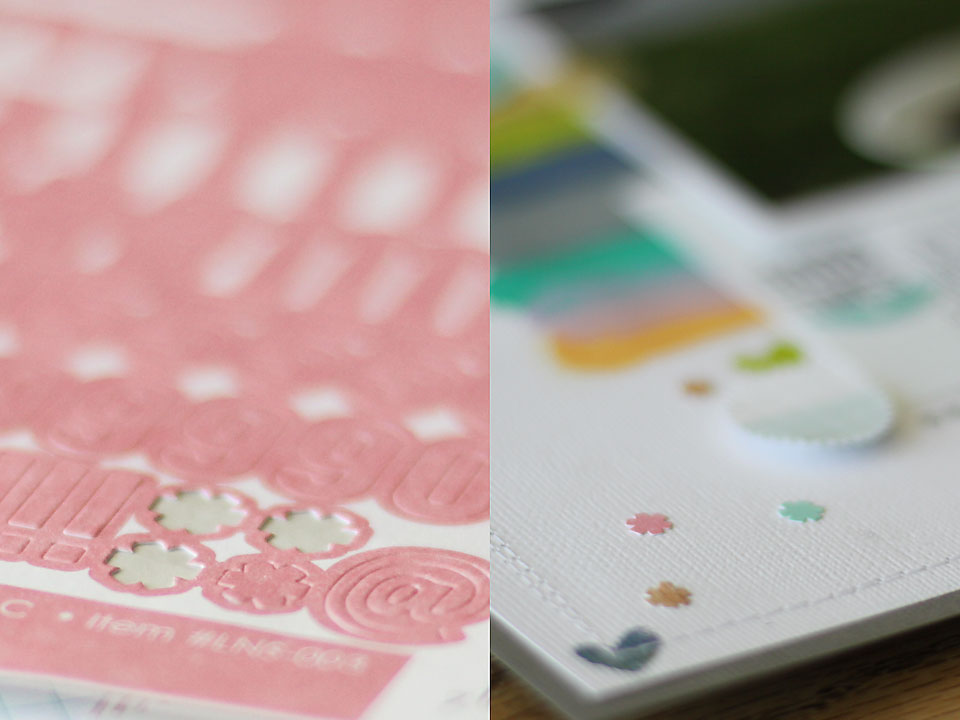
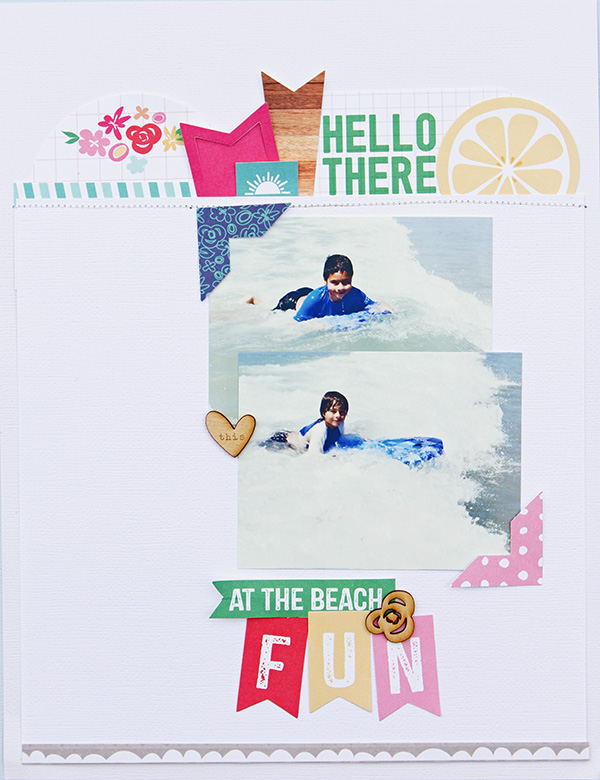
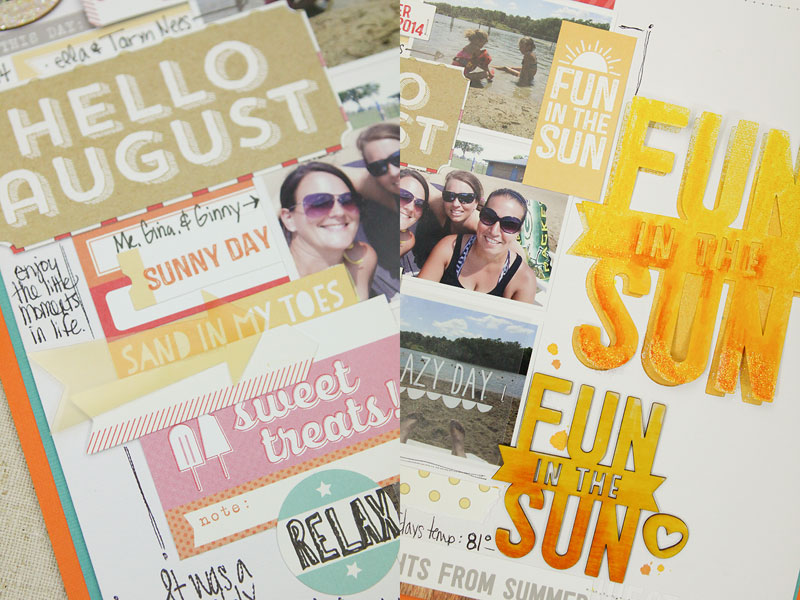
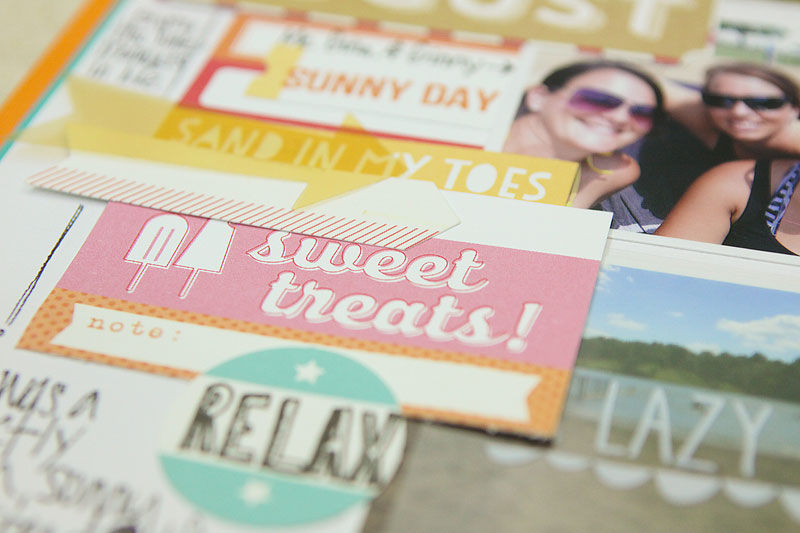
A :: Here’s a simple one for you! I used the “Fun in the Sun” cut that was released in June and cut it from a full 12×12 sheet of white card stock.
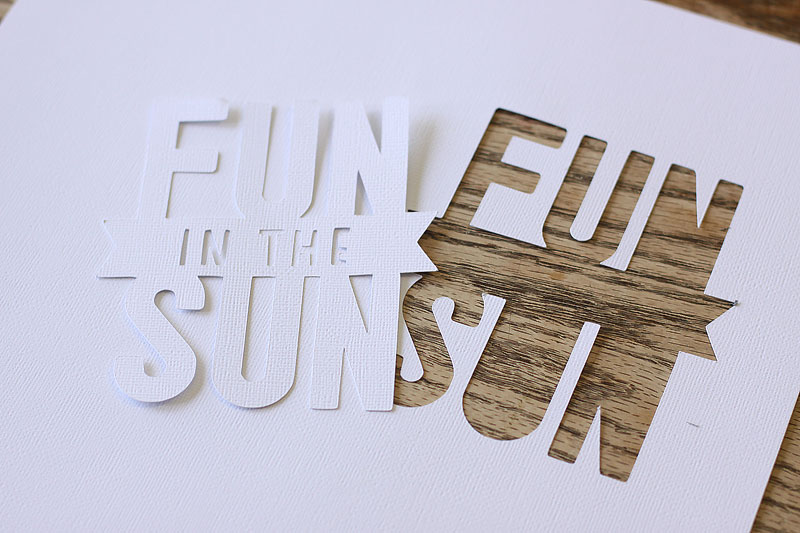 I then used a few spray mists on another sheet of white card stock to use underneath the cut layer.
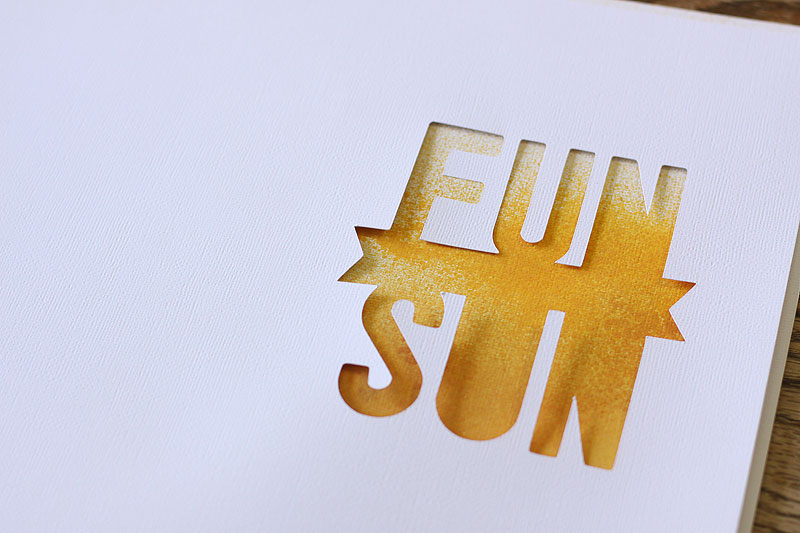 I also sprayed the cut portion of the Fun in the Sun and layered that as the third layer.
 By adhering it only in the center it keeps the appearance of depth without making the page too think in your album.
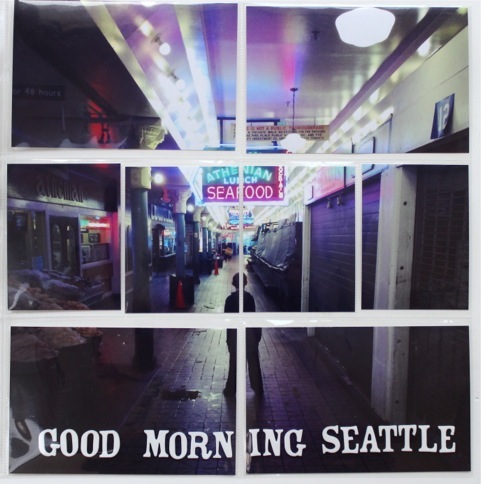
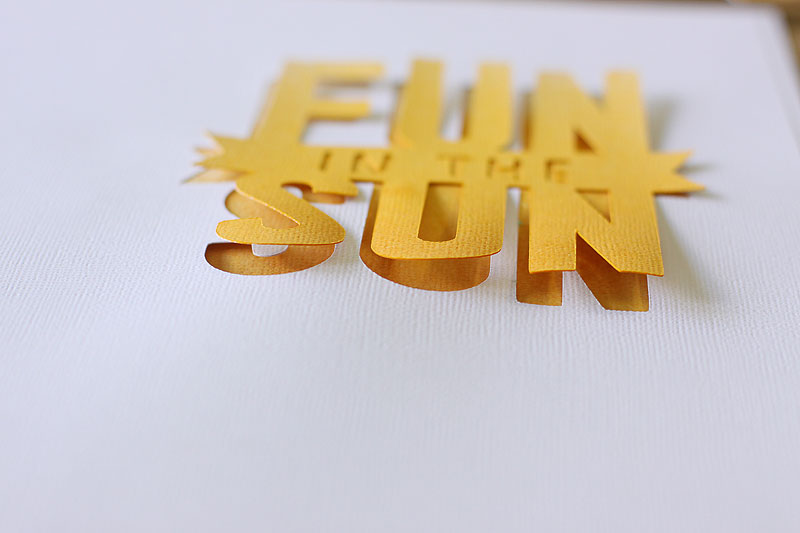 Q :: I’m new to stamping. How can I use just a portion of a stamp image if I don’t want the whole thing on my page?
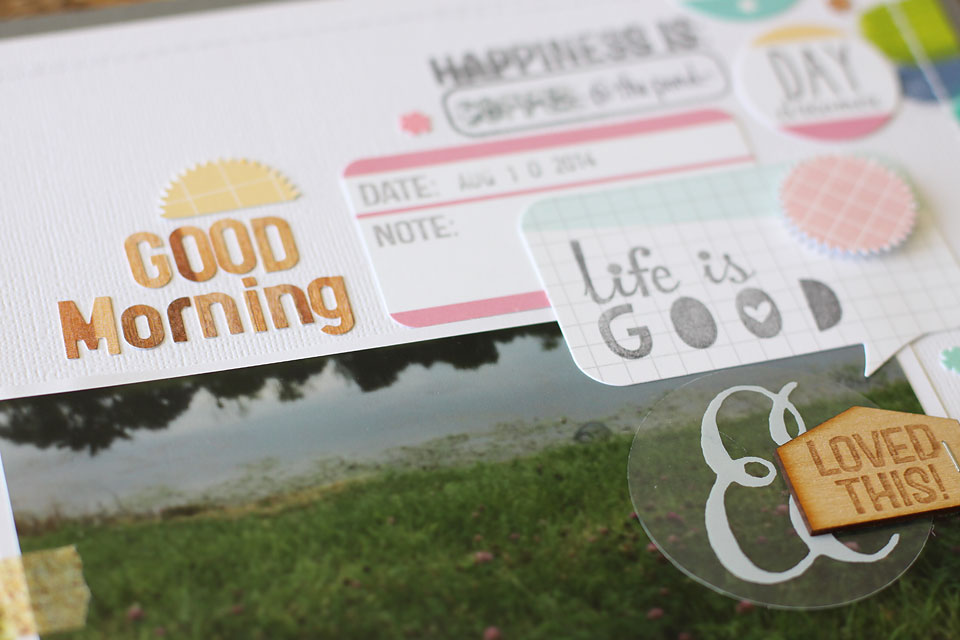
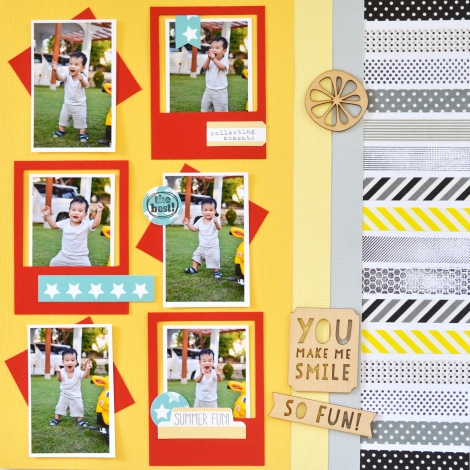
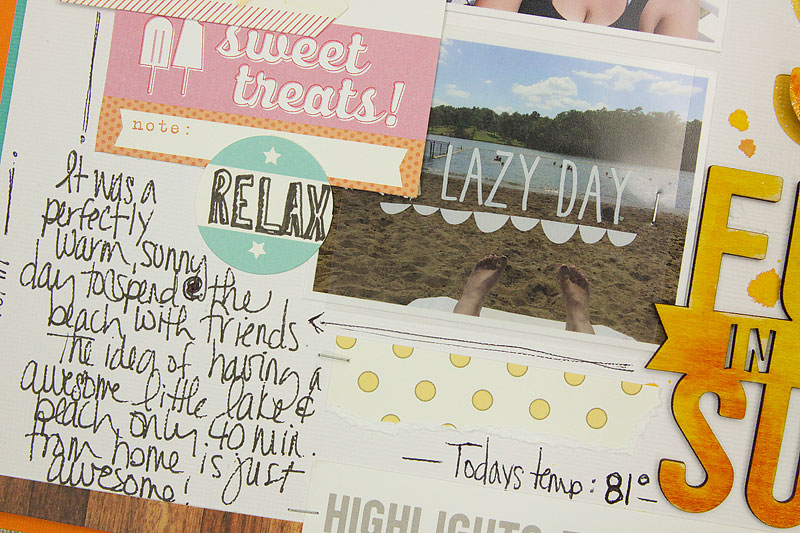
A :: This is where a water based marker comes in handy and makes the possibilities endless! Using the brush end of the marker; color directly onto the stamp … 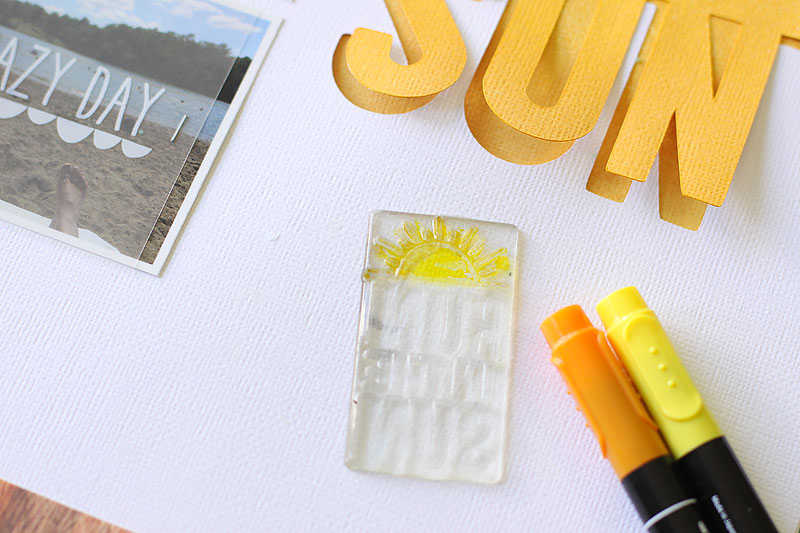 and press onto your page!
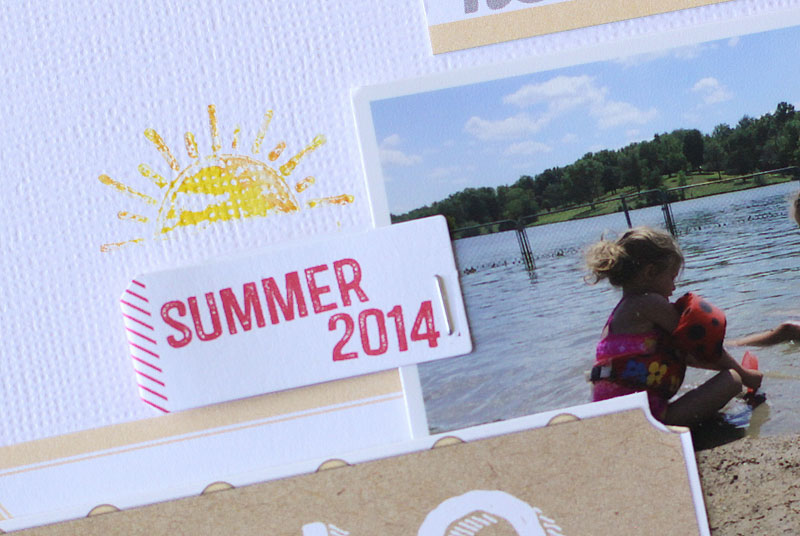
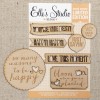
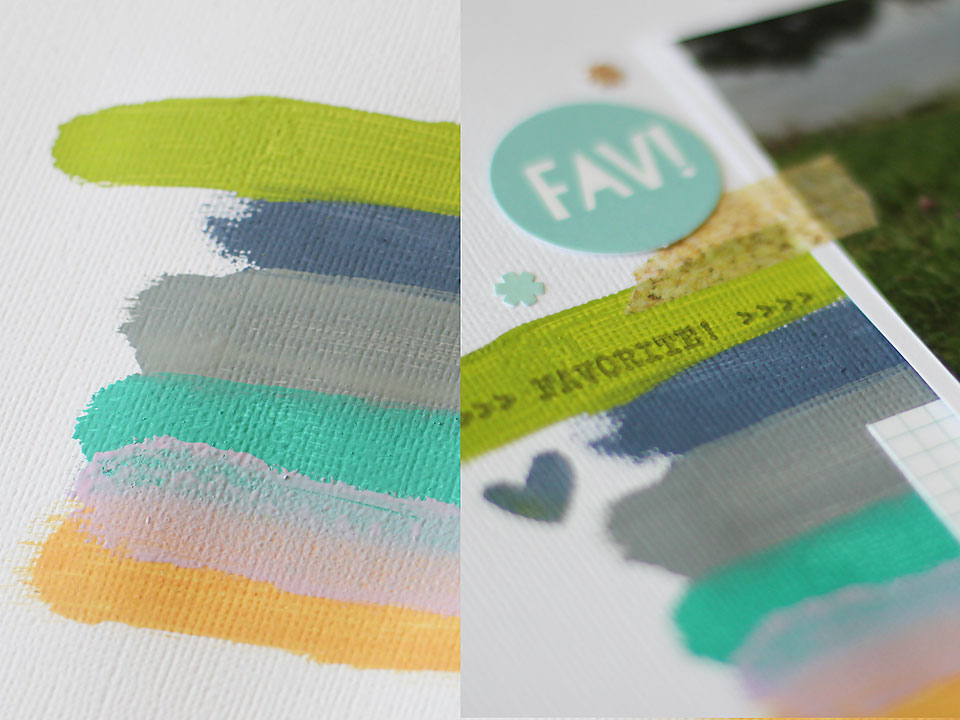
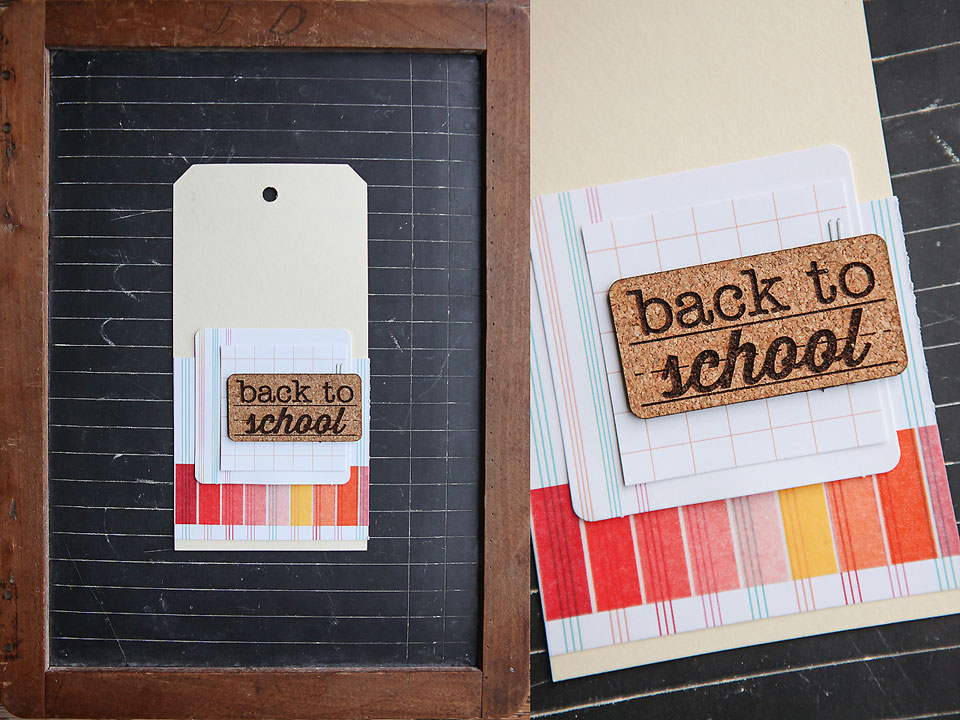
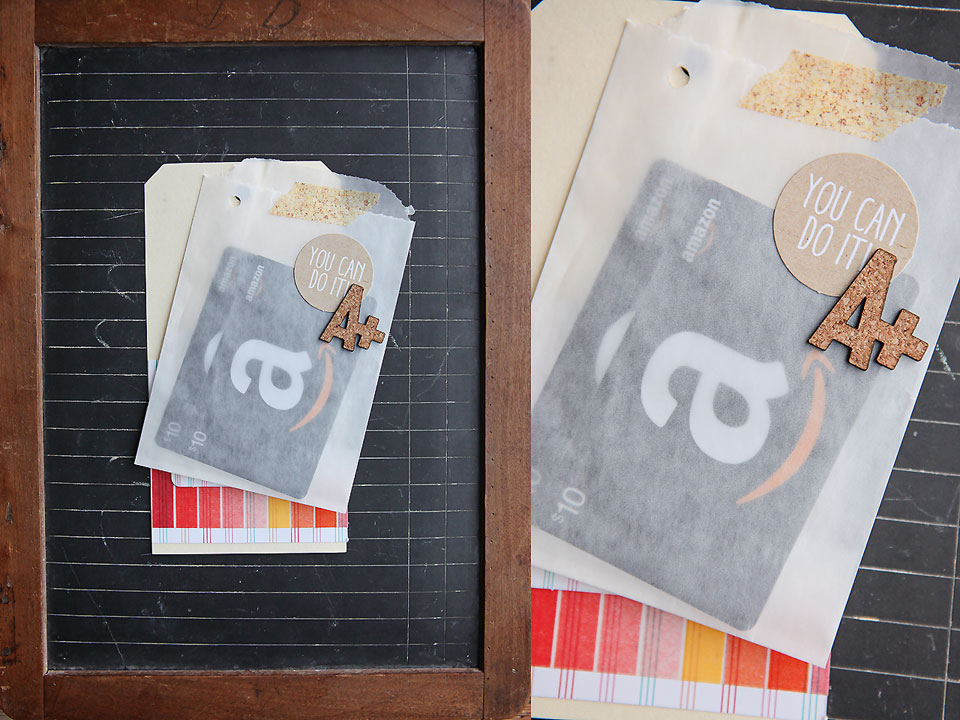
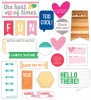
Q :: I love the Wood Veneers, but want to be able to use them in a variety of ways. What else can I do with them?
A :: Paint them! Emboss them! Glitter them! Color them with markers! Here’ s few samples of how I used those ideas …
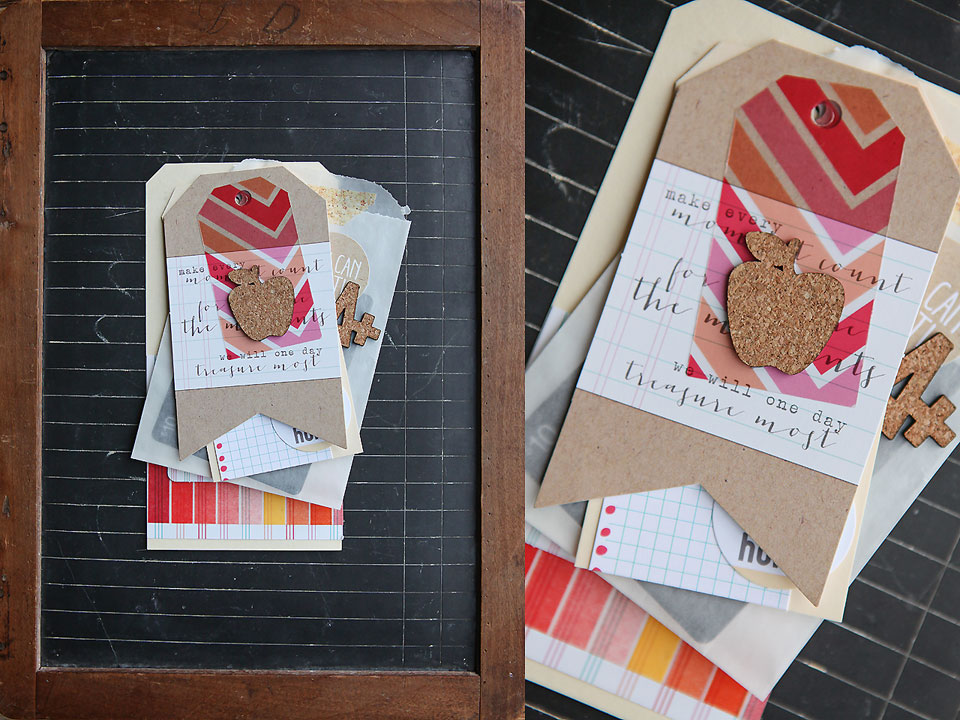
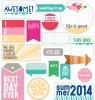
Step One : Cover with liquid glue. Step Two : Pour on the glitter.
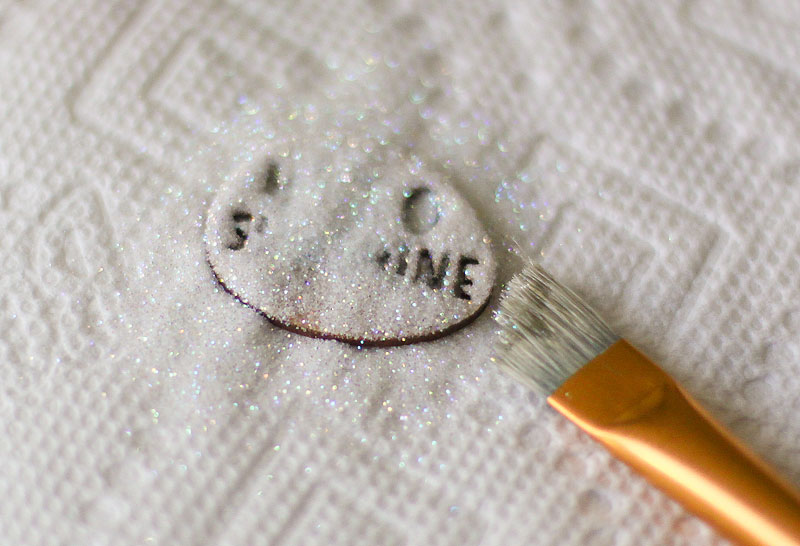 Step Three : adhere to your page!
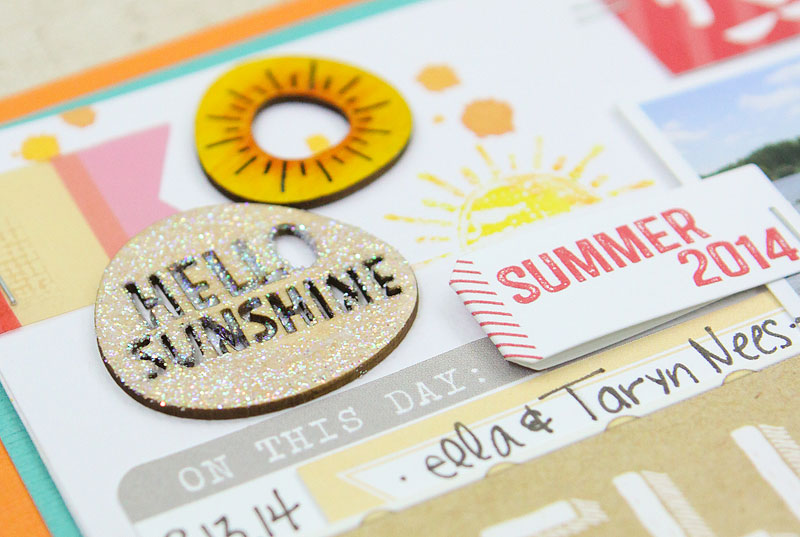 Coloring with Markers ::
That pretty much says it all. Color directly onto the wood veneer piece!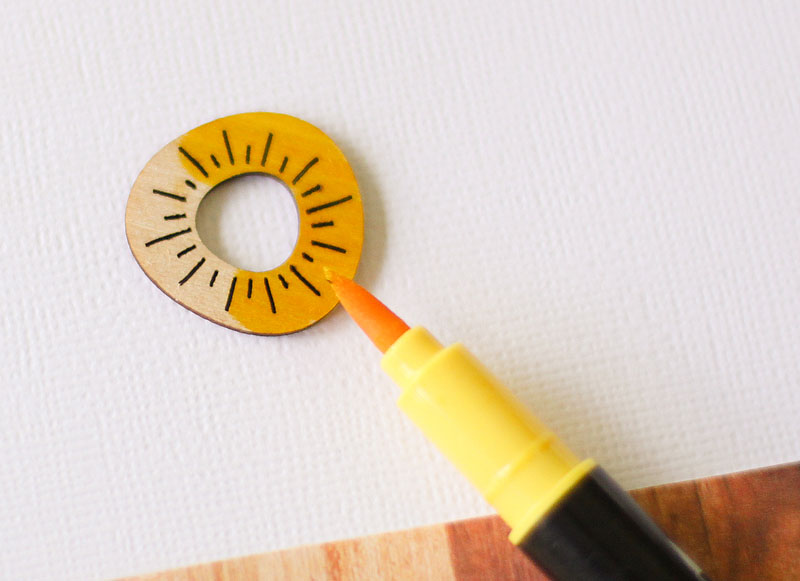 I blended a few colors together onto a variety of the wood veneer pieces and love how it turned out! So fun!
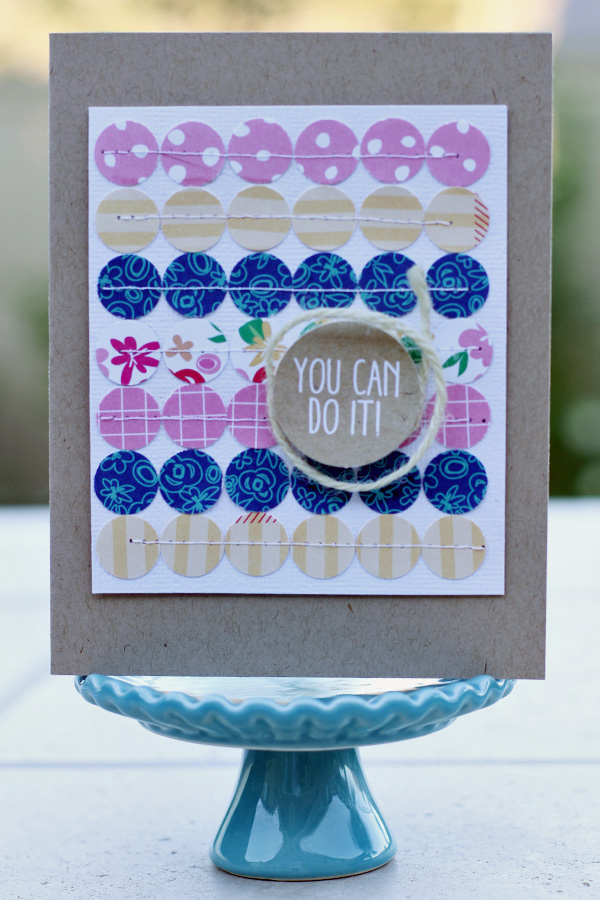
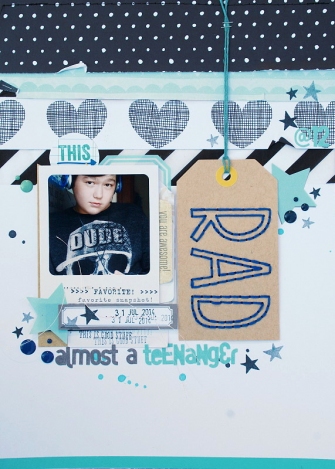
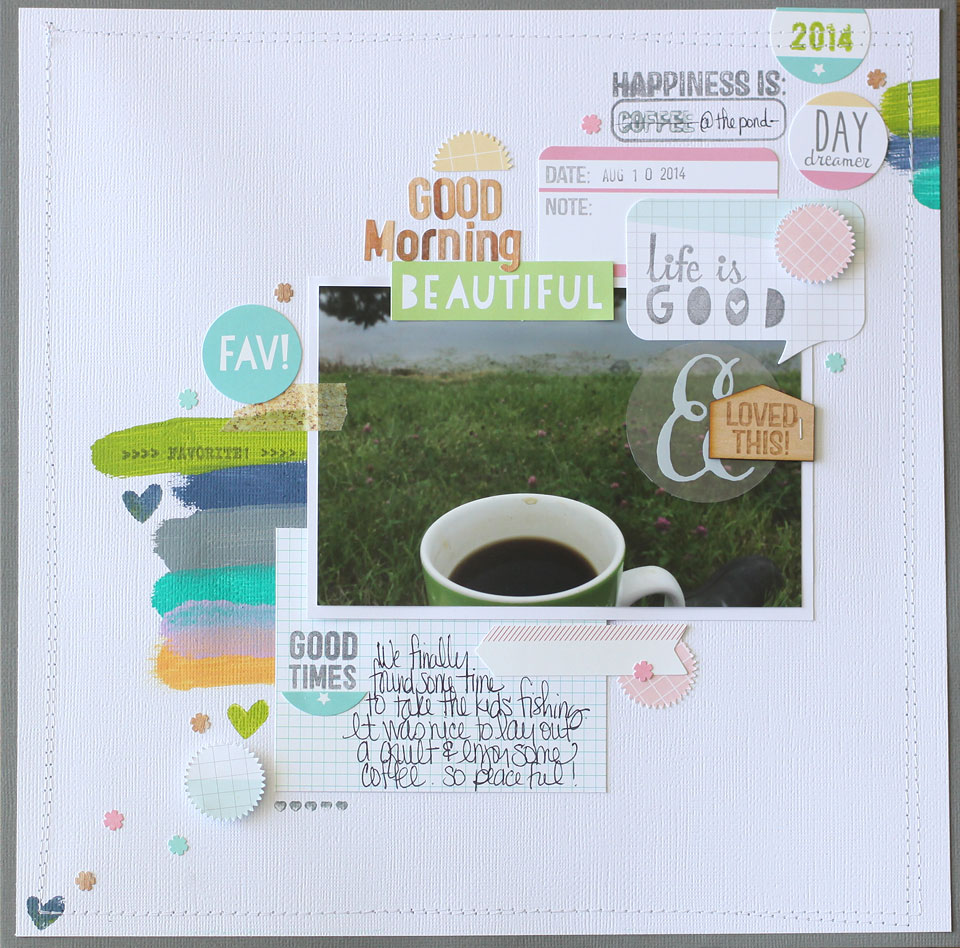
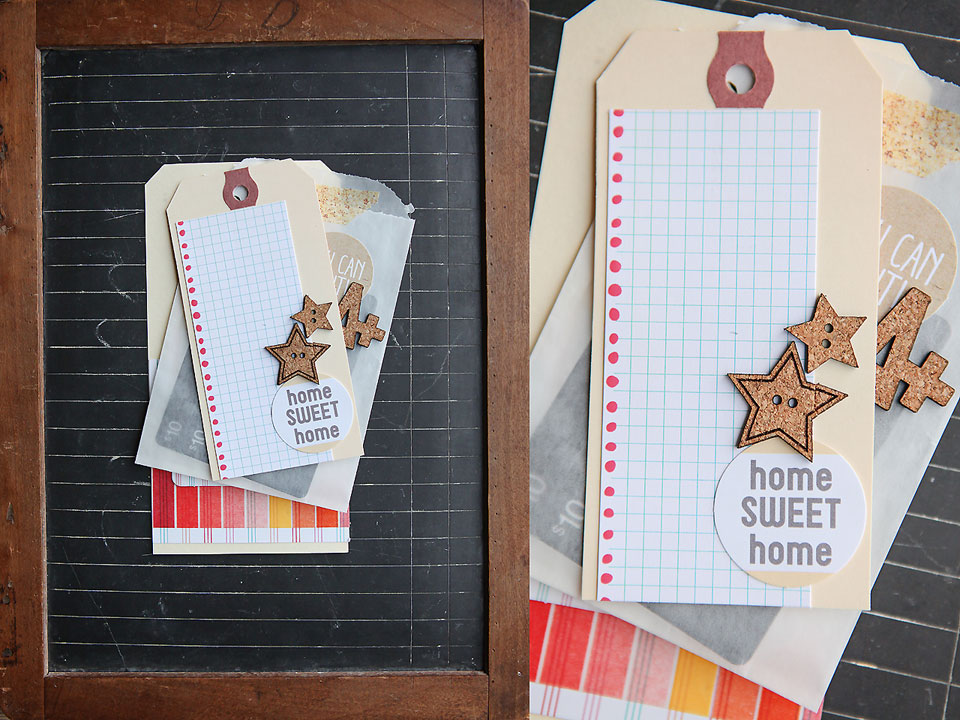
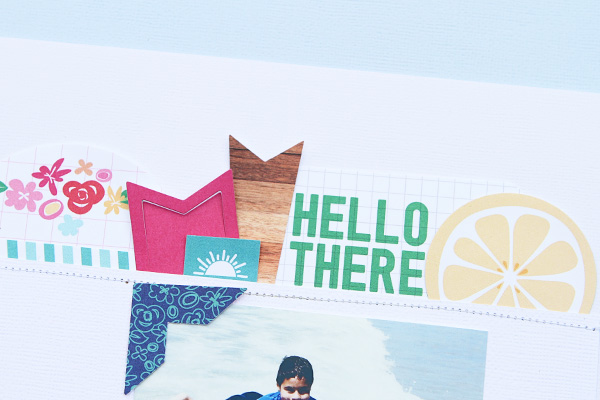
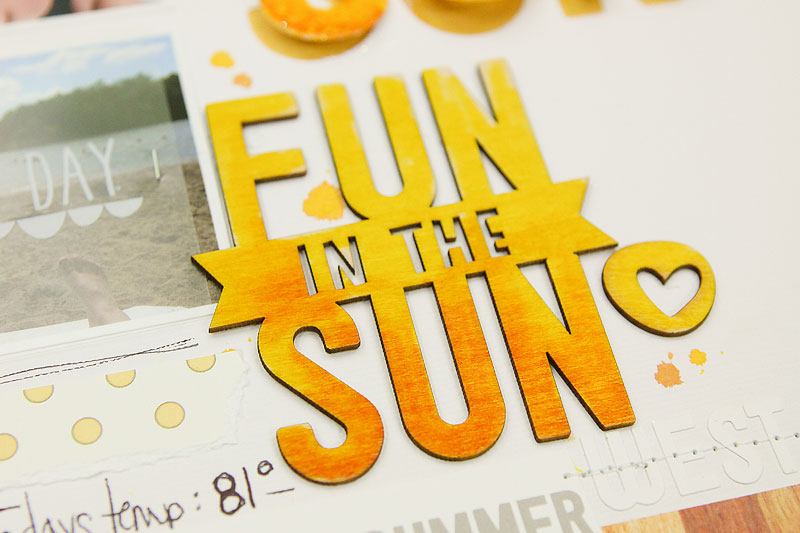 Q :: Machine sewing seems to be everywhere in the scrapbooking world, but I’m not sure what the purpose of it is. Any insight?
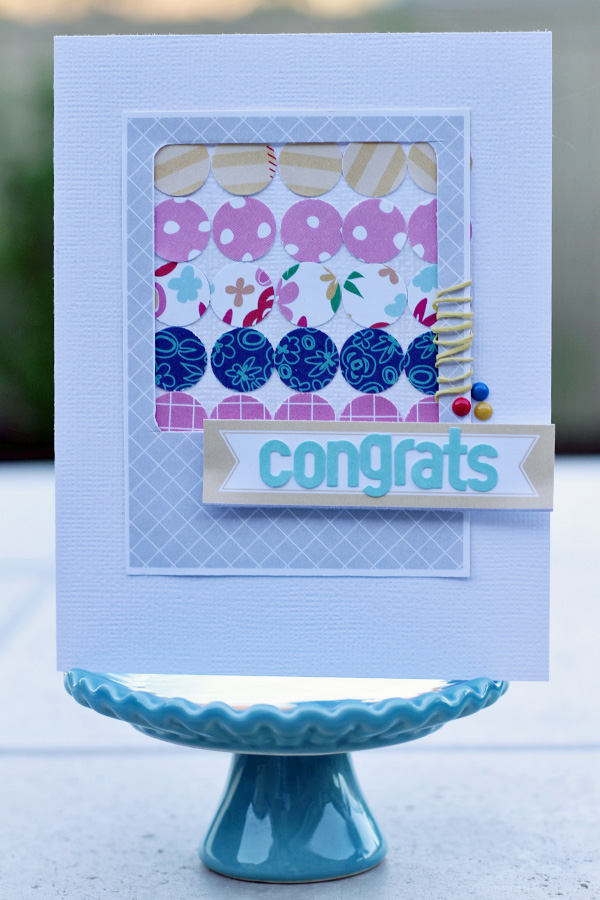
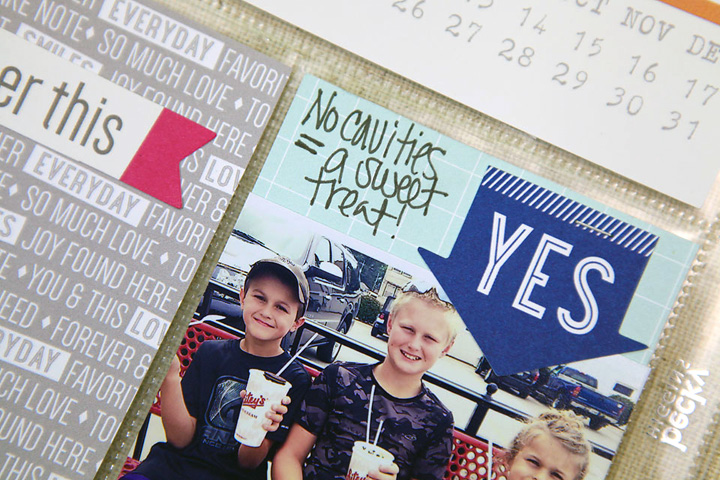
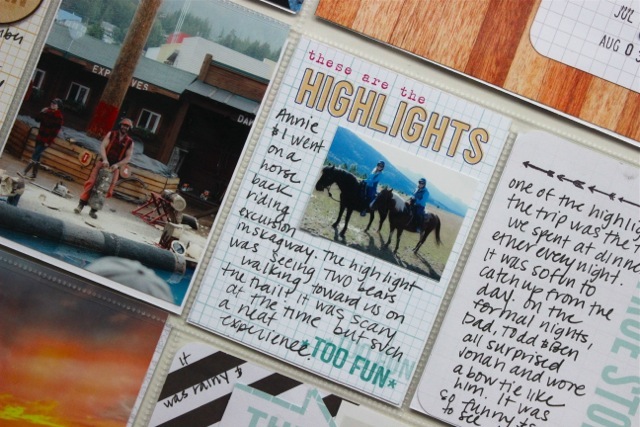
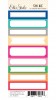
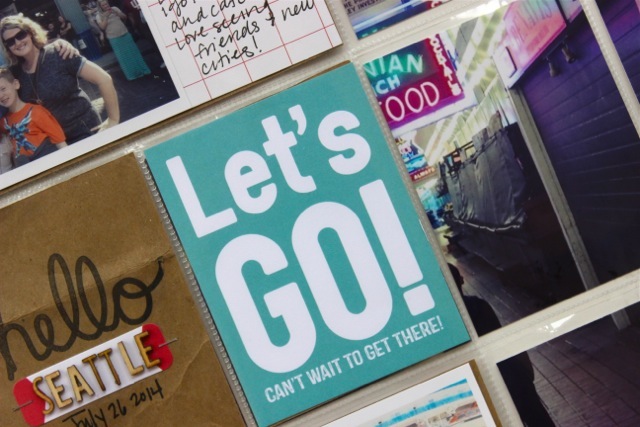
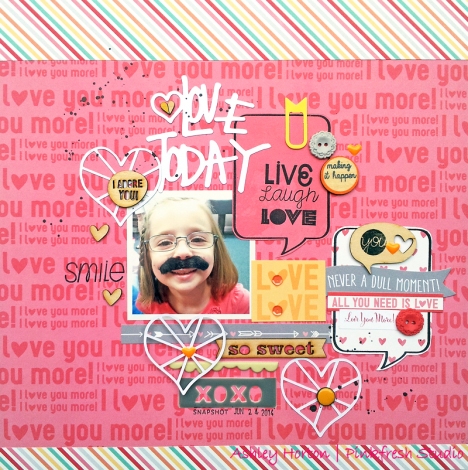
A :: For me, it not only adds a personal touch to a page, but adds balance to a design, as well as helps insure layers will be held together for a very long time! Below, it appears the sewing is simply to highlight the letters, when in fact it’s holding together four different layers!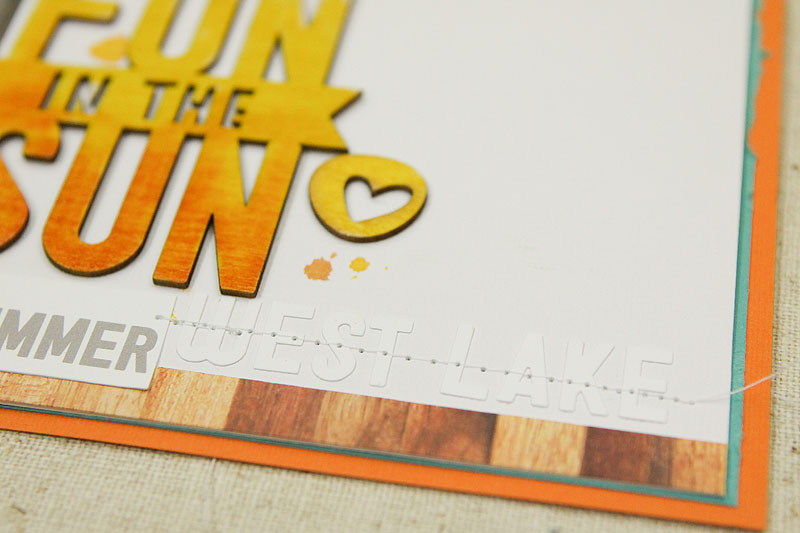
I hope this has inspired you to not only try a few of these techniques, but to keep sending in your questions!
Send them to us here : info@shopellesstudio.com
 Happy Creating and enjoy your Holiday weekend!
~ Megan
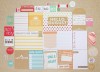
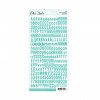
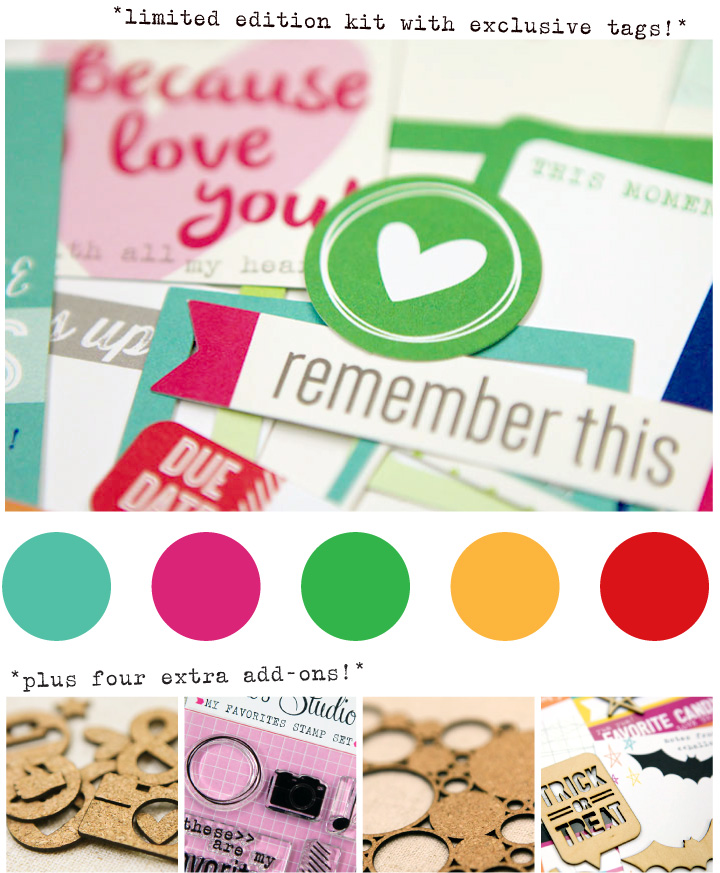 Are you ready for our next exclusive kit + extras launch coming this Wednesday, September 10th at 8:00 am PST? No only does this reveal include our exclusive kit that is packed full of journaling and embellishing tags for all types of projects, but it will also have four extra add-ons that coordinate with the kit and expand it even further!