Welcome to Celebrate December at Elle’s Studio! The first 12 days of December will be packed with holiday inspiration, projects, layouts, and gift ideas from many talented designers using our Joyful collection. Stop by each day to see new inspiration and visit our instagram to enter our special giveaways!
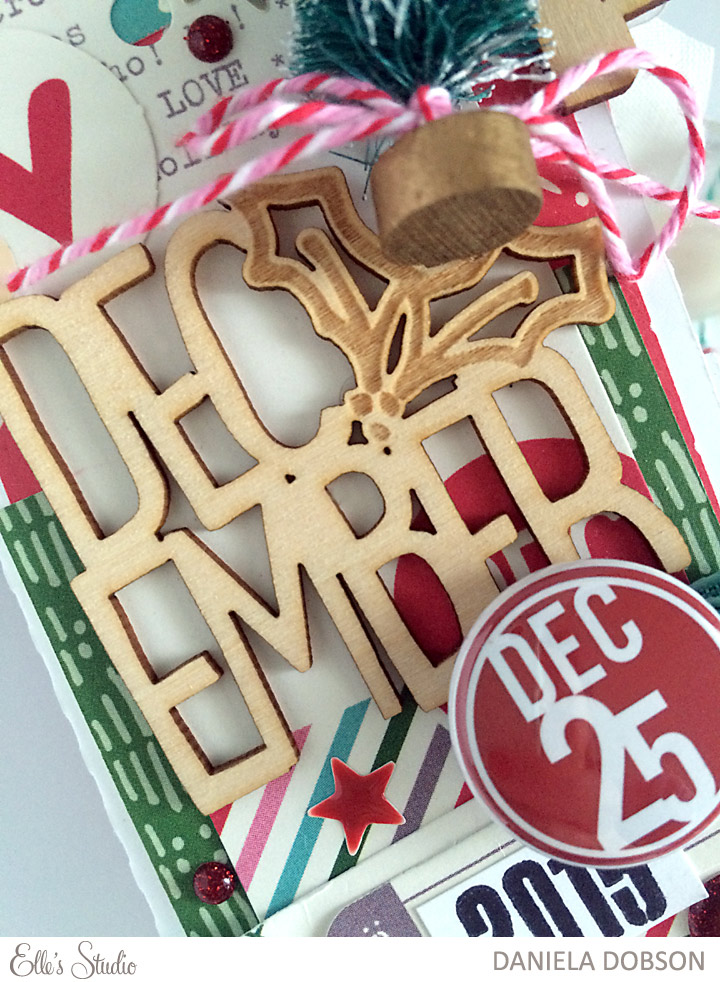
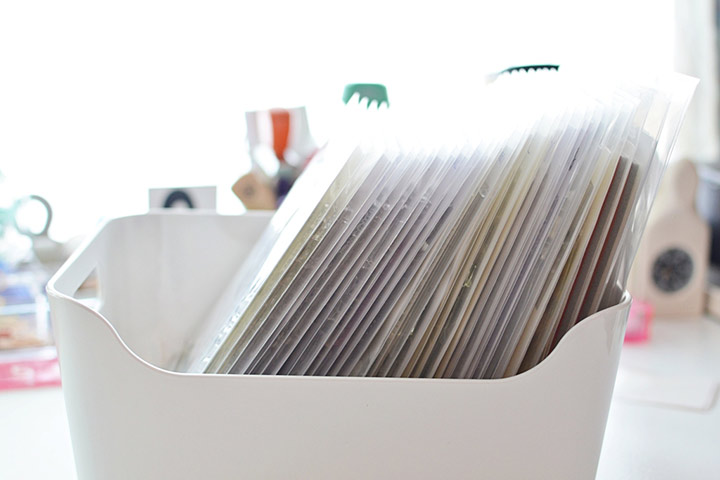
Today’s post features Melissa Stinson’s incredible December album foundation! With her foundation already done, she is ready to capture this month’s memories in no time! Here’s what Melissa has to say:
Hello, and a very happy December to everyone! My name is Melissa, and I’m thrilled to be Elle’s guest on the blog today.
When my box of Joyful + Elle’s Studio exclusive product arrived and I began looking through everything, the crafty side of my brain started screaming that I needed to make a December album with all of it. Now, earlier this fall I had already decided that I definitely was not going to do any kind of album specific to Christmas- the thought of daily documentation during the busiest season of the year just didn’t seem like something that would work for me right now. I did really want to make a cute little 6×8 album for something, though, so I came up with a “non-plan” for documenting our Christmas festivities. I’ll talk a little bit about that non-plan as well as my process for the album as I share my foundation pages with you.
The most important part of my non-plan is not worrying about documenting something every day in December. I’m just sticking to Christmas-related activities- some of those actually happened in November, and some days will have more than one activity.

I’m also not worrying about getting my album finished by the end of December, January, or even next July. I’ll take photos, maybe make a few notes, and save bits and pieces of memorabilia throughout the month, but I’m not putting myself on any kind of schedule to get it all finished. If you’re reading this post and thinking “but it’s already the 3rd of December and too late for me to start an album,” the same approach could work for you. I’ll readily admit that when I made this I was really just in a mood to play with pretty paper and make a foundation album, and if that describes you, then it is definitely not too late to go for it!
It was already the week of Thanksgiving and getting really busy here when I started this album, so I used a few tricks to help it come together more quickly. My favorite way to work on a large project is to do things in batches. Doing one thing, such as making sequin pockets or adding journal cards- to the entire album all at once keeps your brain from having to continually switch gears and not only speeds things up, but for me it makes it more enjoyable as I find my groove on a task and roll with it.
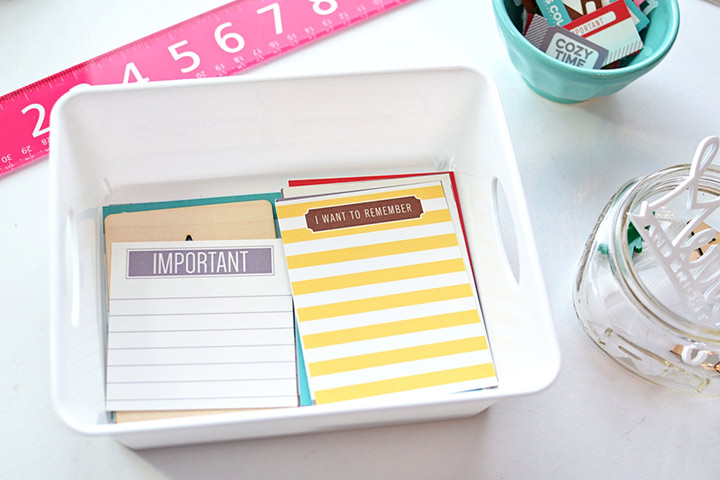
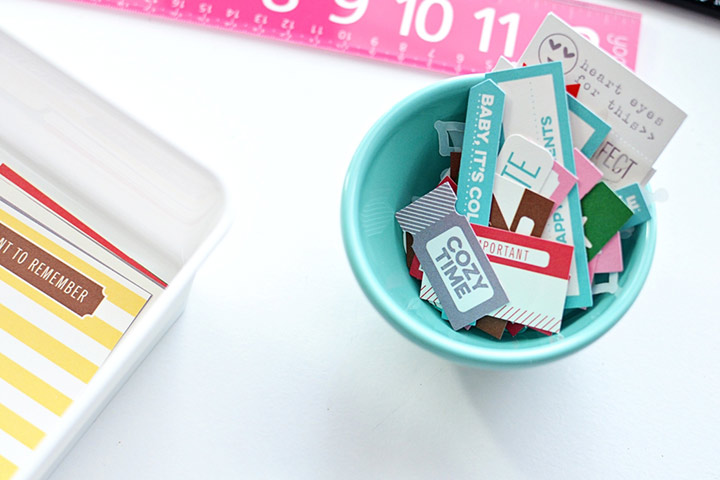
Another thing I like to do is get all of the supplies together where I can easily see everything and just reach out and grab what I want. I cut apart all of the label, tag, and journaling card sheets and spread them out, along with the pieces from the Joyful die cut pack, in front of me. I kept everything out where I could see it as I was working.
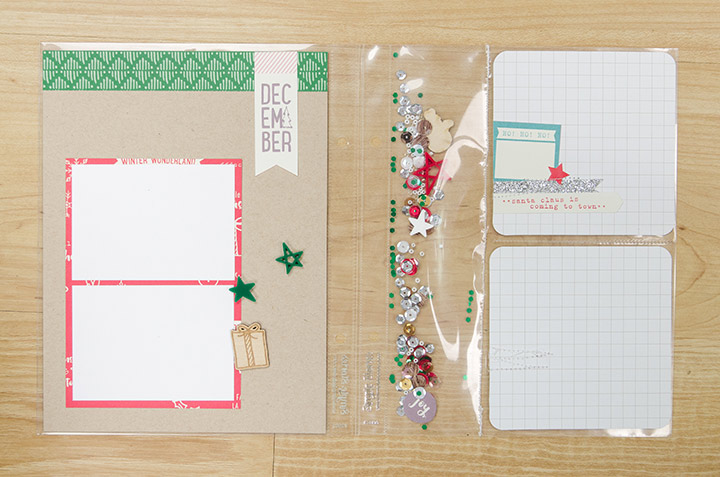
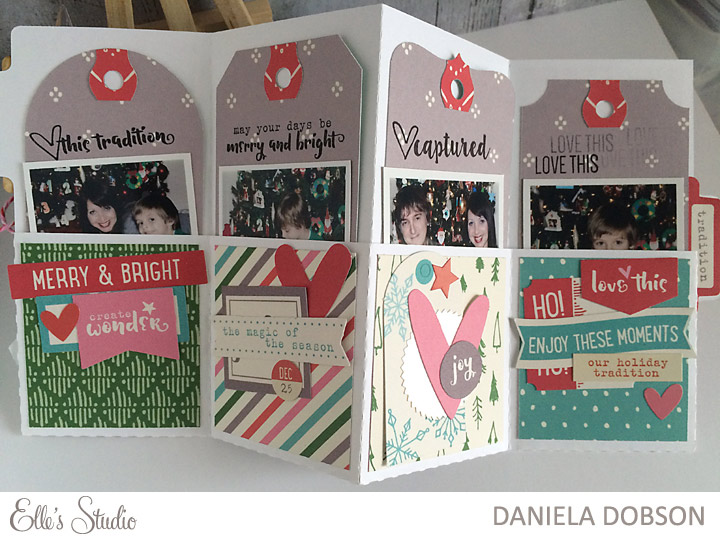
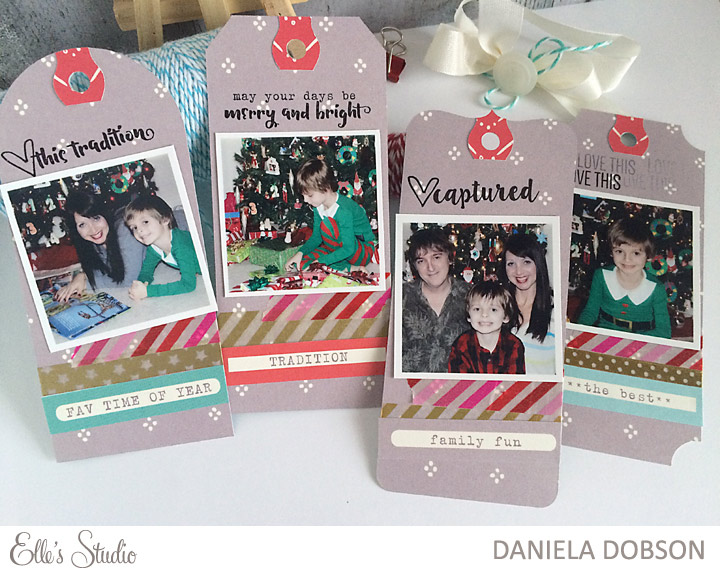
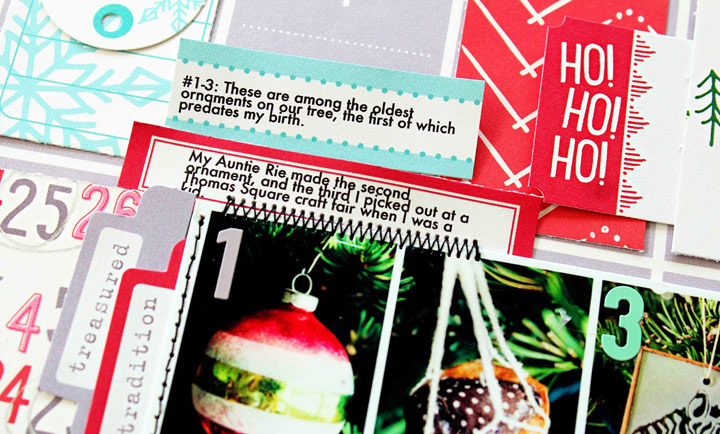
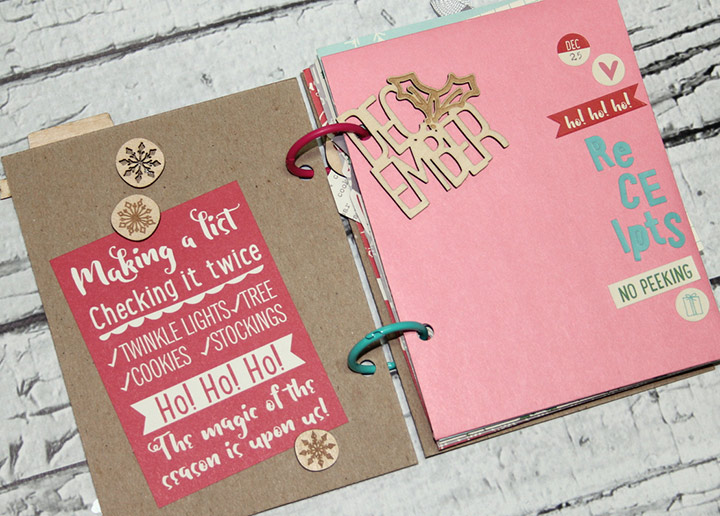
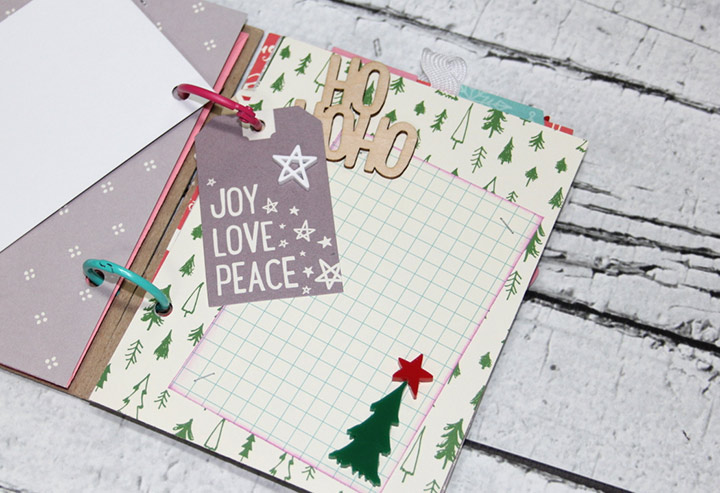
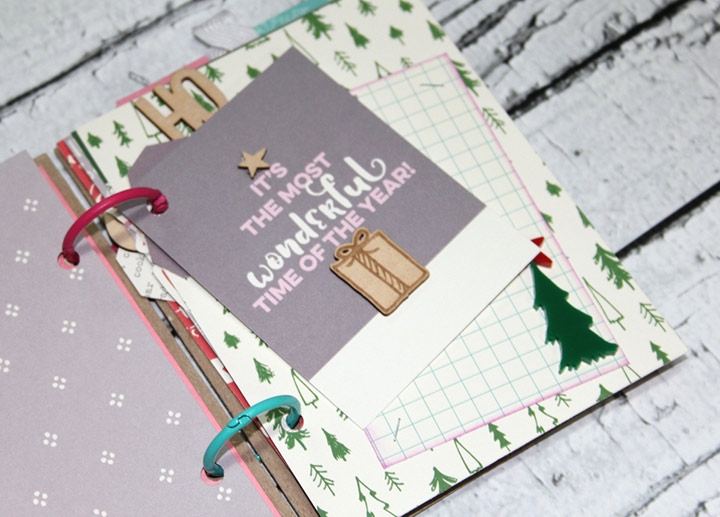
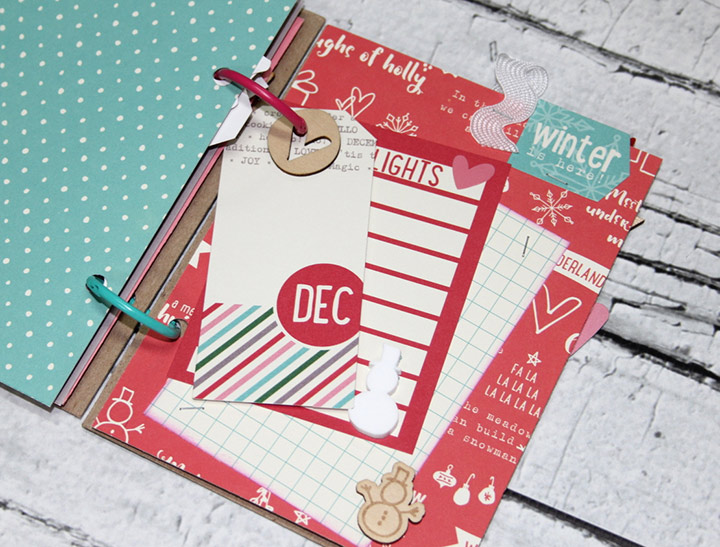
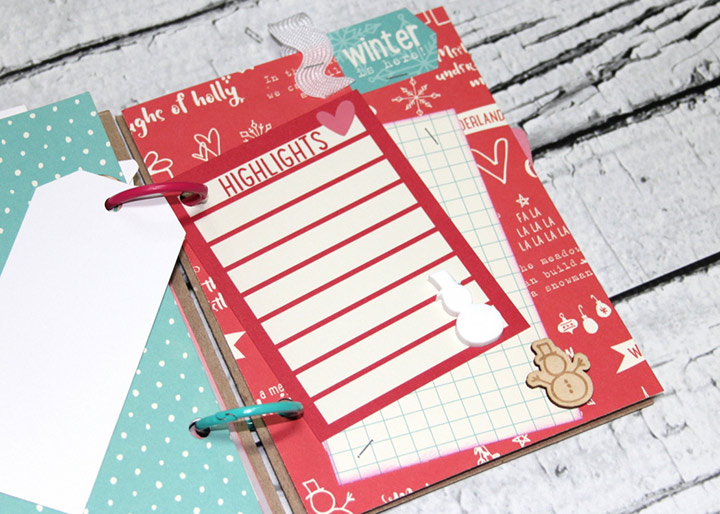
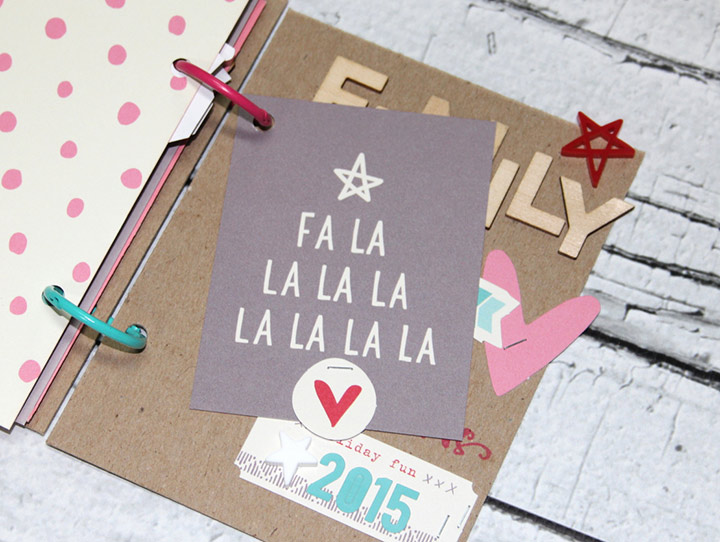
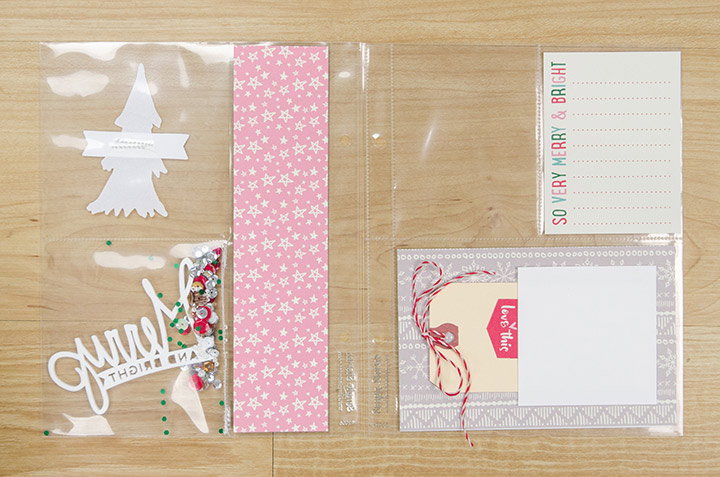
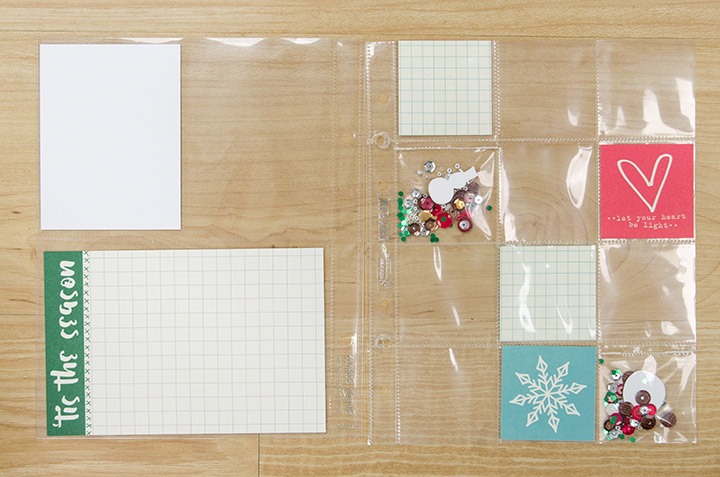
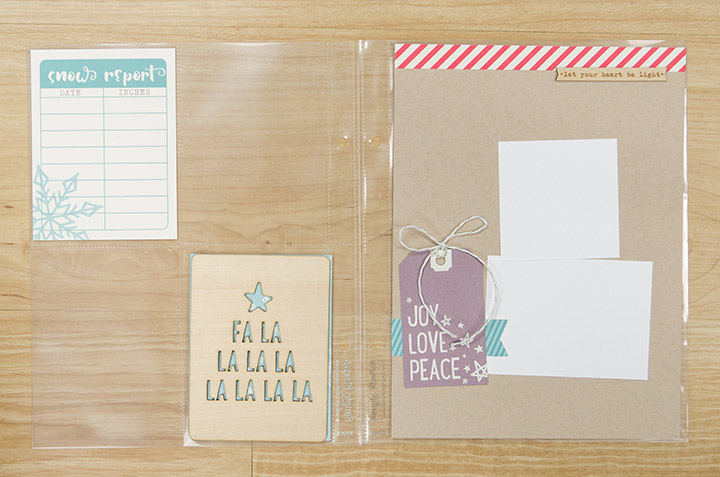
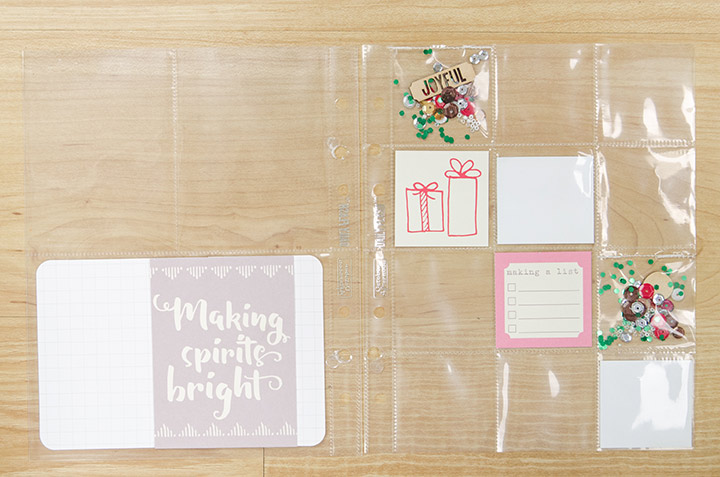
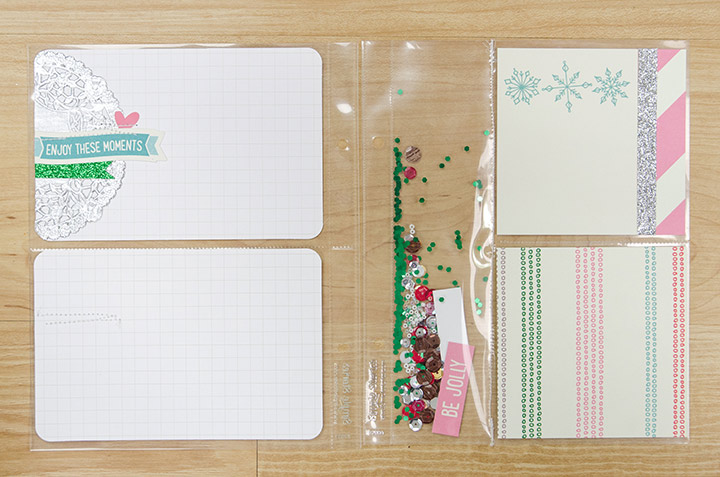
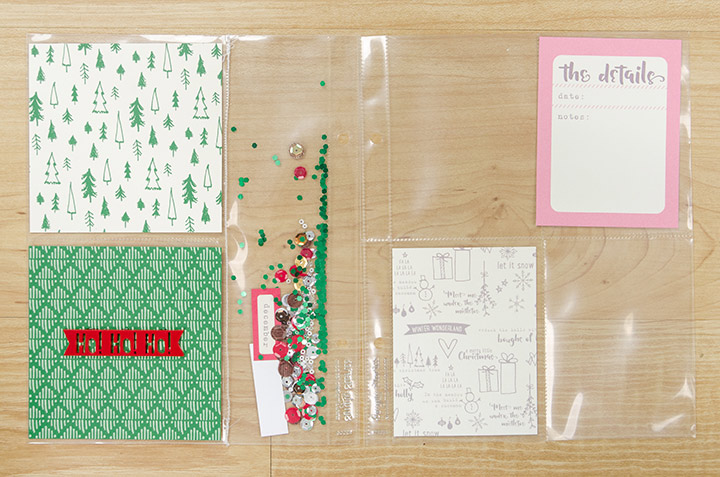
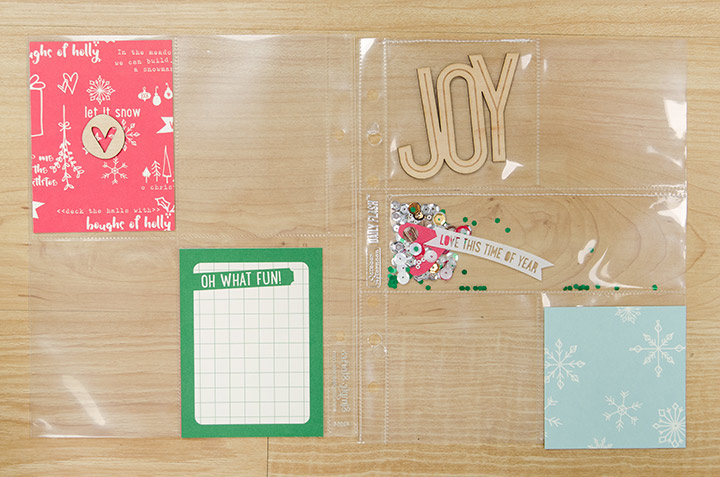
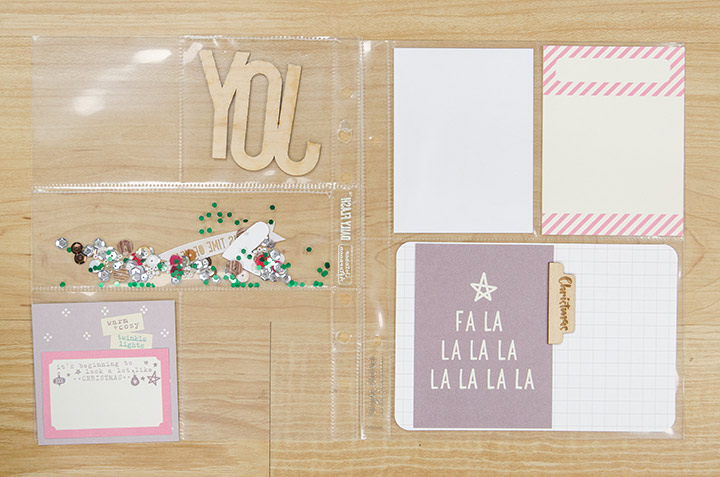
My first batch task was to take all of the journaling cards and scatter them throughout the album. I’d already added a random assortment of page protectors, and all I focused on was filling pockets- no worries about what topic that page would cover, I just wanted to get something started. My goal was one card per page, though for some I went back and made my own cards using bits and pieces of the Joyful collection.
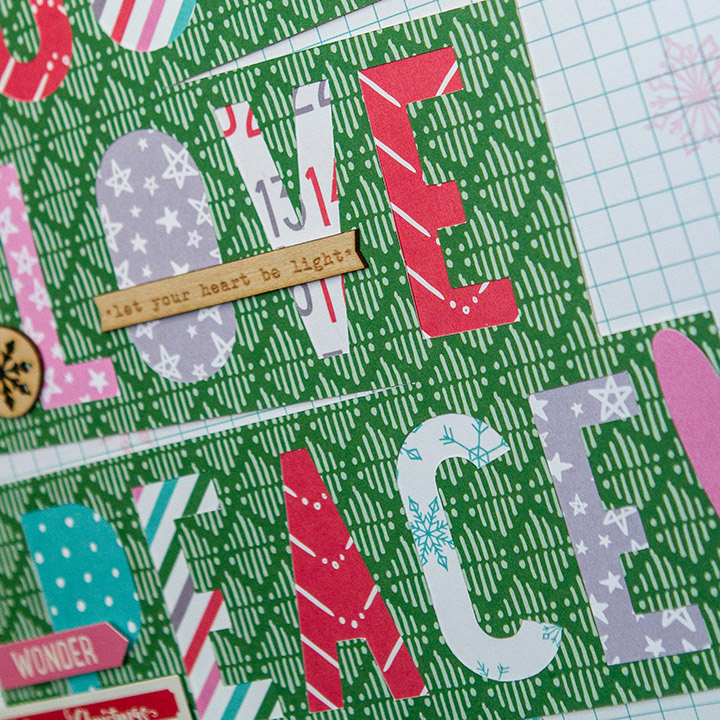
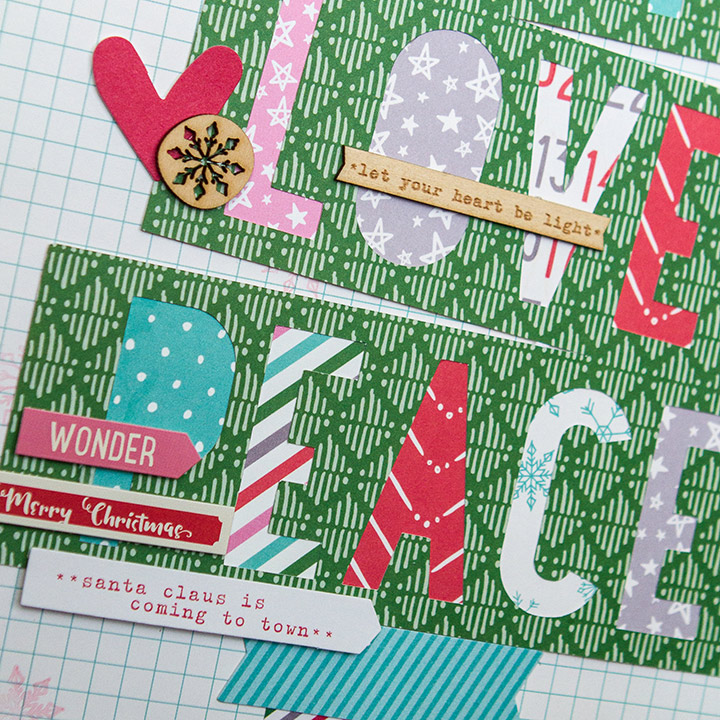
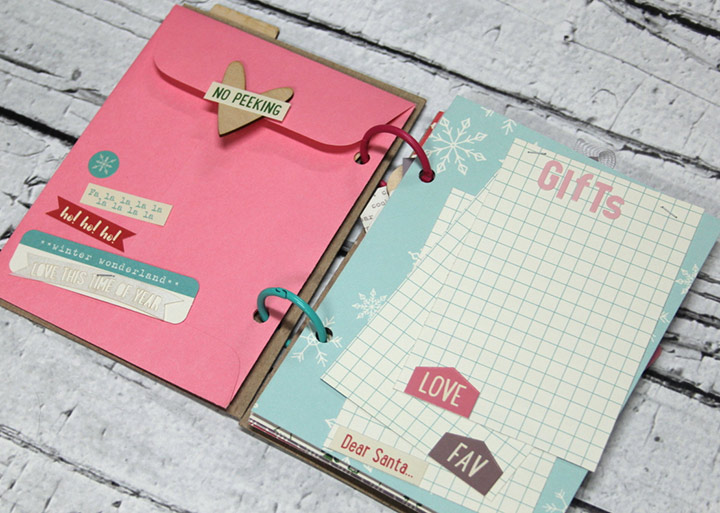
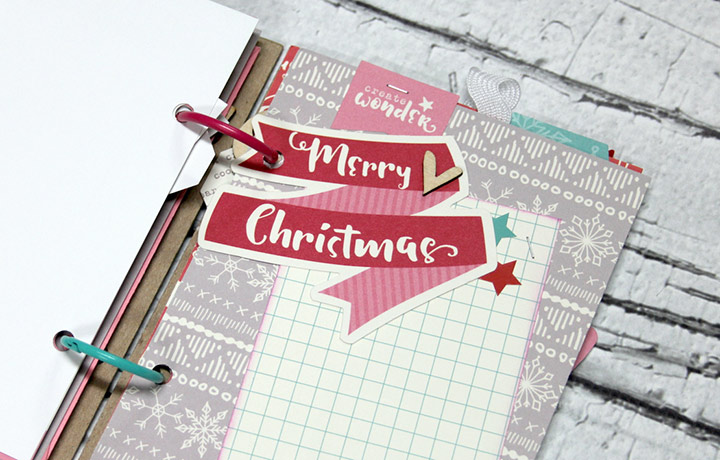
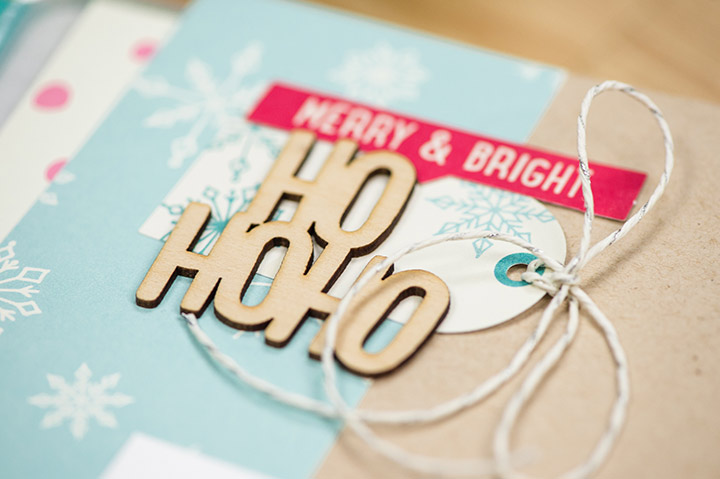
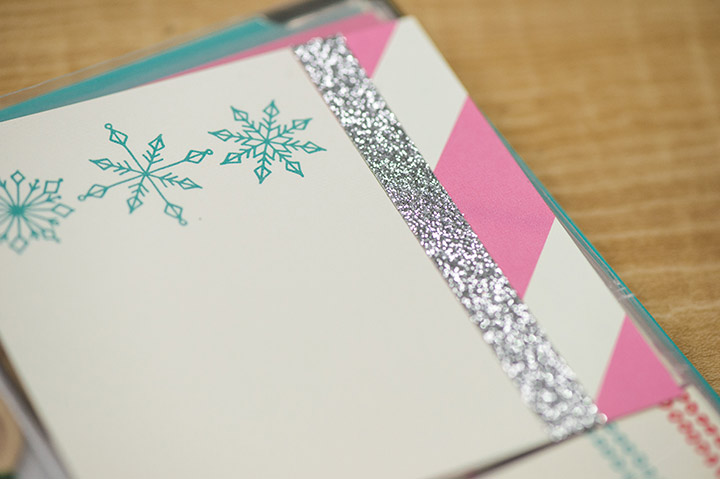
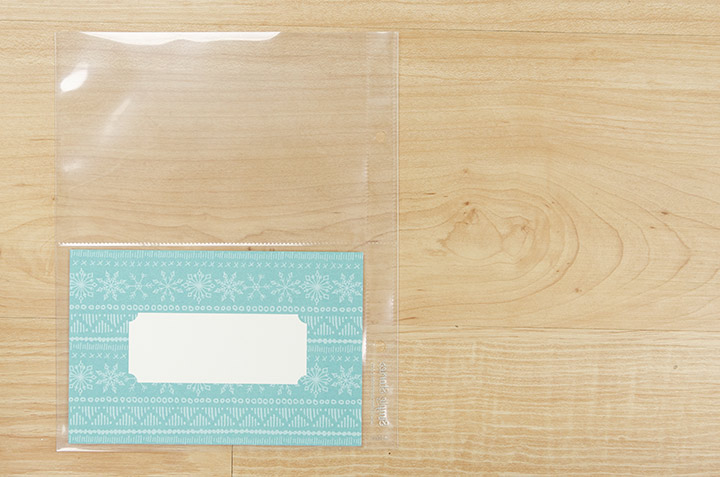
You can see several of the cards I made in the previous two photos, and I made all of these at the same time, too. I simply spread my blank foundation cards out on my craft table, added little die cuts and stickers to them, and then finished them off with some glitter ribbon and a little bit of machine stitching.
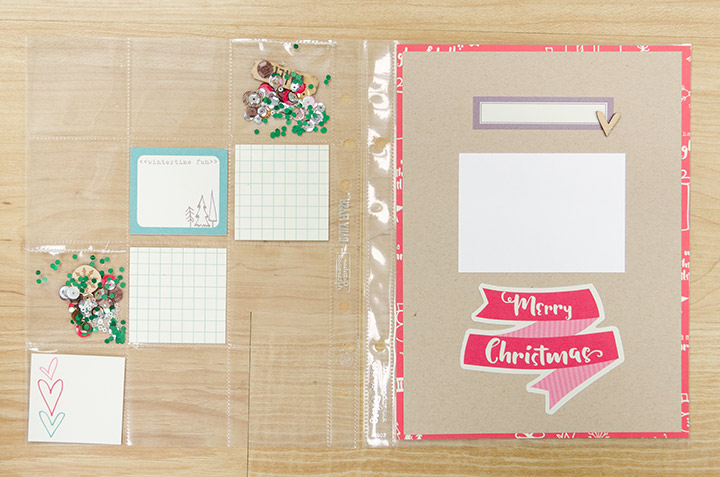
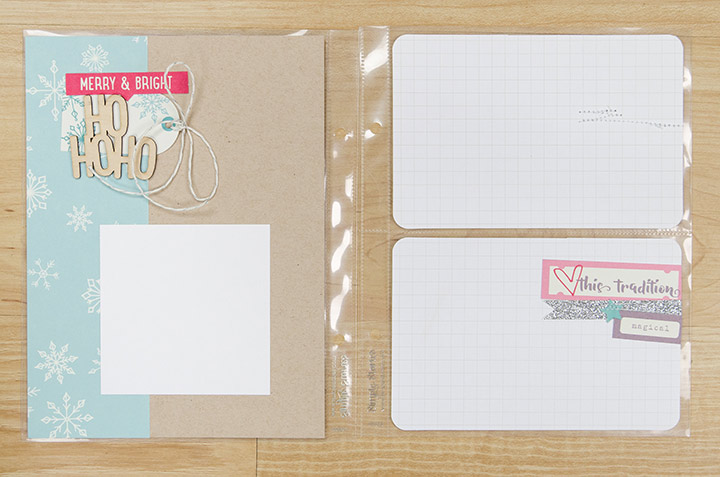
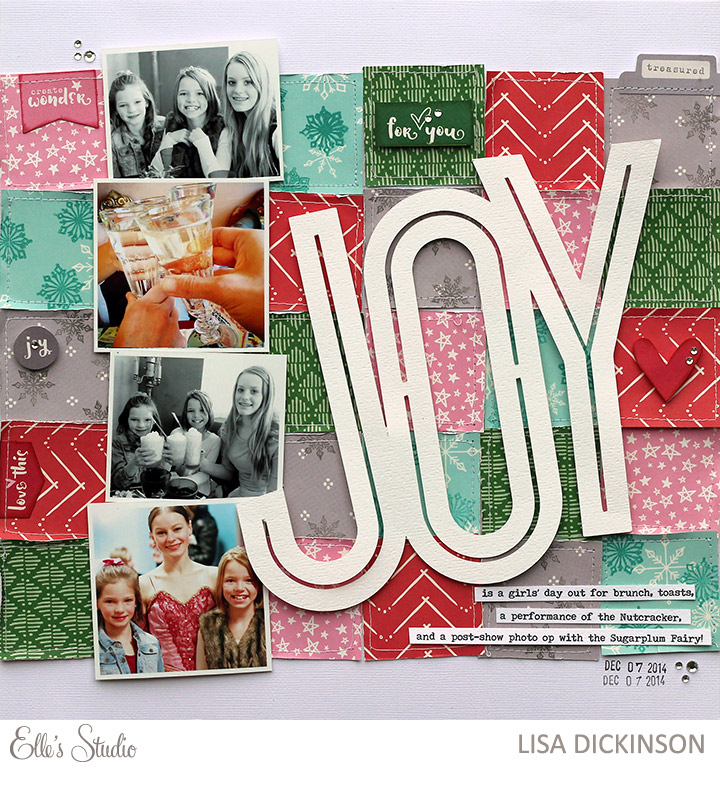
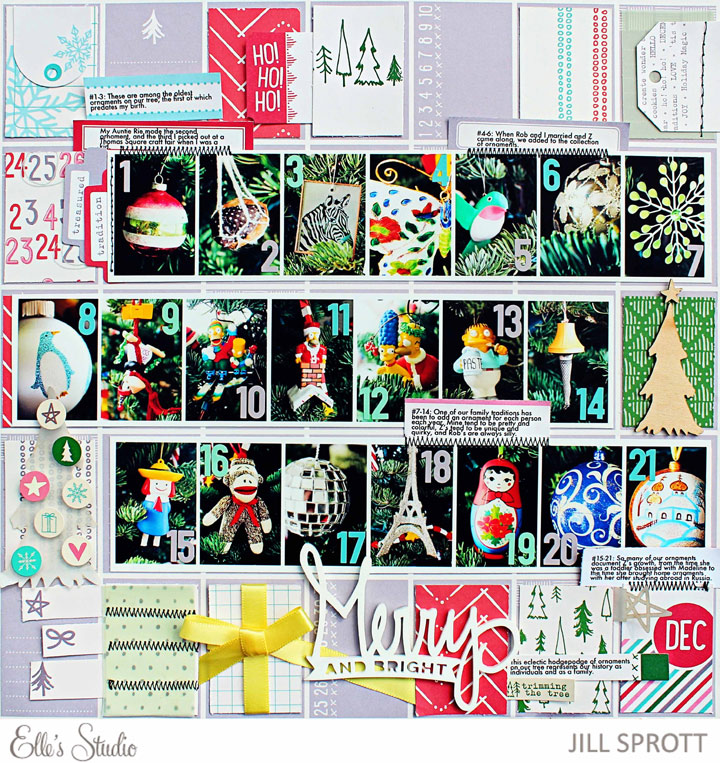
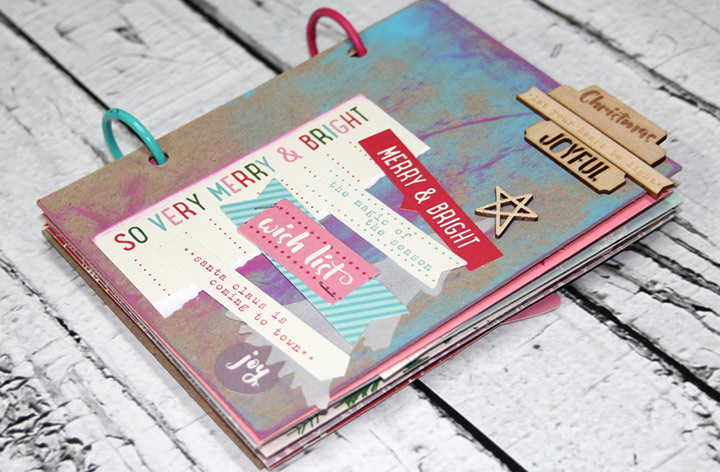
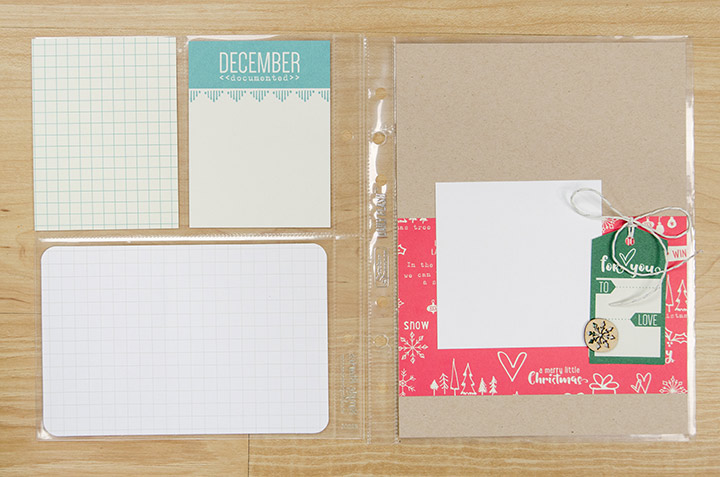
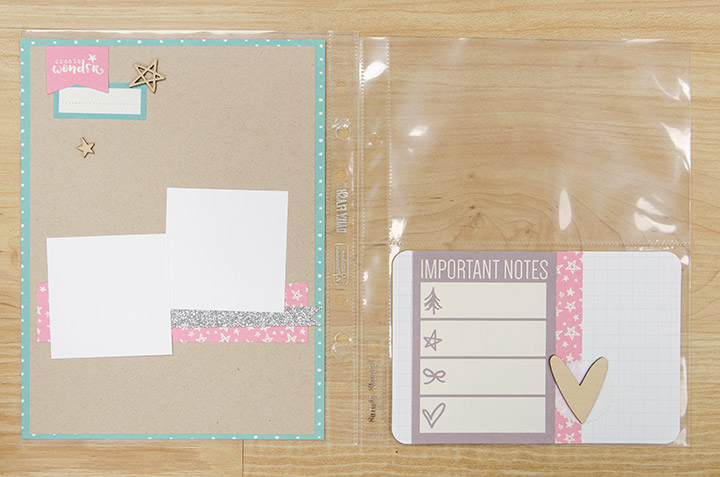
Three of the page protectors in my album are full-size 6×8 pages, and for those I made six “mini layouts.” I made all of these at the same time, too, and snapped a few photos of my process.
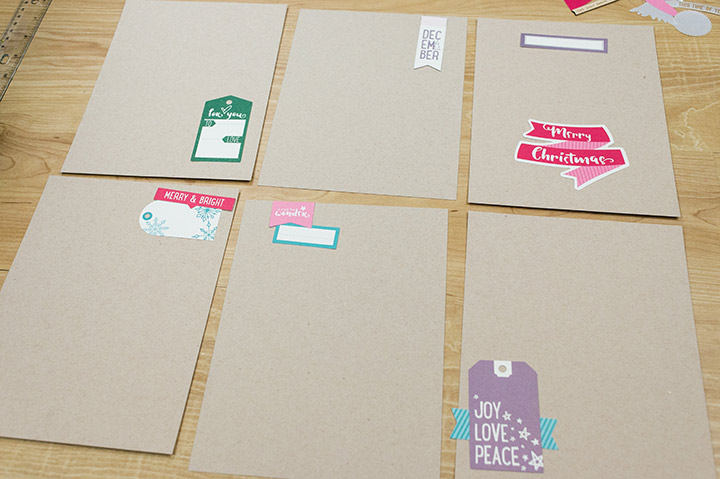
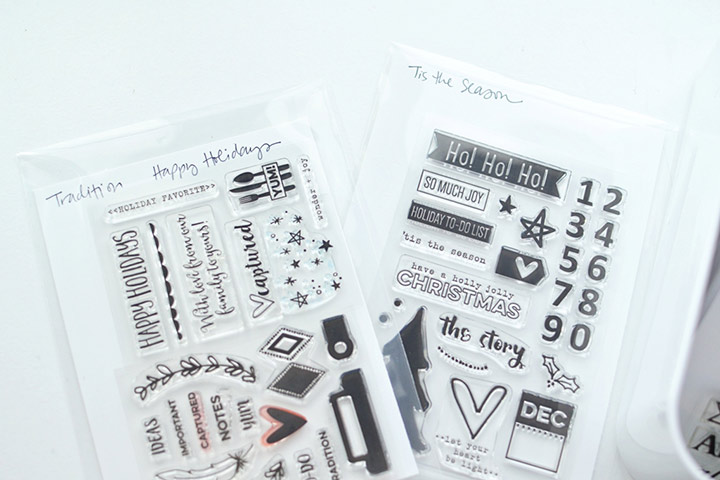
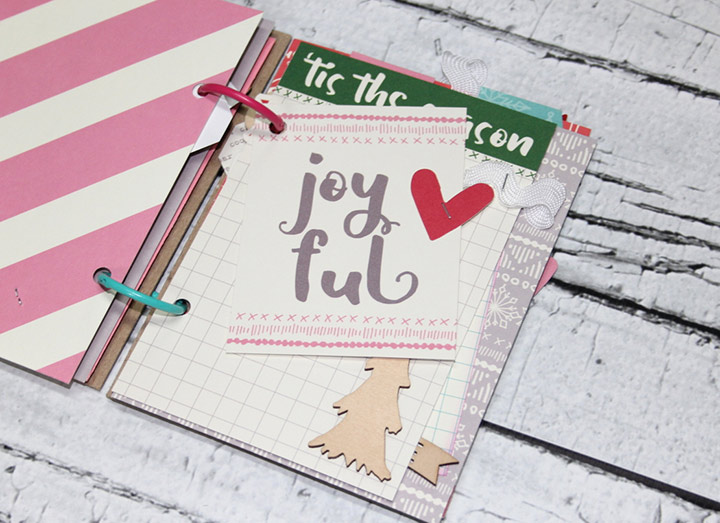
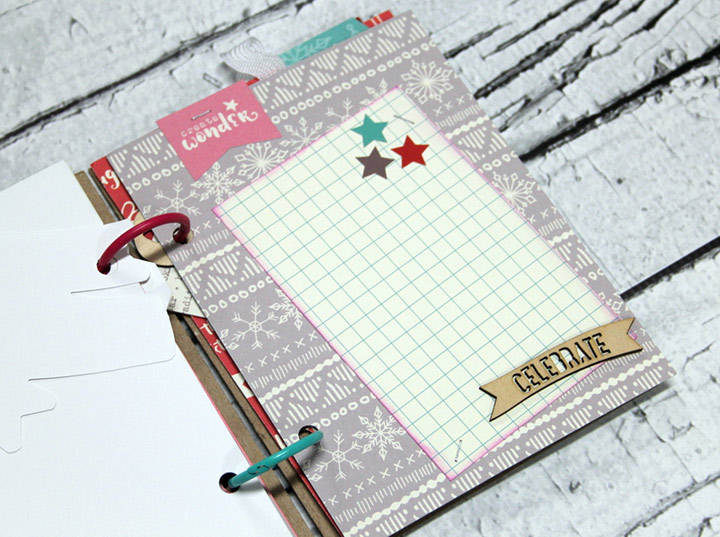
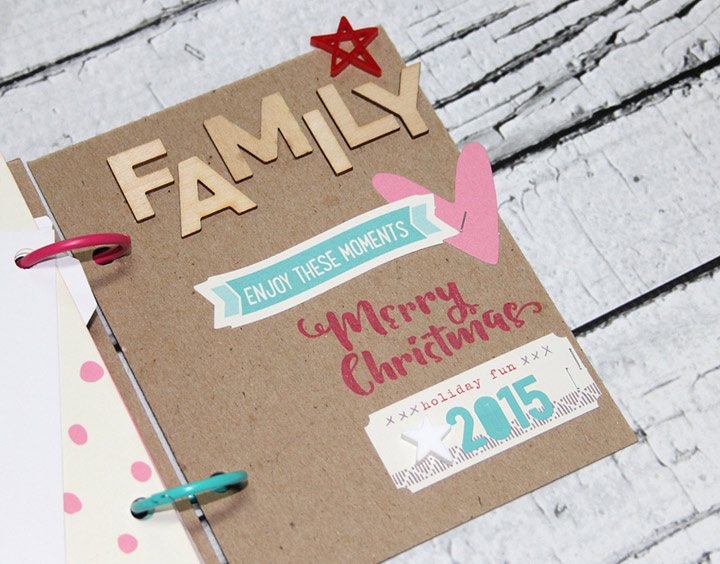
I started with plain craft cardstock backgrounds for each page, and then, just as I did for the journaling cards, I added die cuts from the Bits and Pieces pack, tags, labels, and other bits from the collection. I wasn’t worried about topics for these pages, either- I just went with what looked pretty to me.
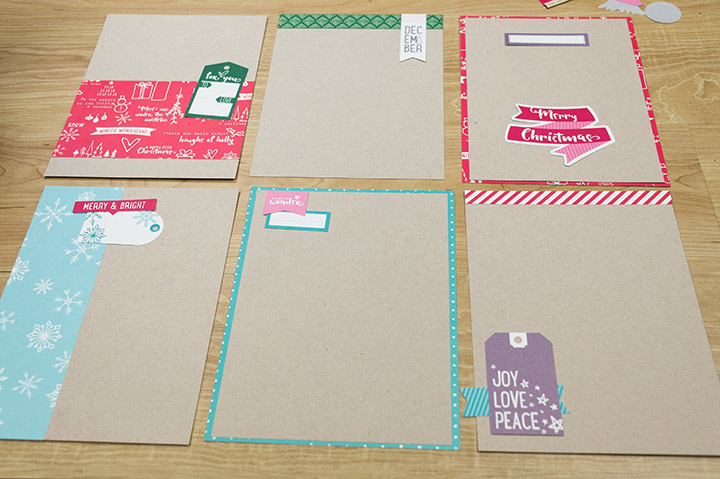
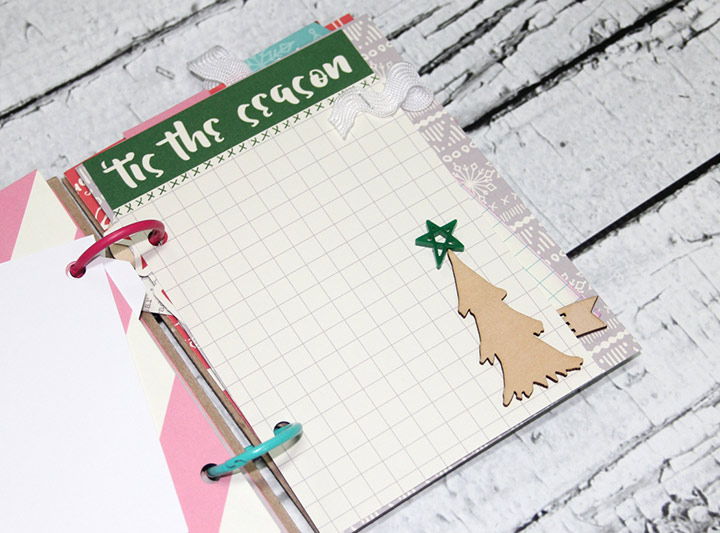
After I finished adding die cuts I went back and added patterned paper to each page to give it more structure. Since these pages will be spread out across the album, I wasn’t afraid to repeat page designs such as the strip of paper across the top of two pages or the patterned paper border around two others.
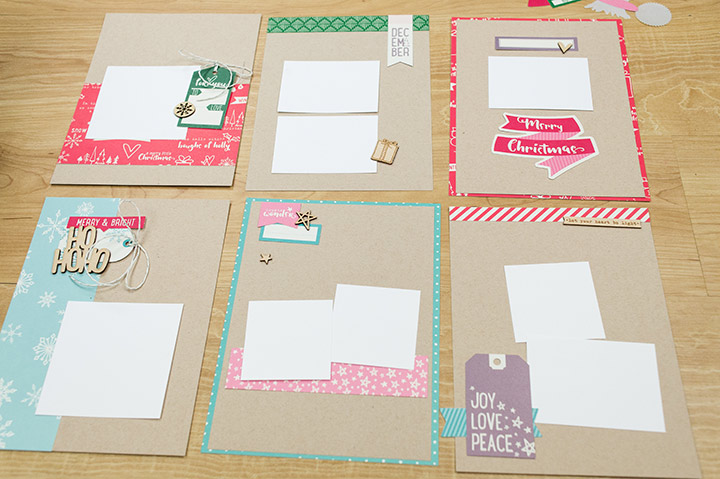
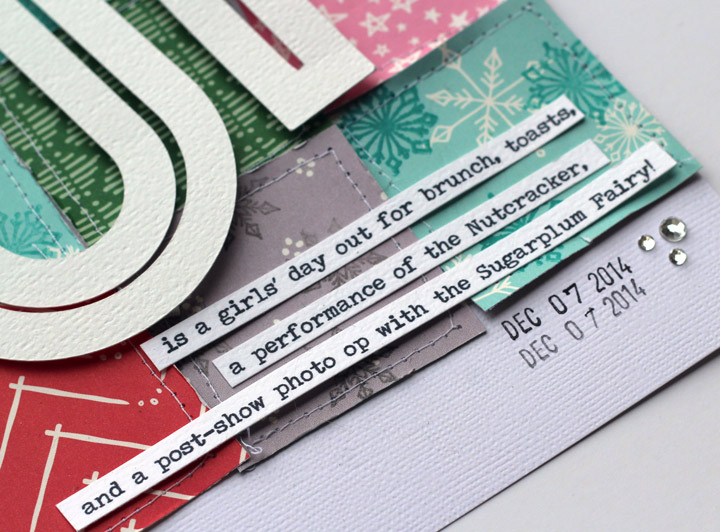
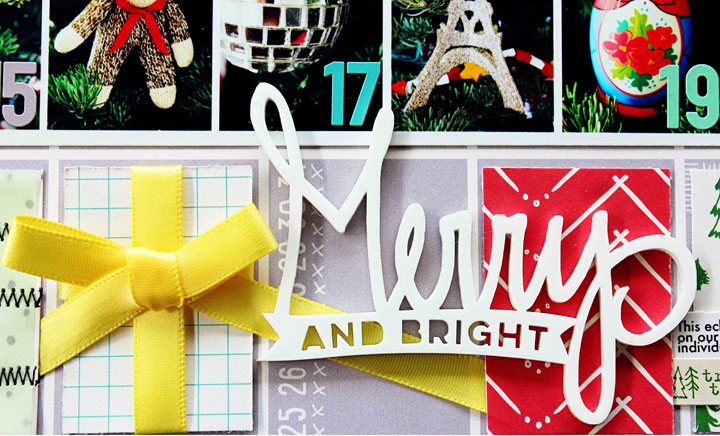
I added photo spots and wood veneer as finishing touches, then glued everything down and added these pages to the album.
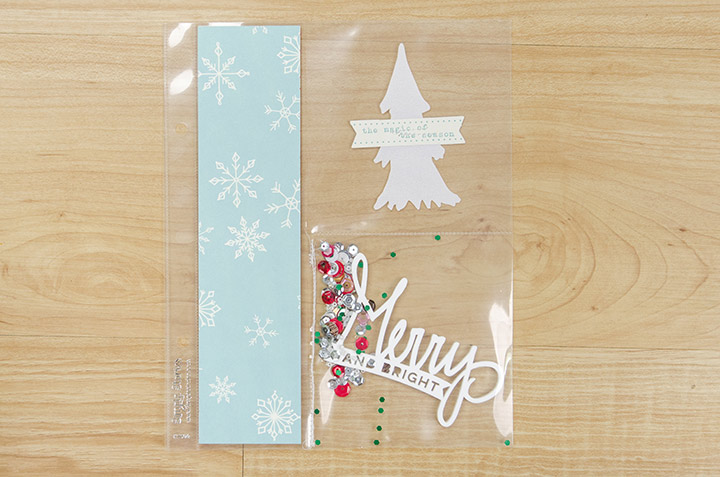
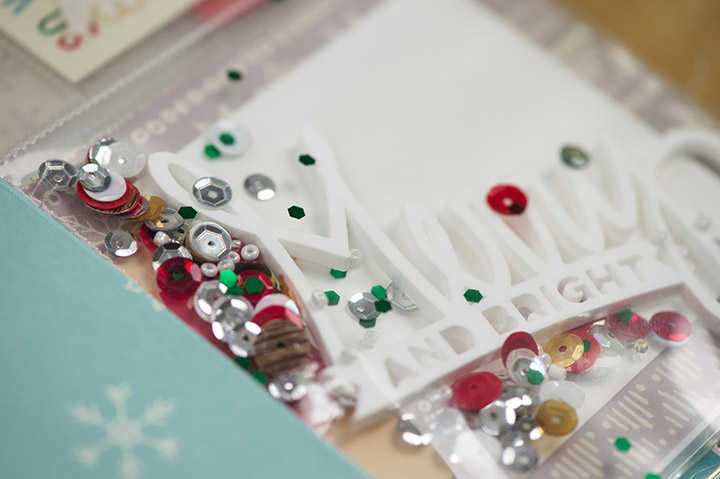
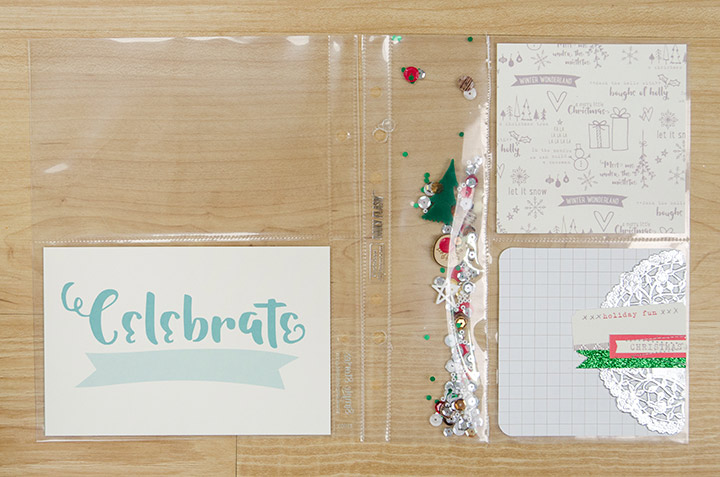
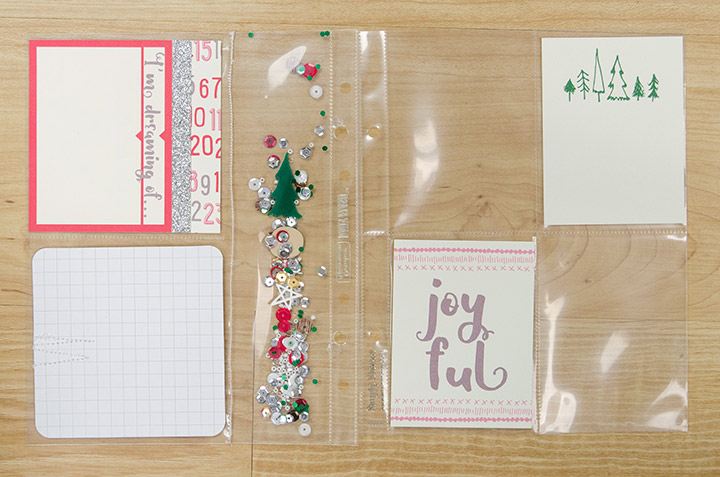
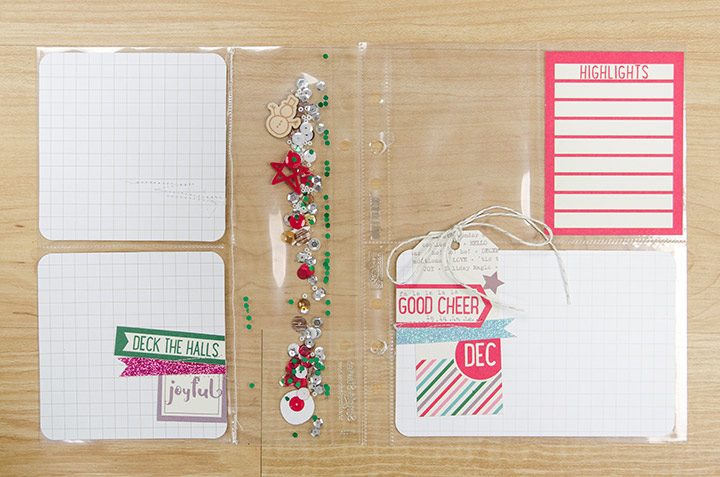
Sequin pockets are one of my favorite things to add to my Christmas albums, so my next step was to put together my own sequin mix and start adding it to pockets!
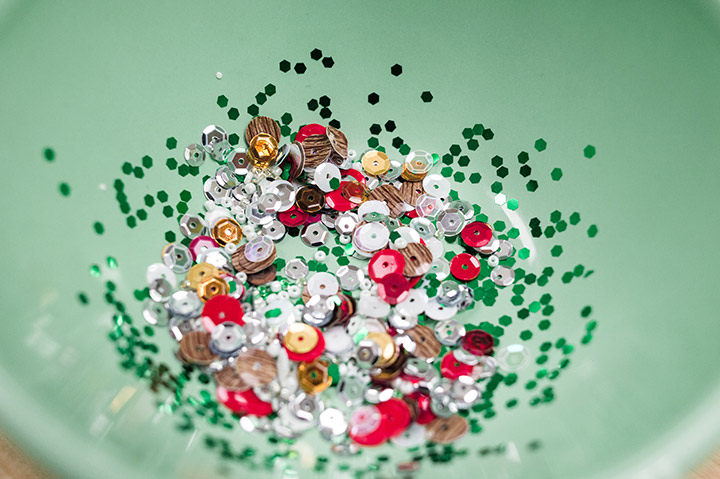
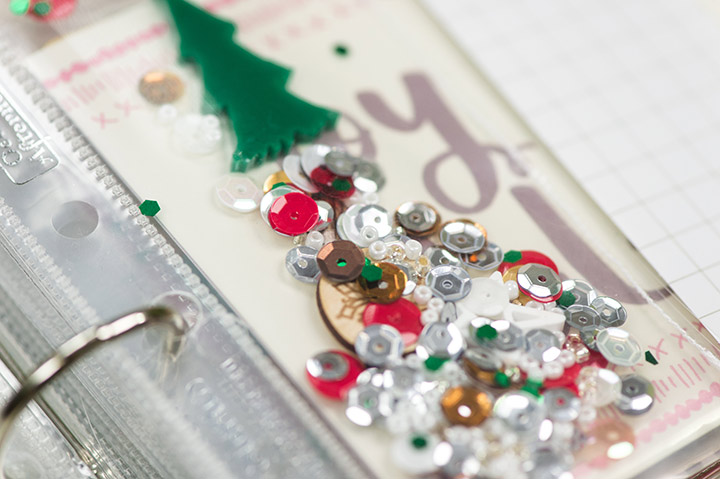
As I went, I added in whatever wood veneers, acrylics, or die cuts were left on my table, making sure that some pieces faced the front and others faced the back of the pocket. I machine stitched each of these pockets closed to hold everything in place.
On my last working pass through the album I filled in any spots that looked like they needed a little something extra. I intentionally left pockets empty and ready for photos, but I still had a few spots where I needed to “stretch” a 3×4 card to fit a 4×4 space or wanted to add a dressier photo spot to a pocket.

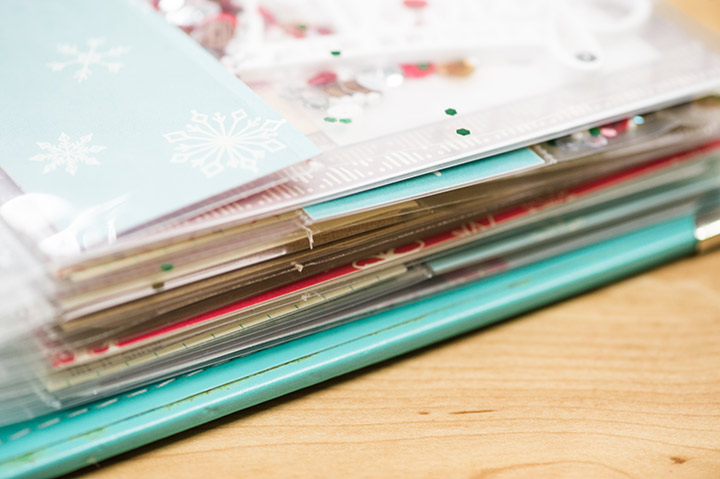
And now my chunky little Christmas album is waiting for me to fill it with our holiday memories!
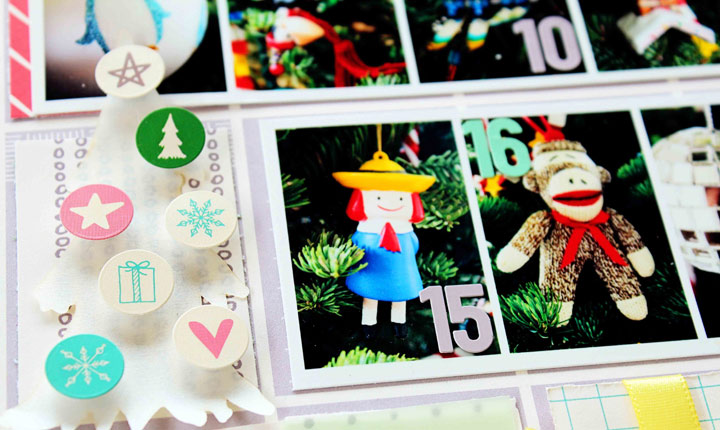
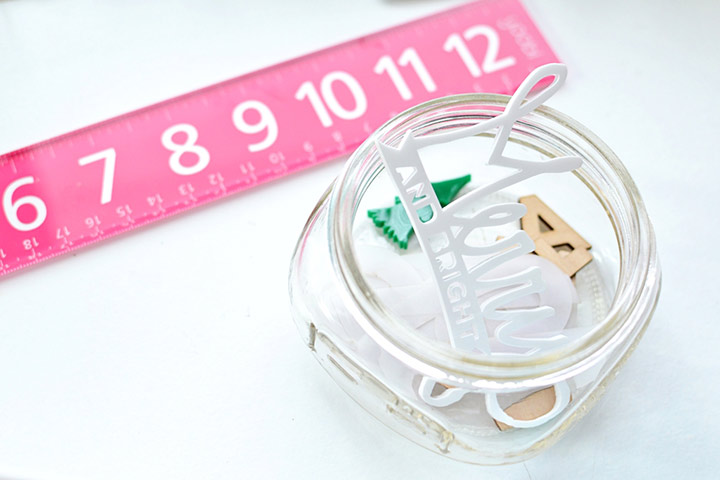
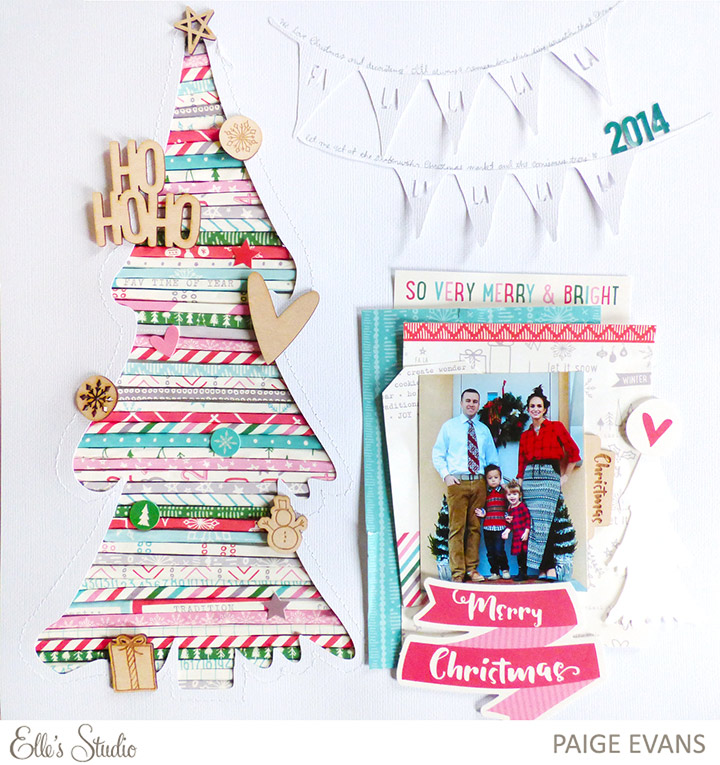 1. Trim 1″ strips of Joyful patterned papers and roll them into tubes.
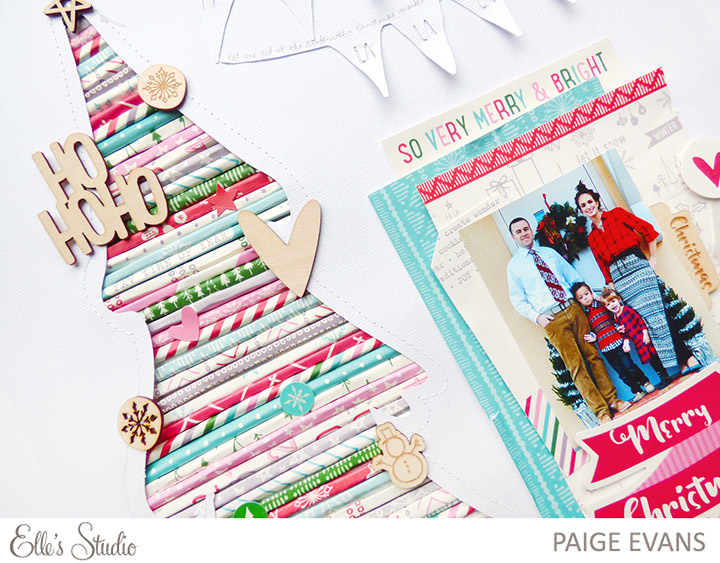 4. Using the cut out tree as a template, trace around it with a pen on scratch white cardstock then cover the tree with super sticky double-sided tape.
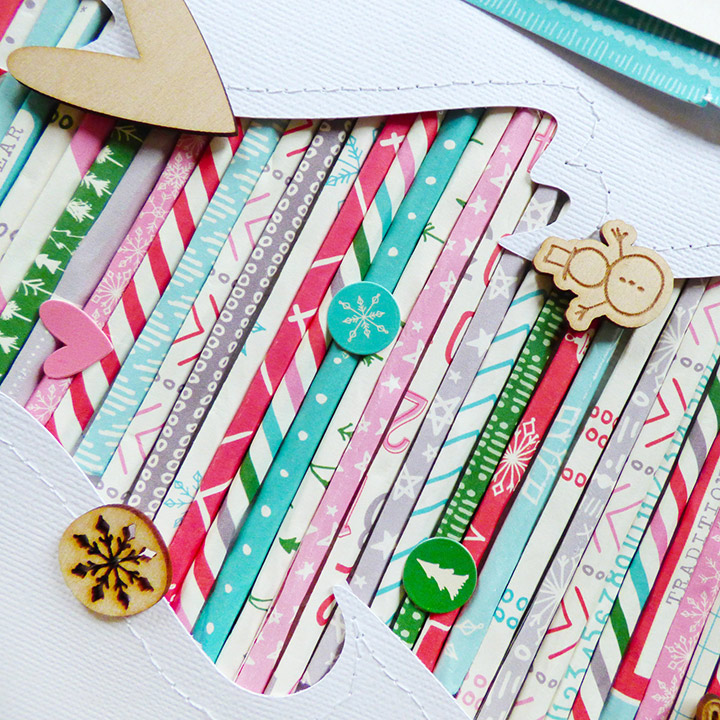 Products used: Joyful Patterned Paper, wood veneers, bits and pieces, stickers, journaling tags; December cut files and printables (available December 10th).
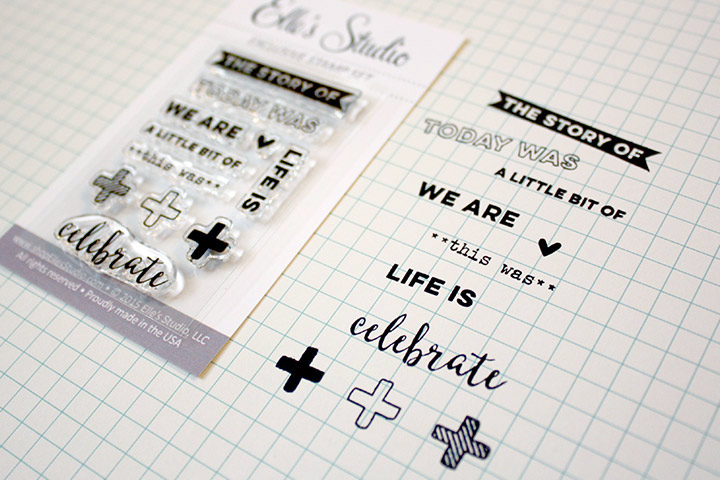