A Week of Magic: Cards with Nathalie Leonelli

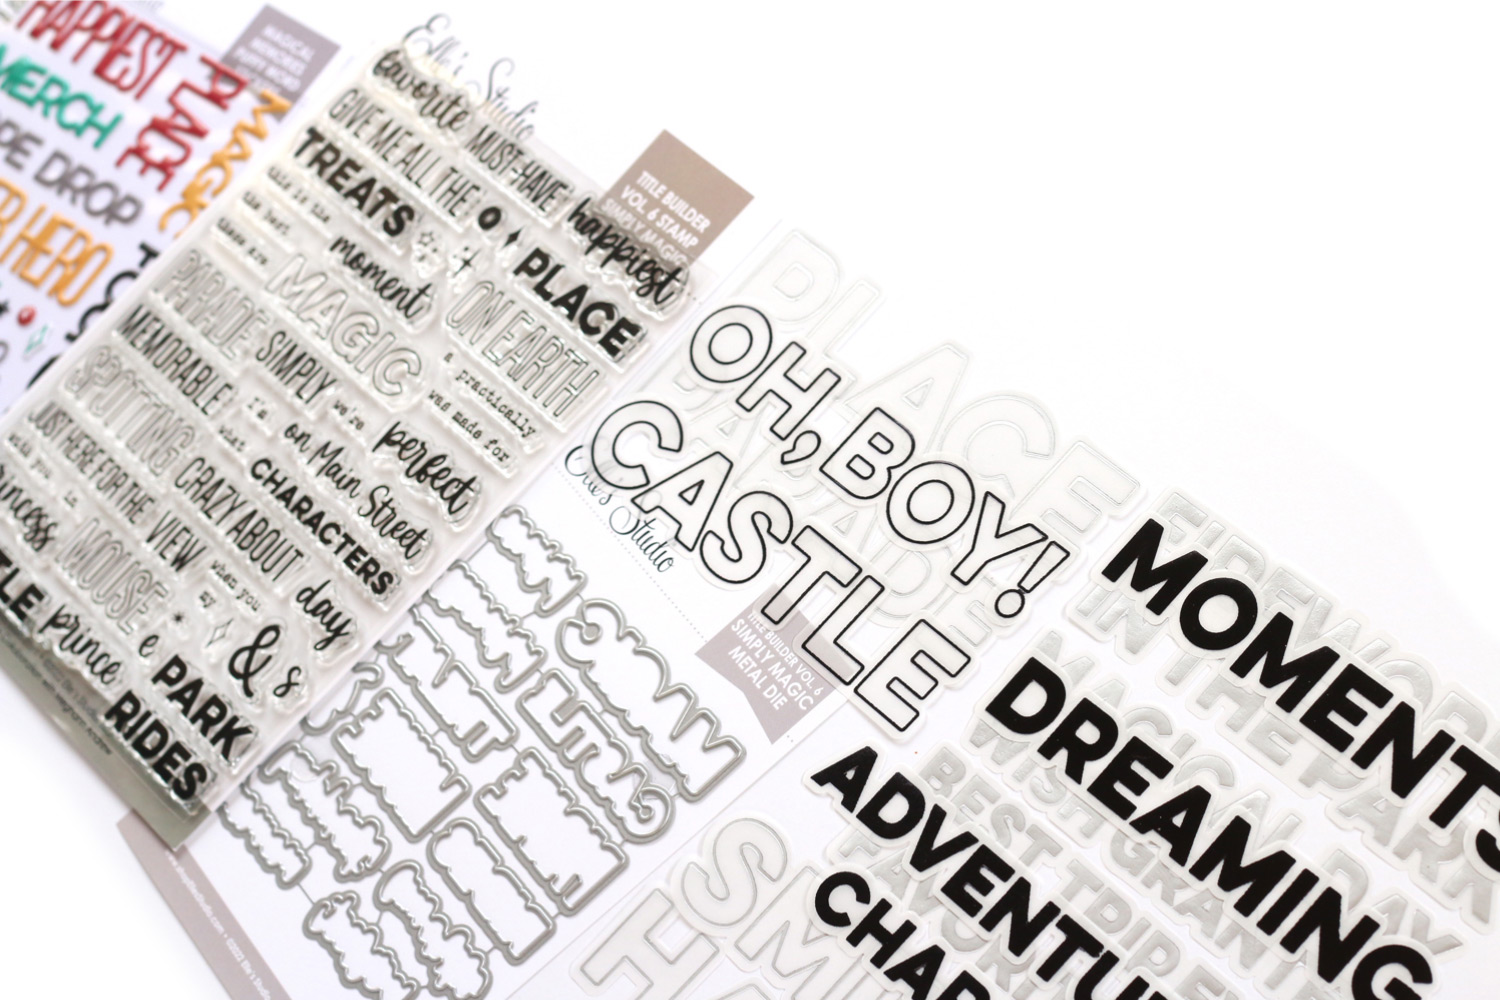
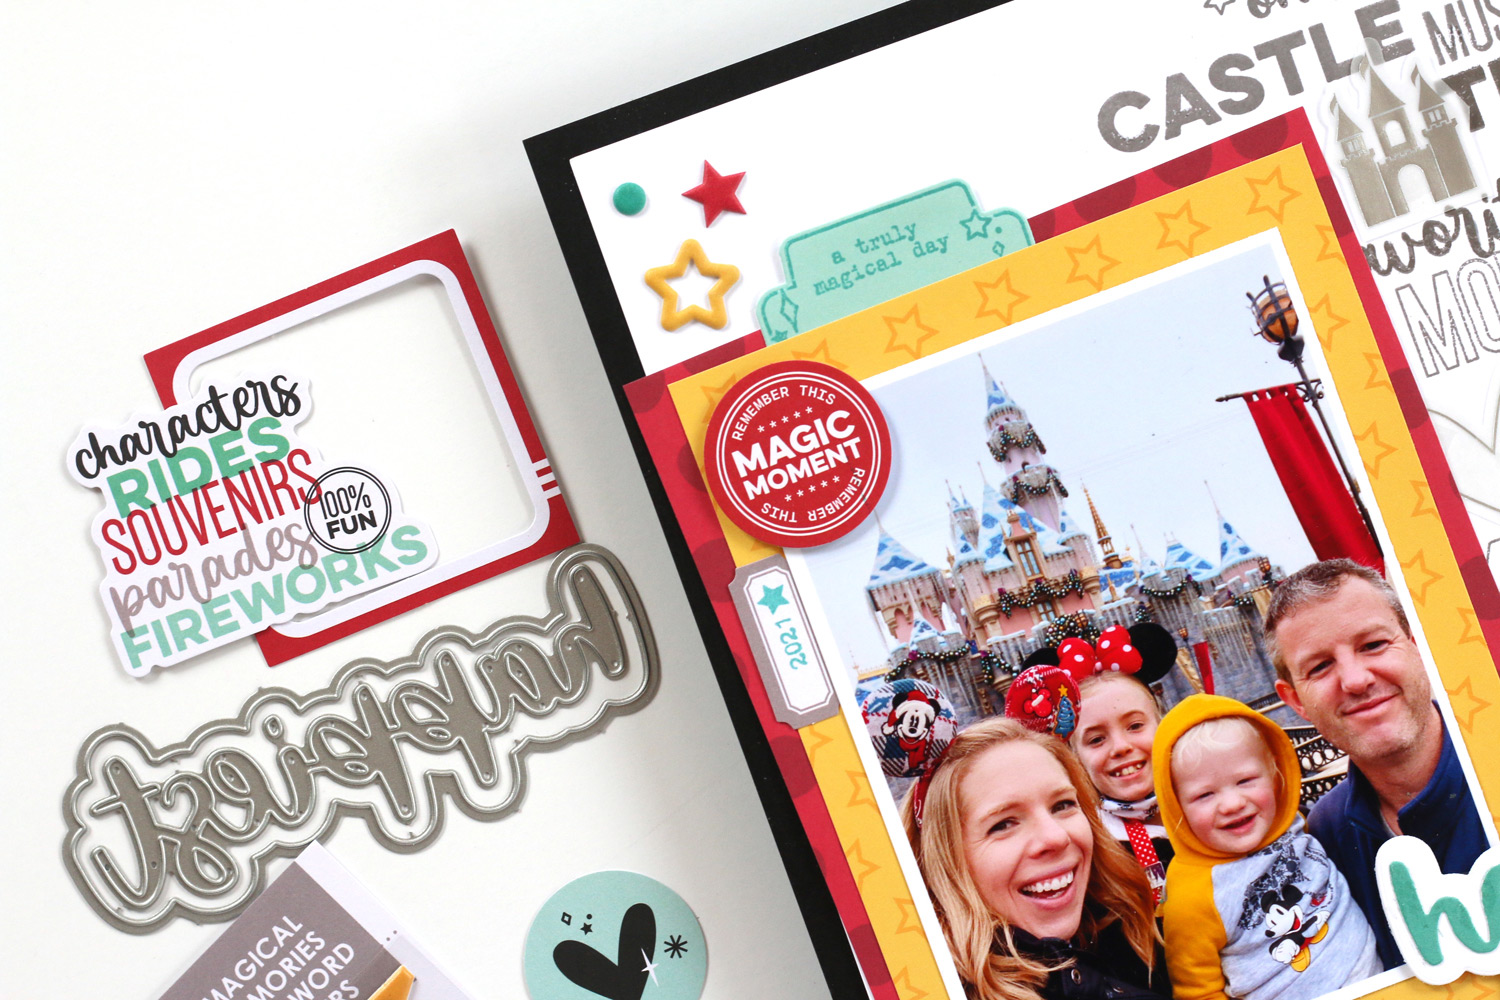
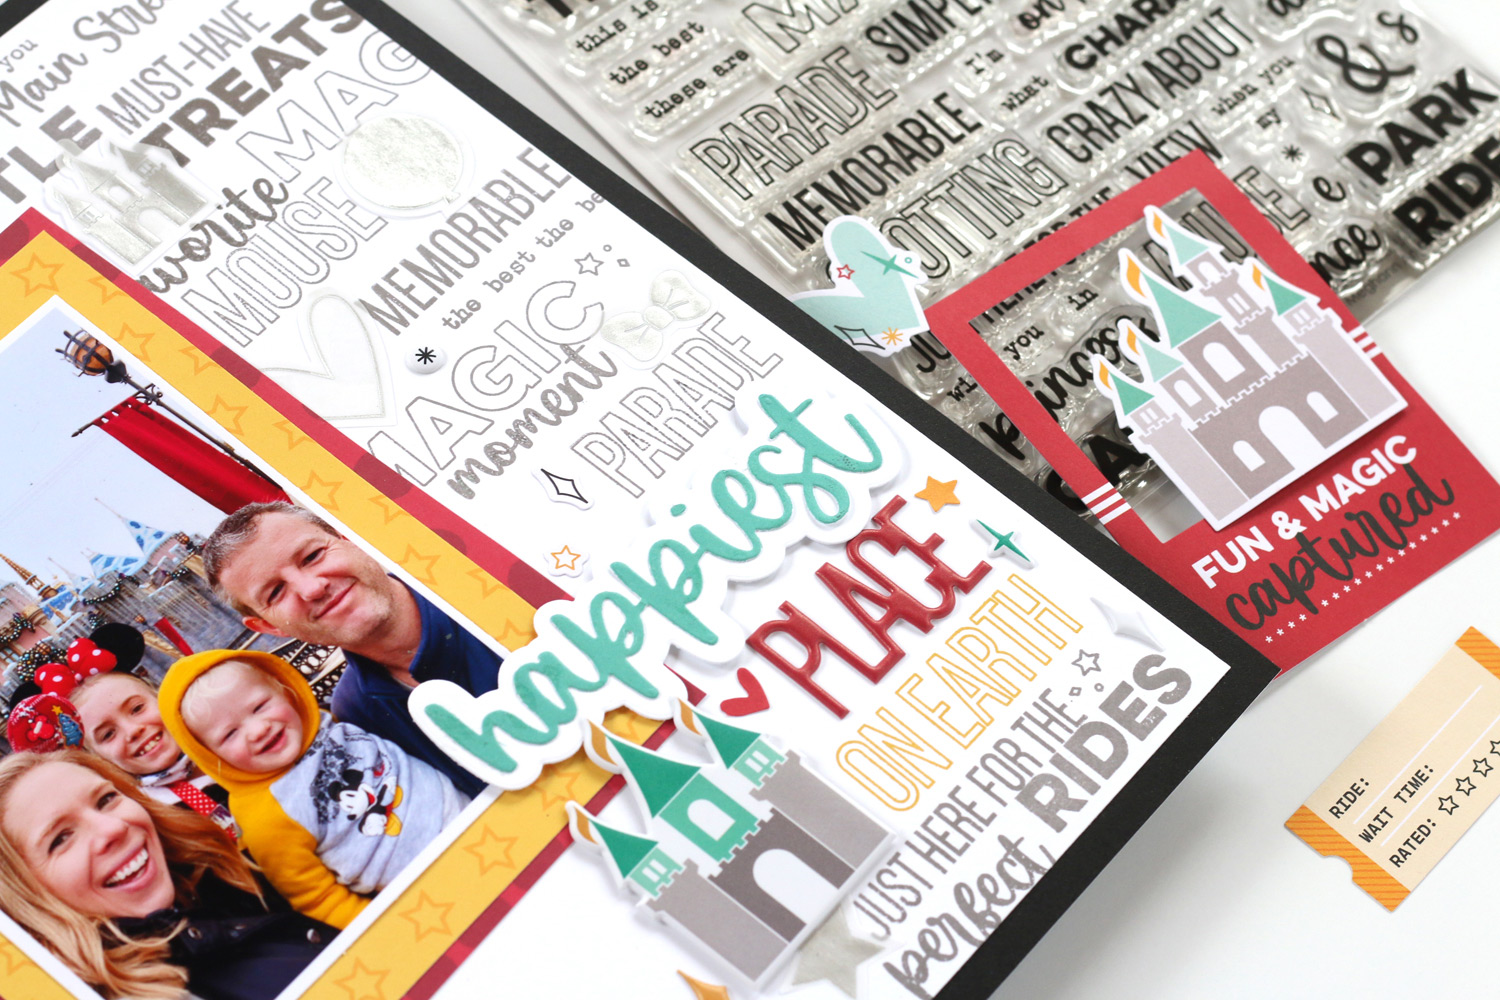
Welcome to day three of our Week of Magic celebration featuring ideas, inspiration and FUN using the new Magical Memories Volume 2 and Title Builder Vol. 6 Simply Magic collections! If you thought these new products were only for layouts or pockets, think again! They make the cutest cards, too, as Nathalie Leonelli is showing us today! Let’s take a look!

Hello, it’s Nathalie here celebrating A Week of Magic with a couple of greeting cards created with the Magical Memories collection. With all its patterned papers, die-cuts, puffy stickers, and more, I have found it perfect to make fun cards for any occasion!
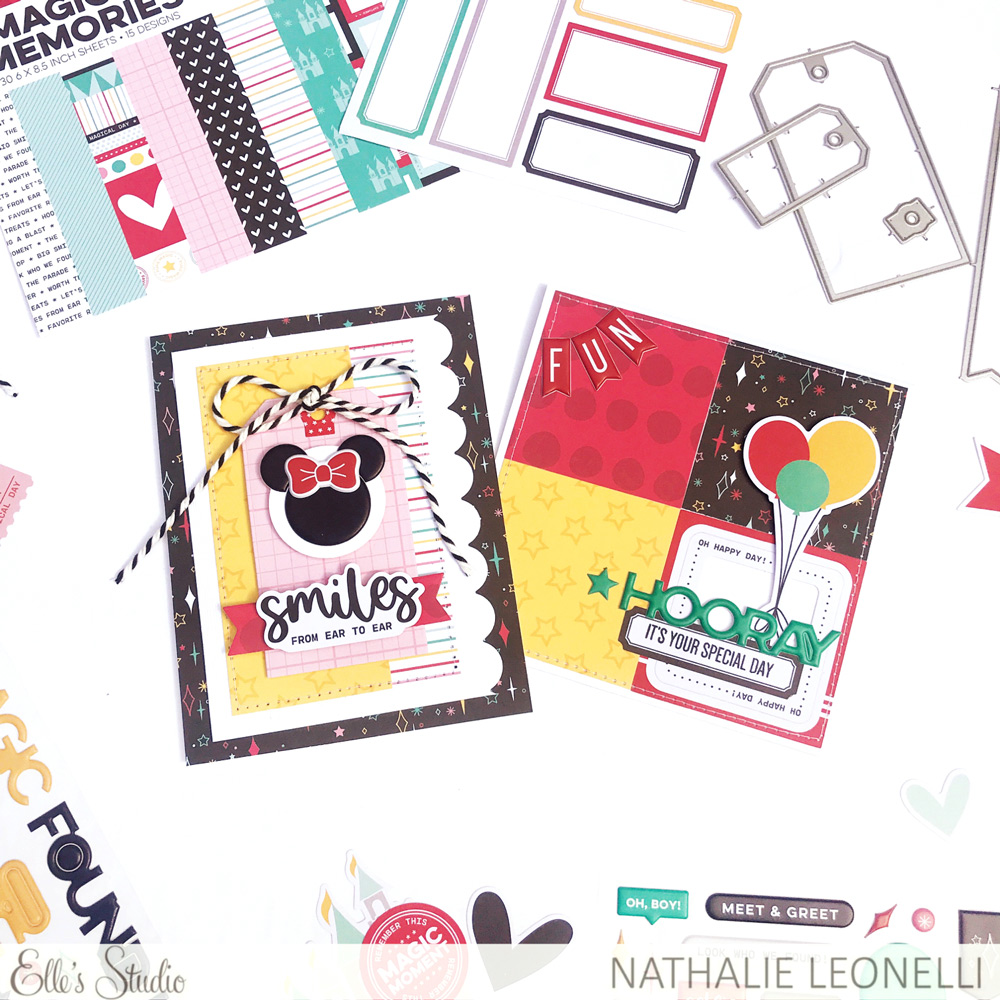
Supplies | Magical Memories Die Cuts, Magical Memories Cardstock Label Stickers, Magical Memories Puffy Heart and Star Stickers, Magical Memories Puffy Stickers, Magical Memories Puffy Circle Stickers, Magical Memories Paper Stack, Title Builder Vol. 6 Simply Magic Puffy Word Stickers, Make A Wish Stamp, Nesting Tags Metal Die, Banners Metal Die

Always a good source for sketches—both of my cards are based on sketches found in the Spring 2022 issue of Scrapbook and Card Today magazine.
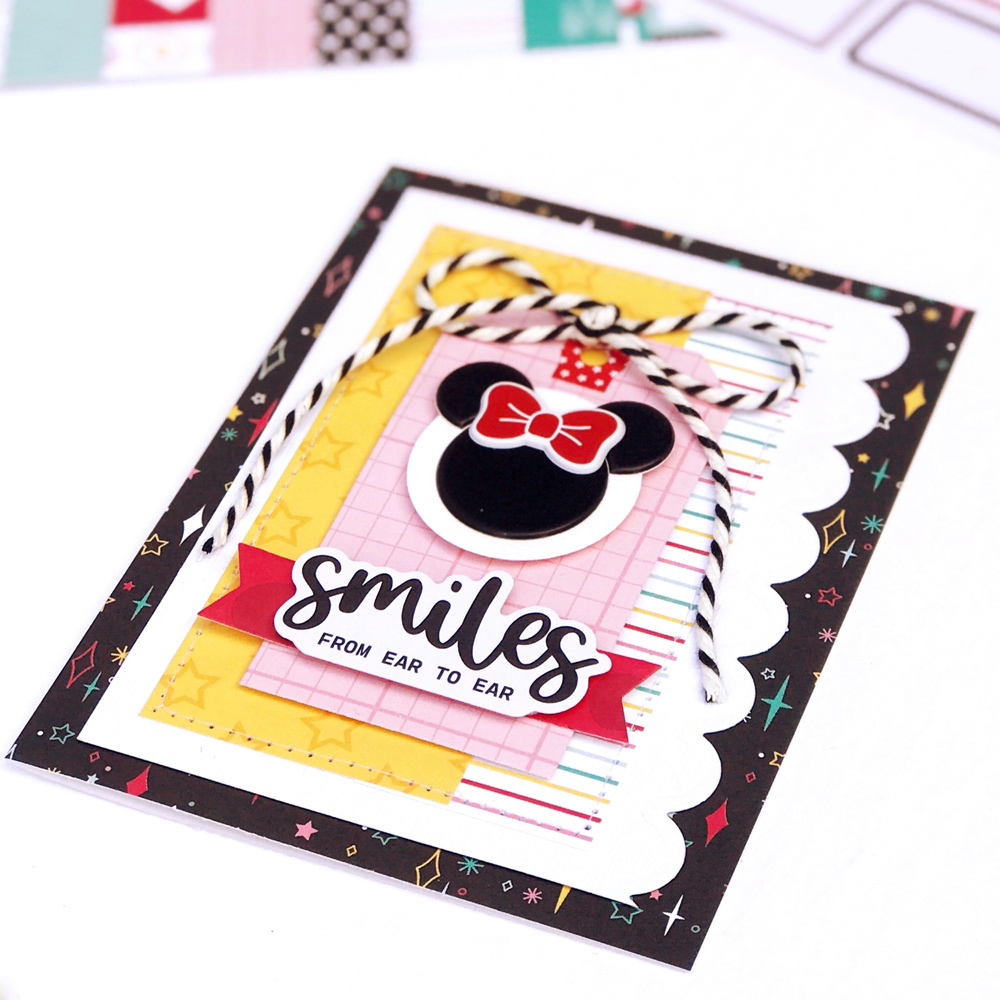
For this first one, I combined several patterned papers from the Magical Memories Paper Stack and used a couple of my go-to cardmaking dies: the Nesting Tags Metal Die and Banners Metal Die.
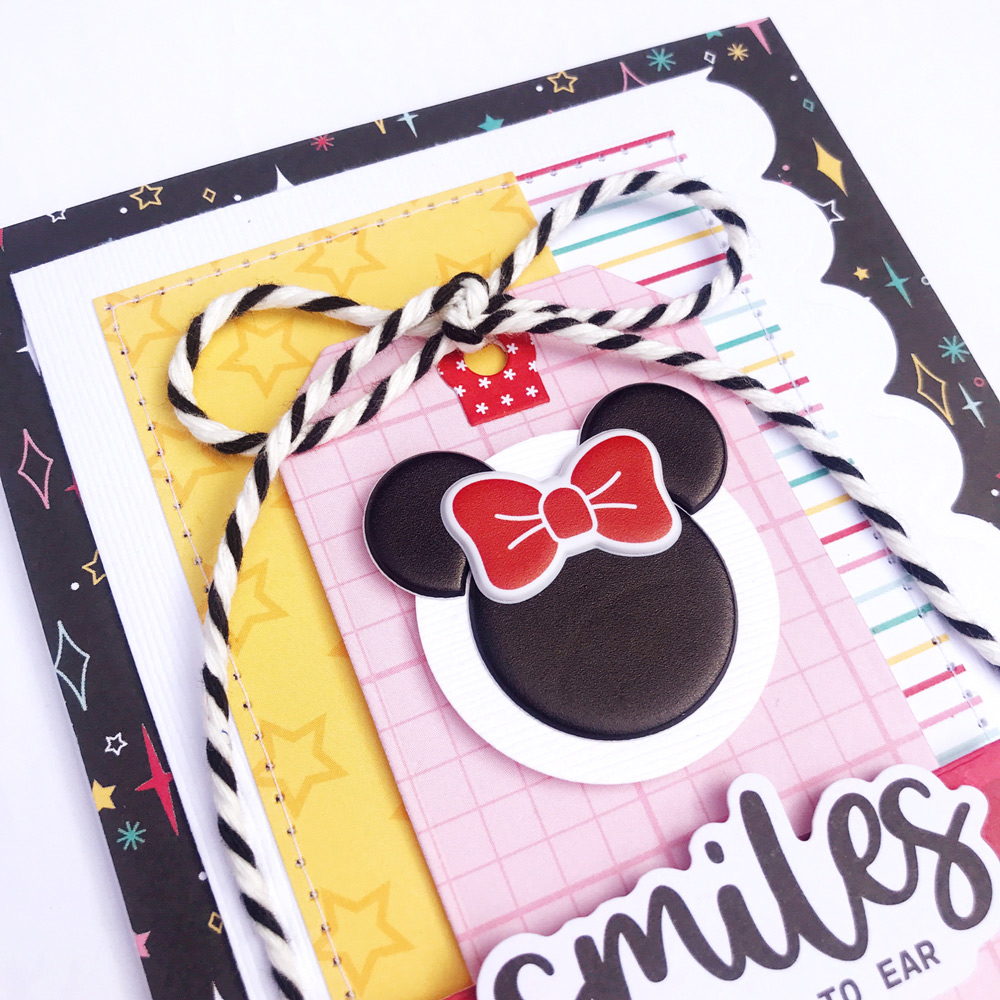
Embellishing the tag, the focus of my card, was my favorite! I combined circles from the Magical Memories Puffy Circle Stickers with a bow from the Magical Memories Puffy Stickers for the cutest result. The sentiment is from the Magical Memories Die Cuts. The use of foam squares under the different layers adds dimension and the twine bow adds texture. 
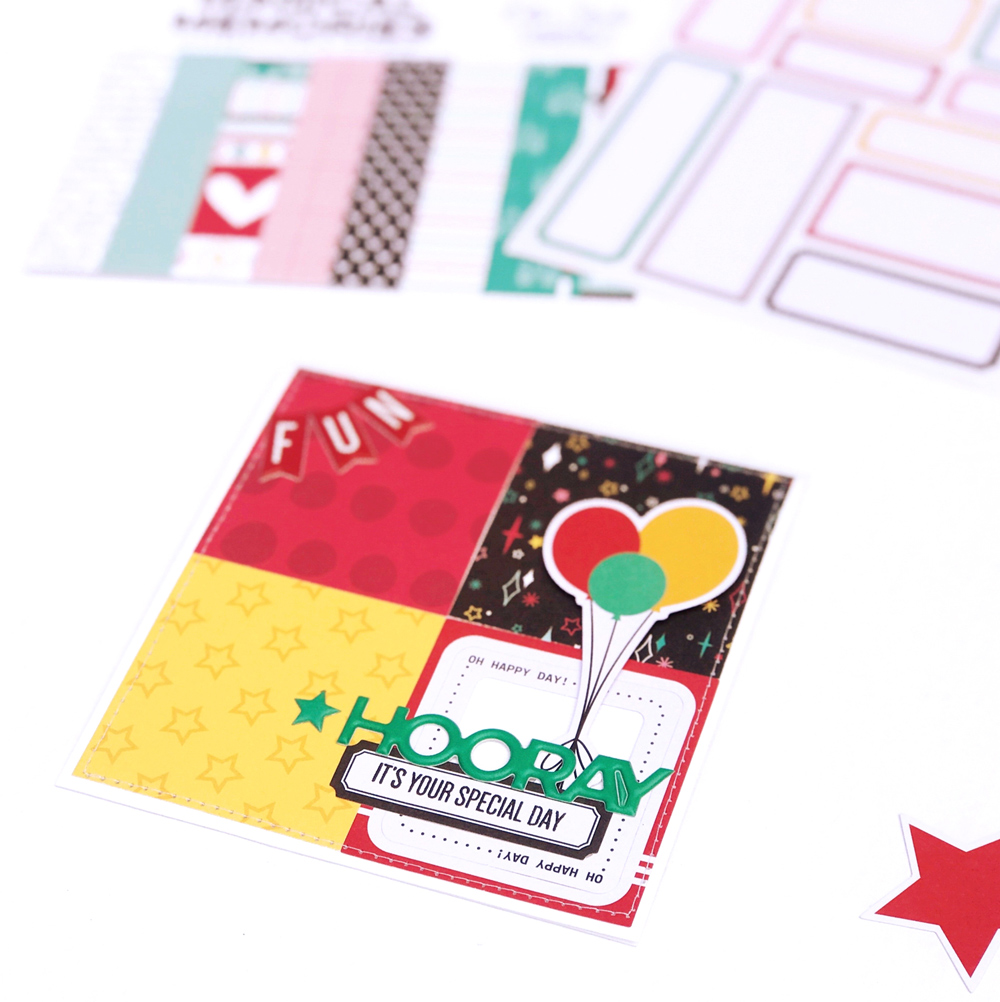
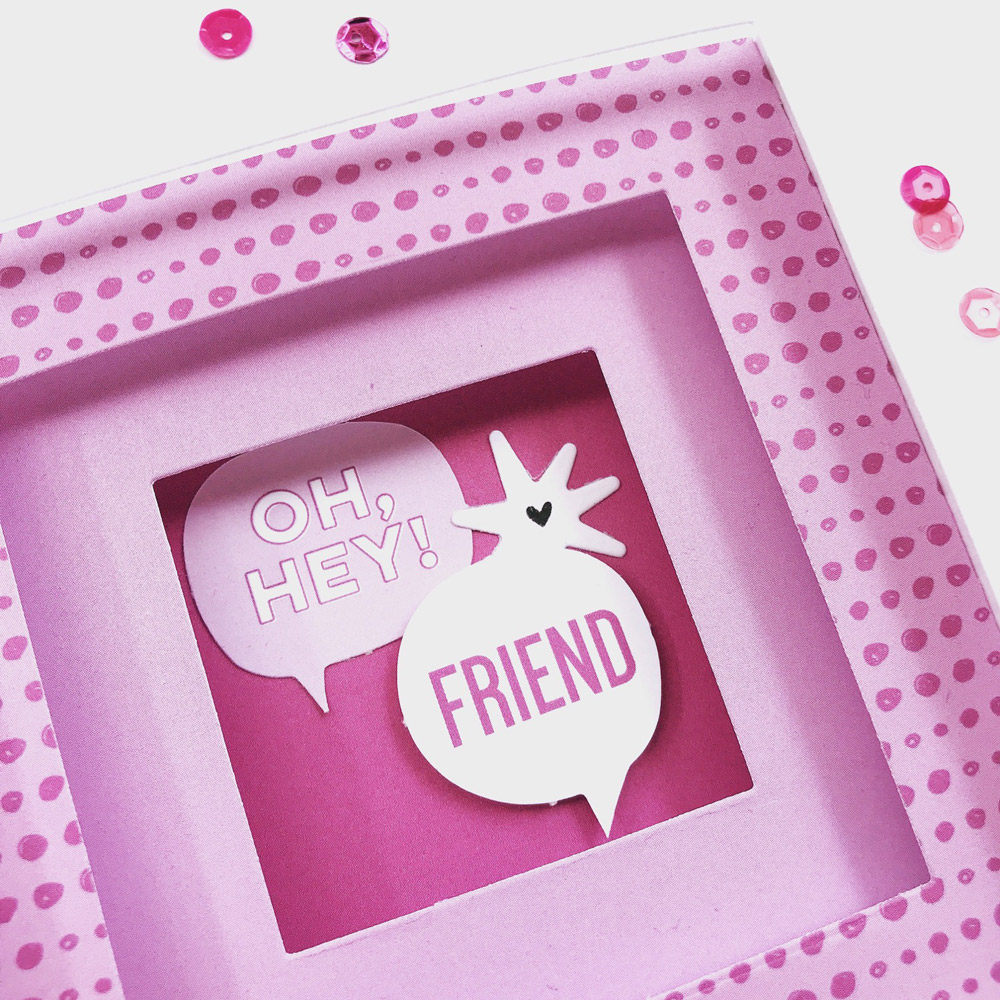
For this second card, it all started with a square frame from the Magical Memories Die Cuts and I cut matching squares from the Magical Memories Paper Stack. A festive bouquet of balloons pops out of the frame bringing the focus on the sentiment.
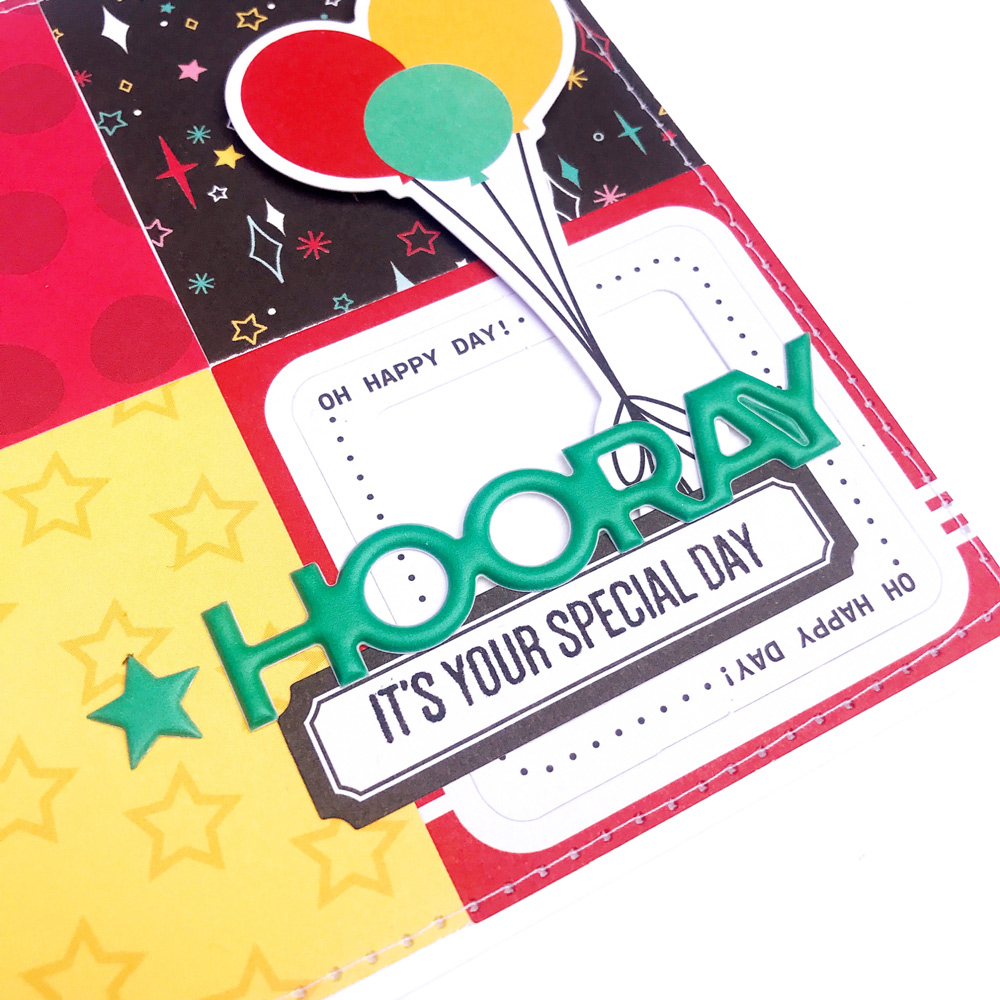
For the sentiment, I found the perfect word in the Title Builder Vol. 6 Puffy Word Stickers and paired it with a sentence from the Make A Wish Stamp, which is currently on sale right now! With their happy colors and theme, I’m sure these cards will bring a smile to their recipients’ faces.

Stop by tomorrow for another day of design team inspiration with our Magical Memories collection as part of our Week of Magic!

Find all of the magical products that Nathalie used, and so much more in our shop today in the Magical Memories Volume 2 and Title Builder Vol. 6 Simply Magic collections while supplies last!
A Week of Magic: A Super Special Moment with LeeAnne Jones

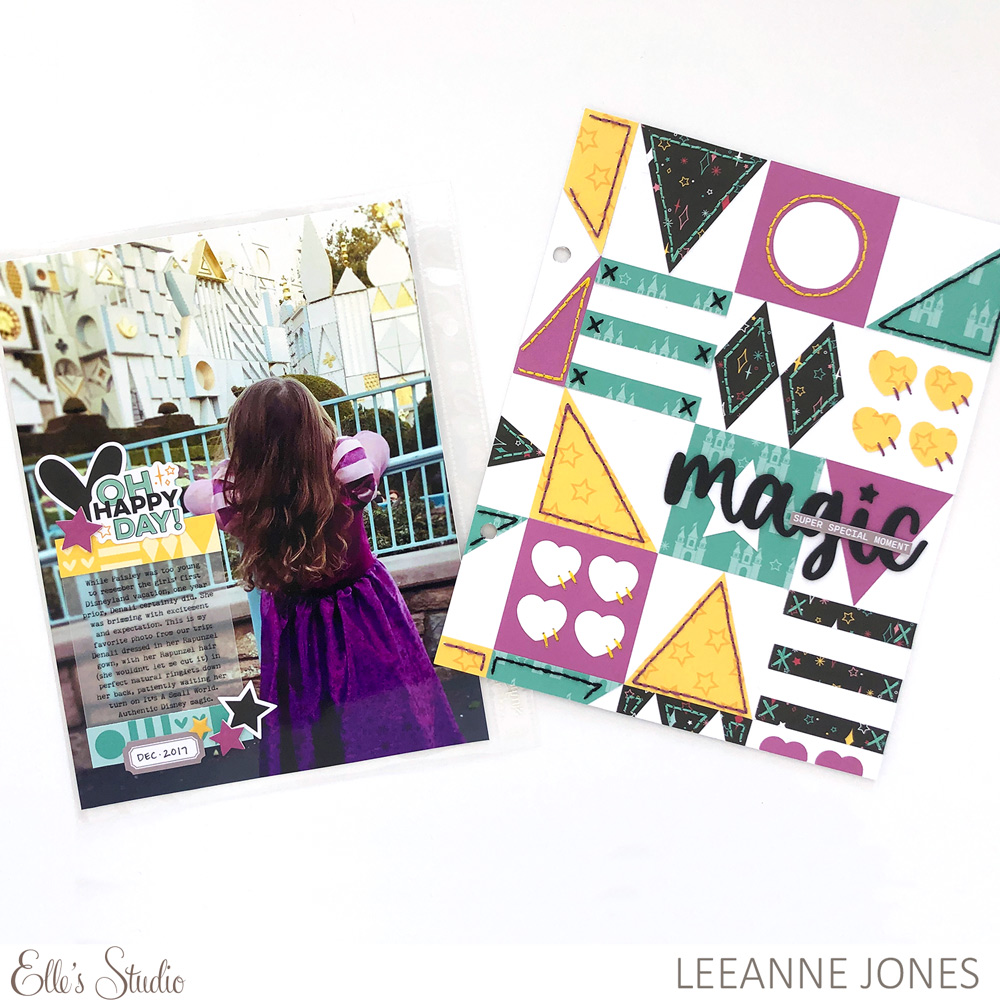
Welcome to day two of our “Week of Magic” party, featuring the most magical projects from our design team created with the Magical Memories Volume 2 and Title Builder Vol. 6 Simply Magic collections! Today our own LeeAnne Jones is sharing a 6 x 8-inch pocket page spread that we think is so special, with a truly magical photo to record! Let’s take a look!

Hello, everyone! It’s LeeAnne here with a 6×8-inch scrapbook spread using Elle’s Studio’s exciting new release: Magical Memories Vol. 2! This collection is full of bright colors, cheerful sentiments, and whimsical embellishments. It truly is magical!

Supplies | Magical Memories Die Cuts, Magical Memories Cardstock Stickers, Magical Memories Cardstock Label Stickers, Magical Memories Puffy Heart and Star Stickers, Warm Puffy Heart and Star Stickers, Magical Memories Paper Stack, Warm Solids Paper Stack, Magical Memories Vol. 2 Metal Die, Title Builder Vol. 6 Simply Magic Metal Die

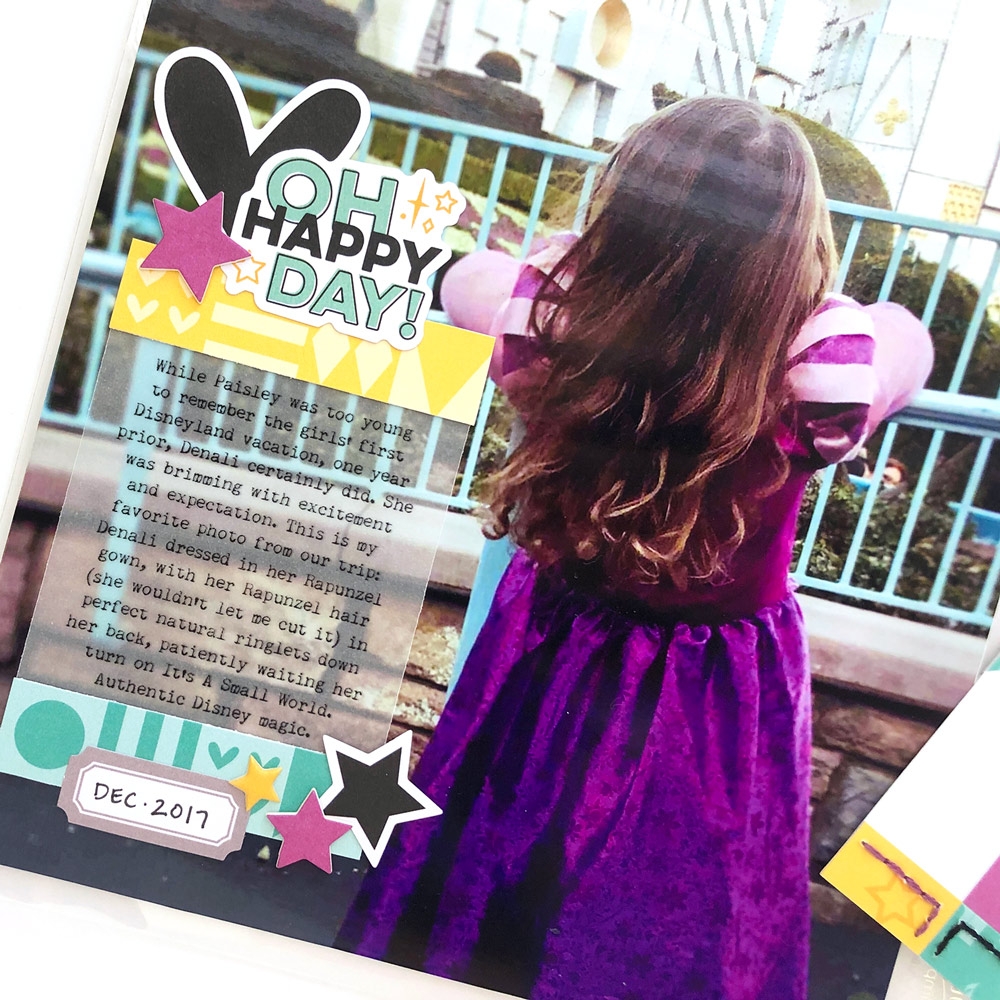
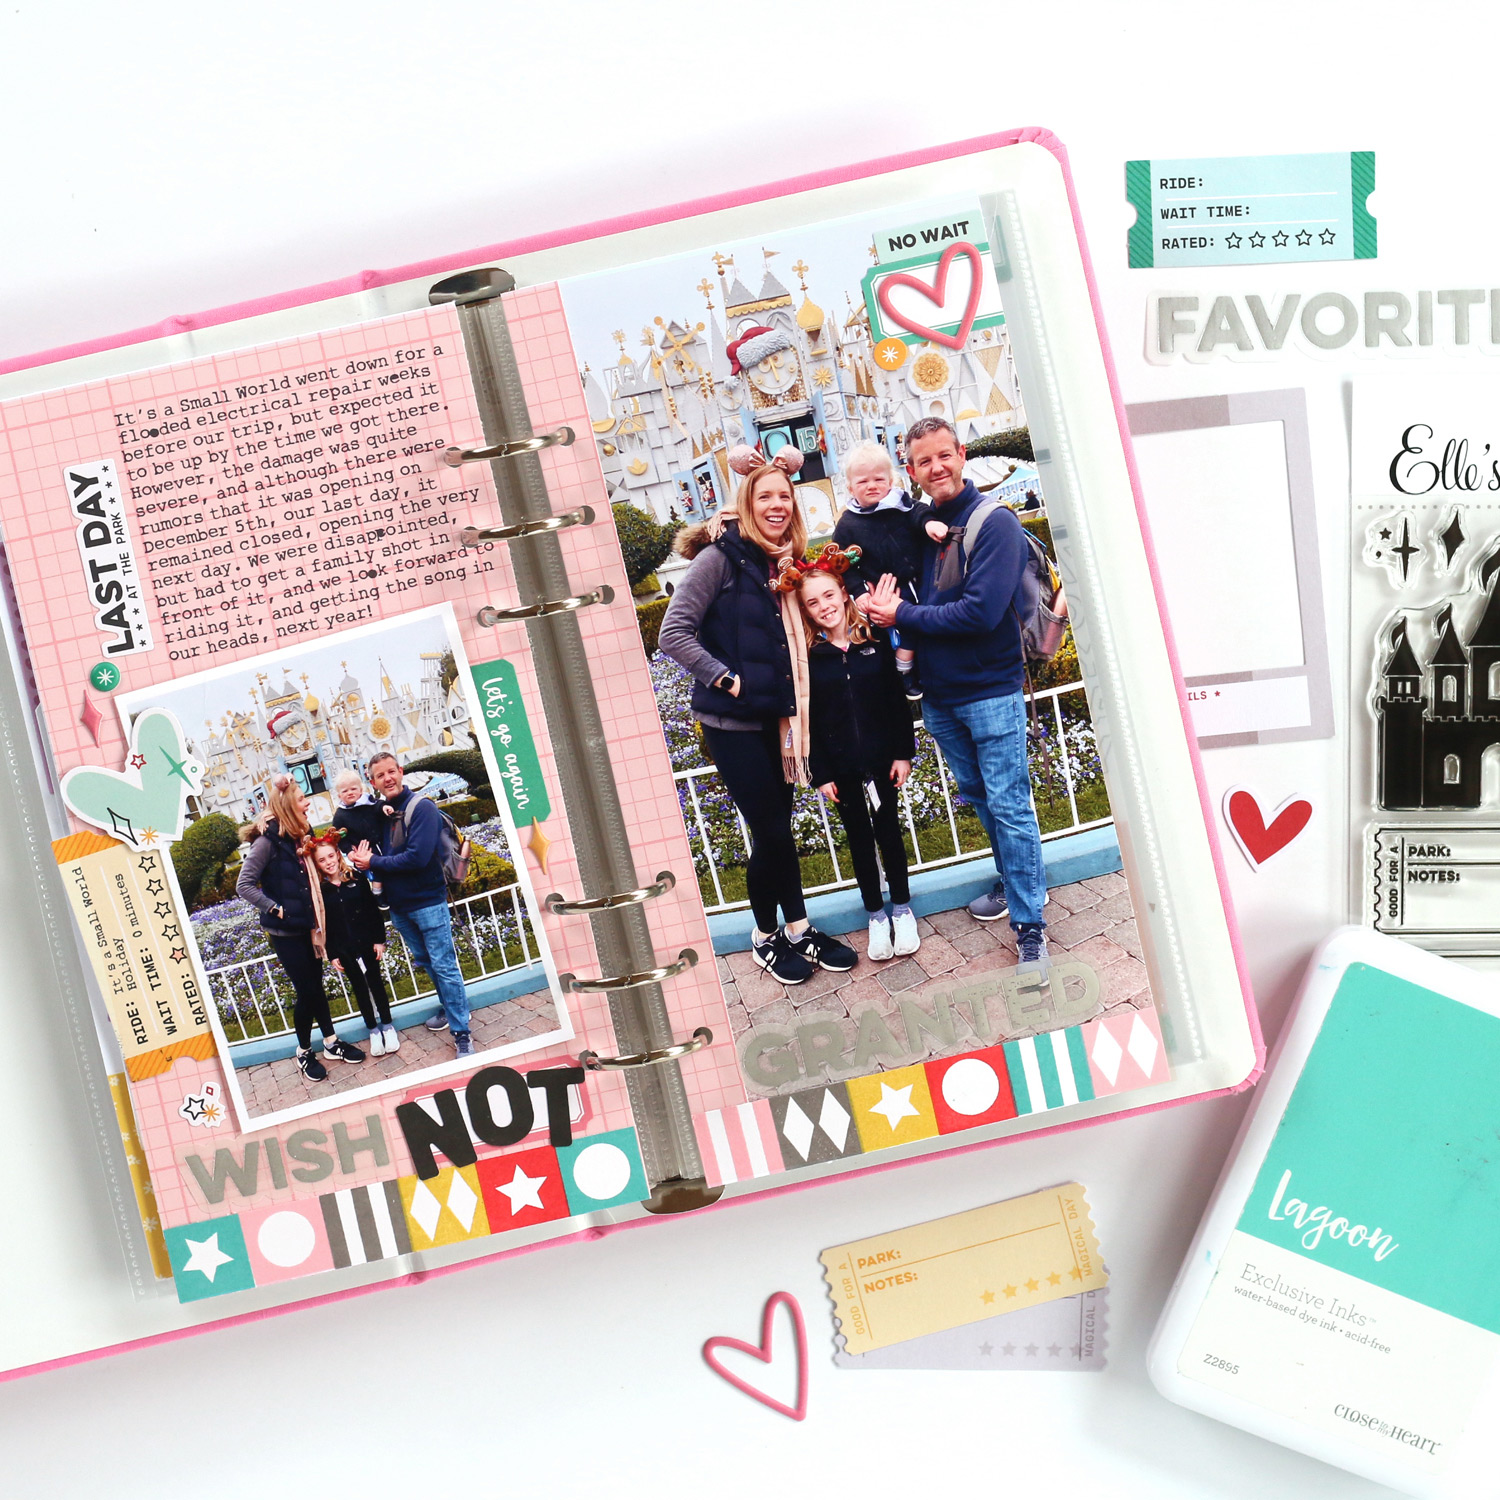
This collection is perfect for documenting a Disney trip, of course, and I had many to choose from. But when I saw the grey, geometric-patterned sheet in the Magical Memories Paper Stack, I knew exactly where to start: a photo of my daughter waiting for It’s A Small World, her hair in ringlets down her back and the iconic geometric pattern of the ride in the background.

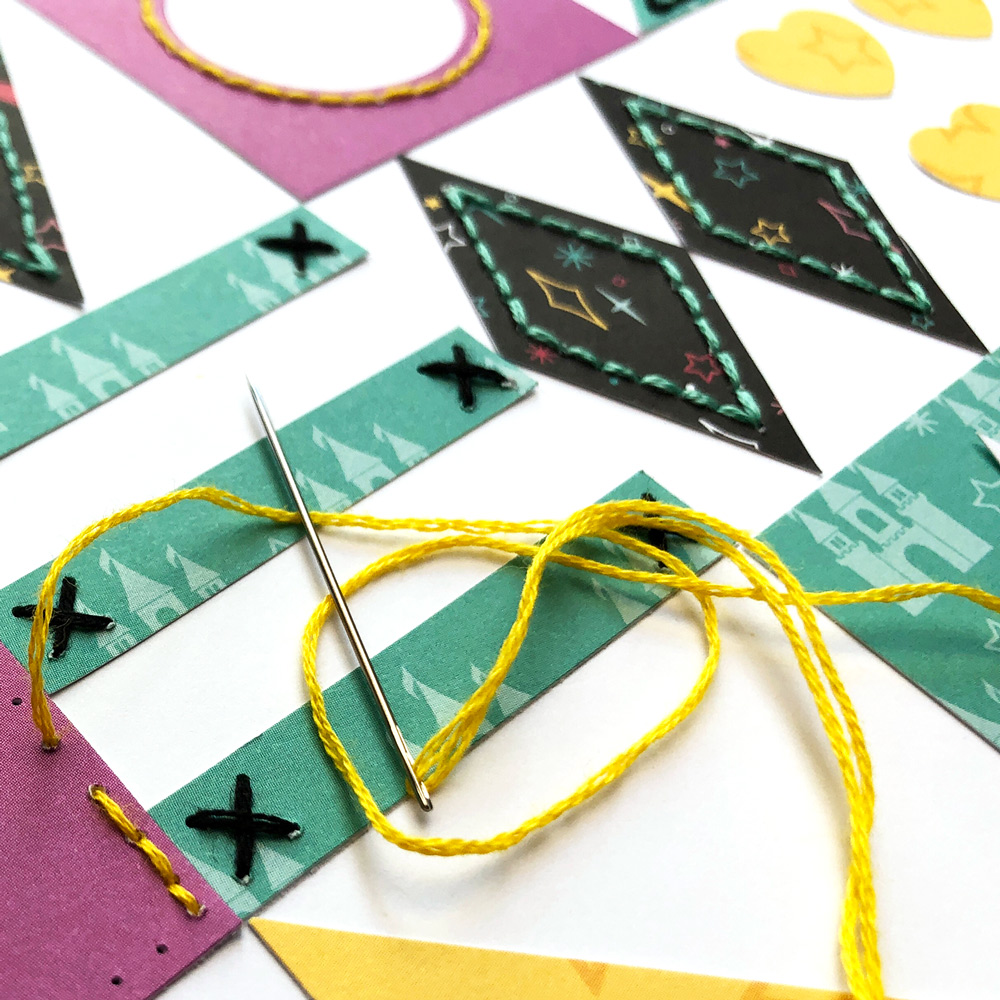
I went all-in on that pattern. I used the grey paper as a guide for designing a grid of shapes. Pulling from the colors of the photo, I used other sheets of Magical Memories paper: the teal castles, black sparkles, and yellow stars—plus a warm purple solid from the Warm Solids Paper Stack to bring in the color of my daughter’s Rapunzel gown. Once I secured all the pieces, the design looked promising, but flat. So, I decided to embellish each shape with embroidery. It lends texture and dimension and also gives the page a bit of a patchwork feel, which is fun. 

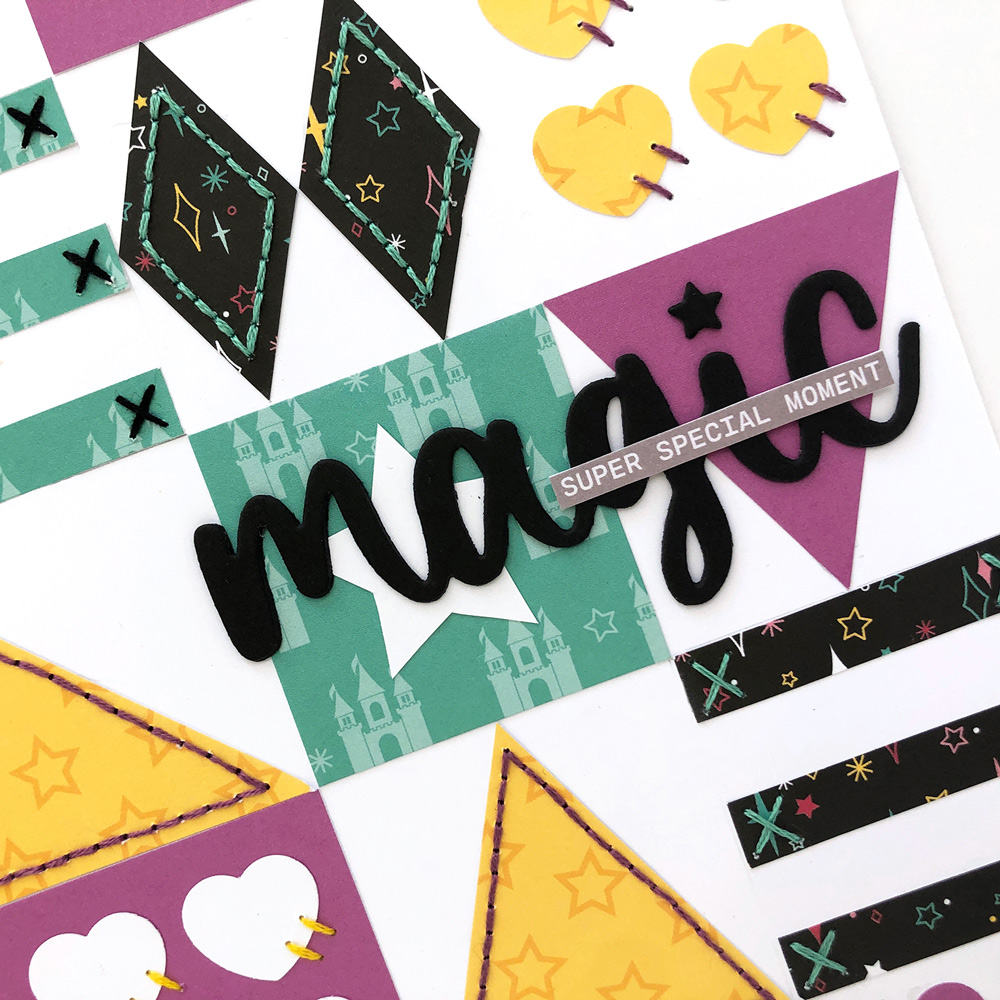
For the title, I used the script “magic” from the Magical Memories Vol. 2 Metal Die. I cut out three from black cardstock and glued them together, forming faux chipboard. “Super Special Moment” is from the Magical Memories Cardstock Stickers; I just cut it down to a thinner-size strip, so it didn’t cover as much of that scripty “magic.” Note: This side of the layout is sized to be outside of the page protector, giving it a larger surface area and the ability of the viewer to touch all of the different textures. 

For the journaling block, I wanted to echo the pattern of the other page. Thankfully, the Magical Memories Paper Stack includes a sheet with several cut-apart border elements including these yellow and teal pattern strips. They’re serving a second purpose here, too: hiding the adhesive I used to glue down the vellum. A sprinkling of die cuts and puffy stickers added the finishing touch. 

That’s it! I can’t wait to see how everyone uses the Magical Memories products. I know I’m looking forward to my next project. Happy documenting!

Come back tomorrow for magical cards to continue “A Week of Magic” here on the blog, and don’t forget to share what you create with Magical Memories Volume 2 and Title Builder Vol. 6 Simply Magic in our Facebook Group and by using the #EllesStudio hashtag!

A Week of Magic: Favorite Character with Jen McMurtrey

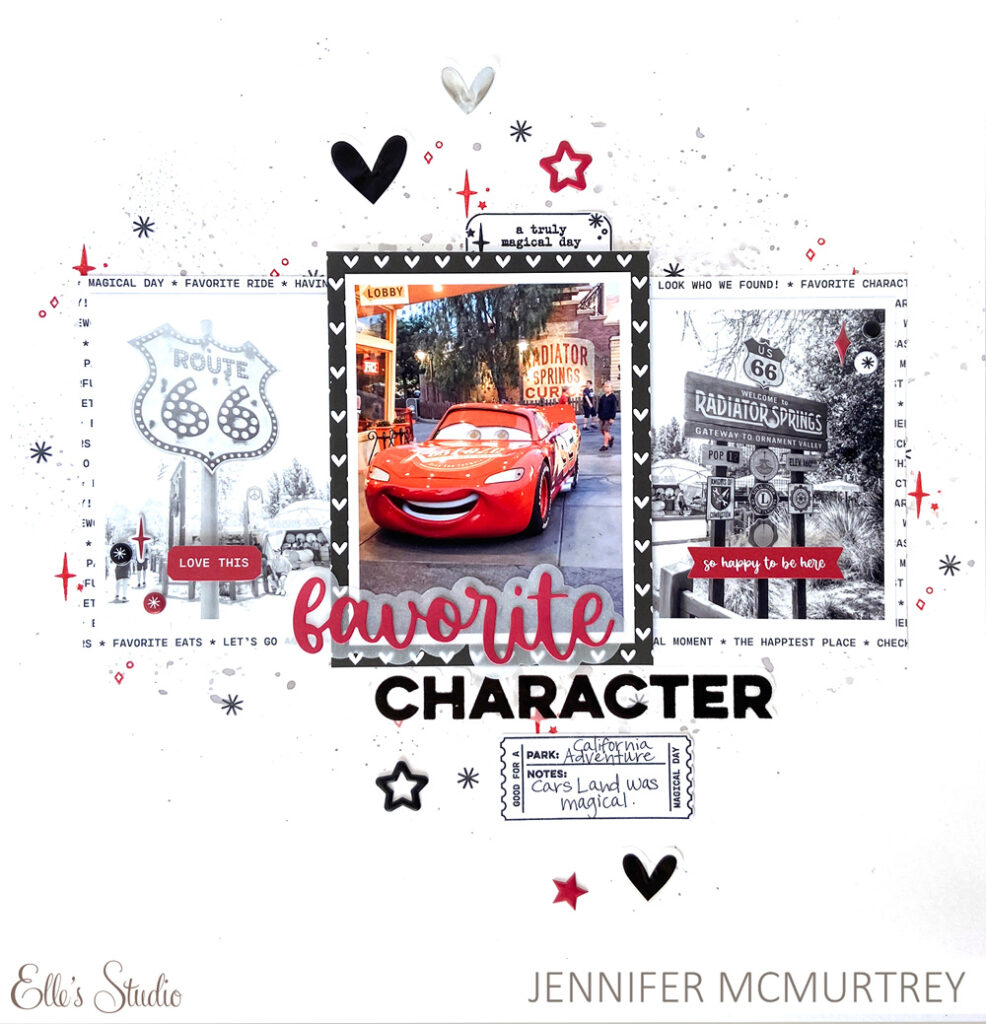
Hello, friends! We are excited for a brand new week of the most magical inspiration that we’ve ever shared here on the blog! It’s A Week of Magic! Each day this week, our team will be sharing projects created with our two newest collections, Magical Memories Volume 2 and Title Builder Vol. 6 Simply Magic! Let’s kick off the week today with a new layout by Jennifer McMurtrey!

Oh, boy! Oh, boy! Elle has outdone herself once again with the new Magical Memories Volume 2 and Title Builder Vol. 6 Simply Magic collections! Between the stamps, metal dies, patterned papers, and embellishments; you will have everything you need to document your Disney memories! 

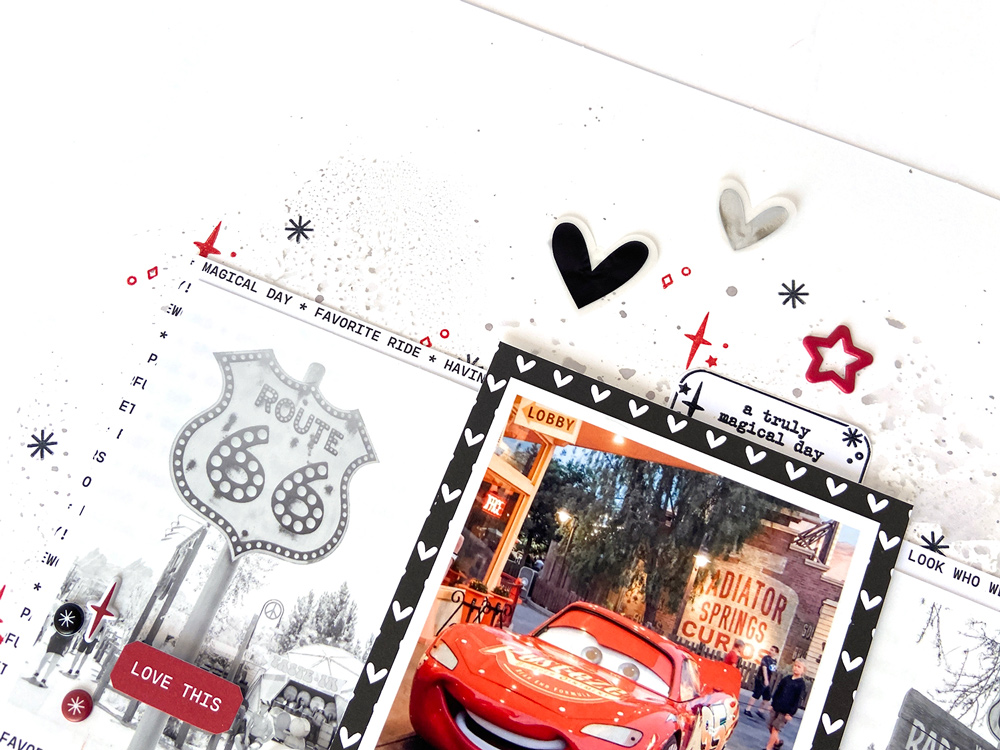
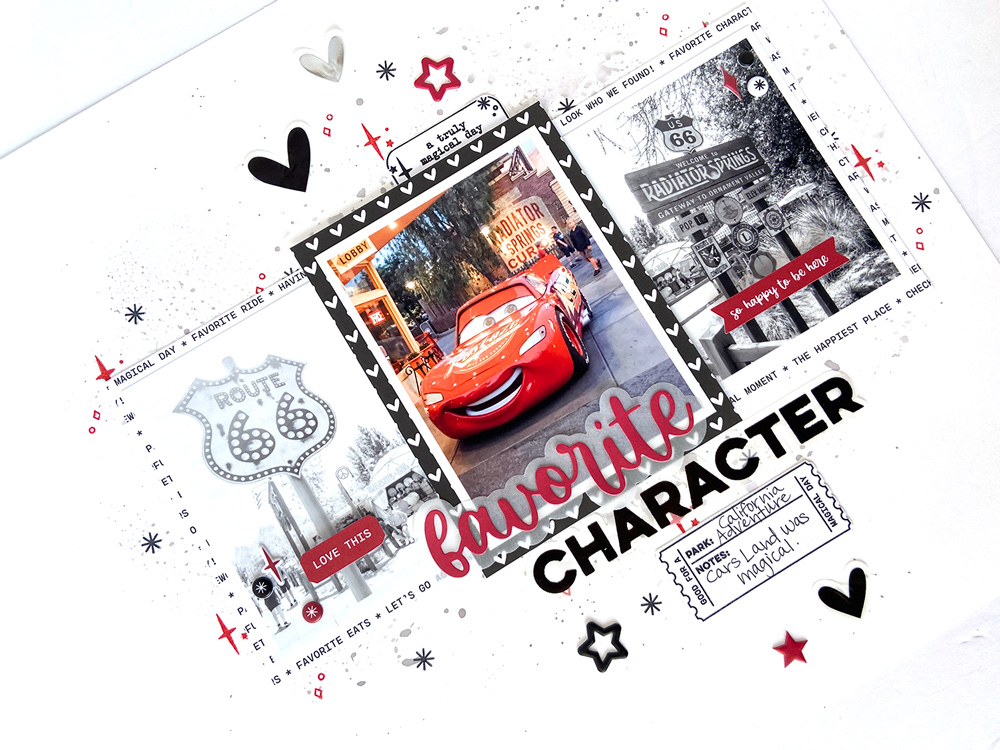
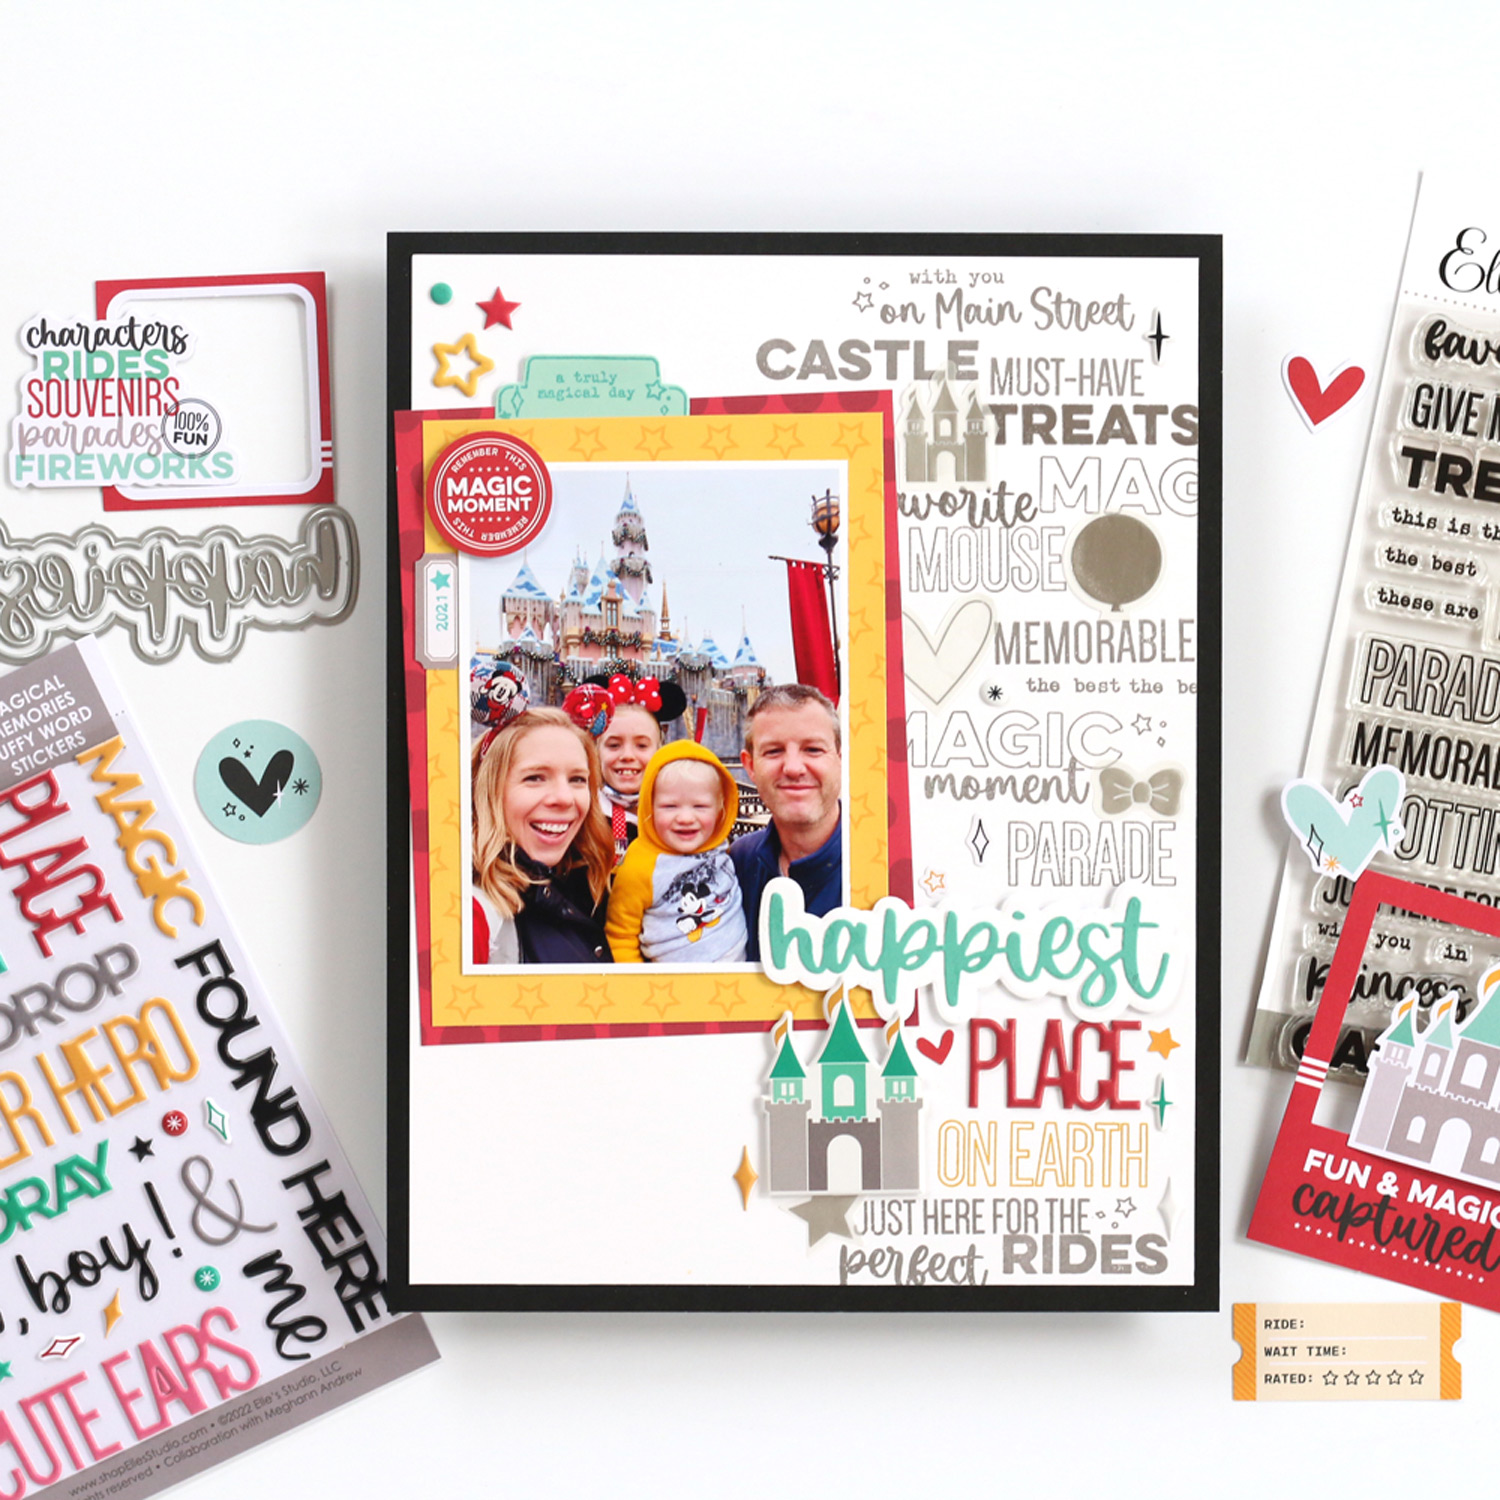
When creating projects, I love using stamps to create unique backgrounds, which is what I did with this 12 x 12-inch layout. 

Supplies | Title Builder Vol. 6 Simply Magic Vellum Die Cut Words, Title Builder Vol. 6 Simply Magic Puffy Word Stickers, Title Builder Vol. 6 Simply Magic Stamp, Title Builder Vol. 6 Simply Magic Metal Die, Title Builder Vol. 6 Simply Magic Big Words Metal Die, Magical Memories Vol. 2 Die Cuts, Magical Memories Vol. 2 Vellum Die Cut Shapes, Magical Memories Vol. 2 Cardstock Stickers, Magical Memories Vol. 2 Heart & Star Puffy Stickers, Magical Memories Vol. 2 Puffy Stickers, Magical Memories Paper Stack, Magical Memories Tab Stamp, Magical Memories Vol. 2 Stamp, Magical Memories Vol. 2 Metal Die, Warm Solids Paper Stack, Everyday Tabs Vol. 2 Metal Die

To begin, I used the smooshing method to apply oxide ink to white cardstock. Next, I stamped images using the Title Builder Vol. 6 Simply Magic Stamp with black and red inks to complete the background. 

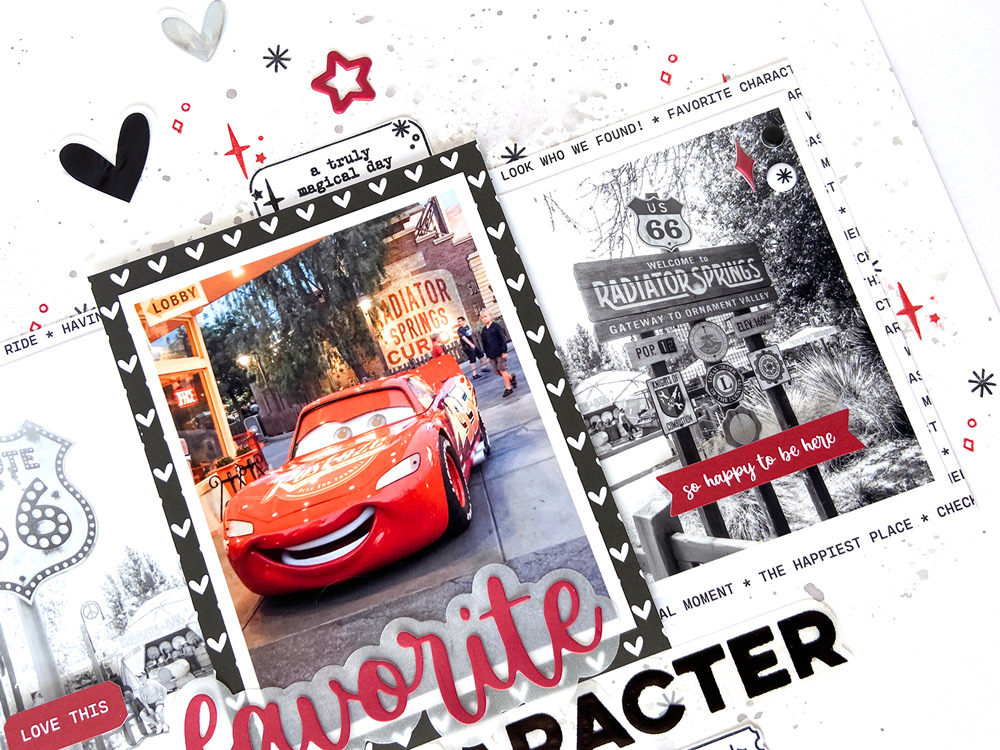
Since I wanted to keep the color scheme to black, gray, and red, I printed two of the three photos in black and white. Doing this helped isolate the colors in the main photo so they are not all competing against one another. 

After backing the photos with patterned papers from the Magical Memories Paper Stack, I adhered them to the background. The middle photo, which is the focal point, was placed down with foam tape so it stands out against the black and white photos. 

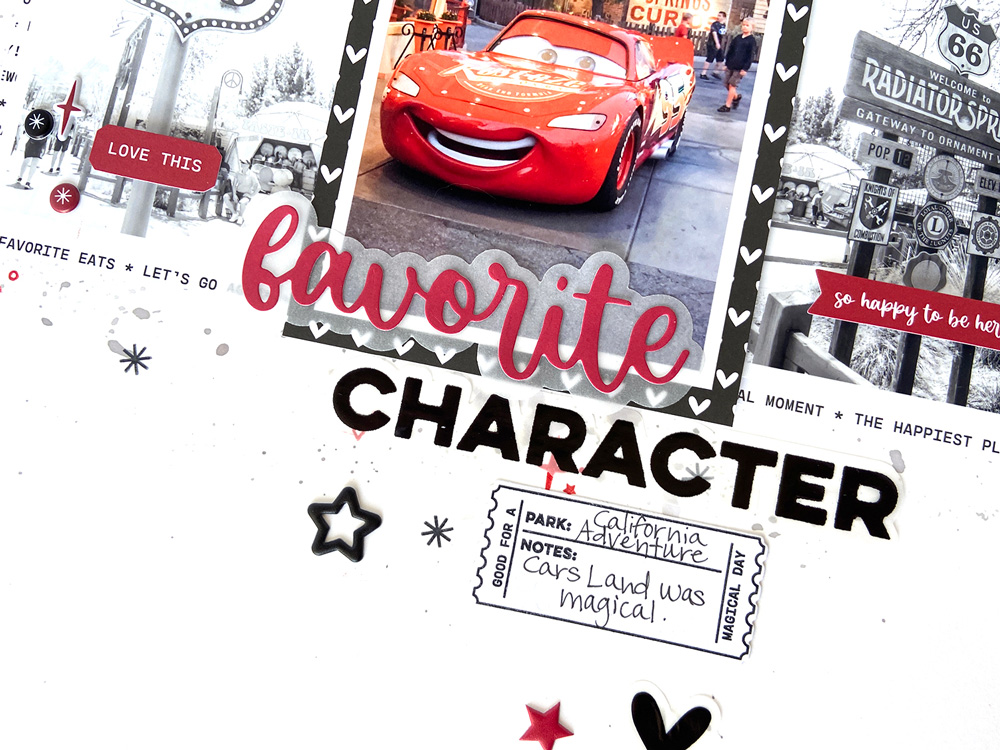
The title was next, and I created that using the Title Builder Vol. 6 Simply Magic Big Words Metal Die with colors from the Warm Solids Paper Stack and vellum along with Title Builder Vellum Die Cut Words

Below the title, I created the ticket with the Magical Memories Vol. 2 Stamp and Metal Die and added journaling. 

Last were stickers and die cuts to finish the project along with Magical Memories Tab Stamp along the top of the middle photo. 

Elle’s latest collections are truly magical, and I cannot wait to continue using them to document our Disney trip. Be sure to grab both collections while they are in stock and get to work recording your precious memories! Remember to post your projects and use the hashtag #EllesStudio so we are sure to see your amazing creations! 

Come back tomorrow for the next project in our five days of fun, and don’t miss any of our new products in the Magical Memories Volume 2 and Title Builder Vol. 6 Simply Magic collections!

5 Ways With The Photograph Stamp & Metal Die

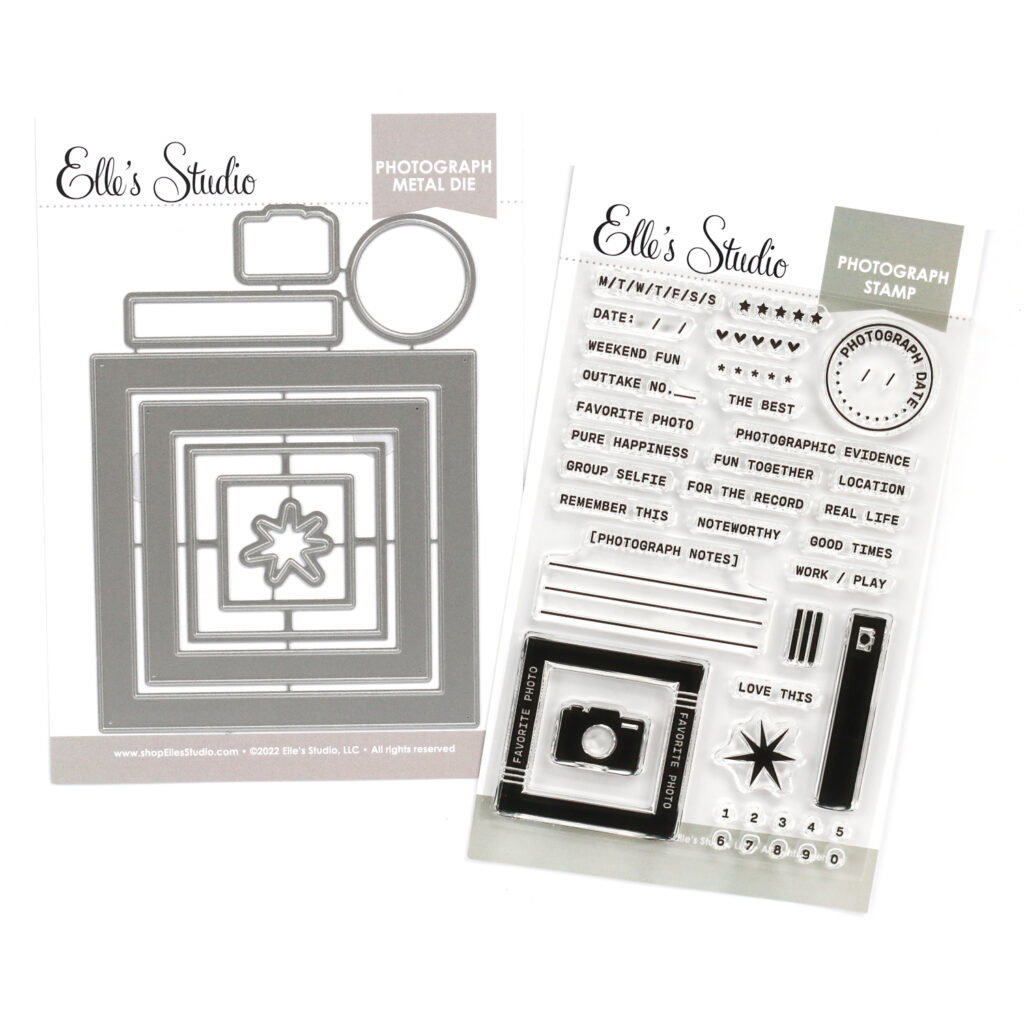
Happy Friday, friends! We just had a big release of the most magical products to the shop, but today we wanted to go back to our May 2022 monthly kit and add-on release to give you some great ideas on how you can create with your Photograph Stamp and Metal Die this weekend!

Let’s check out five ways our team has used these awesome products:

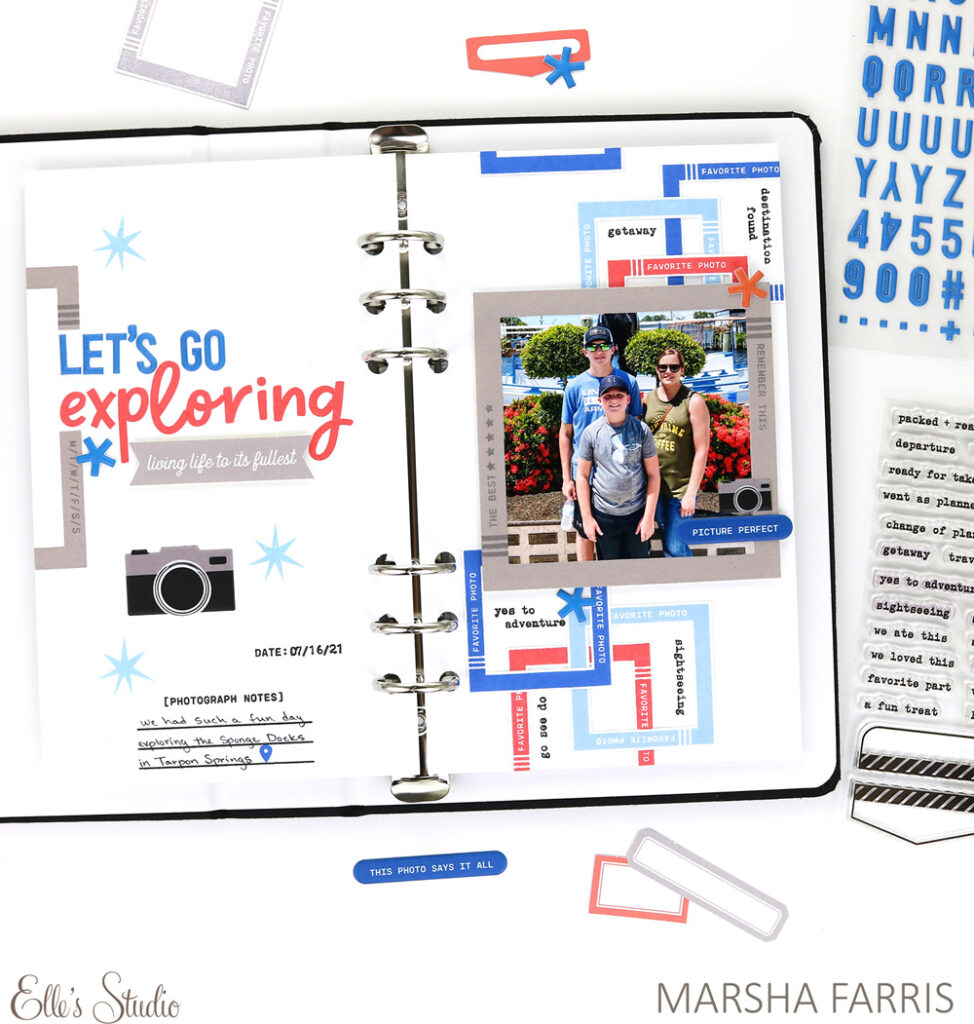
1. Create a colorful background

Marsha had a great idea to use these stamped and die cut frames to not only frame a favorite photo, but also add a colorful background to her notebook spread as well! We also love the clever way that the frame on the left draws attention to Marsha’s beautifully designed title!

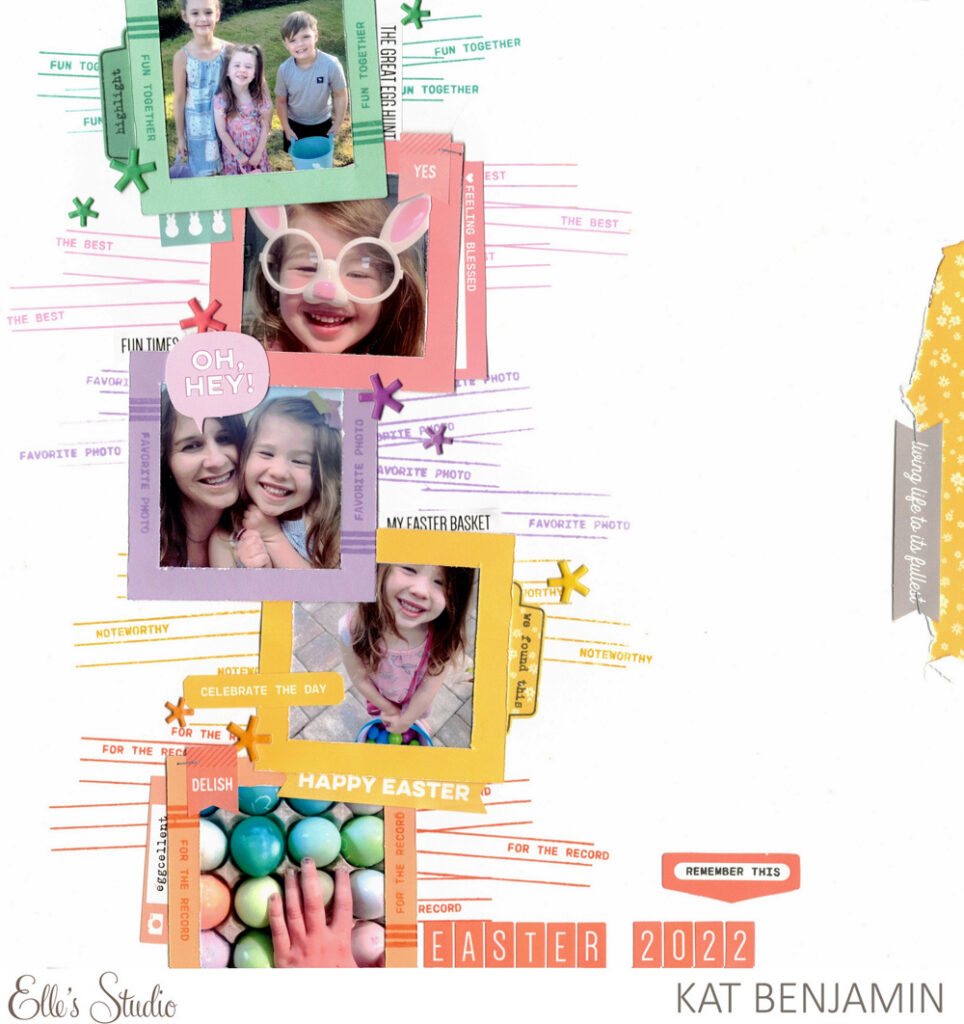
2. Color-block your page

Kat may have used a lot of colors on her page, but they all stayed organized with color blocking! Kat used the color of each frame for her five photos to determine what colors would be stamped around it, and added around it it with our monthly kit elements and add-ons. Our Cool Solids and Warm Solids Paper Stack make color blocking an easy task, too, since they coordinate perfectly with our monthly kit colors!

3. Add an interactive element

On this page shared here on the blog, we love how Suzanna created a frame for her title, and an interactive element, too! Be sure to check out the post to see how easy this was to create!

4. Layer, layer, layer!

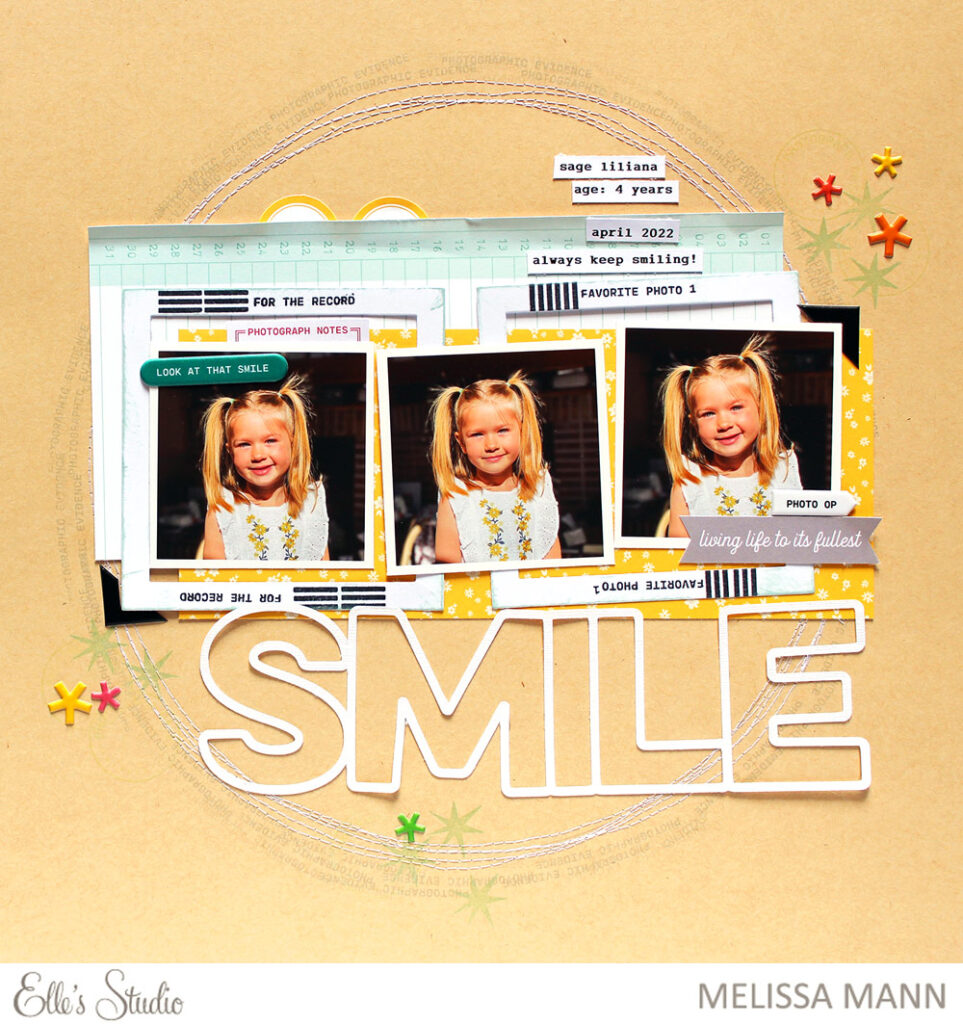
Who says that the frames have to fit your photos perfectly? If the sizes don’t match up, simply use the frames to layer with patterned paper and your photos for a less-formal look, as Melissa shows us here!

5. Don’t forget about pockets!

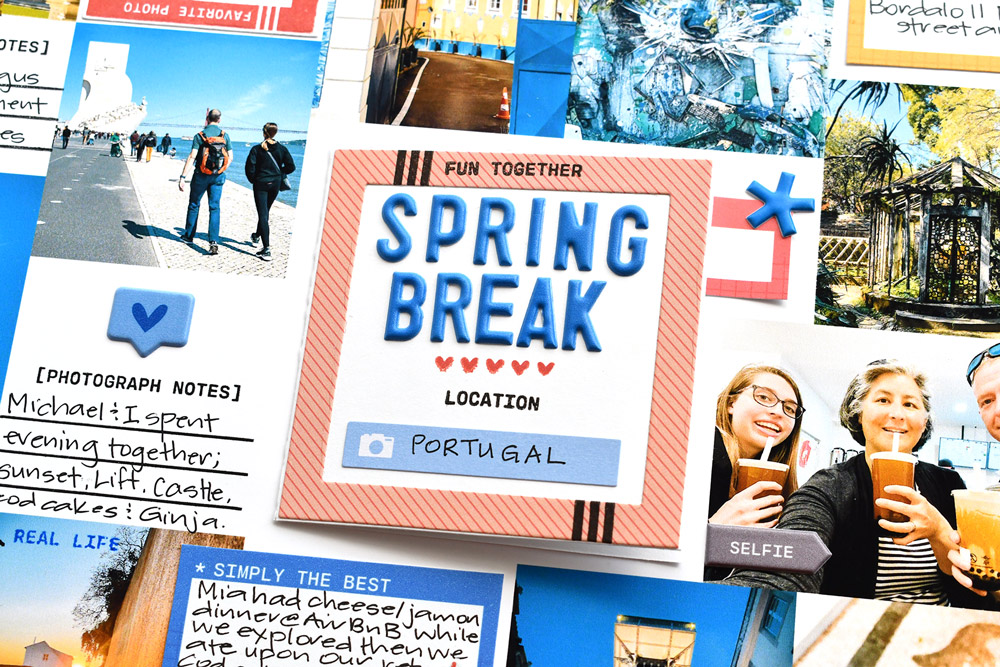
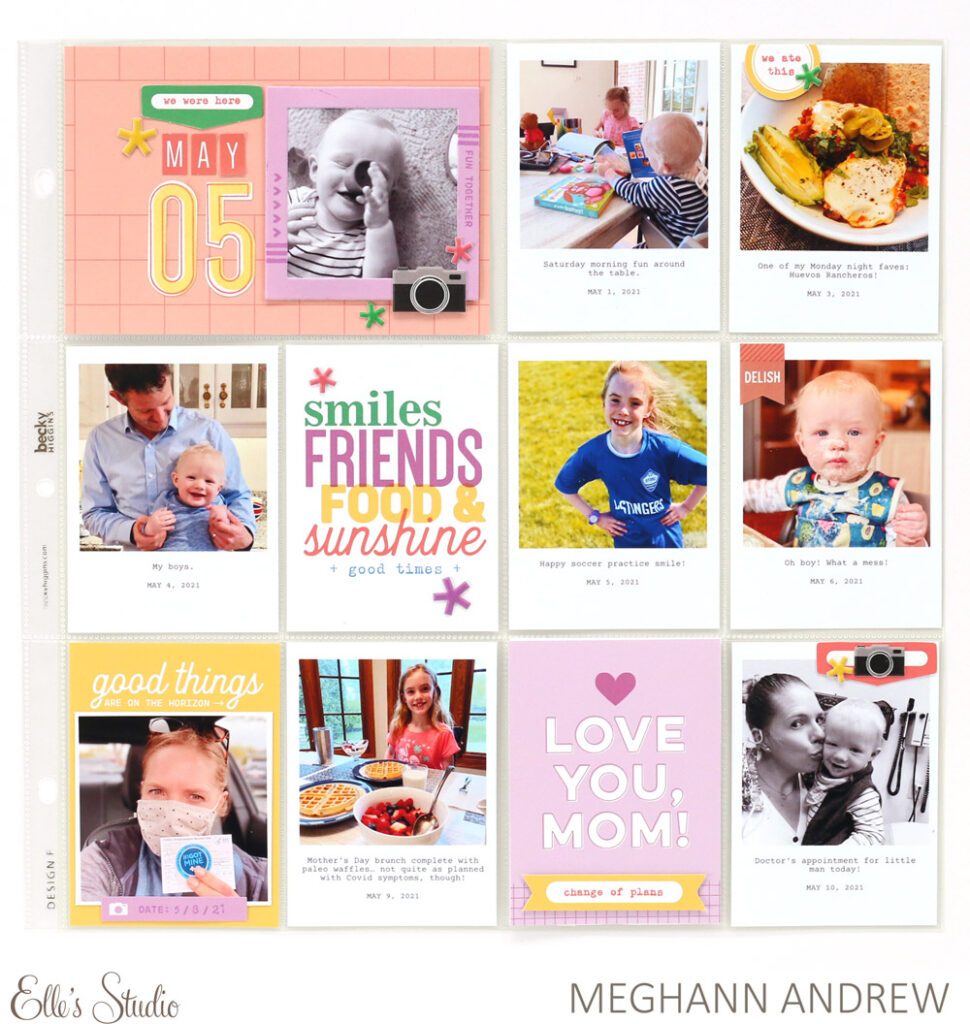
Meghann shows us here that square, framed photos have a place in our pockets, even if the pockets aren’t square! Adding a framed photo to a 4 x 6-inch pocket can break up the lines on your page and add an extra, special photo to the page.

We can’t wait to see how you are using the Photograph Stamp and Metal Die! Share with us by posting in our Facebook Group, or on Instagram using the #EllesStudio hashtag! Happy creating this weekend, friends!

Photograph Metal Die Cards with Nathalie Leonelli

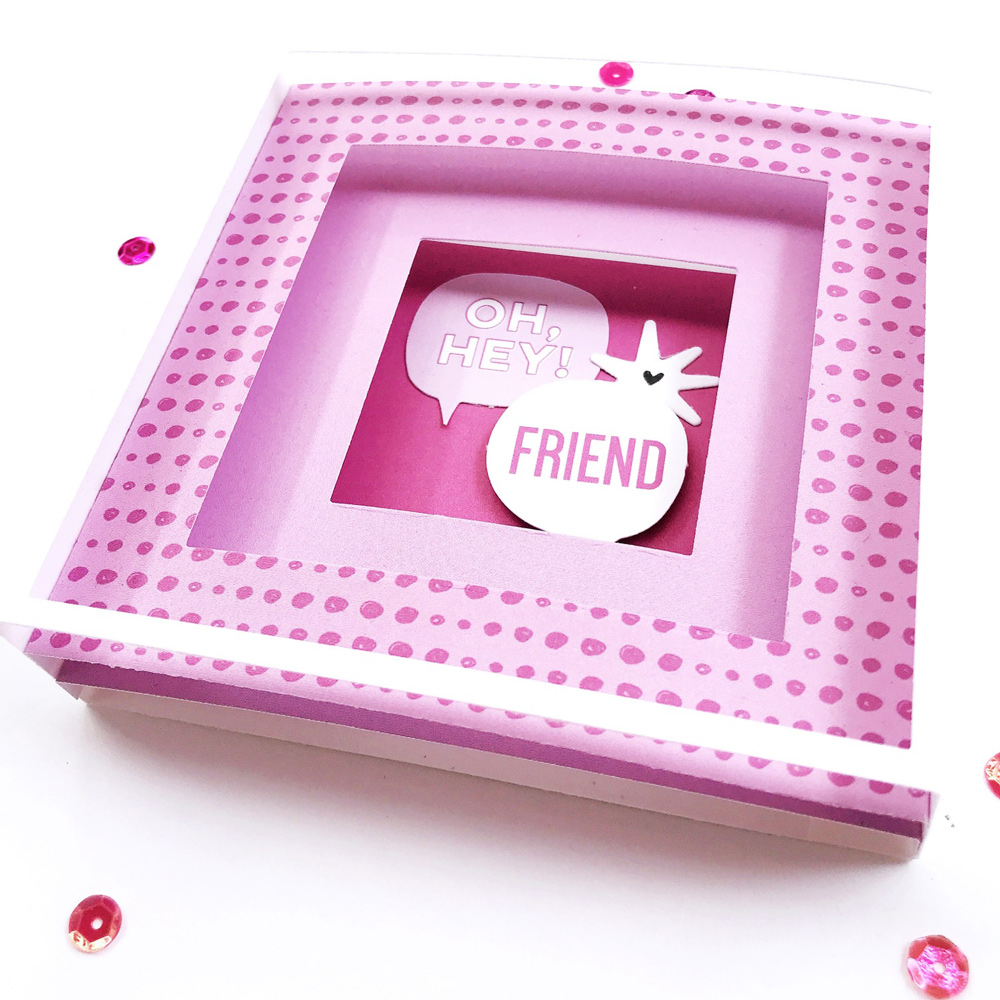
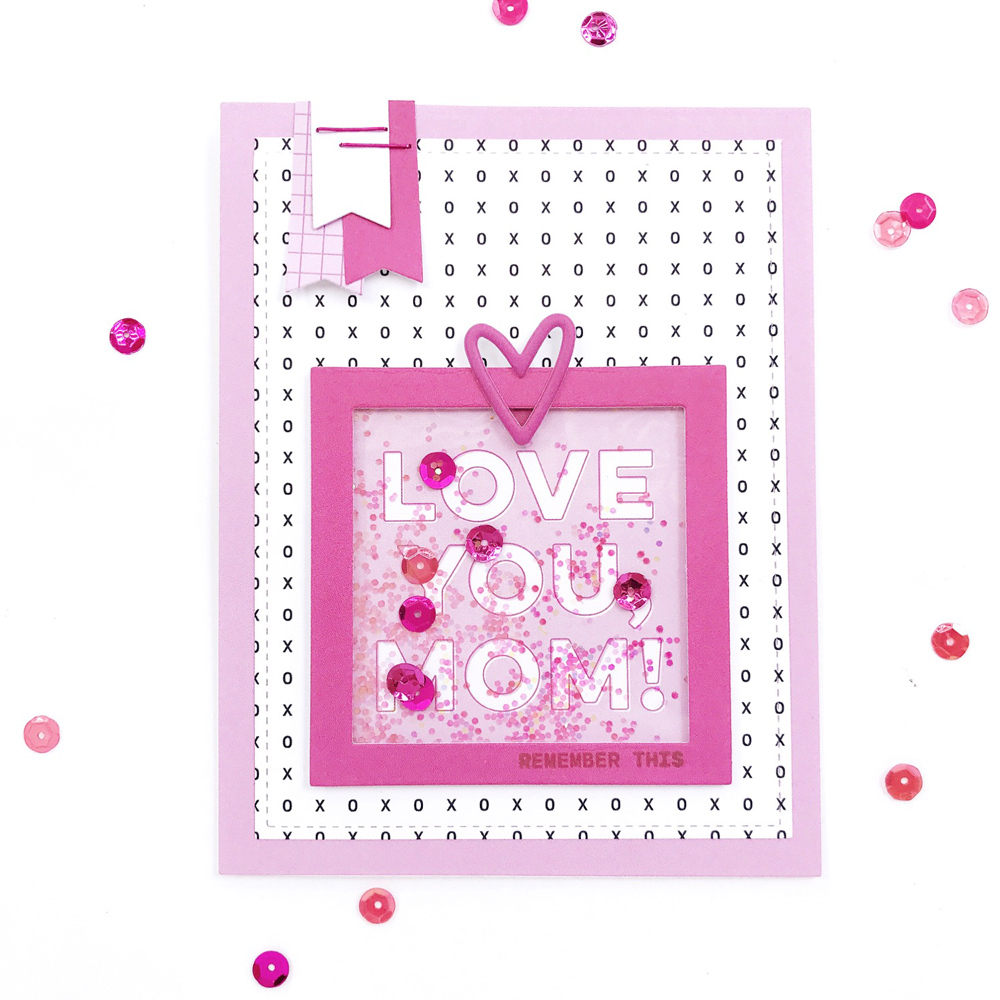
Hello friends! It’s Nathalie, and I am here to share with you two cards I created specifically with the Photograph Metal Die. As soon as I saw this new die, I was inspired to create a shaker card and a tunnel card.

Supplies | May 2022 Kit, Warm Puffy Heart and Star Stickers, The Best Paper Stack, Love You Paper StackWarm Solids Paper Stack, Photograph StampPhotograph Metal Die, Layered Card Metal Die, Banners Metal Dies

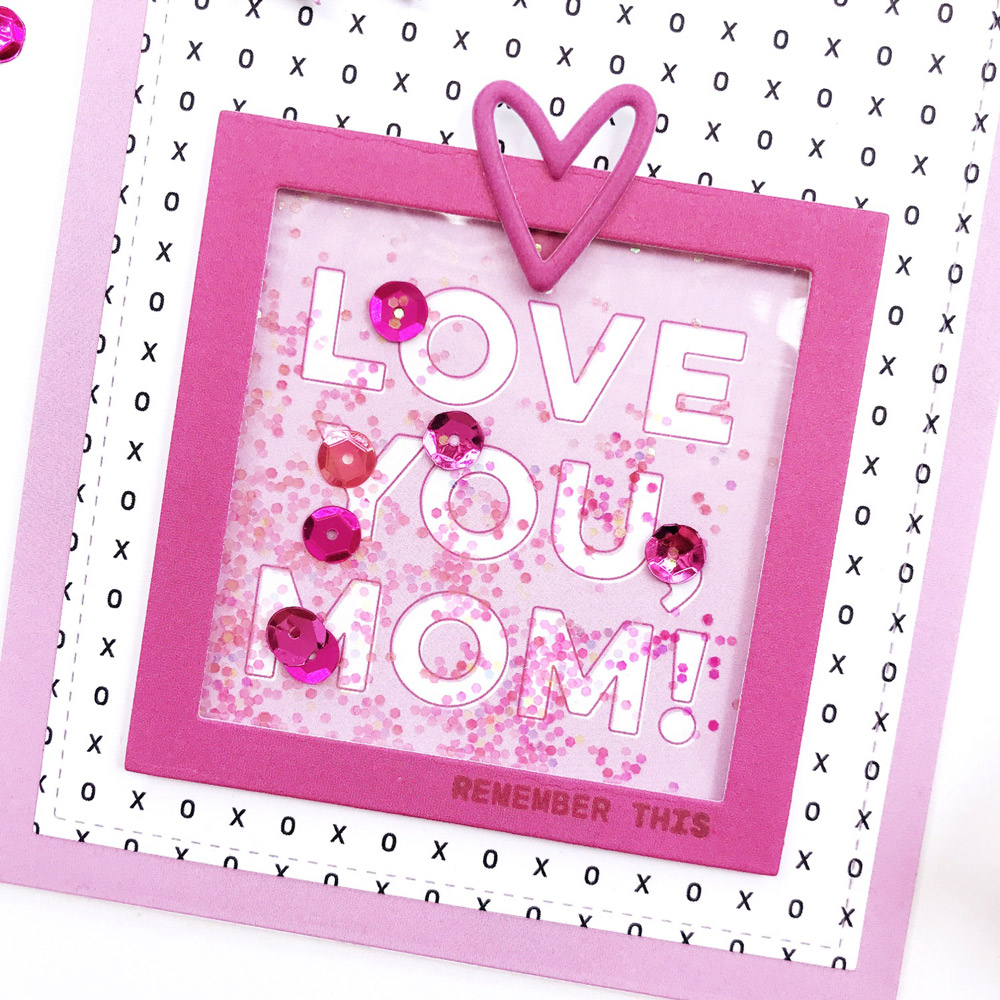
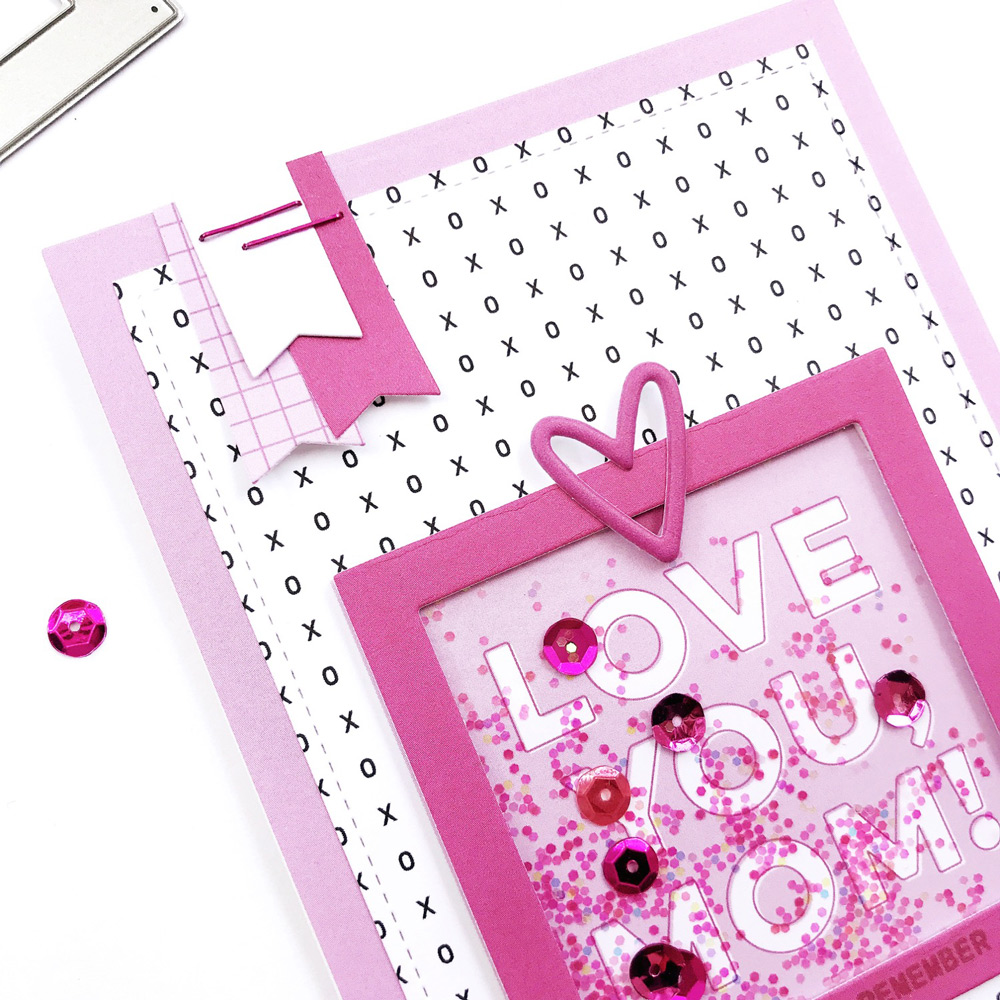
For the shaker pocket card, I used one of the Photograph Metal Dies to create the frame and stamped on it using the matching Photograph Stamp

I raised it with foam adhesive over the trimmed “Love you mom!” tag from the May 2022 Kit. The window is made of a page protector cut to the size of the frame.

For the finishing touches, I added a puffy heart outline from the Warm Puffy Heart and Star Stickers and little banners perfectly cut thanks to my Banners Metal Dies.

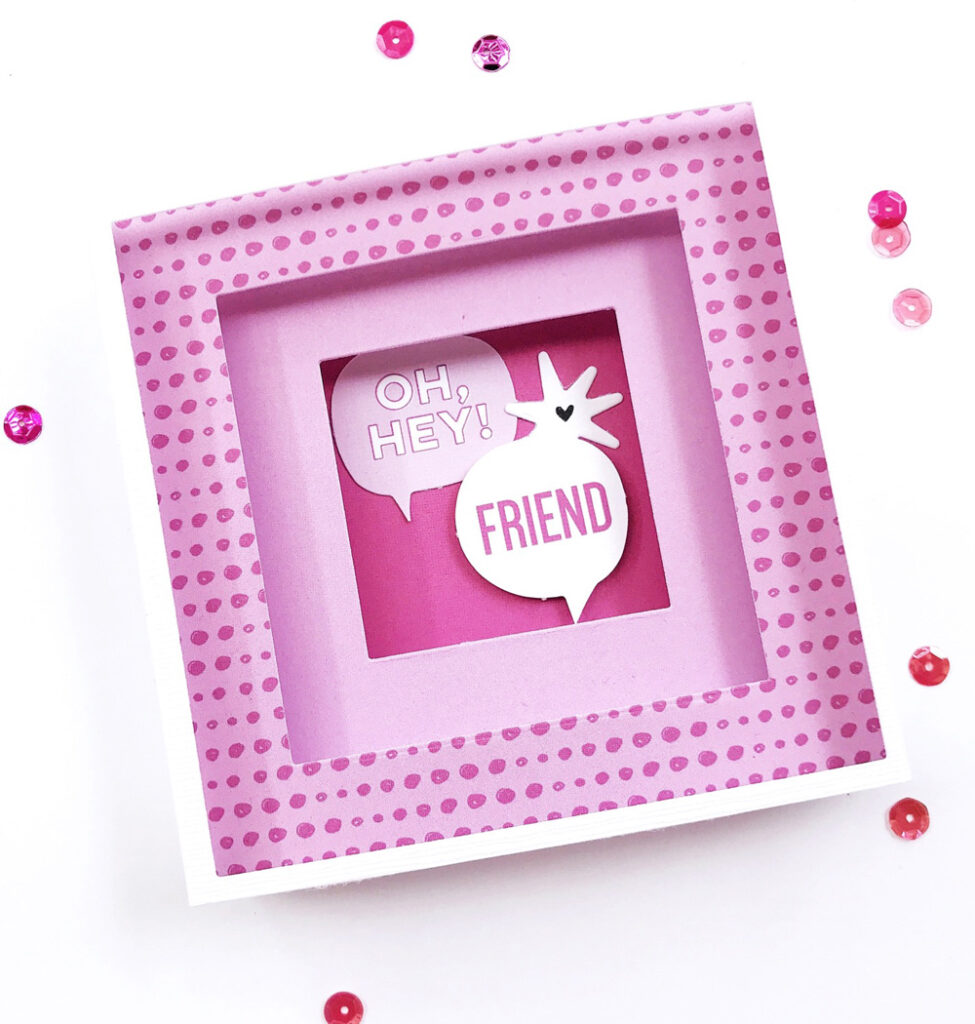
I recently discovered tunnel cards, and the fact that the Photograph Metal Die includes three sizes of the same shape, makes this set perfect for creating one. I adapted a tutorial found on YouTube (look for “tunnel box card tutorial”) using white cardstock and papers from three different paper stacks: The Best, Love You, and Warm Solids Paper Stack.

For the sentiment in the middle, I used die cuts from the May Kit along with the “flash” diecut from the Photograph Metal Die, stamped with a tiny heart from the stamp set of the same name.

I absolutely love the 3D effect and the fact that you can just fold it flat to fit into an envelope.

I hope to have inspired you to use your Photograph Metal Die for card making! If you do create cards with it, please share your creation with us! We would love to see them!

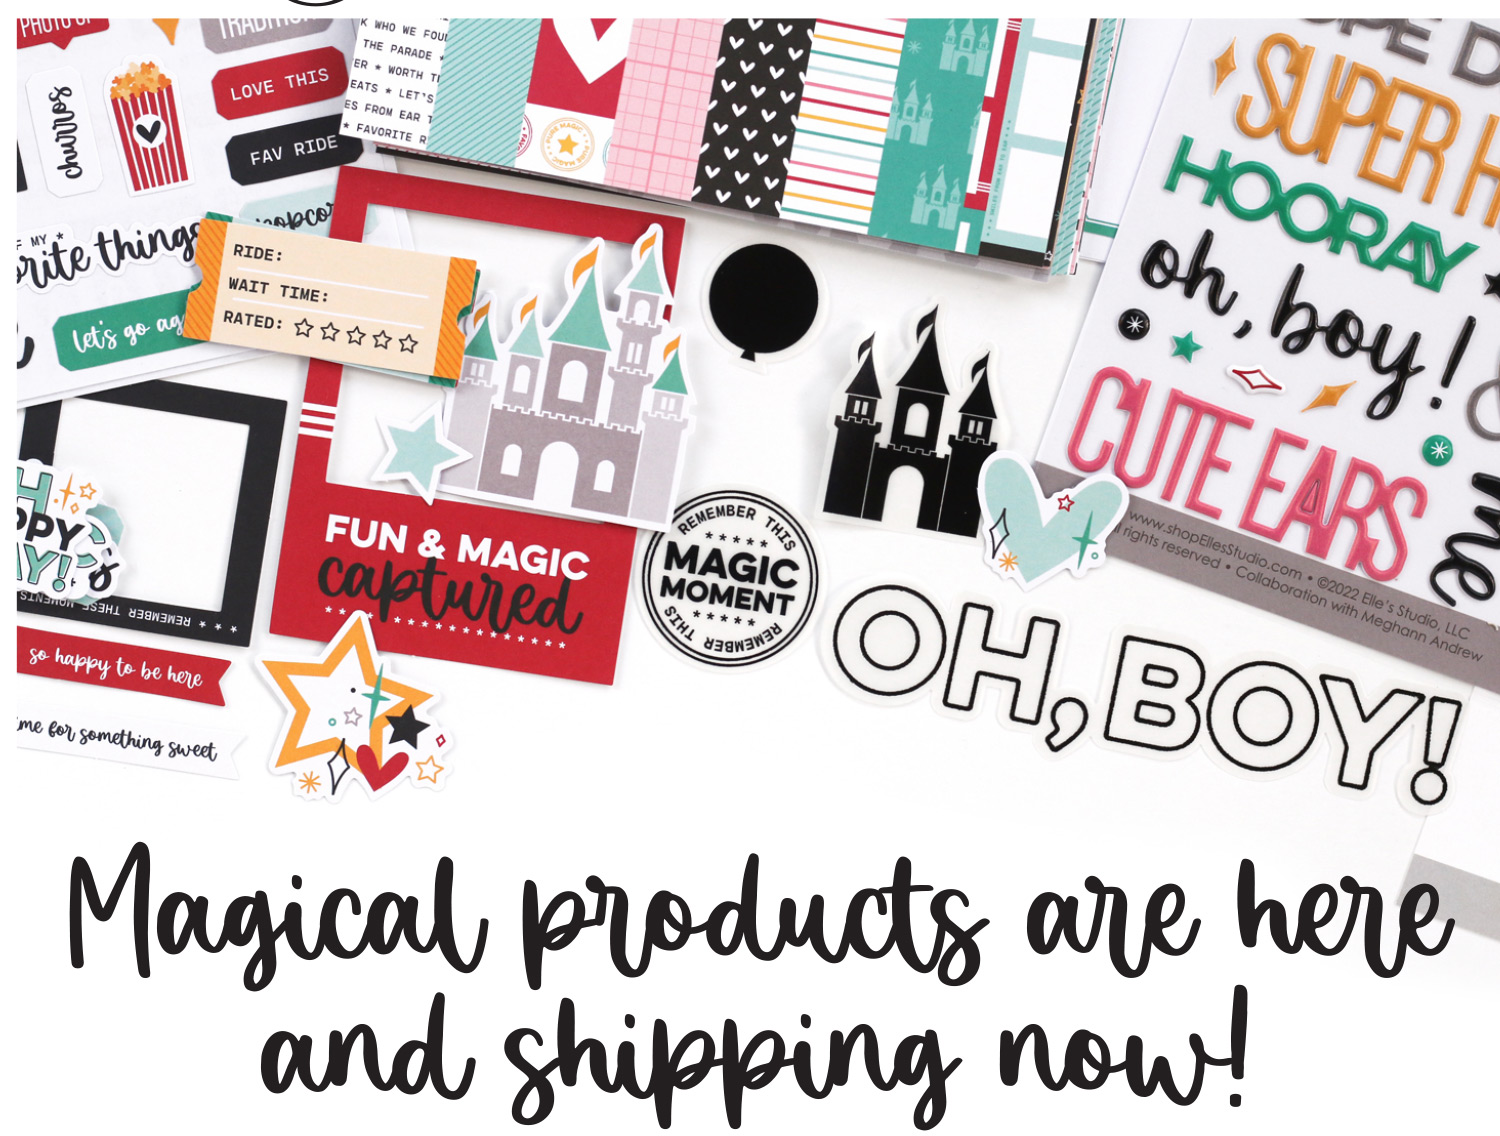
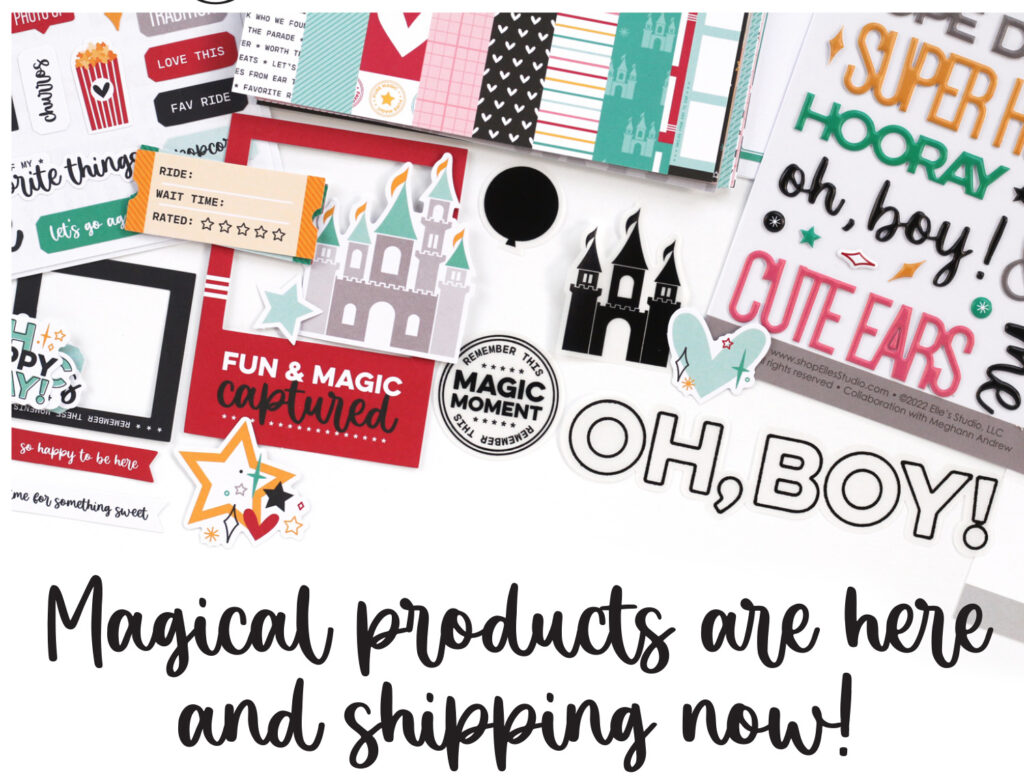
Magical products are here and shipping now!

We are so excited to announce that new and exclusive products are available now in our shop and are shipping now! These products were designed to help you capture and document your magical days at the happiest place on earth!

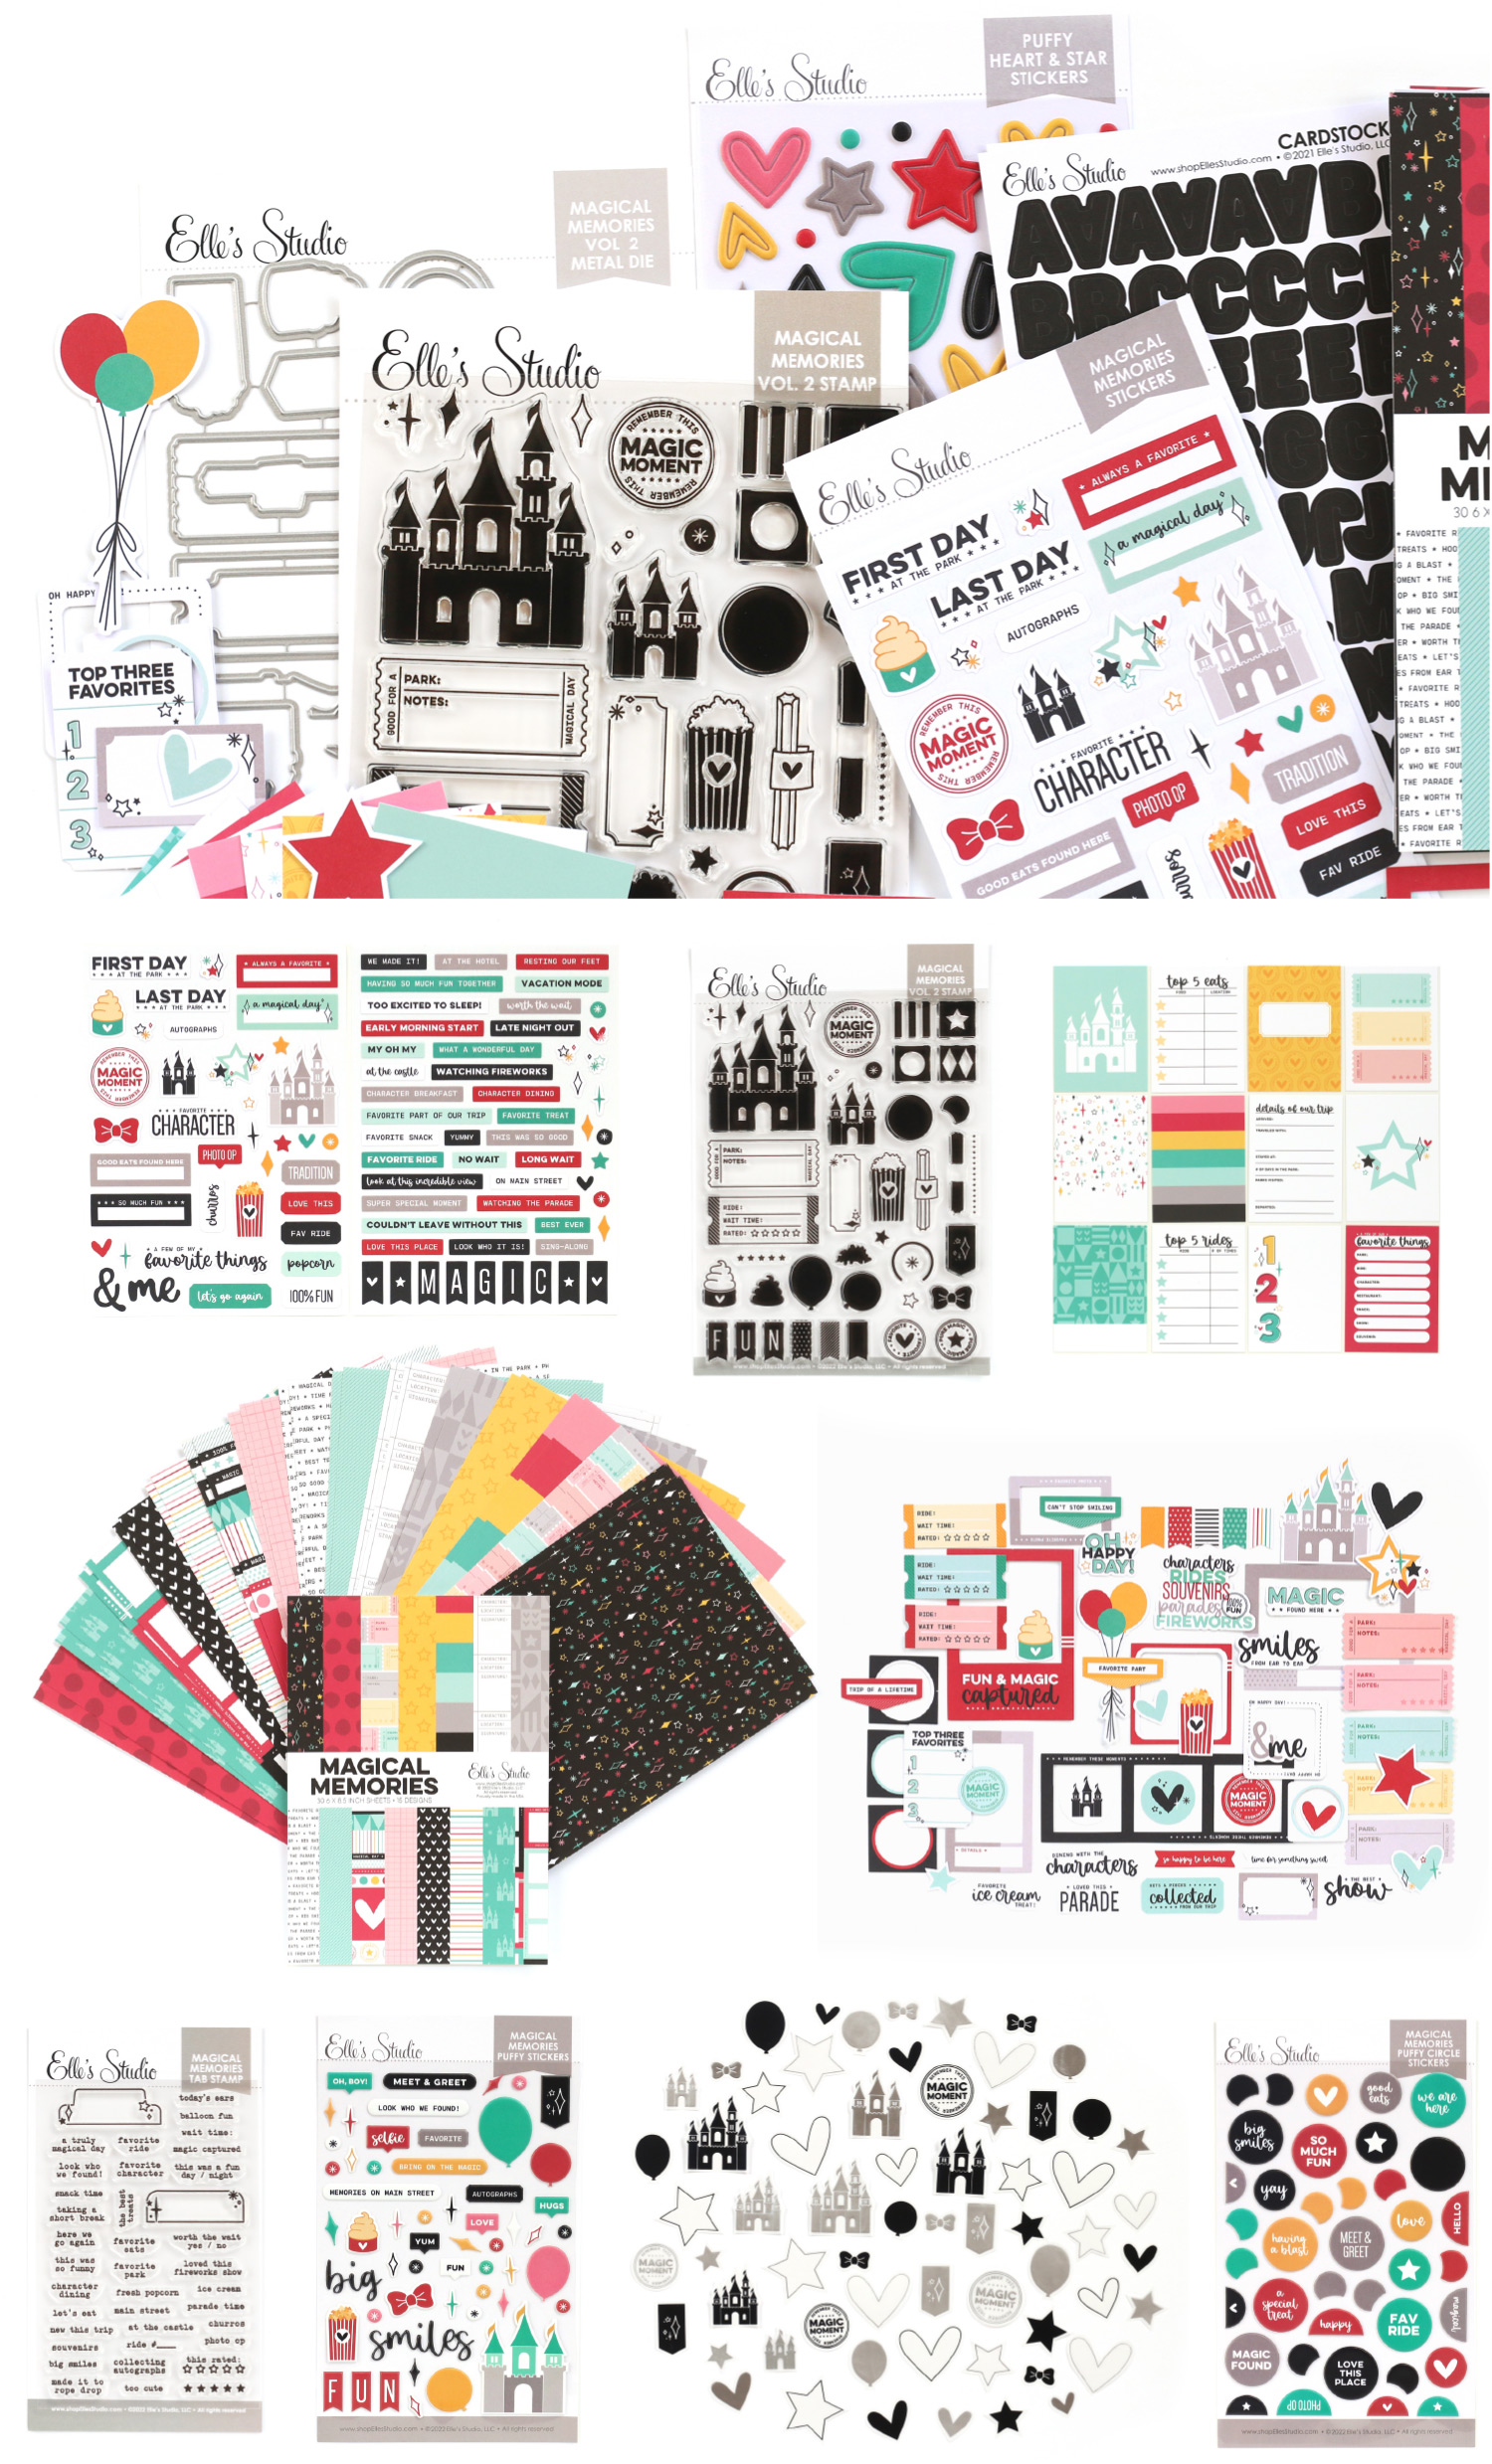
Visit our shop now to see all the Magical Memories products that we just added today, including: 6 x 8.5 inch Paper Stack, stamps (Magical Memories Vol. 2 and Magical Memories Tabs), Magical Memories Vol. 2 Metal Die, journaling tags (3 x 4 inch tag set and 4 x 6 inch tag set), cardstock die cuts, vellum die cut shapes, cardstock stickers, cardstock label stickers, puffy stickers (Magical Memories, Magical Memories Puffy Circle Stickers, Hearts and Stars), and yellow and black cardstock alphabet stickers.

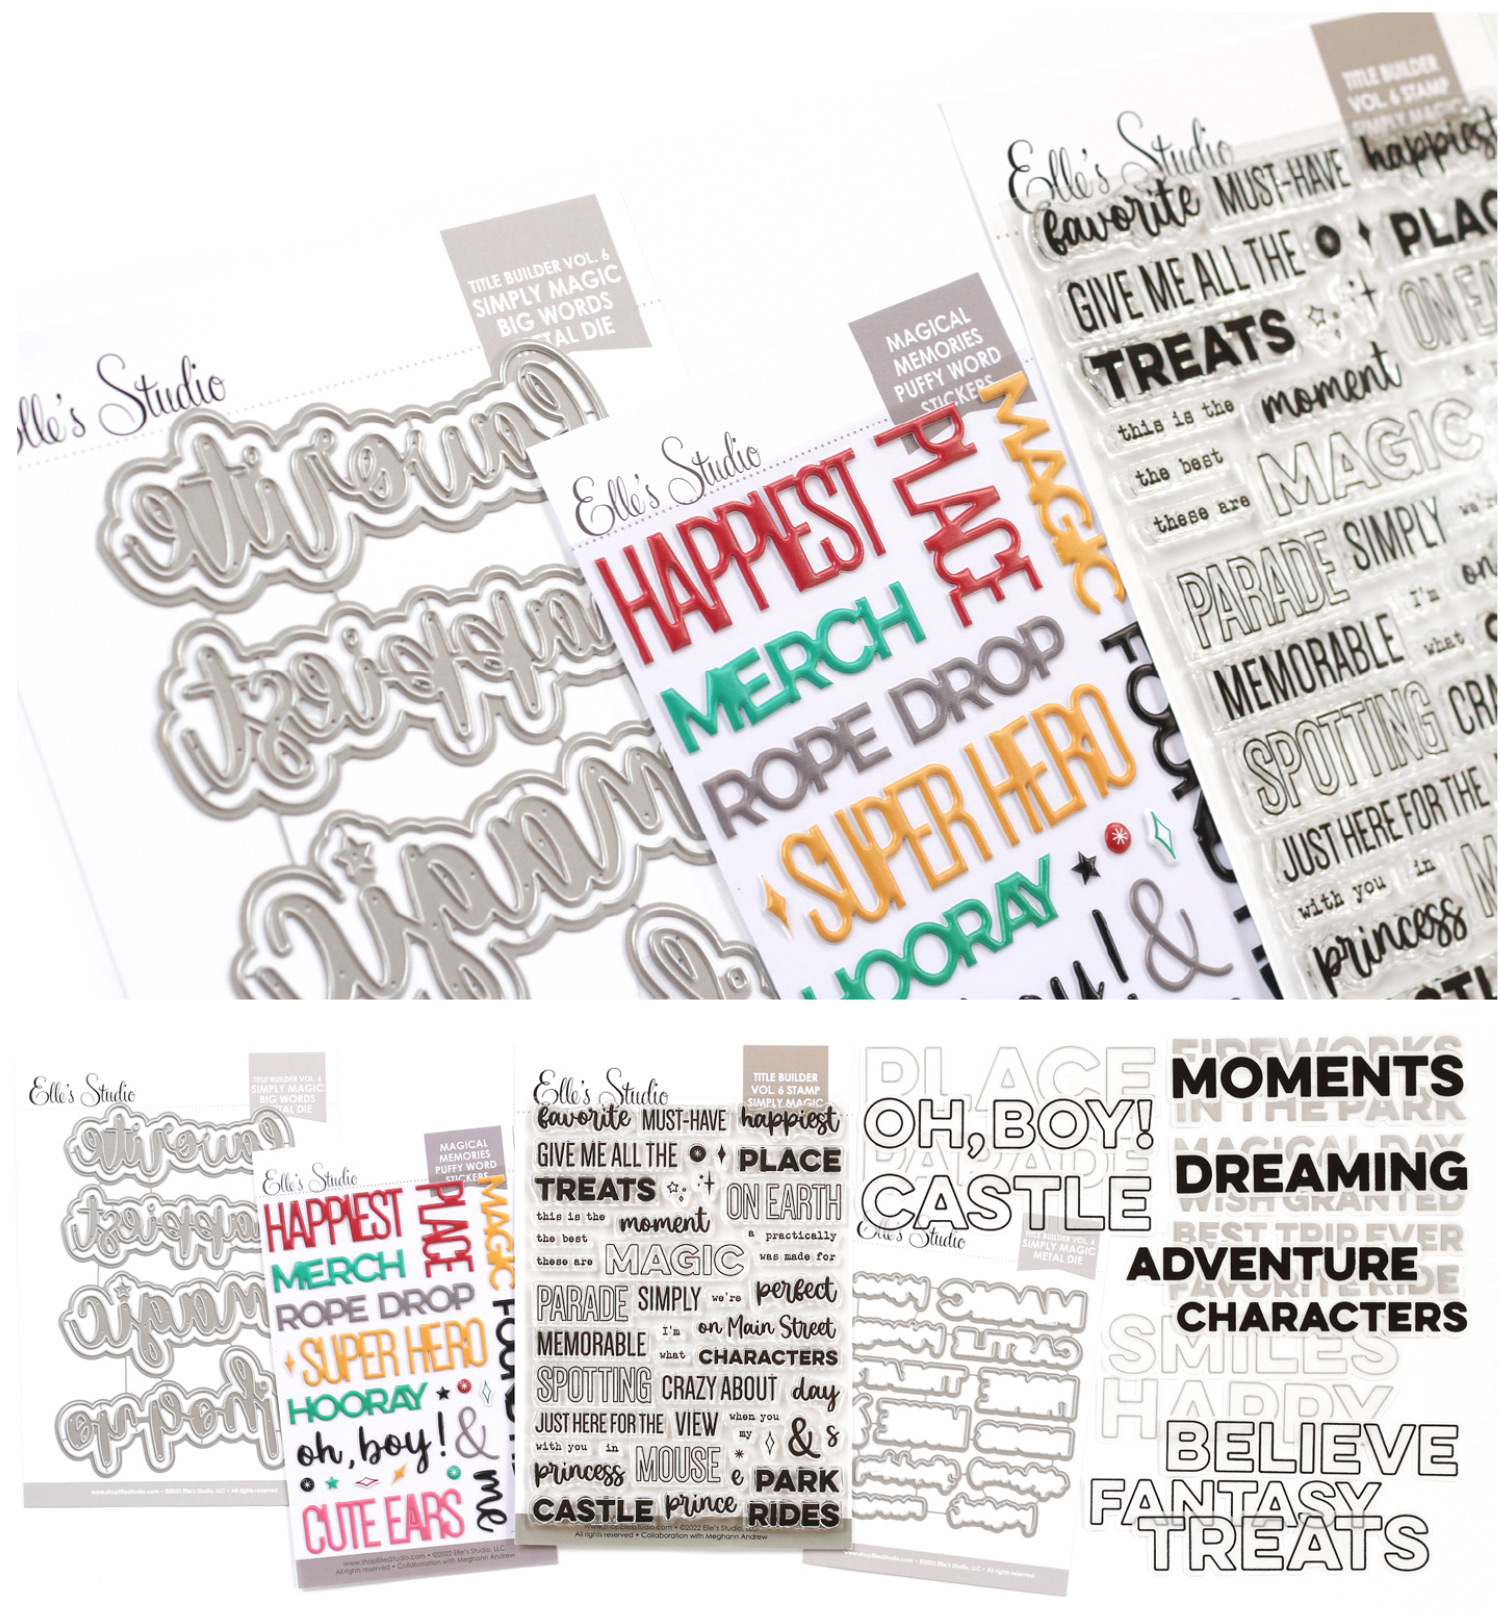
Our new product reveal today also includes the newest volume of our Title Builder collection, Vol. 6 Simply Magic! Our Title Builder products are specifically designed, in collaboration with Meghann Andrew, to help you come up with and build creative titles for your layouts, pocket pages, traveler’s notebooks, and MORE! Volume six includes a 6 x 8 inch stamp with coordinating metal die, puffy stickers, vellum die cut words, and a stand-alone metal die set! Mix and match these products to have endless possibilities by varying your words and ink colors, along with adding alphabet stickers and stamps!

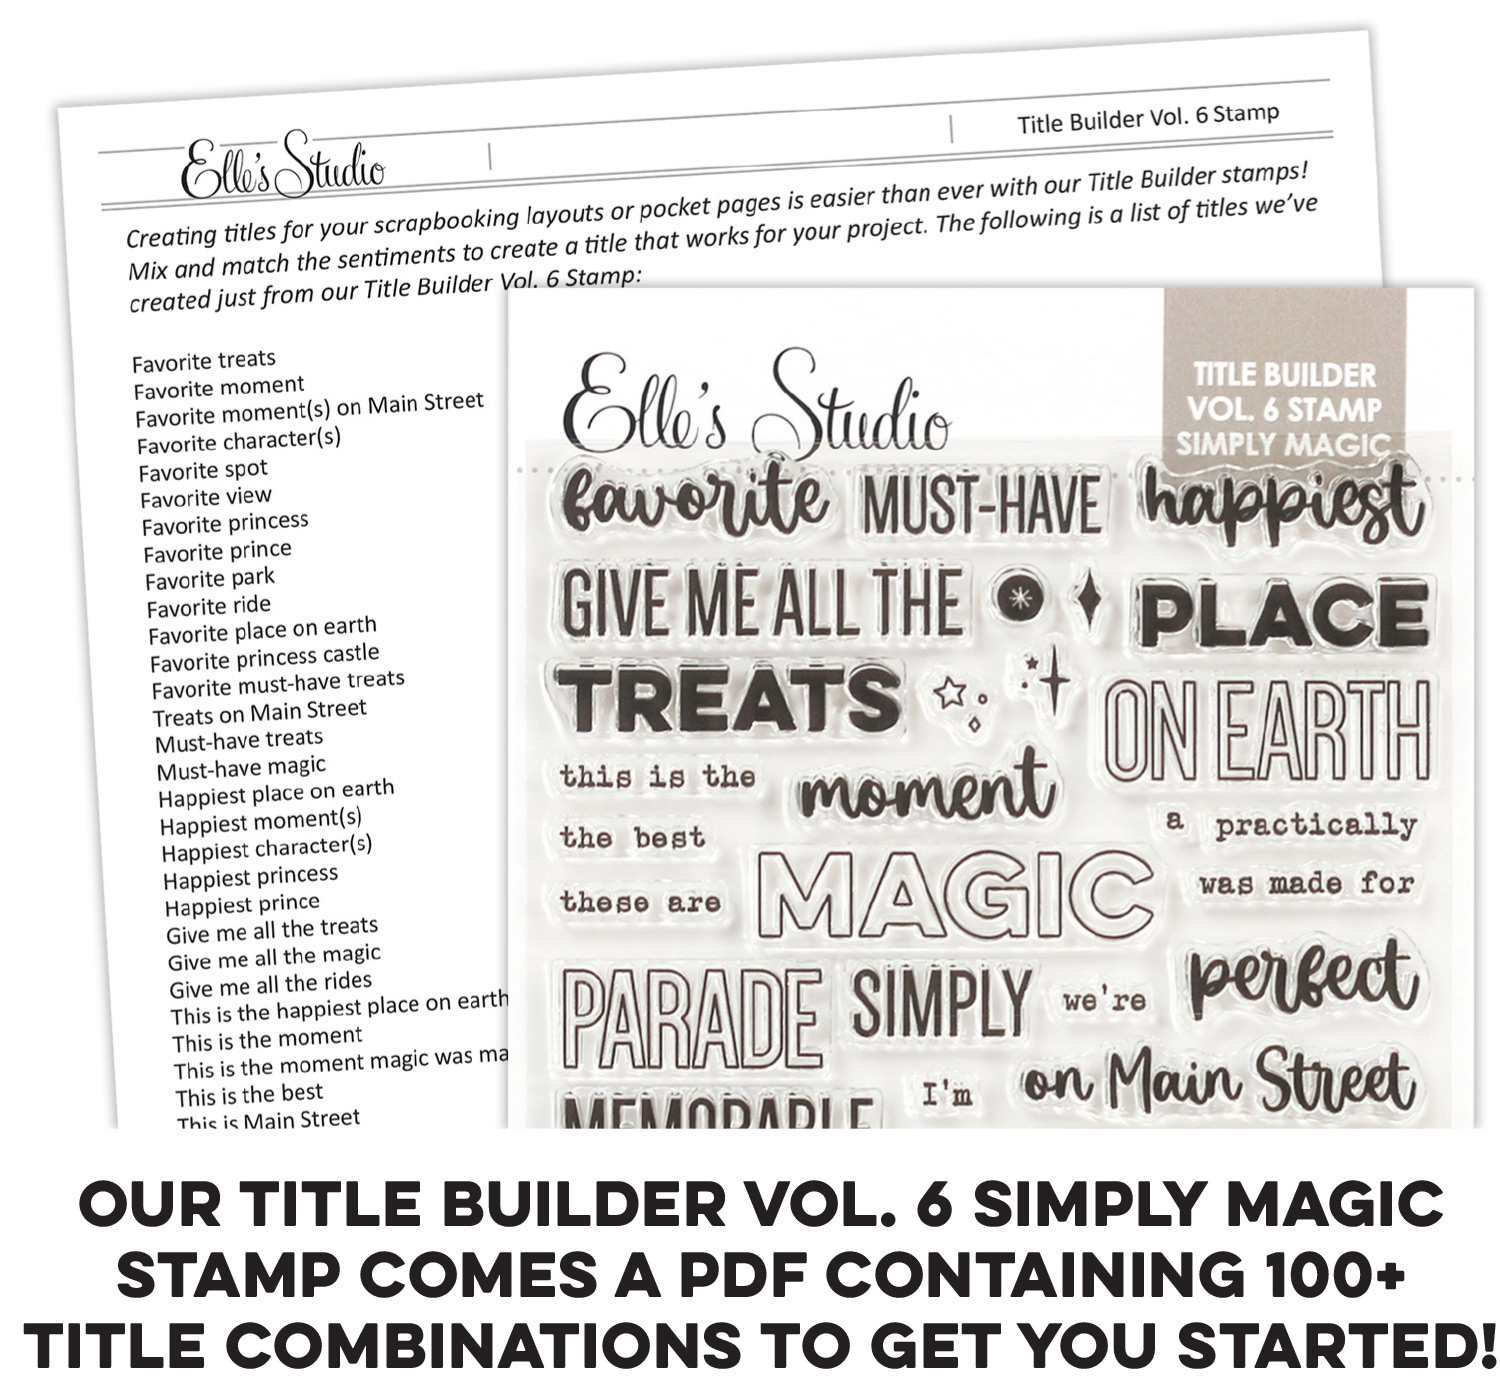
When you purchase our Title Builder Vol. 6 Simply Magic stamp, you will also receive a PDF file that you can print at home, with over 100 titles that you can create with this stamp alone. Just think of the title possibilities you can create by using the other puffy and cardstock stickers, die cuts, and alphabet stickers that we’ve added to the shop today!

Monthly kit subscribers: Bundling is open early this month so you can add these new products to your June box and have them shipped for FREE! Look for your special coupon code emailed on May 23rd.

PLEASE NOTE: You must have a current monthly kit subscription with us to bundle or save on your purchase. If you choose to bundle and we cannot bill your card for your June kit subscription on June 10th we will contact you via email. Once bundling has closed on June 11th at 8:00 am Pacific, all of your orders will ship together, and each invoice will be updated with a tracking number.

We can’t wait to see how you use all of these magical products on your projects! Make sure you share your projects with us in our Facebook group and make sure you use the #EllesStudio hashtag when posting on Instagram for a chance to be featured on our feed and win a gift certificate to our shop!

May 2022 Design Team Inspiration: Volume Three

Hello, friends! If you’re looking for even more inspiration using our May 2022 kit and add-ons, we’ve got you covered today with our third design team inspiration post! Take a look at the wonderful pockets, layouts and notebook spreads, and take note of ideas you want to try during your crafty time this week!
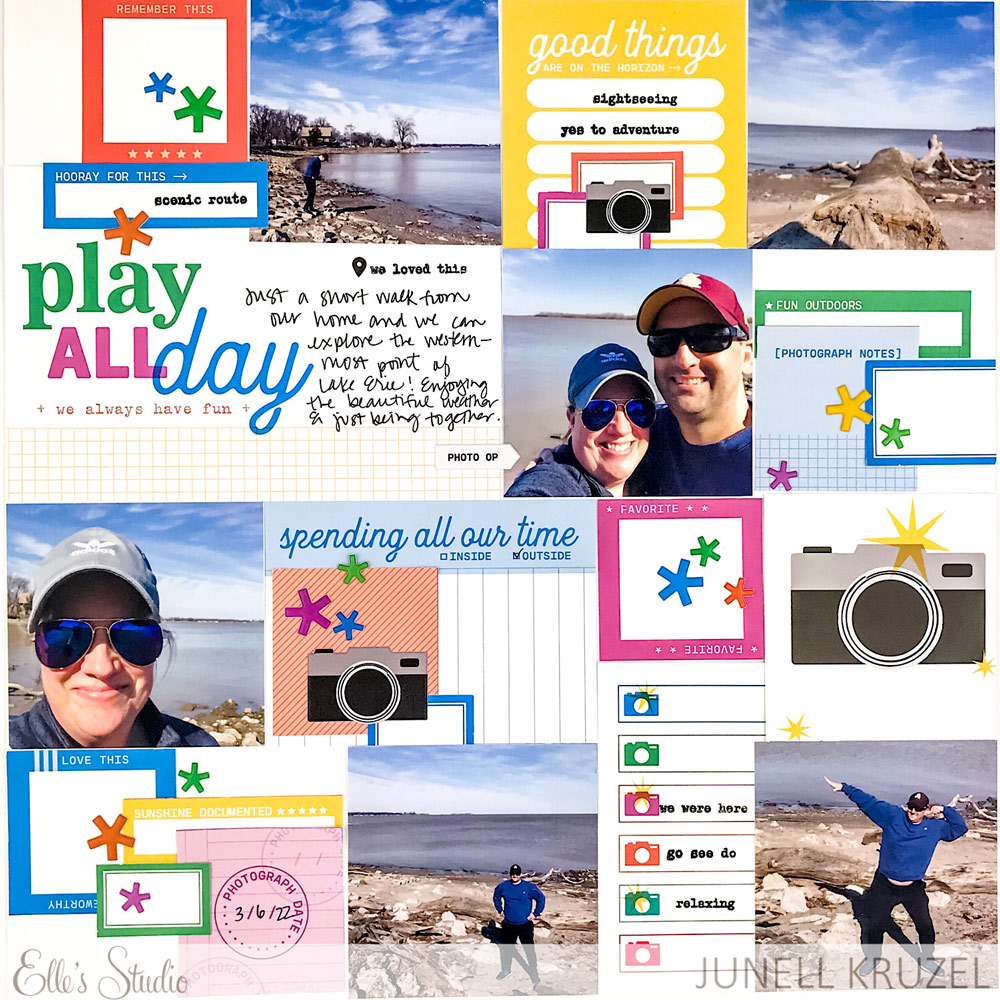
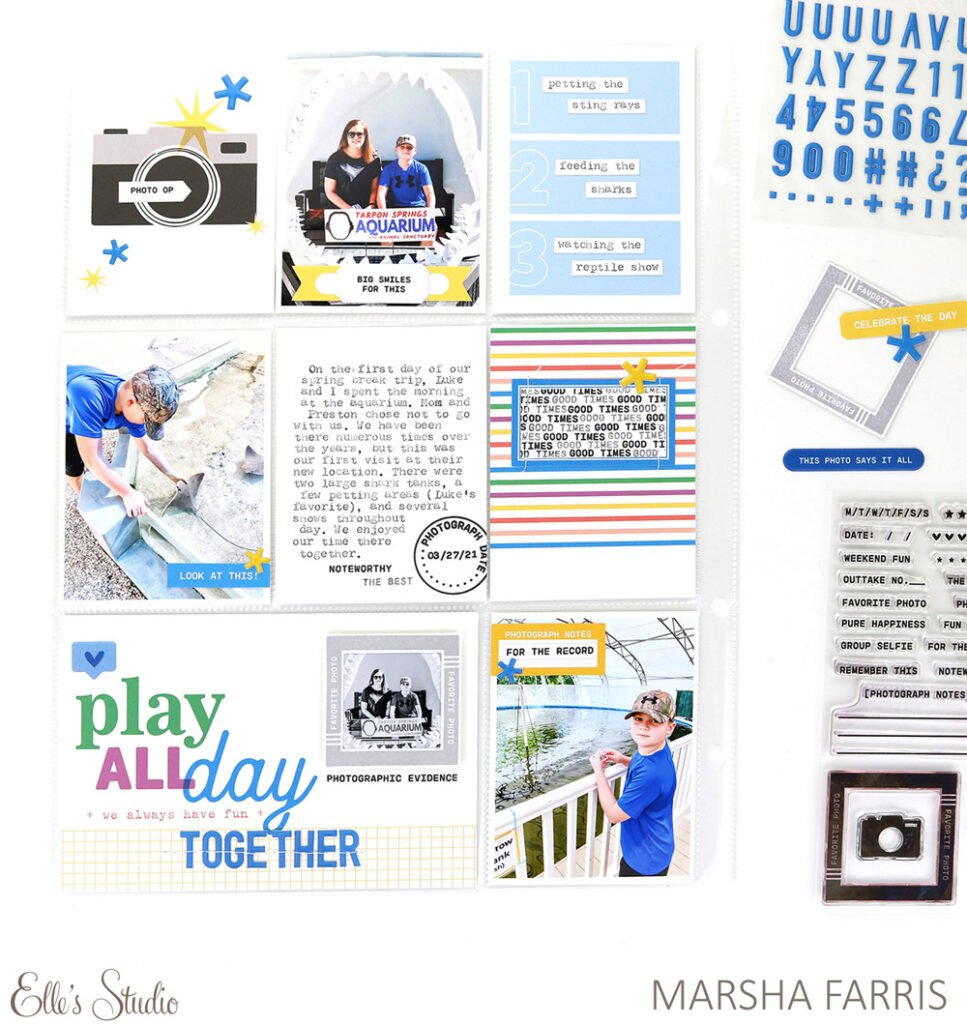
Play All Day Together pocket page by Marsha Farris – supplies used | May 2022 Kit, Photograph Label Stickers, Big Smiles Puffy StickersBright Puffy Asterisk StickersCerulean Blue Puffy Alphabet Stickers, Photograph StampPhotograph Metal Die

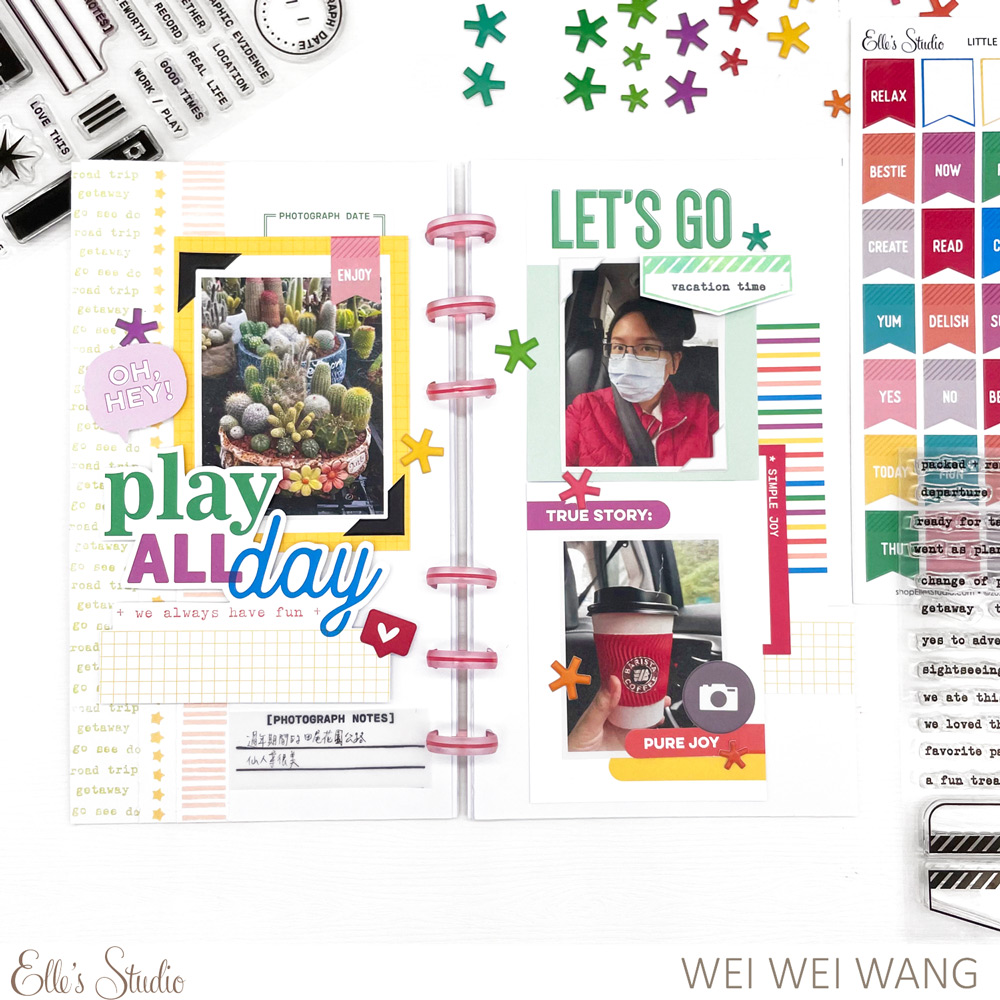
Play All Day notebook spread by Wei Wei Wang – supplies used | May 2022 KitMay 2022 Labels, Little Banner Stickers, Photograph Label Stickers, Big Smiles Puffy StickersBright Puffy Asterisk Stickers, Travel Tabs StampPhotograph StampPhotograph Metal Die

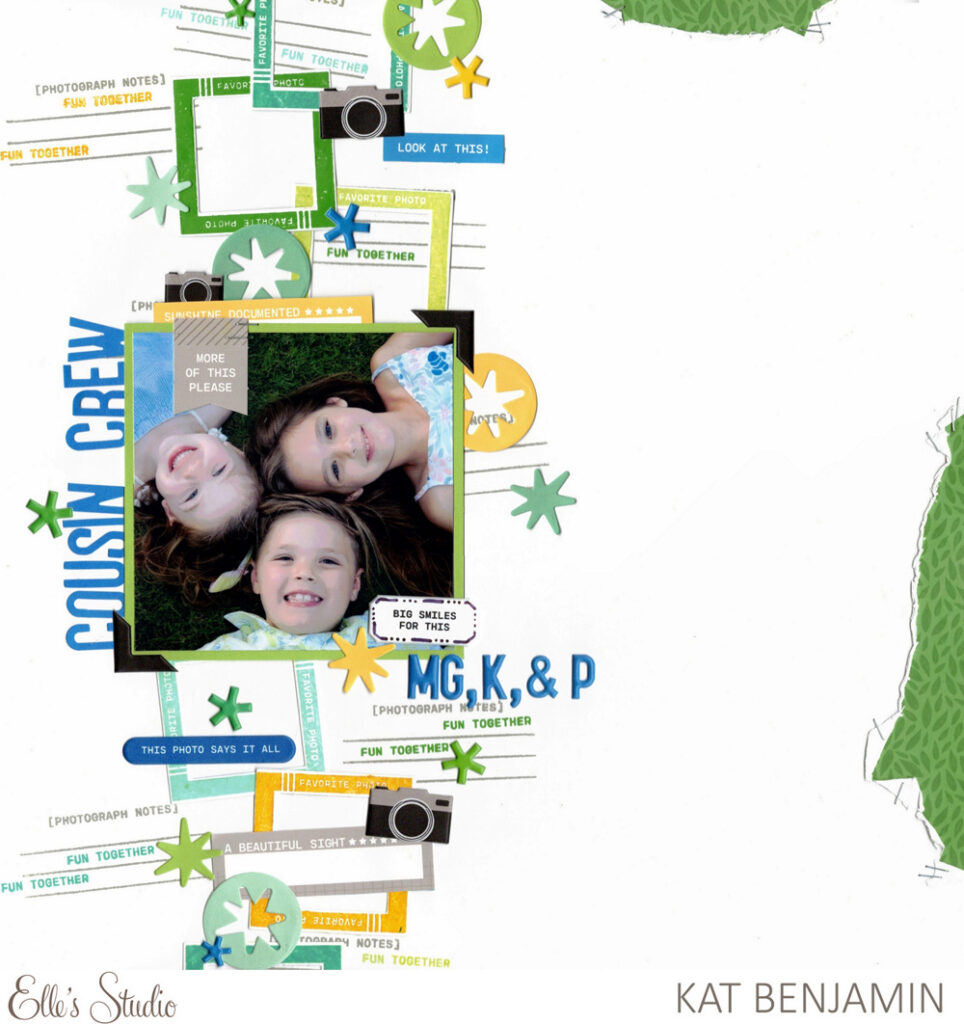
Cousin Crew by Kat Benjamin – supplies used | May 2022 KitMay 2022 Labels, Cerulean Blue Jane Alphabet Cardstock Stickers, Big Smiles Puffy StickersBright Puffy Asterisk StickersCerulean Blue Puffy Alphabet Stickers, The Best Paper StackCool Solids Paper StackWarm Solids Paper Stack, Photograph StampPhotograph Metal Die

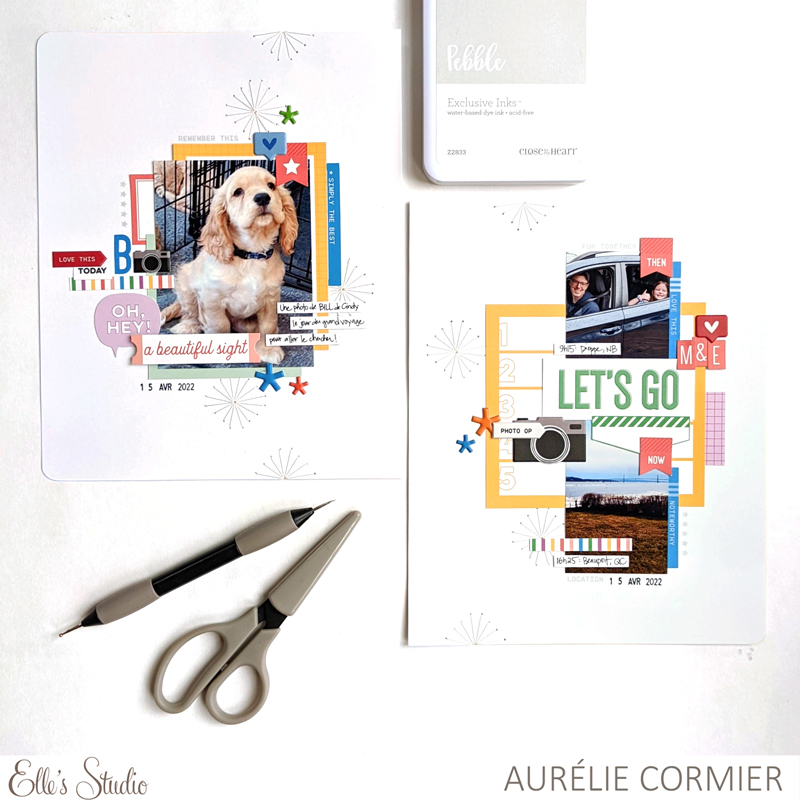
A Beautiful Sight/ Let’s Go! notebook spread by Aurélie Cormier – supplies used | May 2022 KitMay 2022 Printables, Cerulean Blue Jane Alphabet Cardstock Stickers, Jane Tile Alphabet Cardstock Stickers – Coral, Big Smiles Puffy StickersBright Puffy Asterisk Stickers, The Best Paper Stack, Photograph Stamp

Smile by Melissa Mann – supplies used | May 2022 KitMay 2022 Cut Files, Photograph Label Stickers, Big Smiles Puffy Stickers, Bright Puffy Asterisk Stickers, The Best Paper Stack, Photograph Stamp, Photograph Metal Die

Play All Day by Junell Kruzel – supplies used | May 2022 KitMay 2022 Labels, Big Smiles Puffy Stickers, Bright Puffy Asterisk Stickers, Travel Tabs Stamp

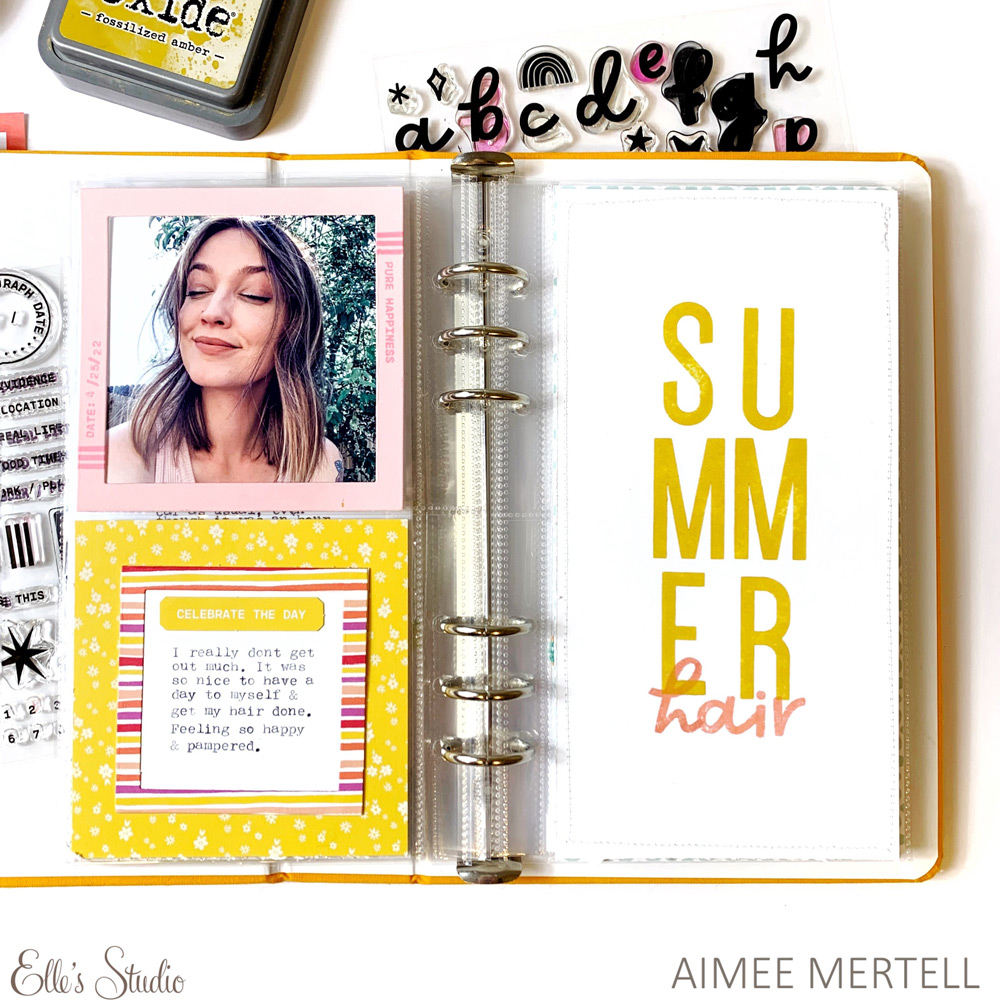
Summer Hair notebook spread by Aimee Mertell – supplies used | May 2022 Kit, The Best Paper StackWarm Solids Paper Stack, Photograph StampPhotograph Metal Die, Lizzy Alphabet Stamp, Large Jane Alphabet Stamp – Solid

As always, keep watching here for even more ideas and inspiration using the May 2022 kit and add-ons, and be sure to share what YOU are creating with them in our Facebook Group and on Instagram using the #EllesStudio hashtag!

Memory Planner Memories with Marsha Farris

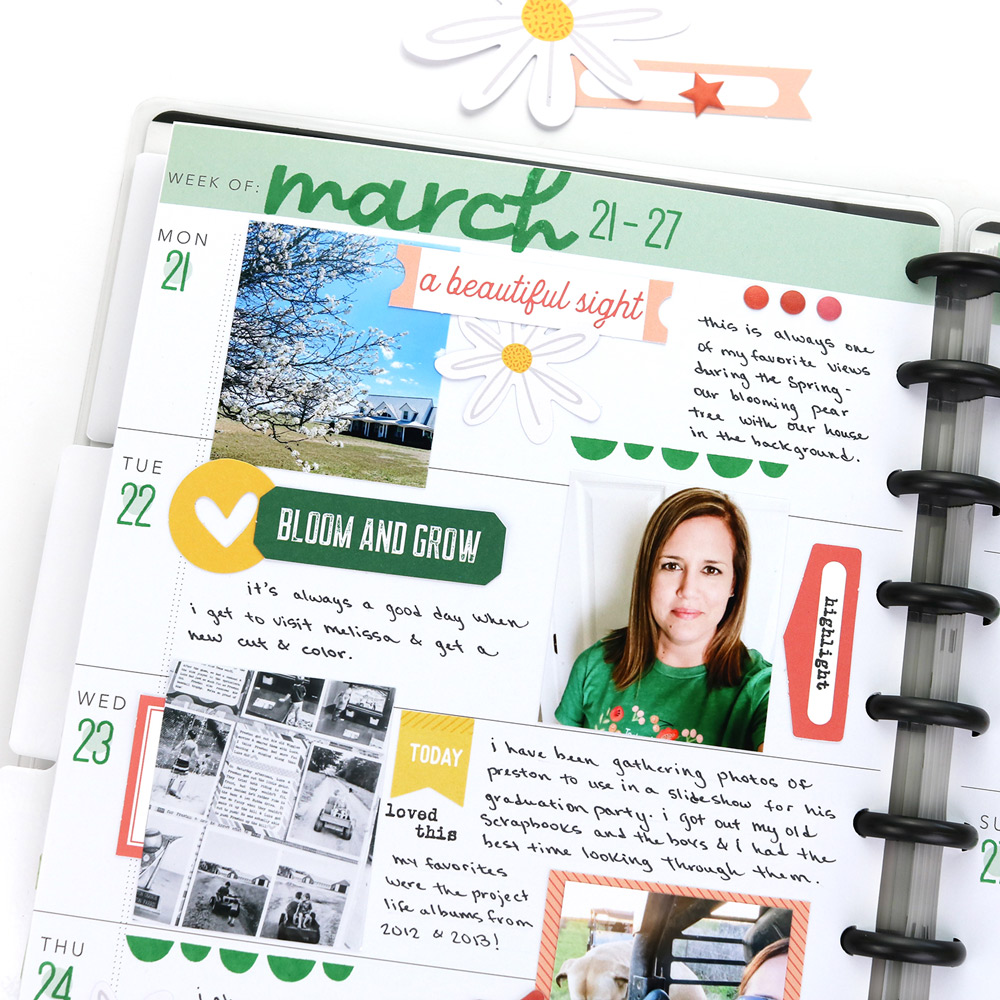
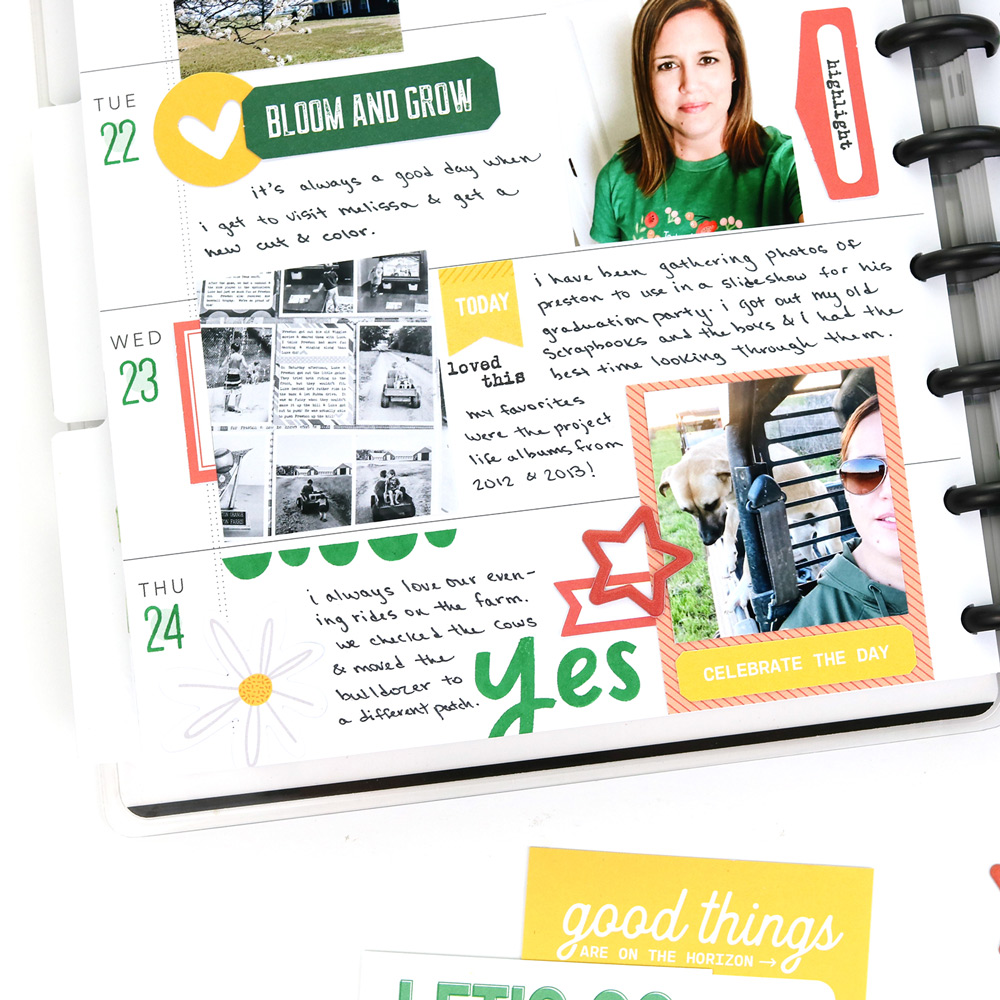
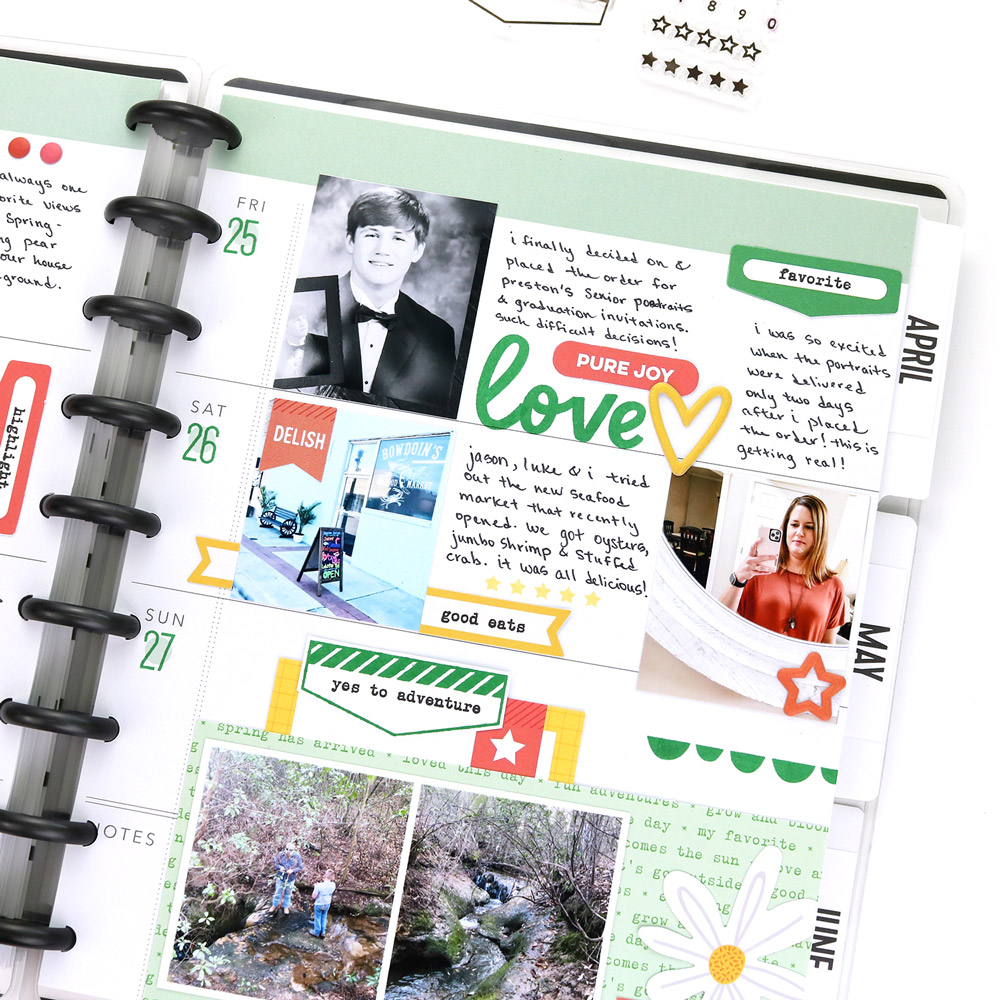
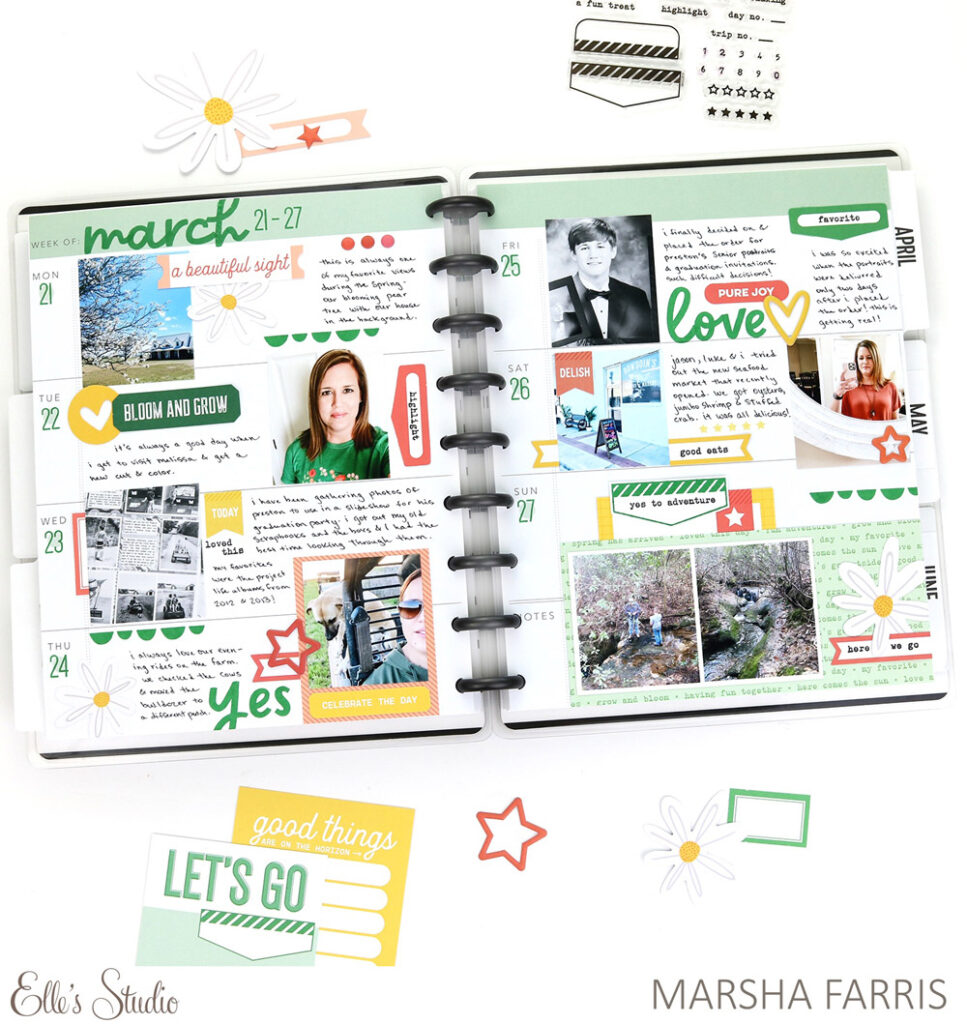
Hey, Elle’s Studio friends! This is Marsha, and I’m excited to share a layout in my memory planner! For my project today, I documented a week in March using the May 2022 kit and add-ons. This month’s release was perfect for my memory planner spread!

Supplies | May 2022 Kit, Flower Die Cuts, Little Banner StickersWarm Puffy Heart and Star Stickers, The Best Paper Stack, Travel Tabs Stamp, Lizzy Alphabet Stamp, Mini Dated Extras Stamp, Everyday Tabs Metal Die 

I began the layout by stamping the month with the Lizzy Alphabet Stamp and green ink. It is such a fun stamp set and definitely one of my favorites! I used the Mini Dated Extras Stamp and green ink to complete the dates on the pages. Then, I printed my photos and arranged them on the layout, roughly according to the date they were taken. 

Next came the fun part: adding the embellishments! I chose to use the Flower Die Cuts because I thought they would be perfect for this layout documenting the first week of spring. I also used die cuts from the May Kit and the new Little Banner Stickers to embellish the page. The sentiments and designs matched well with this week’s photos.

I backed one of my photos with patterned paper from the The Best Paper Stack and added a die cut from the May Kit. Then, I layered a trimmed die cut banner from the Flower Die Cuts and a star from the Warm Puffy Heart and Star Stickers to create a little cluster. To finish off the left page, I added another flower die cut and stamped the word “yes” with the Lizzy Alphabet Stamp and green ink.

I stamped a word and phrase onto the die cut tab and banner pieces using the new Travel Tabs Stamp. Elle’s tab stamps are always so versatile—I was able to use so many words and phrases from the stamp even though I was not documenting a week of travel! I did more stamping with the Lizzy Alphabet Stamp and green ink and created a small cluster with a heart sticker from the Warm Puffy Heart and Star Stickers and a die cut from the May Kit.

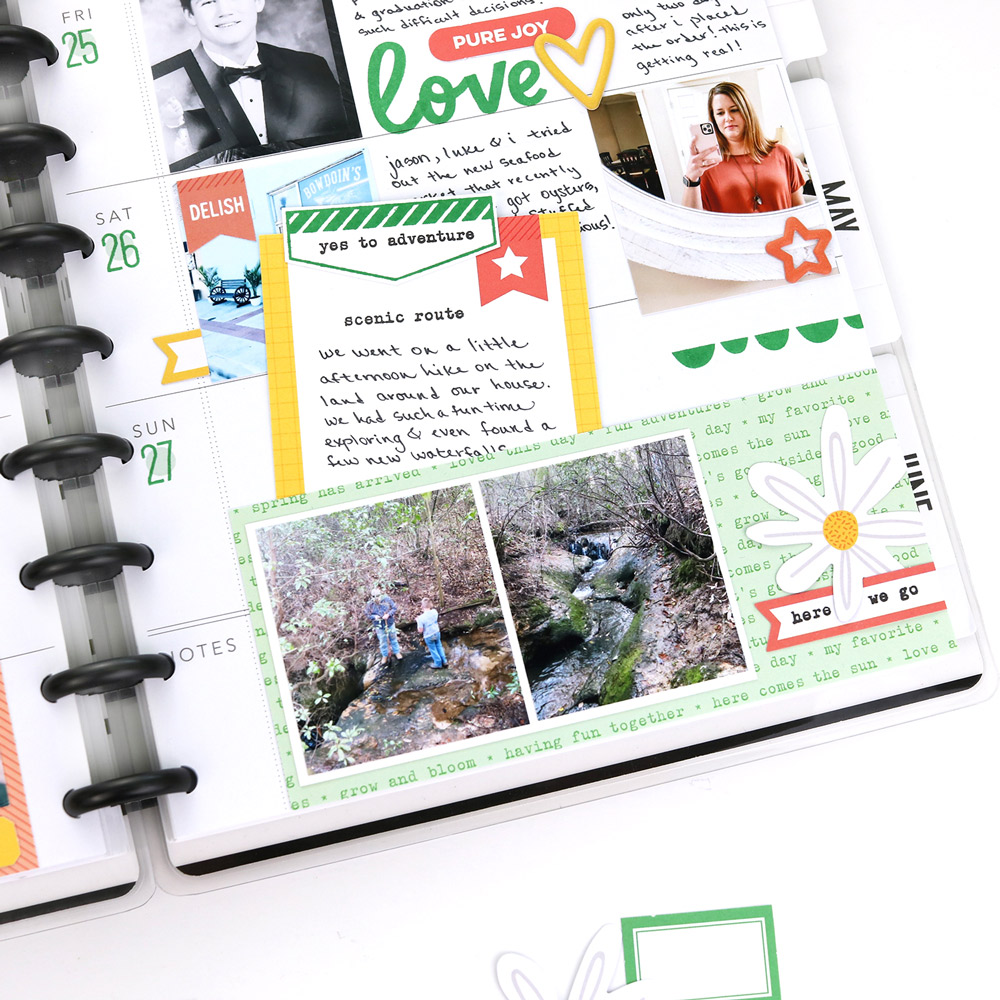
At the bottom of the page, I created a pocket by adding adhesive along three sides of a trimmed piece of \patterned paper from the The Best Paper Stack. Next, I trimmed a tag from the May Kit to fit in the pocket and added hand-written journaling. I stamped a tab and phrase with the Travel Tabs Stamp, cut it out with the Everyday Tabs Metal Die , and added it to the top of the tag. I love how this interactive element turned out! I added another banner and flower die cut from the Flower Die Cuts and did a bit more stamping with the Travel Tabs Stamp. To complete the layout, I added my journaling and stamped a few scalloped borders with the Lizzy Alphabet Stamp to fill in some of the empty spaces on the layout.
This was such a fun memory planner layout to create using the May kit and extras! Thanks so much for stopping by today! Happy creating!
A sneak peek at the magical products coming soon!

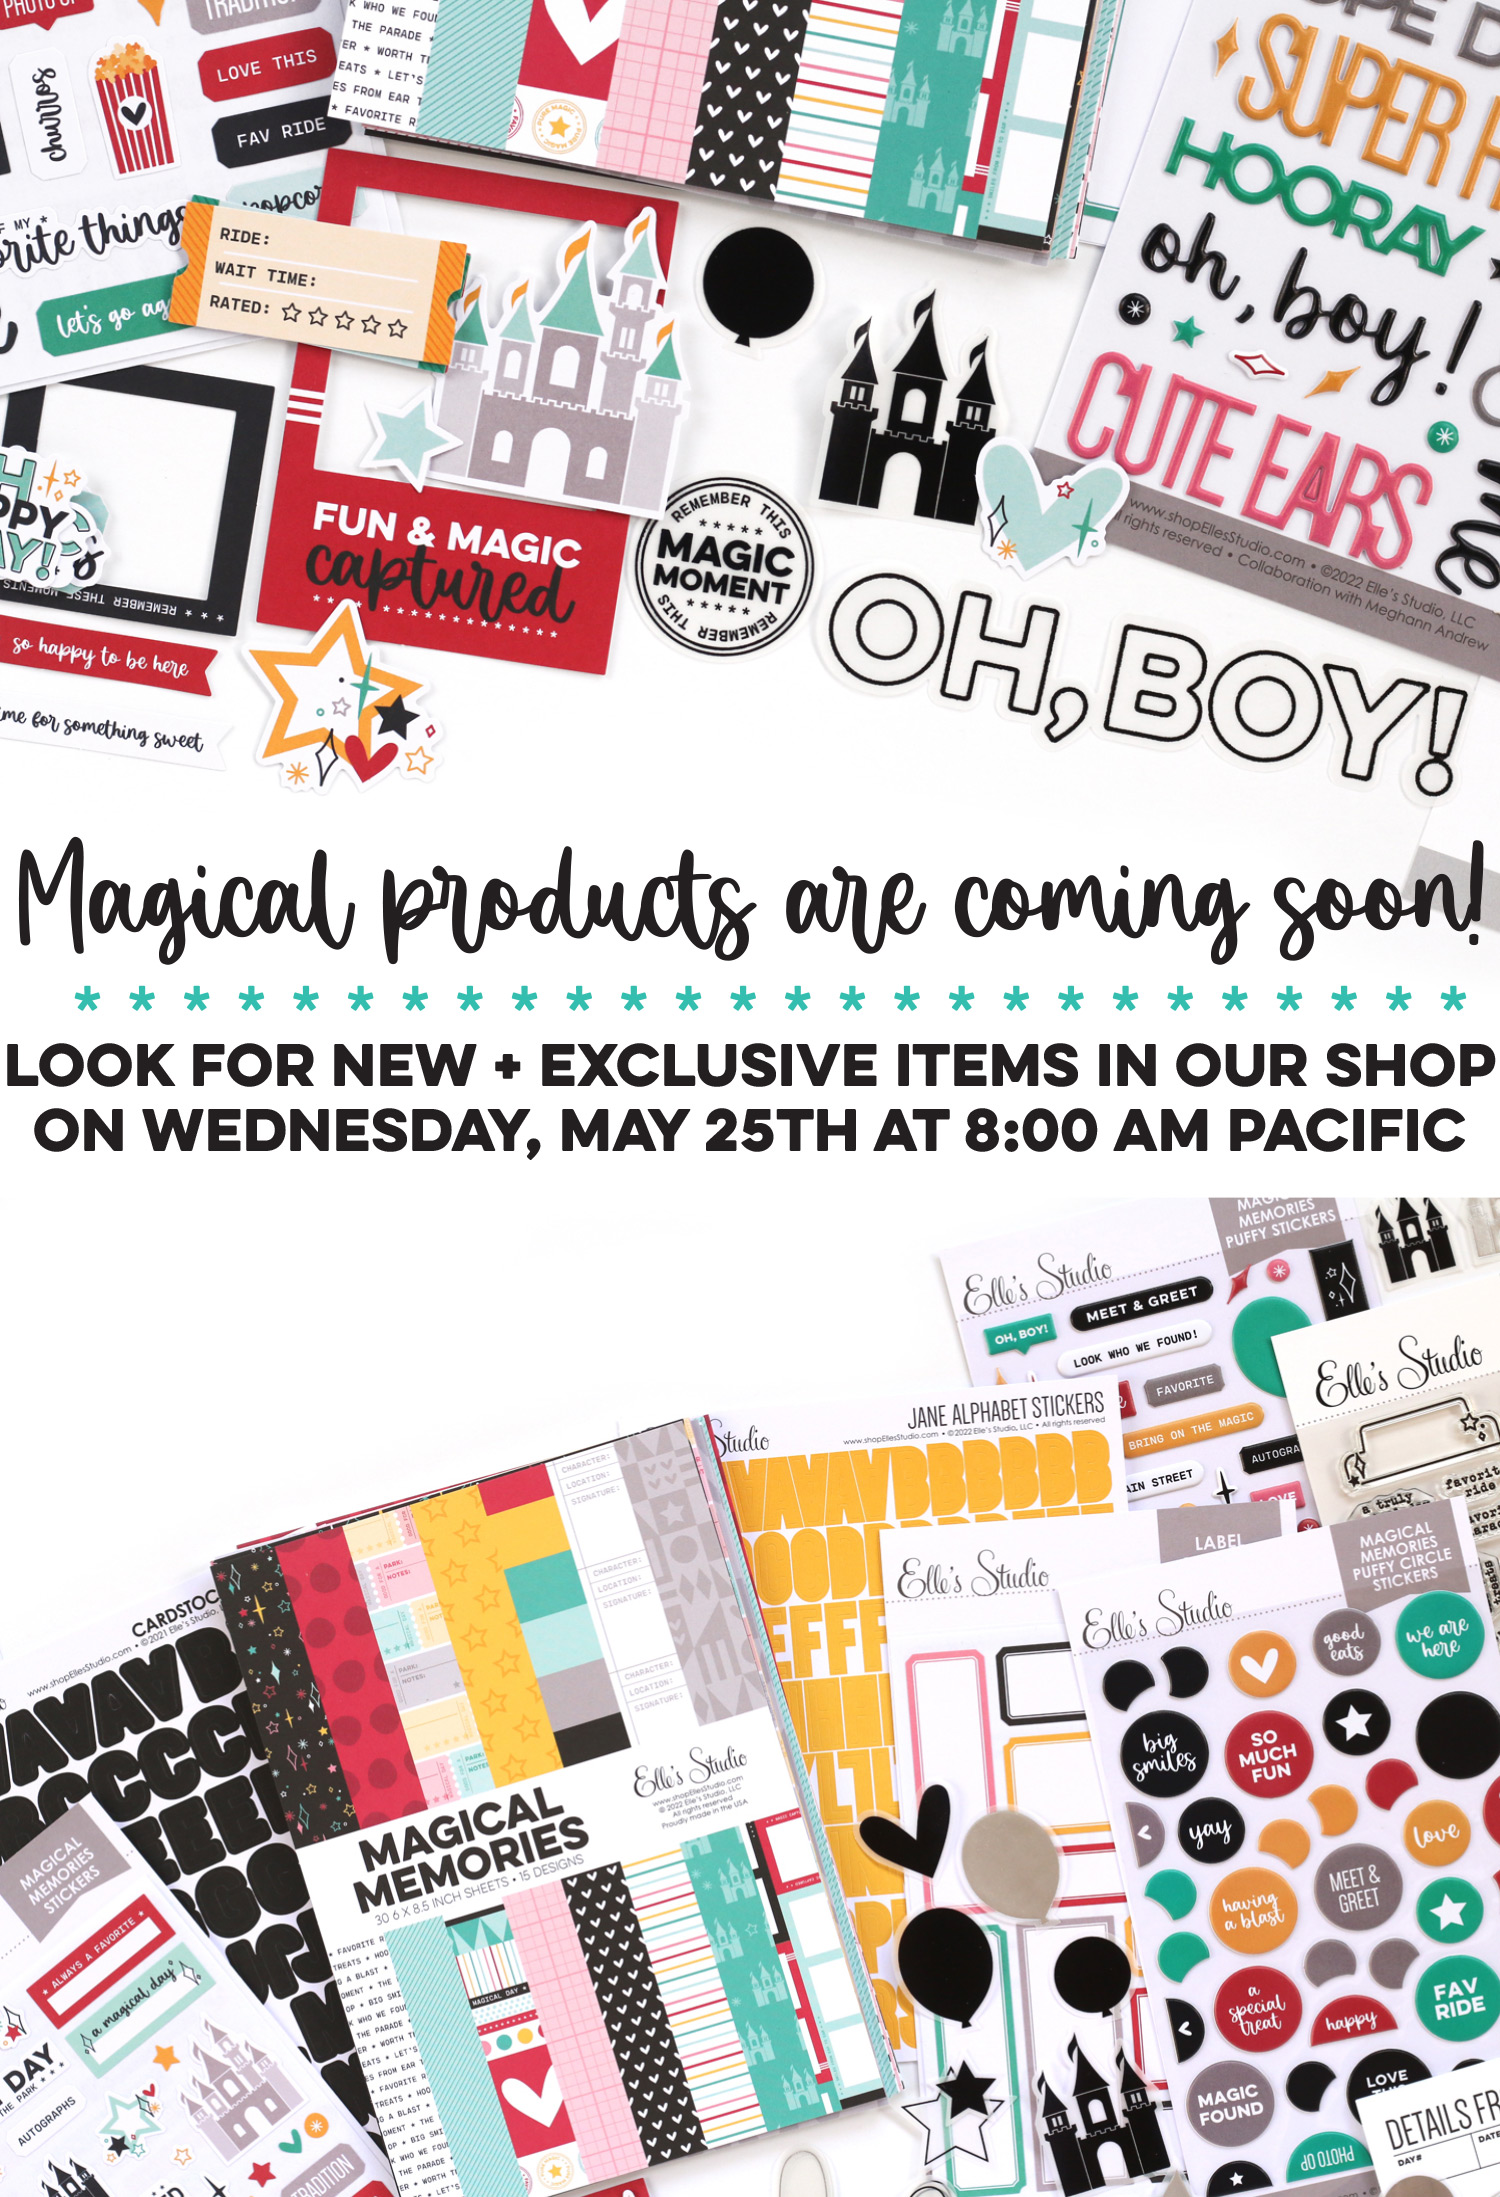
We are SO excited to announce that new, exclusive, and magical products are coming to our shop this Wednesday, May 25th at 8 am Pacific! Our new products will include: stamps, journaling tags, stickers, a Title Builder set, and MORE, all designed to help you document your trips to the happiest place on earth!

SUBSCRIBERS: Bundling will be opening early this month so you can add these new products to your June box and have them shipped for FREE! Look for your special code in your inbox on Monday, May 23rd and you’ll be ready to bundle!

NOT A SUBSCRIBER? Sign up for our monthly kit now and you’ll be ready to bundle!

Five on Friday with Diane Dzubian

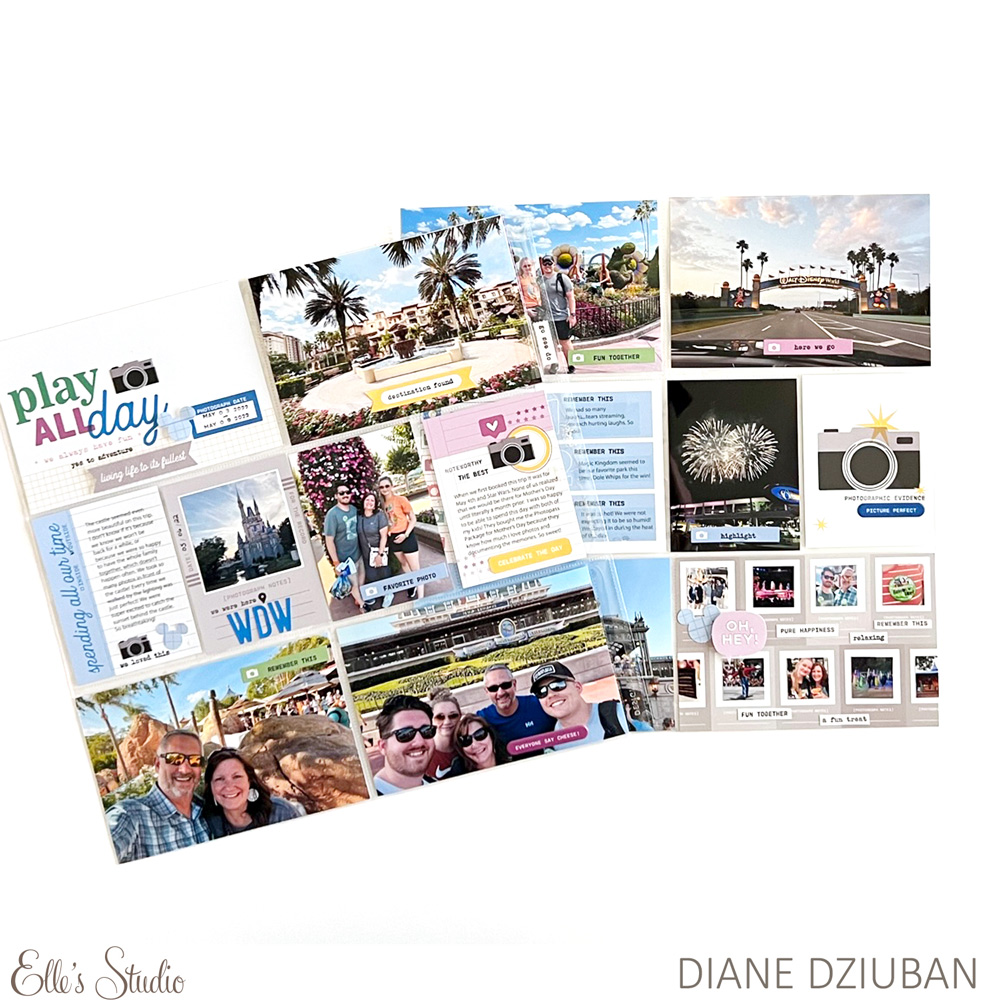
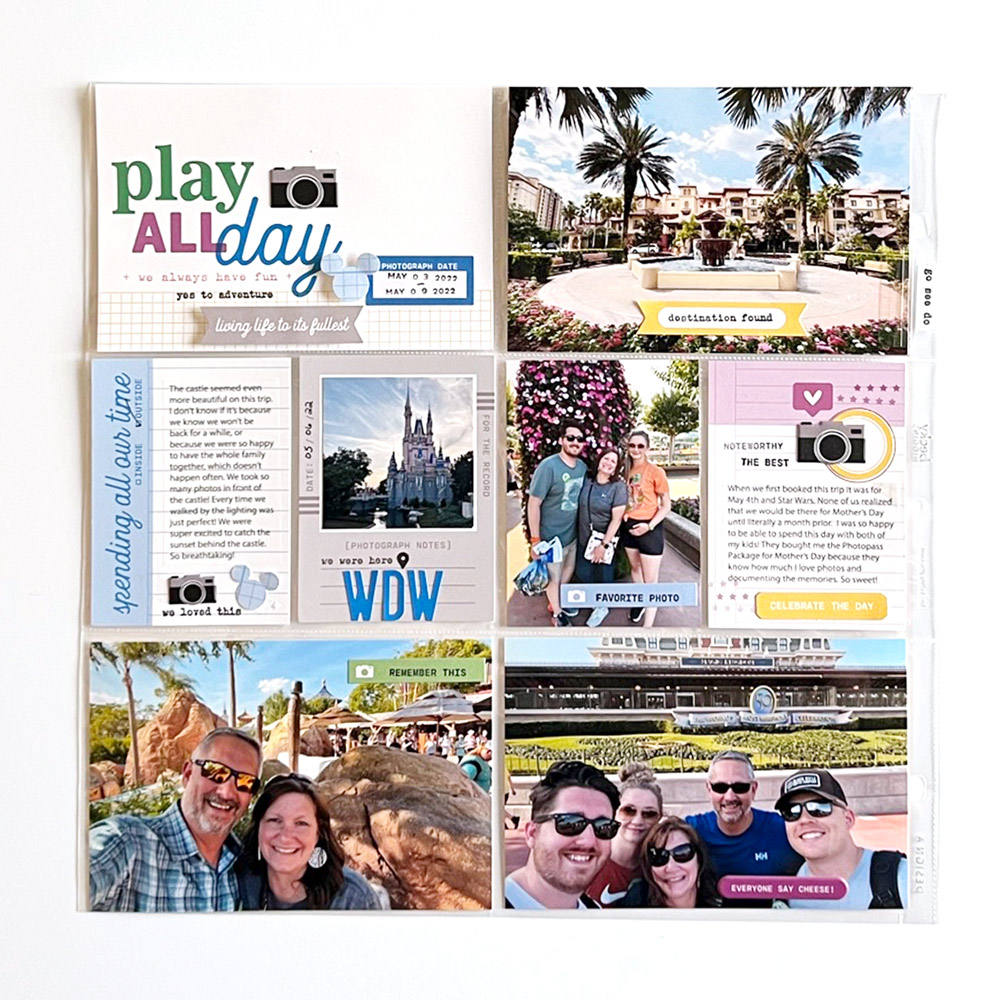
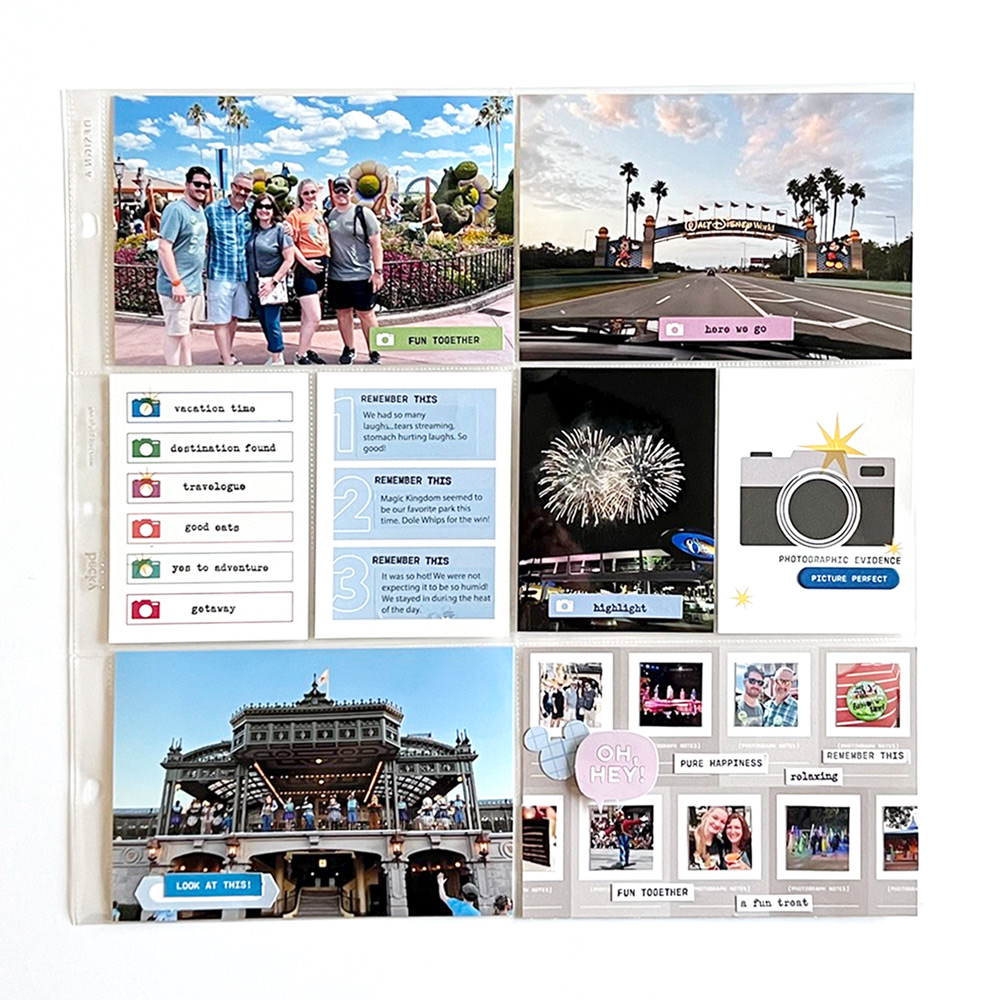
Hi crafty friends, it’s Diane here with a fun Five on Friday in pockets! I was super excited to challenge myself with using just five products to create a pocket page layout! We recently went to Disney World and I knew this month’s kit and add-ons would be perfect to document the trip in a 12 x 12-inch spread, which I love to use for my travel pages because I usually have a ton of photos.

Here are the five products I worked with to create this pocket page spread:

  • The May 2022 Kit (which included the pocket tags and the die cuts I used)

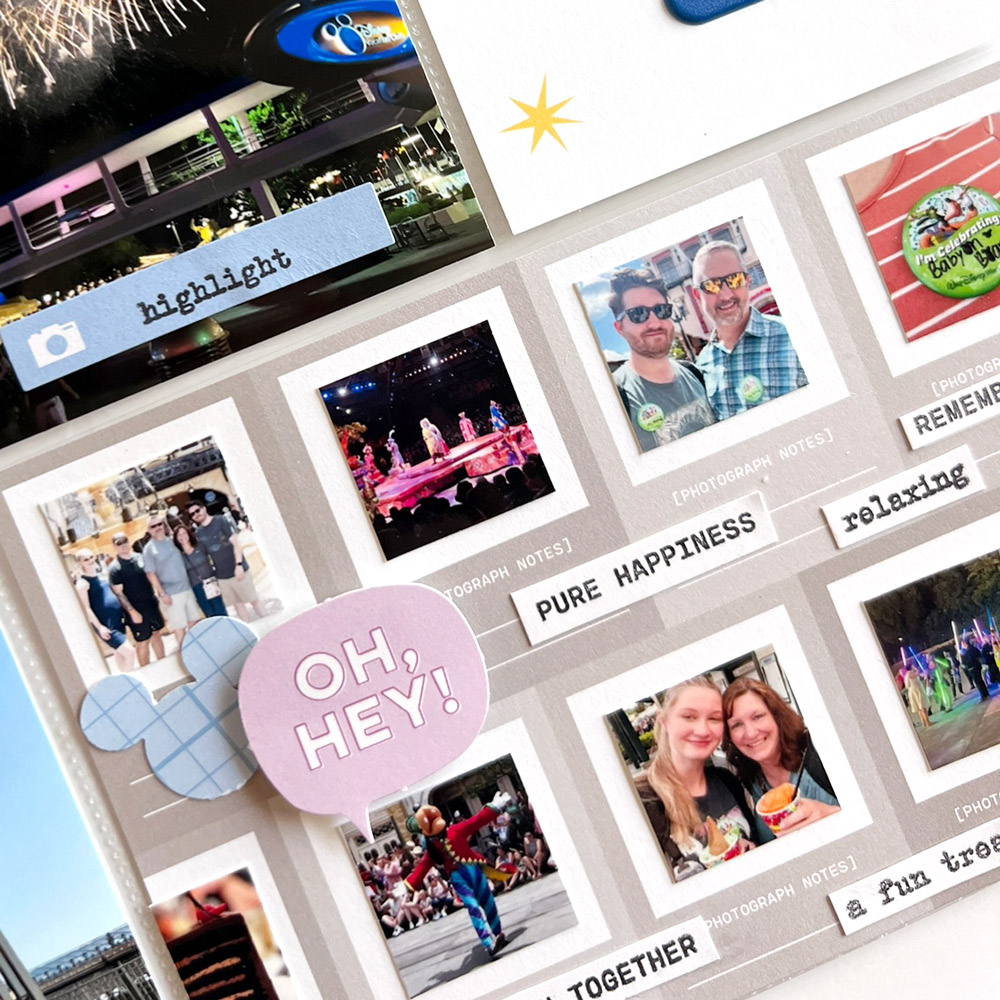
One of my main focuses for this pocket page layout was to use the Travel Tabs and Photograph Stamp in as many places as I could. You will see them used in almost every single pocket. I love the sentiments and they worked perfectly with my layout. The bottom right pocket includes some of the The Best Paper Stack patterns along with the stamps.

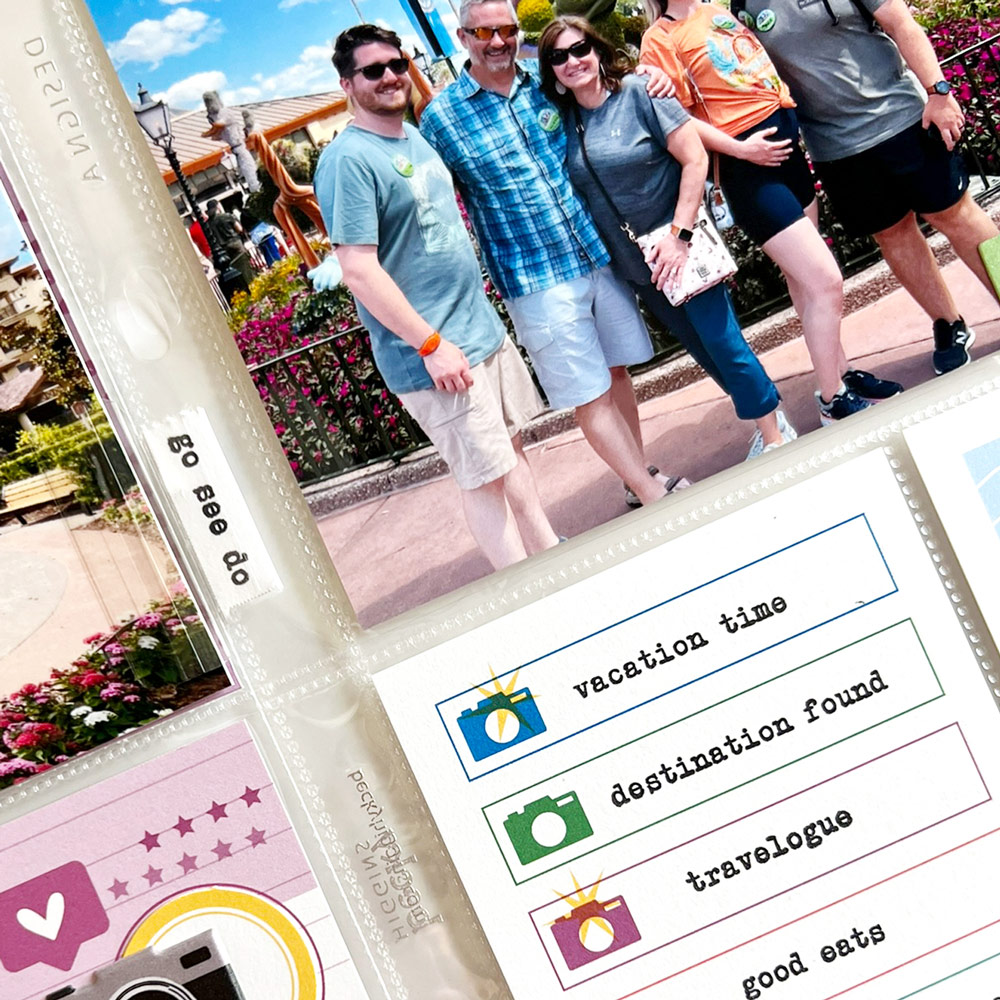
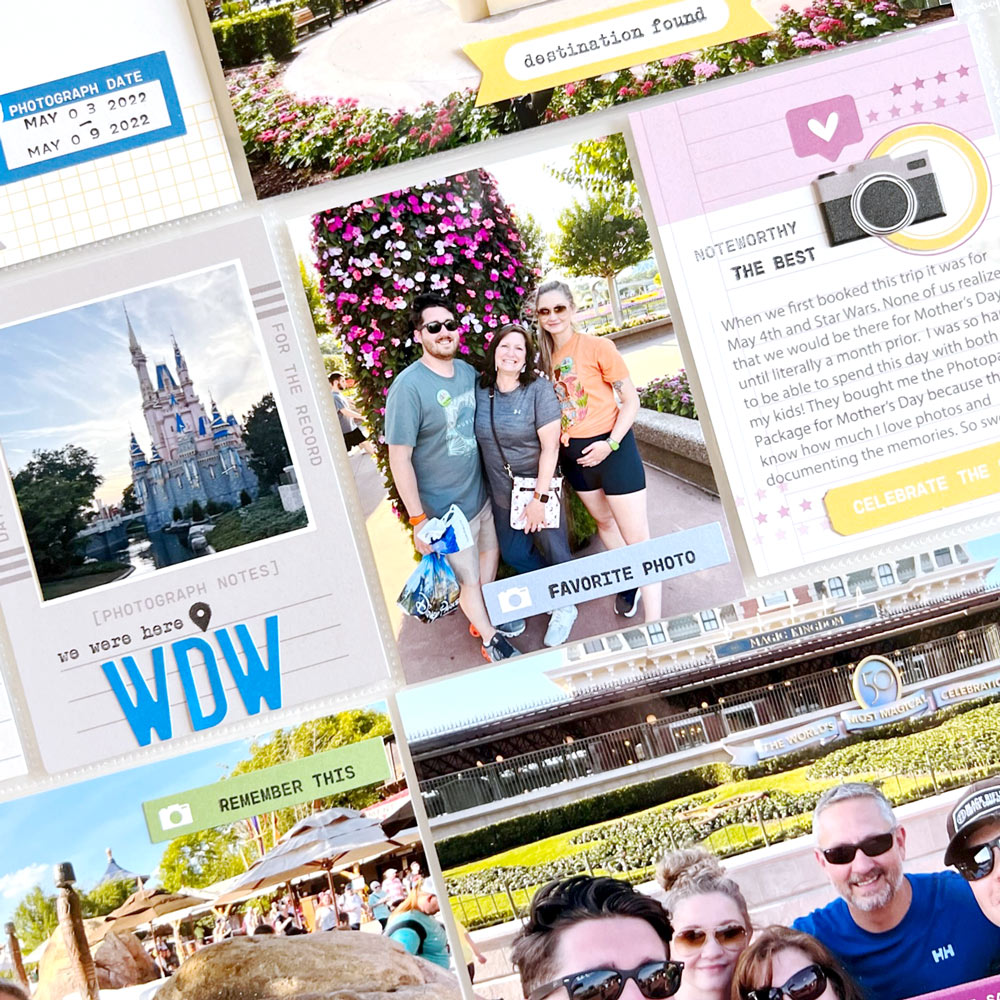
I had a ton of fun using the Photograph Label Stickers and the Big Smiles Puffy Stickers to embellish my photos. Those cameras are so fun!

This layout came together so quickly because I had the products picked out ahead of time and everything just coordinates perfectly. I hope this will inspire you to pick out just five products and create a pocket page spread or layout! If you do, please share so we can see!

Happy weekend, and happy scrapping!