Hello, friends! We are excited for a brand new week of the most magical inspiration that we’ve ever shared here on the blog! It’s A Week of Magic! Each day this week, our team will be sharing projects created with our two newest collections, Magical Memories Volume 2 and Title Builder Vol. 6 Simply Magic! Let’s kick off the week today with a new layout by Jennifer McMurtrey!

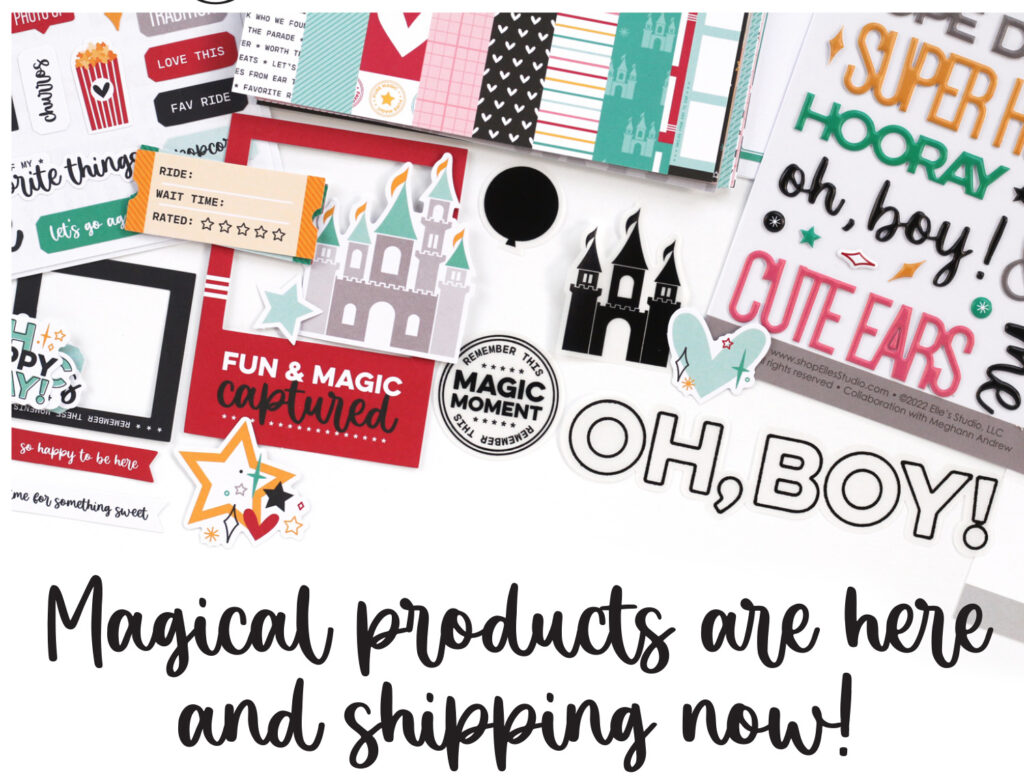
Oh, boy! Oh, boy! Elle has outdone herself once again with the new Magical Memories Volume 2 and Title Builder Vol. 6 Simply Magic collections! Between the stamps, metal dies, patterned papers, and embellishments; you will have everything you need to document your Disney memories!
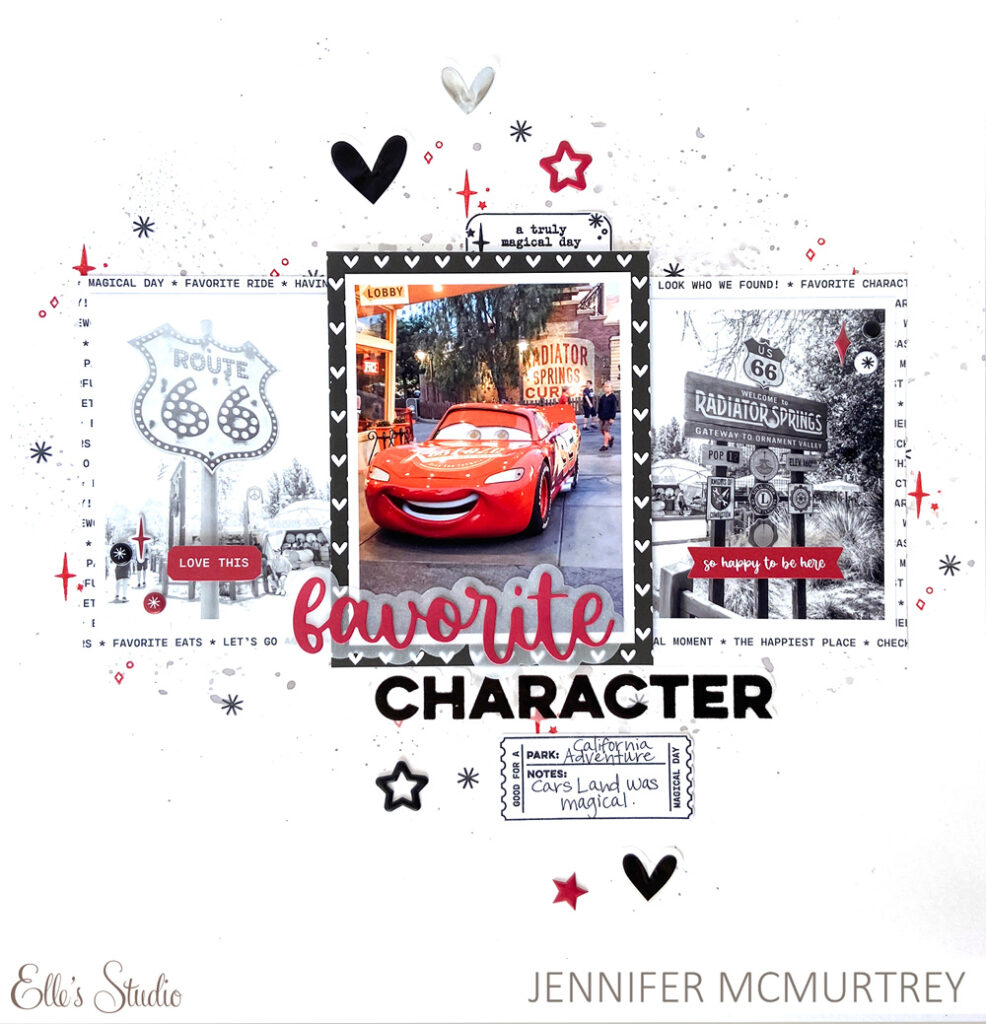
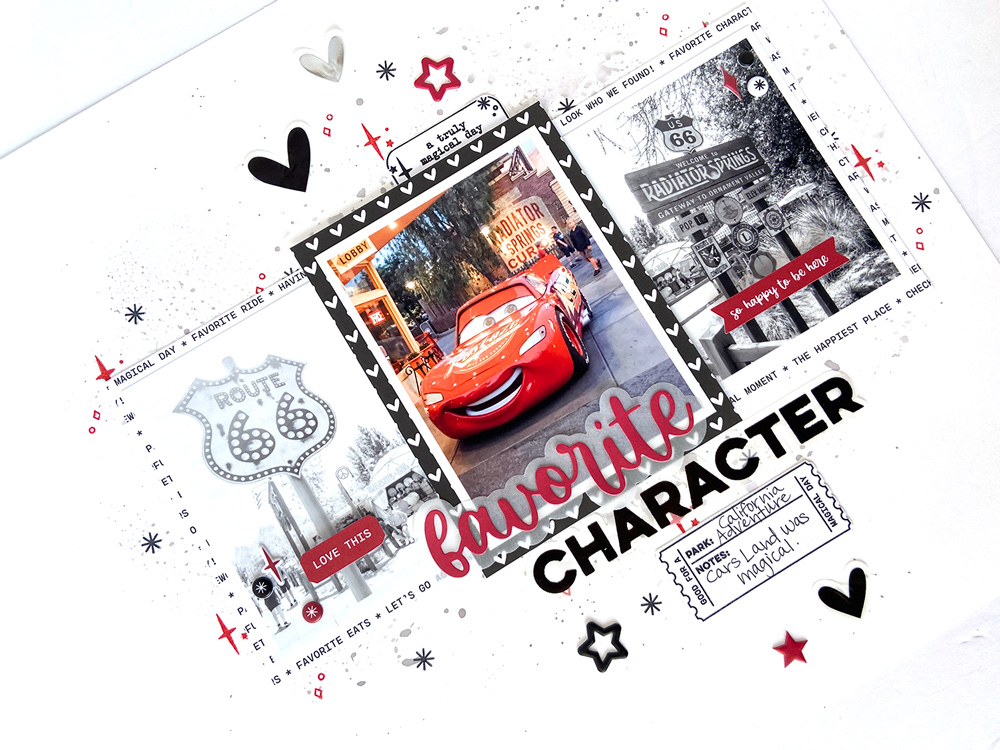
When creating projects, I love using stamps to create unique backgrounds, which is what I did with this 12 x 12-inch layout.
Supplies | Title Builder Vol. 6 Simply Magic Vellum Die Cut Words, Title Builder Vol. 6 Simply Magic Puffy Word Stickers, Title Builder Vol. 6 Simply Magic Stamp, Title Builder Vol. 6 Simply Magic Metal Die, Title Builder Vol. 6 Simply Magic Big Words Metal Die, Magical Memories Vol. 2 Die Cuts, Magical Memories Vol. 2 Vellum Die Cut Shapes, Magical Memories Vol. 2 Cardstock Stickers, Magical Memories Vol. 2 Heart & Star Puffy Stickers, Magical Memories Vol. 2 Puffy Stickers, Magical Memories Paper Stack, Magical Memories Tab Stamp, Magical Memories Vol. 2 Stamp, Magical Memories Vol. 2 Metal Die, Warm Solids Paper Stack, Everyday Tabs Vol. 2 Metal Die
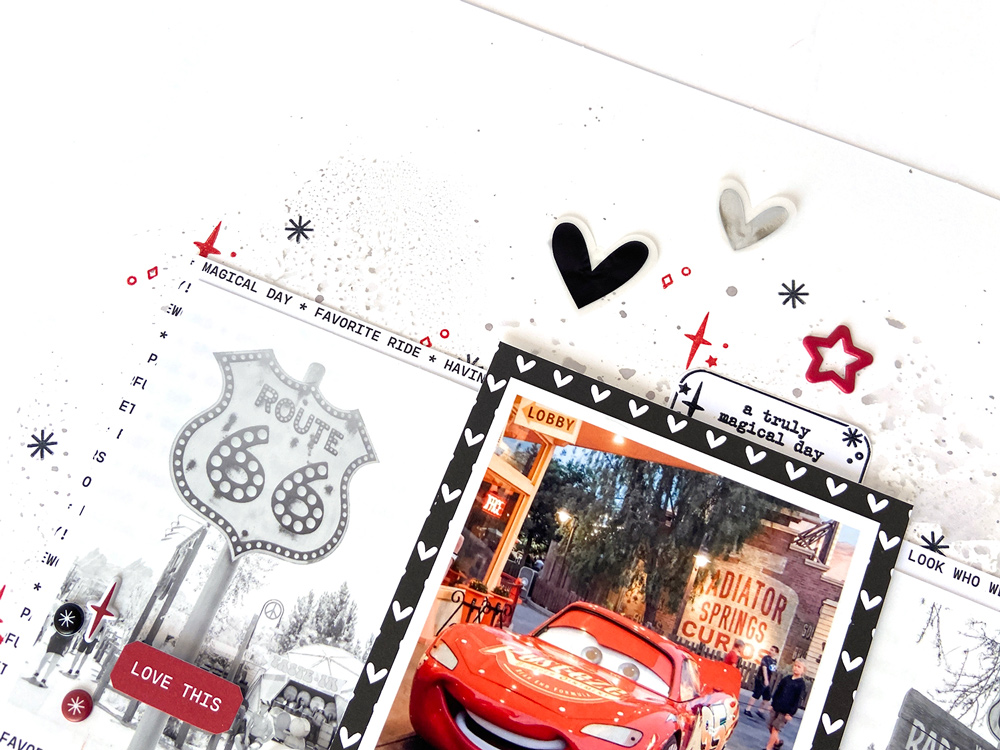
To begin, I used the smooshing method to apply oxide ink to white cardstock. Next, I stamped images using the Title Builder Vol. 6 Simply Magic Stamp with black and red inks to complete the background.
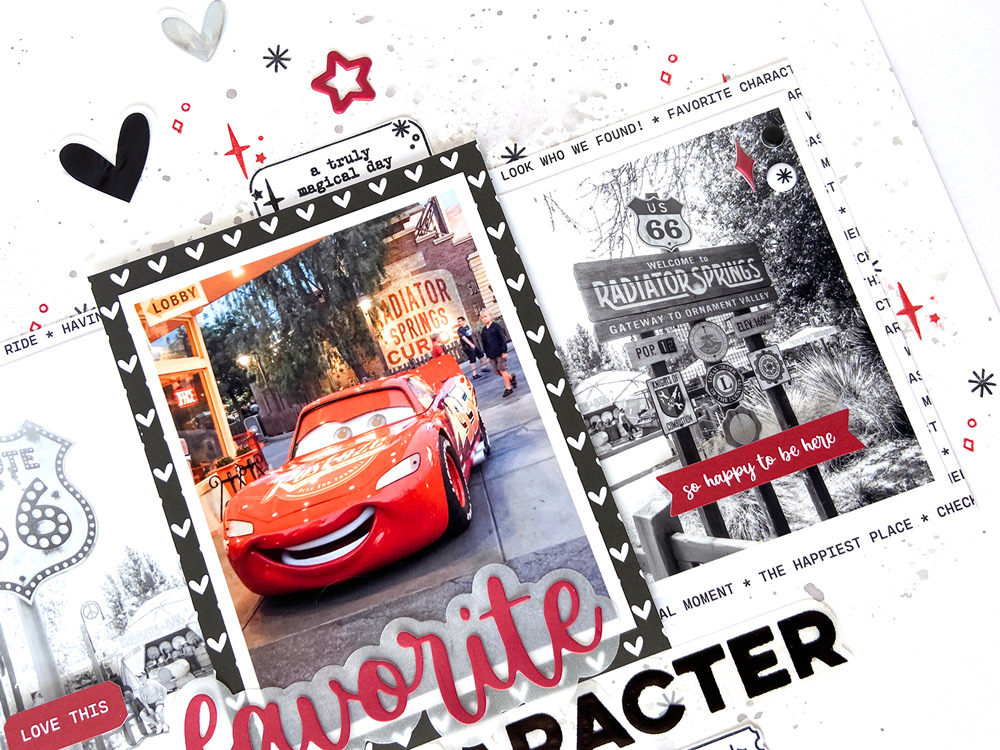
Since I wanted to keep the color scheme to black, gray, and red, I printed two of the three photos in black and white. Doing this helped isolate the colors in the main photo so they are not all competing against one another.
After backing the photos with patterned papers from the Magical Memories Paper Stack, I adhered them to the background. The middle photo, which is the focal point, was placed down with foam tape so it stands out against the black and white photos.
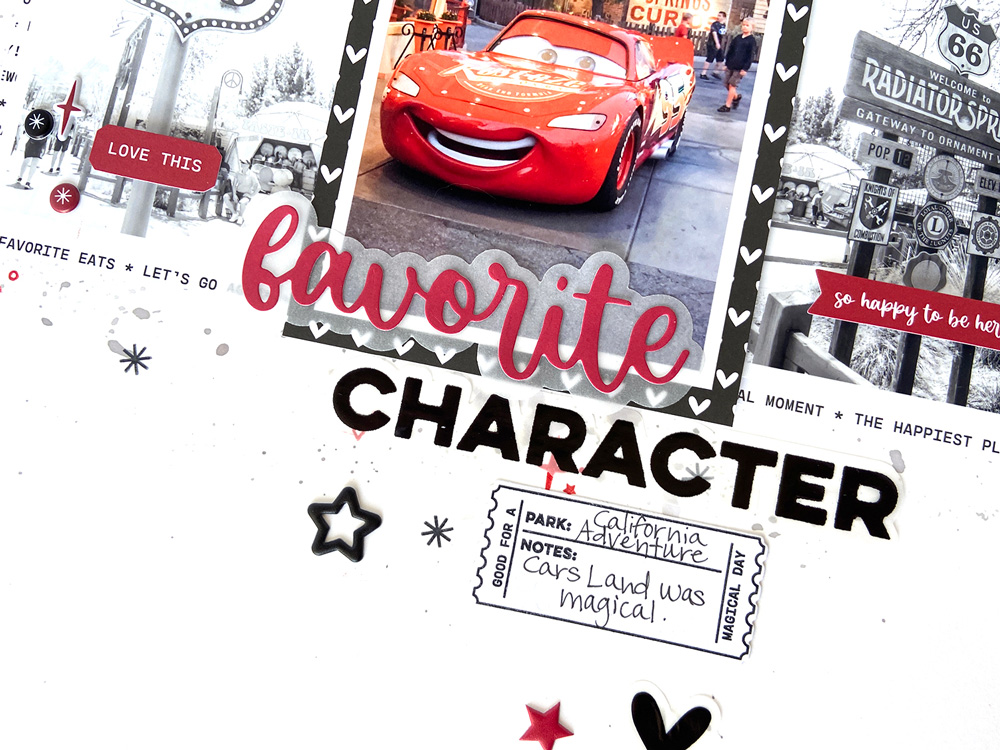
The title was next, and I created that using the Title Builder Vol. 6 Simply Magic Big Words Metal Die with colors from the Warm Solids Paper Stack and vellum along with Title Builder Vellum Die Cut Words.
Below the title, I created the ticket with the Magical Memories Vol. 2 Stamp and Metal Die and added journaling.
Last were stickers and die cuts to finish the project along with Magical Memories Tab Stamp along the top of the middle photo.
Elle’s latest collections are truly magical, and I cannot wait to continue using them to document our Disney trip. Be sure to grab both collections while they are in stock and get to work recording your precious memories! Remember to post your projects and use the hashtag #EllesStudio so we are sure to see your amazing creations!

Come back tomorrow for the next project in our five days of fun, and don’t miss any of our new products in the Magical Memories Volume 2 and Title Builder Vol. 6 Simply Magic collections!